- Joined
- Dec 8, 2006
- Messages
- 12,100
- Reaction score
- 4,340
- Points
- 113
- Location
- Eastleigh
- Website
- twitter.com
So, for those who can't be bothered to read through a hundred pages of my build thread, I thought this was reasonably interesting and different. I did a little write up for another forum, so thought I'd post it in here for anyone else doing anything similar ")
Take several bottles of beer:

Add some ebay:

Throw in an auction that's listed in dollars instead of £ to add to the confusion, then wake up in the morning to find you've gone and bid far too much money on something you don't really need.
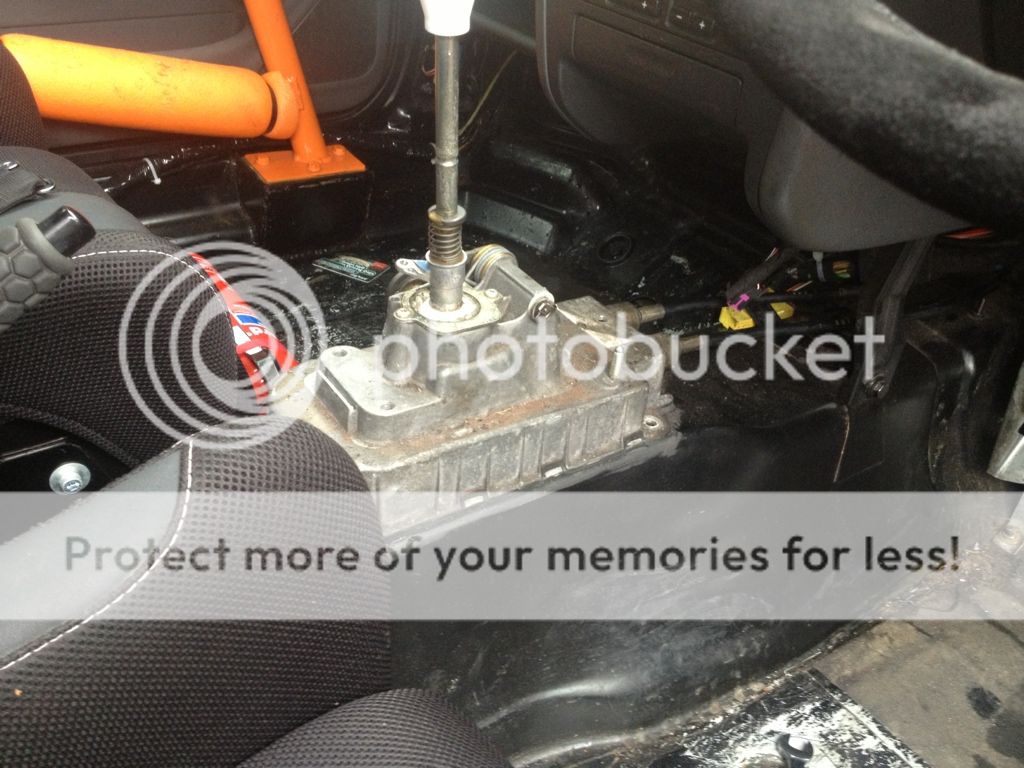
Wait a week whilst pretending it never happened, then return from work to find this waiting for you in a box:
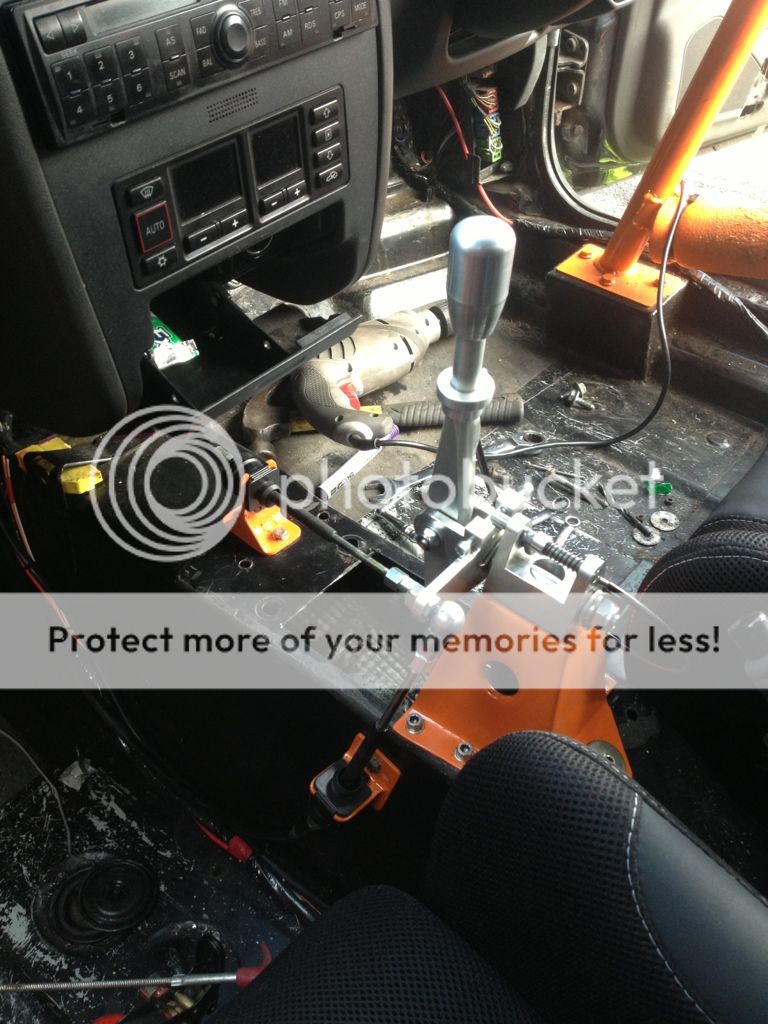
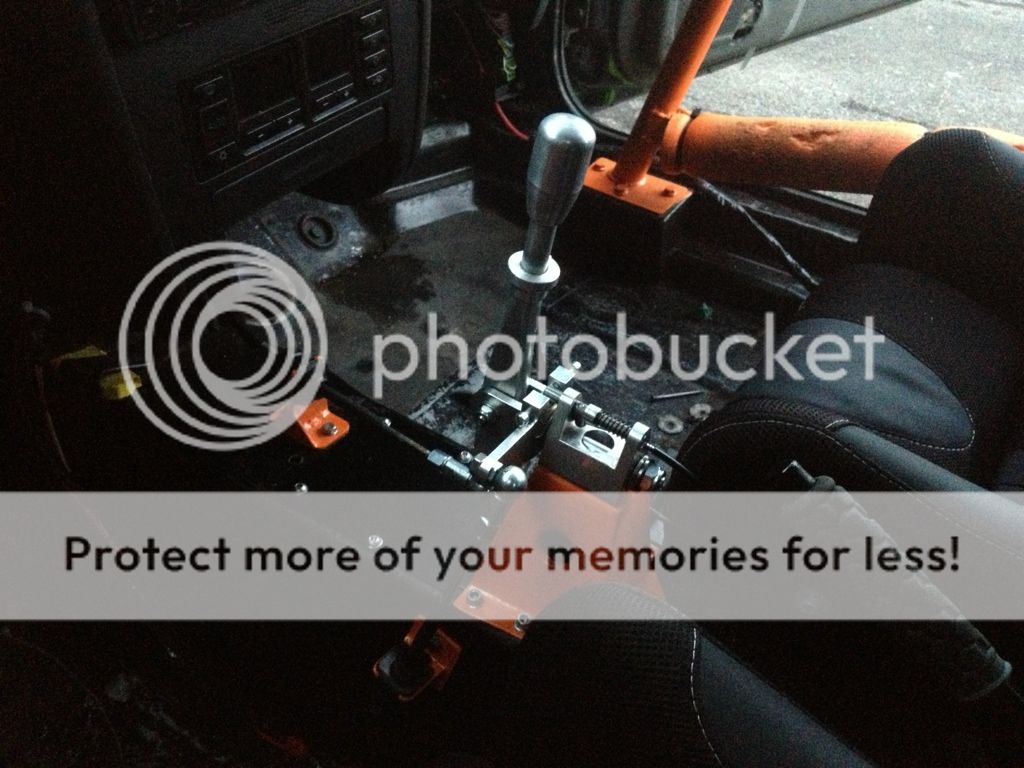
So, I appear to have bought a VW MotorSport type shifter from a man in Slovenia, whilst bidding against Americans!
I best make it work then!
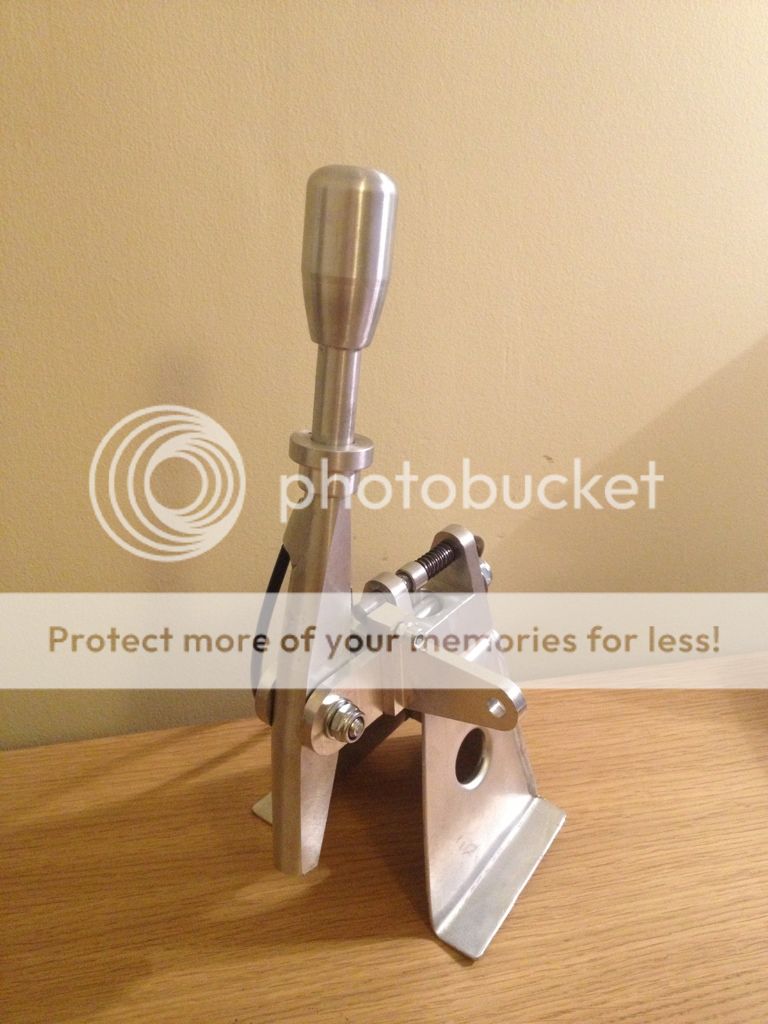
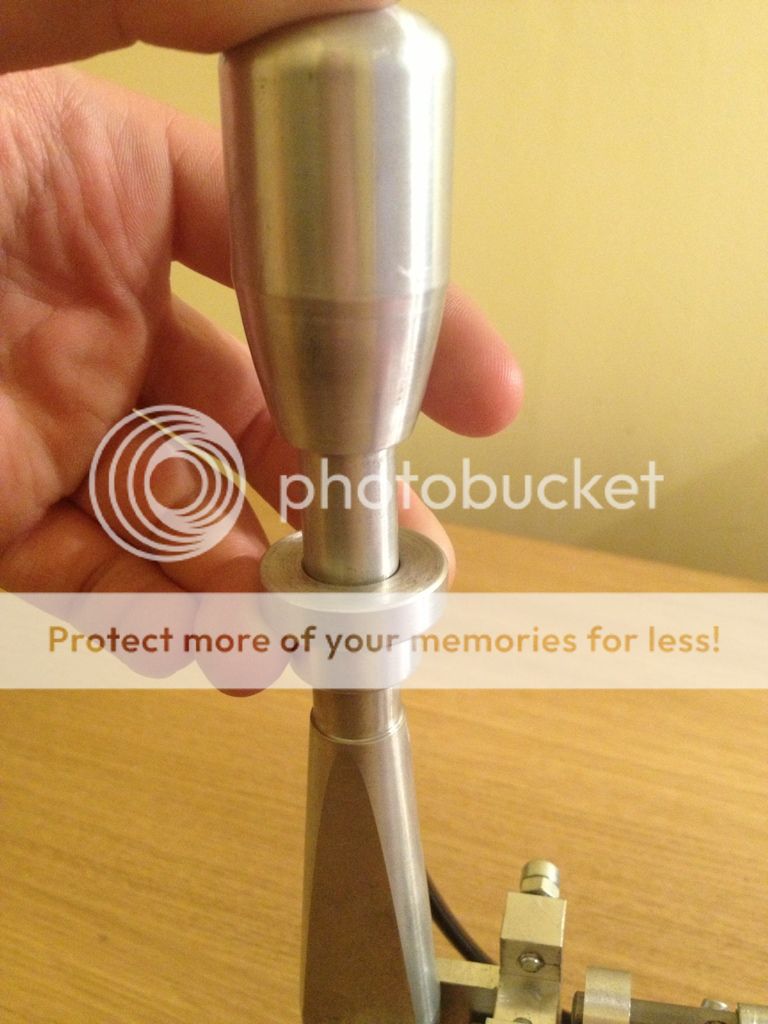
A few more pictures:


Hmmmmmmmmmmmmmmm. this will need cables. stock ones won't be long enough. D'OH
back to ebay, random scanning for gear shifter cables, volvo ones look pretty long, I'll try some of them!

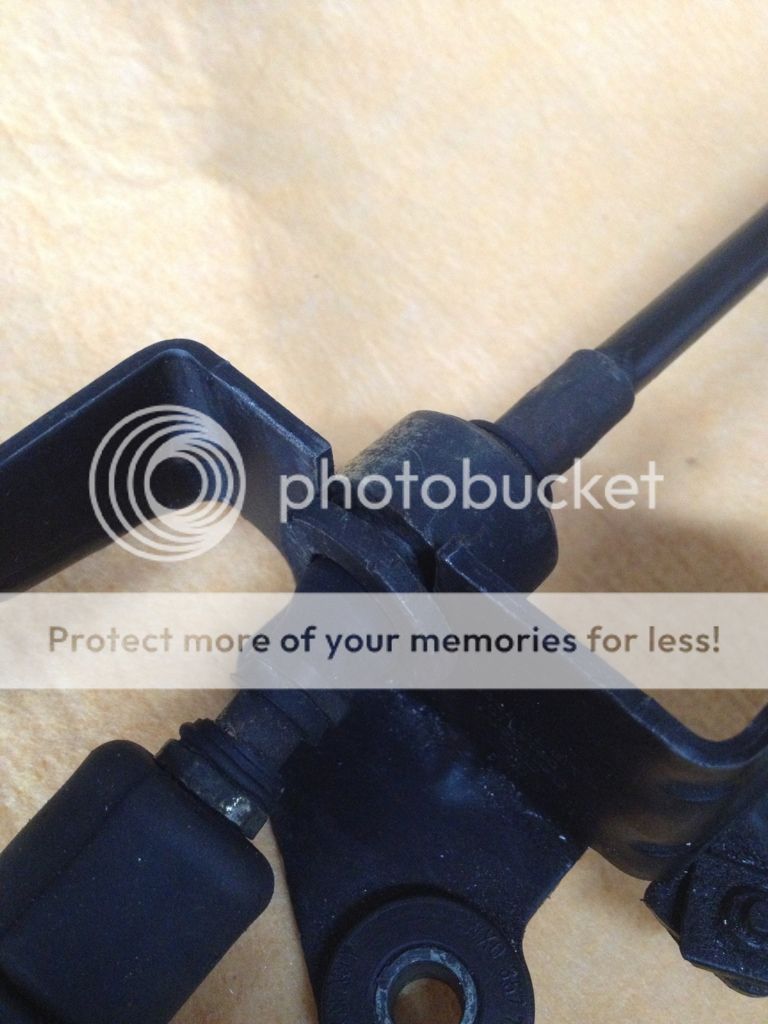
The ends were wrong, so I bought some of these:
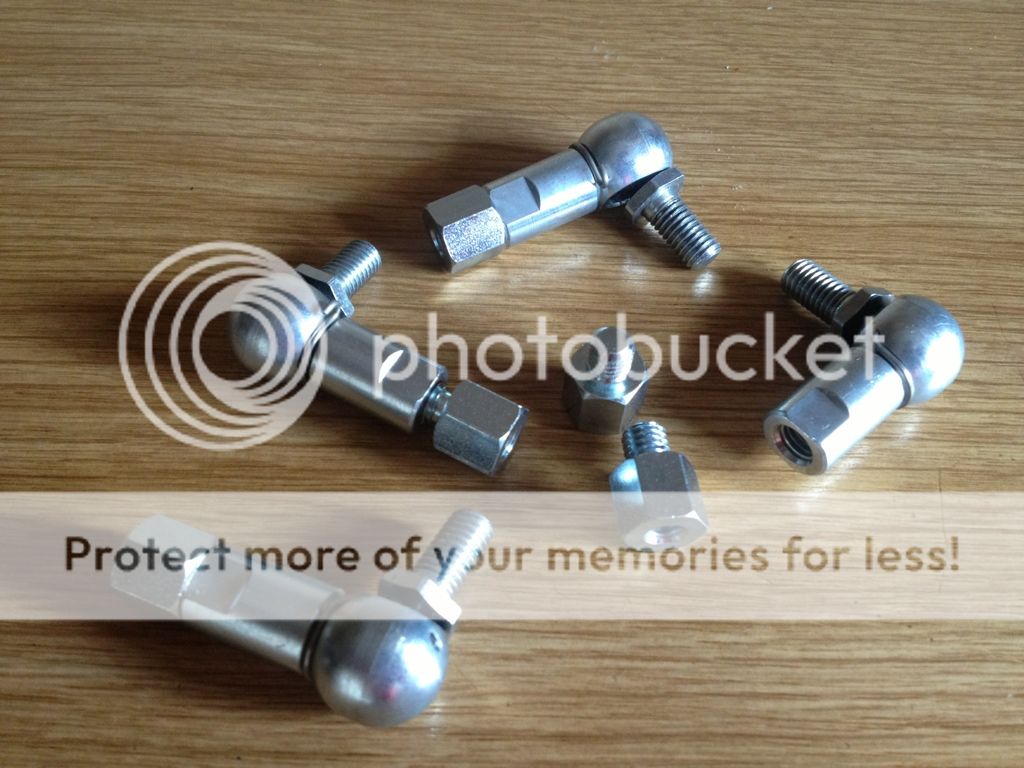
M8 ball joints, and m6-M8 thread adapters.
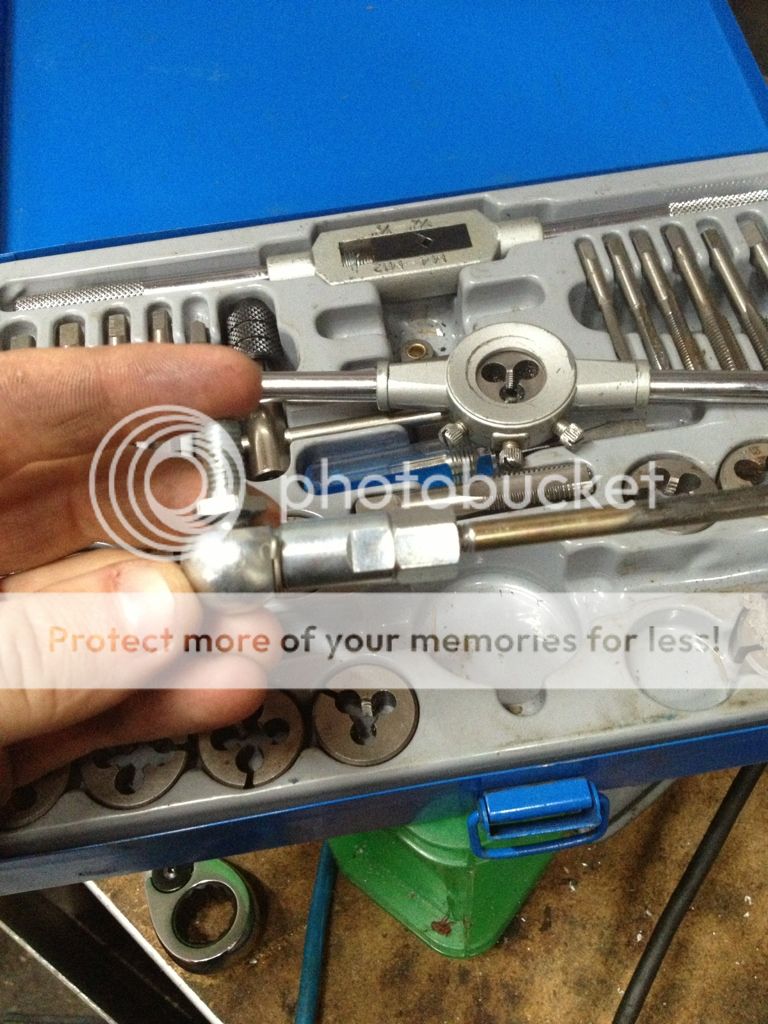
I set about threading the ends of the volvo cables, by running an M6 dye down the end of the rod:

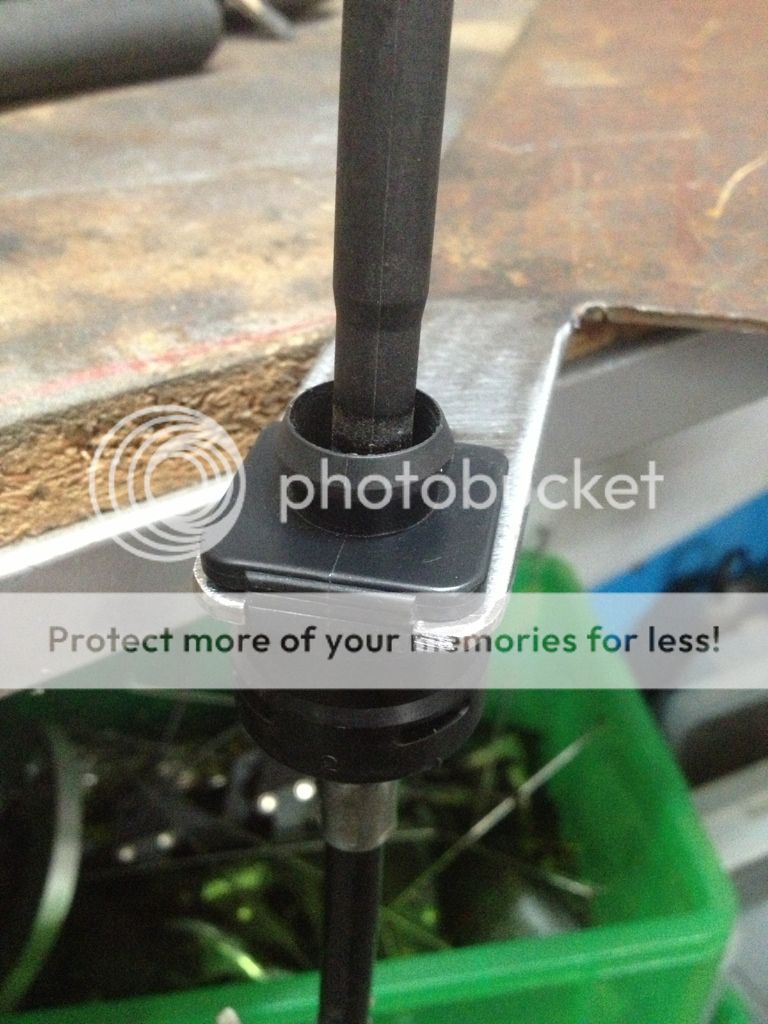
Then screwed on the M6-M8 adapter:

To which a ball joint fits nicely:
Sorted.
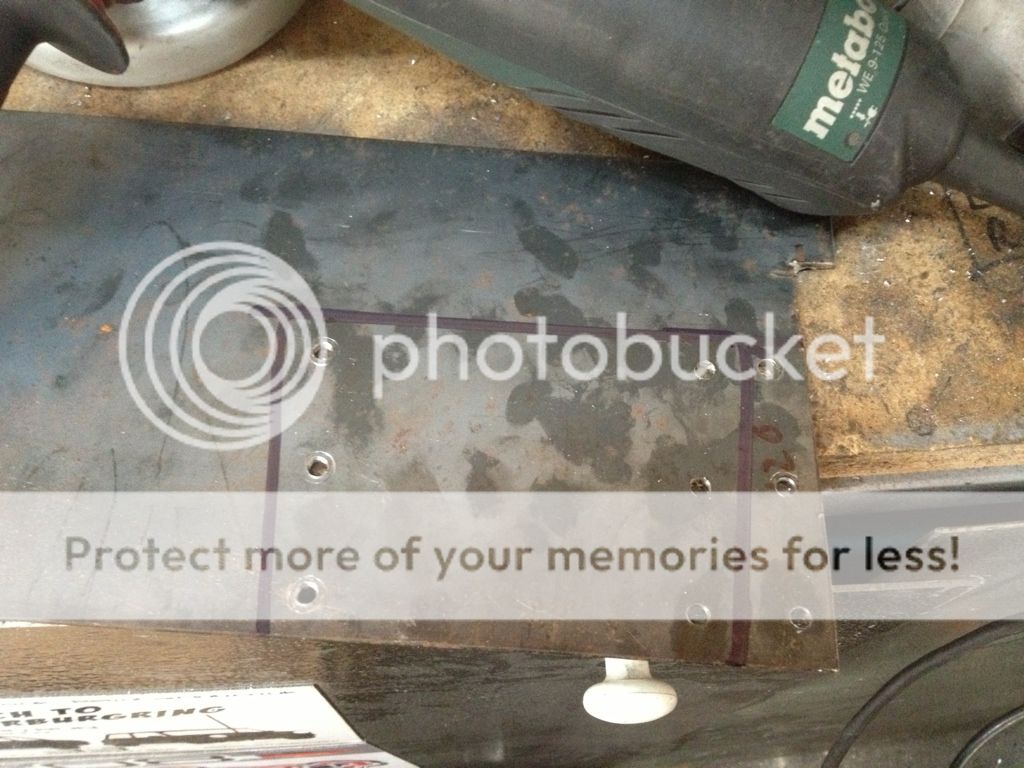
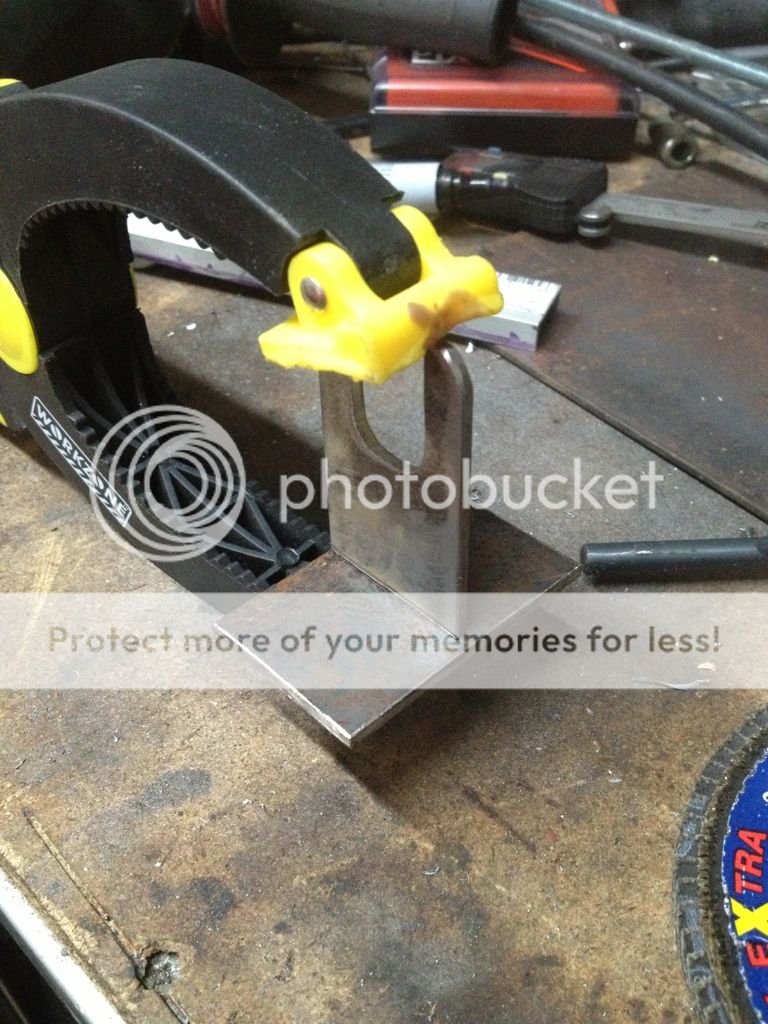
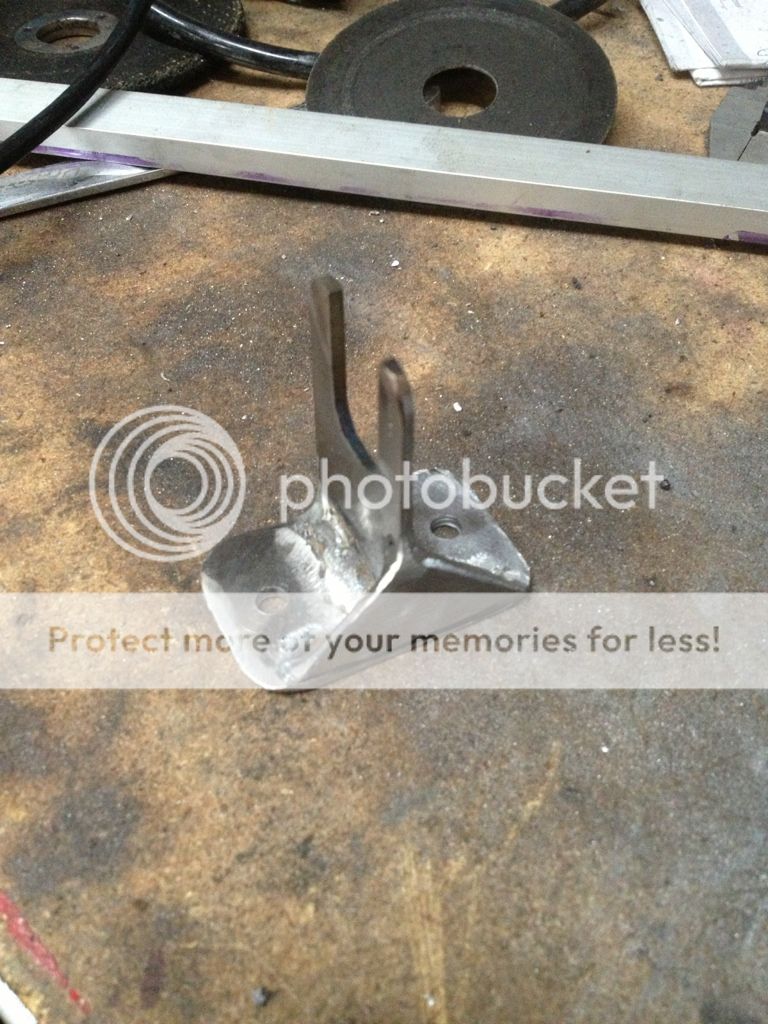
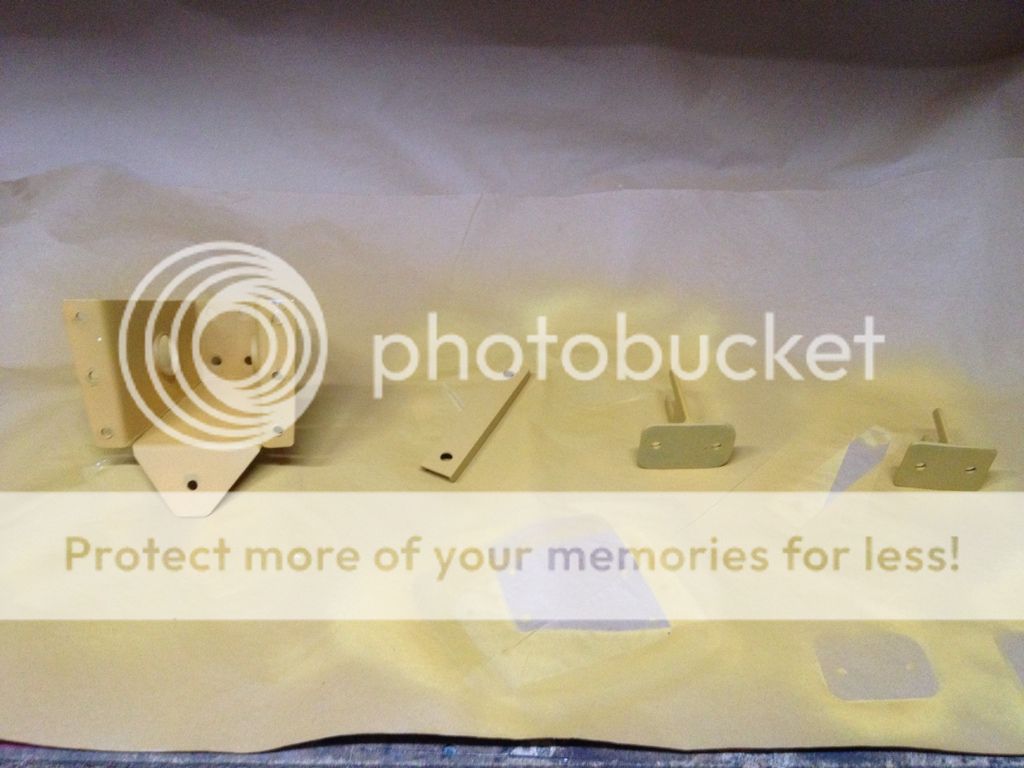
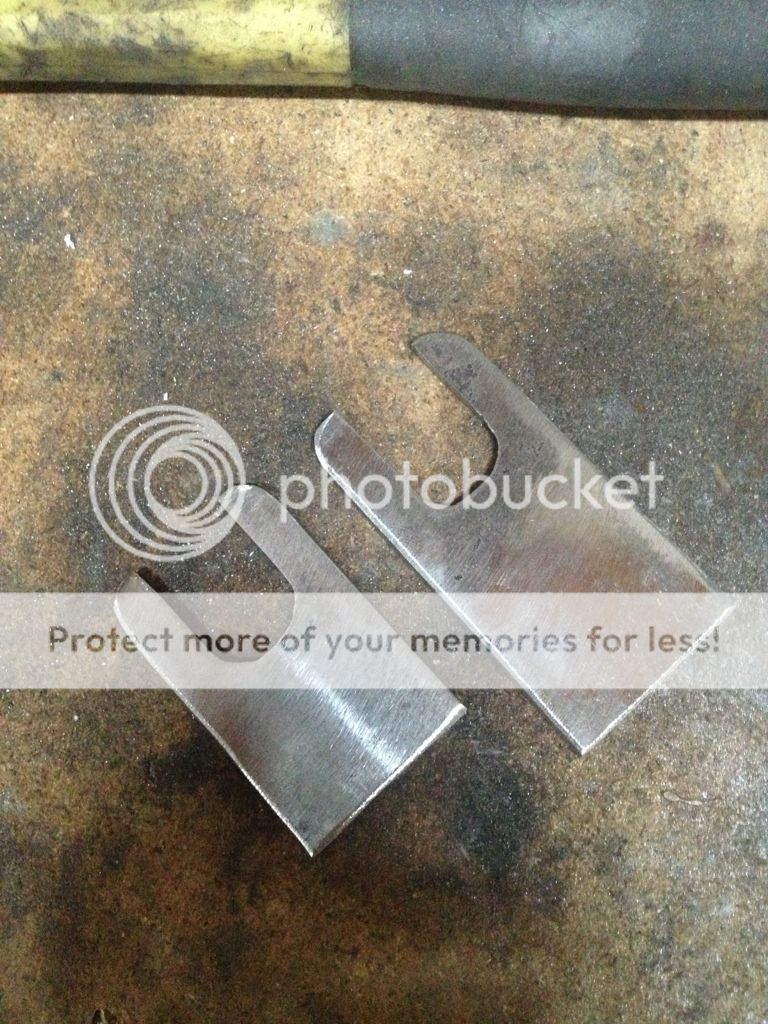
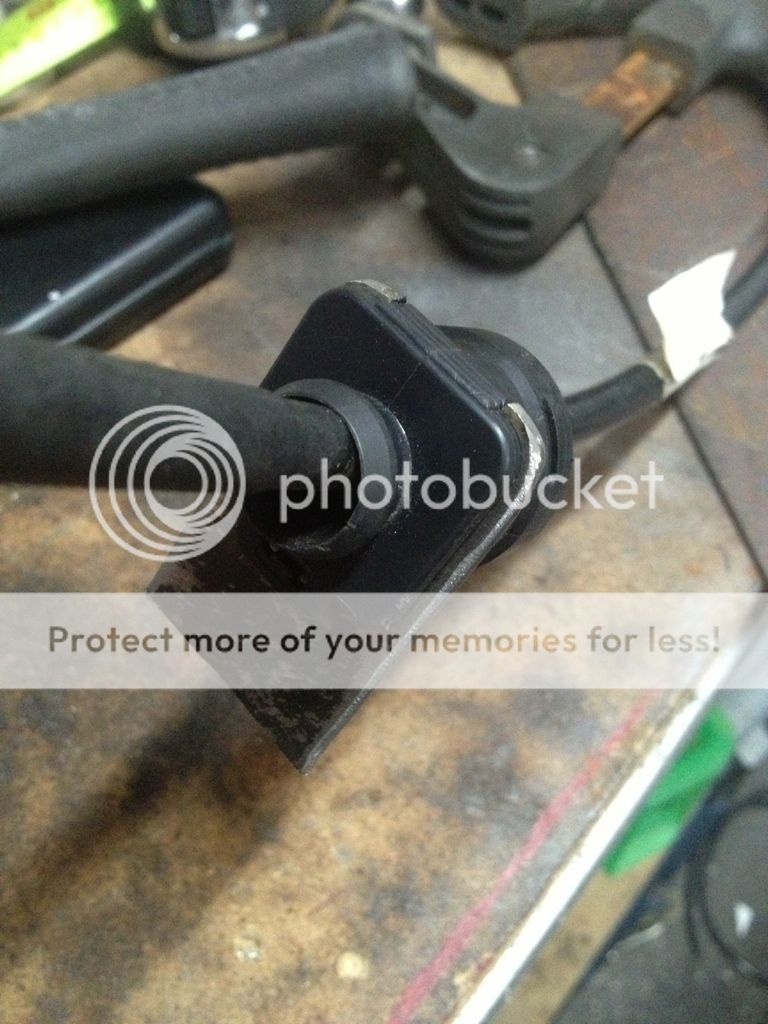
Next up, cable stops:
Bit of 3mm plate cut to shape:


And the volvo cable ends fit very nicely:
repeat:
I didn't like the lack of self centering on the shifter, so decided to add some using a massey fergusson tractor brake pedal return spring:

Which would sit in here:
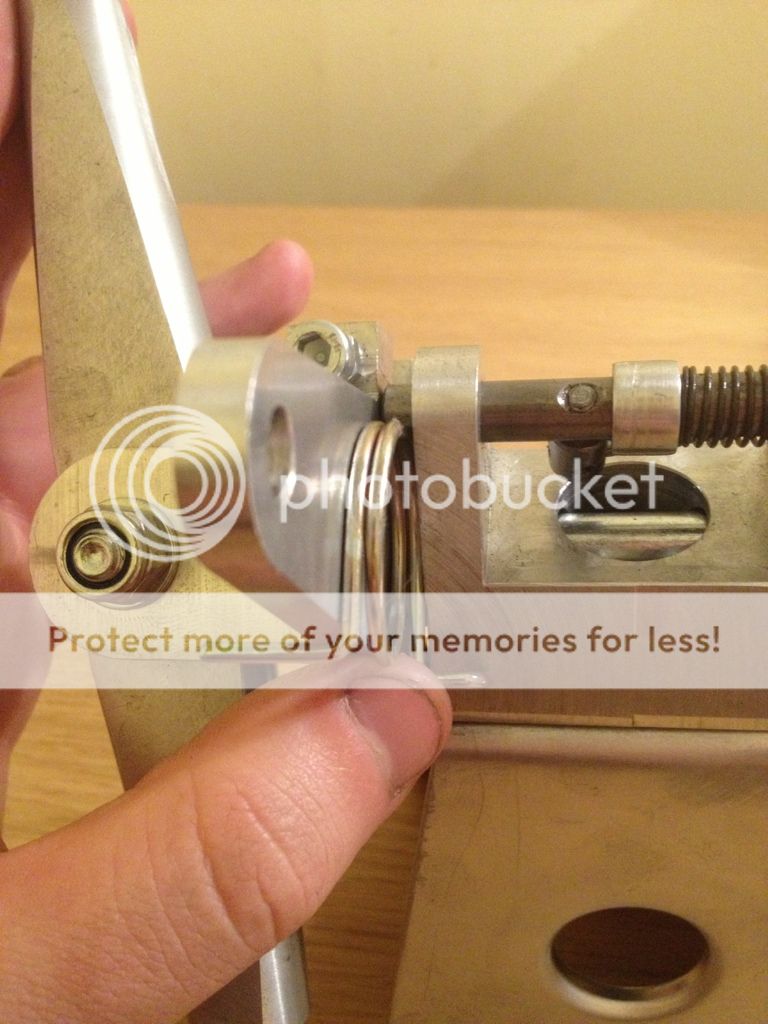
Drilled the base plate to locate the spring:
Then fitted it in, and forgot to take pics. works well though
Moving onto the tower, I wasn't so keen on the look of the welds on it, so decided to grind them back:

Then sanded it down and applied some primer:

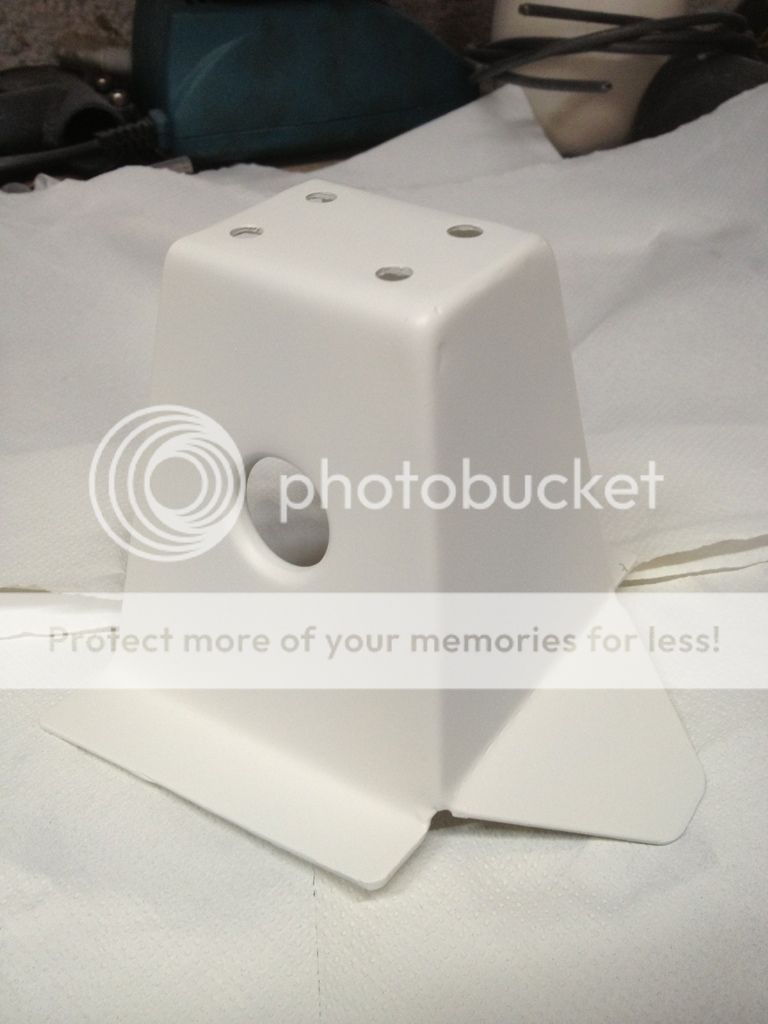
it came out fairly good. Not perfect, but i'm not a paint man on the whole!
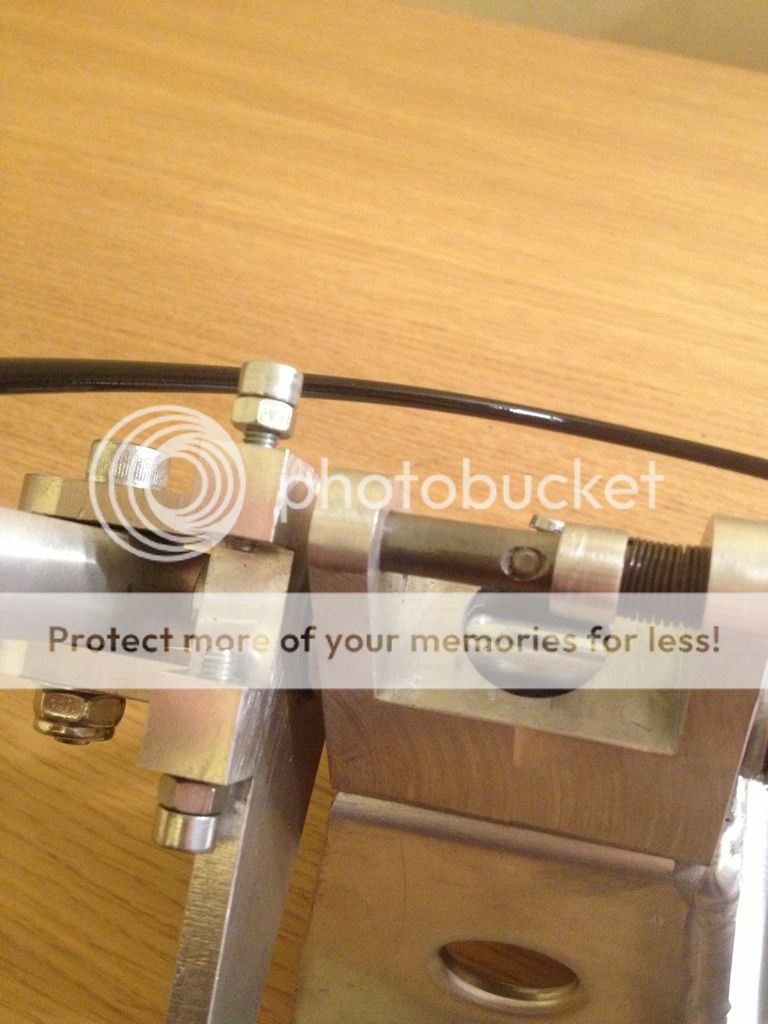
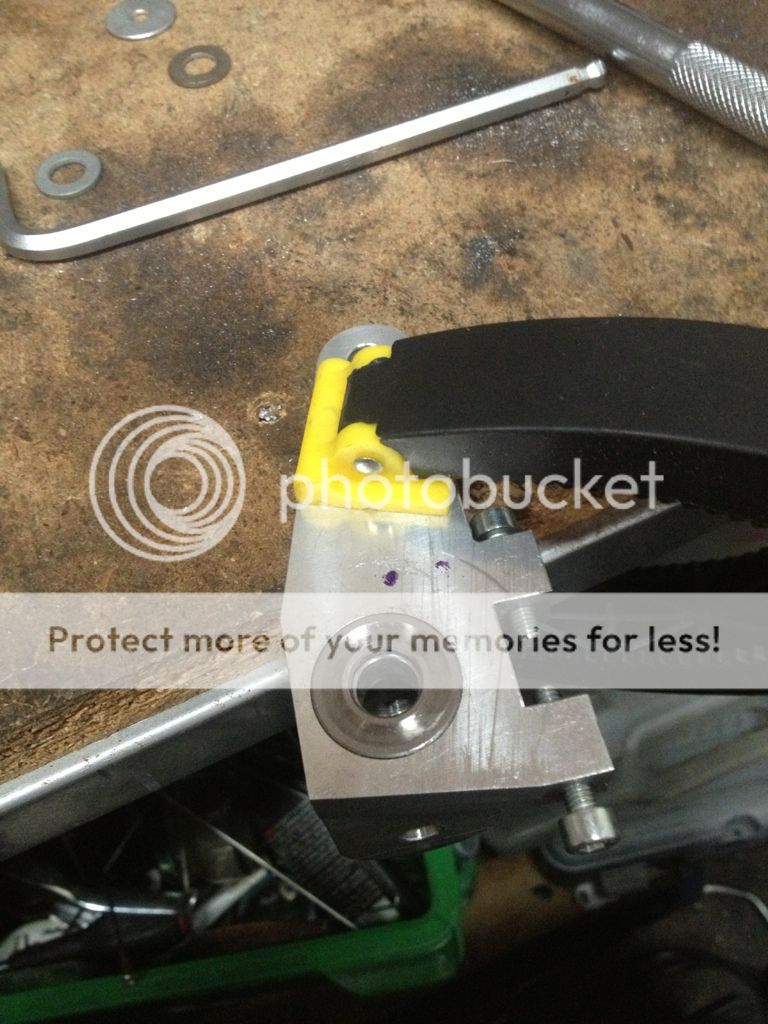
I finished adding threads to all the cable ends:

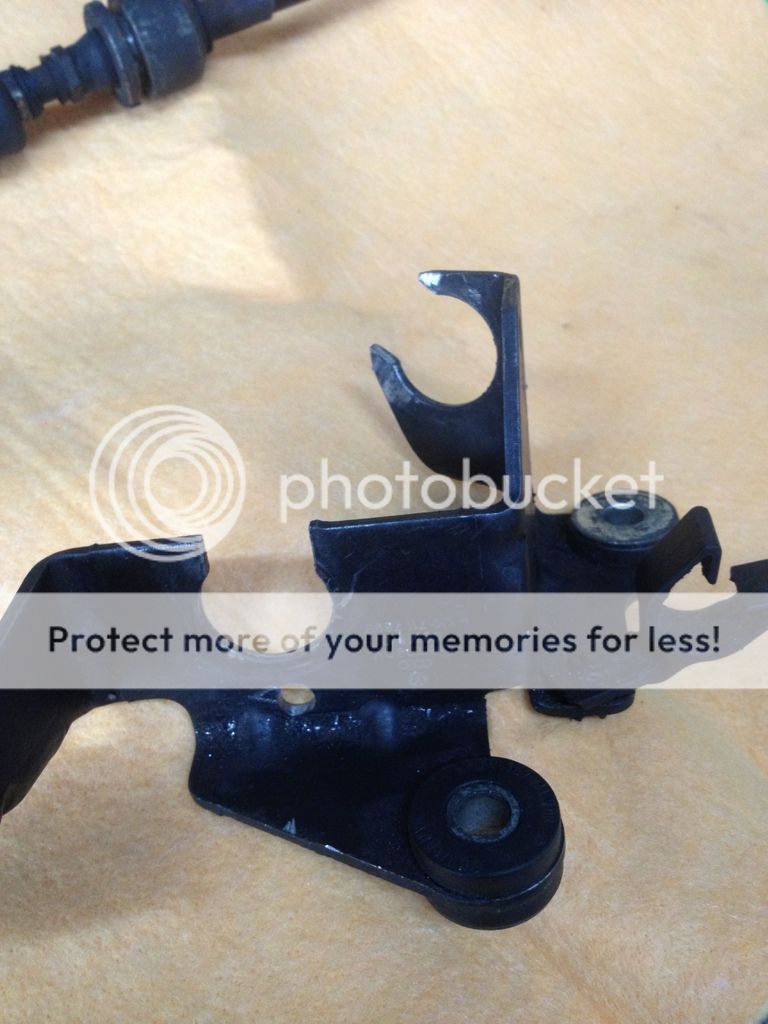
Then found that the ball joint ends on an 2000 02J linkage were the same size as the ones I've bought. result!


Take several bottles of beer:
Add some ebay:
Throw in an auction that's listed in dollars instead of £ to add to the confusion, then wake up in the morning to find you've gone and bid far too much money on something you don't really need.
Wait a week whilst pretending it never happened, then return from work to find this waiting for you in a box:
So, I appear to have bought a VW MotorSport type shifter from a man in Slovenia, whilst bidding against Americans!
I best make it work then!
A few more pictures:
Hmmmmmmmmmmmmmmm. this will need cables. stock ones won't be long enough. D'OH
back to ebay, random scanning for gear shifter cables, volvo ones look pretty long, I'll try some of them!
The ends were wrong, so I bought some of these:
M8 ball joints, and m6-M8 thread adapters.
I set about threading the ends of the volvo cables, by running an M6 dye down the end of the rod:
Then screwed on the M6-M8 adapter:
To which a ball joint fits nicely:
Sorted.
Next up, cable stops:
Bit of 3mm plate cut to shape:
And the volvo cable ends fit very nicely:
repeat:
I didn't like the lack of self centering on the shifter, so decided to add some using a massey fergusson tractor brake pedal return spring:
Which would sit in here:
Drilled the base plate to locate the spring:
Then fitted it in, and forgot to take pics. works well though
Moving onto the tower, I wasn't so keen on the look of the welds on it, so decided to grind them back:
Then sanded it down and applied some primer:
it came out fairly good. Not perfect, but i'm not a paint man on the whole!
I finished adding threads to all the cable ends:
Then found that the ball joint ends on an 2000 02J linkage were the same size as the ones I've bought. result!