Help ! Relentless DP fitting

Not sure about taking the subframe out totally, not sure what else will come down with it! or if I can get it back on.

Found the big bush in the wishbones are shagged, so I need to sort that out too.

Today, it was either the hangar or the power steering gubbins getting in the way. But I can see it shouldn't need much to get it there.

I'm going to have another go on Saturday, car's been out of action since Monday.

on a seperate issue, Does the subframe need to be dropped to change the front ARB?
 
Thanks Dre

Bob, Karl, Tufty et al
To drop the subframe, apart from removing the 21mm bolts with the big washer and the ones by the discs and the need to be supported.
What else do I need to do and be aware of ?

Cheers
 
Last edited:
the steering column. its on a splin to the steering rack.
i personally dont think you need to do this.

have you loosened all the subframe bolts? (x4)
have them on the last thread so the whole subframe sits 1-2inches down. you should have enough room.
 
Yeah 4 big bolts and then there are 4 smaller ones holding the steering rack etc to the subframe (when putting back together do the drivers side first) then i undid the 3 bolts on each side on the bottom of the hub and you can then remove the subframe completly (much easier to work on the bushes too this way) You could rather than undo the 3 bolts undo the ball joint and split it. oh and also have to undo the droplinks and headlight adjuster.
 
When we did Tom`s front ARB bushes we took the subframe off as it seemed easier that way and once you know what your doing the subframe can be off in less than an hour on axle stands
 
All that proves is that you changed the bushes without dropping the subframe, which is easy.

You didn't remove the bar did you?

:angrymod:

Lol no thought he was on about the bushes doh
sorry mate my wrong

it was very loose when everything was undone but I am unsure if I could take it out :unsure:
 
I would do it by myself, but I got no space at all at home! Getting bill to do mine!
 
Hope this rain stops soon - many of the roundabouts are flooded round here. My car is looking sad, it's been on the stands since Monday ...
I'm going to stick the trolley jack underneath the subframe and loosen the 4 bigs bolts more tomorrow and try again.
 
Good luck tomo should brighten up there saying on the weather.
where abouts in Surrey are you I'm down that way tomo
 
******* thing is on the turbo. Now try to get third nut on.
Any one know torque for turbo do nuts?
Also subframe bolts?


Thanks
 
Nope sorry mate i just did all ine up as tight as poss lol
 
how did you undo the 3 dp to turbo bolts? think i could get 2 from the top? then the other from ds wheel arch? or bottom? not sure which is best way. currently starting this today/tommorow, so after as much help as poss! ta :)
 
thanks jim, useful link
limbo - it's been a nightmare from the start - I still haven't re-assembled the car yet.

The old DP is a right bastaard to get out.

Follow the advice in this thread.

1. Drop the subframe - four big bolts underneath the car
2. Undo three bolts so that you can move the prop
3. Turbo bolts, 3/8th socket with 2 knuckle joints and extensions
4. I bought a recipricating saw and lots of blades to cut the old DP
5. Support the car with axle stands at the box sections
6. You'll find ratchet, stubby spanners and nut removers very useful
7. I had to remove the heatshielding from the transmission tunnel to get enough clearance to get the new DP in
8. Remember the sequence you did it. I got it wrong and had to take the prop off again to get the shields back in

Me ? I got the new DP on eventually, in my excitement I forgot to put the shields back in, so I had to remove the prop again. I found it easiest to line the thing up by look up at the transfer box/gearbox.
I left the DP on the turbo studs, so that I could move it for more clearance, which was required to get the shields back in.
New nuts back on the turbo. What a pain. I could get to the inner and lower bolt using a 3/8th socket with a long extension, but I could not get the top most nut more than hand tight.

The bend of the new DP gets in the way of a socket and there isn't enough room to swing a spanner or ratchet spanner
faint.gif

Went to Halfords to buy some stubbies, but found they closed at 6pm today.

With hindsight, I wouldn't have bothered, or at the most paid someone to do it. I've spent 26hours on it and counting.

If any one has any helpful suggestions, please feel free to add to this thread.

unhappy.gif
 
Pure bad luck I think mate. I've done a few and it' never been that bad.

Also, all 3 downpipe studs are accessible from the top with. 3/8ths ratchet.
 
The 17mm 1/2inch socket won't even fit into the top most turbo nut, the bend of the new DP gets in the way. My 3/8ths 17mm fits in, but the ratchet won't fit. I tried a knuckle there to get around the DP bend, but that didn't work either.
Tried from above and below.
There isn't enough room to engage my 17mm ratchet spanner, the heatshielding at the firewall limits the swing angle.
Ironically, the nut thats hidden behind the DP and the bottom left nut is much more accessible.

I've just looked on the Halfords website, the flexible ratchet spanners and stubbies look like they should do the job.
They open 10 tomorrow morning.
 
it could be my Halfords "Professional" socket set being extra thick ...

Whats left to do ?
Buy more tools
Tighten turbo nuts
Fit subframe
Refit headlight adjuster
Fit new dogbone bushes and refit dogbone
Secure power steering pipes
Fit gaitor heat shield
Fit 1st lambda sensor
Fit cat and plastic tupperwarebox
Fit metal turbo outlet pipe and bracket (charge air)
Refit wheels

The stands have torn some of the underseal - What do you guys use to repair it?
 
Last edited:
I use a halfords pro as well mate.

Remove the charge pipe, and go at the top military from the top with the 17mm 3/8ths and the longer of the two extensions. The DP bends downwards not upwards, so you should get onto it easily with the charge pipe removed.
 
Thanks for those replys lads!, bit of a update. Got two of the dp nuts off, ended up takin the driveshaft metal cover thing off which gave room to fit a spanner in... Now on the last nut which is looking like the hardest one which is rite behind the manifold. Saw on another thread a lad welded a spanner to like a u bend to get over the engine, but i havnt got a welder here so abit stuck atm :s
 
Limbo, I took the gaitor heatshield too, not easy to get to the fasteners on this either.
Try a 3/8th 17mm socket through the wheel arch from underneath, thats how I did mine.

Update
Got all the underside stuff done.

But dog mount won't line up to mounts, about 25mm off. <GRRRRR>

Have loosened exhaust and subframe to get a little more leeway, still no go.
Have tried push engine with my feet, there doesn;t seem to be much movement, may be 10mm.

May have to take cat off.

Theres a hurdle at every corner.
 
Rite chopped a spanner in half then managed to get the last bolt with that, then ended up droppin full miltek down, an chopped sports cats off (there now for sale) hah, just put new dp in first go got it!! Defiantly helped followin your guys help with puttin it in opposite facing. Now guna put some gasket sealer on an fit decat then gunna need to buy a sleeve to go from that to the rest of the miltek...
 
i used stubby spanners and that is all!

good work tho dude. im glad you've stuck at it and you'l no doubt be happy with the car in the end.

take your cat back off the decat so the engine can swing to align the dogbone
 
I bought a load of tools from the local Halfords today, 3/8th stubby ratchet, flexible spanner ratchet and a set of stubby spanners.

I did the top most bolt with the stubby and the other two were reacheable with my boggo 1/2" ratchet, the 3/8th ran out of depth after a while.

Still haven't got the dog bone on yet. I've seperated the cat and the middle box, so the engine has a chance to line up with the dog bone, it's closer now, but still about 5mm out. I used my feet to push the gearbox and the sump towards the front, but even then I couldn't get it close enough. Tried using a bit of wood to lever the engine against the subframe and I ended up snappping the wood. Managed to hook the engine bush housing of the dog bone on the engine by pulling the engine, but I can't get that last few mms. Is it supposed to be that solid ? I cant think what could be holding it back. Could it be the prop ?

Do you do the prop up first then the dog bone or the other way round ?
Could the engine be misaligned ? I have been swinging the engine on it's mount minus the prop and dog bone mount for the last few days to get the DP on.

Situation now :
1) DP is on
2) Subframe is bolted back on and tight
3) Prop is on

Guys, I'm really out of ideas now. I've bitten off more than I can chew and I've got real bad indigestion.

If it's something daft I've done, let me know and call me stoopid.
If someone that has done this before and wants to earn a few quid + travel money and can help, please pm me. :3sadwalk:
 
you poor ******* :( sounds properly rubbish.

On the dog-bone, I bolt it loosely onto the box first, then put the rear bolts in. Sometimes I need to reach up and twist the engine forwards a tad to get the bolts to take, then wind the bolts in and it pulls the engine into place.

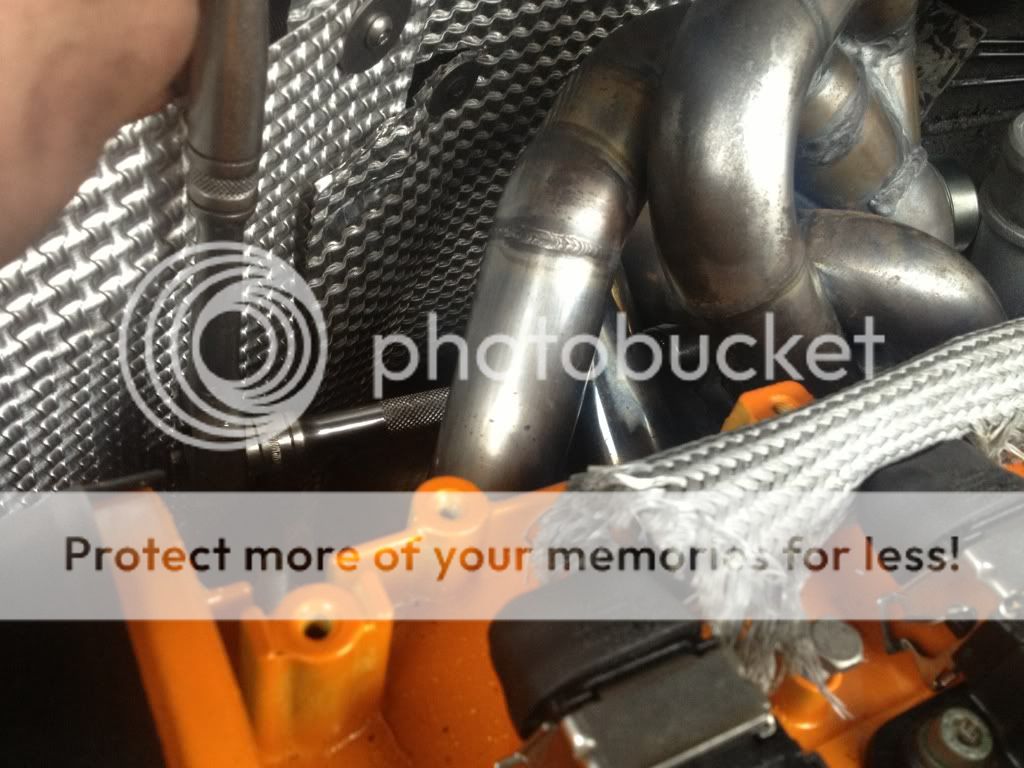
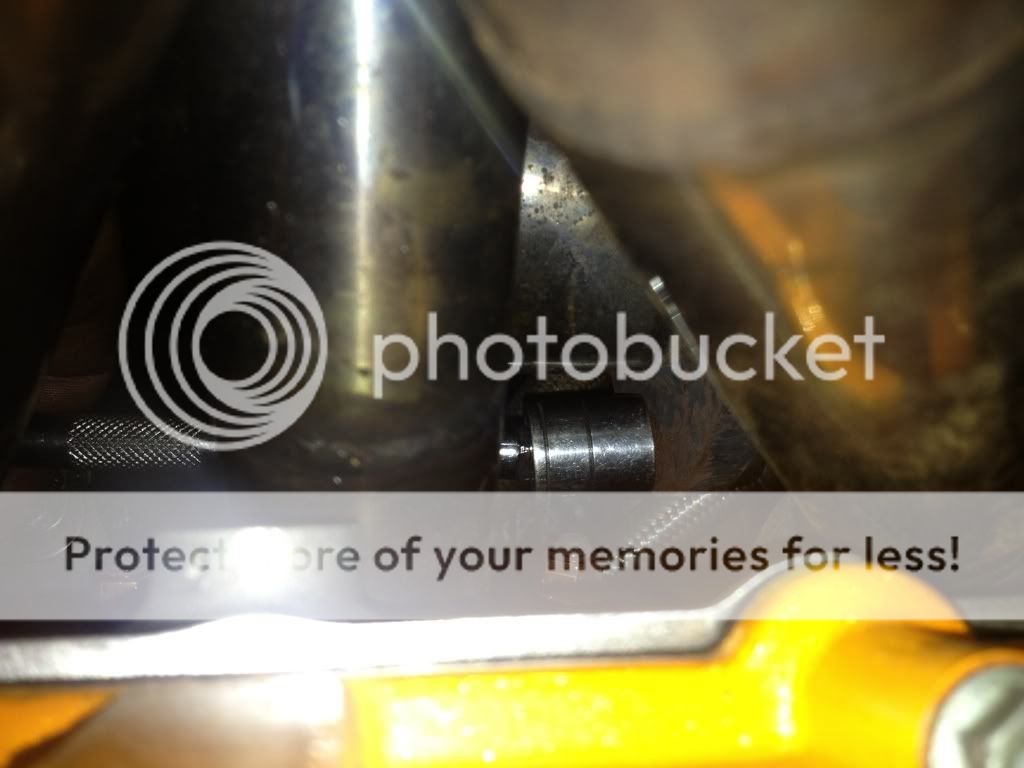
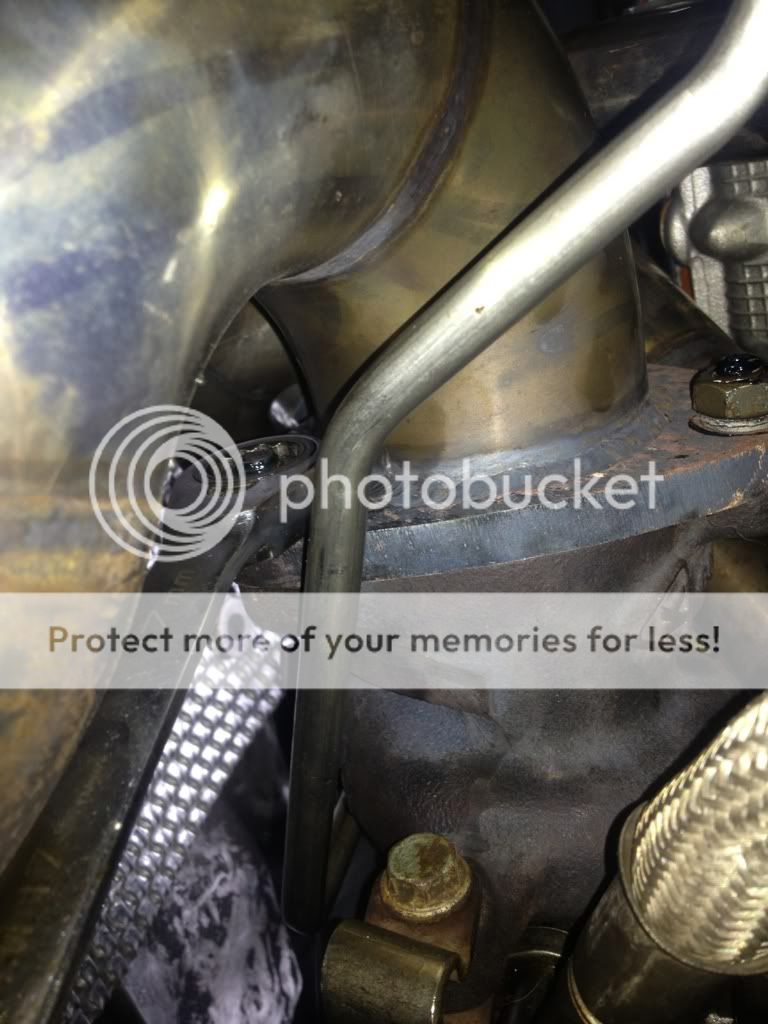
I took a few pics for you earlier showing how I accessed the downpipe studs, it sounds like you've already done them but I'll post anyway.

Top stud:

8344C318-57EA-4217-BD99-D40ABAA772C2-7667-00000637EF8F8149.jpg


Inner most stud near the block:

65F5E975-76E7-4C28-93BE-086A0A569839-7667-00000637F561314E.jpg


And my apologies, it wasn't a 3/8ths ratchet on the 3rd stud, it was a ratched spanner, but could also be done with a standard Ring spanner. Not sure if the transfer box on the S3 would get in the way, but a stubby spanner would do it easily. All can be reached from above though

73FDB56B-5B3C-4479-9C41-E407E2FECB13-7667-00000637FB14E1A8.jpg


Best of luck dude.
 
did you undo all engine mount bolts? not all the way out but just loosen them
thats what i did.
 
my system is on and all running now, after 2 days, but just after the decat its sits reallyyyyy low to the floor... any advice on how to raise it abit!? im really stuck!? :s i was thinking maybe new/smaller poly bushes for the exhaust but there pretty tight as it is! or is this just how these systems sit!?
 
well done limbo - you managed to achieve more in 2 days than I have in a week.

got some photos of how low the DP/flange, decat and middle box section sits ?

------------------------------------------------------------------------------------------

Jezzy, can you point to which of the engine mounts you loosened ? or may be a link to them

-------------------------------------------------------------------------------------------

I've bought some ratchet tie down straps to see if I can pull the engine around enough to fit the dog bone.

Is there a chance I may have locked the engine/gearbox in a "funny" position that needs to be freed ?

Could the prop be "stuck"?
 
this is reeaaallly odd that the dog bone wont go on.
but..
ive just had a brainwave. undo your subframe and try it. you say your subframe is all bolted up, you may have pulled the subframe back, this would explain why its not reaching. The subframe has movement in all directions on its bolts you see.
And is also why people will need alignment after this.
 
^^^^ what he said.
Chances are you just need to go back a few steps and try again.

Certainly sounds like you've had a good time of it reading your thread!
Get everything loosened off again and you should have a better chance of getting the mount lined up.
Having never worked on these cars before i cant really give any advice other than that

Although im looking forward to doing mine when the time comes!
 
Karl,
I understand what you are saying, but where is the adjustment ? I didn't notice any slots in the subframe for it to be adjusted.

So fully undo all four 21mm bolts ? and try fitting the dogbone ?