

- Joined
- Jun 15, 2011
- Messages
- 828
- Reaction score
- 118
- Points
- 43
- Location
- County Durham
- Website
- www.juicydetailing.co.uk
This is an old one now that I completed back in April last year but never posted on here....
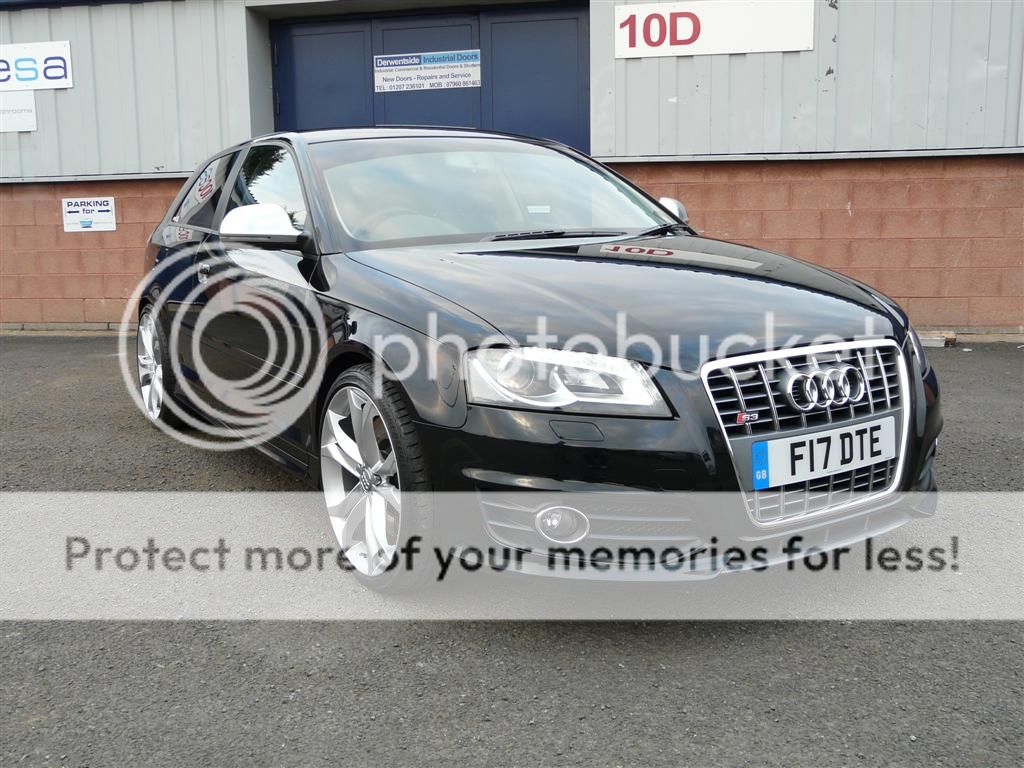
At long last I have completed my mammoth detail on the now once again black beauty that is my Audi S3. This car has been my most mentally and physically challenging detail so far and redefined alot of the techniques that I have used in the past to adapt to make this one work.
The car was purchased in December 2010 and both Andrew and I were shocked with the state of the paintwork that we had seen in the showroom. It was agreed with the dealer that we got a reduced price and that we would collect the car unprepared from the garage, however they seemed to of ignored this last request :roll:
So here's the story of how the car has evolved over the last three months when I've have time inbetween running Juicy Detailing, working for DTUK, the house, the kids and the new black labrador pup!
Process started off as usual, Juicy snow foam, rinse, 2 bucket wash using a lambswool wash mitt and a small detailing brush to get in all the nooks and crannies on the car, then a final rinse

Leaving the car wet it was then clayed using a fine yellow poly clay bar and Juicy Lube, washed again using 2 bucket method and then brought in to the unit and dried using Chemical Guys Wooly Mammoth Drying Towel.
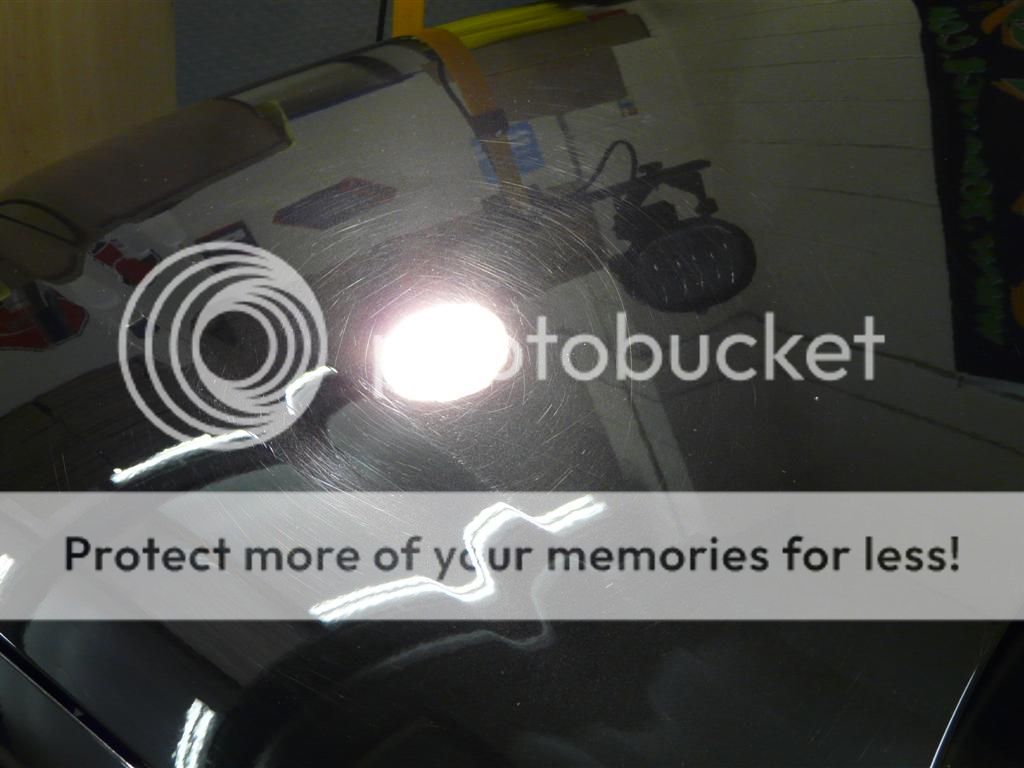
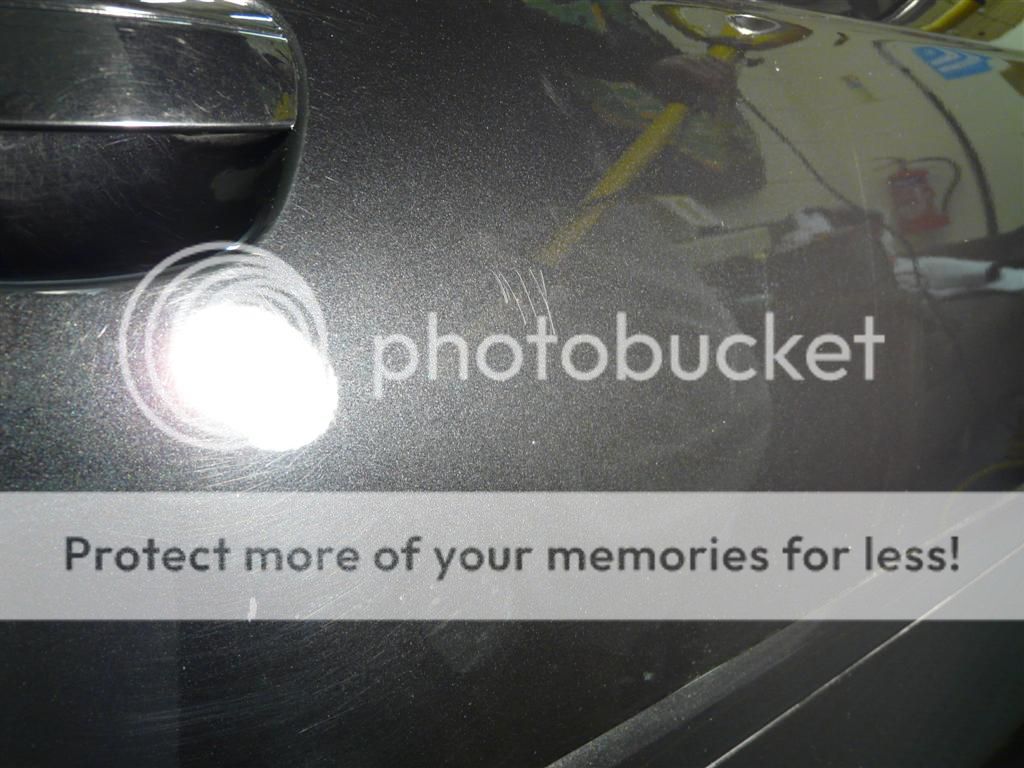
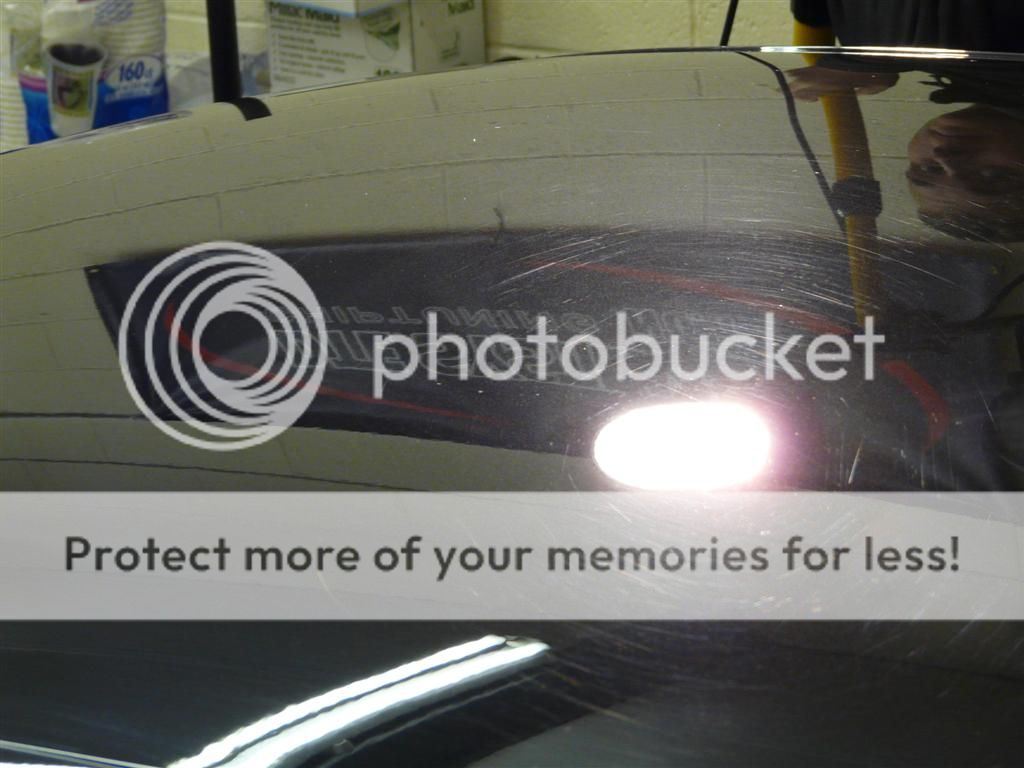
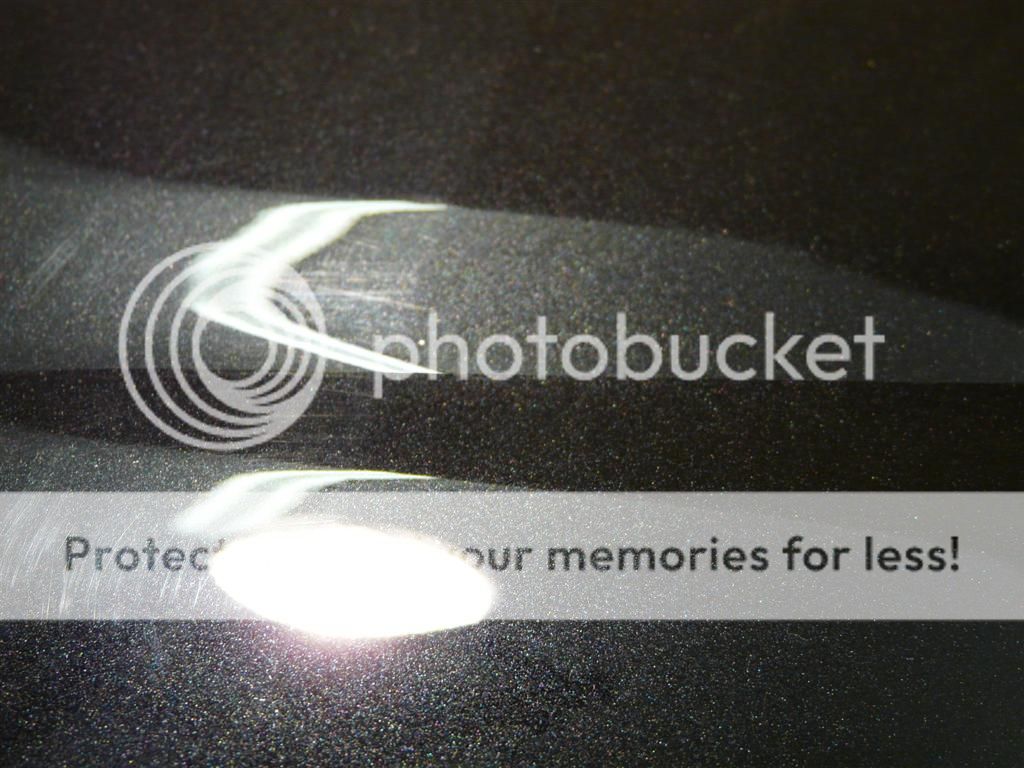
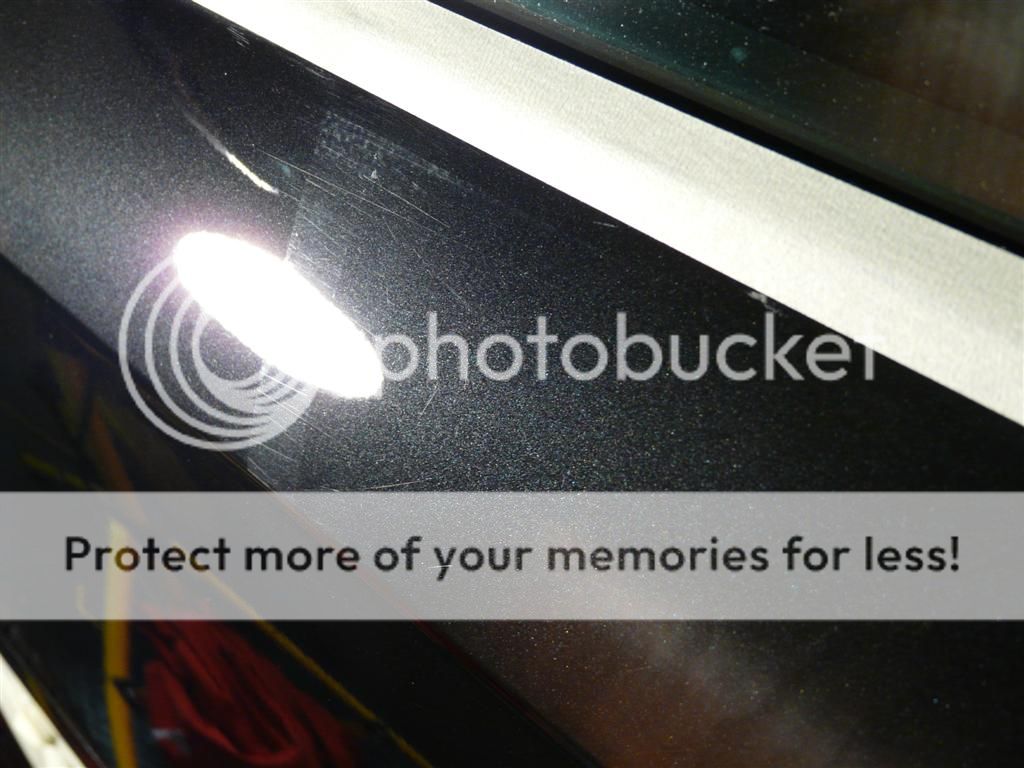
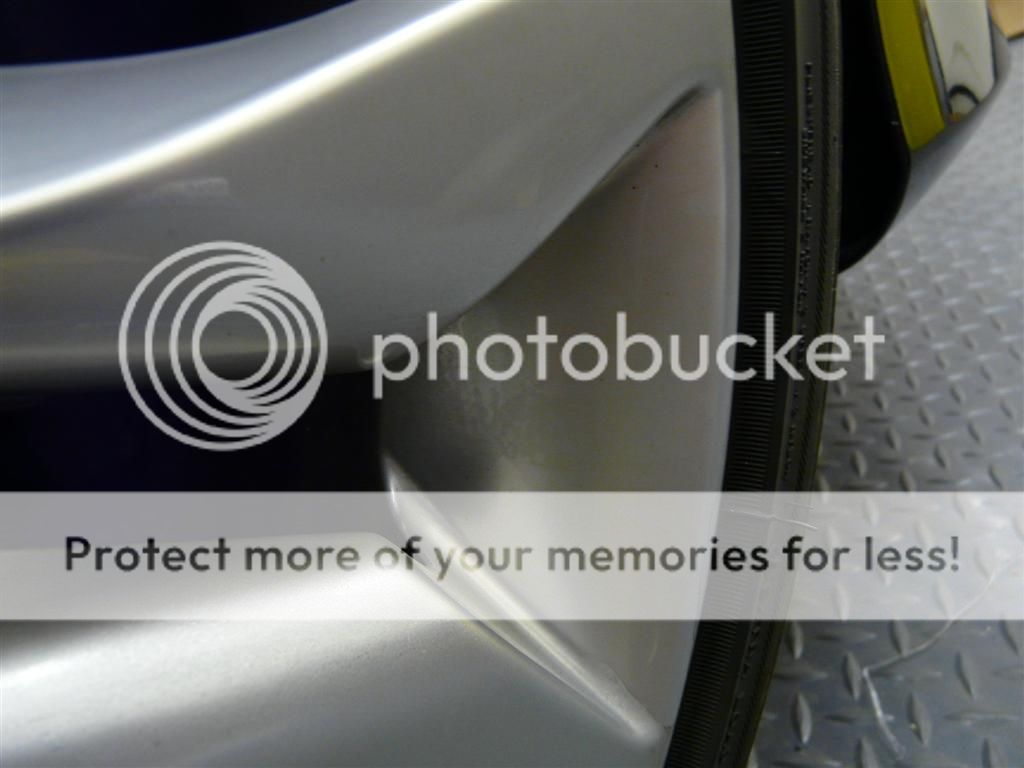
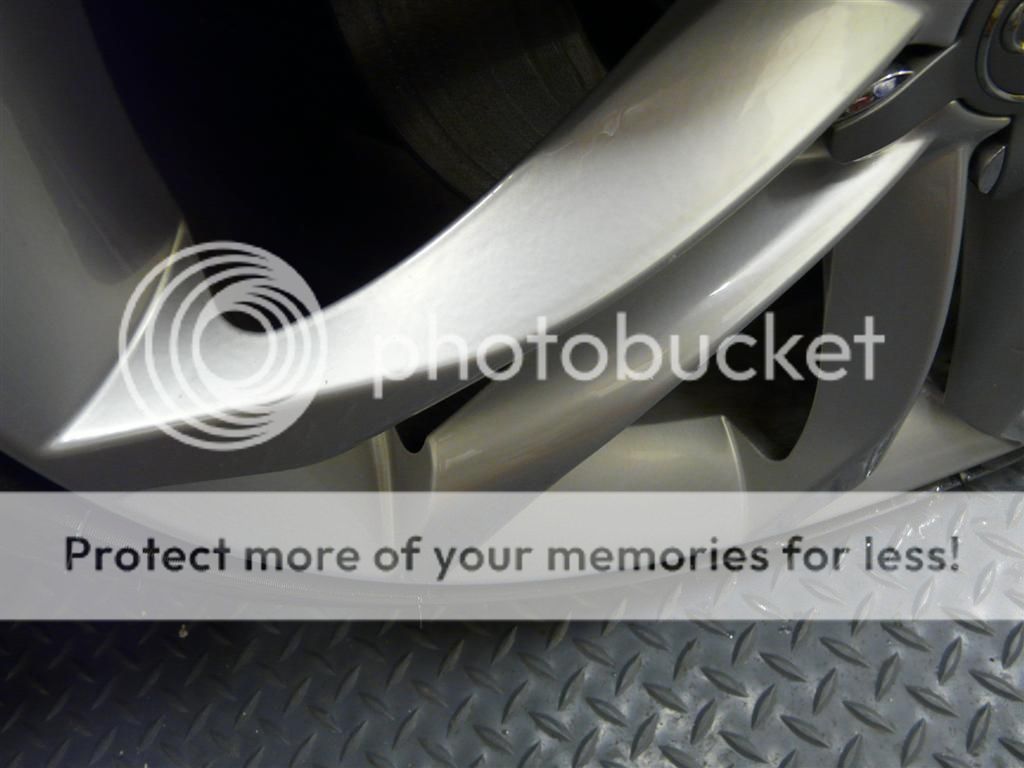
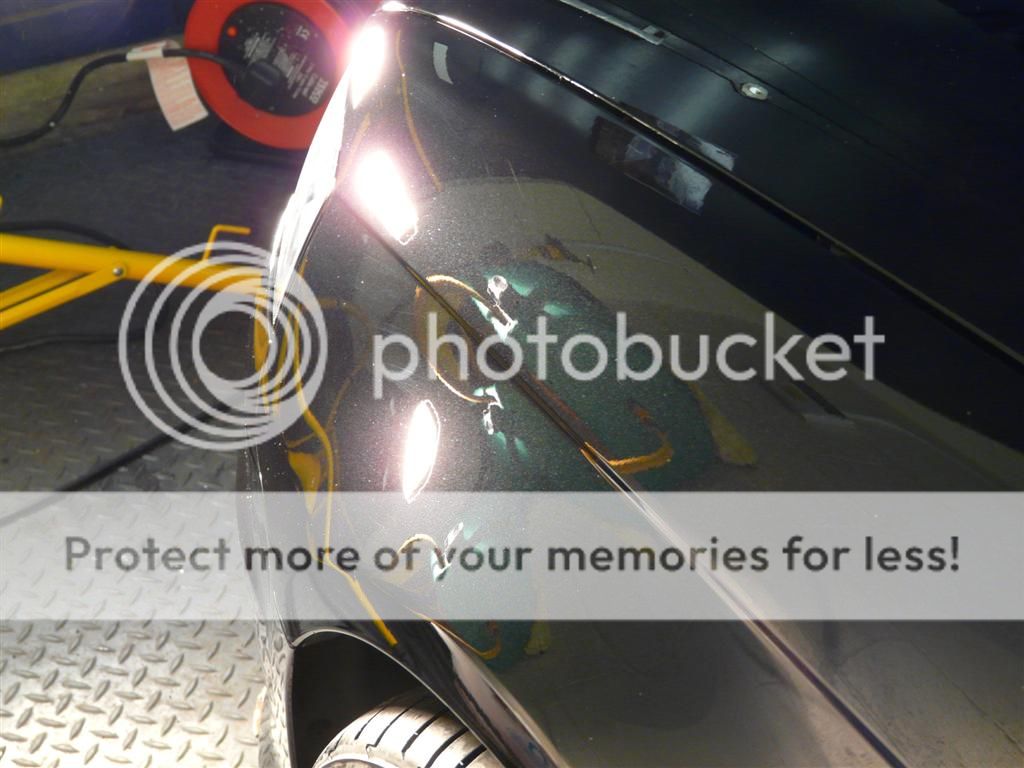
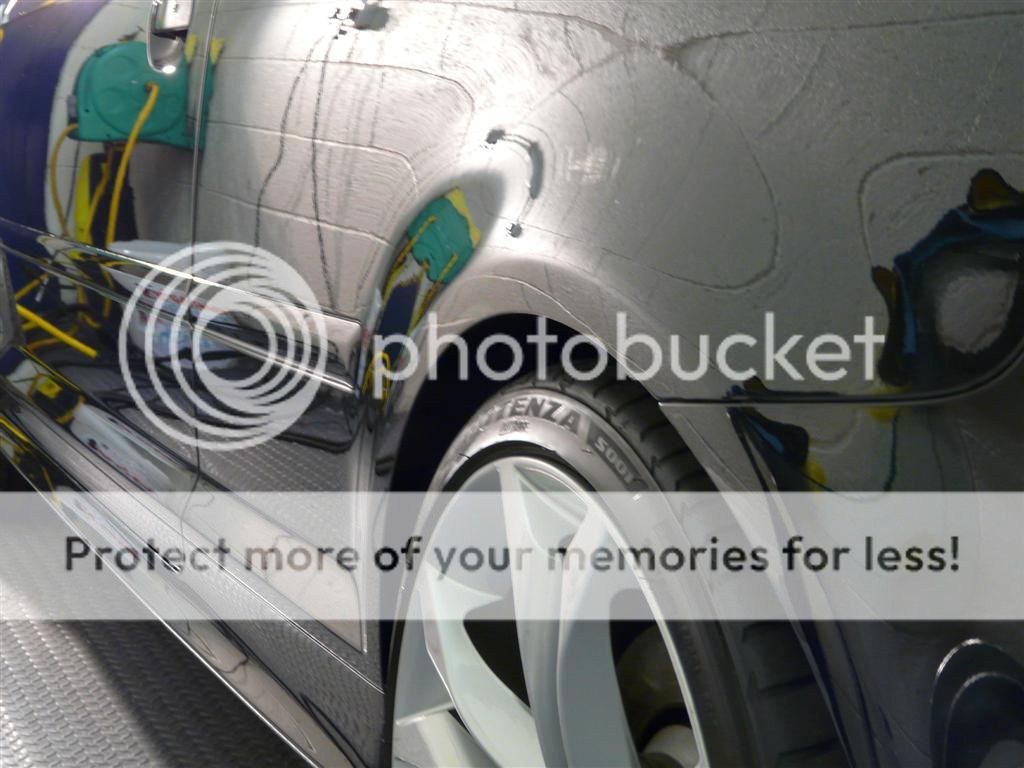
It was now time to assess the state of the paintwork and to be honest some of it you didnt even need the halogen lights for. This is a good example of how black can look lovely and shiny but when you REALLY LOOK
The bonnet


Passenger front wing
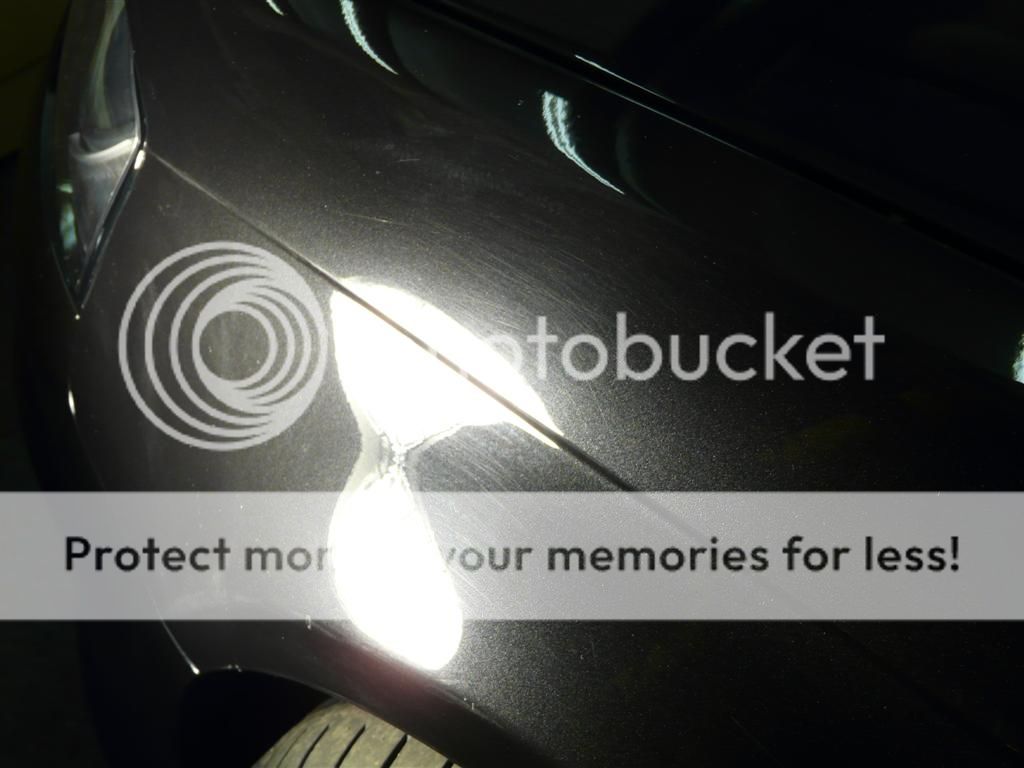

Drivers side wing

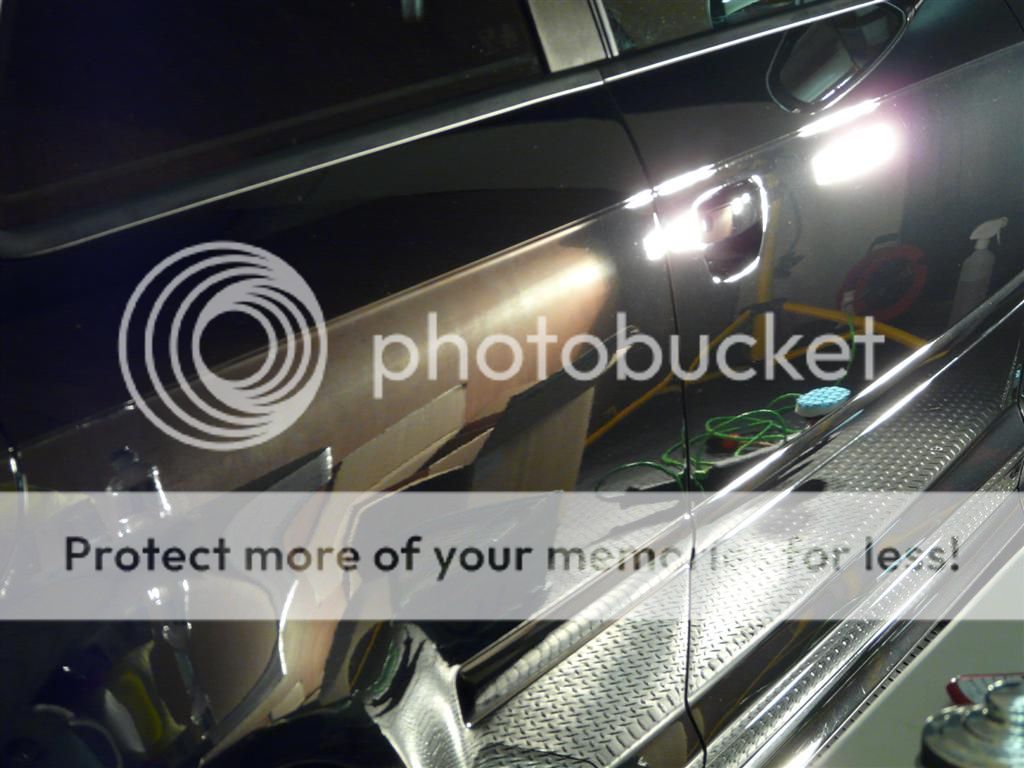
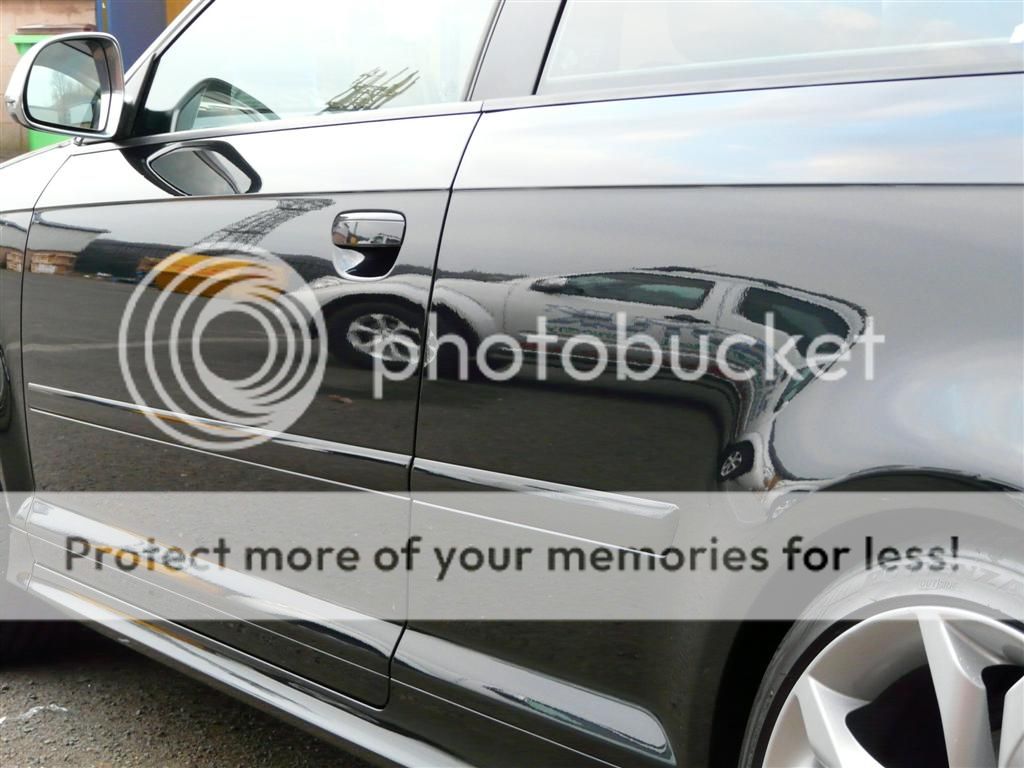
Drivers side

Drivers side rear quarter


Boot - not the best picture

Passenger side


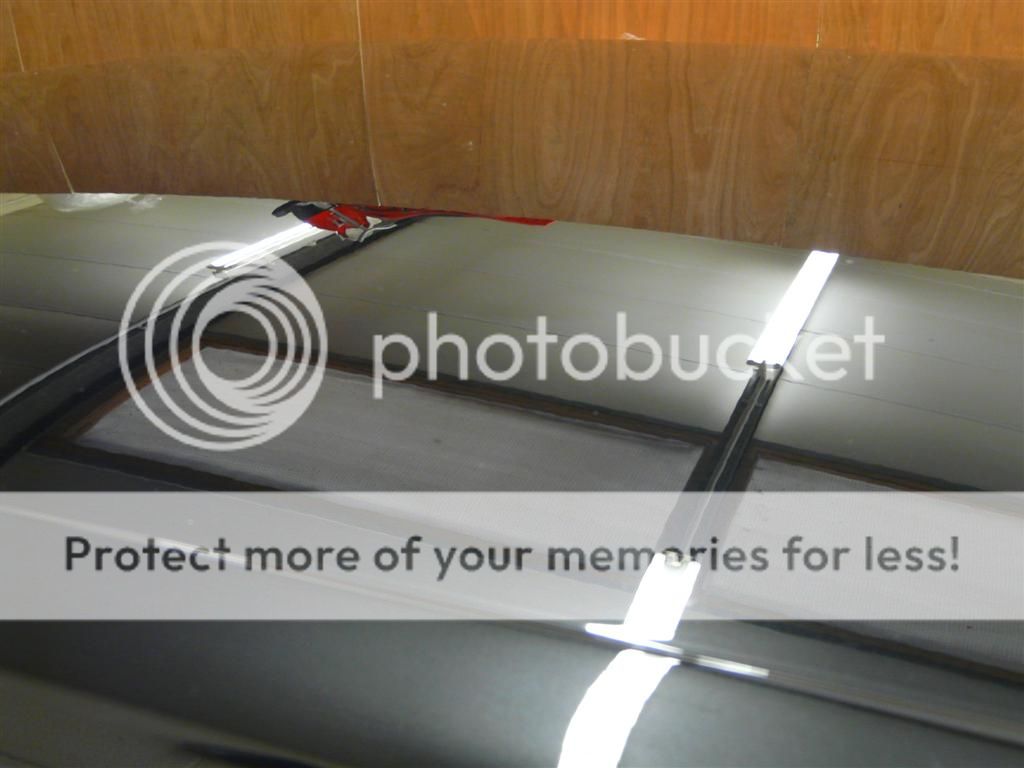
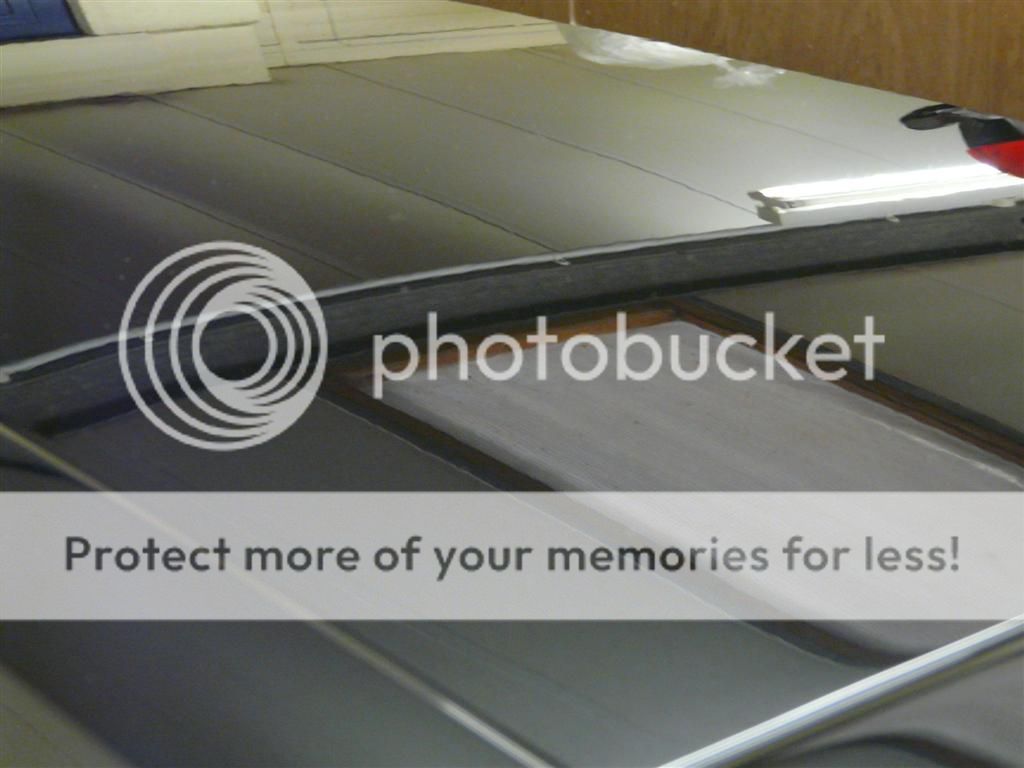
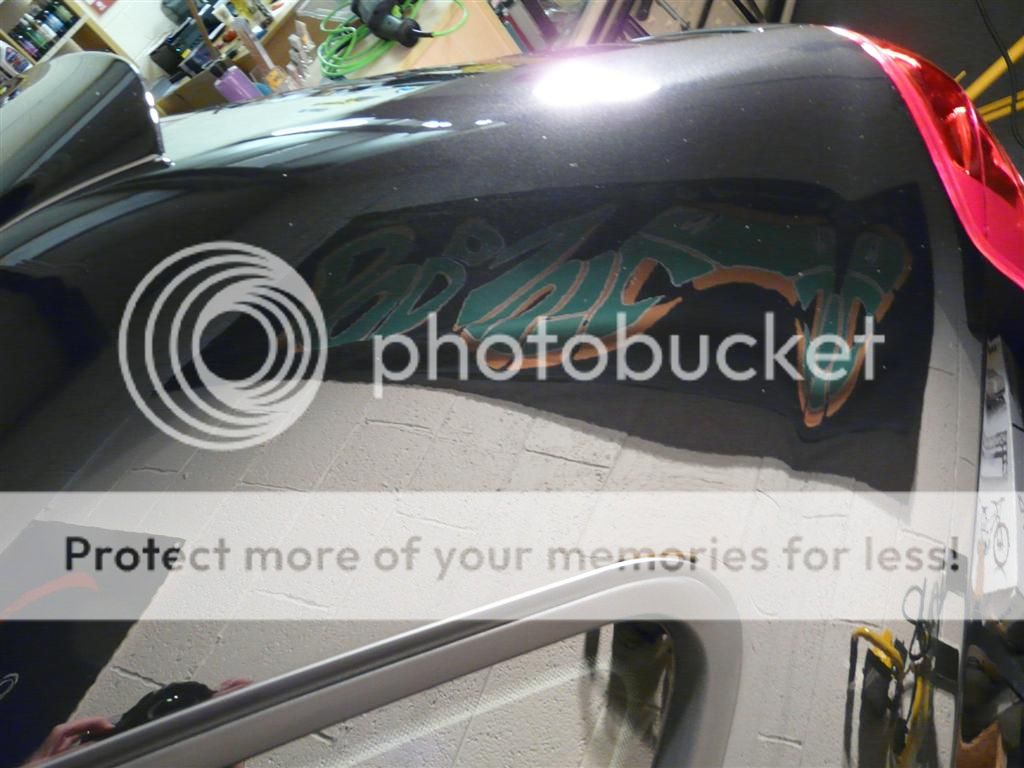
Roof

Paint readings were then taken and they varied vastly from 64 up to 143. This meant that each panel had to be treated carefully to ensure that the levels were not taken too low and cause detrimental damage to the paintwork. Some areas could not be corrected to the extent that I would of liked without compromising the paint therefore you'll see that the end result still shows some scratches.
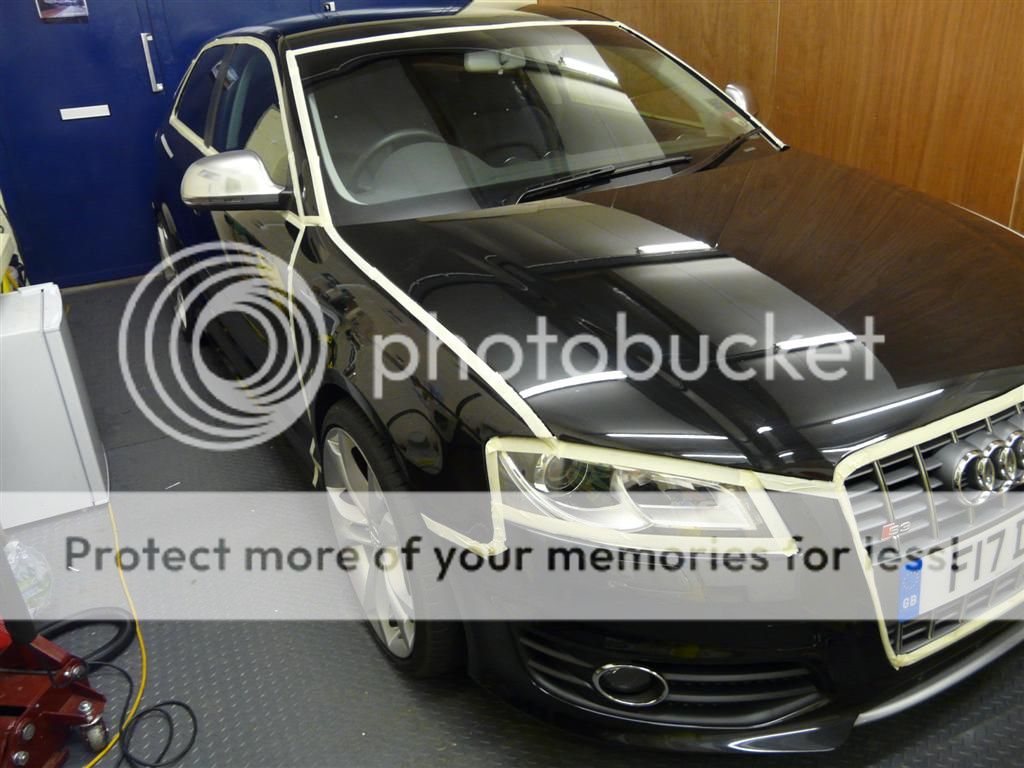
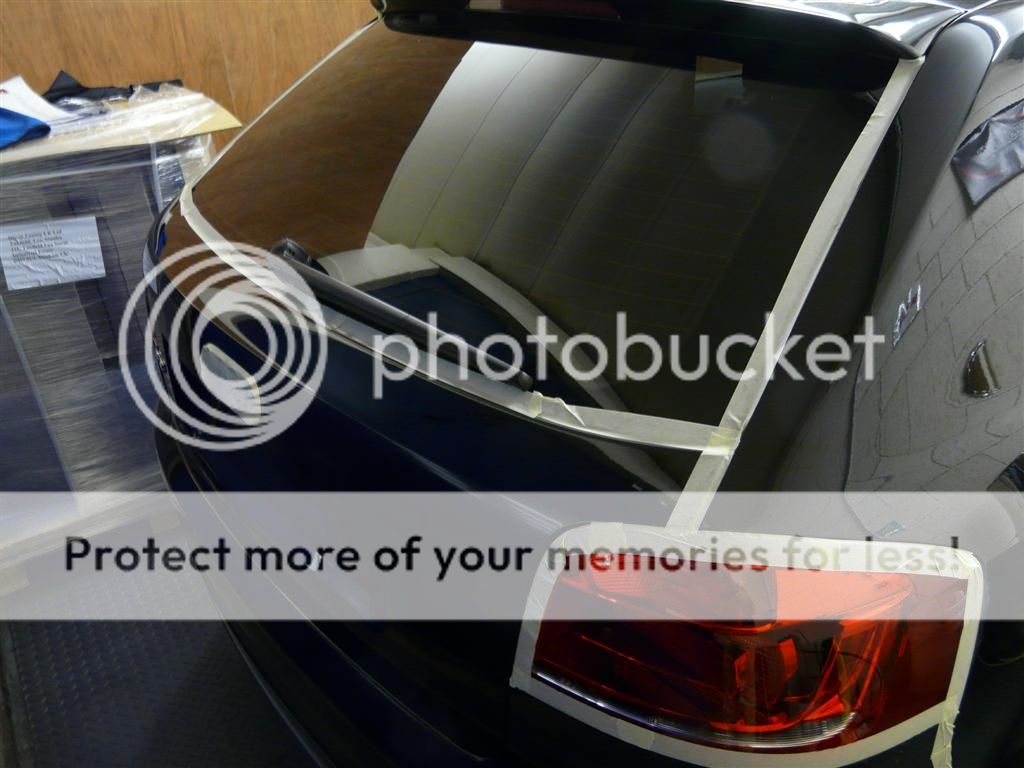
So moving on the car was taped up ready to move to the correcting stage...

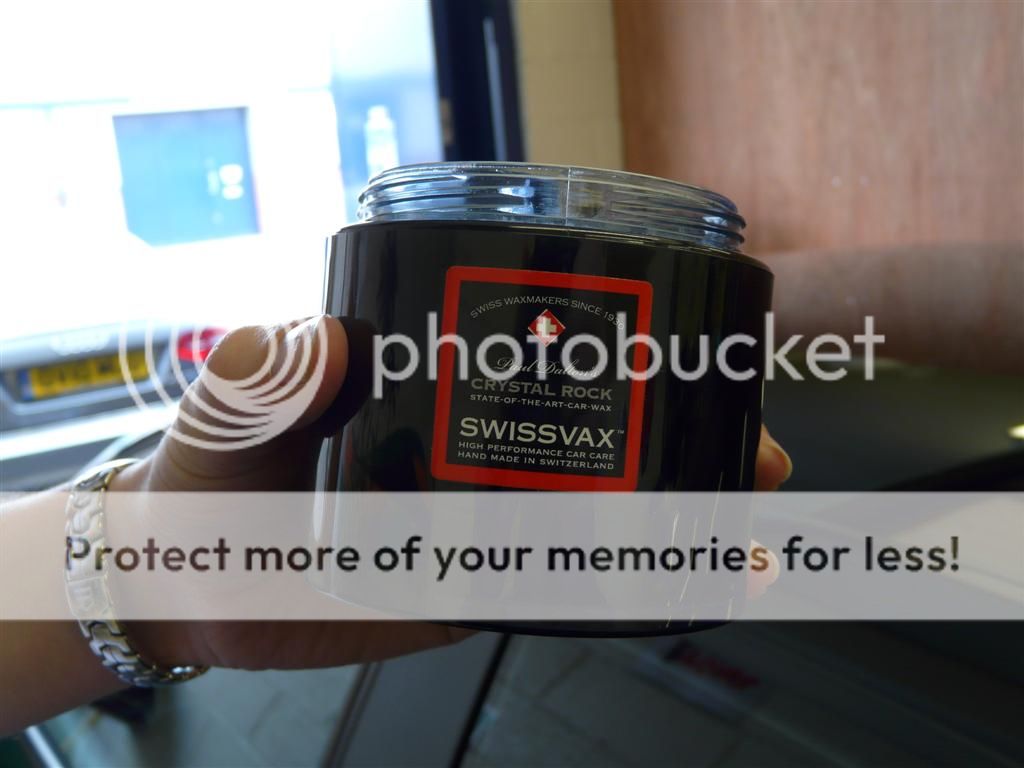
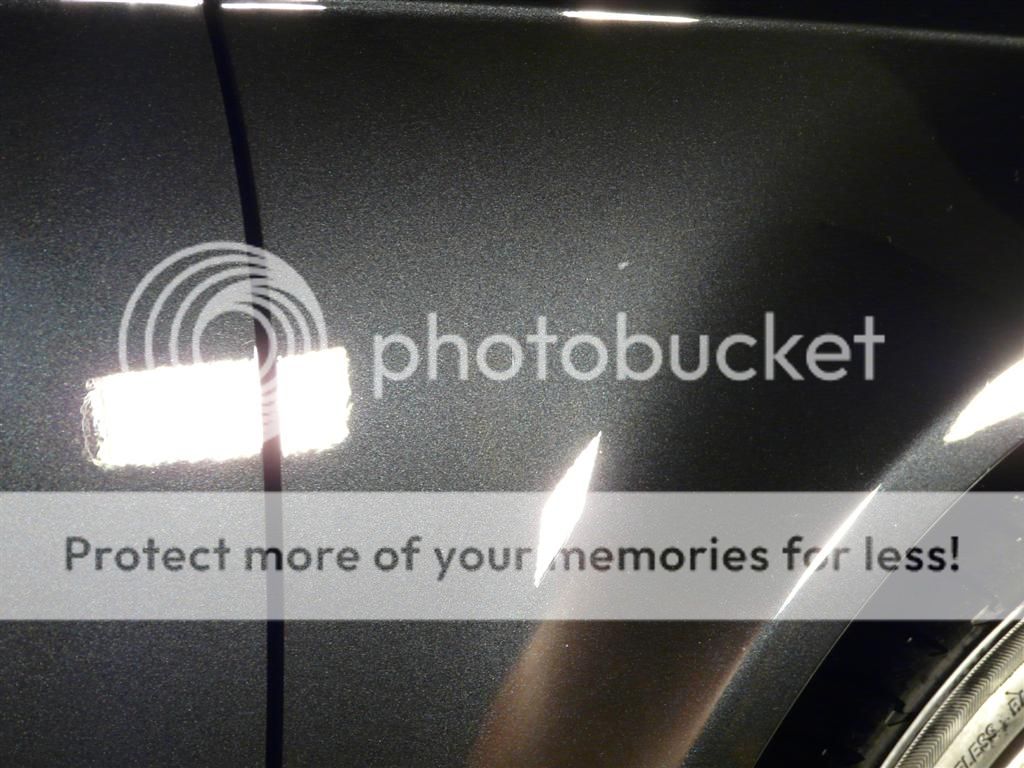
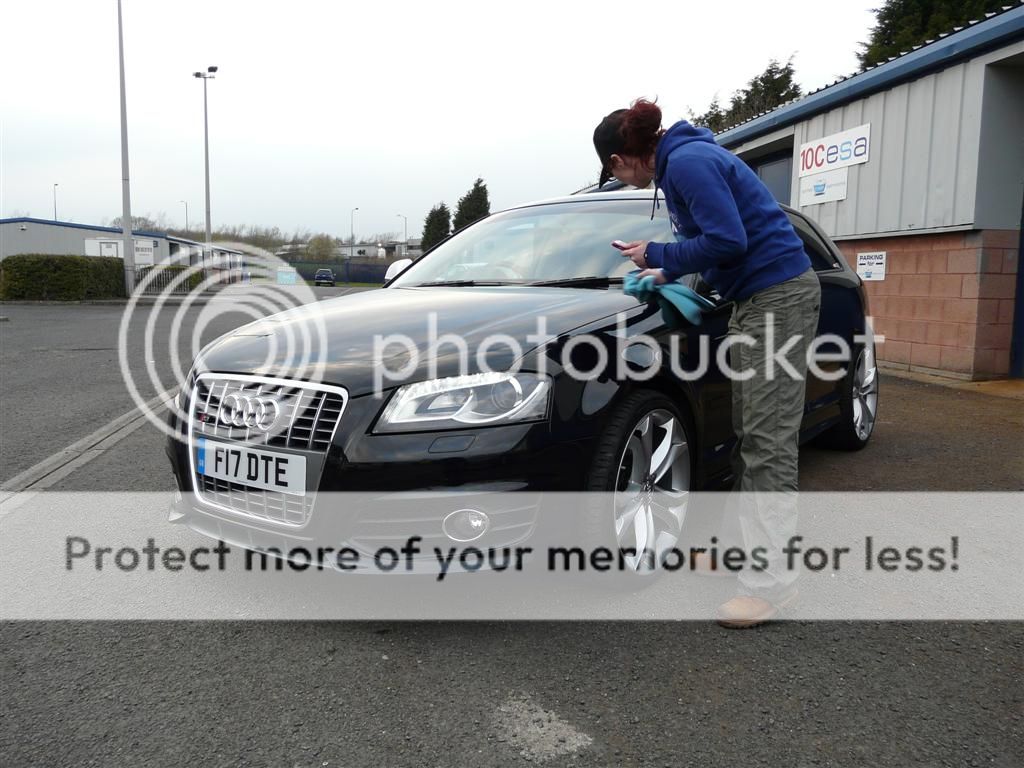
The polishes that were used was 3M Fast Cut Plus, 3M Extra Fine and 3M Ultrafina in combination with a range of wool, hex logic and 3M pads depending on the areas that were tackled. The weapon of choice was Dodo Juice Spin Doctor and at the end testing out a Festool to see how the machines compared and how the results differed. Some areas needed the use of the DAS 6 for refining.....I encountered various issues such as the cloths scratching the paint even though Audi is a hard paint so changed to using EuroW Shag weave buffing cloths which helped alot, micromaring where I was unable to refine down enough, but eventually resolved due to changing techniques. Each panel was wiped down with IPA several times to ensure that the oil's were not filling the swirls and a final wipe down on the whole car at the end.
Couple of 50/50 from the bonnet

(not sure what the white mark is perhaps something on the camera??)
Flecks starting to pop and you can notice that the black has been restored rather than looking dulled

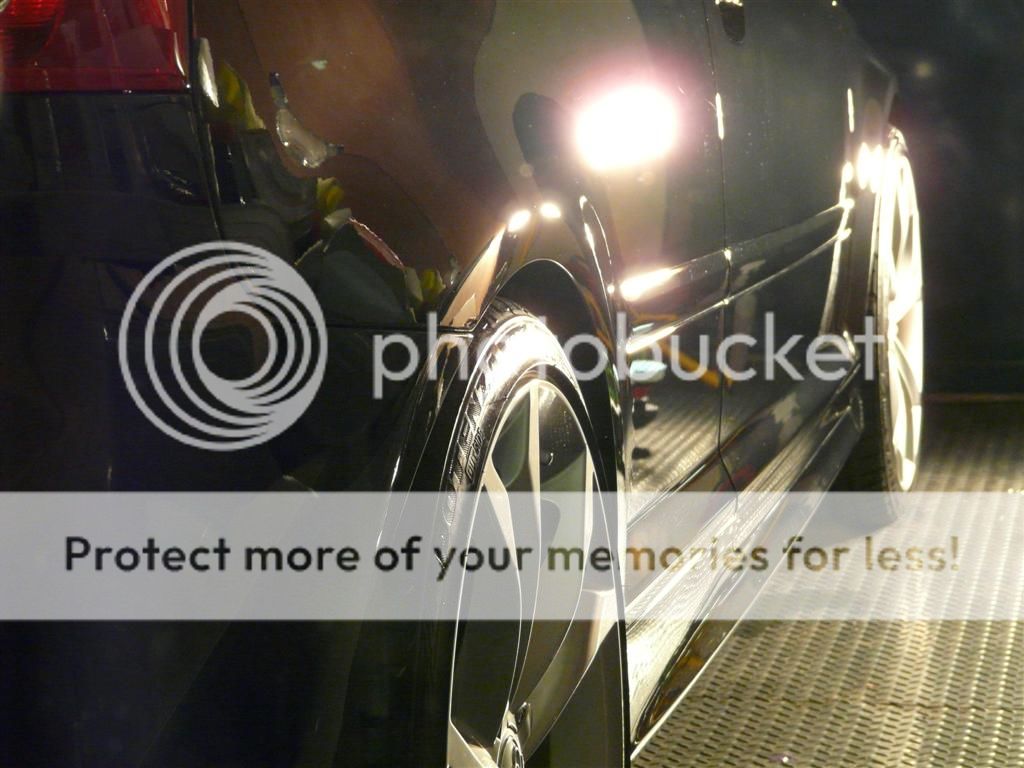
Side panel


At long last I have completed my mammoth detail on the now once again black beauty that is my Audi S3. This car has been my most mentally and physically challenging detail so far and redefined alot of the techniques that I have used in the past to adapt to make this one work.
The car was purchased in December 2010 and both Andrew and I were shocked with the state of the paintwork that we had seen in the showroom. It was agreed with the dealer that we got a reduced price and that we would collect the car unprepared from the garage, however they seemed to of ignored this last request :roll:
So here's the story of how the car has evolved over the last three months when I've have time inbetween running Juicy Detailing, working for DTUK, the house, the kids and the new black labrador pup!
Process started off as usual, Juicy snow foam, rinse, 2 bucket wash using a lambswool wash mitt and a small detailing brush to get in all the nooks and crannies on the car, then a final rinse
Leaving the car wet it was then clayed using a fine yellow poly clay bar and Juicy Lube, washed again using 2 bucket method and then brought in to the unit and dried using Chemical Guys Wooly Mammoth Drying Towel.
It was now time to assess the state of the paintwork and to be honest some of it you didnt even need the halogen lights for. This is a good example of how black can look lovely and shiny but when you REALLY LOOK
The bonnet
Passenger front wing
Drivers side wing
Drivers side
Drivers side rear quarter
Boot - not the best picture
Passenger side
Roof
Paint readings were then taken and they varied vastly from 64 up to 143. This meant that each panel had to be treated carefully to ensure that the levels were not taken too low and cause detrimental damage to the paintwork. Some areas could not be corrected to the extent that I would of liked without compromising the paint therefore you'll see that the end result still shows some scratches.
So moving on the car was taped up ready to move to the correcting stage...
The polishes that were used was 3M Fast Cut Plus, 3M Extra Fine and 3M Ultrafina in combination with a range of wool, hex logic and 3M pads depending on the areas that were tackled. The weapon of choice was Dodo Juice Spin Doctor and at the end testing out a Festool to see how the machines compared and how the results differed. Some areas needed the use of the DAS 6 for refining.....I encountered various issues such as the cloths scratching the paint even though Audi is a hard paint so changed to using EuroW Shag weave buffing cloths which helped alot, micromaring where I was unable to refine down enough, but eventually resolved due to changing techniques. Each panel was wiped down with IPA several times to ensure that the oil's were not filling the swirls and a final wipe down on the whole car at the end.
Couple of 50/50 from the bonnet
(not sure what the white mark is perhaps something on the camera??)
Flecks starting to pop and you can notice that the black has been restored rather than looking dulled
Side panel


 xx
xx

 I'm itching to get working on some cars again, got quite a few rebooked for Feb/march