

Benjiman46
R-Tech Terrorist
First of all, I would like to say a MASSIVE thank you to all the guys at Top Gear Performance who carried out all this work and put up with me taking loads of pictures 
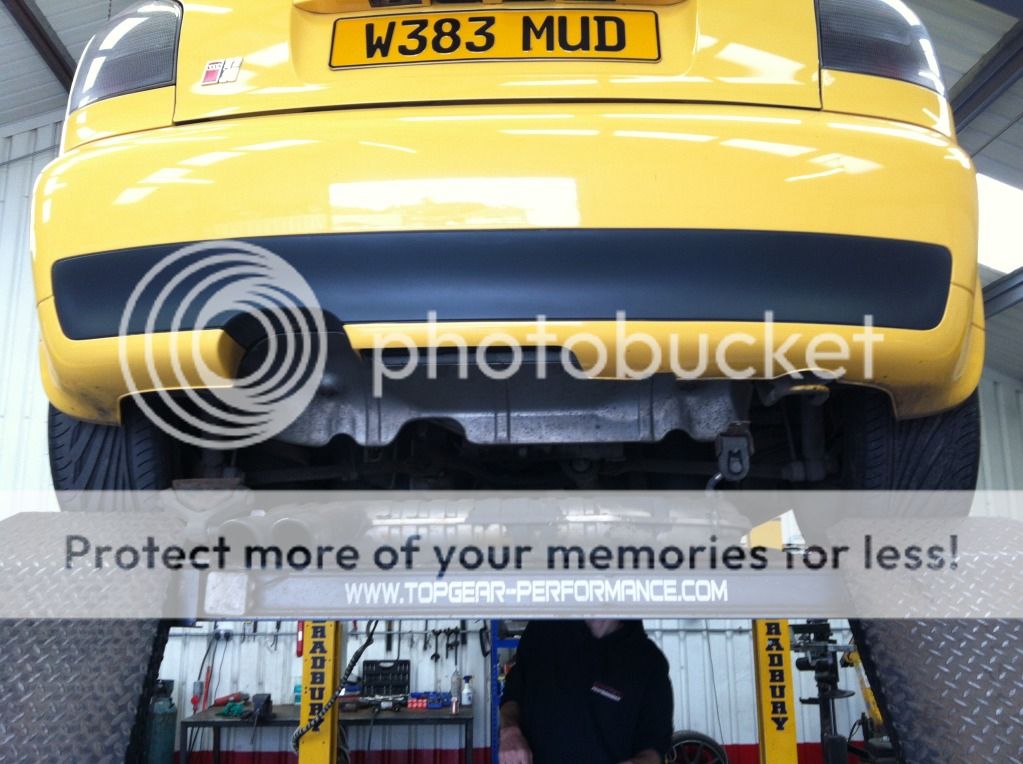
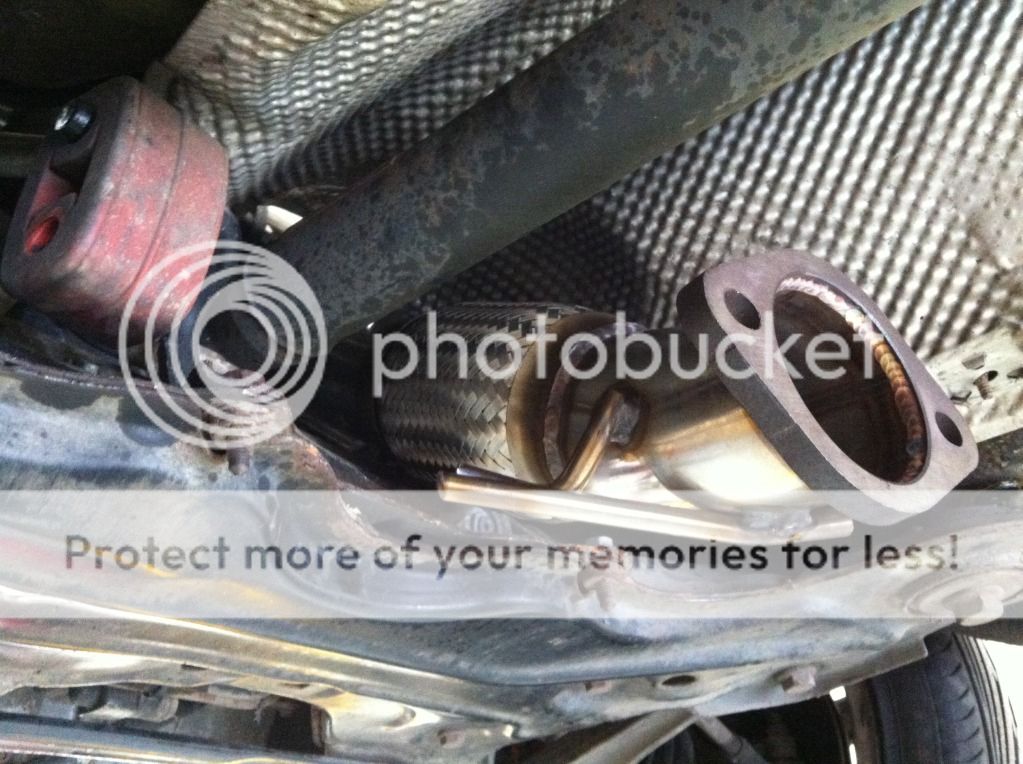
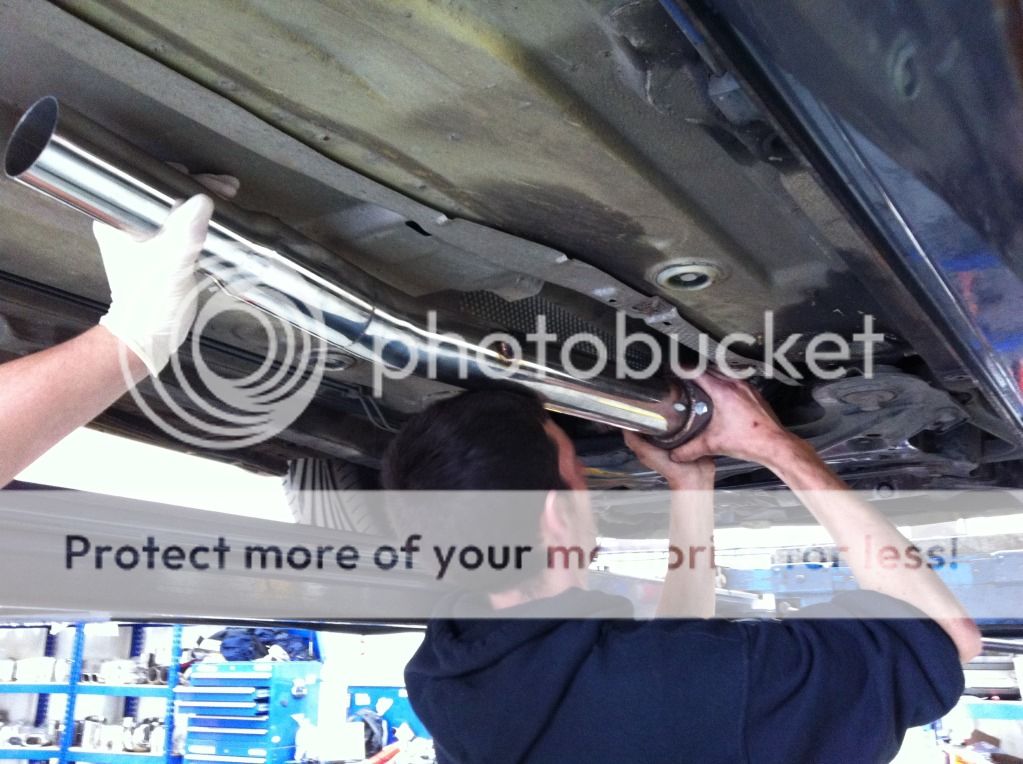
The first thing to do then is remove the old, heavy, restrictive exhaust...

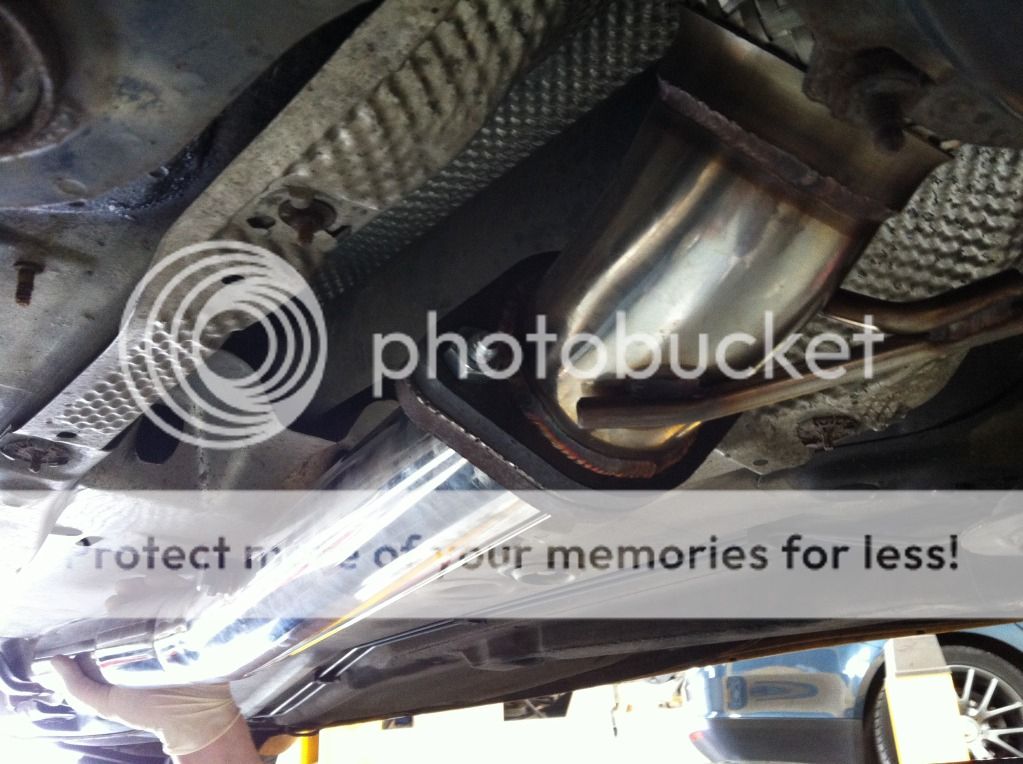
Then, instead of dropping the subframe, and seeing as my flexi was already knackered and needed replacing, we decided to butcher the old downpipe to remove it, chopping it just above the part where it splits in two.
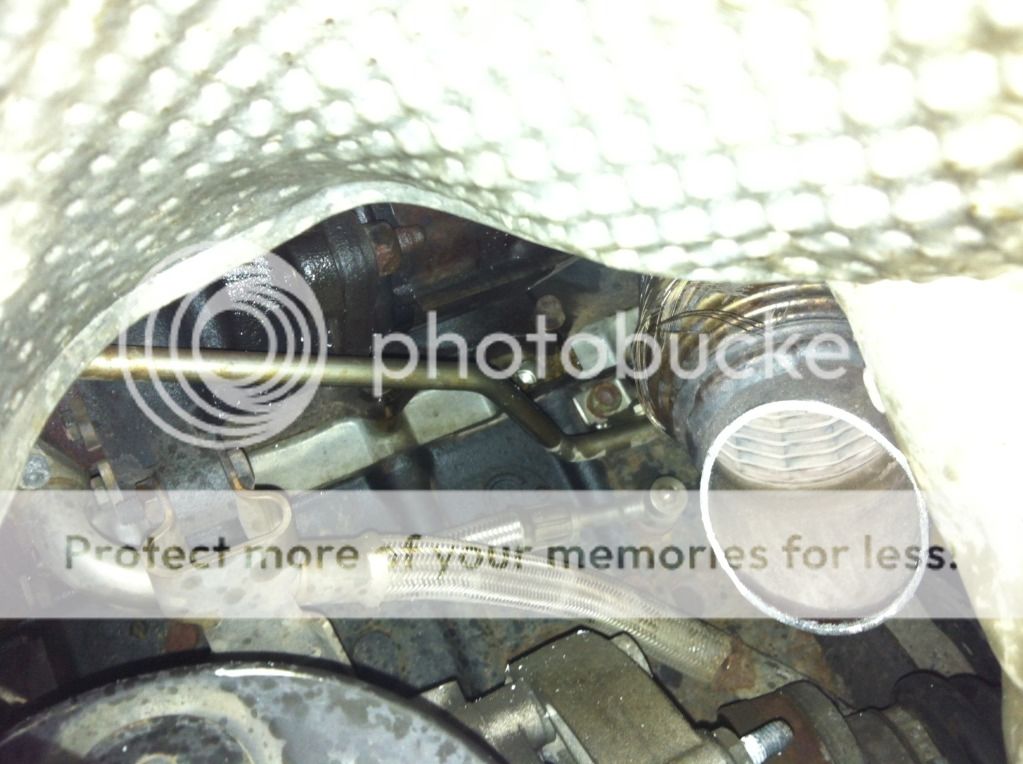

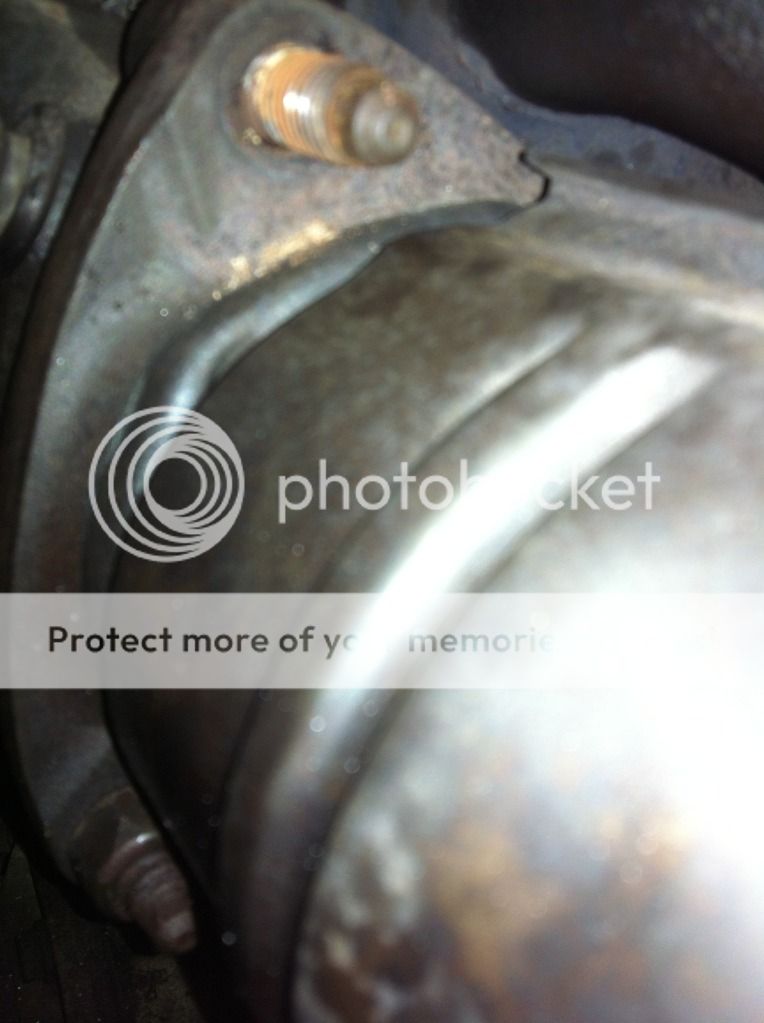
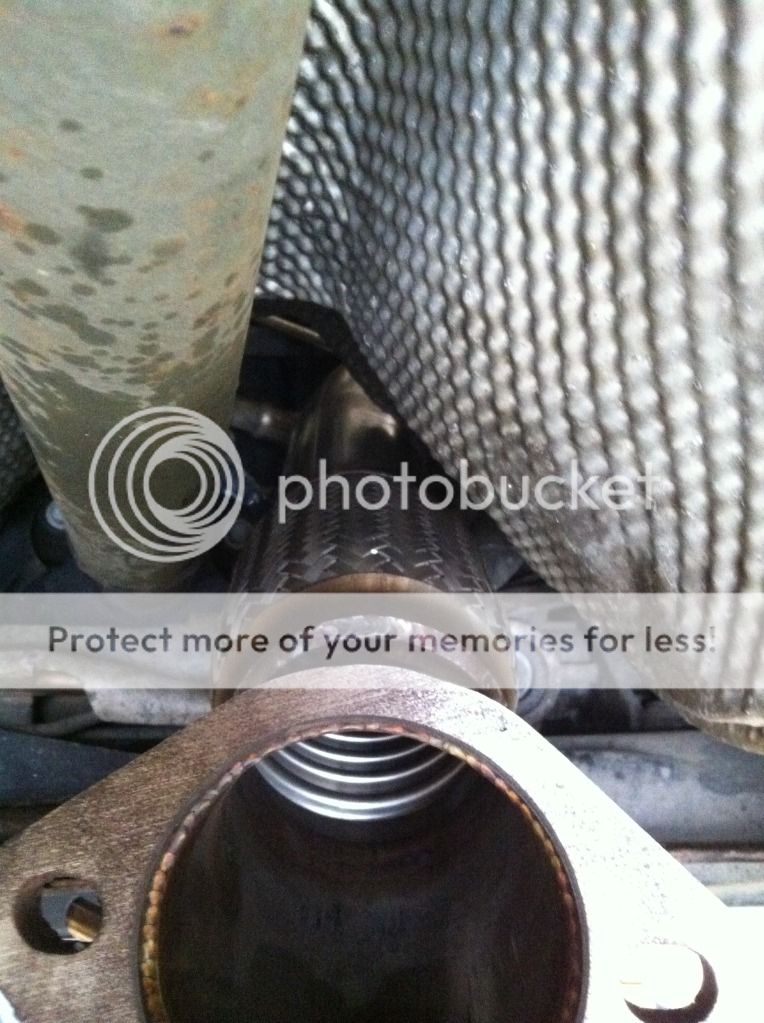
Look how restrictive this part is :S

The next step was to make access to the top of the turbo/downpipe area.
Remove the charge pipe.
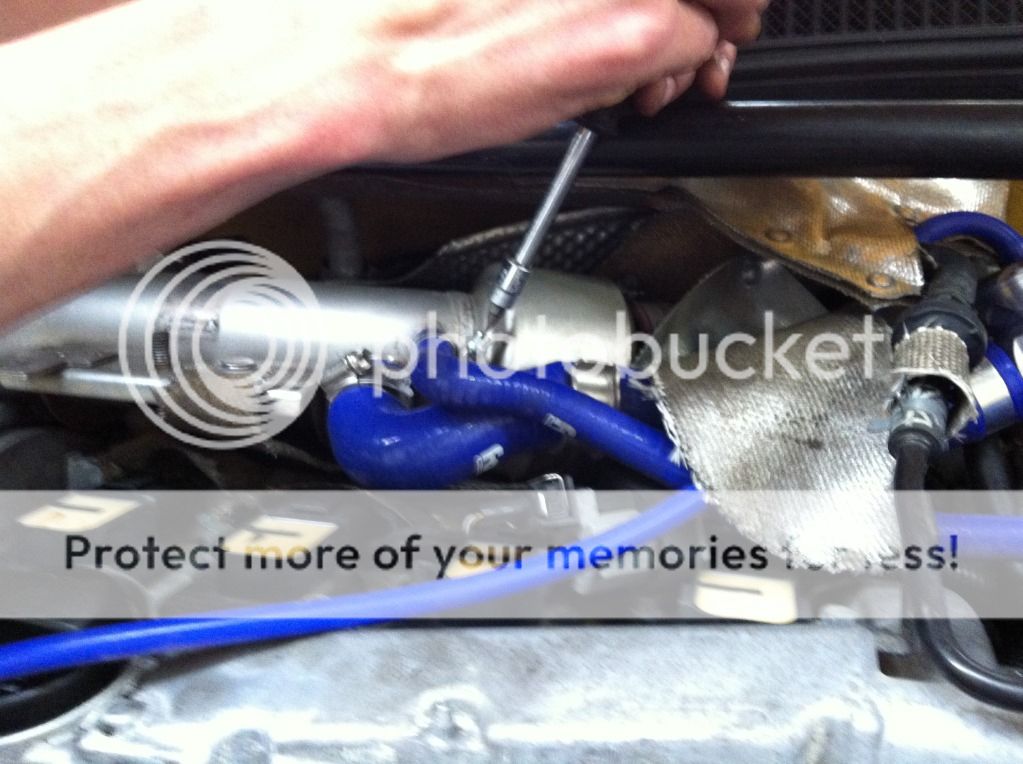
Then you will have a bit more room to reach the downpipe to turbo nuts.
Removing the top one is easy enough
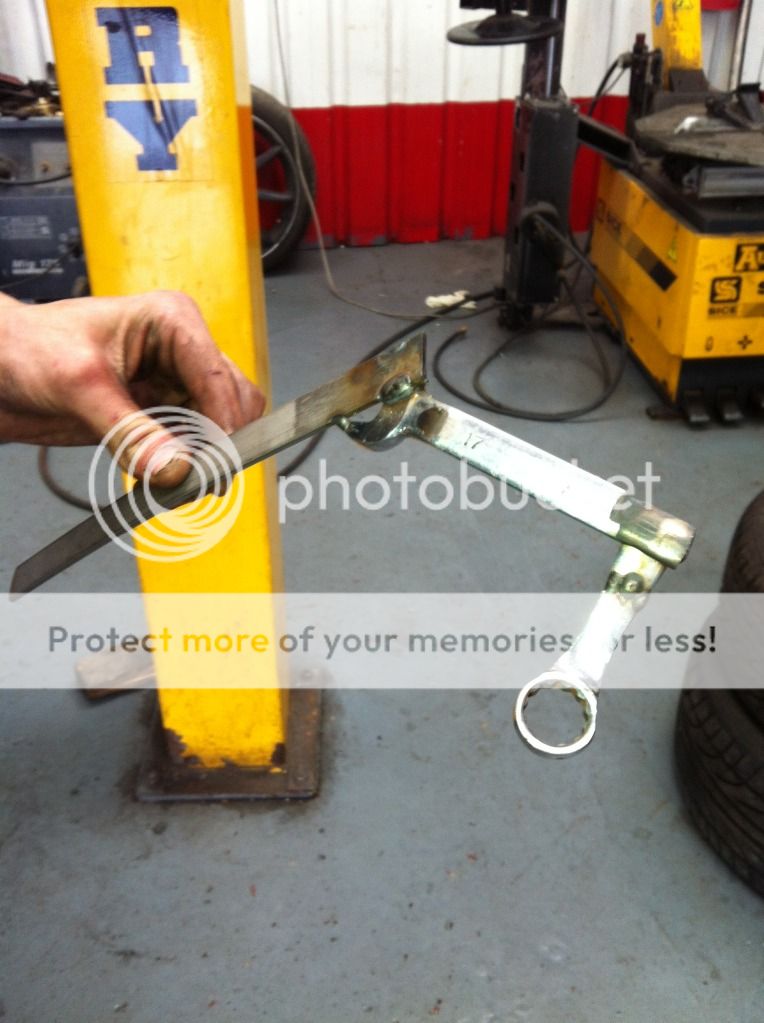
But the next one required this special tool we threw together...
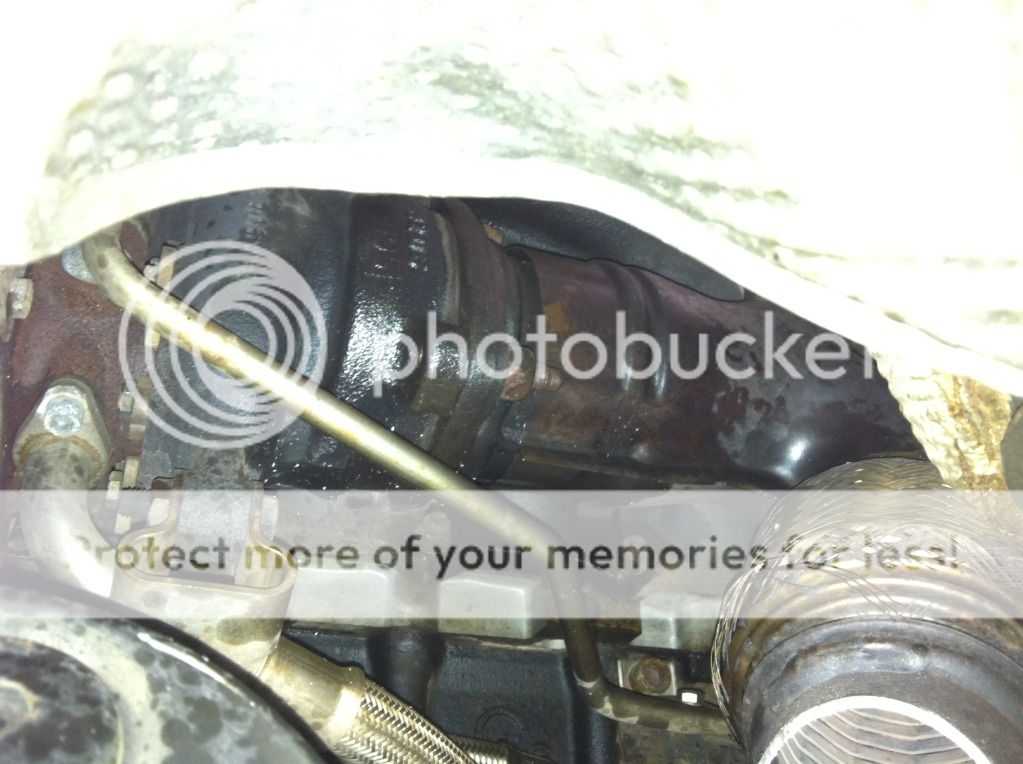
The last one should then be on the bottom and clearly visible (makes sense to leave the easiest till last)
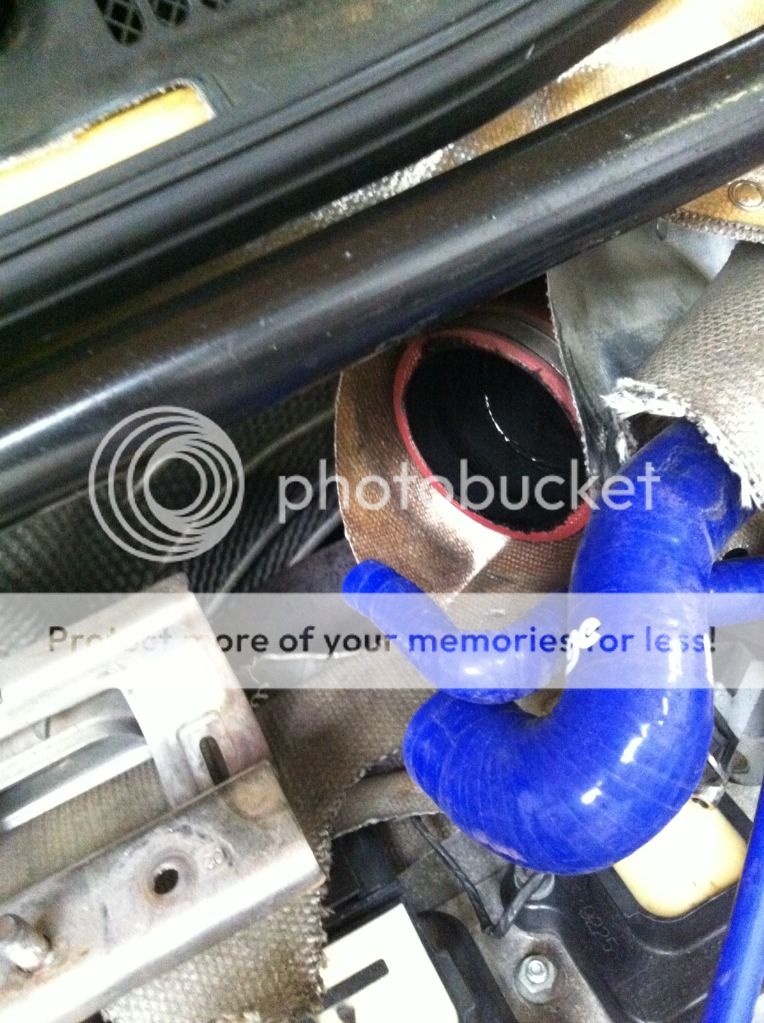
Downpipe removed! (After about 5 hours)
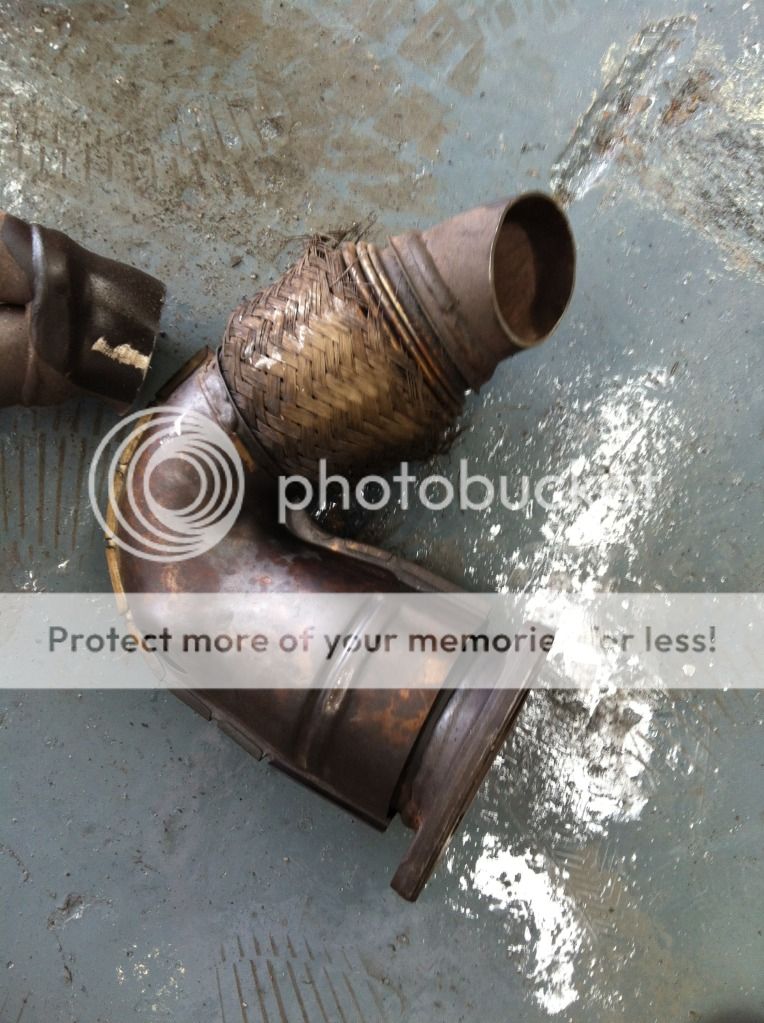
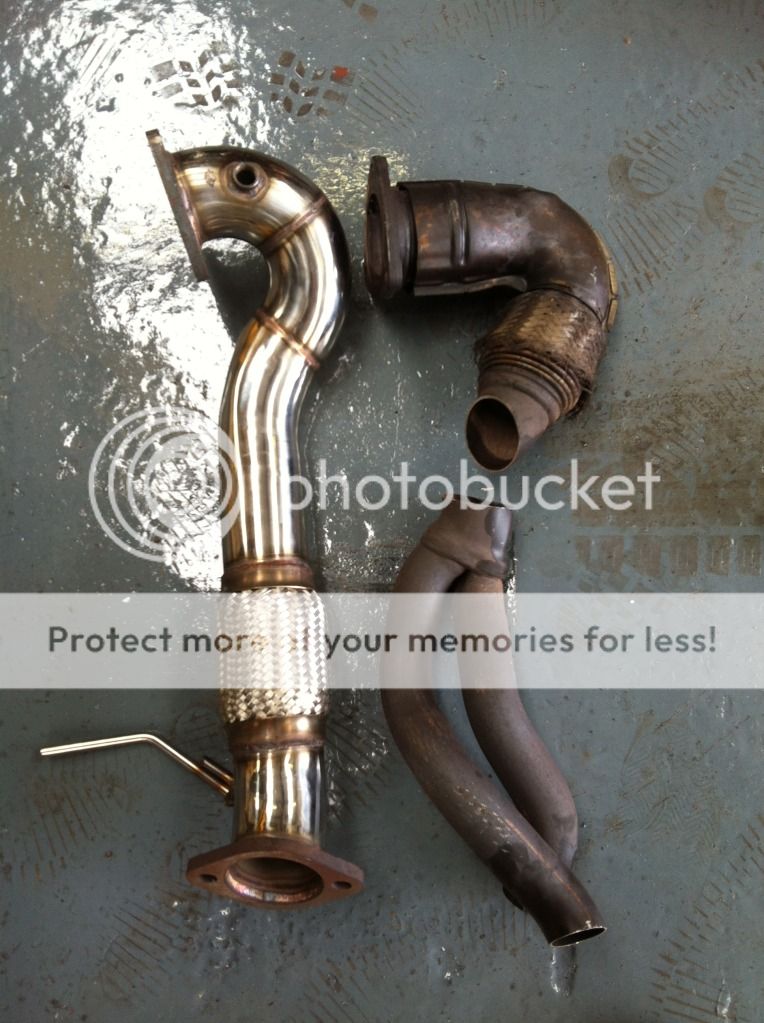
Look at the comparison between old and new... Unleash that turbo!
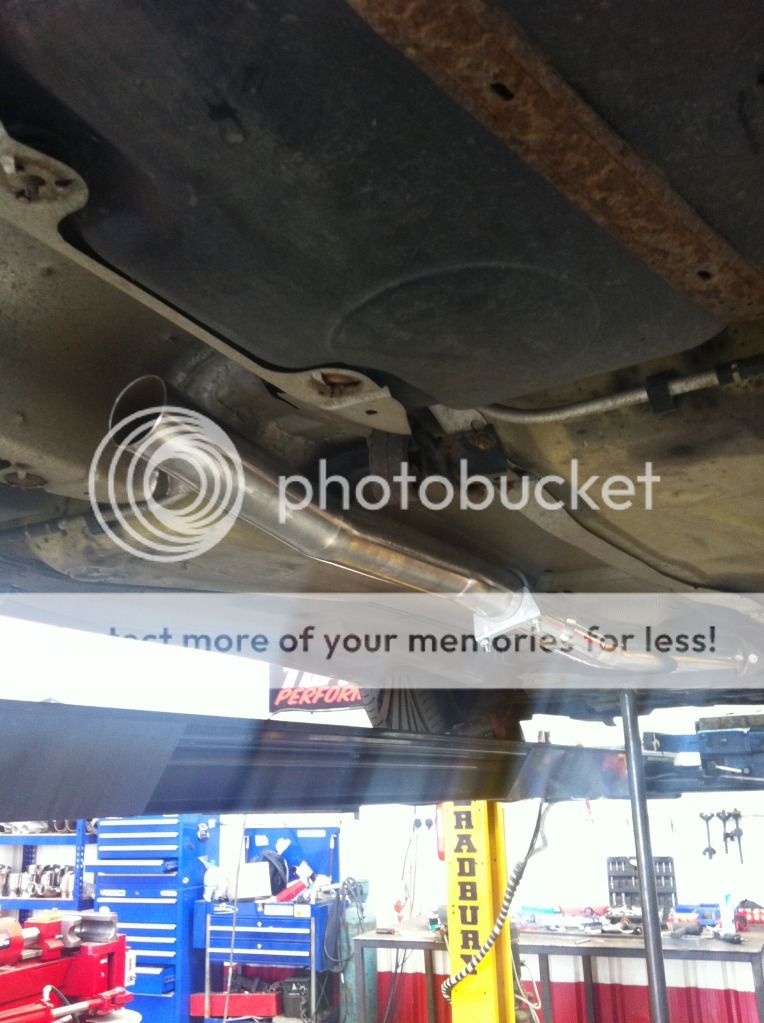
Fitting the new downpipe was a lot easier and took only an hour to do, but we had to chop the hanger off the new downpipe to allow us to fit it (as we didn't drop the subframe) Don't worry, it gets welded back on later...
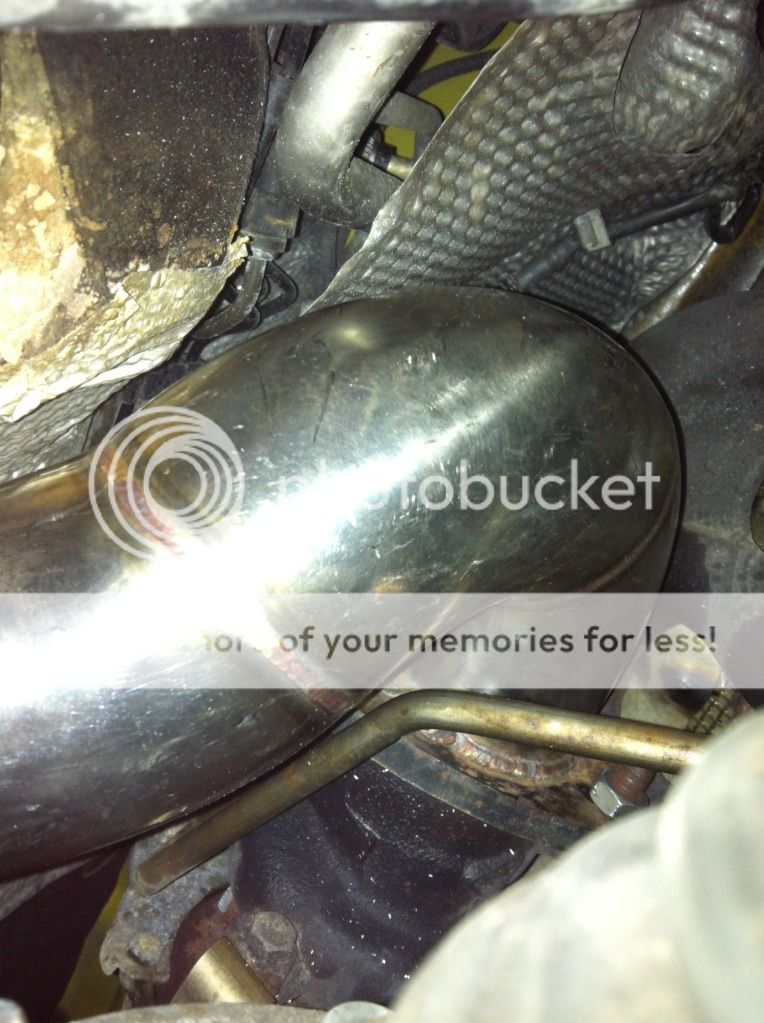
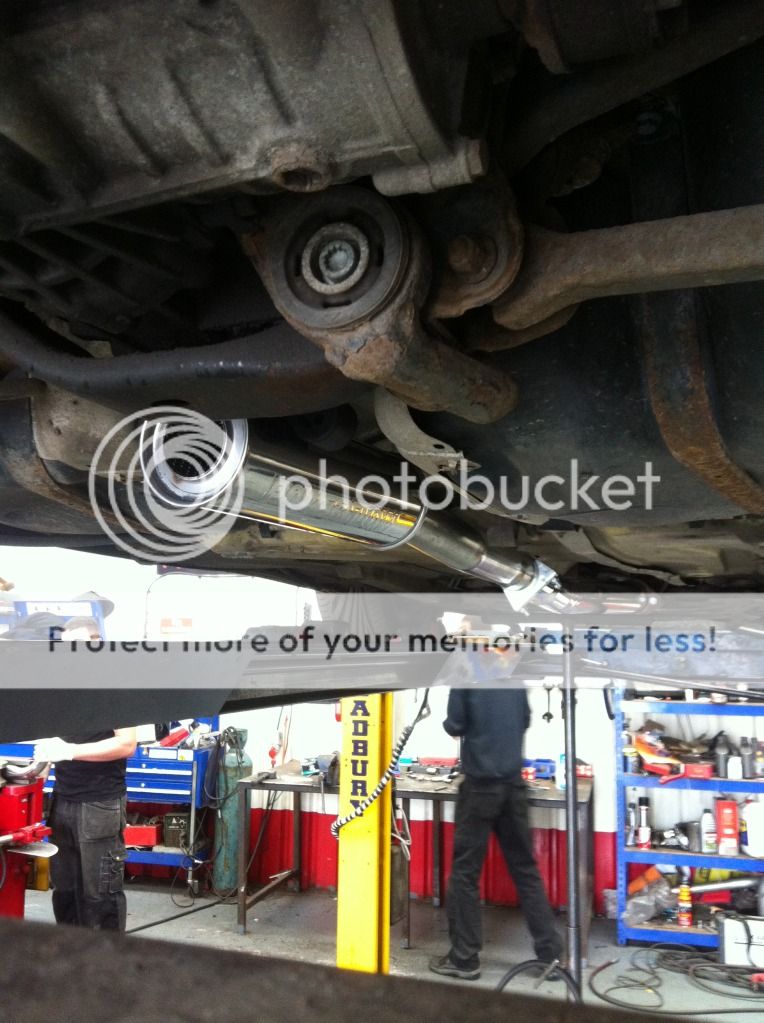
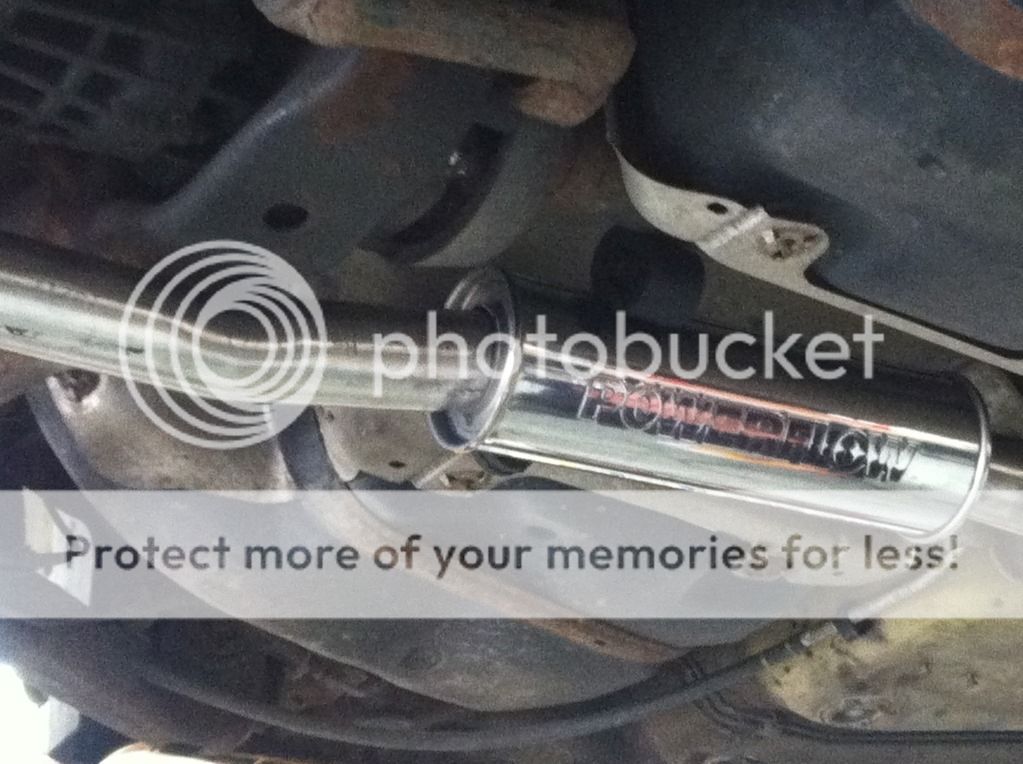
All fitted and nicey nice Not much room at all though!
We used new loc-nuts as the old ones were nyloc nuts (very stupid idea on a turbo) hence why it took so long to remove them, the nylon had melted into the threads.
Now to fit the de-cat and the rest of the system!!! I was very excited at this point

The first part of my system was bent into shape and offered up to the car...
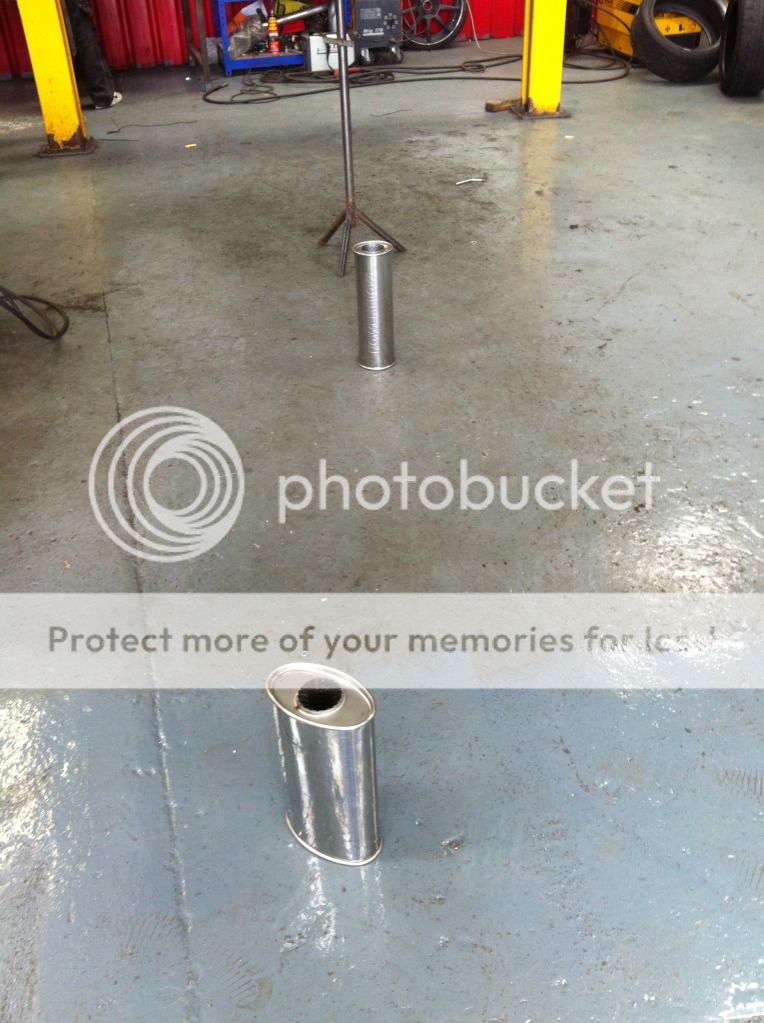
These were the boxes I chose (Didn't want it too loud)
First box tacked in place
Second pipe bent into shape and tacked in place
The final stages of bending for the back box

Back box offered up and tacked

To make the 180 degree bend, two 90 degree bends were TIG welded together to make a nice pretty finish (and optimum flow) Then the tailpipe offered up and tacked in place...

Constant checks were made to see if it was level and to ensure the exhaust didn't hang too low and finally the whole thing was removed and precisely welded to ensure perfect sealing...

The exhaust was then put back on the car, level checked, then all the hangars that were needed to utilise the existing rubbers were welded into place and it was finished!!!

Later that day once the car was thoroughly warm, I thought I'd make a short video to demonstrate the sound... Beautiful
Audi S3 3" Downpipe, Decat and Powerflow Exhaust - YouTube
Thanks for viewing and I hope it was educational or informative to a few people on here planning on doing this Big shout out to Top Gear Performance in Doncaster Top Gear Performance Doncaster
Ben
The first thing to do then is remove the old, heavy, restrictive exhaust...
Then, instead of dropping the subframe, and seeing as my flexi was already knackered and needed replacing, we decided to butcher the old downpipe to remove it, chopping it just above the part where it splits in two.
Look how restrictive this part is :S
The next step was to make access to the top of the turbo/downpipe area.
Remove the charge pipe.
Then you will have a bit more room to reach the downpipe to turbo nuts.
Removing the top one is easy enough
But the next one required this special tool we threw together...
The last one should then be on the bottom and clearly visible (makes sense to leave the easiest till last)
Downpipe removed! (After about 5 hours)
Look at the comparison between old and new... Unleash that turbo!
Fitting the new downpipe was a lot easier and took only an hour to do, but we had to chop the hanger off the new downpipe to allow us to fit it (as we didn't drop the subframe) Don't worry, it gets welded back on later...
All fitted and nicey nice
Not much room at all though!
We used new loc-nuts as the old ones were nyloc nuts (very stupid idea on a turbo) hence why it took so long to remove them, the nylon had melted into the threads.
Now to fit the de-cat and the rest of the system!!! I was very excited at this point
The first part of my system was bent into shape and offered up to the car...
These were the boxes I chose (Didn't want it too loud)
First box tacked in place
Second pipe bent into shape and tacked in place
The final stages of bending for the back box
Back box offered up and tacked
To make the 180 degree bend, two 90 degree bends were TIG welded together to make a nice pretty finish (and optimum flow) Then the tailpipe offered up and tacked in place...
Constant checks were made to see if it was level and to ensure the exhaust didn't hang too low and finally the whole thing was removed and precisely welded to ensure perfect sealing...
The exhaust was then put back on the car, level checked, then all the hangars that were needed to utilise the existing rubbers were welded into place and it was finished!!!
Later that day once the car was thoroughly warm, I thought I'd make a short video to demonstrate the sound... Beautiful
Audi S3 3" Downpipe, Decat and Powerflow Exhaust - YouTube
Thanks for viewing and I hope it was educational or informative to a few people on here planning on doing this
Big shout out to Top Gear Performance in Doncaster Top Gear Performance DoncasterBen


