

Sam_
Down under
Long story short; last night, changing from 5th to 6th, suddenly the gear lever went limp and I only had side to side control. I nursed it off the freeway and the only spot to pull over being an uphill section. I tried chucking it in 3rd to drive home but that plus the uphill meant no dice, the clutch was not happy. I knew exactly what had happened, the shifter bush that had been going, had broken and the cable had fallen off. Had to wait 2 hours to get towed home (in a major city?!), the mrs was all "buy a new car" in her usual tone just to help matters.
I have the Dieselgeek Sigma Six quick shift kit (awesome by the way) which of course takes care of the gearbox end of shifting but always had a bit of slop at the lever end. In anticipation of the upcoming engine swap, I've been stock piling parts to fit at the same time; I saw Dieselgeek sold a "cable saver" kit that replaces the stock bushes without needing to buy the whole cable (they're not available separately!). So luckily I already had them "in stock". I set about changing them this morning. I didn't get many pictures but here's a quick guide.
Tools needed:
90 degree external circlip pliers (if using the Dieselgeek kit)
10mm, 13mm sockets
13mm spanner (ratchet ideally)
Grease (I used Lithium but general (LM) grease is probably fine)
Exhaust paste
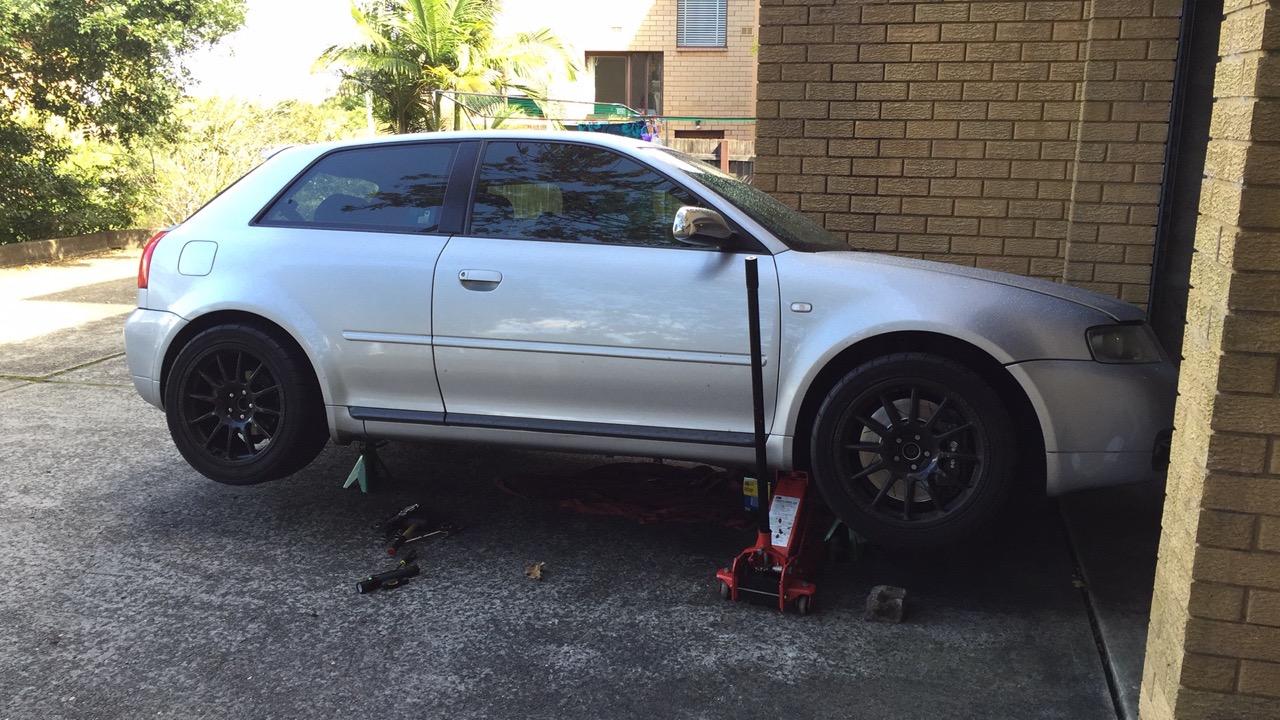
1) Jack one side of the car up and get it on axel stands (front and rear). Make sure it's high enough for you to get right underneath.
2) Remove the cat (6 bolts at the front and clamp at the other end). Don't forget the small box that holds the lambda connector. Carefully remove the cable from the clips that are attached from the heat shield. You may also want to drop the middle hanger off (if you have one) to make getting the cat off easier.
3) Remove the middle heat shield (the longer one). The clips are a bit of a pain the **** but they take quite a beating and still work, I found prying them with a flathead screwdriver and then trying to unscrew them off. If you have a middle exhaust hanger (not all have them), you'll need to remove that or the bolts for it (if you don't have one). You should be able to slide the heat shield out (towards the front).
4) Remove the clips that secure the front heat shield. You won't be able to remove the heat shield but it'll mean there's more room for later on.
5) Optional: Mark the position of the propshaft center bearing bolts in the runners. This needs to go back exactly where it was. You don't have to do this step (I didn't) but some say it makes it easier.
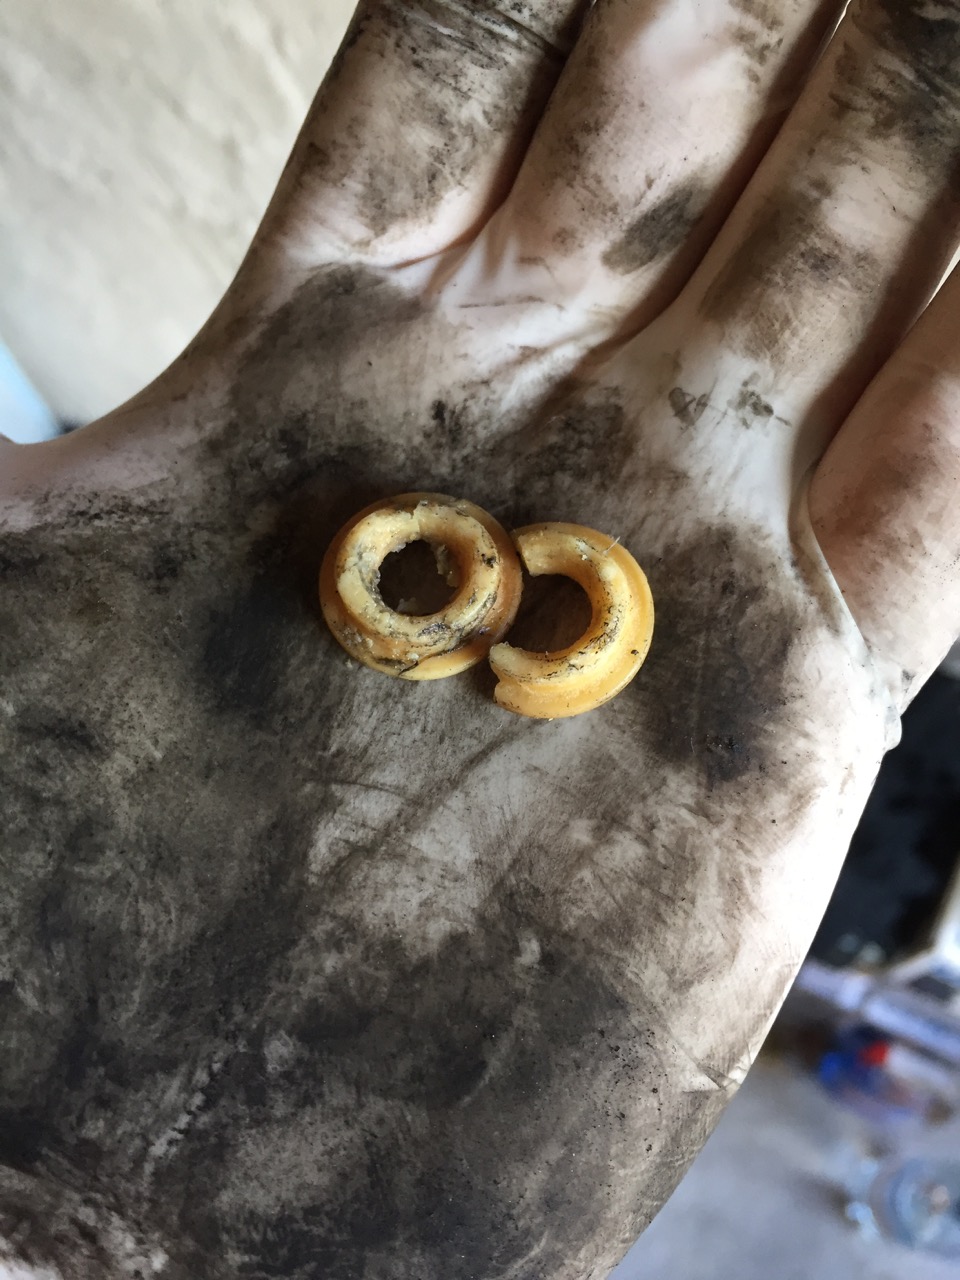
6) You'll be able to see the shifter box underneath the center bearing on the propshaft. There's a cover on it that has metal tabs which are bent around the housing to hold it on. You'll need to "pop" these off, I started at one end (the back of the car) and used a long screwdriver to pop them all off. It's fiddly but you get there in the end. Once you get the cover off, what was left of the bushes might fall out like mine did, if yours are already gone.
7) Here's how to change the side to side bushing. He mentions how it can be done from above but it gives you an idea for how it all works
8) The front to back (the one that went on mine) really needs to be done from below. Apparently it is possible to do it from above but I think pulling all the dash apart for it to potentially go wrong, wasn't worth it.
The circlip was a bit painful but just take it slow and you'll get there eventually. Don't forget to grease up the ball joint on the lever and the bushing itself. He doesn't mention it in the video but you don't want to be doing it again.
9) Once you're all done, reverse the above. You might find that the cover is a pain to refit. The B&M short shifter kit (which replaces the lever) comes with two bolts, nuts and washers to secure it back on. Had I done it again, I'd have done the same. I was in a rush and used zip ties which I suspect might not last too long. We'll see. Don't forget the exhaust paste when re-assembling.
As a bonus, I also shimmed the ball and cup housing to reduce some side to side slop. Here's a guide for that:
Links for parts:
Cable Saver Replacement Cable End Bushing Set for MK4
Sigma 6 Speed Short Shift Kit
I replaced these too:
High Performance Bushings Replacing Part Number 1J0 711 067L
Hope that helps someone. Couldn't find a complete guide on it but the B&M shifter install guide was useful:
B&M Shifter Install Guide
I have the Dieselgeek Sigma Six quick shift kit (awesome by the way) which of course takes care of the gearbox end of shifting but always had a bit of slop at the lever end. In anticipation of the upcoming engine swap, I've been stock piling parts to fit at the same time; I saw Dieselgeek sold a "cable saver" kit that replaces the stock bushes without needing to buy the whole cable (they're not available separately!). So luckily I already had them "in stock". I set about changing them this morning. I didn't get many pictures but here's a quick guide.
Tools needed:
90 degree external circlip pliers (if using the Dieselgeek kit)
10mm, 13mm sockets
13mm spanner (ratchet ideally)
Grease (I used Lithium but general (LM) grease is probably fine)
Exhaust paste
1) Jack one side of the car up and get it on axel stands (front and rear). Make sure it's high enough for you to get right underneath.
2) Remove the cat (6 bolts at the front and clamp at the other end). Don't forget the small box that holds the lambda connector. Carefully remove the cable from the clips that are attached from the heat shield. You may also want to drop the middle hanger off (if you have one) to make getting the cat off easier.
3) Remove the middle heat shield (the longer one). The clips are a bit of a pain the **** but they take quite a beating and still work, I found prying them with a flathead screwdriver and then trying to unscrew them off. If you have a middle exhaust hanger (not all have them), you'll need to remove that or the bolts for it (if you don't have one). You should be able to slide the heat shield out (towards the front).
4) Remove the clips that secure the front heat shield. You won't be able to remove the heat shield but it'll mean there's more room for later on.
5) Optional: Mark the position of the propshaft center bearing bolts in the runners. This needs to go back exactly where it was. You don't have to do this step (I didn't) but some say it makes it easier.
6) You'll be able to see the shifter box underneath the center bearing on the propshaft. There's a cover on it that has metal tabs which are bent around the housing to hold it on. You'll need to "pop" these off, I started at one end (the back of the car) and used a long screwdriver to pop them all off. It's fiddly but you get there in the end. Once you get the cover off, what was left of the bushes might fall out like mine did, if yours are already gone.
7) Here's how to change the side to side bushing. He mentions how it can be done from above but it gives you an idea for how it all works
8) The front to back (the one that went on mine) really needs to be done from below. Apparently it is possible to do it from above but I think pulling all the dash apart for it to potentially go wrong, wasn't worth it.
The circlip was a bit painful but just take it slow and you'll get there eventually. Don't forget to grease up the ball joint on the lever and the bushing itself. He doesn't mention it in the video but you don't want to be doing it again.
9) Once you're all done, reverse the above. You might find that the cover is a pain to refit. The B&M short shifter kit (which replaces the lever) comes with two bolts, nuts and washers to secure it back on. Had I done it again, I'd have done the same. I was in a rush and used zip ties which I suspect might not last too long. We'll see. Don't forget the exhaust paste when re-assembling.
As a bonus, I also shimmed the ball and cup housing to reduce some side to side slop. Here's a guide for that:
Links for parts:
Cable Saver Replacement Cable End Bushing Set for MK4
Sigma 6 Speed Short Shift Kit
I replaced these too:
High Performance Bushings Replacing Part Number 1J0 711 067L
Hope that helps someone. Couldn't find a complete guide on it but the B&M shifter install guide was useful:
B&M Shifter Install Guide
