I done this to mine...
I had read several tutorials and write ups on refurbishing plastic headlights most of which involve using wet and dry sandpaper first followed by a machine polish... sounded easy enough but sanding the headlight with wet and dry scared the life out of me but decided to give it a go...
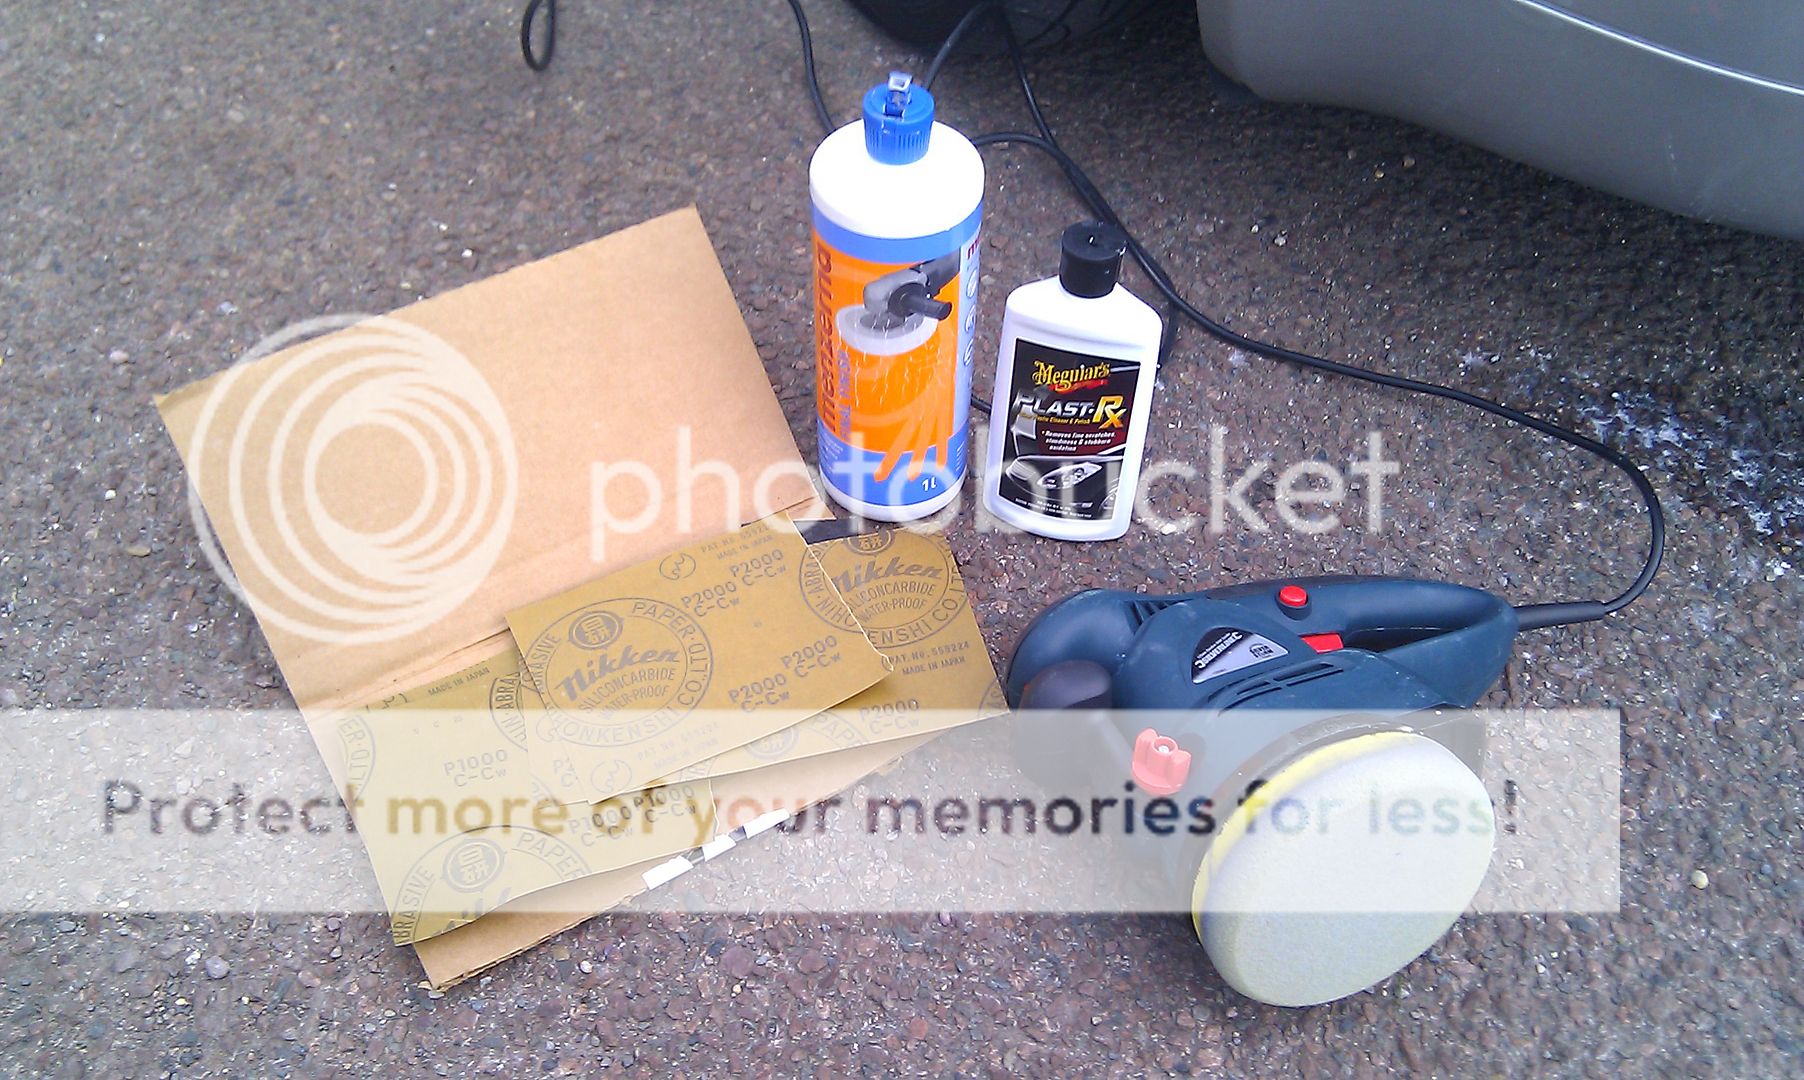
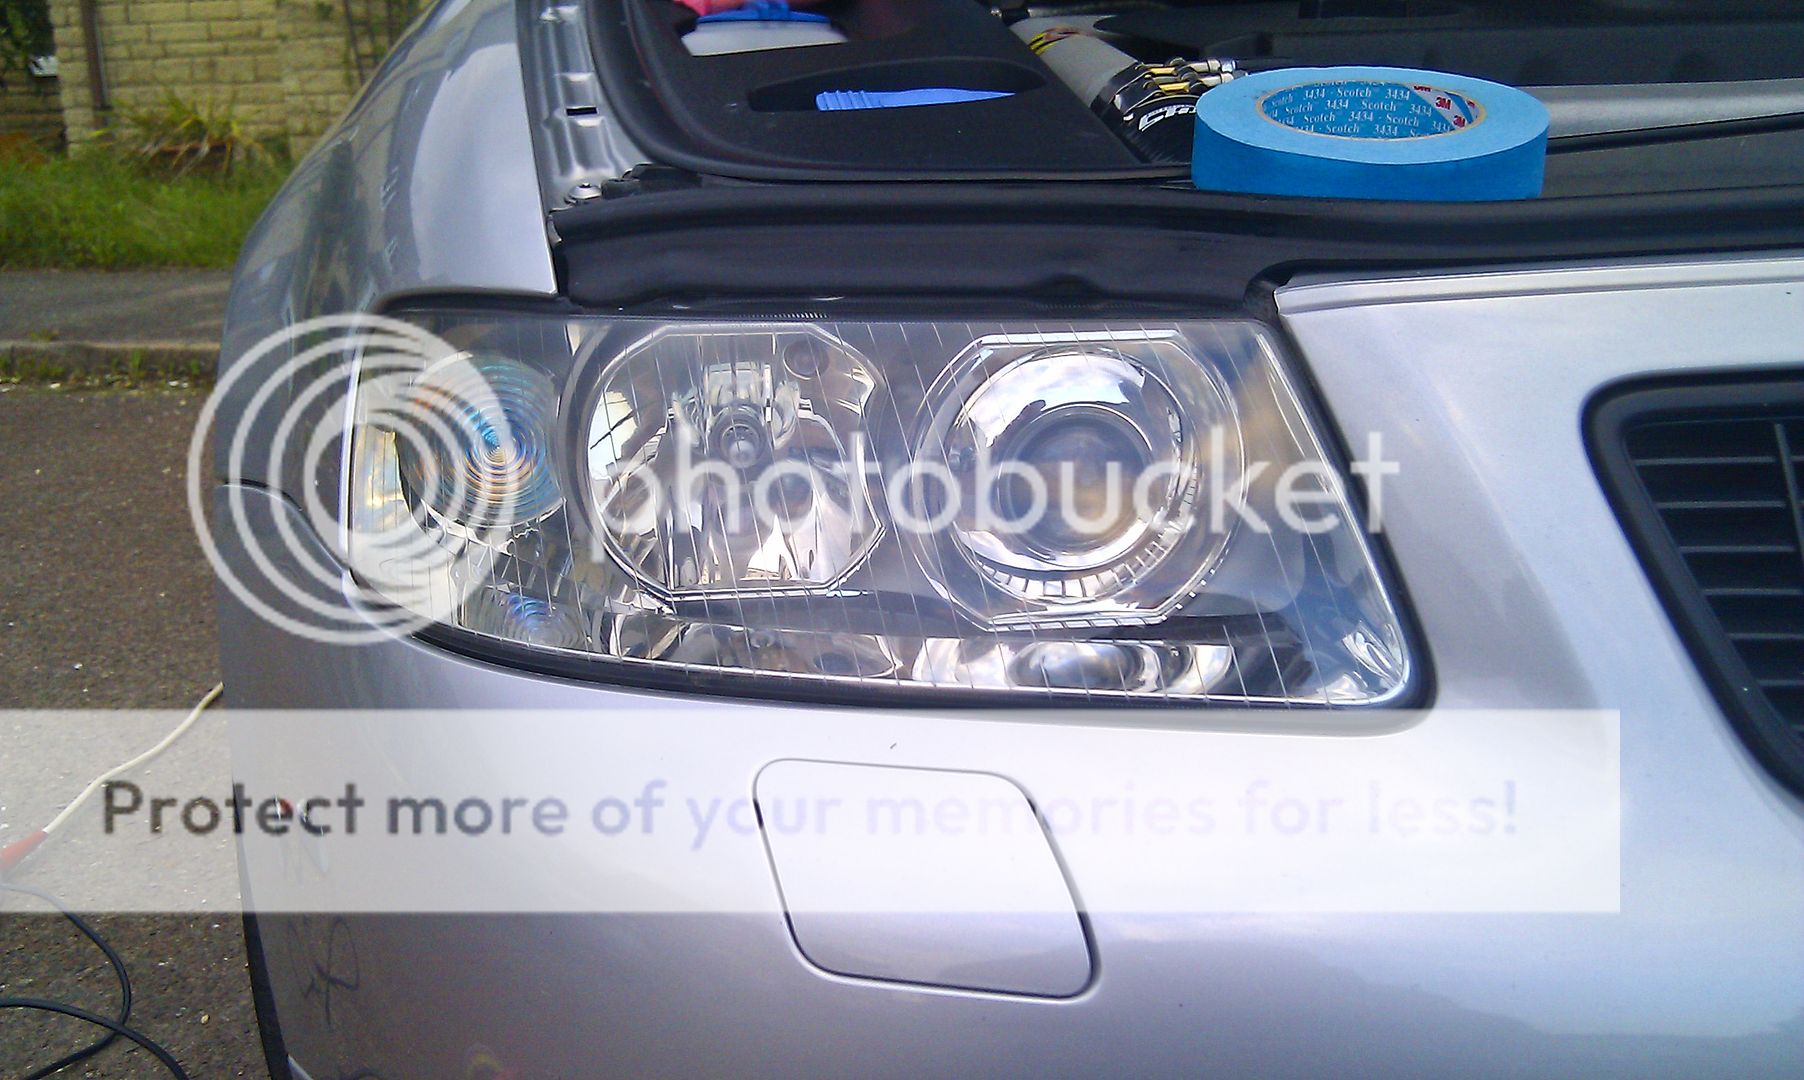
Here's the kit I used...
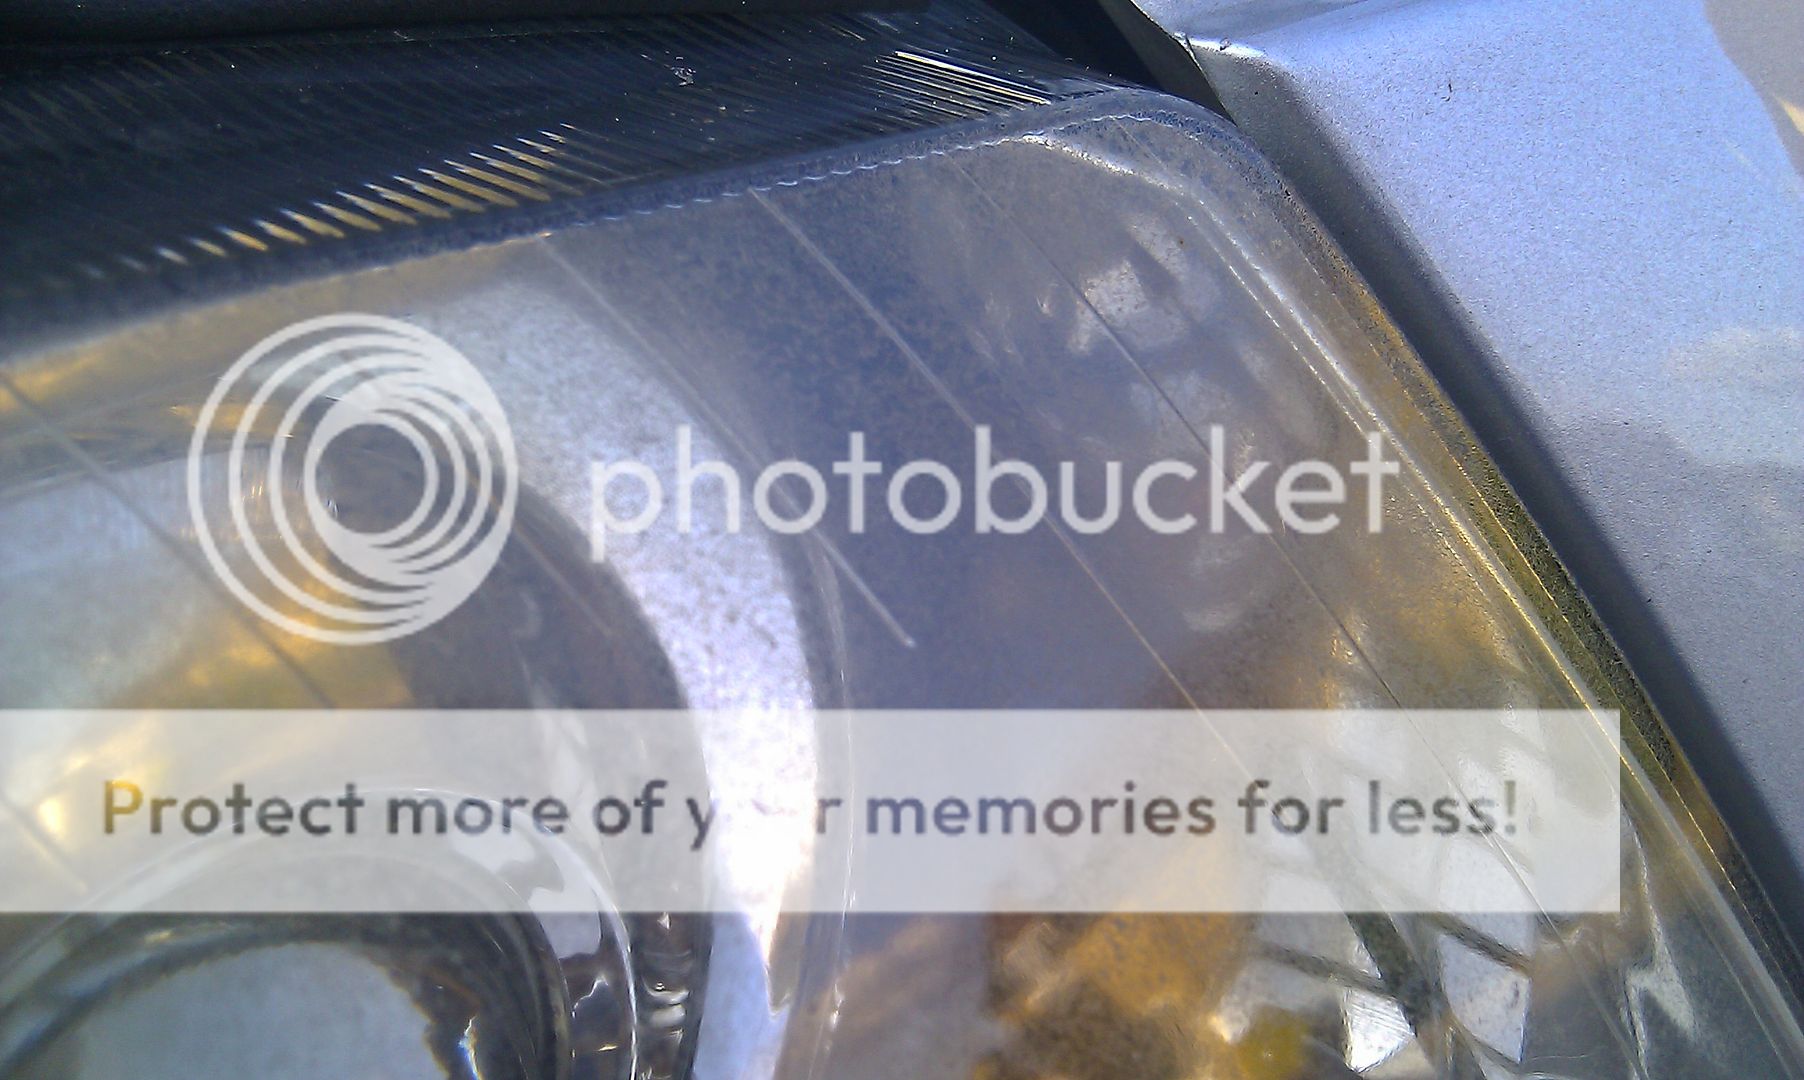
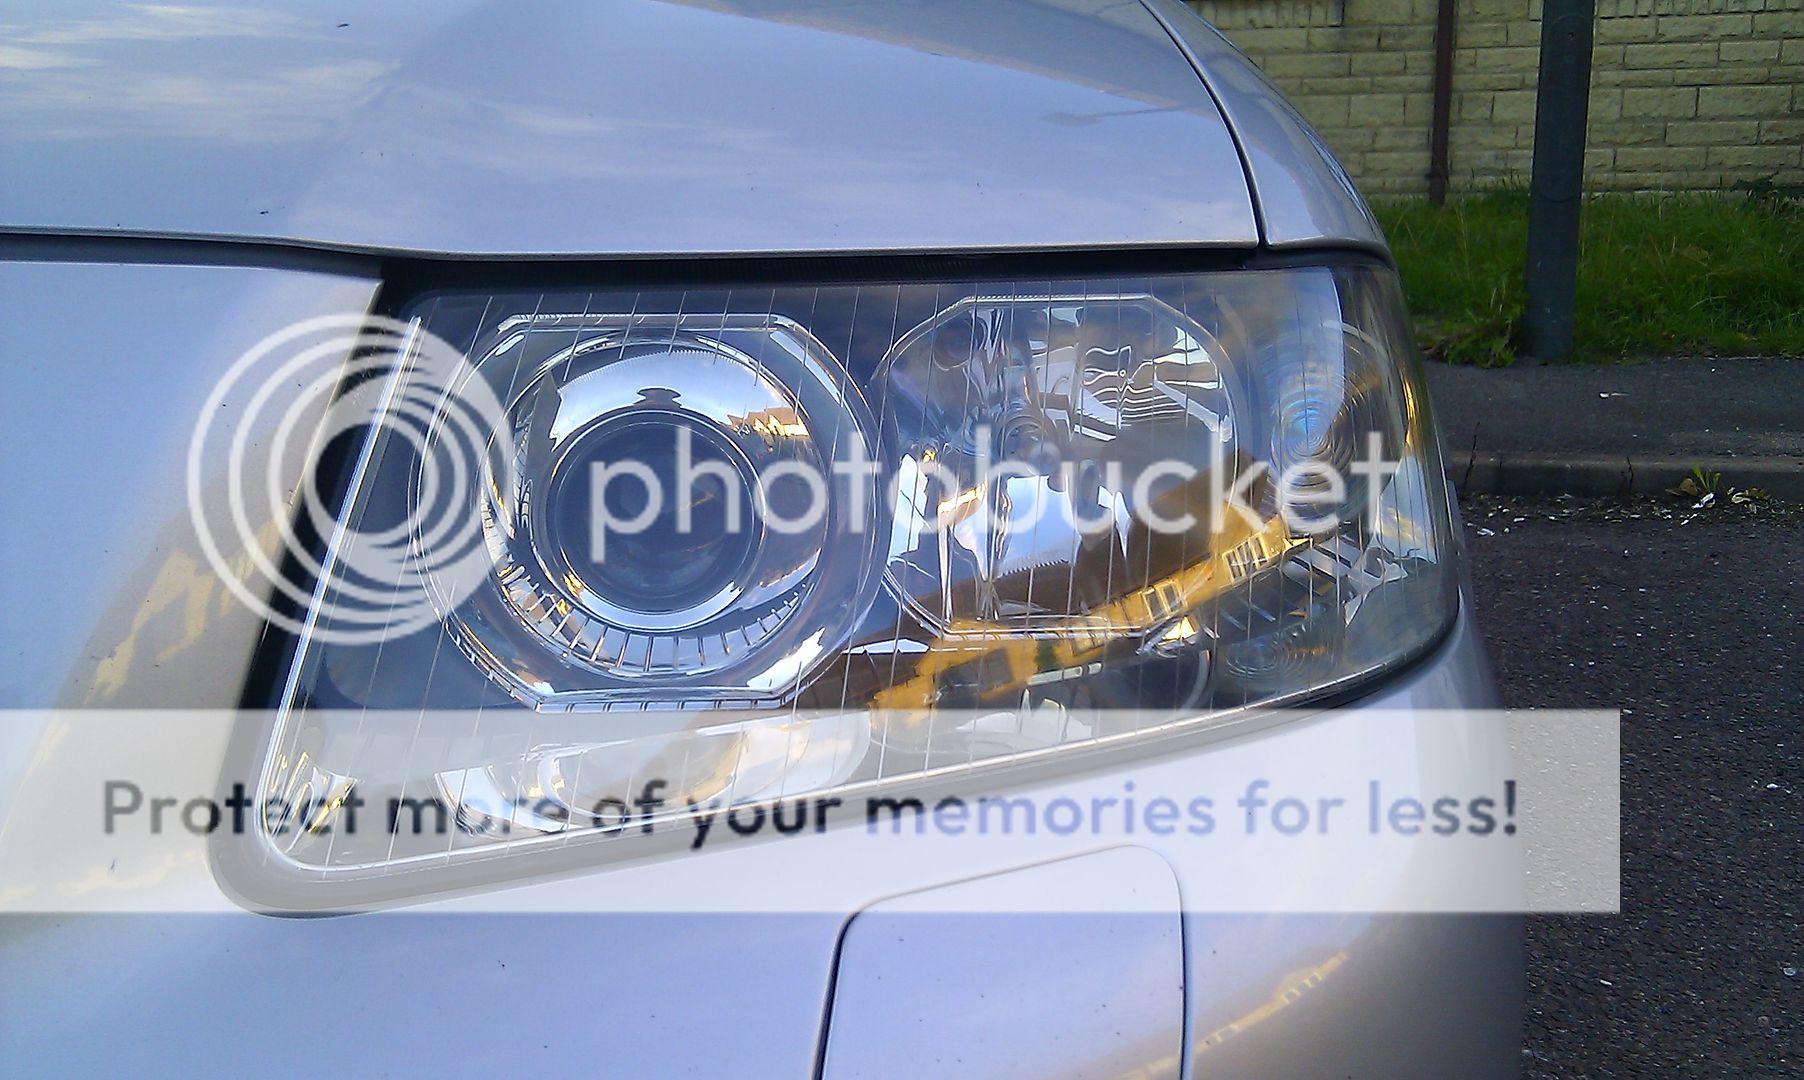
As you can see from this pic the headlight is fairly rough...
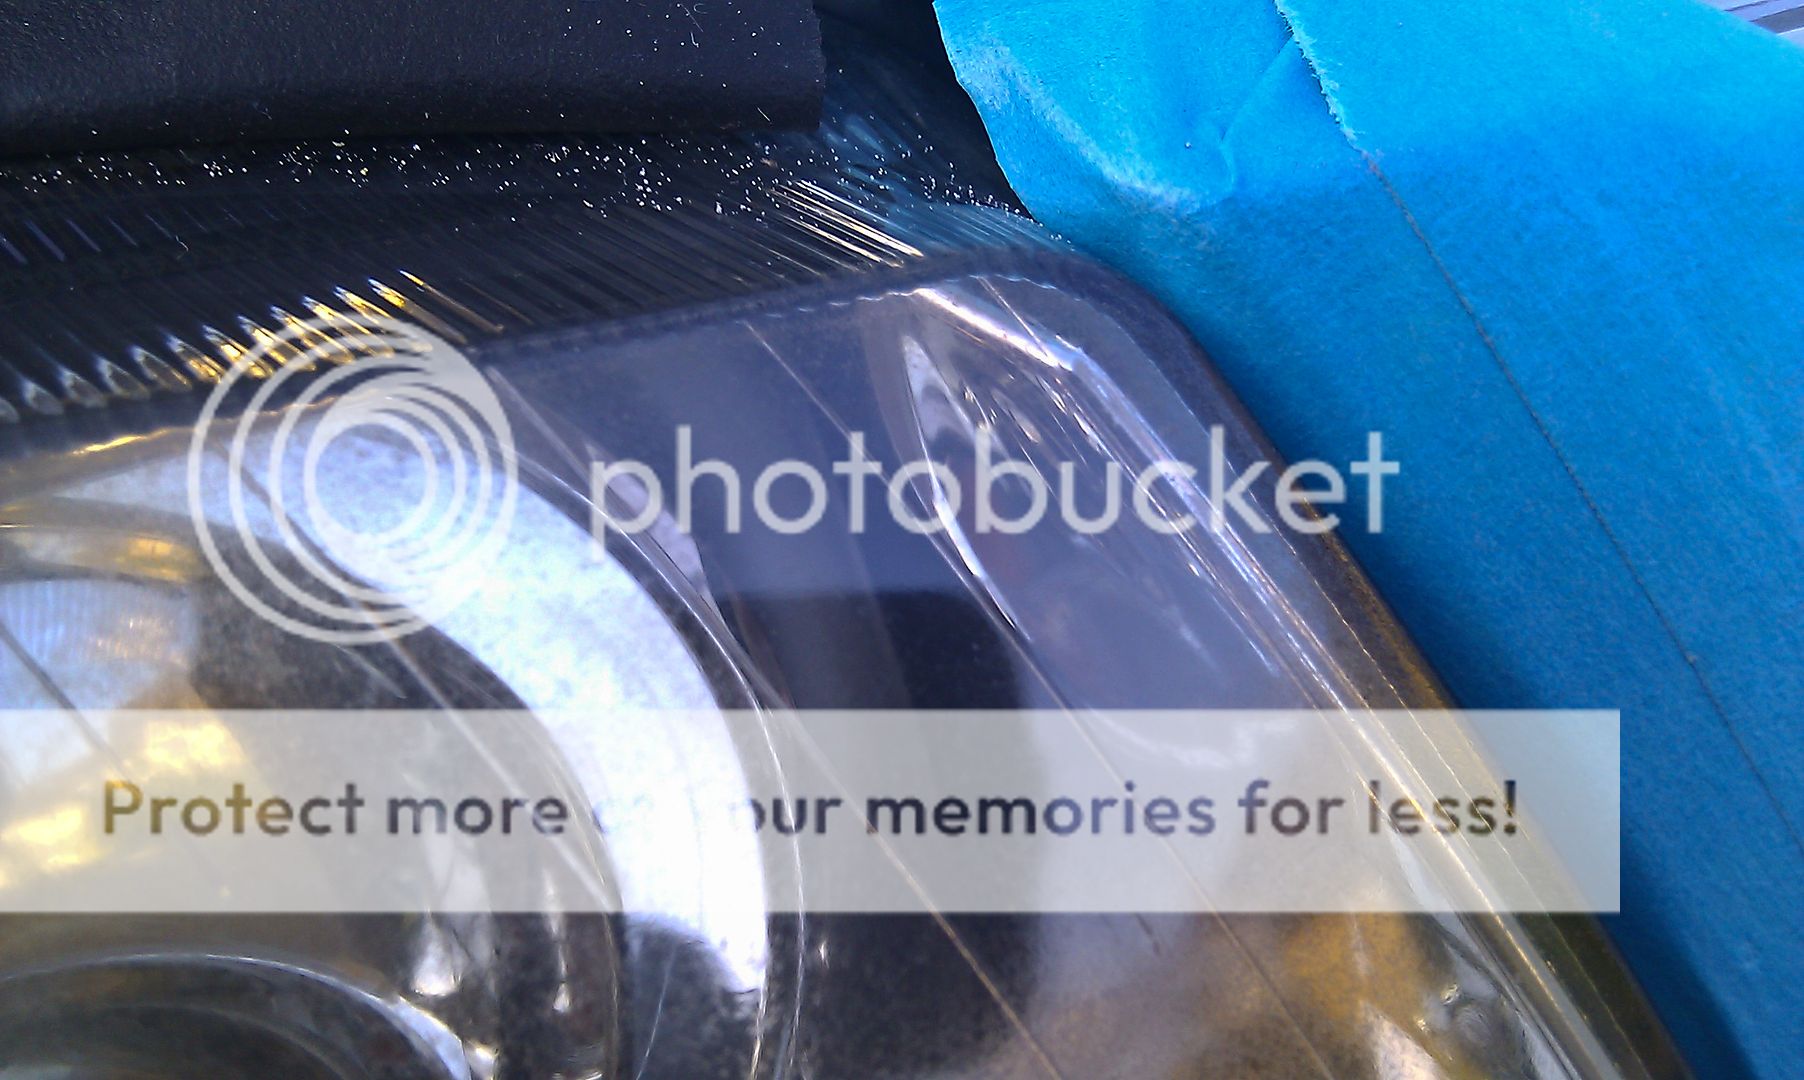
...still a bit worried about sanding the whole light so tried it on a small patch in the corner... used 2000 w&d with water of course then went over twice with Menz final finish which resulted in...
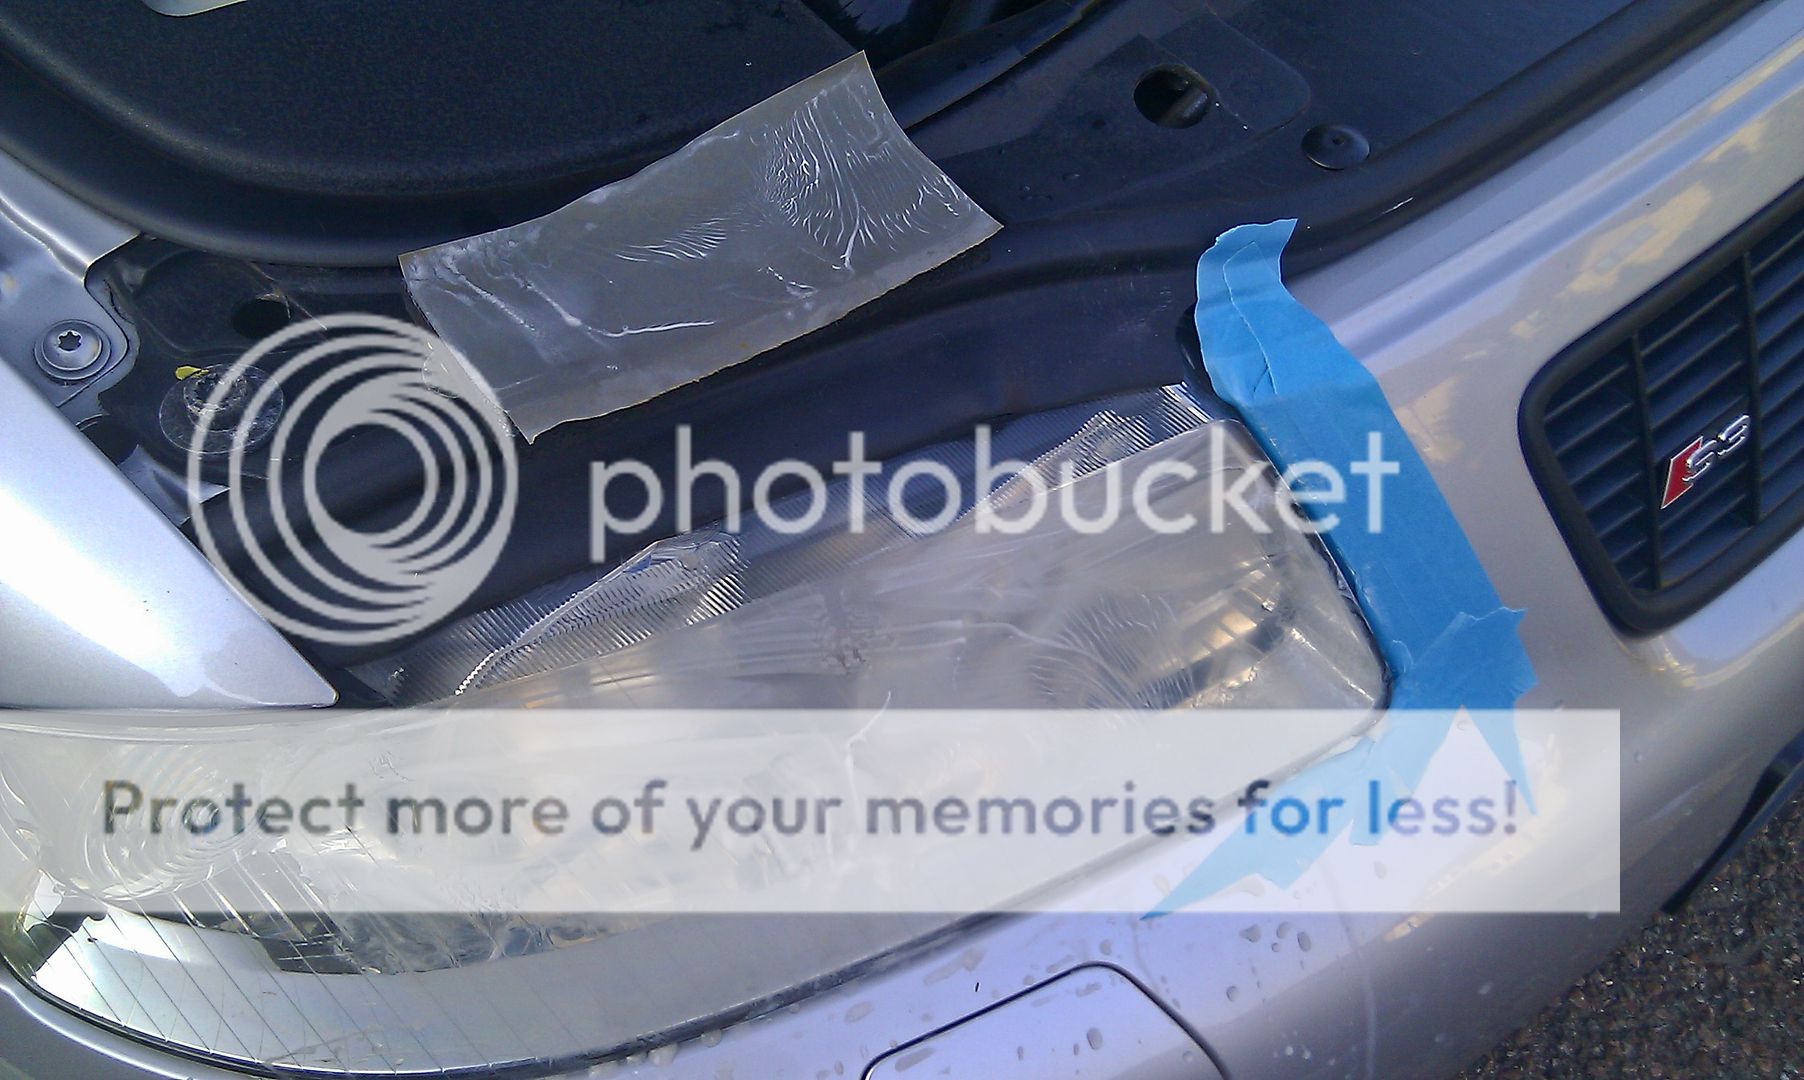
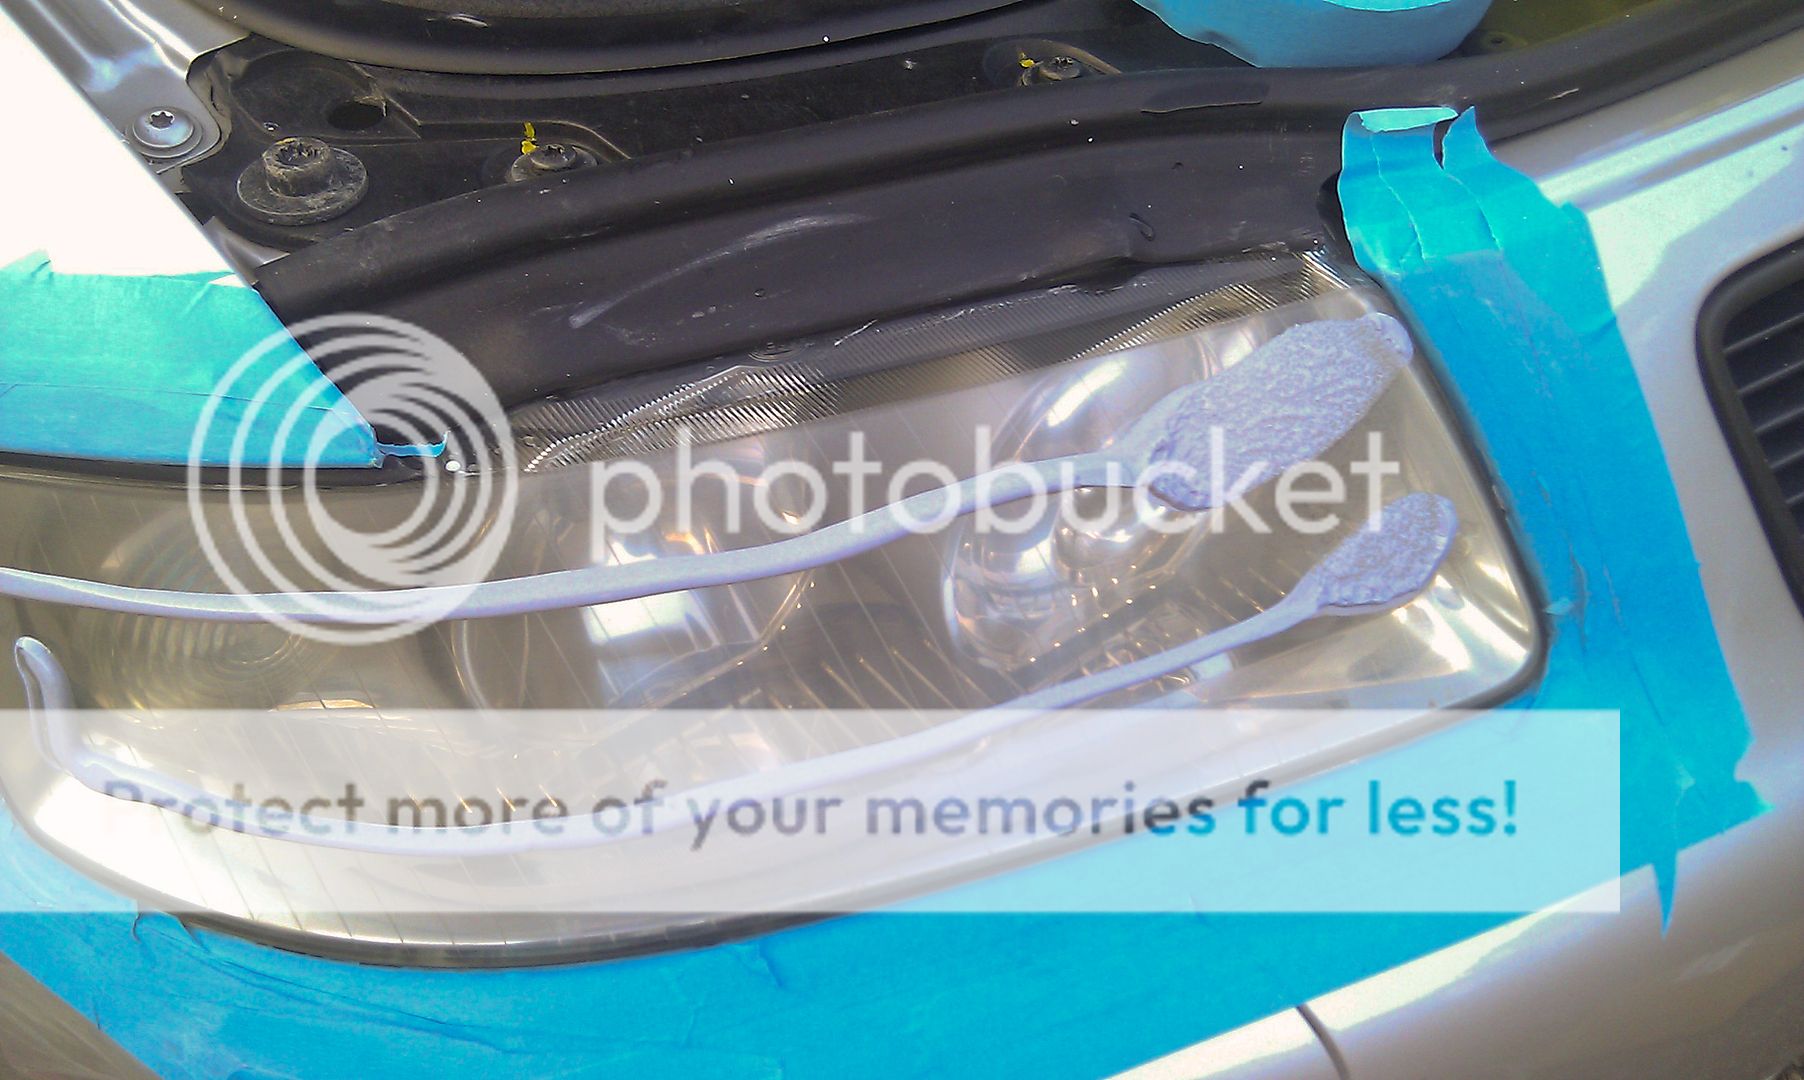
...happy with that I proceeded to mask up around the light and sanded the whole light face with 2000 w&d...
...ended up looking like this...
...dried off the water and finished up doing 3 passes with a soft pad an Menz final finish..
...the result of the first pass...
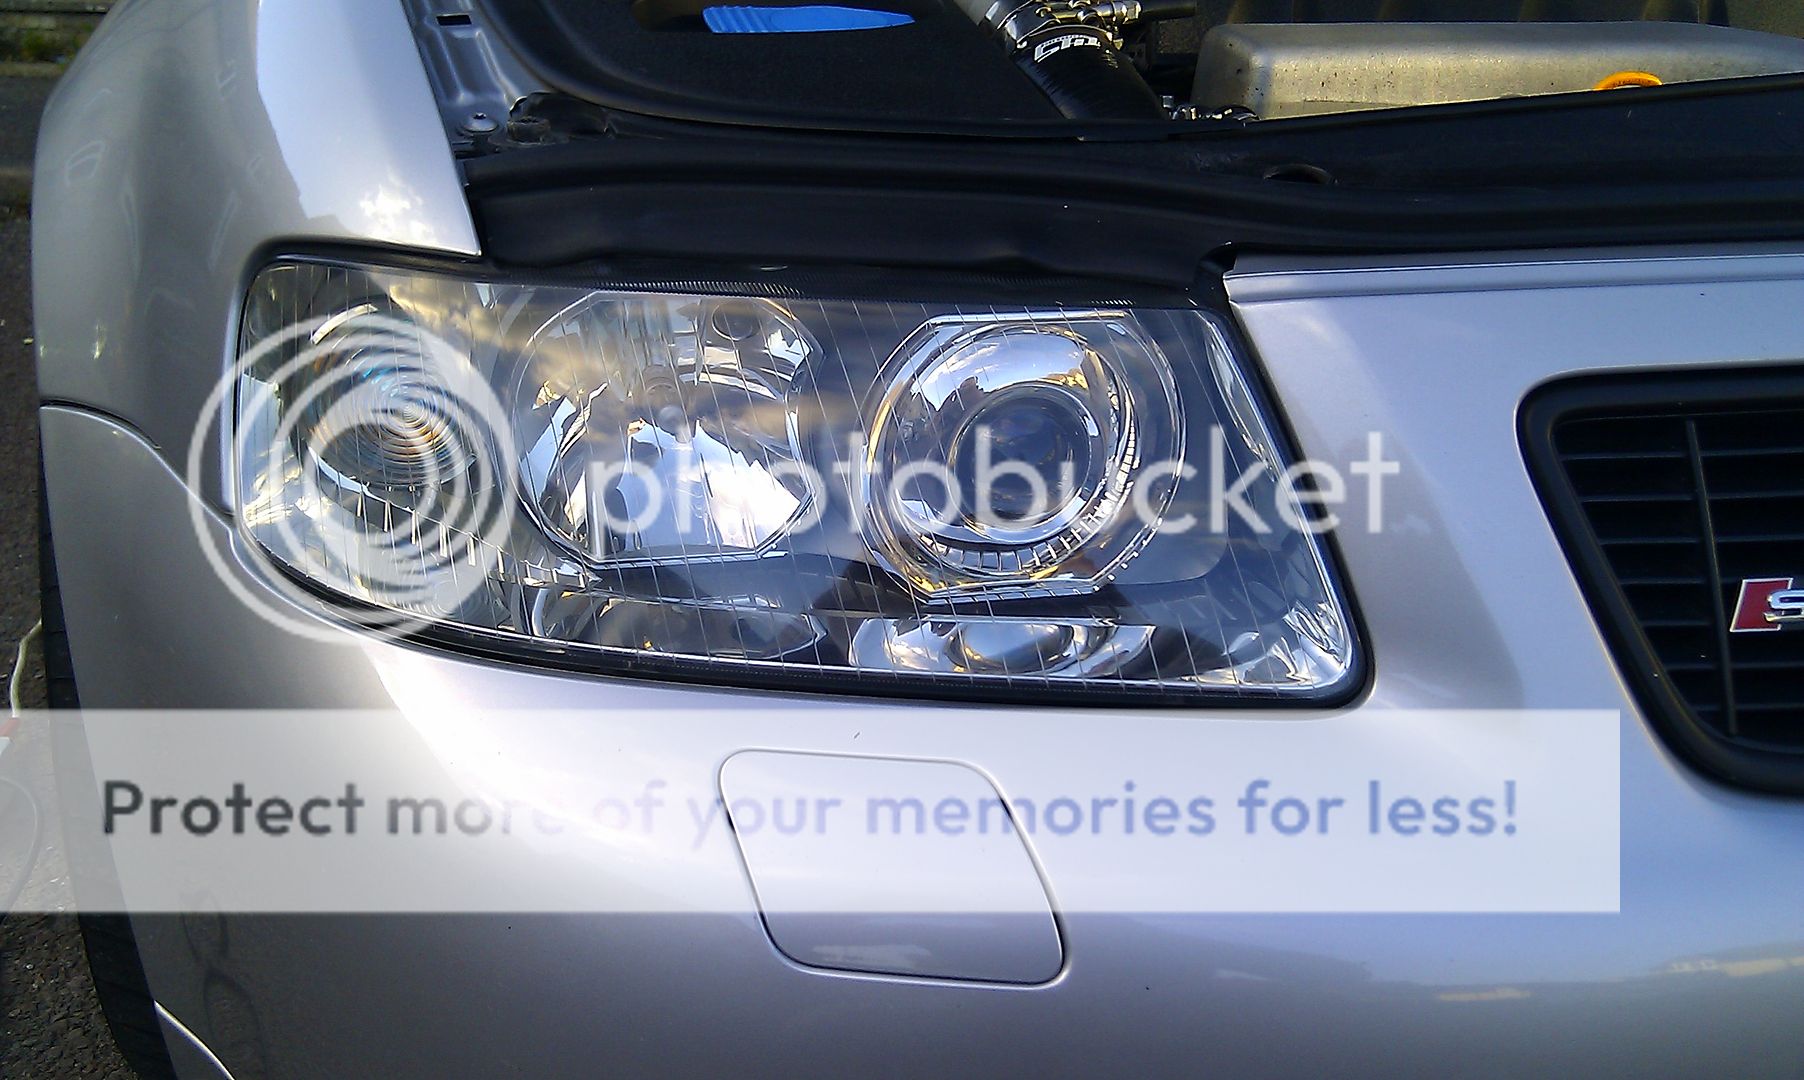
...and the final result...
...compared to the passenger side that I haven't done yet...
...and finally a comparison with the headlights on...
Before....
After...
Happy with the results of that but felt it needed a little more effort so had another go another day...
Did a few more passes over the drivers side headlight as I wasn't completely happy with the final finish...
The result of 3 more passes over with Menz final finish and a spot pad on a Kestral DA...
Looking at this one compared to the passenger side one I decided I couldn't wait and cracked on with sorting that one out too... feeling more confident of my abilities now I went straight in with 1000 grit wet and dry which took a bit of work to get an even finish then worked the light over with 2000 grit wet and dry as before....
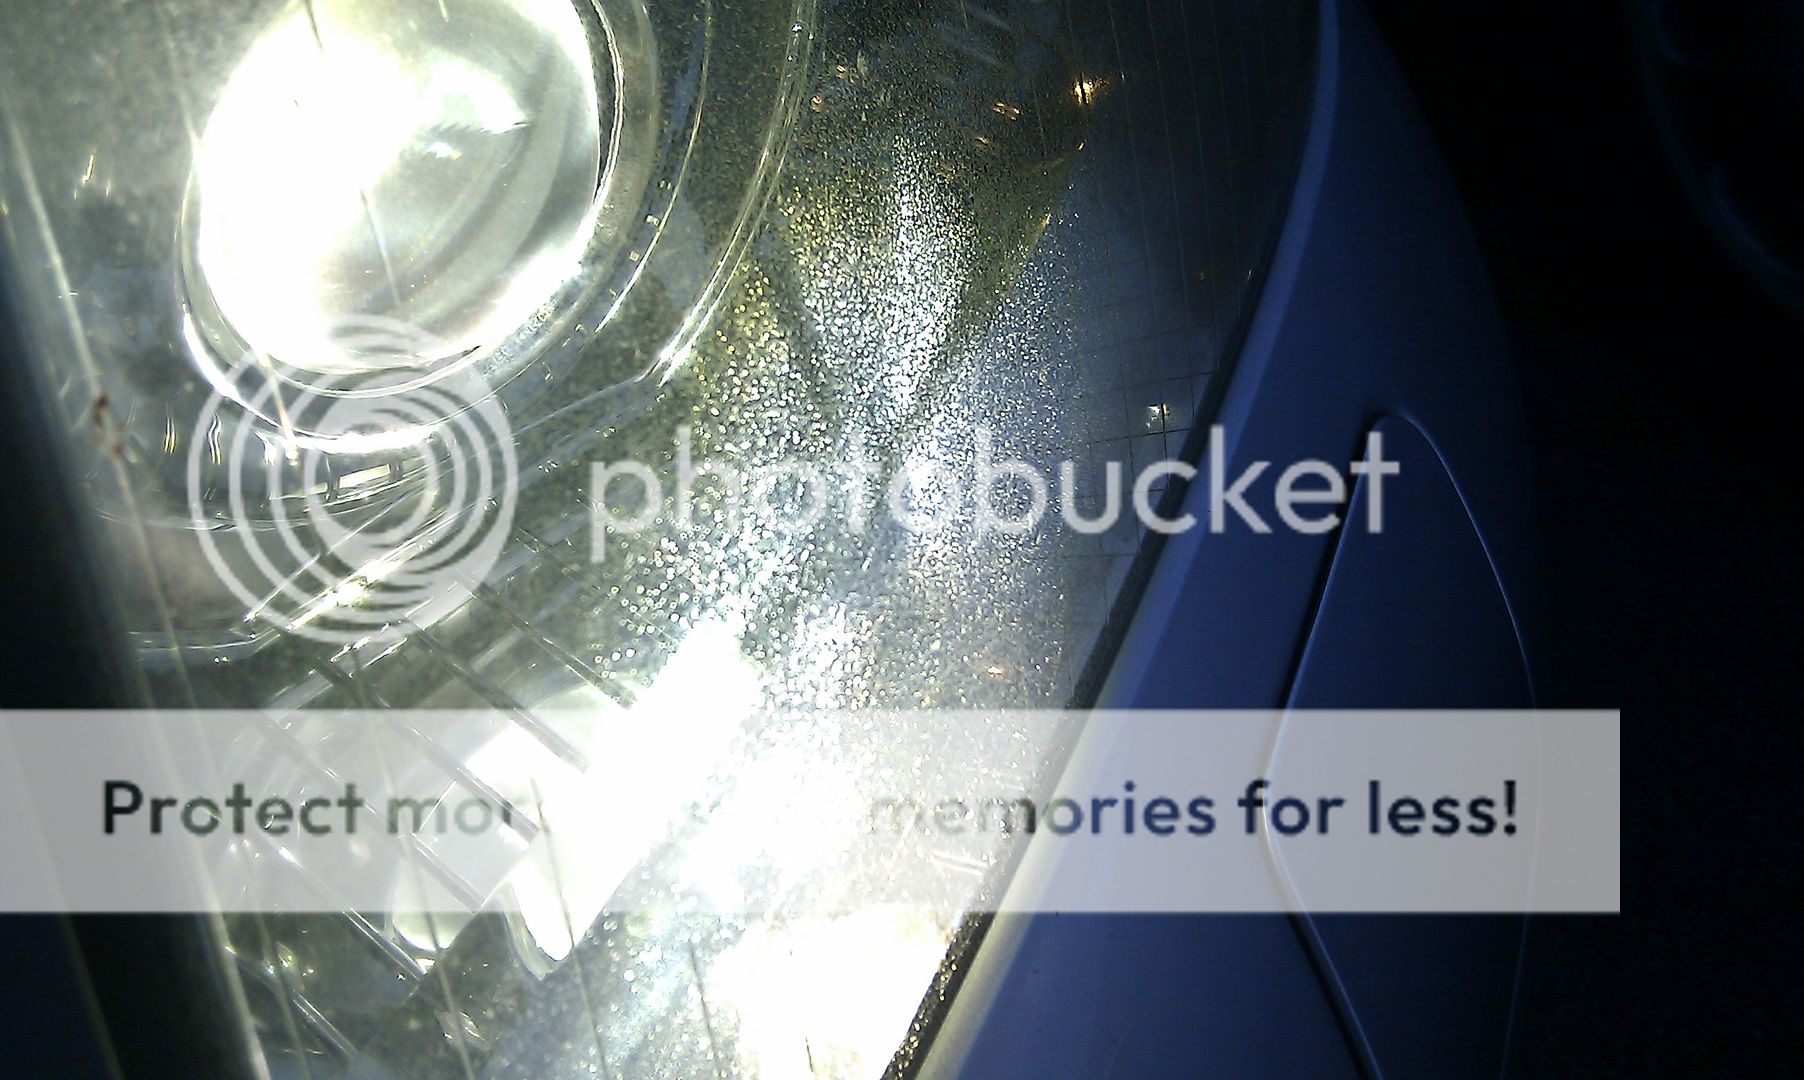
This is the point where you would justifiably feel sick as a pig looking at the very opaque headlight.... Just to reassure you I taped up half the light and did a single pass with the DA...
...as you can see its pretty easy to get the finish back but use a hardish pad as my medium pad had got saturated and ended up using a soft pad which took god knows how many passes until I was happy...
Reminder of the light before..
..and after...
Next thing to do is to get some the Lamin-x film to protect the headlights now the UV layer has been removed and to help protect against stone chips...
<tuffty/>