

No Audi content, but thought you'd all like to see this.....
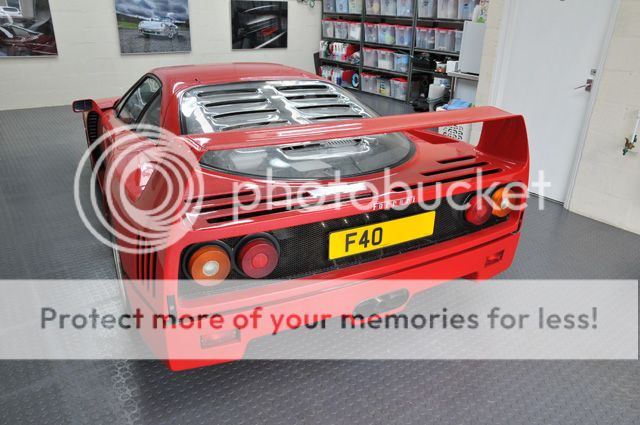
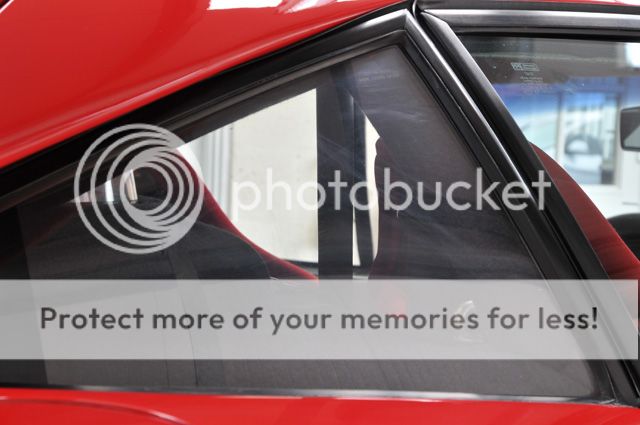
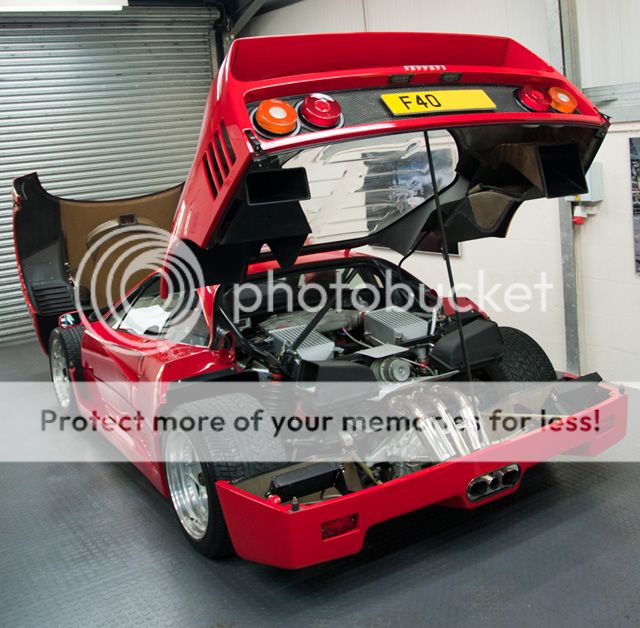
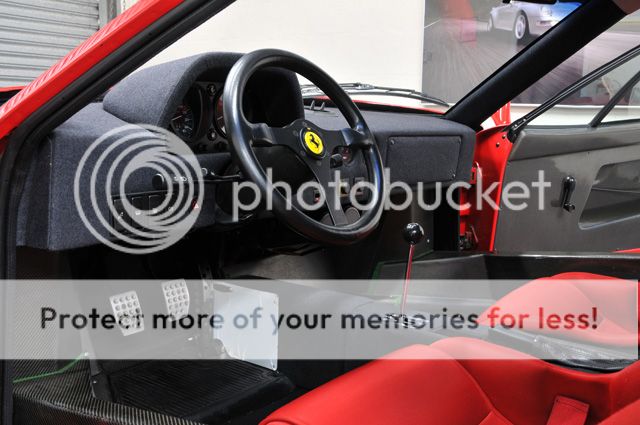
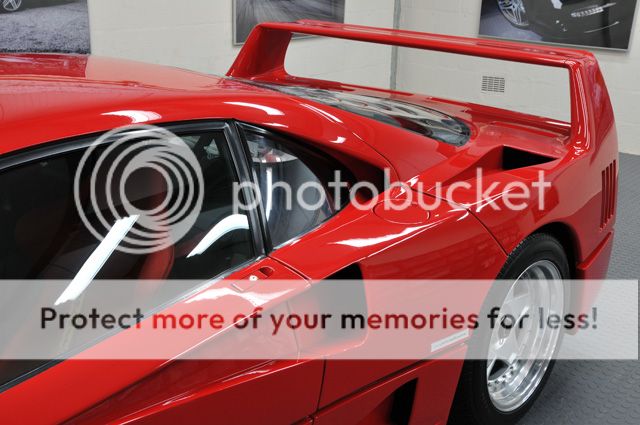
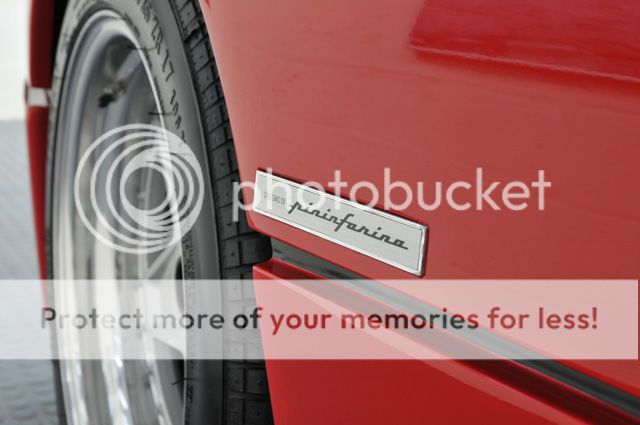
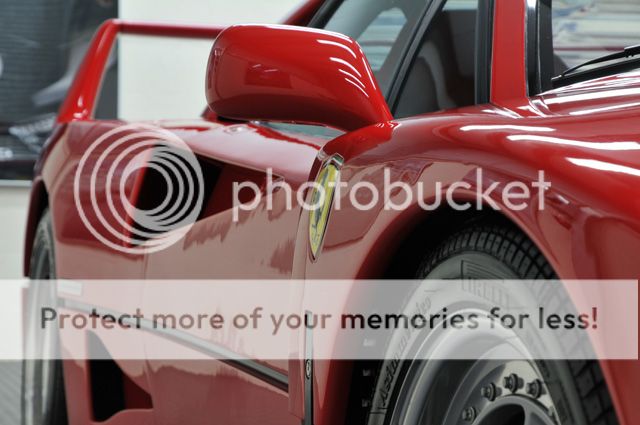
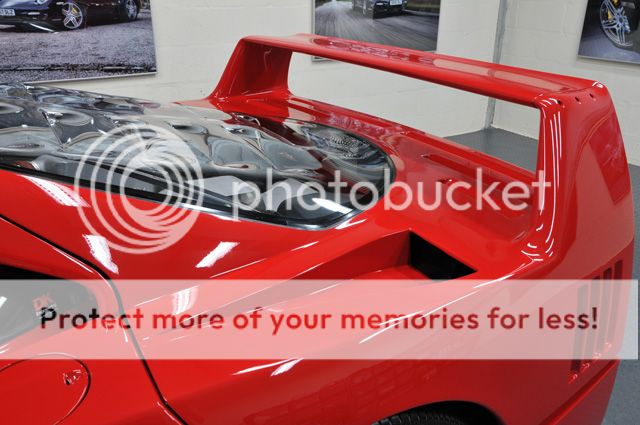
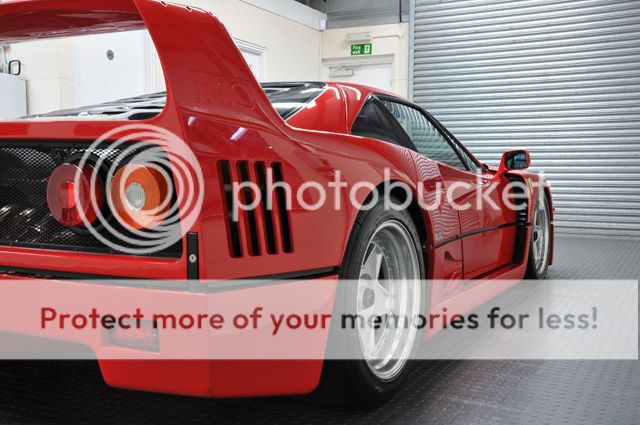
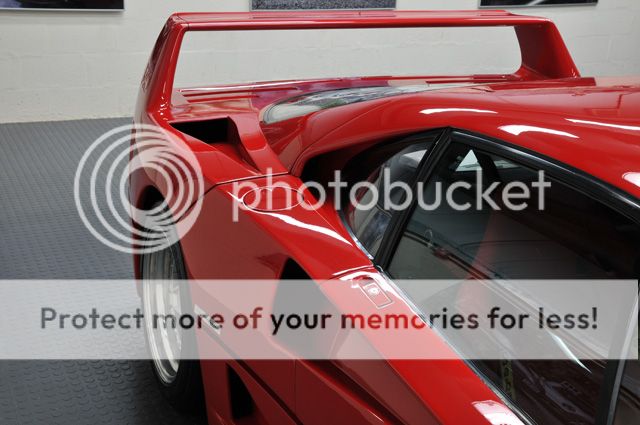
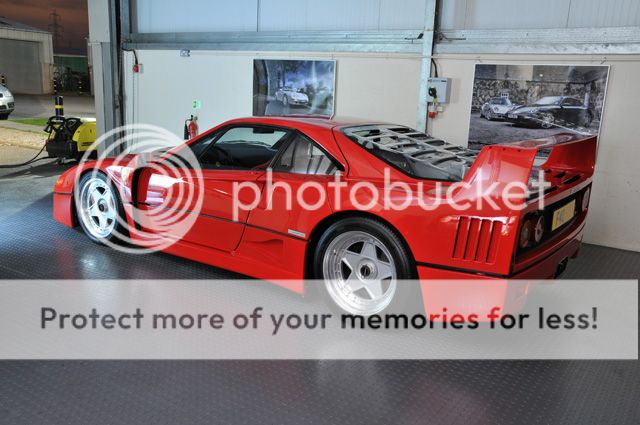
"The car that launched a thousand posters" as they say, and one I was delighted to have sat in our Studio at the start of this week (and what a bad time Alan had chosen to take his Holidays! :lol")
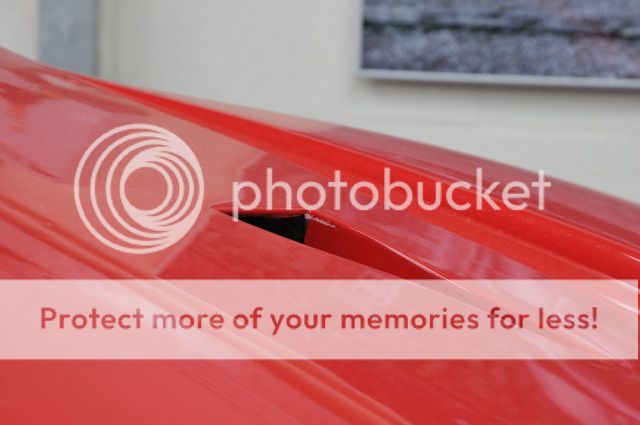
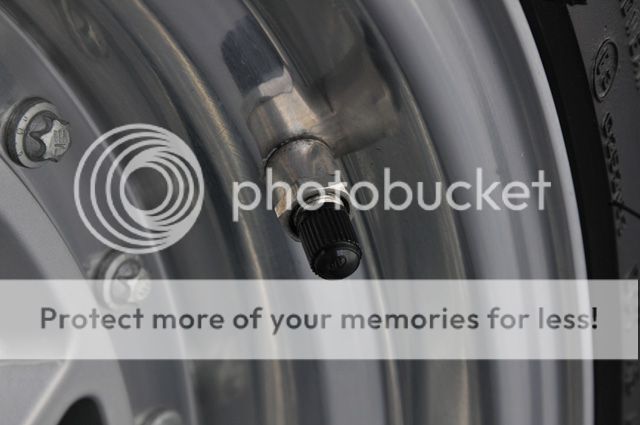
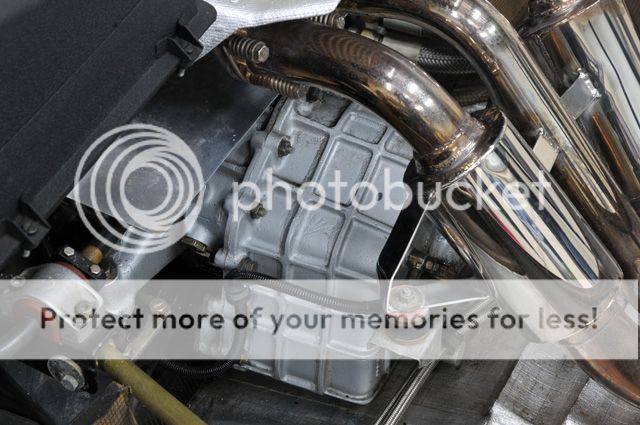
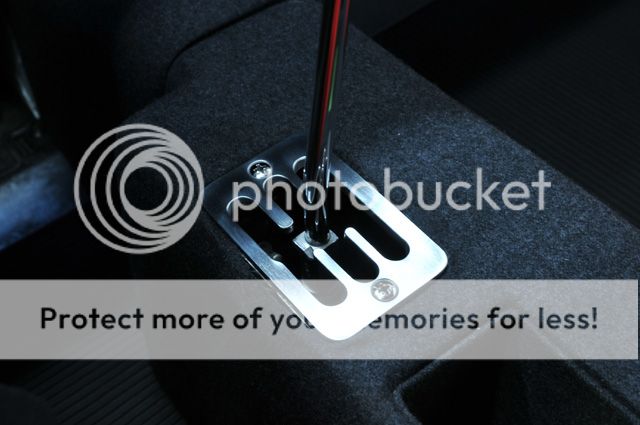
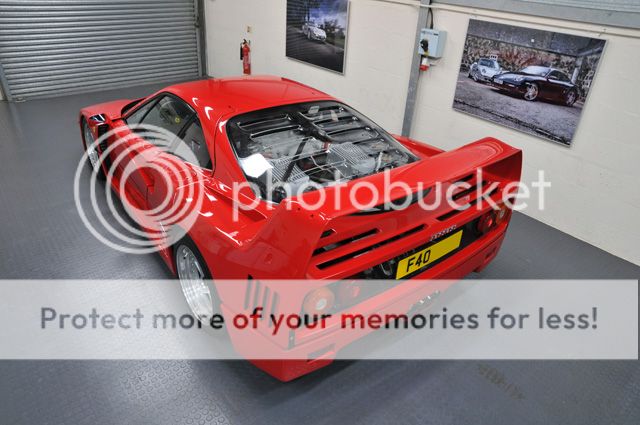
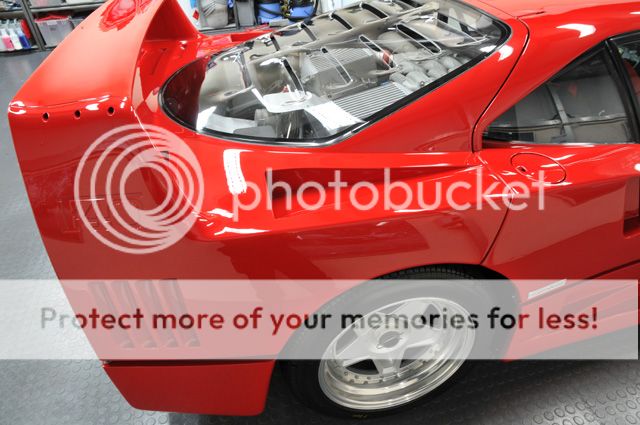
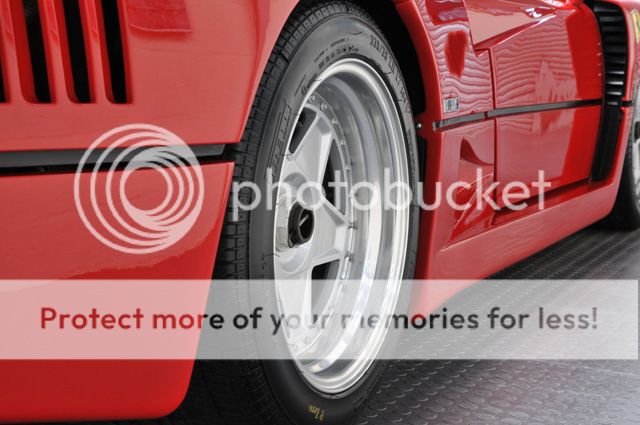
As you can see this one does get used:


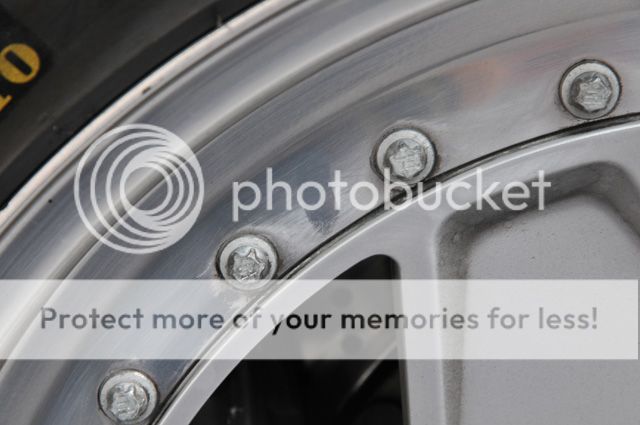
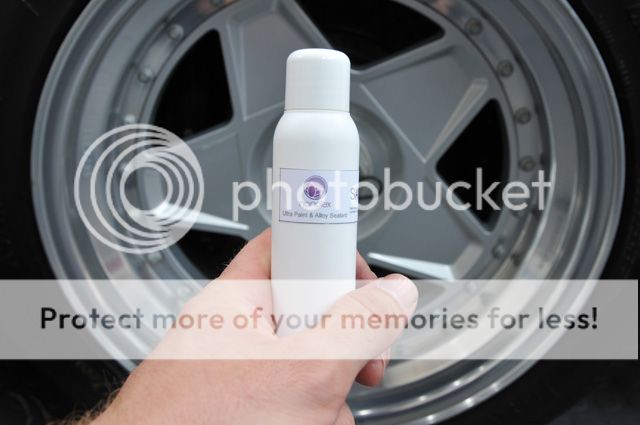
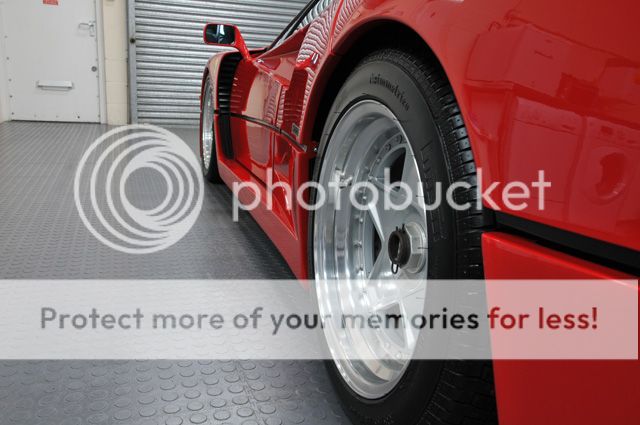
Lots of old product residue and a couple of the wheels look like they hadn't even been buffed off last time they were polished/sealed:

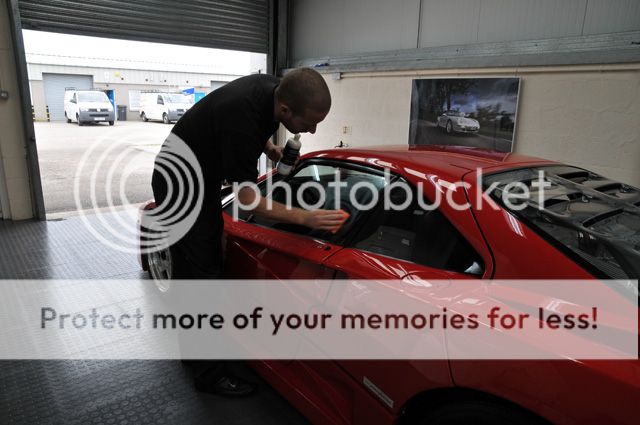
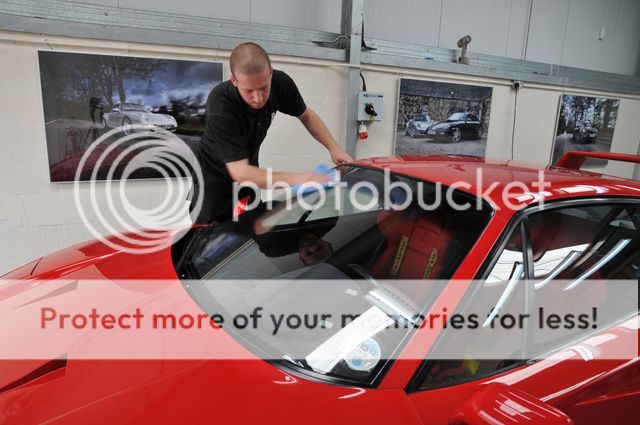
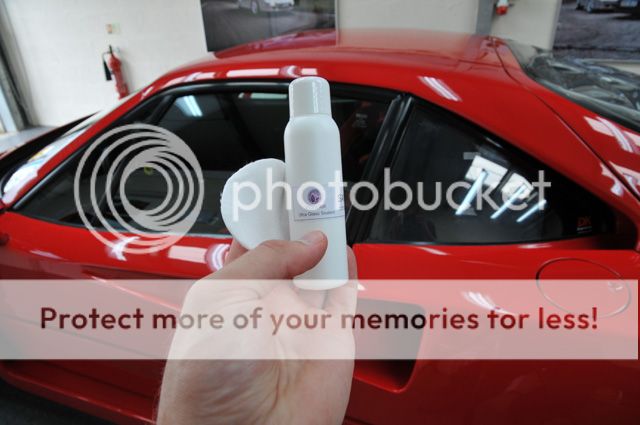
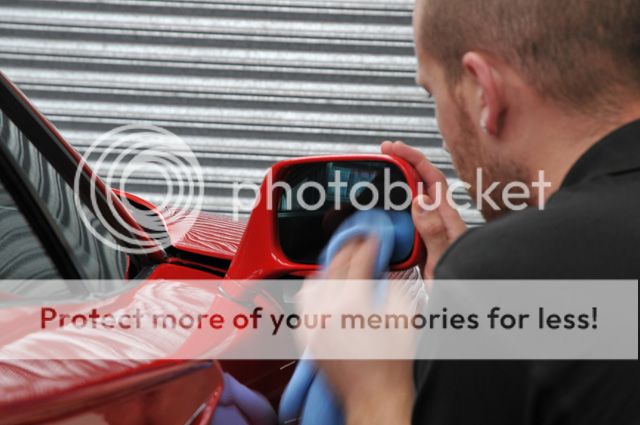
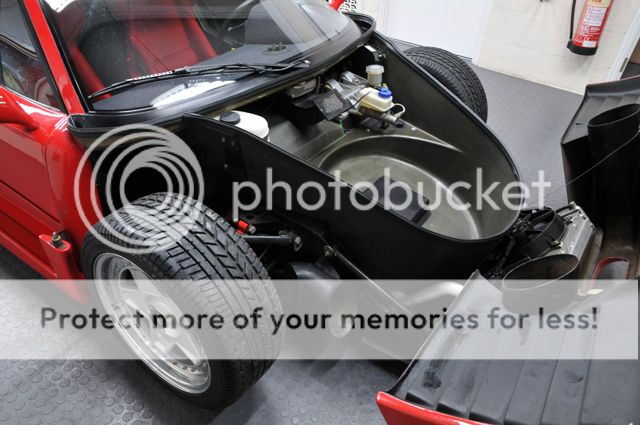
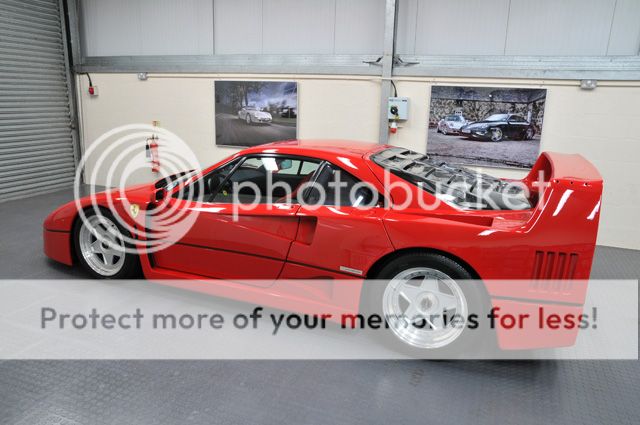
The aim of this detail was to clean and protect all surfaces inside and out whilst giving the paintwork a light machine polish to remove some of the more noticeable scuffs etc.
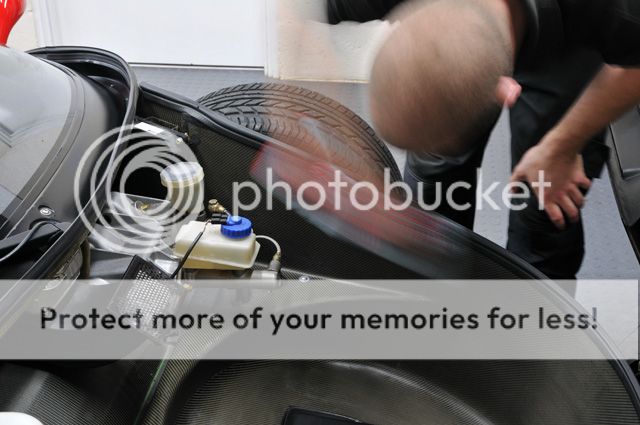
I had planned on doing a step by step picture guide for the wash stages but as you can see it was raining rather hard and I didn't fancy getting the camera wet...

So instead, this was the process carried out:
- Wheels, tyres and arches pre-rinsed.
- Wolf's Deironizer, EZ & Swissvax brushes for the wheels.
- Meguiars APC (4:1) for the tyres and arches.
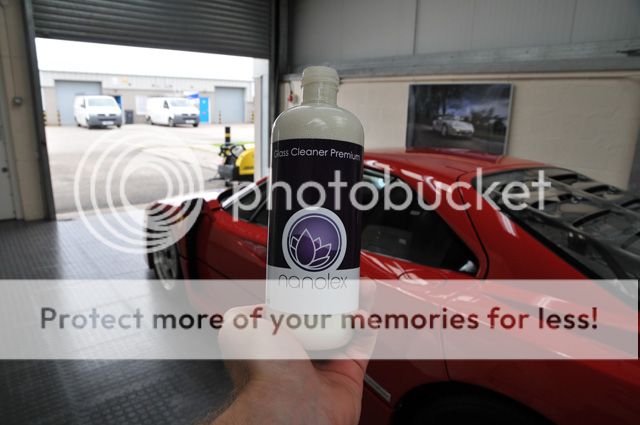
- Meguiars APC (10:1) for all exterior trim and badges.
- Foamed with Meguiars Hyperwash & thoroughly rinsed.
- Paintwork washed with 2BM & a new test shampoo.
- Autosmart Tardis on a few small areas of paintwork.
- Clayed with Meguiars Mild Detailing Clay.
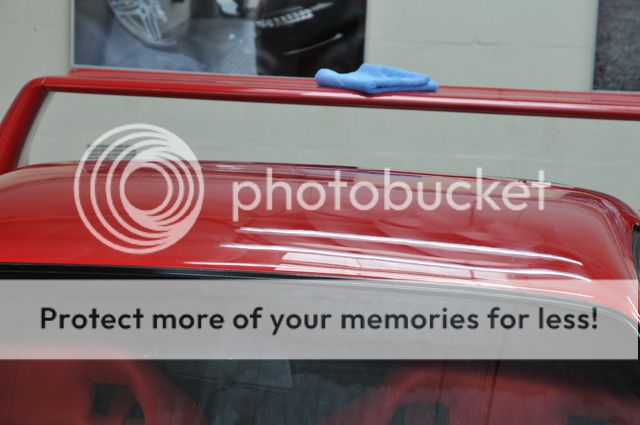
- Dried off with PB Lux Drying Towel and the Black Baron.
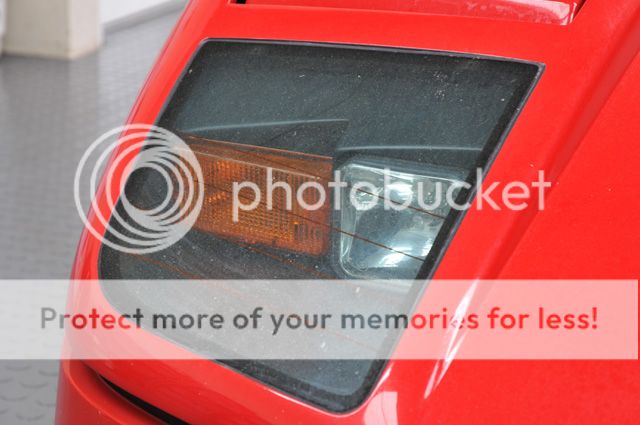
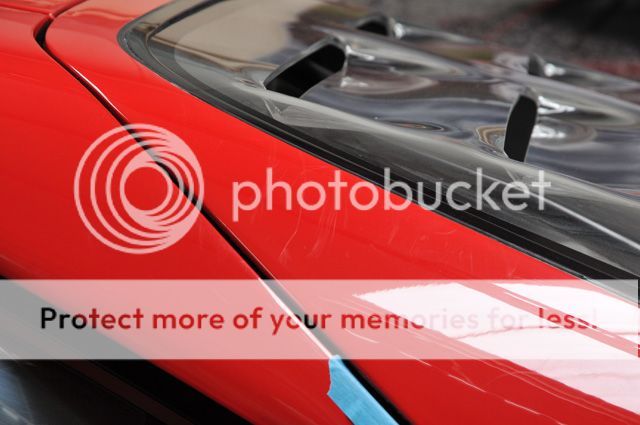
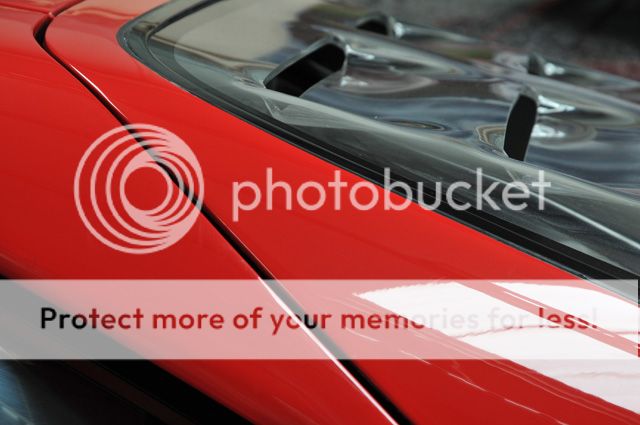
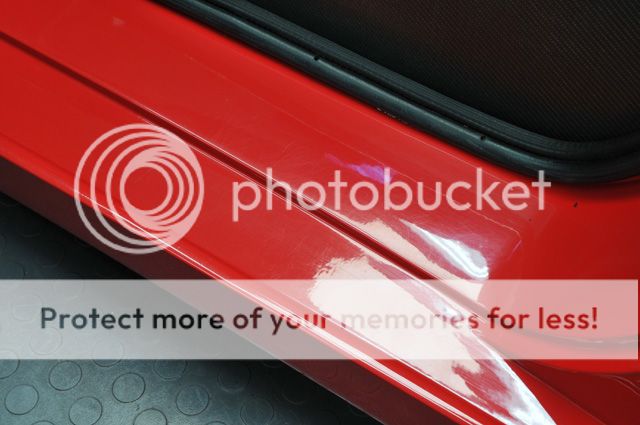
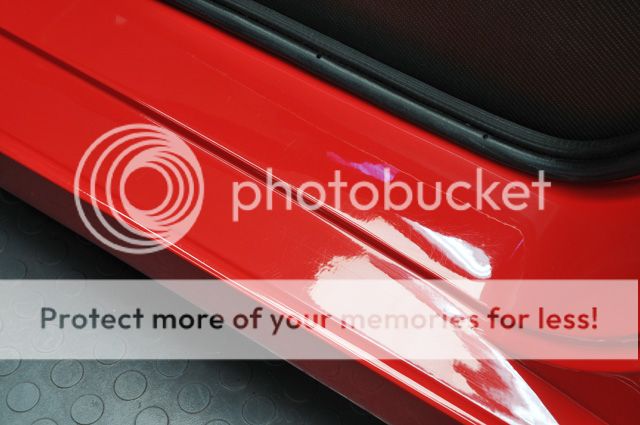
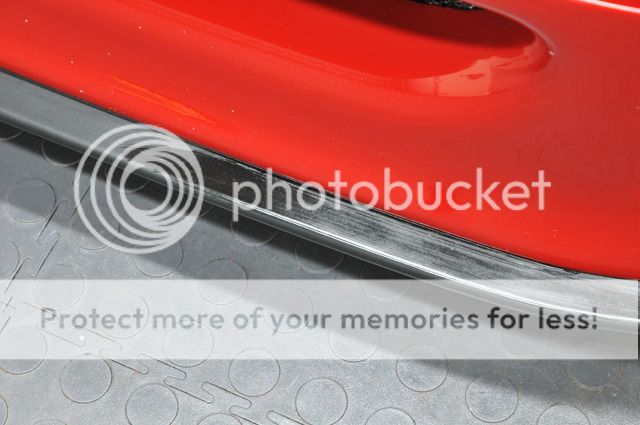
With the car now clean and dry there were alot of random scratches and almost cat claw type marks visible in the paintwork:


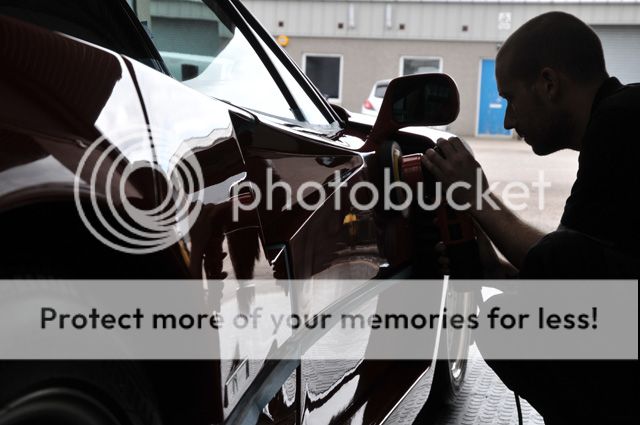
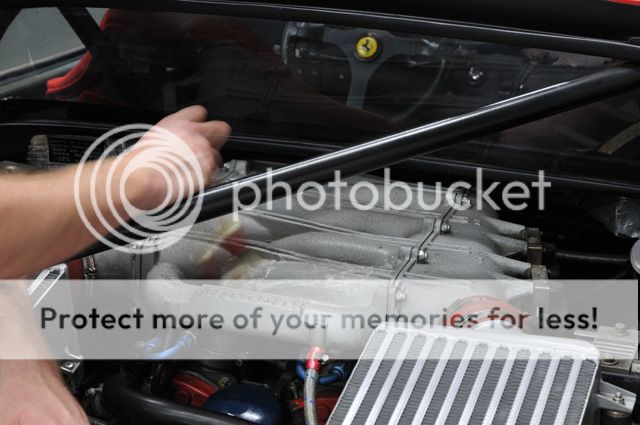
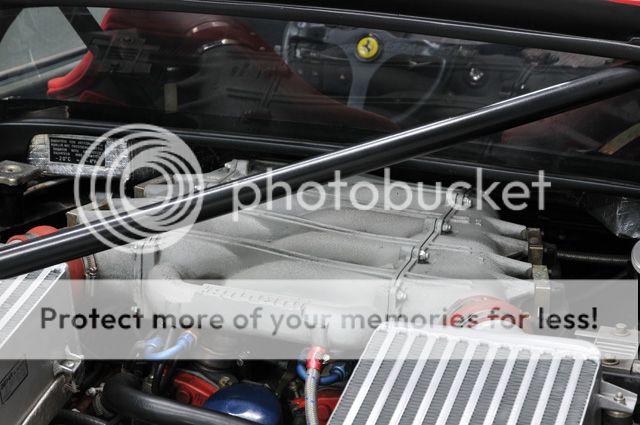
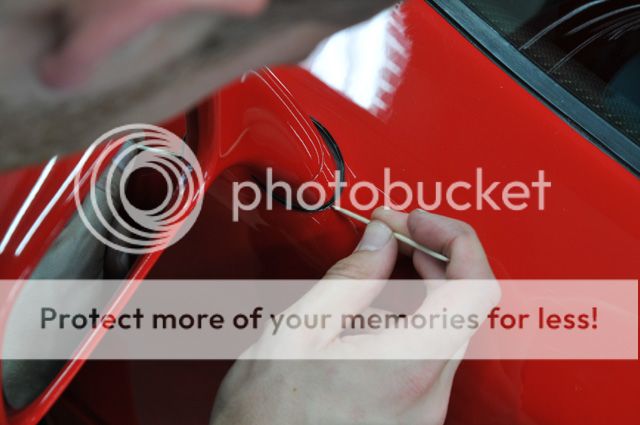
Machine polishing was going to be the only way to remove/improve this but first I had to measure the paint thickness to make sure it was safe to do so.
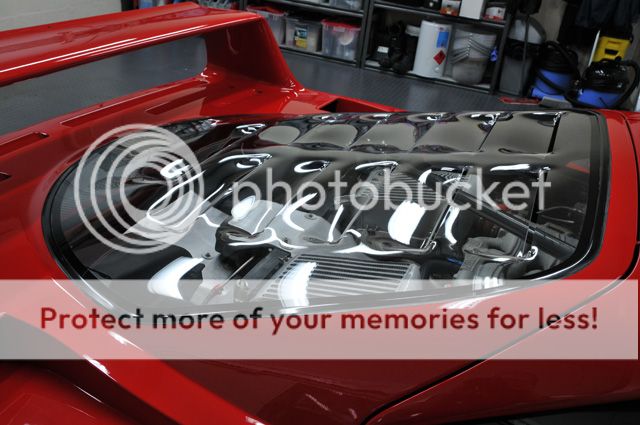
As there are no metal panels on the F40 a normal paint gauge wouldn't work so the Positector 200 was needed in order to give readings on the composites:
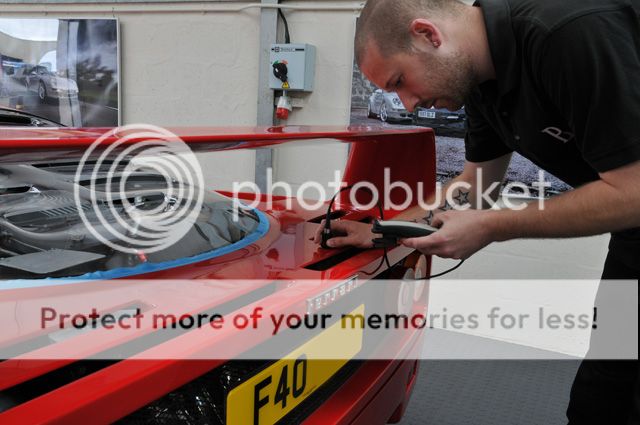
The paintwork was slightly thicker than I was expecting with a few low areas but certainly nothing scary
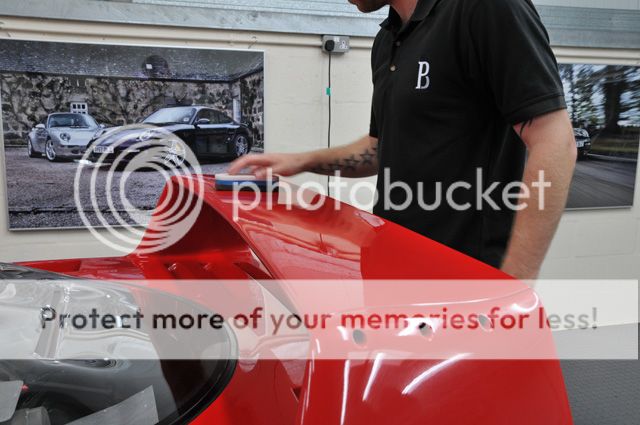
Menzerna 203S and a Lake Country HT Crimson Spot pad were used with the DAS-6 Pro for the smaller areas:

Whilst correction wasn't really the aim for this detail (just to try and reduce the deeper marks) this achieved a good result with minimal paint removal (approx 2 microns removed).
Before:

After:

Before:

After:

Before:
After:
Before:
After:
"The car that launched a thousand posters" as they say, and one I was delighted to have sat in our Studio at the start of this week (and what a bad time Alan had chosen to take his Holidays! :lol
As you can see this one does get used:
Lots of old product residue and a couple of the wheels look like they hadn't even been buffed off last time they were polished/sealed:
The aim of this detail was to clean and protect all surfaces inside and out whilst giving the paintwork a light machine polish to remove some of the more noticeable scuffs etc.
I had planned on doing a step by step picture guide for the wash stages but as you can see it was raining rather hard and I didn't fancy getting the camera wet...
So instead, this was the process carried out:
- Wheels, tyres and arches pre-rinsed.
- Wolf's Deironizer, EZ & Swissvax brushes for the wheels.
- Meguiars APC (4:1) for the tyres and arches.
- Meguiars APC (10:1) for all exterior trim and badges.
- Foamed with Meguiars Hyperwash & thoroughly rinsed.
- Paintwork washed with 2BM & a new test shampoo.
- Autosmart Tardis on a few small areas of paintwork.
- Clayed with Meguiars Mild Detailing Clay.
- Dried off with PB Lux Drying Towel and the Black Baron.
With the car now clean and dry there were alot of random scratches and almost cat claw type marks visible in the paintwork:
Machine polishing was going to be the only way to remove/improve this but first I had to measure the paint thickness to make sure it was safe to do so.
As there are no metal panels on the F40 a normal paint gauge wouldn't work so the Positector 200 was needed in order to give readings on the composites:
The paintwork was slightly thicker than I was expecting with a few low areas but certainly nothing scary
Menzerna 203S and a Lake Country HT Crimson Spot pad were used with the DAS-6 Pro for the smaller areas:
Whilst correction wasn't really the aim for this detail (just to try and reduce the deeper marks) this achieved a good result with minimal paint removal (approx 2 microns removed).
Before:
After:
Before:
After:
Before:
After:
Before:
After:


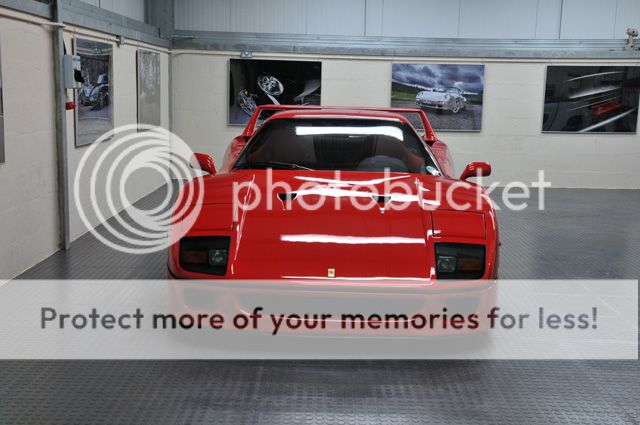


 cracking job on an amazing and classic piece of history.