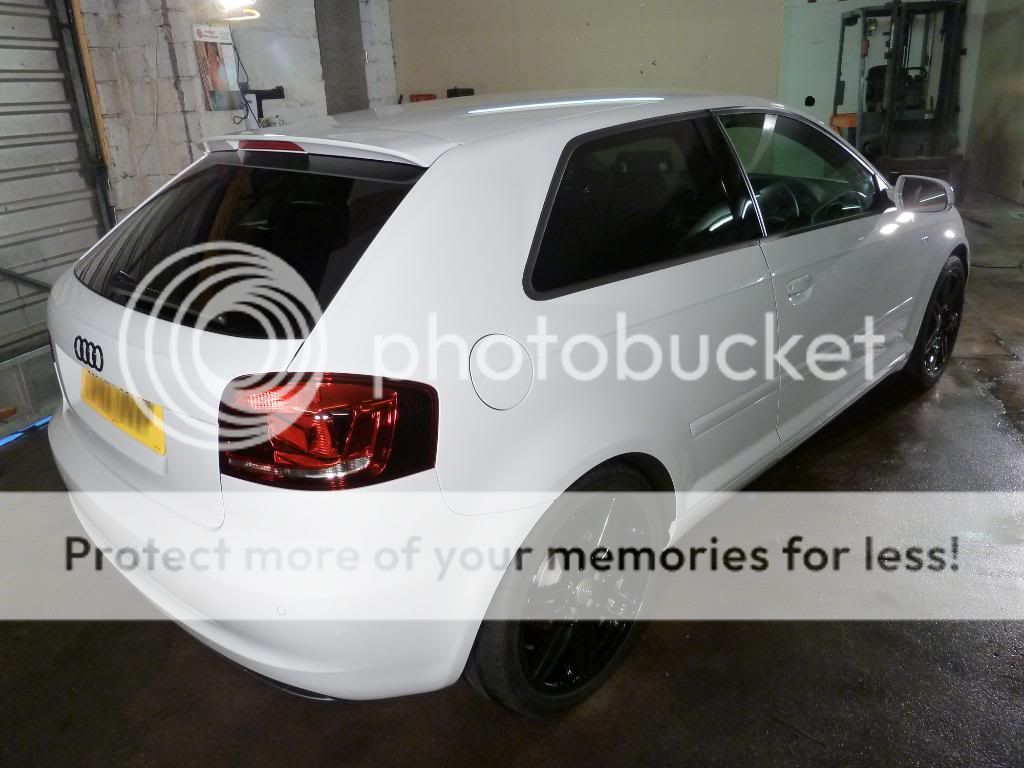
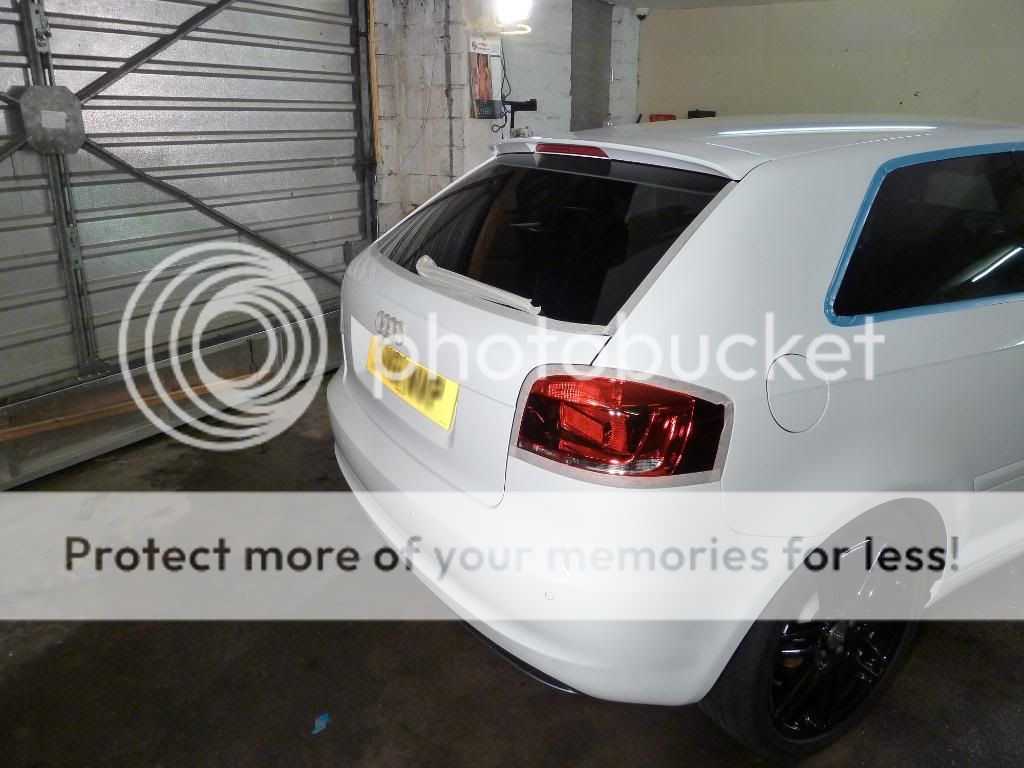
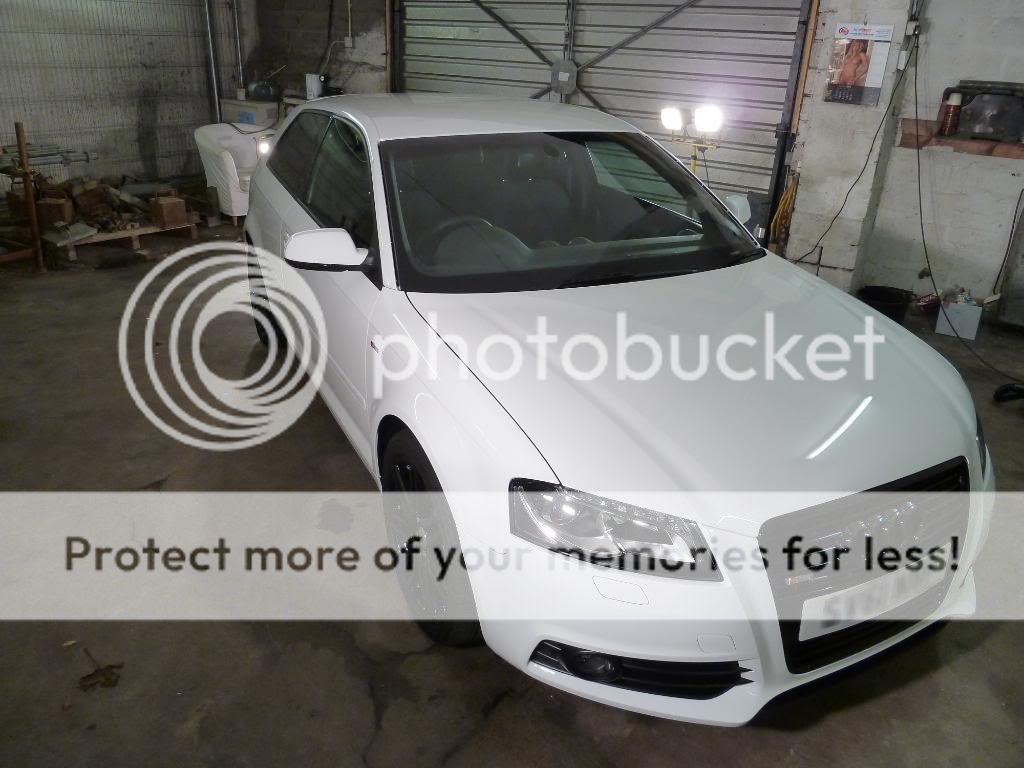
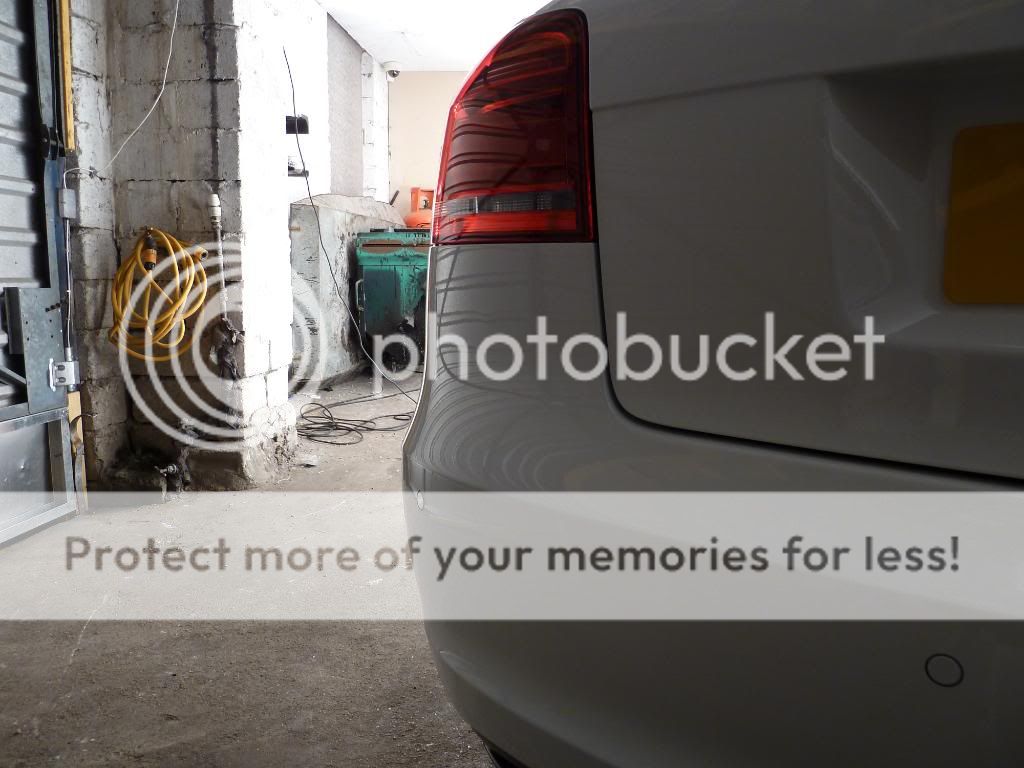
Hey folks posted this on another forum but thought i would share here this was a detail of my A3 not long after i got it, ive done a few exterior mods, the last one was where a drunk driver decided to rear end me so 4 weeks of repair and a visit to polished bliss all is back to normal now. I havent got any photos from PB as the detail was done before all off that stuff happened.
Here goes itâs a long one so if you can be bothered reading through get yourself a nice drink and a comfy seat sit back and have a read, if not skip to the last bit where the finished up photos ...
This detail had a few objectives number 1 was to get the car protected from top to toe number 2 was to try out the new Gtechniq goodies I got not long ago. I have been meaning to try this stuff out for ages now and resisted until I used most of my other detailing stuff well I didnât really, a new car a new start thought it was a good opportunity to get it fully protected and give my opinion on the products used from the perspective of an enthusiastic weekend Detailer.
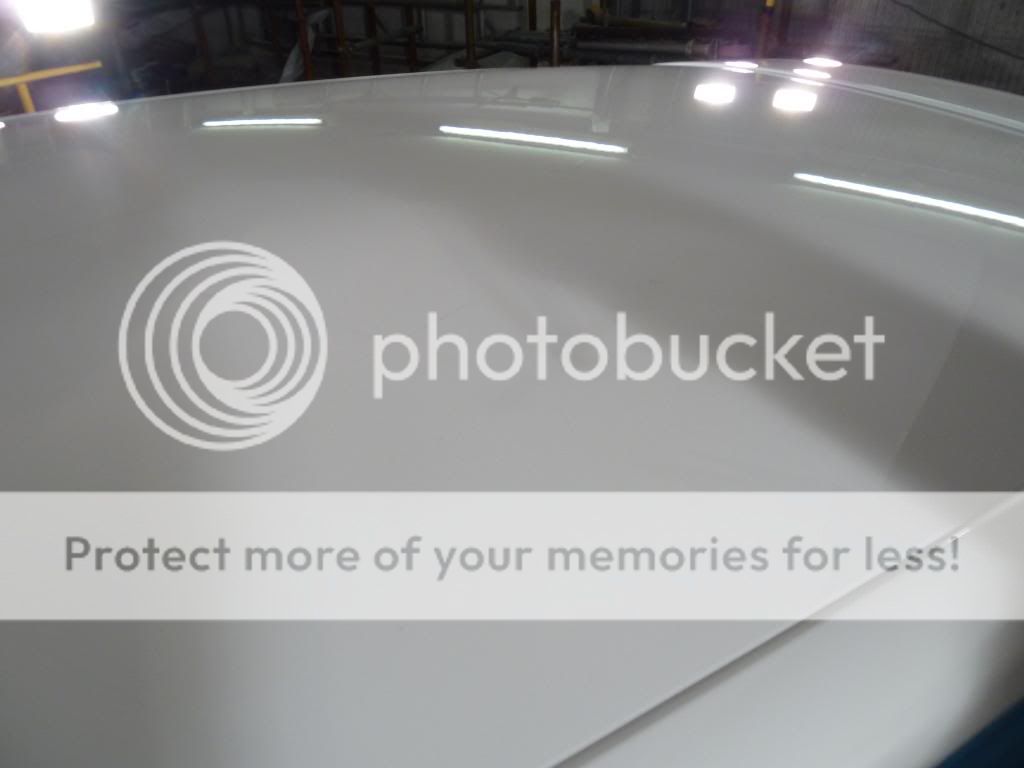
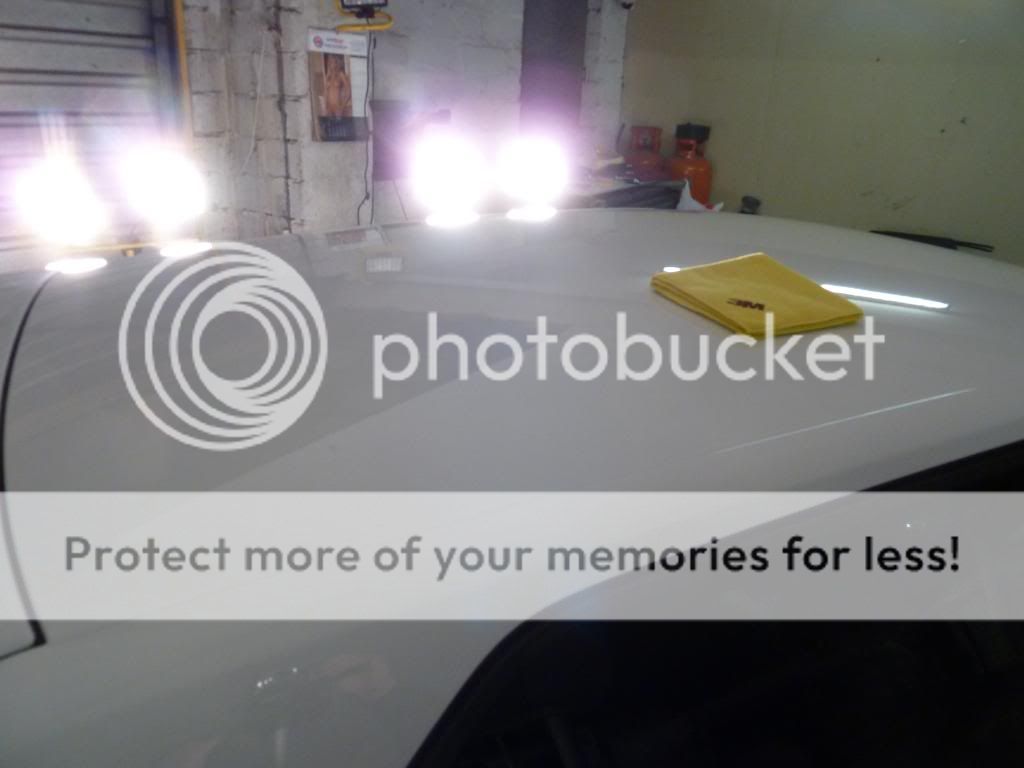
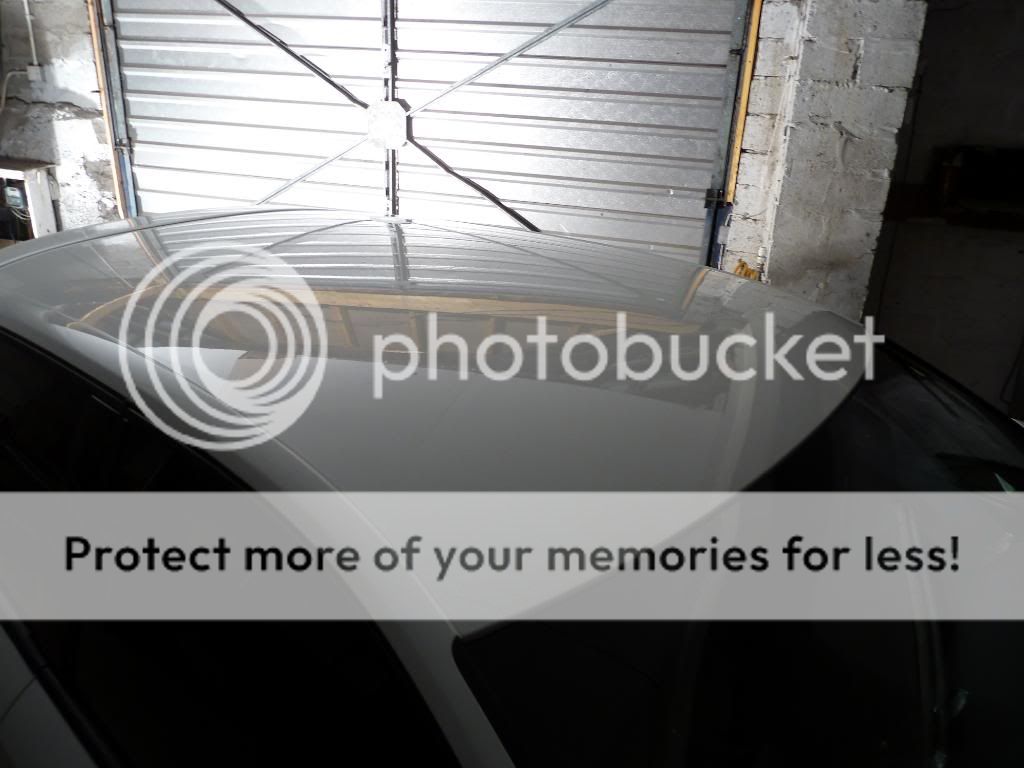
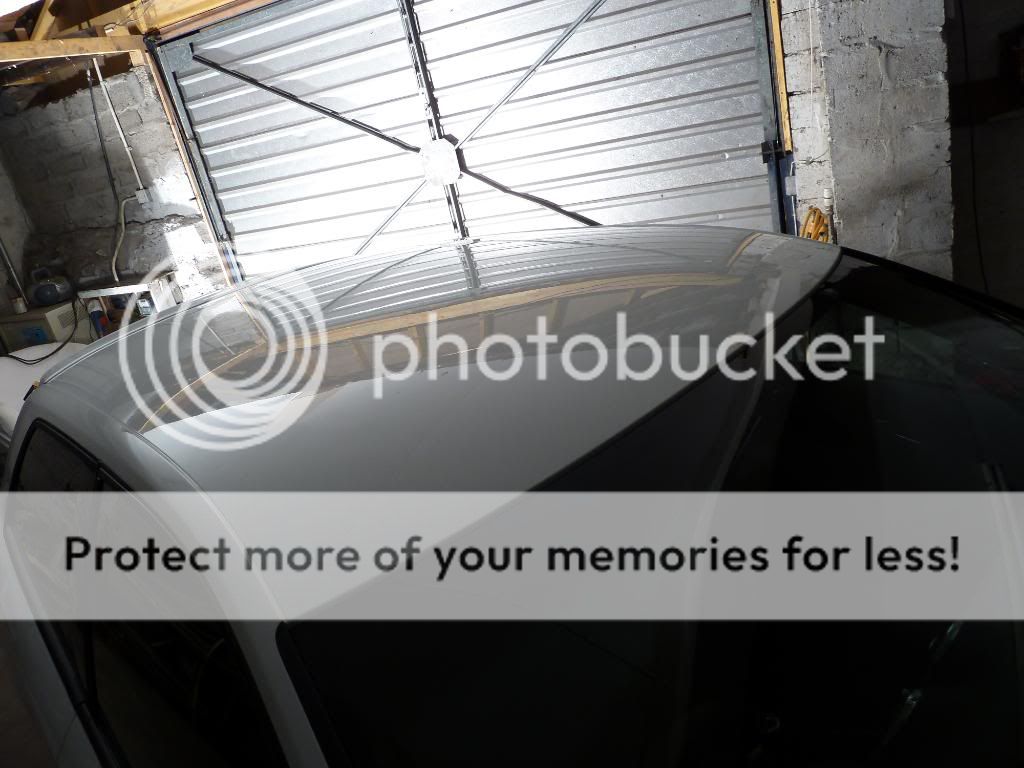
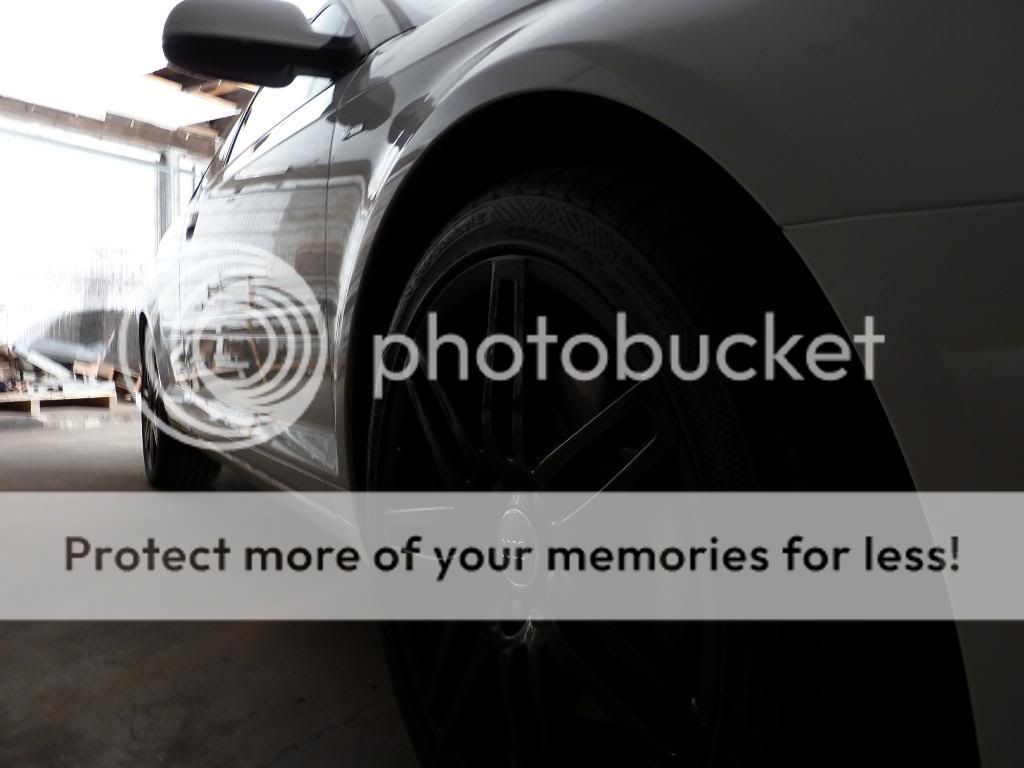
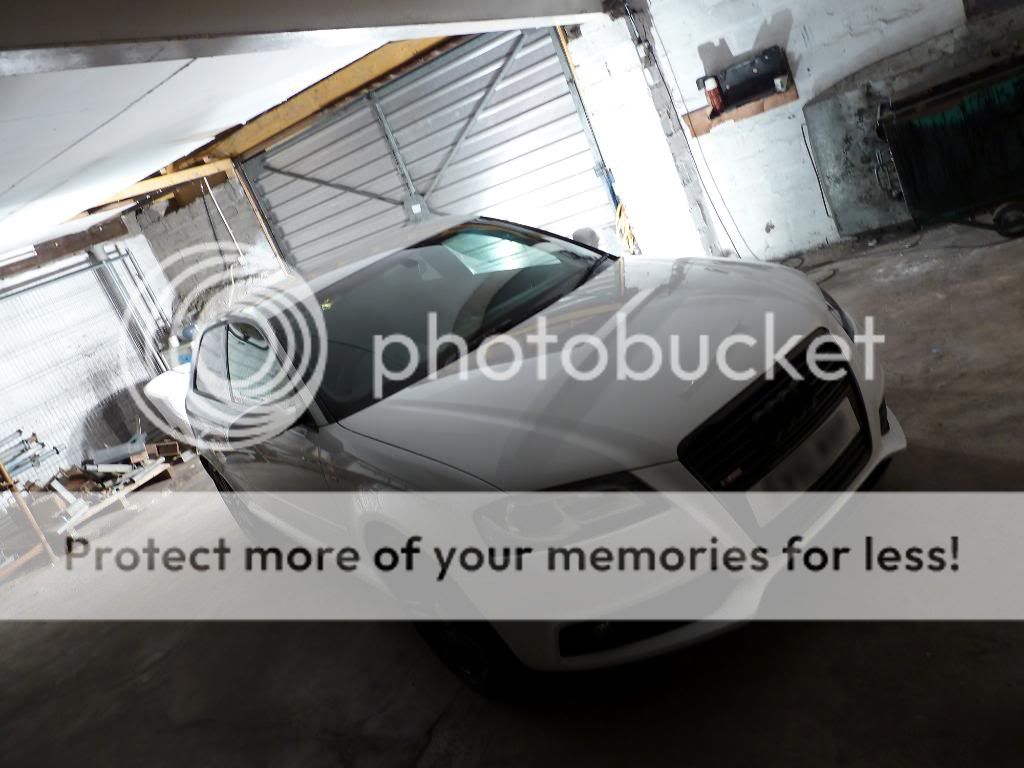
For you eagle eyed viewers the detail was carried out over a weekend and one more evening. Ive arranged the photos in a logical order (logical to me) and some of the photos might not have been taken in the specific order but most of them should be. By time I got finished each time it was pretty dark and still havenât been able to get decent photos outside without there been rain or the car dirty once again and again its depressing leaving for work once its dark and returning home when its more or less dark perpetual darkness = SADness (seasonal affective disorder) So the finished results are taken under work lamp lights, but for the few glimpses ive seen the car under natural light it looks very glassy like.
The process carried out on this detail was done in the order below I like to work from the inside outâ¦.
On to the photos now first up here is the products used I wonât bore you with another list but itâs pretty much one of each Gtechniq stuff menzerna polish and lake county HT pads.


Interior
Remove mats
Hoover all areas
APC all plastics 10:1
Clean leather and fabric
APC door shuts
Degrease door shuts
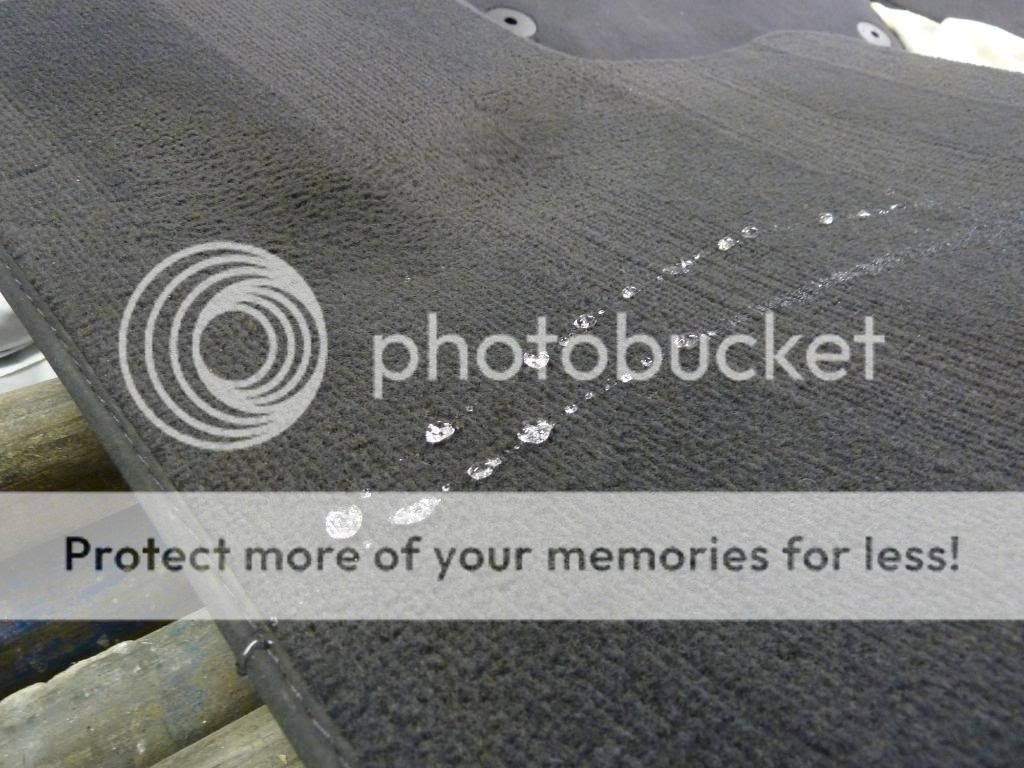
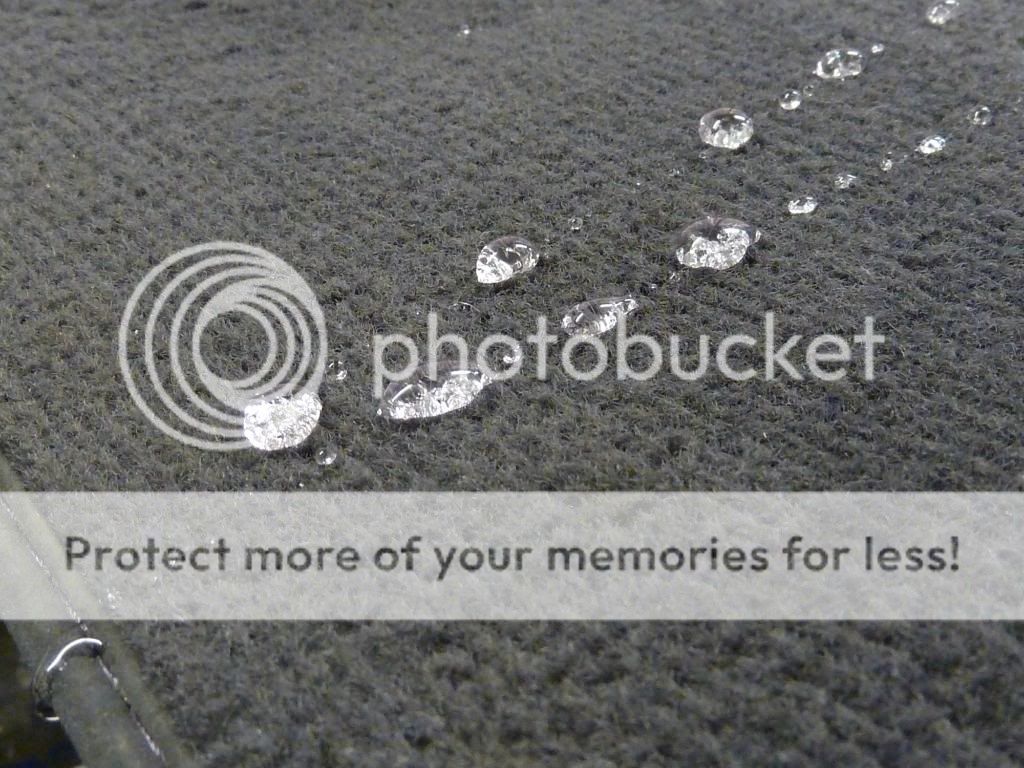
Treat all fabric areas
Condition leather
Dress plastic areas
Clean Glass
Seal door shuts and dress exterior plastics
On to the dirty interior bits the interior was cleaned as per the list above


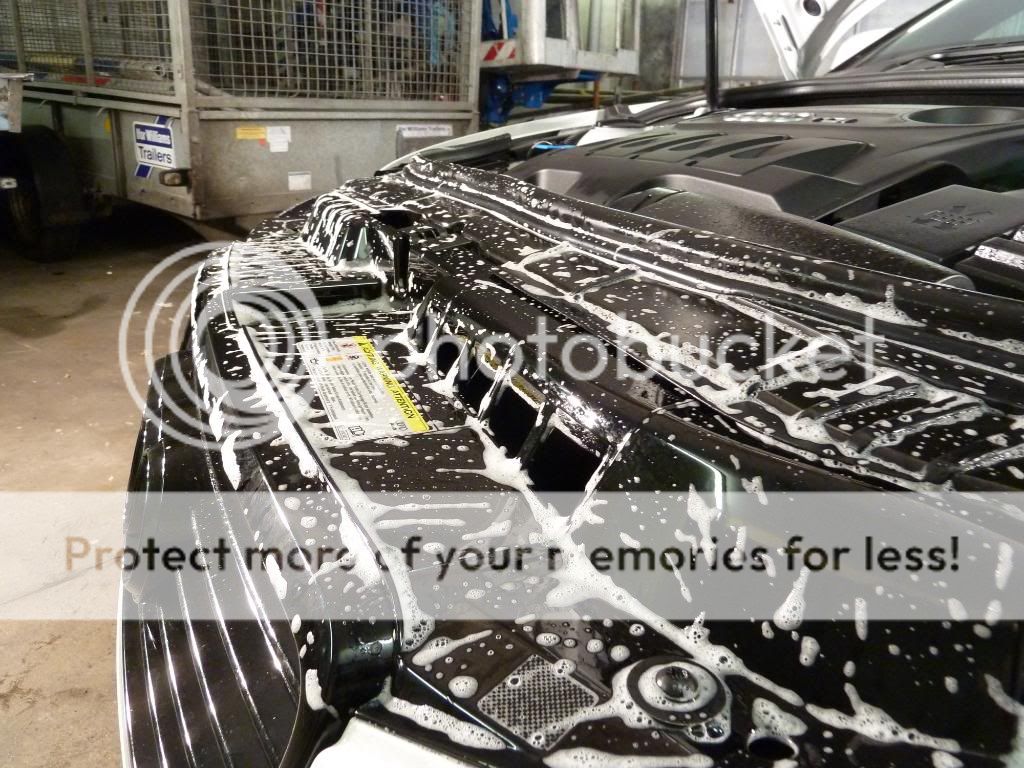
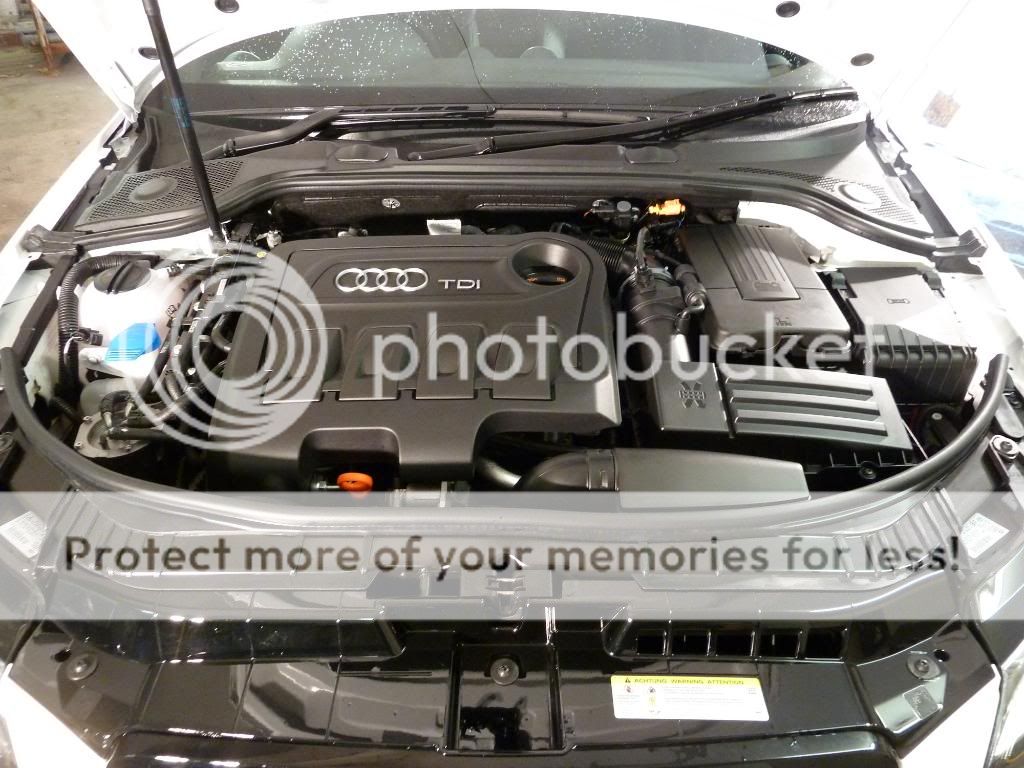
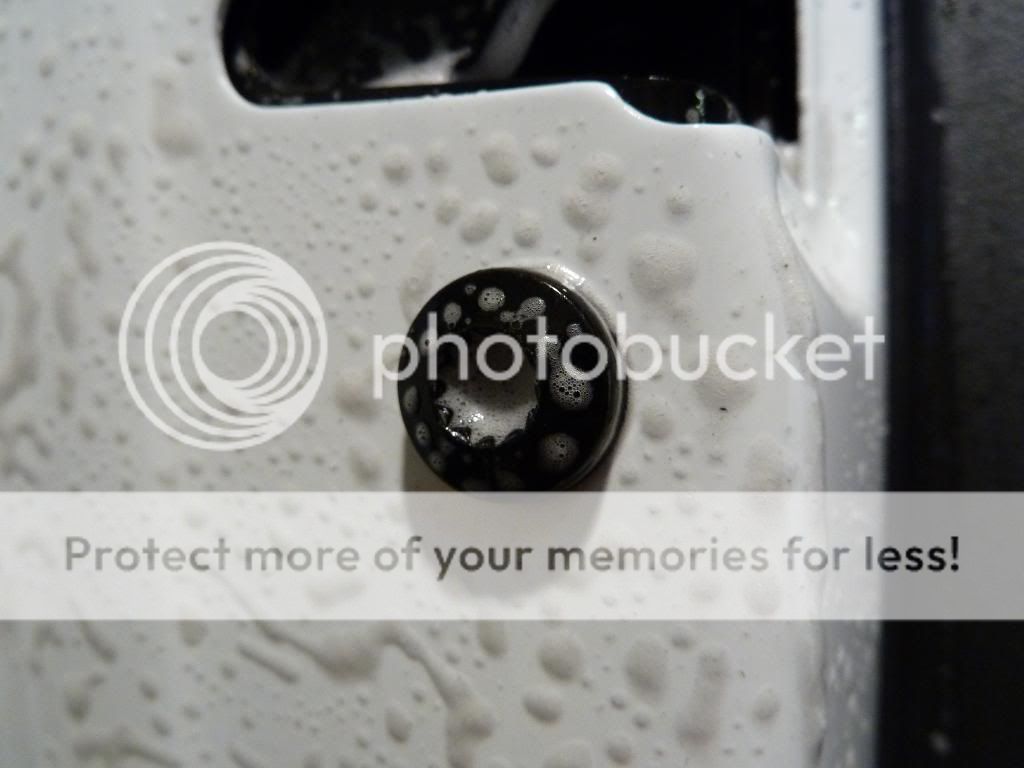
Every nut and bolt and hinge was APCâd degreased and thouroughly cleaned. This was then rinsed of with an old noodle wash mitt with water as opposed to power washing my interior.


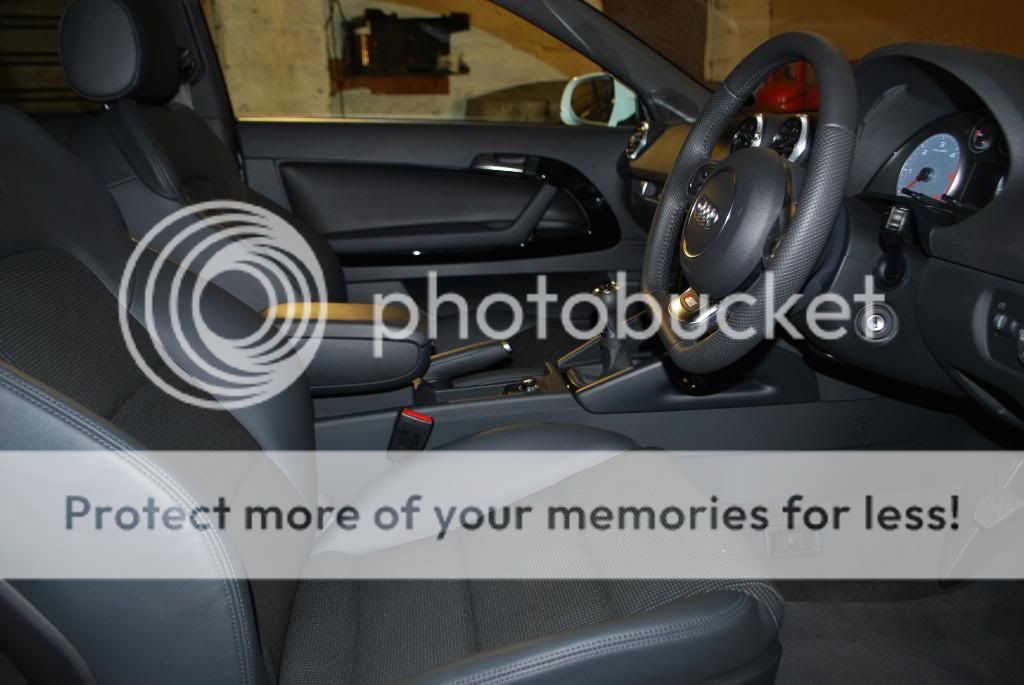
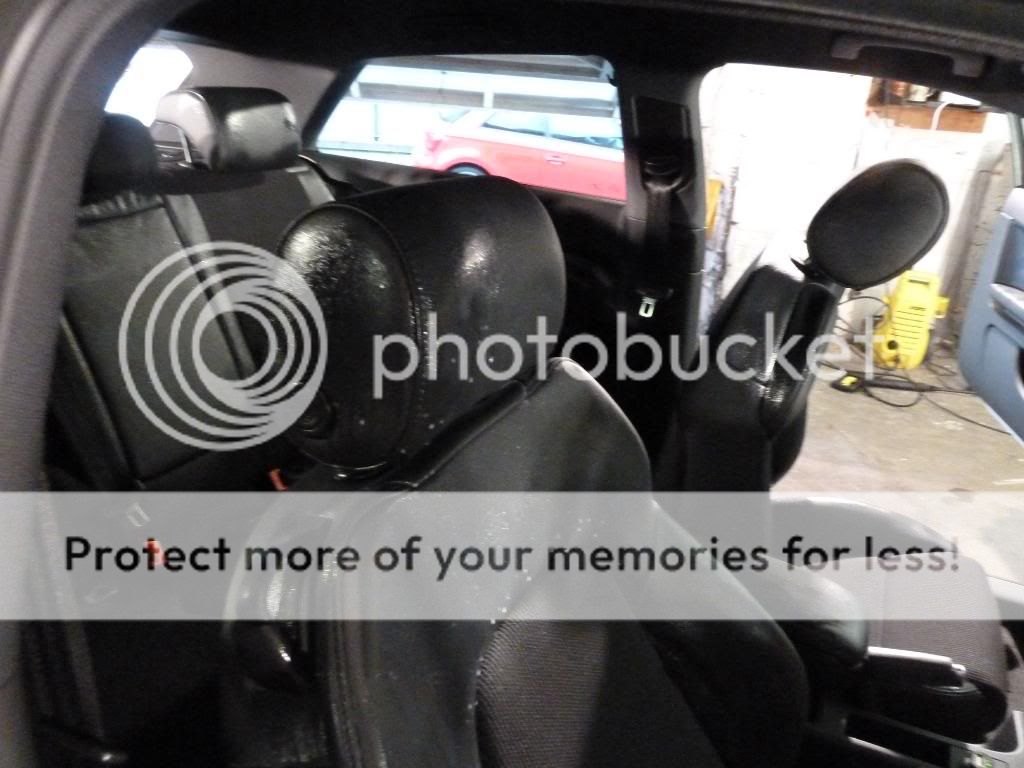
Now it was on to the protection part of the interior first up was the Gtechniq L1 leather protect. I sprayed this directly on to the leather headrest but quickly learned sprays and interior donât mix so the usual application of interior products sprayed on microfiber pad and worked it into the leather left to soak in for 10 mins and buffed off with a fresh microfiber towel.
The product went on very well spreads easy enough and once you get the preferred method either spray directly or via pads, its quick enough to apply; itâs neither sticky to the touch nor greasy and once buffed off left a very natural look with no horrible sticky feel.

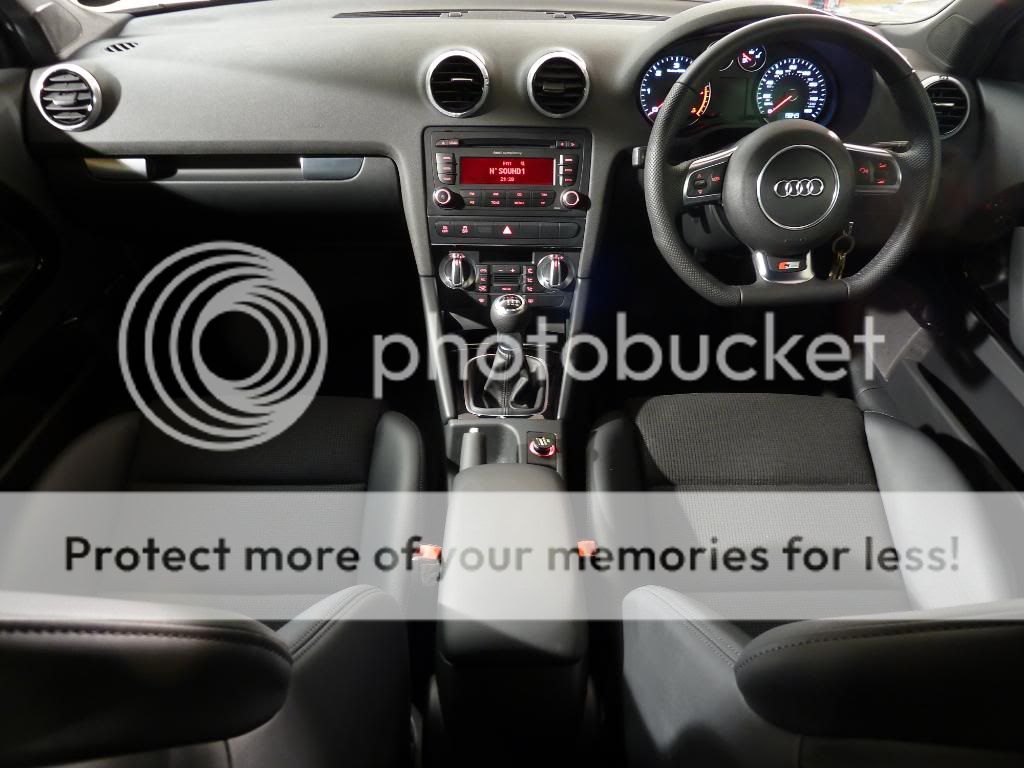
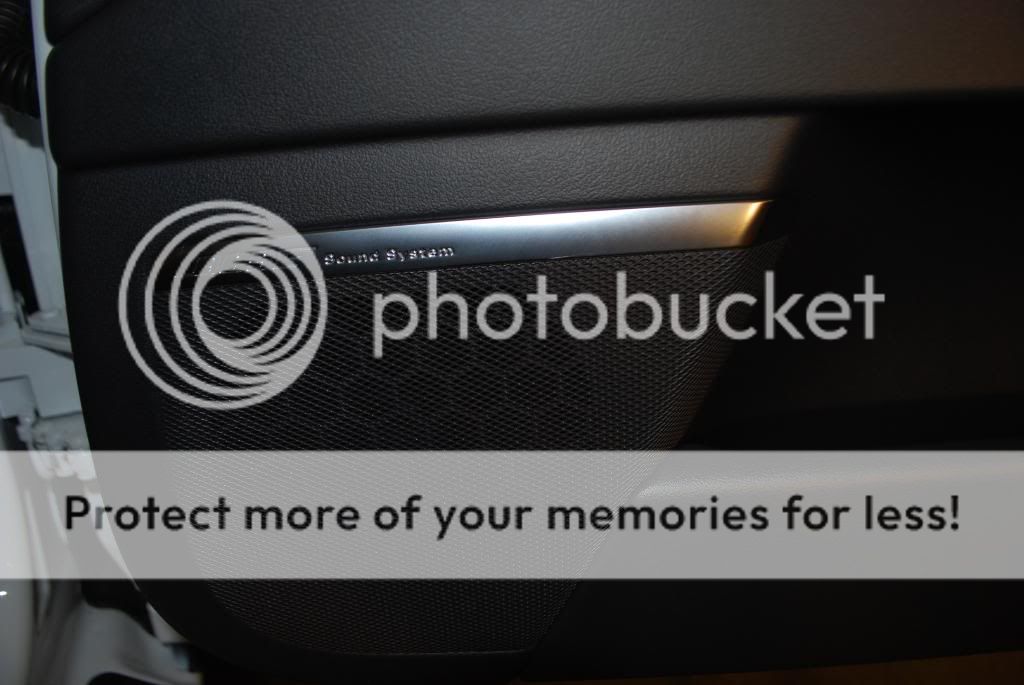
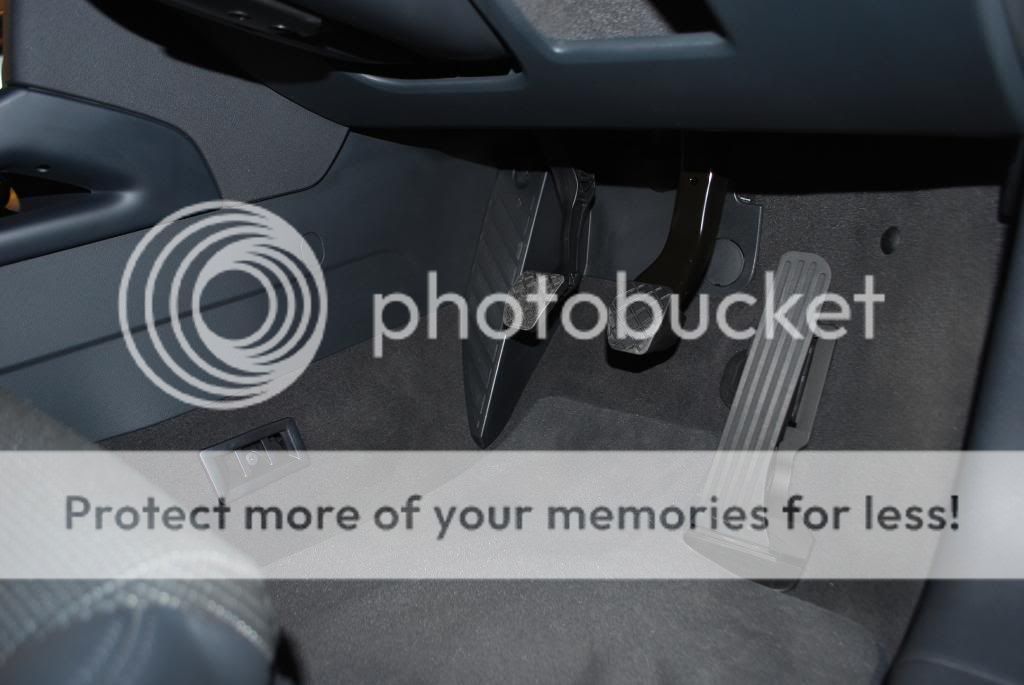
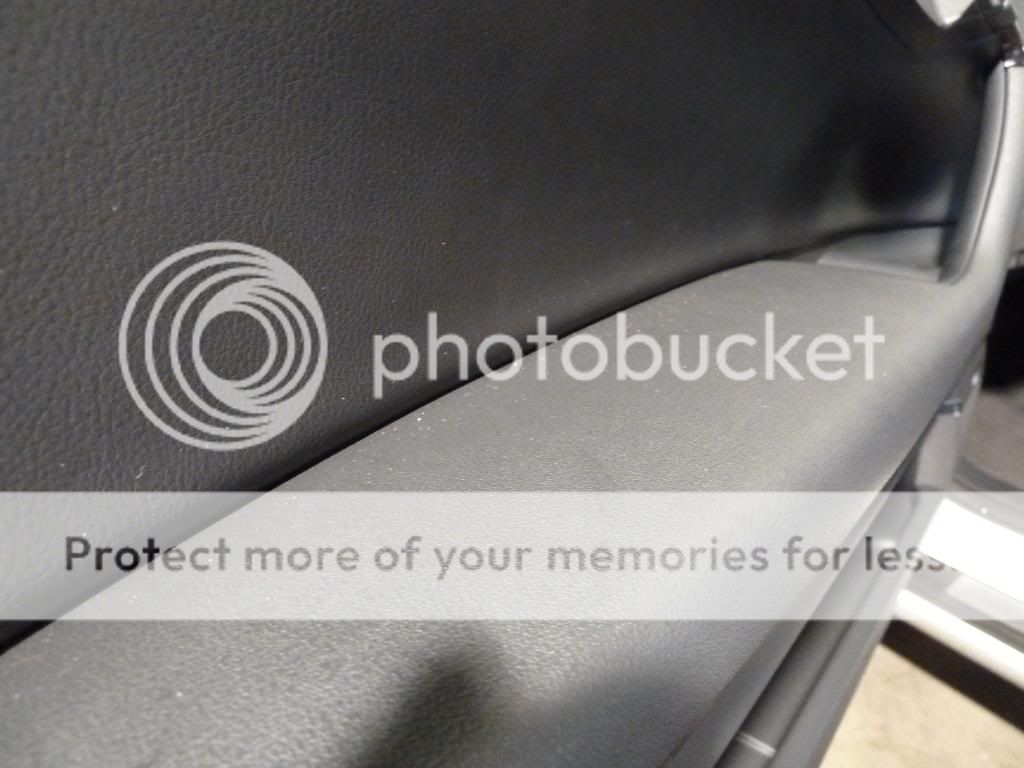
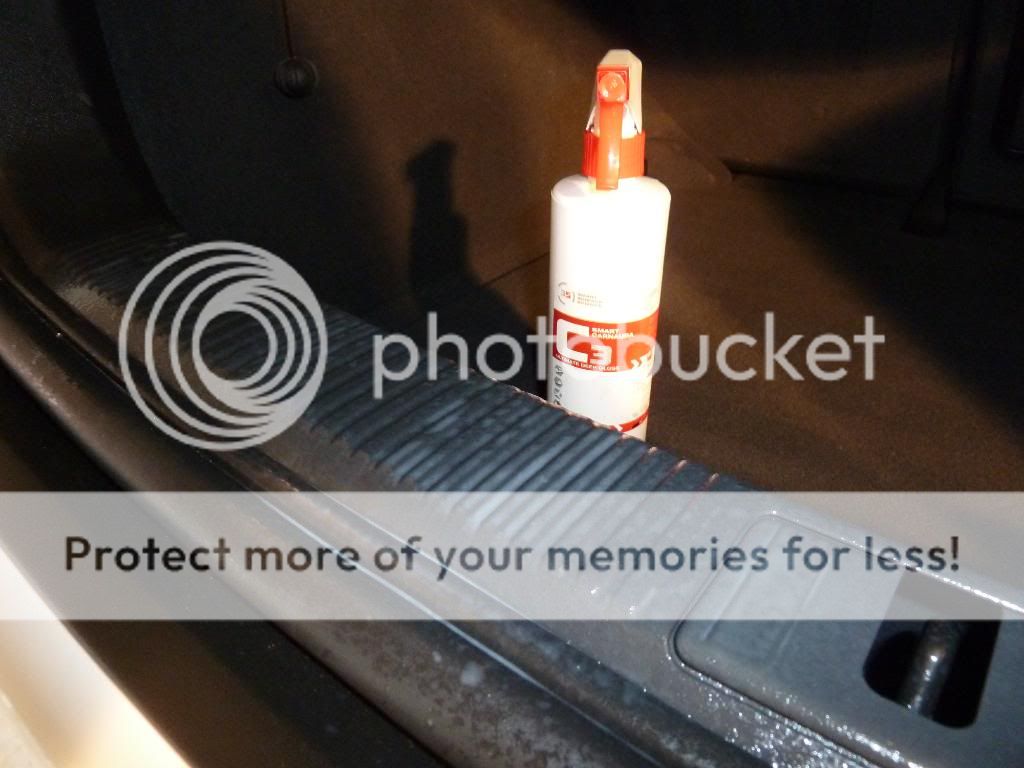
Next up was C3 smart carnauba spray this was used to seal all the plastics and vinyl such as the dash door cards parts of the seats every single bit was sealed up including the carpet mat brackets. Again an easy enough product to apply spread and buff off leaves behind a nice matt finish with no horrible oily greasy silicone residue behind. Can be used on a multitude of surfaces.

Here goes itâs a long one so if you can be bothered reading through get yourself a nice drink and a comfy seat sit back and have a read, if not skip to the last bit where the finished up photos ...
This detail had a few objectives number 1 was to get the car protected from top to toe number 2 was to try out the new Gtechniq goodies I got not long ago. I have been meaning to try this stuff out for ages now and resisted until I used most of my other detailing stuff well I didnât really, a new car a new start thought it was a good opportunity to get it fully protected and give my opinion on the products used from the perspective of an enthusiastic weekend Detailer.
For you eagle eyed viewers the detail was carried out over a weekend and one more evening. Ive arranged the photos in a logical order (logical to me) and some of the photos might not have been taken in the specific order but most of them should be. By time I got finished each time it was pretty dark and still havenât been able to get decent photos outside without there been rain or the car dirty once again and again its depressing leaving for work once its dark and returning home when its more or less dark perpetual darkness = SADness (seasonal affective disorder) So the finished results are taken under work lamp lights, but for the few glimpses ive seen the car under natural light it looks very glassy like.
The process carried out on this detail was done in the order below I like to work from the inside outâ¦.
On to the photos now first up here is the products used I wonât bore you with another list but itâs pretty much one of each Gtechniq stuff menzerna polish and lake county HT pads.
Interior
Remove mats
Hoover all areas
APC all plastics 10:1
Clean leather and fabric
APC door shuts
Degrease door shuts
Treat all fabric areas
Condition leather
Dress plastic areas
Clean Glass
Seal door shuts and dress exterior plastics
On to the dirty interior bits the interior was cleaned as per the list above
Every nut and bolt and hinge was APCâd degreased and thouroughly cleaned. This was then rinsed of with an old noodle wash mitt with water as opposed to power washing my interior.
Now it was on to the protection part of the interior first up was the Gtechniq L1 leather protect. I sprayed this directly on to the leather headrest but quickly learned sprays and interior donât mix so the usual application of interior products sprayed on microfiber pad and worked it into the leather left to soak in for 10 mins and buffed off with a fresh microfiber towel.
The product went on very well spreads easy enough and once you get the preferred method either spray directly or via pads, its quick enough to apply; itâs neither sticky to the touch nor greasy and once buffed off left a very natural look with no horrible sticky feel.
Next up was C3 smart carnauba spray this was used to seal all the plastics and vinyl such as the dash door cards parts of the seats every single bit was sealed up including the carpet mat brackets. Again an easy enough product to apply spread and buff off leaves behind a nice matt finish with no horrible oily greasy silicone residue behind. Can be used on a multitude of surfaces.