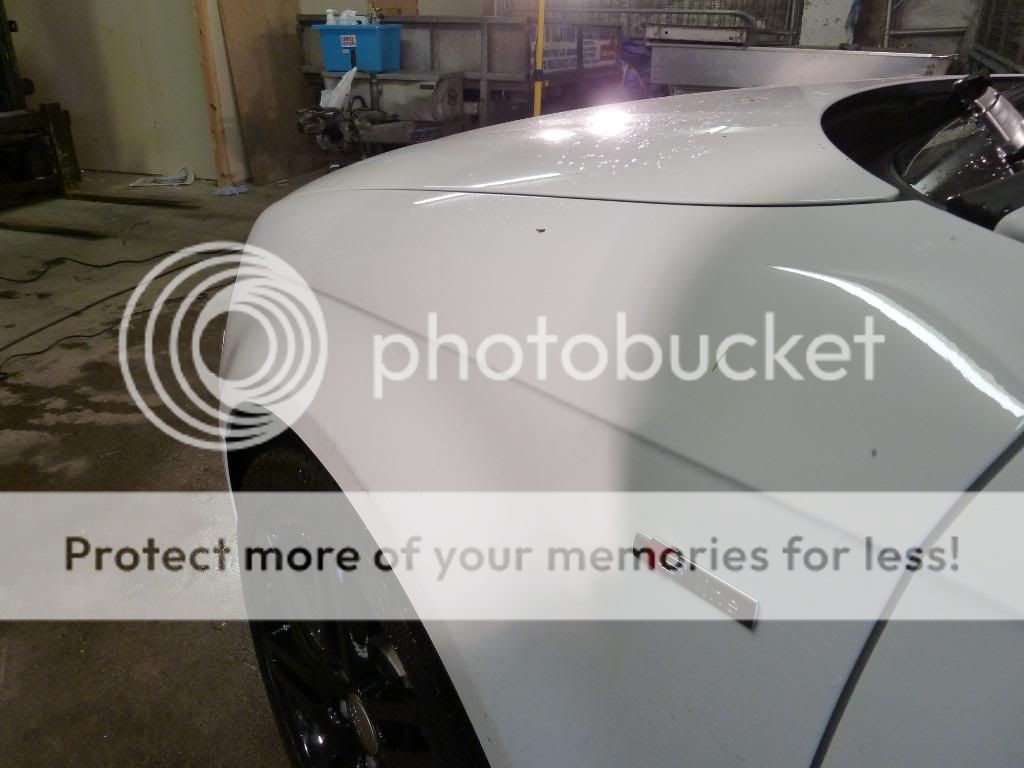
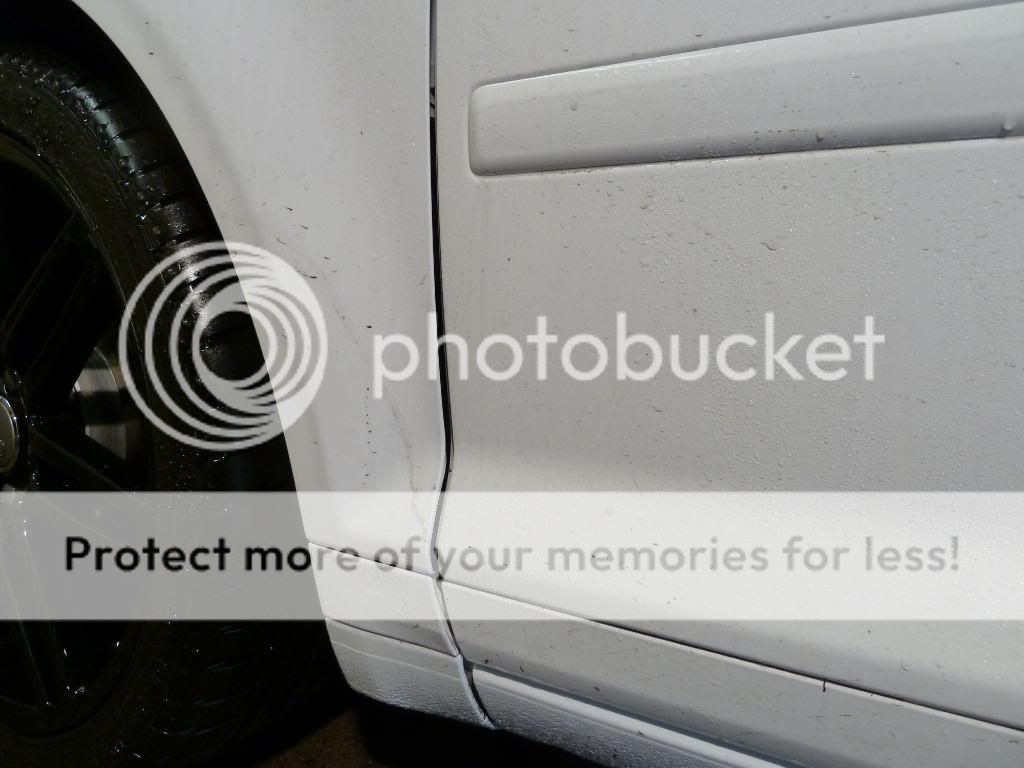
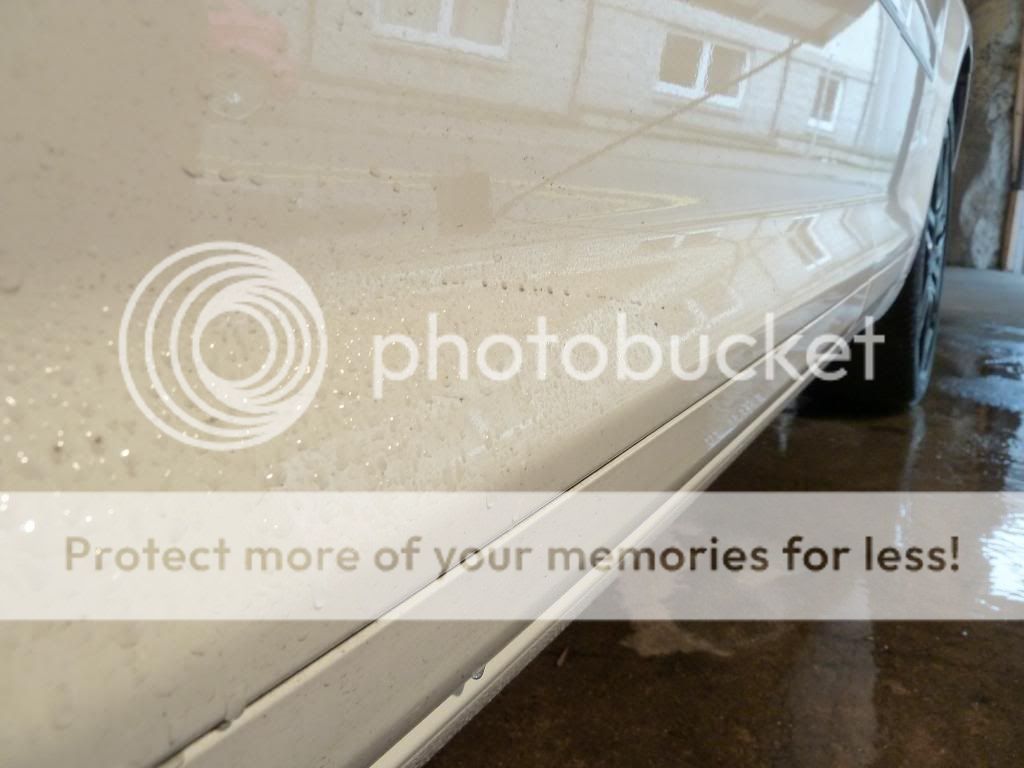
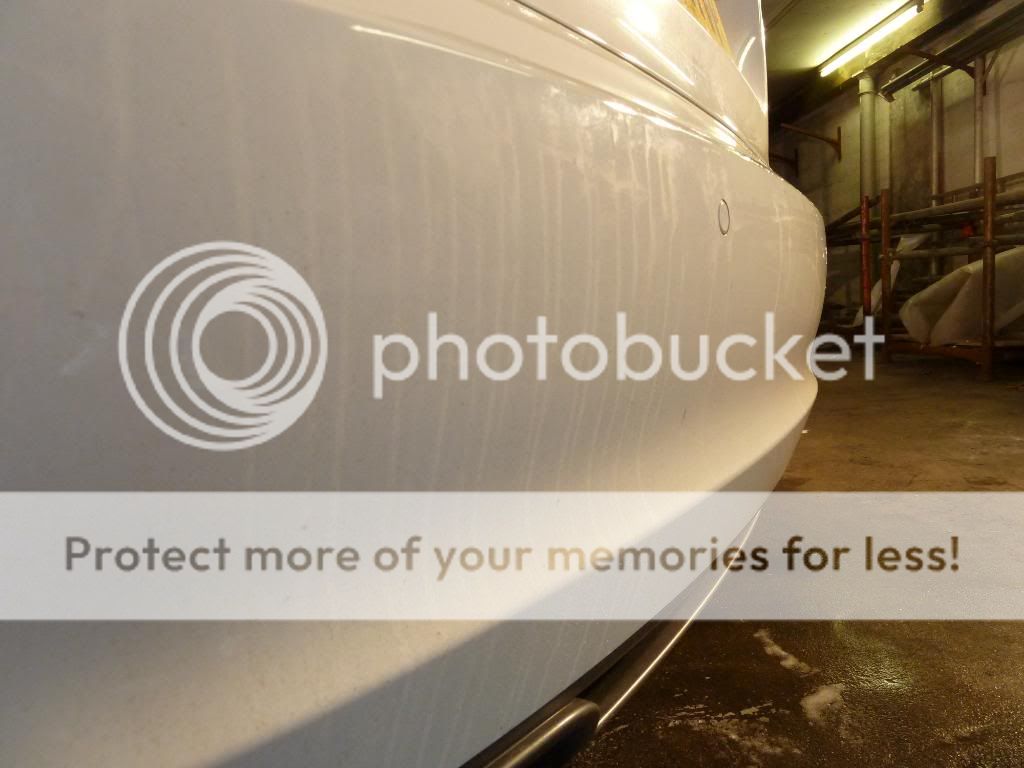
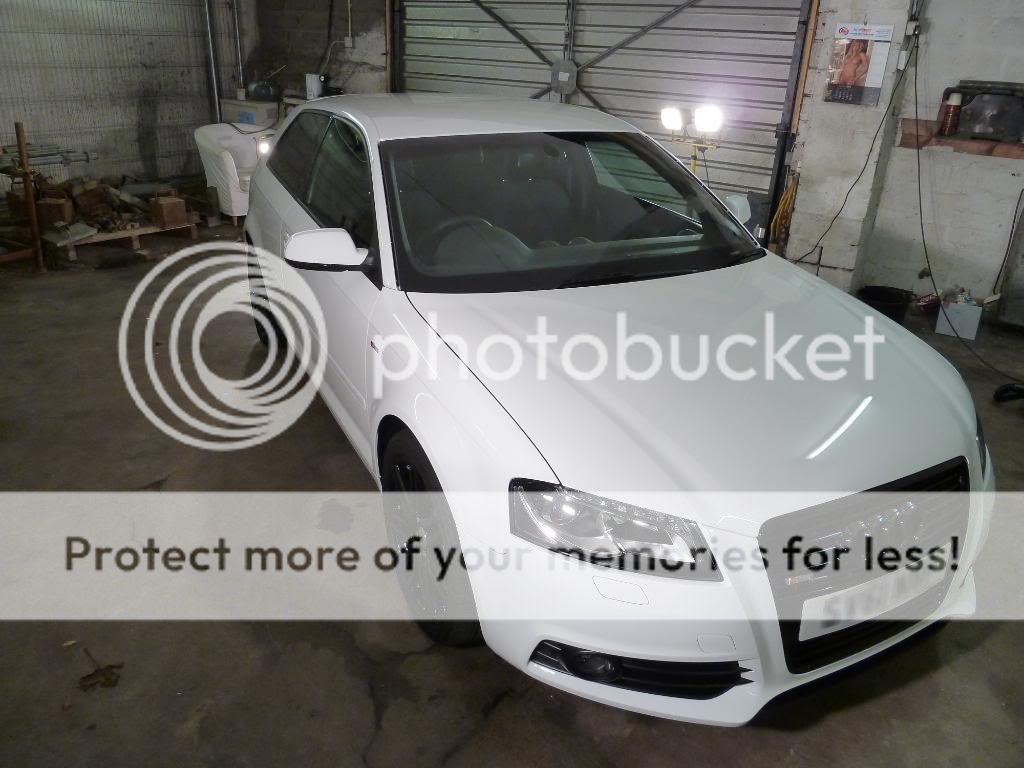
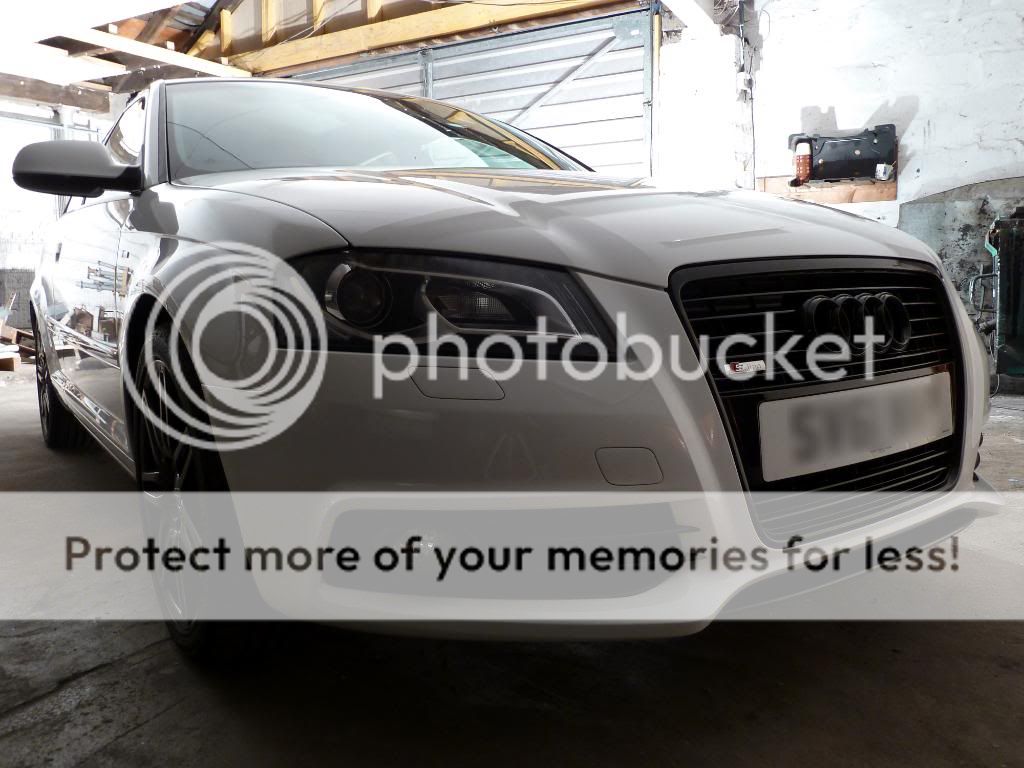
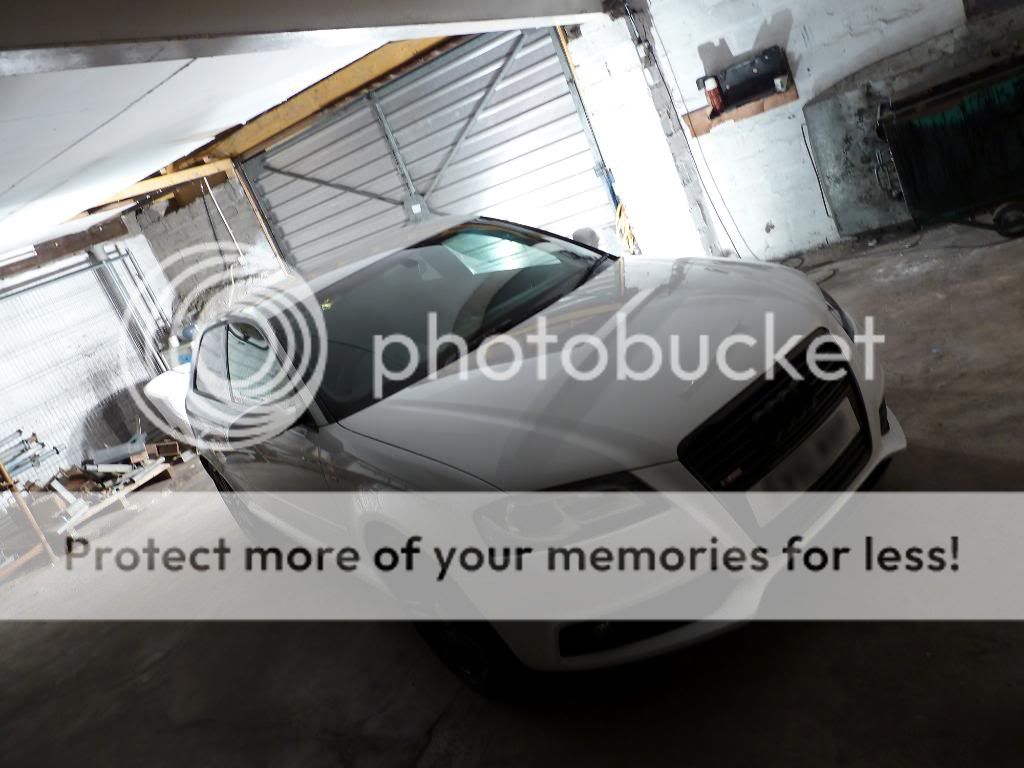
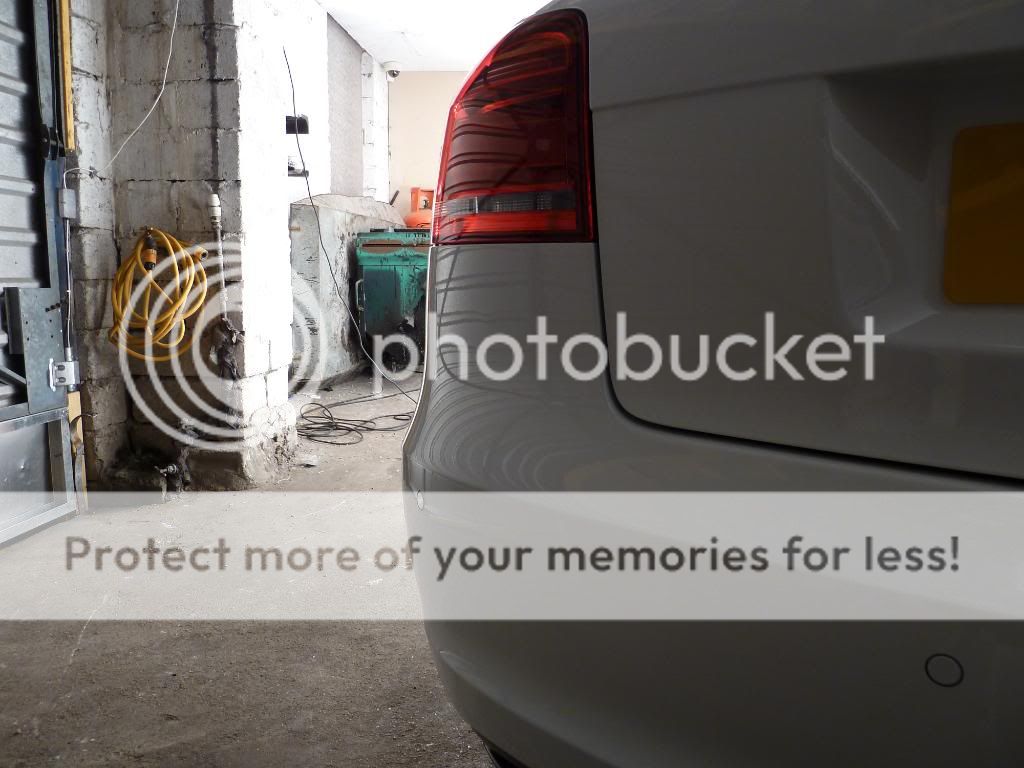
A3 Ibis White Black Edition Detail with Gtechniq

A-k

Registered User
Joined
Sep 12, 2011
Messages
79
Reaction score
5
Points
8
Hey folks posted this on another forum but thought i would share here this was a detail of my A3 not long after i got it, ive done a few exterior mods, the last one was where a drunk driver decided to rear end me so 4 weeks of repair and a visit to polished bliss all is back to normal now. I havent got any photos from PB as the detail was done before all off that stuff happened.

Here goes it’s a long one so if you can be bothered reading through get yourself a nice drink and a comfy seat sit back and have a read, if not skip to the last bit where the finished up photos ...

This detail had a few objectives number 1 was to get the car protected from top to toe number 2 was to try out the new Gtechniq goodies I got not long ago. I have been meaning to try this stuff out for ages now and resisted until I used most of my other detailing stuff well I didn’t really, a new car a new start thought it was a good opportunity to get it fully protected and give my opinion on the products used from the perspective of an enthusiastic weekend Detailer.

For you eagle eyed viewers the detail was carried out over a weekend and one more evening. Ive arranged the photos in a logical order (logical to me) and some of the photos might not have been taken in the specific order but most of them should be. By time I got finished each time it was pretty dark and still haven’t been able to get decent photos outside without there been rain or the car dirty once again and again its depressing leaving for work once its dark and returning home when its more or less dark perpetual darkness = SADness (seasonal affective disorder) So the finished results are taken under work lamp lights, but for the few glimpses ive seen the car under natural light it looks very glassy like.

The process carried out on this detail was done in the order below I like to work from the inside out….

On to the photos now first up here is the products used I won’t bore you with another list but it’s pretty much one of each Gtechniq stuff menzerna polish and lake county HT pads.

911c1c1c.jpg


a4ceb2f7.jpg


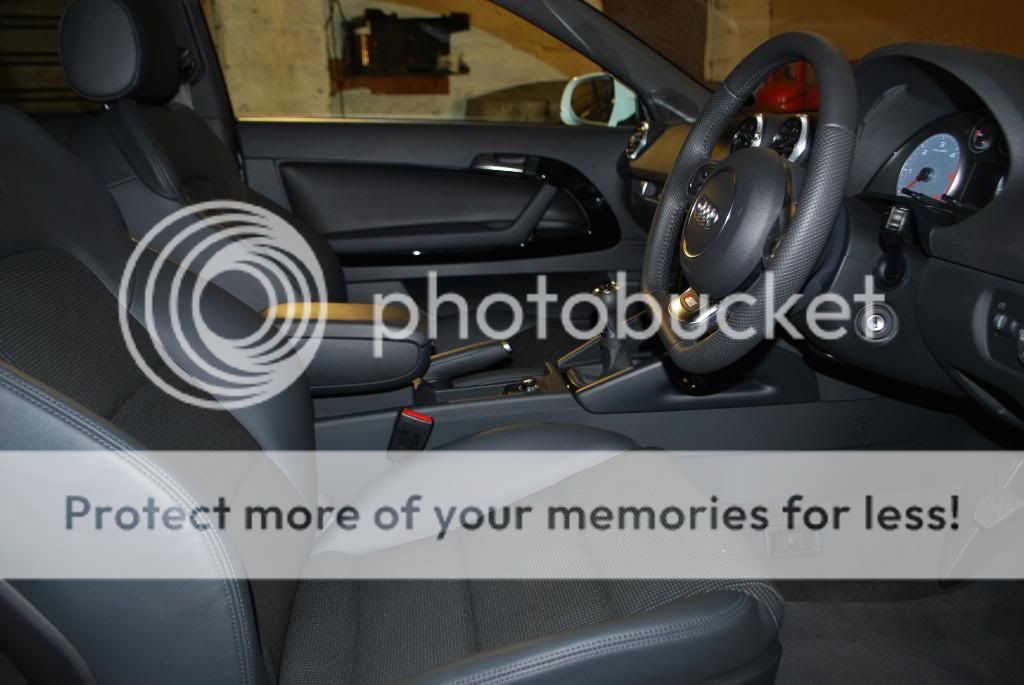
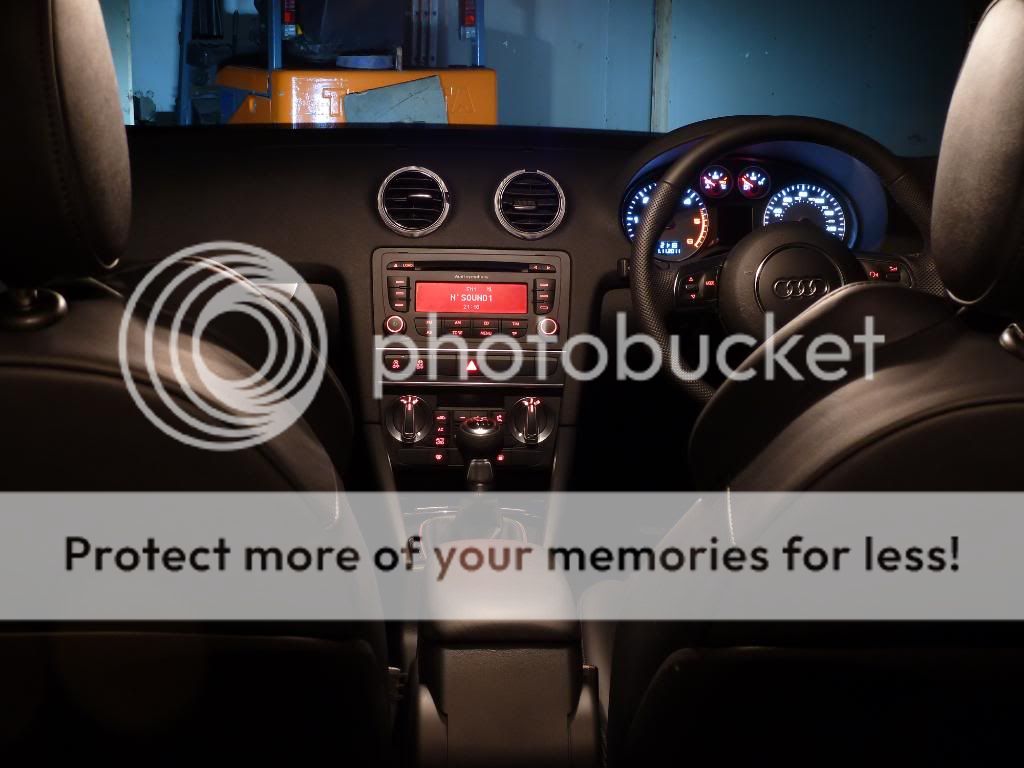
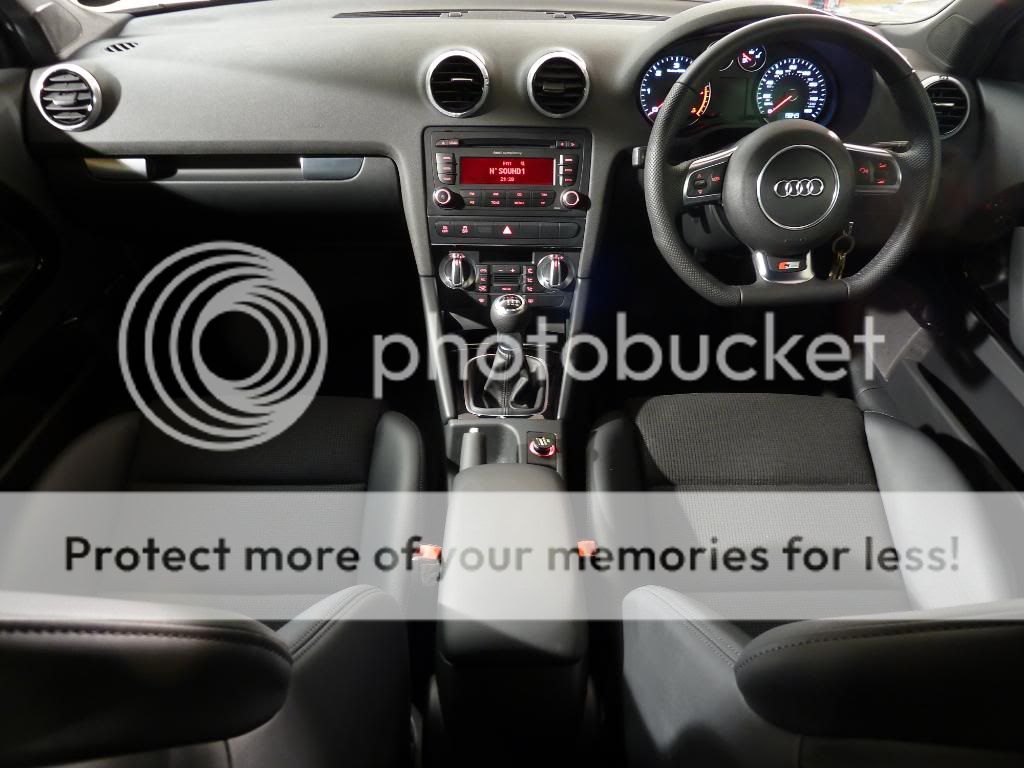
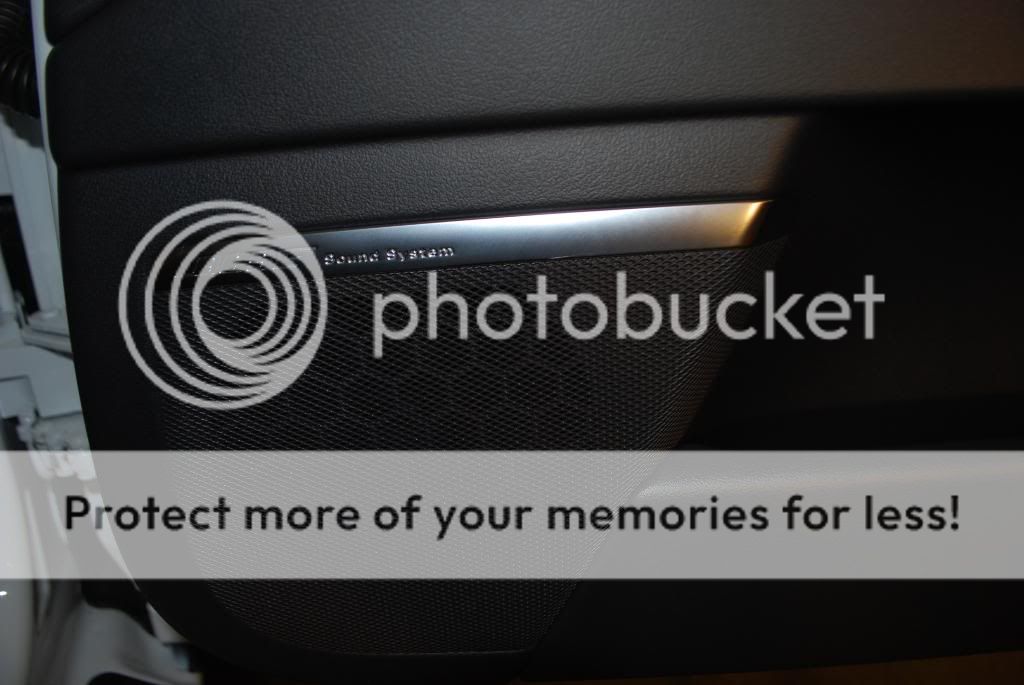
Interior
Remove mats
Hoover all areas
APC all plastics 10:1
Clean leather and fabric
APC door shuts
Degrease door shuts
Treat all fabric areas
Condition leather
Dress plastic areas
Clean Glass
Seal door shuts and dress exterior plastics

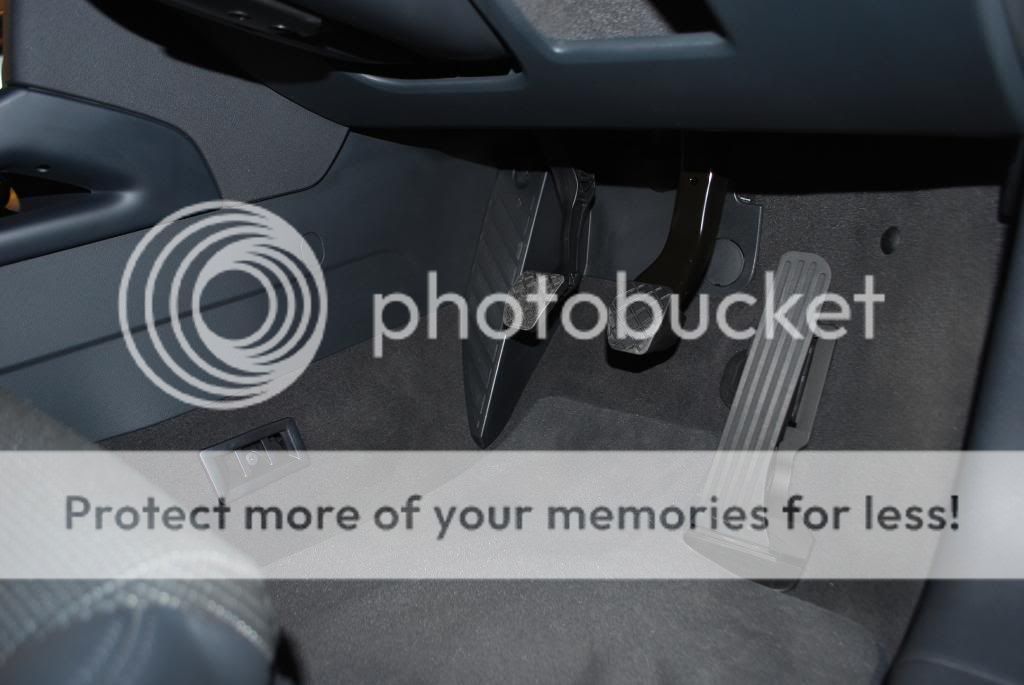
On to the dirty interior bits the interior was cleaned as per the list above

001.jpg


002.jpg


003.jpg


004.jpg


005.jpg


006.jpg


007.jpg


008.jpg


009.jpg


010.jpg


011.jpg


012.jpg


013.jpg


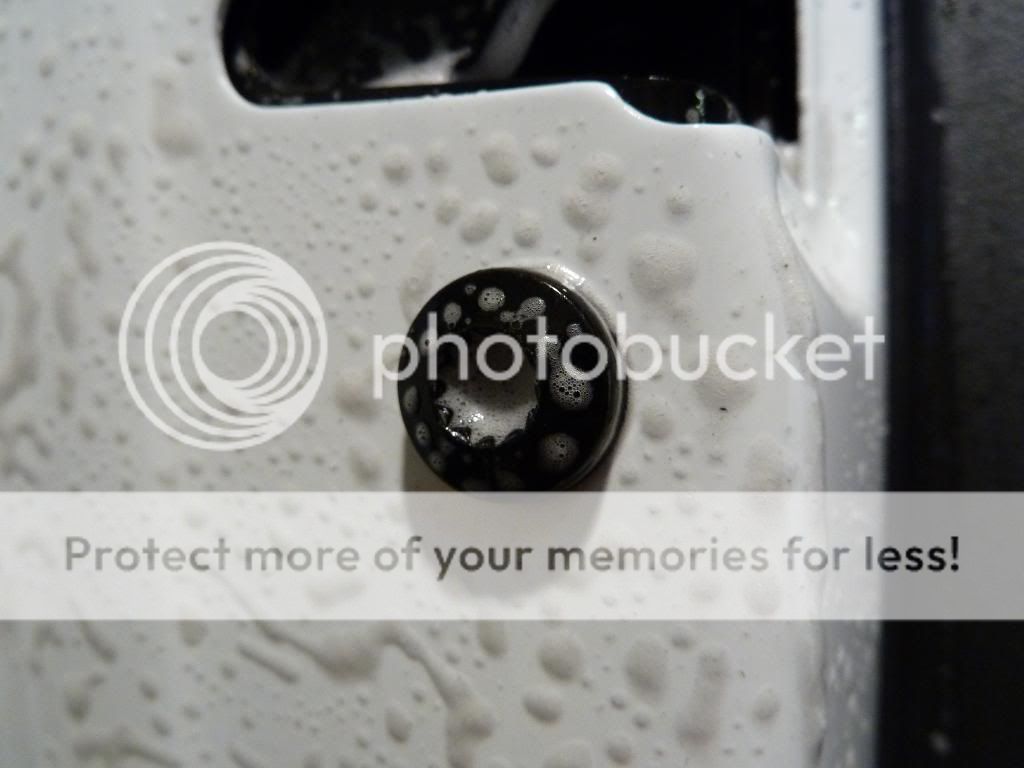
Every nut and bolt and hinge was APC’d degreased and thouroughly cleaned. This was then rinsed of with an old noodle wash mitt with water as opposed to power washing my interior.

014.jpg


015.jpg


016.jpg


017.jpg


018.jpg


019.jpg


020.jpg


021.jpg


023.jpg


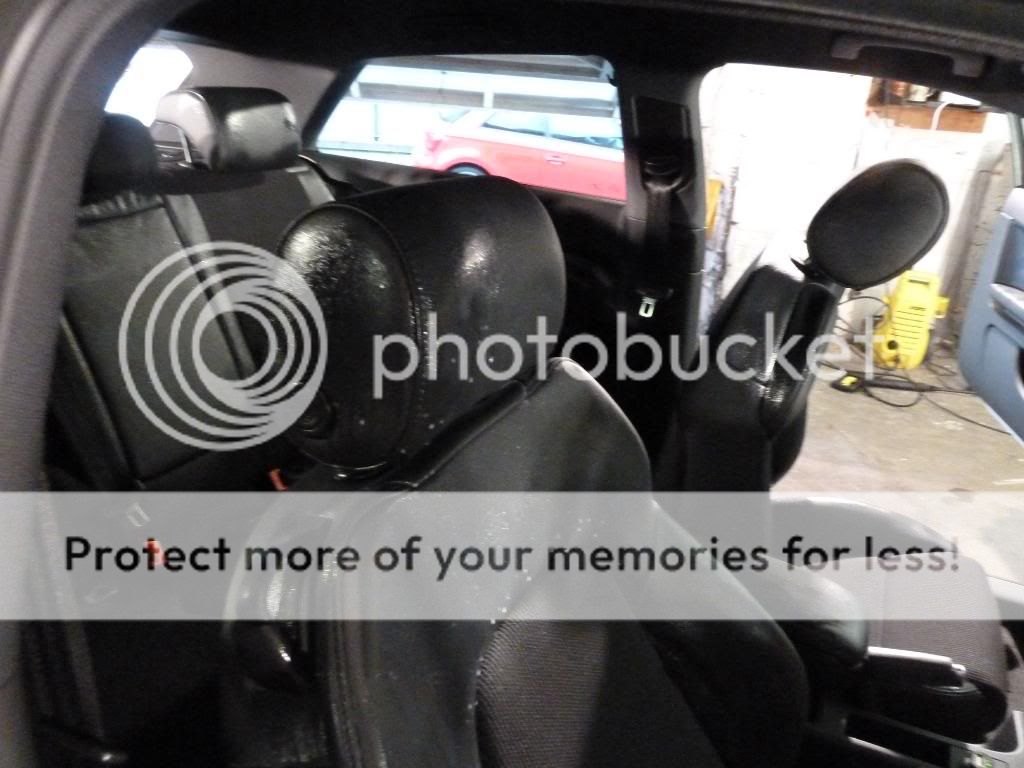
Now it was on to the protection part of the interior first up was the Gtechniq L1 leather protect. I sprayed this directly on to the leather headrest but quickly learned sprays and interior don’t mix so the usual application of interior products sprayed on microfiber pad and worked it into the leather left to soak in for 10 mins and buffed off with a fresh microfiber towel.

The product went on very well spreads easy enough and once you get the preferred method either spray directly or via pads, its quick enough to apply; it’s neither sticky to the touch nor greasy and once buffed off left a very natural look with no horrible sticky feel.

024.jpg


025.jpg


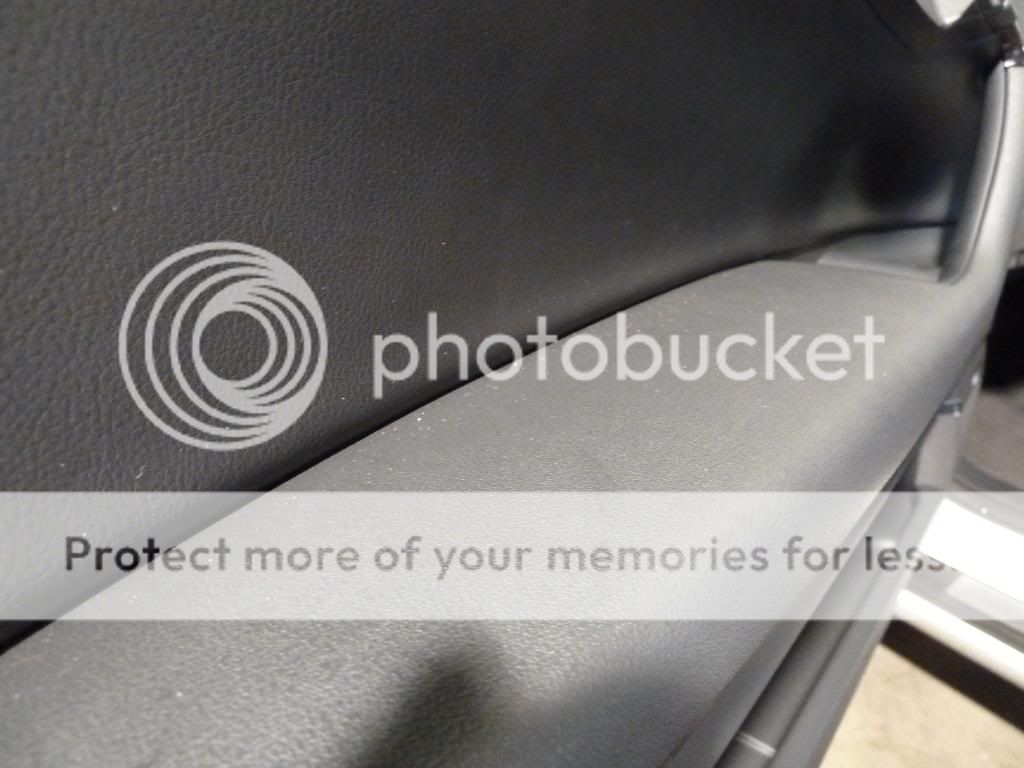
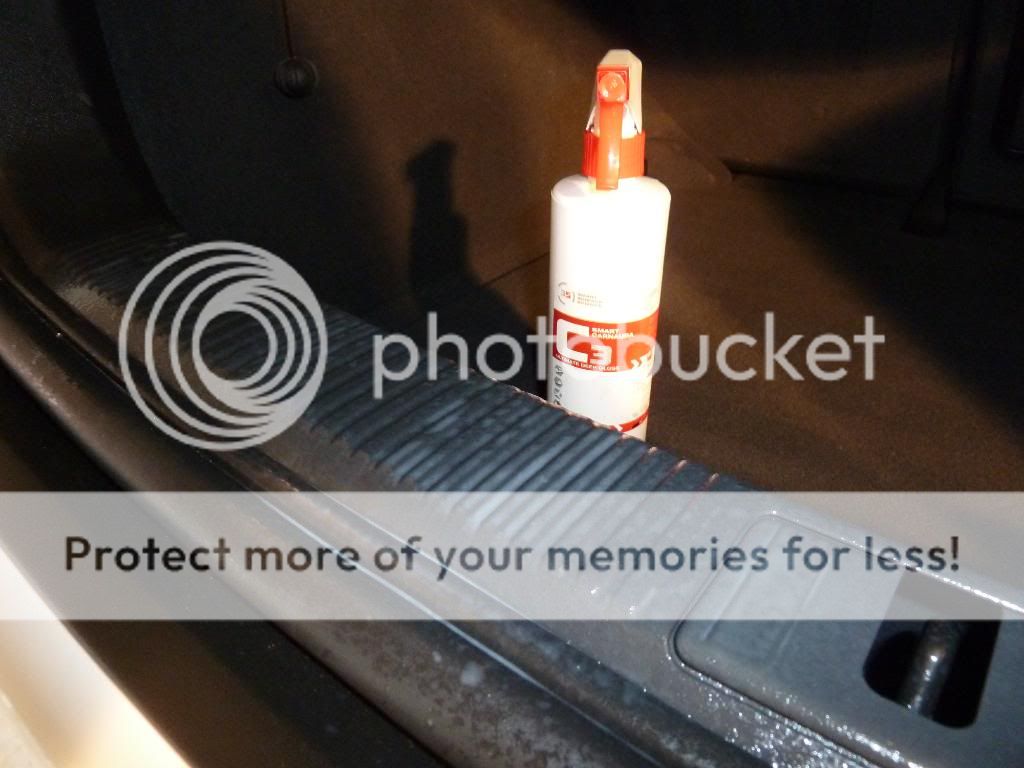
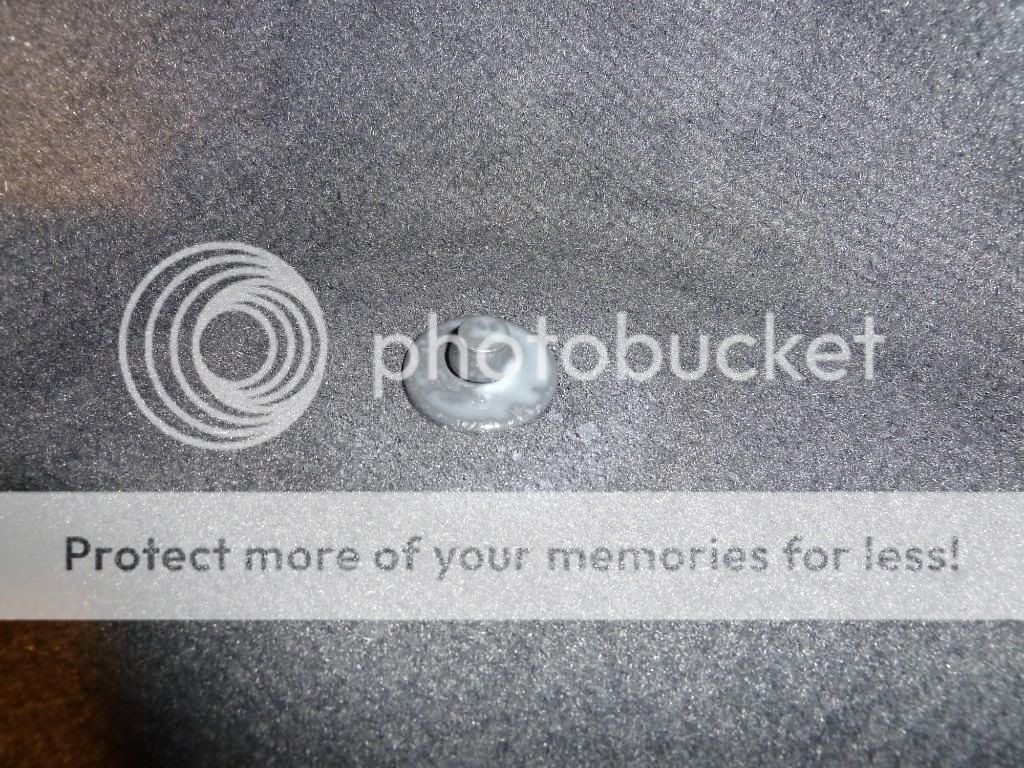
Next up was C3 smart carnauba spray this was used to seal all the plastics and vinyl such as the dash door cards parts of the seats every single bit was sealed up including the carpet mat brackets. Again an easy enough product to apply spread and buff off leaves behind a nice matt finish with no horrible oily greasy silicone residue behind. Can be used on a multitude of surfaces.
026.jpg


027.jpg
 
C4 was next in line for plastic parts of the door and boot shuts. This stuff needs a bit more prep prior to application so an IPA wipe down and application with a makeup pad and the tiniest of dabs of C4 and all the plastics were treated, a little goes a very long way here, now that it was applied it’s important to buff any excess product off so it does not crystallise on the surface. Not too much pressure as you don't want to remove any more than the excess.

Once this was buffed off I checked that no excess C4 was on the paint then threw away the microfiber used to wipe off the C4. The C4 is very impressive stuff especially on tired old trim not so much of a difference with the trim on mine as its only a few months old but thought C4 would offer the best protection with its quoted 18 -24 month durability, fantastic beading and dirt repellence and best of all it doesn’t feel although all this benefits are happening on the trim as it leaves no residue behind and feels like fresh new trim. Overall fantastic product.

028.jpg


029.jpg


030.jpg


031.jpg


032.jpg


033.jpg


Last up for the interior was the i1 fabric guard this was done last as not to disturb the stuff setting into the fabrics when applying other products so before this the windows were cleaned with IPA sprayed on a MF towel and buffed to a shine ensuring no streaks smudges or dirt left behind.

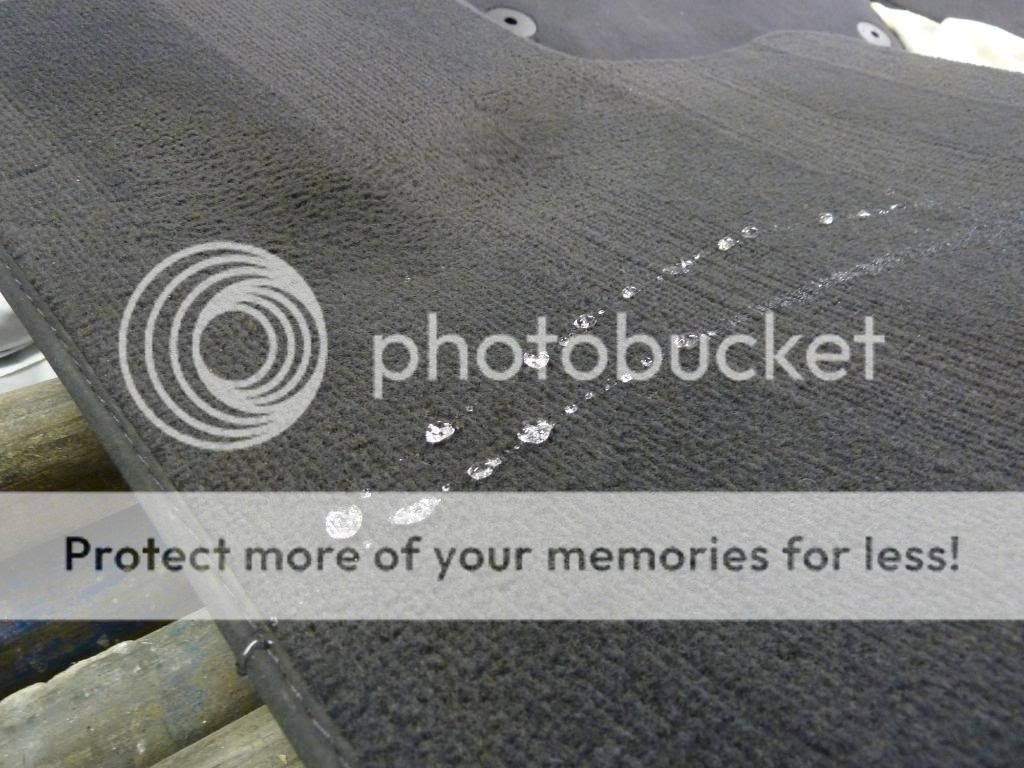
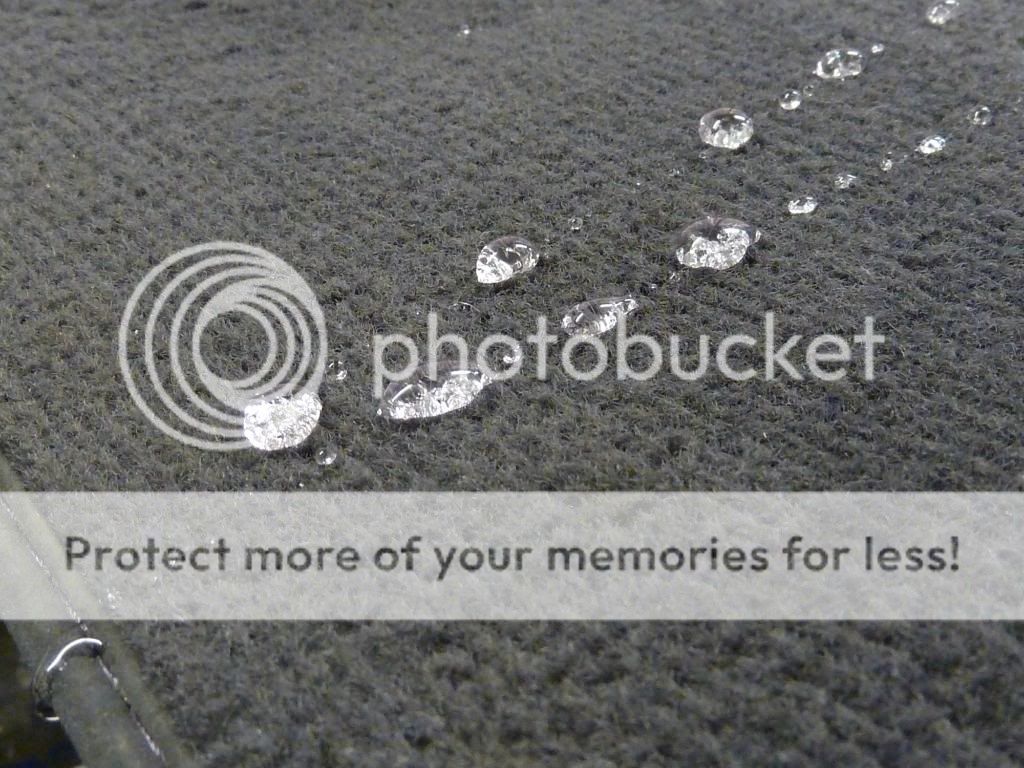
The i1 was sprayed into the fabric seats and carpets working from the rear to the front again this stuff was just sprayed onto the fabric and left, any excess that got over the leather/vinyl was wiped of straight away, I left the fabric protectant to dwell for 5 minutes before rubbing any excess into the fabric, this was done to further aid in the penetration of the i1 thus giving a deeper application. Now the doors were shut and was left to fully dry out. Although I did spray a few bits just to show beading. I think the mats could be done with another application as I was running out so used a bit more sparingly but still quite good beading with a small part where the water did soak in.

035.jpg


036.jpg


037.jpg


The kick plates were sealed with C5 for the metal parts and C4 on the plastic. Again pretty much the same application method for C5 as C4. The door boot and bonnet shuts hinges etc were all sealed up with wolfs bodywrap, however after having more than half a bottle of C1 left this was stripped and has now been sealed with C1.

038.jpg


039.jpg


040.jpg


041.jpg


042.jpg


And here are the rest of the results.

043.jpg


044.jpg


045.jpg


046.jpg


047.jpg


048.jpg


049.jpg


050.jpg


051.jpg


052.jpg


053.jpg


054.jpg
 
Wheels and Arches: Engine Bay:
Powerwash wheels & arches Powerwash engine bay
Treat with cleaner & rinse APC bonnet shuts
Brake Duster & rinse APC and degrease engine bay
Tardis & rinse Powerwash
APC tyre wall & rinse Dry bay with dryer
APC wheel arches & rinse Dress plastics & rubbers
Suoerdegreaser wheel arches & rinse
Dry with dryer
Apply wheel sealant
Tyre dressing
Wheel arch dressing

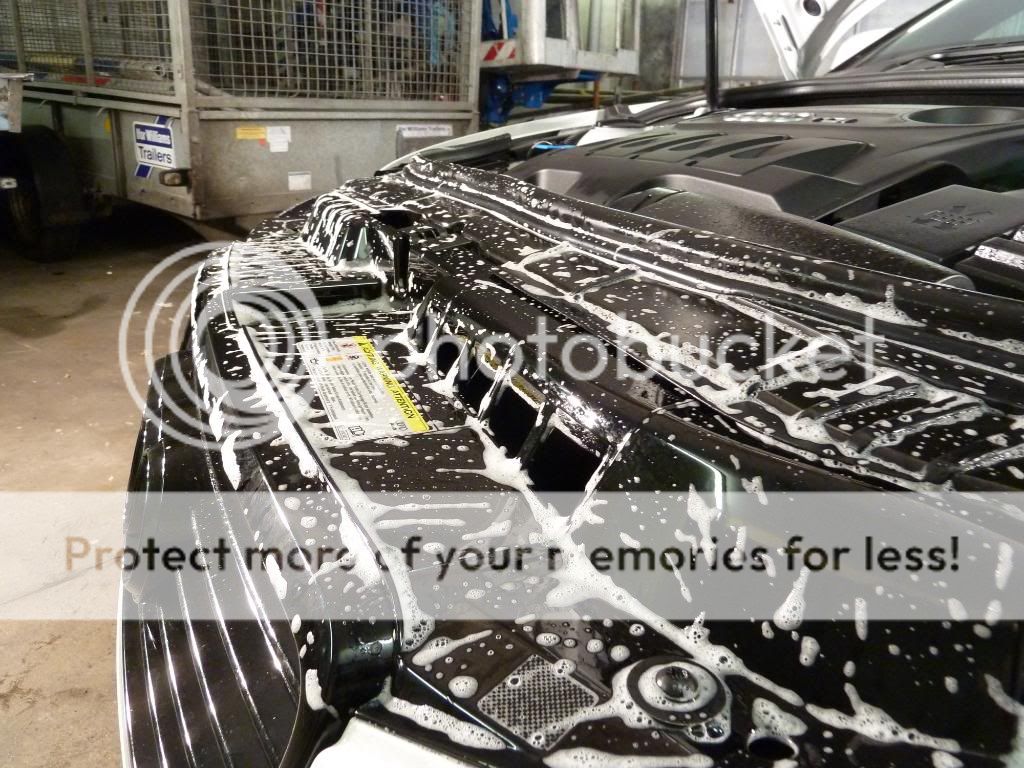
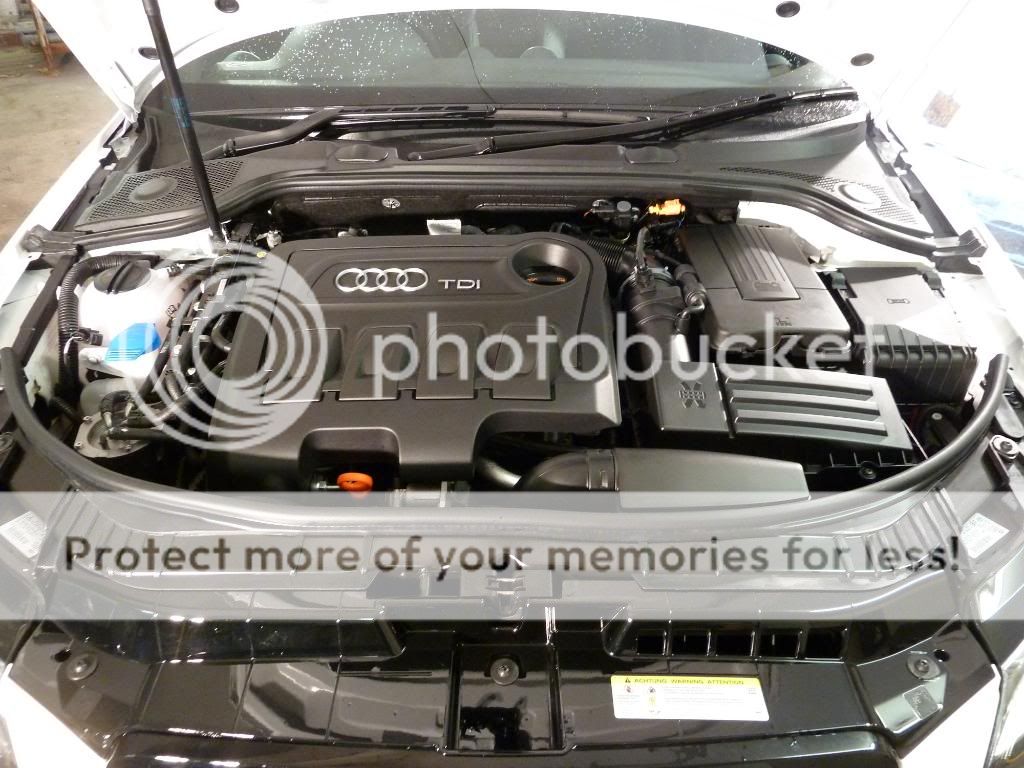
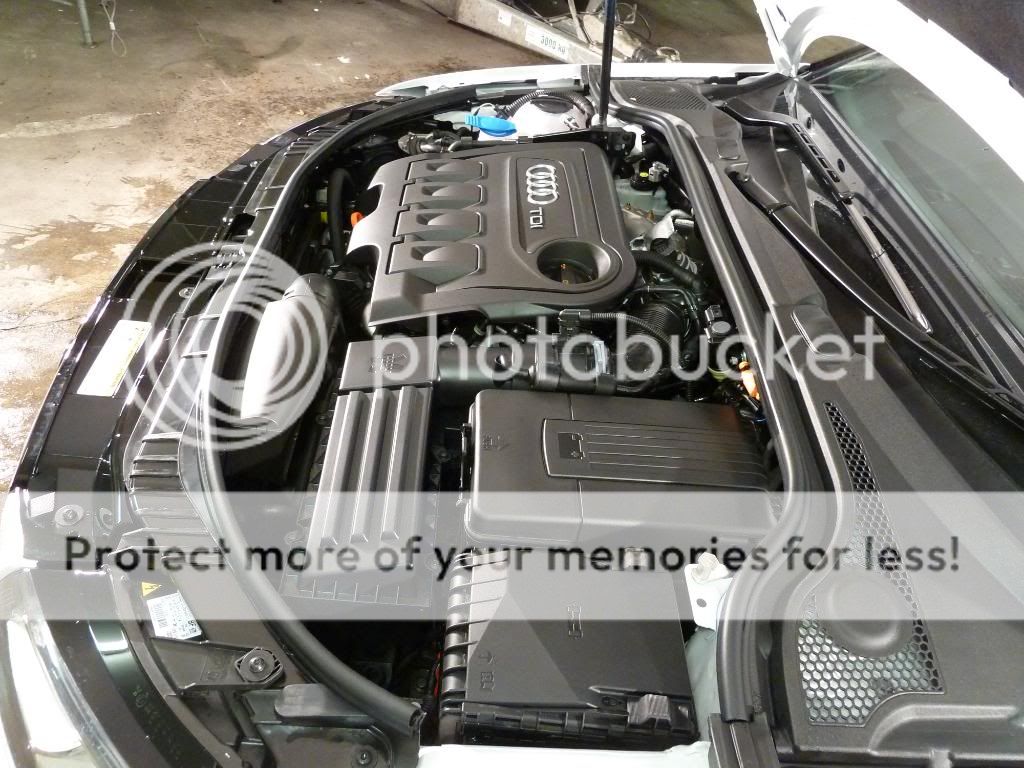
So pretty much the above procedures were carried out with the engine bay and the plastic parts were sealed with C4. The wheels were cleaned as per above however at the moment I decided to just seal them with wolfs clean and coat as I would like to get the wheels off to protect them with C5 and get the arches protected with C2.

Before

055.jpg


056.jpg


057.jpg


058.jpg


059.jpg


060.jpg


061.jpg


062.jpg


063.jpg


064.jpg


Cleaned and degreased with Megs APC and Superdegreaser

065.jpg


Dried off with dryer

066.jpg


067.jpg


068.jpg


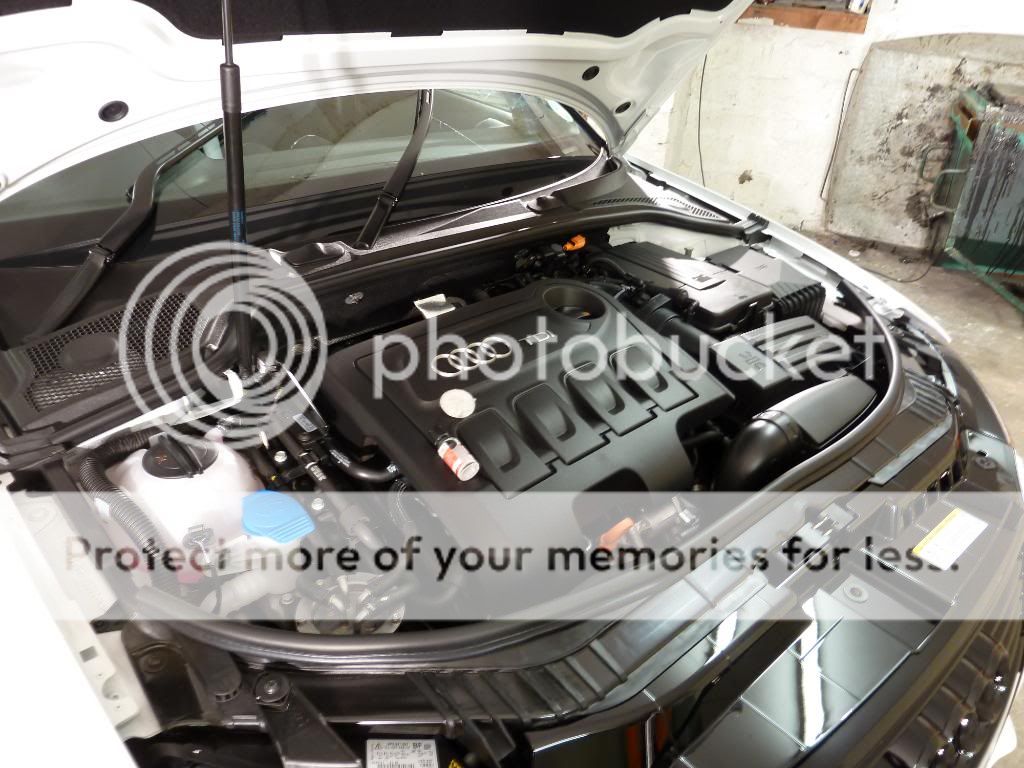
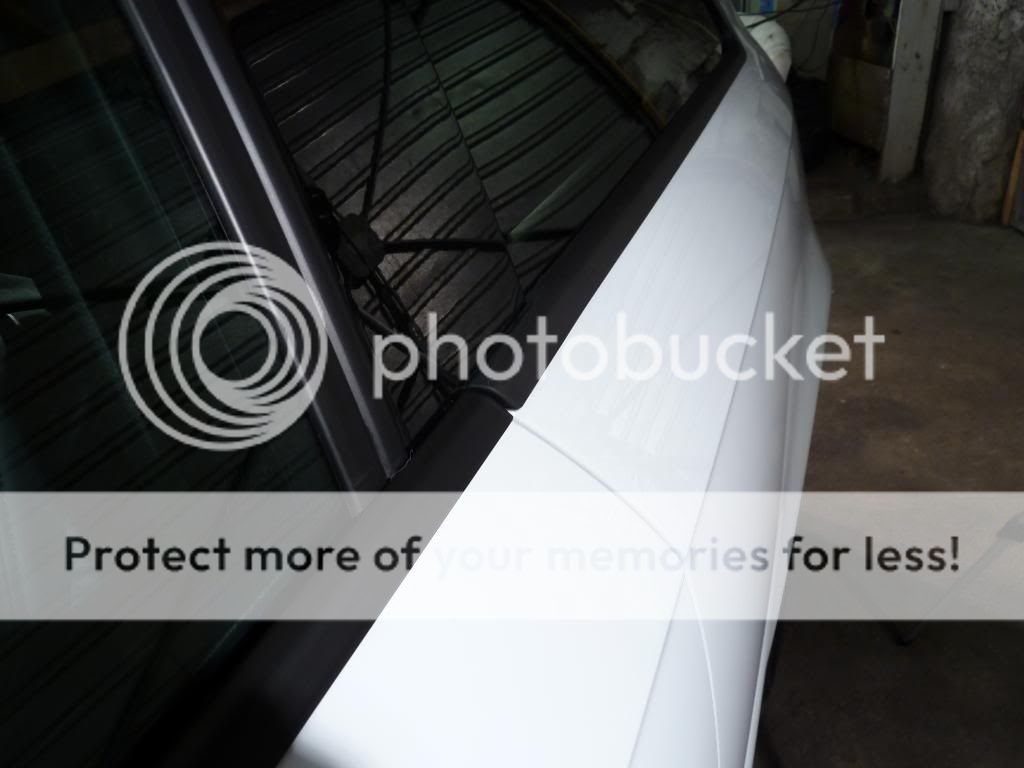
C4 applied to all plastic parts including the shuts and windscreen cowl. Same application as before.

069.jpg


070.jpg

A few beading shots of the C4 on the plastic engine cover.

071.jpg


072.jpg


073.jpg


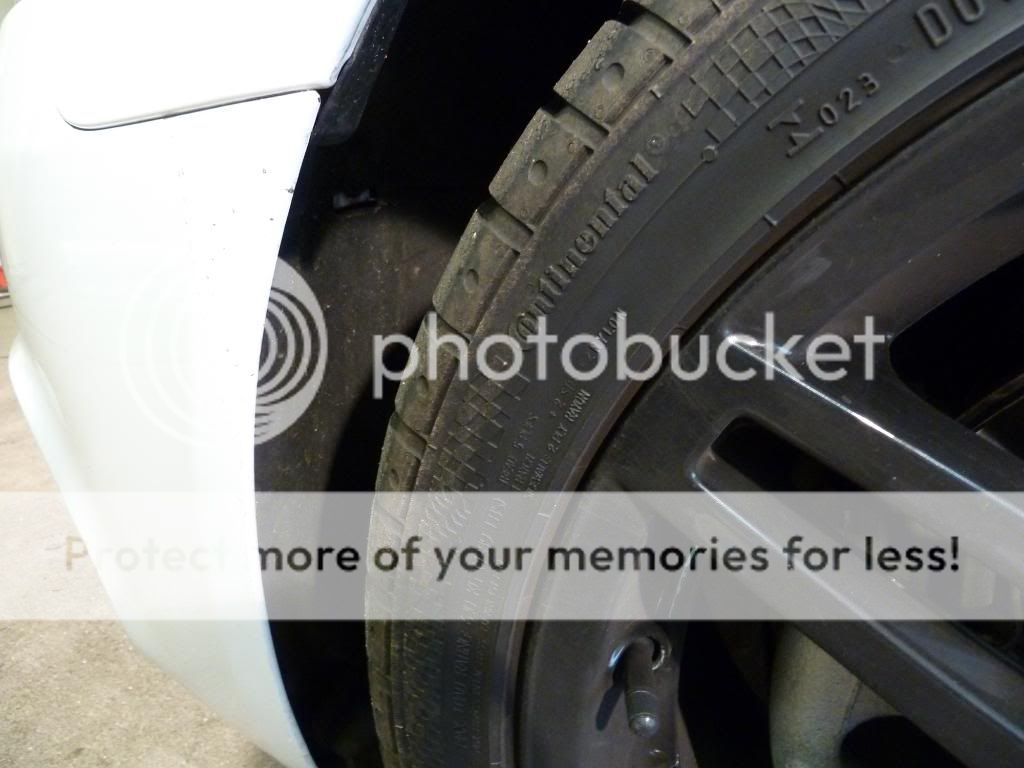
Wheels these were cleaned as per above list, a few befores.

074.jpg


075.jpg


076.jpg


077.jpg


Wheels were treated with the new Autosmart Smart wheels diluted 4:1 this stuff for the money is pretty good foams up well removes brake dust pretty well all round pretty good for the money, this was worked in with a variety of brushes using the wheel woollies to get in the back and the detailing brushes worked on the front.

The wheels were in pretty clean condition after this so the usual steps of Brakeduster for stubborn bits and tardis for the tar weren’t needed. Tyre dressing was not applied at this point either as the paintwork had not been washed I prefer to do the tyres at the very end. I

078.jpg


079.jpg


Tyre wall were scrubbed with APC.

080.jpg


081.jpg


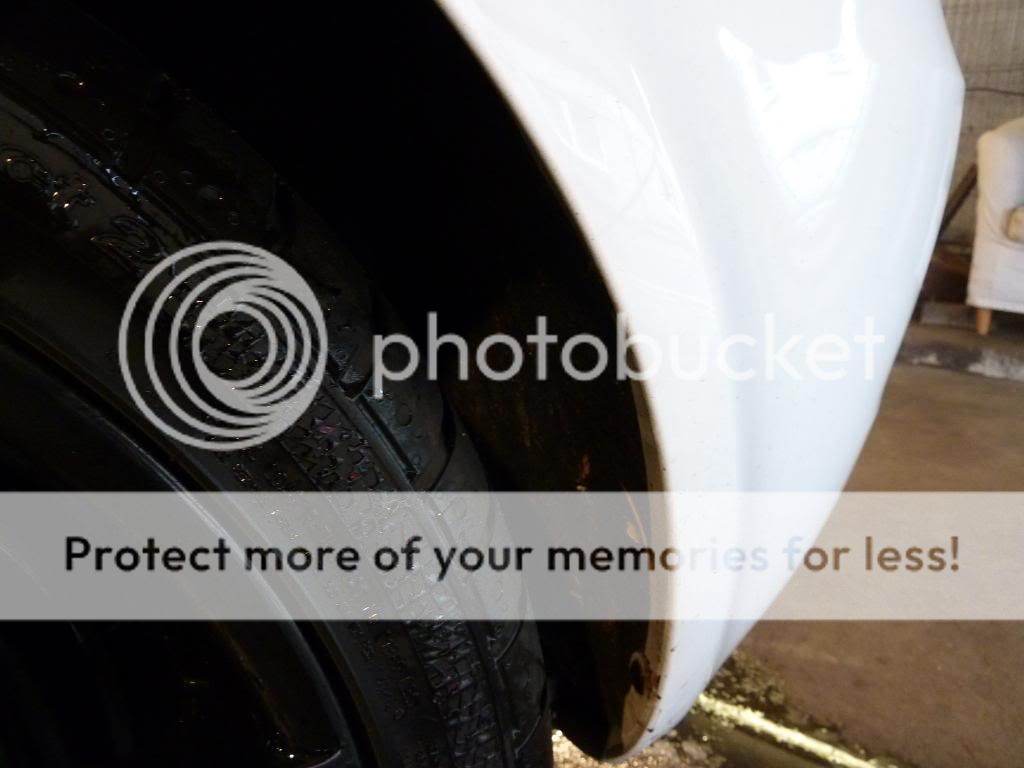
Wheel arches were scrubbed.

082.jpg


083.jpg


084.jpg
 
Exterior Paintwork Wash & Decontamination:
Rinse with powerwasher
Prefoam wash & rinse
Hand wash with 2BM & rinse
Treat with Brakeduster gel & Rinse
Treat with Tardis & Rinse
Clay & Rinse
Dry with towel & dryer

Finally time to turn my attention to the paintwork, this is my normal regime of washing decontamination and drying the paintwork.

085.jpg


086.jpg


087.jpg


088.jpg


089.jpg


090.jpg


091.jpg


092.jpg


093.jpg


094.jpg


095.jpg


096.jpg


097.jpg


098.jpg


099.jpg


100.jpg


101.jpg


102.jpg


103.jpg


104.jpg


105.jpg


106.jpg


107.jpg


108.jpg


109.jpg


110.jpg


111.jpg
 
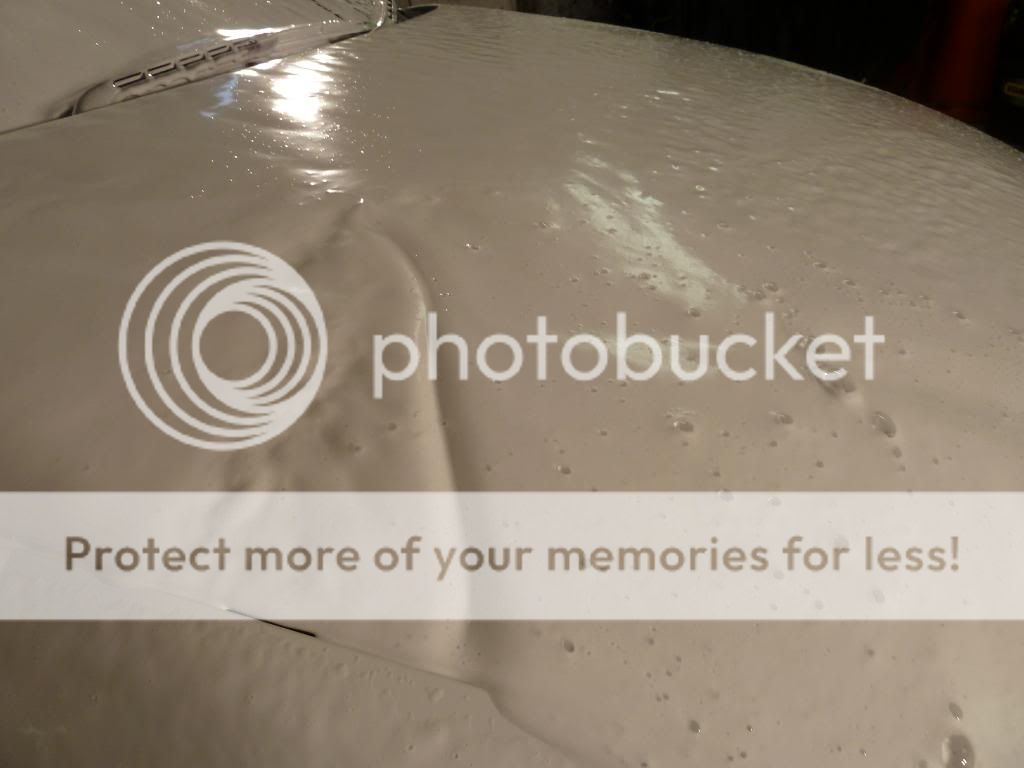
The most fun part the good old foam lance although performing a bit under the weather the hose has a puncture and the pump from the pressure washer has sprung a leak so time for a new washer. Anyway I used Meg’s hyper wash and a dab of shampoo plus in the foam lance, this was left to dwell before rinsing.

112.jpg


113.jpg


114.jpg


115.jpg


116.jpg


117.jpg


118.jpg


Using a detailing brush to work in the foam to the grill area and all other awkward parts such as badges etc

119.jpg


After a rinse down the car was washed with the 2BM using Gtechniq G wash and wash mitt. For the G wash I used 2 cap full’s and this was more than enough to create a nice rich suds this was also agitated with the power washer to make it thicker. It felt very slick on the paintwork produced good suds for the dilution ratio

The mitt is fantastic it’s the best one I have used its very soft holds a lot of water and suds, the weight of it is enough pressure to move across the paint, very good mitt for the ££ would recommend.

120.jpg


121.jpg


122.jpg


After the paint was rinsed once again it was sprayed with tardis and very little tare came of the paint so the below photos is all the tar that was removed

123.jpg


124.jpg


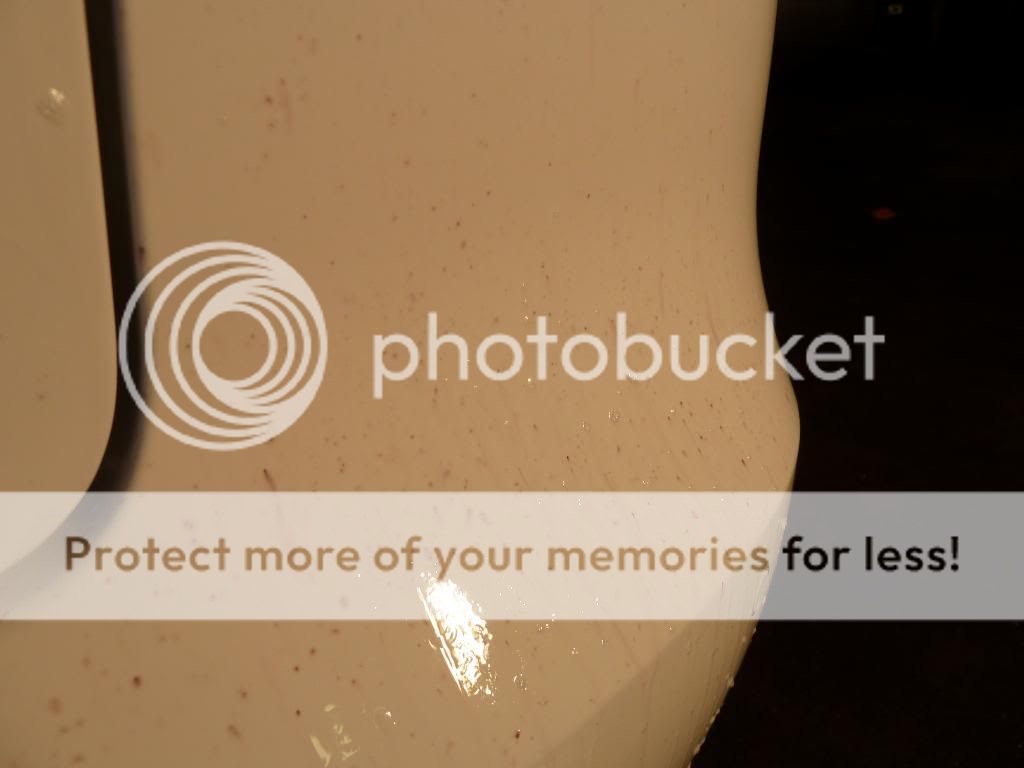
Now the Brakeduster gel was a different story this showed up heaps of bonded iron contaminants let the photos do the talking.

125.jpg


126.jpg


127.jpg


128.jpg


129.jpg


I decided to give it quick clay with the raceglaze mild clay bar and some clay lube which is just a weak ix of shampoo and filtered water, as expected nothing much came off, if at all anything.

130.jpg


Next was drying for this I used two towels and the dryer, I tested out the Gtechniq drying towel this worked really well absorbed a lot of water but I personally prefer the plusher drying towels. The dryer was used to blow the rest of the water off and ensure all the gaps wing mirrors were free from drips.

131.jpg


132.jpg
 
Polishing:
Mask all areas with blue tape
Paint depth readings
Test panel
1, 2 or 3 stage polish
IPA wipe down
Paintwork inspection with light

This left me with this all ready to be masked up for polishing and my little list of procedures above.

133.jpg


134.jpg


135.jpg


136.jpg


137.jpg


138.jpg


139.jpg


140.jpg


141.jpg


142.jpg


143.jpg


After some well needed junk food and the first meal of the day I masked up the car only to discover I didn’t bring a new roll of the blue tape so I had a route around the lockup and luckily enough found some masking tape not the greatest but will do…

144.jpg


145.jpg


146.jpg


147.jpg


148.jpg


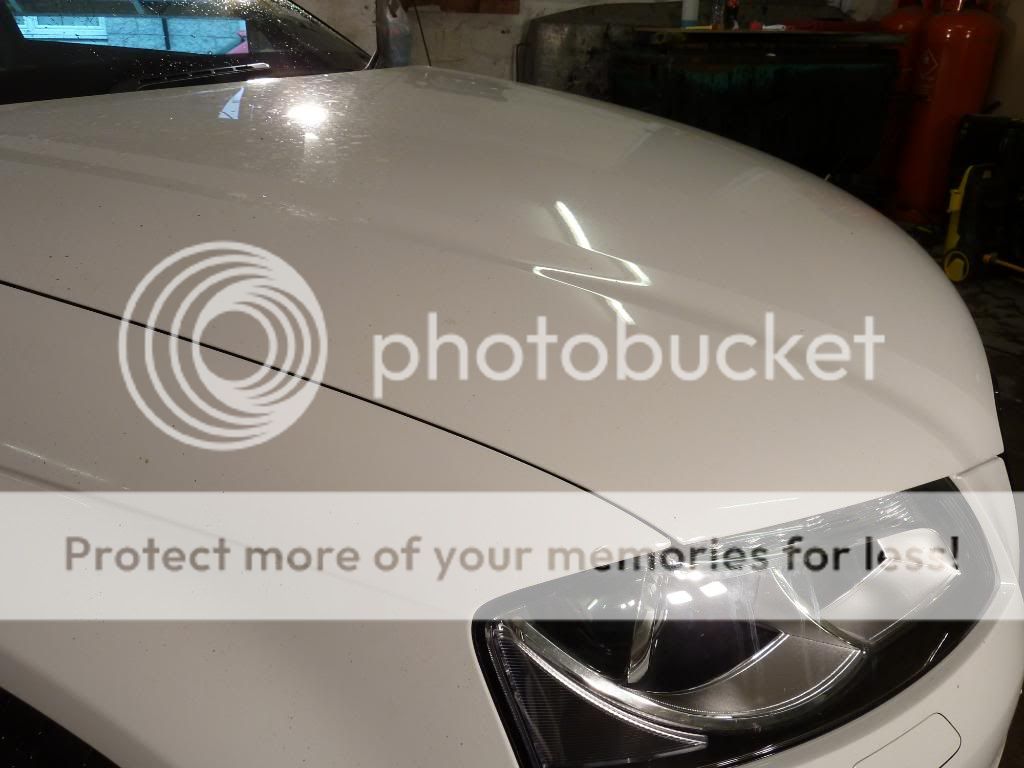
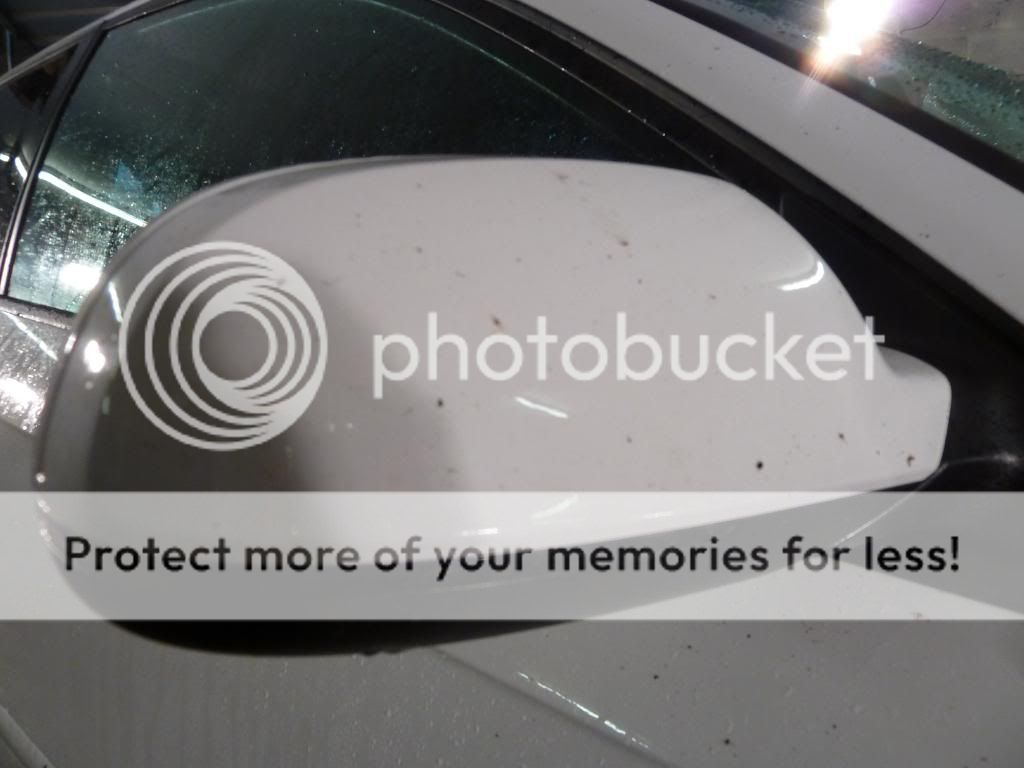
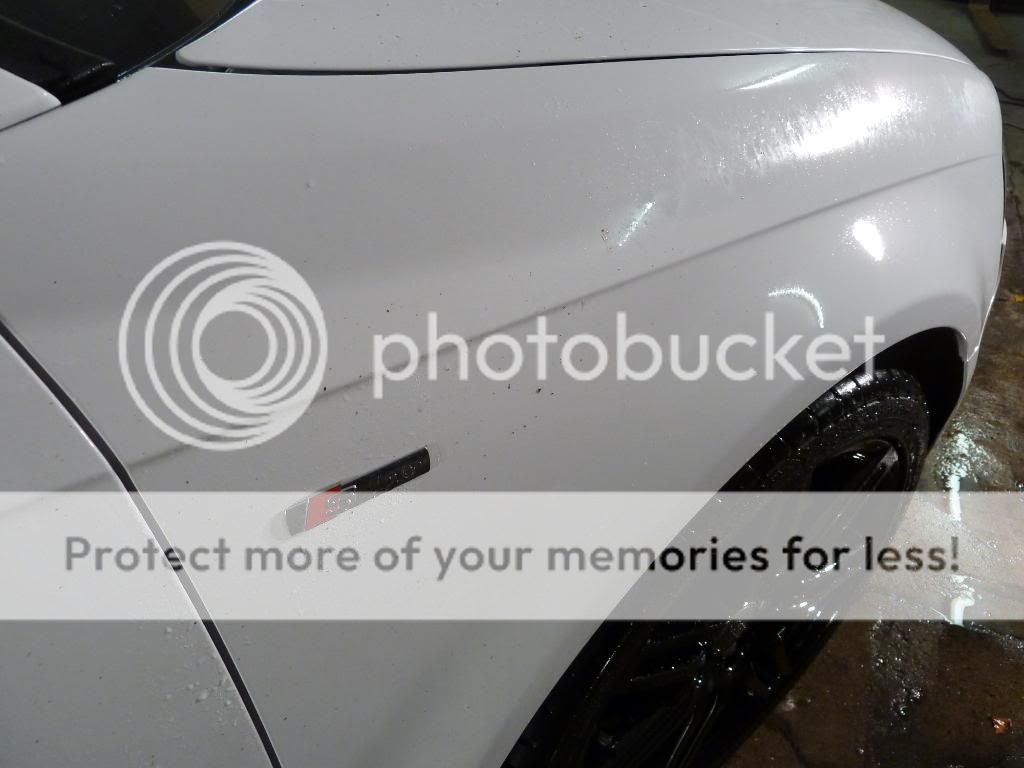
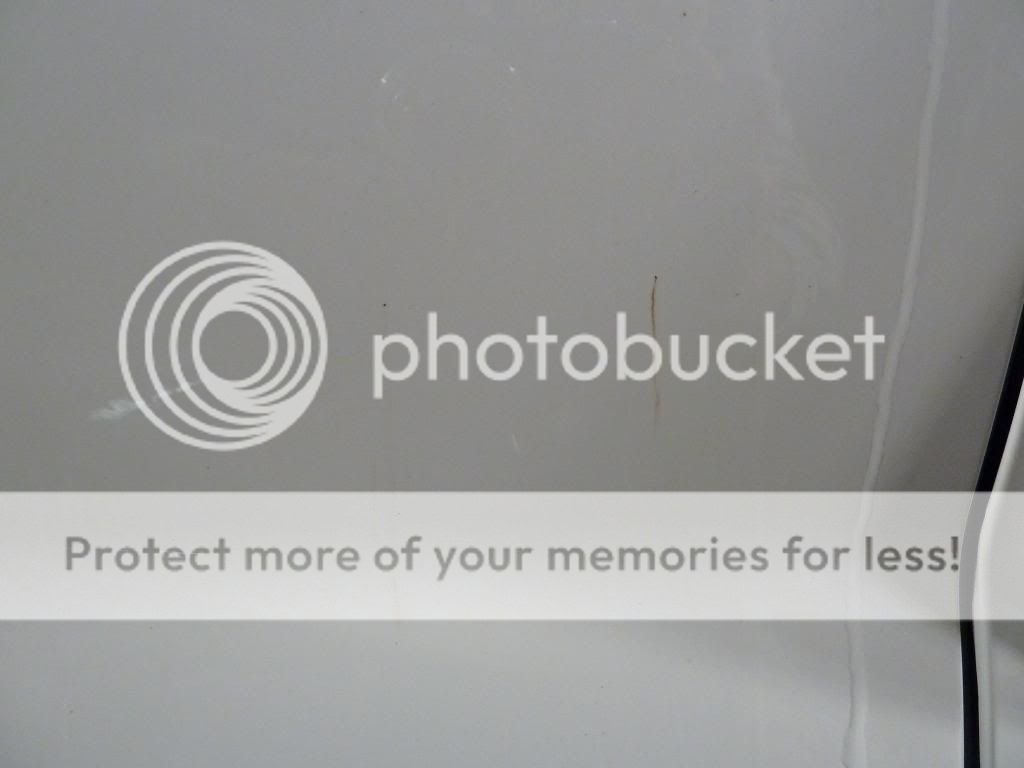
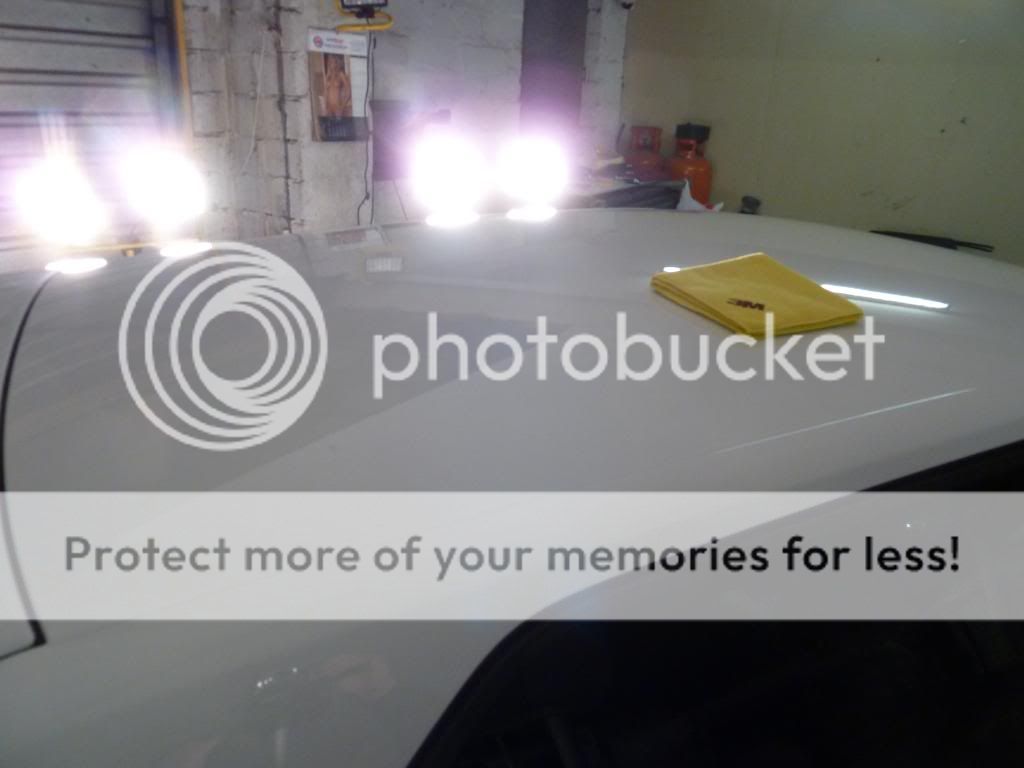
Here’s the polish I used with a Lake County Hydro Tech polishing pad I also used a menzerna cutting pad for more severe bits in conjunction with a DA. Generally the paintwork was in good nick as it’s only a few months old and had the obligatory light swirl mark from dealership prep and one deep scratch on the rear boot lid. So a light polish and pad with the DA was enough to get rid of the light swirls, which were barely visible on the white paintwork I tried numerous times to capture the defects but gave up so apologies there is no 50/50s and very little shots of the defects unless I could convince you that the blank white picture did contain swirls.

149.jpg


Paint depth readings lowest was 126 so chuffed there is a decent amount of paint on the car.

149a.jpg


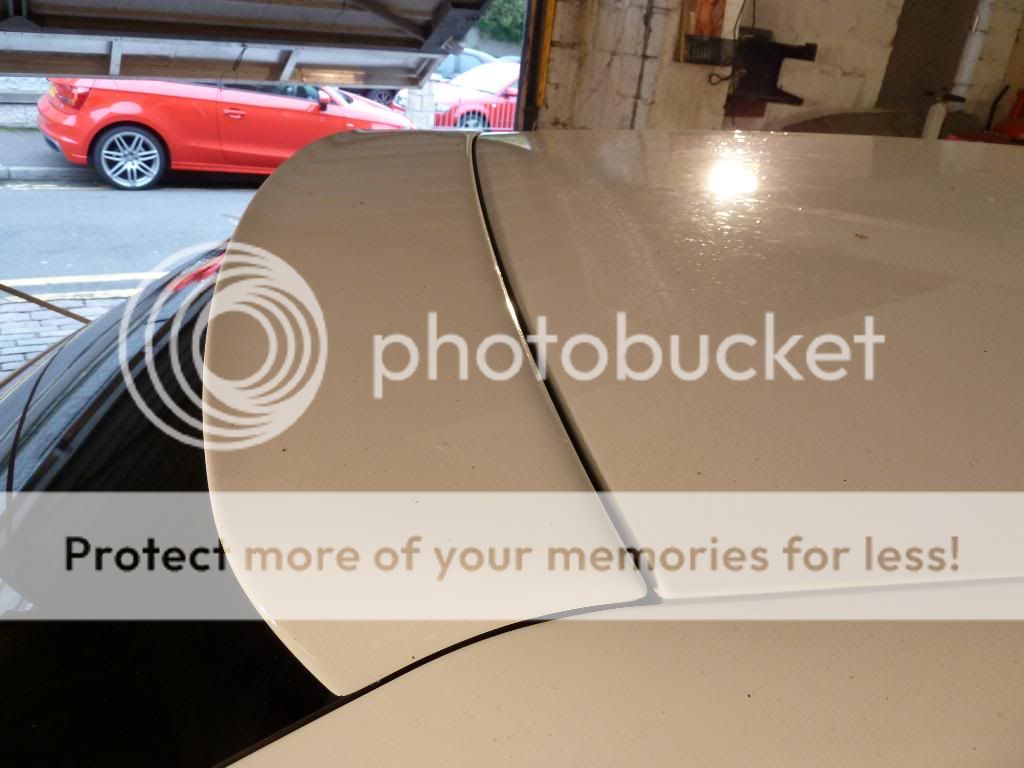
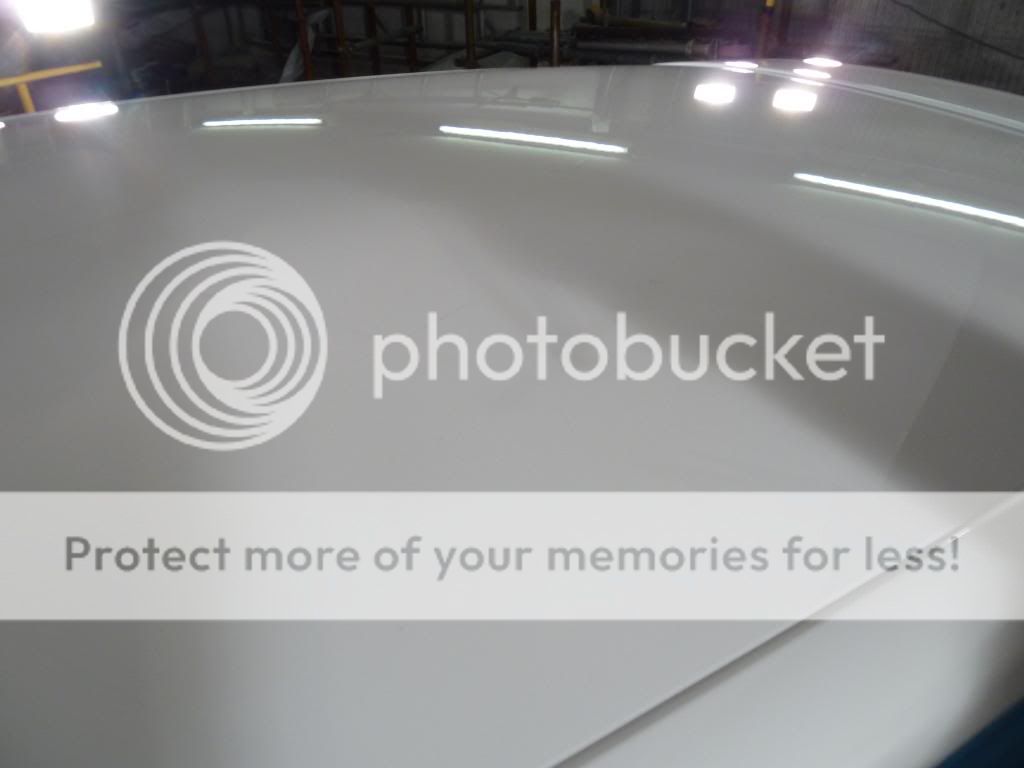
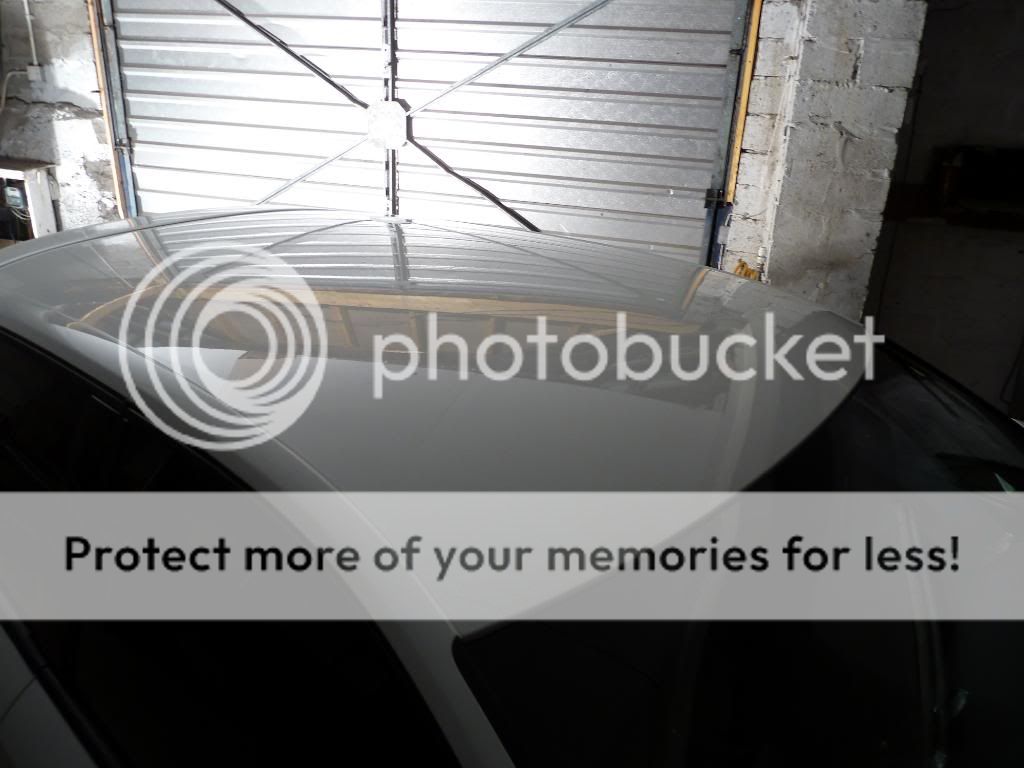
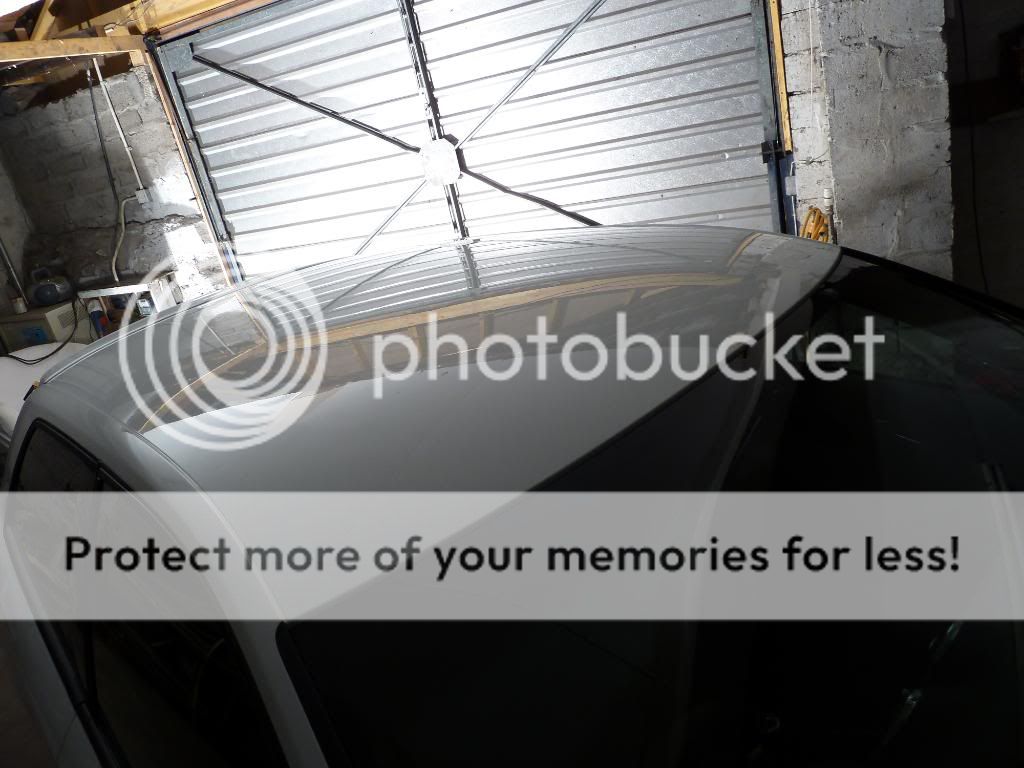
Started off with the roof

150.jpg


Reflection shot

151.jpg


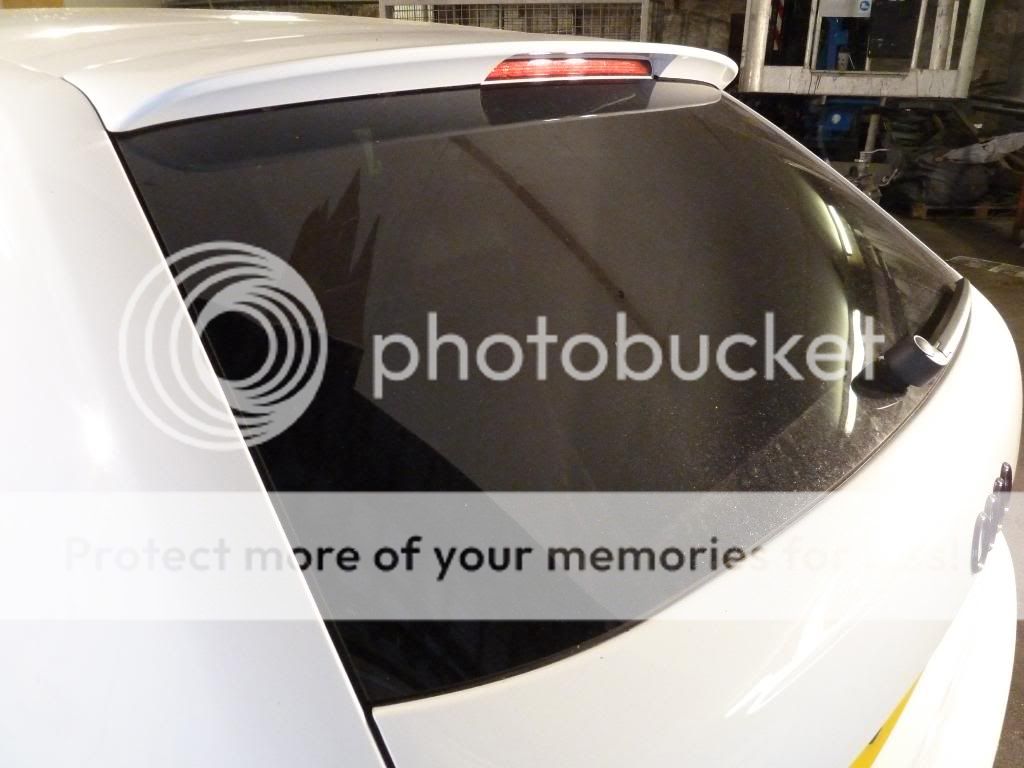
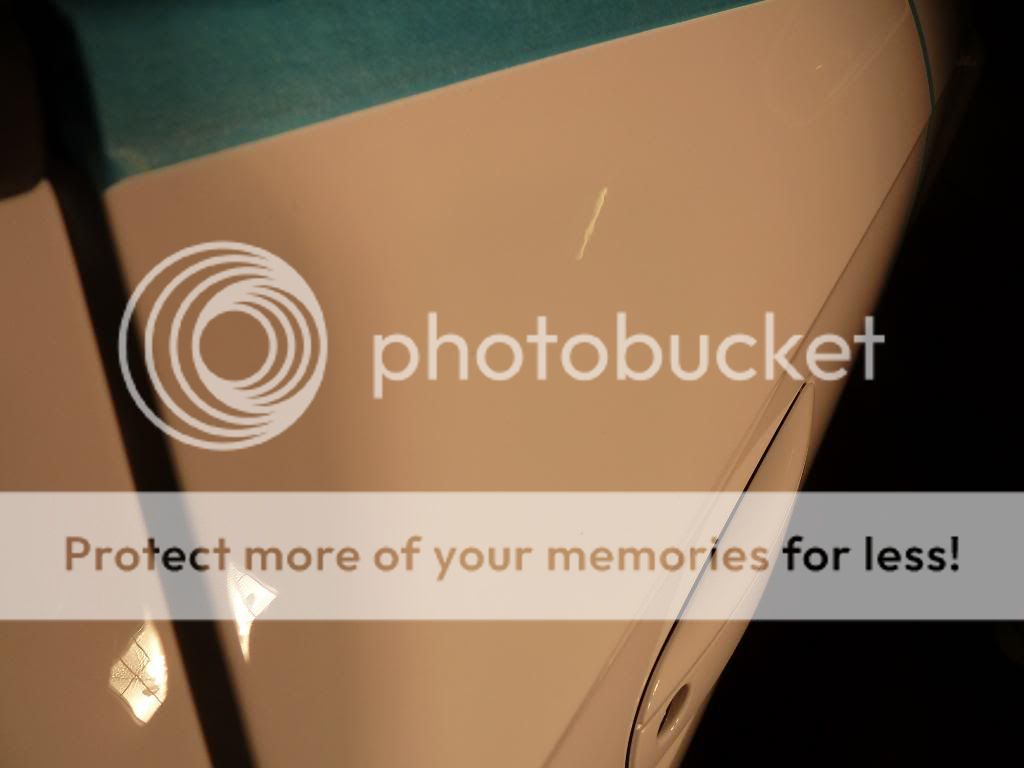
Deep scratch on boot lid

152.jpg


After 1 hit of menz 3.02 on a light cutting pad with DA as expected the paintwork was tough could have been done with a rotary but this was the only RDS.

153.jpg


Worked in with same pad and 203s

154.jpg


Worked in with 203s on a polishing pad

155.jpg


Finished with 106fa

156.jpg
 
Finally a bit on the car that does show up the swirls

157.jpg


158.jpg


159.jpg


160.jpg


Could have been done with a bit more of a dust down before photograph.

161.jpg


162.jpg


Again couldn’t really get a photo of the swirls but they were there honestly!!!!!

163.jpg


164.jpg


165.jpg


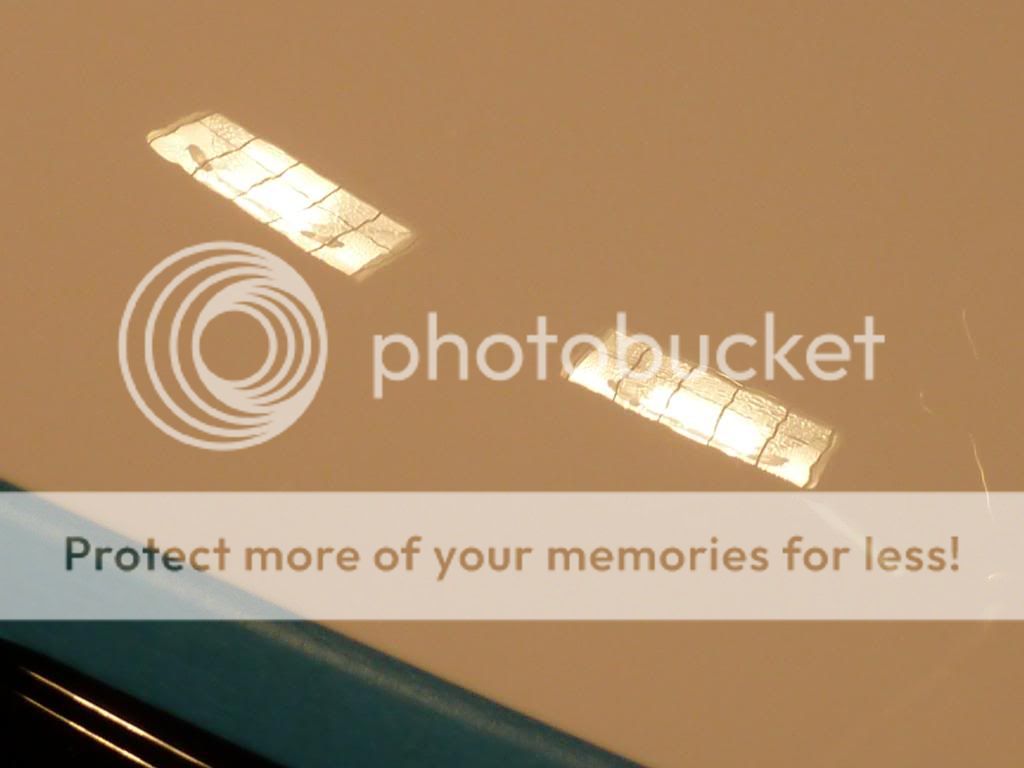
A few shots of the just polished surface seemed to have given a good level of clarity and sharpness.

166.jpg


167.jpg


168.jpg


169.jpg


170.jpg


171.jpg


Finally all the polishing was done I gave the whole car an IPA wipe down with a good quality 3M MF towel.

172.jpg


173.jpg
 
Exterior Surface Protection:
Paintwork Protection
External plastics sealed
Rubbers dressed
Glass sealed
Final wipe down & buff

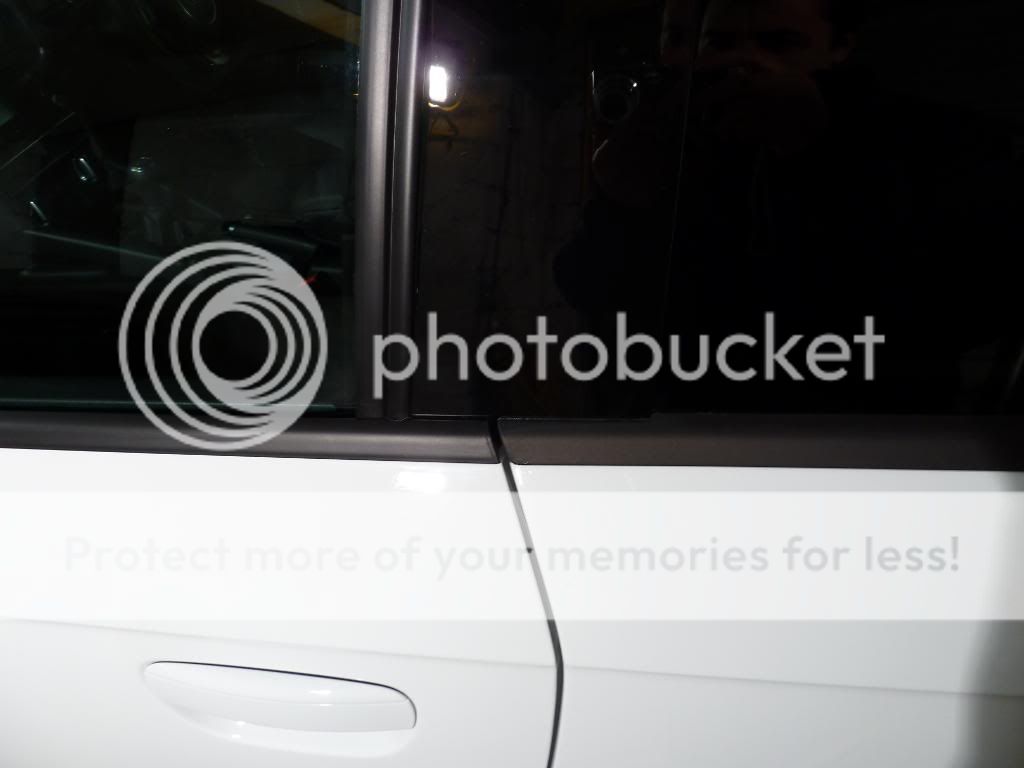
Sealed up all the trim around the windows with C4 made sure nothing was left on the paintwork or glass then it was time to apply C1. Now I done a small tester of this before but here go with a full review.

First up the surface needs good prep so a good clean decontamination and IPA wipe down this is so the C1 has the best chance of bonding to the paintwork surface to become the new functional layer of the paintwork. I made sure the surface is dry and dust free, and then it was time for application.

If you are doing small panels etc its fine just go ahead and apply and wipe off however if you are doing bigger panels first workout how you are going to split it up i.e. I done the roof in two half’s.

So with a mental image in my head of how I wanted to split up the bigger panels. A dab of C1 the makeup pad and I was off, I firstly spread it in an s shape over the area I wanted to cover or what you feel comfortable with then in the opposite direction spread the product back and forth in a meticulous and concise manor ensuring that every square mm is covered. I found that C1 spreads very easily and 1 dab did ¼ of the roof possibly more but not quite enough to do ½ the roof.

Once this was all worked in I then wiped the excess residue off with a fresh MF towel which was then folded over and then all remaining product was buffed off. This is probably the most important step as if you leave any excess on it will crystallise on the paintwork, and I guess is one of the main reasons that caution should be used when applying this stuff I found the work time isn’t that bad perhaps they are on a new version with longer work times than before but ive spoke to Rob at Gtechniq who said you will get into trouble if you leave it on longer than 30 mins but also factor in temperature as this can affect the curing times but generally the best advice is to get the product off asap as the chemical reaction is pretty much instant around 10 seconds so by time you coat one panel then go get a MF buff off from where you first applied the C1 its more than likely to be more than 10 seconds.

Anyway I slowly worked my way around the car splitting up panels and buffing it off, always use a fresh part of the microfiber when buffing off the residue as the C1 crystallises on the MF towel which in turn could scratch your paint so I decided after 8 wipes which was the towel folded into ¼ and using both sides I threw it away. I also used a fresh applicator pad for each panel so roof bonnet doors etc

Once the whole car was done I buffed the whole car with a plush MF towel

I then gave the glass a quick clean I did not apply G1 or G3 as I already have Nanolex premium on it which would be a shame to strip so that will see me through winter.

174.jpg


175.jpg


176.jpg


177.jpg


178.jpg


179.jpg
 
Finished Results

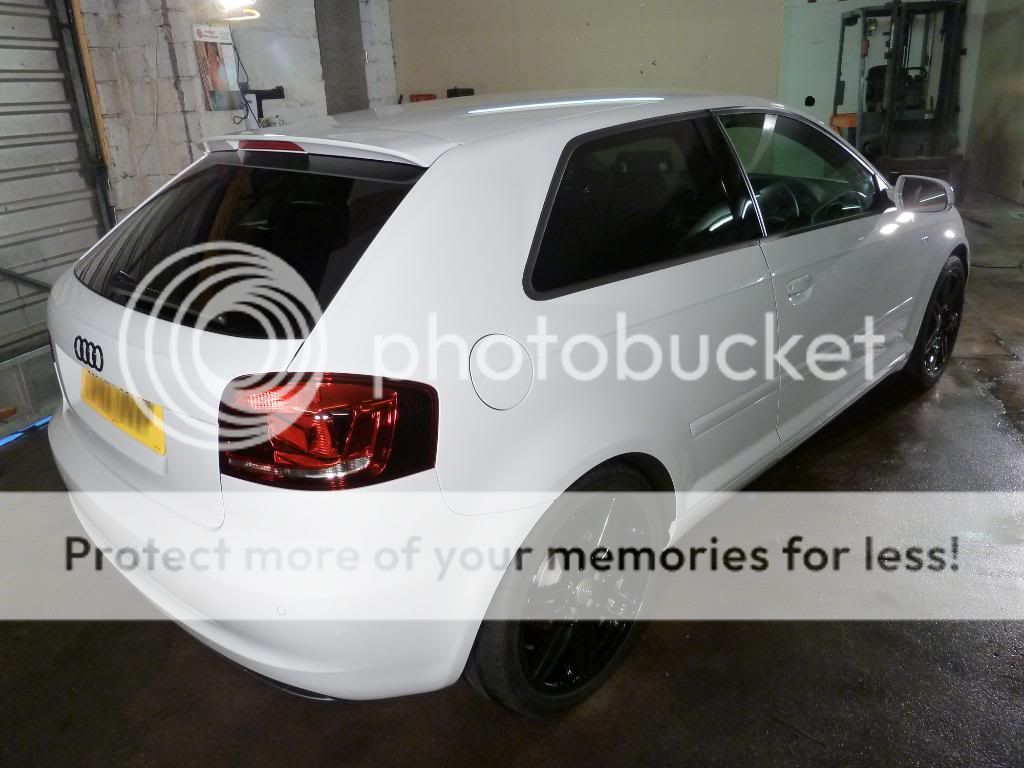
So folks that’s pretty much it here’s the finished results I'm afraid as mentioned at the start with the dark nights and crap weather I have not been able to get any decent photos outside in natural light but once I do I will post….

180.jpg


181.jpg


182.jpg


183.jpg


184.jpg


185.jpg


186.jpg


187.jpg


188.jpg


189.jpg


190.jpg


191.jpg


192.jpg


193.jpg


194.jpg


195.jpg


196.jpg


197.jpg


198.jpg


200.jpg

 
201.jpg


202.jpg


203.jpg


204.jpg


205.jpg


206.jpg


207.jpg


208.jpg


209.jpg


210.jpg


211.jpg


212.jpg


213.jpg


214.jpg


215.jpg


216.jpg


217.jpg


218.jpg


Thanks for reading if you managed to get through it all and if not thanks for looking.

Ash
 
  • Like
Reactions: rubbi
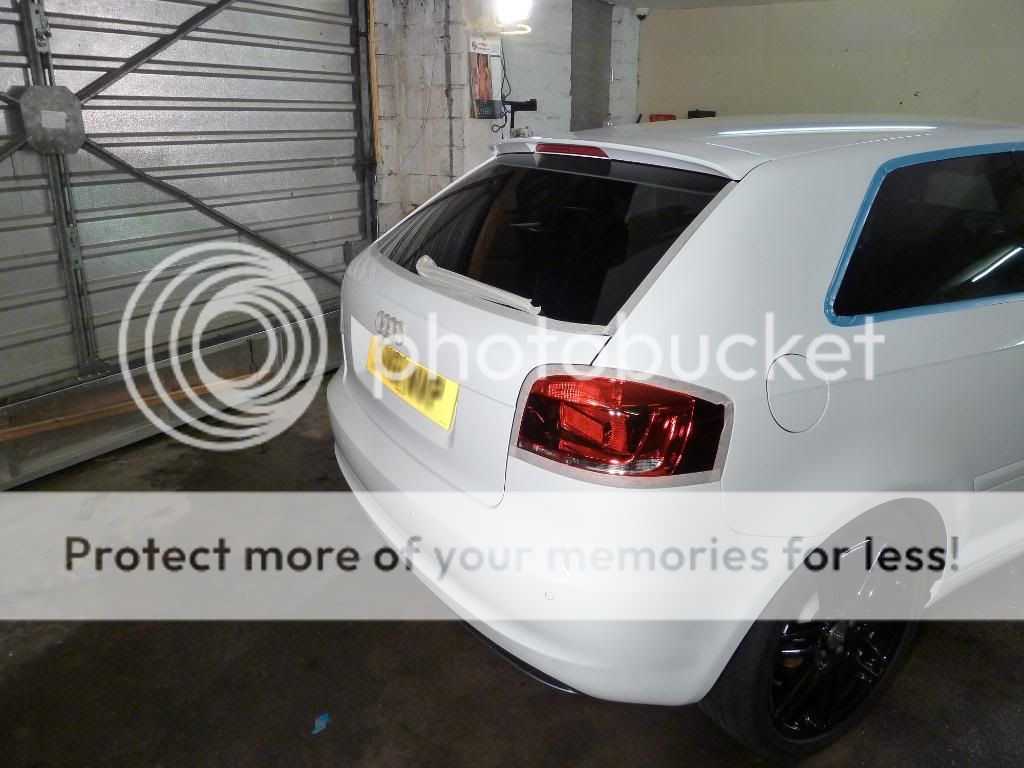
This was before i got my rear diffuser in gloss black and was a few weeks before it needed the rear end replaced the new bumper finishes off the black gloss look i was going for....
 
Awesome work mate.. I noticed your radio said NSound1, you in Aberdeen?
 
Yeah mate I am... You from Aberdeen too?
 
Awsome work
where do you get that fabric guard stuff from mate
 
Awsome work
where do you get that fabric guard stuff from mate

It's gtechniq I1 fabric gaurd, pretty good stuff, nanolex does a similar product not tried it yet...
 
  • Like
Reactions: nally
is that tar removing stuff pretty easy to use or do you need to keep an eye on it
 
is that tar removing stuff pretty easy to use or do you need to keep an eye on it

Yeah just a spray on and watch it melt those bits of tar then for stubborn bits I use a mf to wipe it off... I don't know what happens if it were to dry in but I've always just rinsed off straight away not taken the chance. I'm sure someone will know.
 
good good two new purchases then :beerchug:
i ****** hate coming the the detaling bit cant stop spending
 
Sorry A K I've not commented before (how many pics :p) - great work and can't wait to see those outside pictures....

Its best not to let a tar removing product dry otherwise it can be a PITA to remove .....detailing shopping is the best Nally!
 
  • Like
Reactions: nally
as Jen said dont let Tardis dry, its not fun removing it! I normally give my car another foam / wash after i've used tardis and iron x..

Yeah i'm from Abz too mate, tar spots are a PITA up here dont you think?
 
good good two new purchases then :beerchug:
i ****** hate coming the the detaling bit cant stop spending

It's worse than crack mate there's always new products out to do something better.
 
  • Like
Reactions: nally
Sorry A K I've not commented before (how many pics :p) - great work and can't wait to see those outside pictures....

Its best not to let a tar removing product dry otherwise it can be a PITA to remove .....detailing shopping is the best Nally!

Hey thanks don't worry about it, yes I like my photos a few of them are similar angles which I did mean to leave out. Just not had the time or weather recently to get some decent outdoor ones, hopefully this Saturday need to get some photos of my new black gloss splitter and new led bulbs inside and the white reg plate bulbs...

Yeah I've never left it on long enough to see what happens if it drys in, always given it a thorough rinse afterwards.
 
Last edited:
as Jen said dont let Tardis dry, its not fun removing it! I normally give my car another foam / wash after i've used tardis and iron x..

Yeah i'm from Abz too mate, tar spots are a PITA up here dont you think?

Yes it's very bad up here its with all the ****** potholes that they patch up. I notice it especially on the wheels, I got a pair of genuine rs4 7 arm double spokes n gloss black using these for the winter months keeping the black edition ones for the summer. Not that we get much summer.

Also partly why I wanted a tough nano sealant for the paint so the tar just washes off. I put some C5 on the other halfs A1 wheels really impressed with the stuff, beads like crazy and the dirt just mostly power washes off tar doesn't stick either.
 
Hmmm i may have to try the GTech sealant.. I use their window sealant and its awesome! Let me know how you get on with your next wash (assuming your car is reasonably dirty) so i can see if its worth investing in yet more products haha.
 
whats a good interior apc ( spray)
i use this bmw stuff its really good for interior and alcantara just dont do it in a concentrate
 
Theres loads of choice for APC at the moment I'm using meguiars APC 10:1 for the interior, just to name a few there is wolfs the insider, Gtechniq w2, Swissvax fabric and alcantara and many more...
 
Prob gonna go with the mega stuff loads of ppl seem to use it. Is the iron x worth getting of you have tardus?
 
Prob gonna go with the mega stuff loads of ppl seem to use it. Is the iron x worth getting of you have tardus?

Both tardis and iron x has their own purpose both remove differnt types of contaminants. Tardis is good for organic matter such as tar, treesap and even bugs that have been welded to the front of your car. Where as iron x removes iron contaminants which embed on the paintwork and eventually rust insitu and brake dust. This is more noticable on lighter coloured car and is easier to spot...

I would receomend both this reduces the need for more agressive clays, and most times i find after a good chemical bath there is no need to clay... Unless the car is completly filthy and never seen a good wash in its life.
 
It just keeps growing and growing... Wolfs decon gel aka brake duster is the same as iron x at half the price but not quite as strong as iron x but still very good and is what I use. So if your looking to save a few pennies wolfs is good