fourcircle
nj
james - delete the other related "panic" threads from the last couple of days please.
This will be my guide to installing full powered, heated seats into a car with only electric lumbar function. I'll have plenty of questions throughout but hopefully all will work out in the end.
For starters I bought a set of S4 recaros from a breaker. They arrived looking pretty sad from storage in a lock up and some kind of white dust over them and well ingrained into the driver's seat. Looks like it might have been used for someone to sit in while at the lock up. effing basserds. but anyway.... much of this will is and will take place in a dark, cold carpark as my garage isn't big enough to work with the doors open. I'd really recommend you give yourself plenty of time in a large, dry, warm garage if you're going to do the same.
I'm also changing some plastics as I do this so your install may not be as messy. First up I removed my centre console, which i'm swapping anyway. the process for this is detailed in a couple of RNS-E/double din conversion threads on asn if you need it. So head unit out, climate control unit out, pop the gear stick surround off, rear ashtray off, top trim above cup holder out. then two 13mm bolts from under the rear ash tray and a load of 8mm bolts from around the head unit and front ashtray areas.

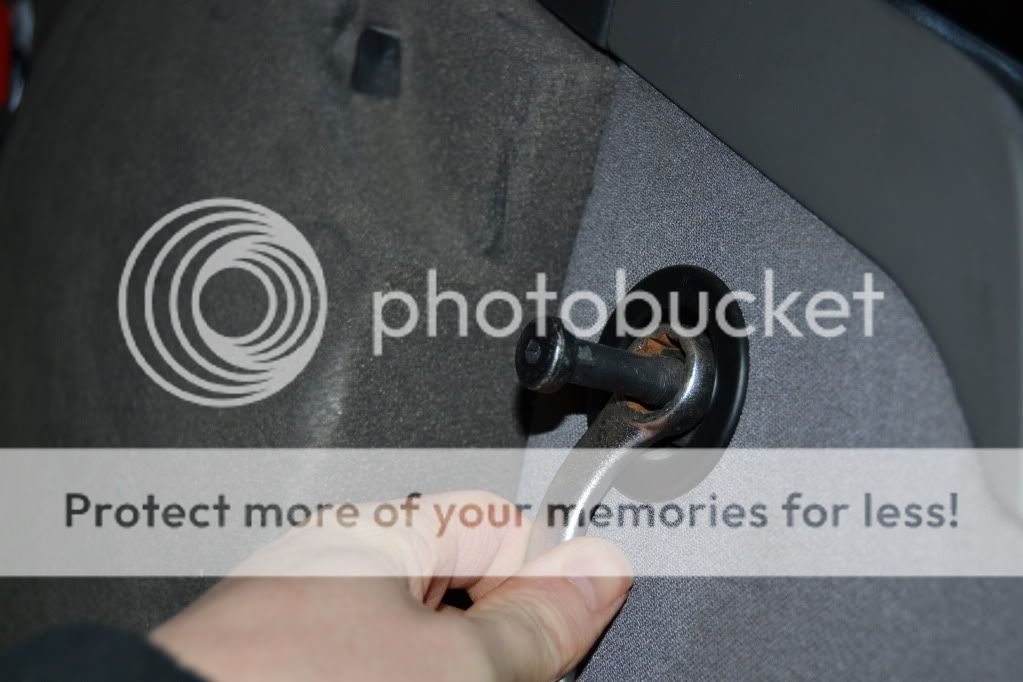
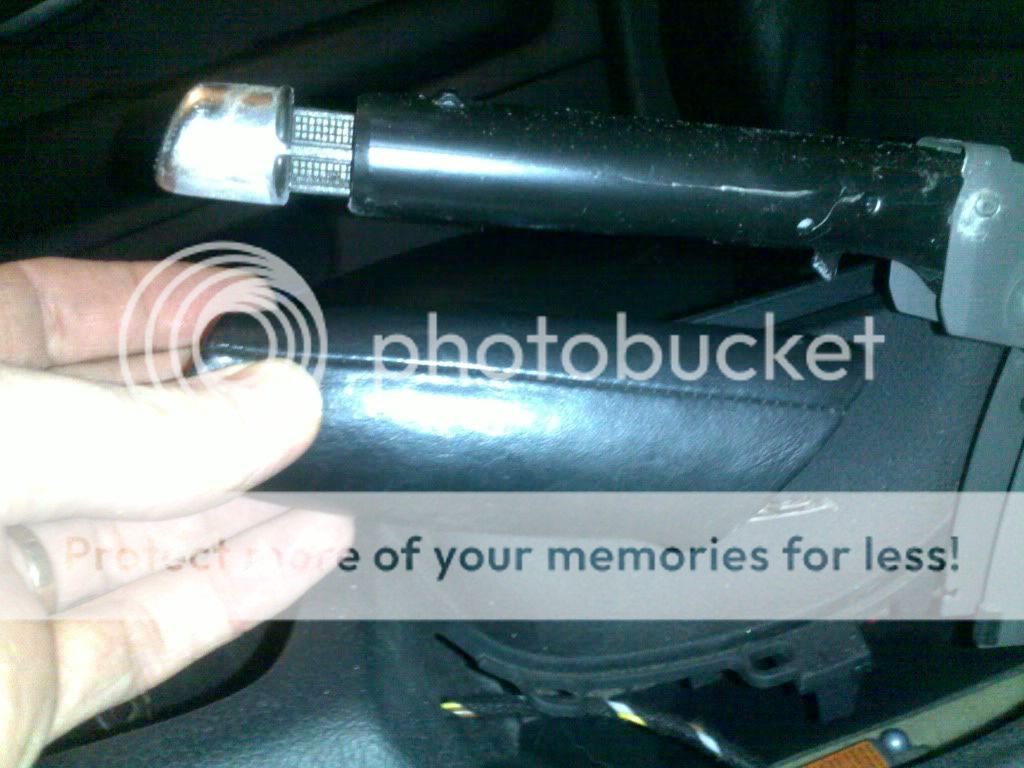
If you need to remove the handbrake cover you need to slide a thin flat headed screwdriver down underneath the hard plastic and pull the metal clasp away from the handbrake lever to allow you to pull/wiggle the leather grip off. It's on there tight but keep pulling and wiggling sid eto side and it will come off.
Then, the hard plastic cover itself has two metal spring clasps at each side within that you need to lever away from the metal studs on the handbrake lever itself. gently pull that plastic cover as you work at each side and it should come off easily enough.
Glovebox also needs to come out so that's three 8mm bolts from inside the glovebox at the top edge and 2 from underneath. don't let it drop and remember to unplug the electrics before taking the whole thing away somewhere safe.
Also take out the shelf from under the steering column. pop the dash end cap/fusebox cover off. there's small recess at the bottom for a flat screwdriver or similar. Then there's one 8mm bolt within that space beside the fuses and two 8mm bolts from underneath. that done you need to grip the whole shelf and pull it towards you (if sitting in the driver's seat). Unclip the diagnostics plug and remove the shelf from the car.
disconnect the battery under the bonnet.
Now begind the wiring of the kufatec loom if your old seats aren't heated. there's a main loom and a single red & white wire. The plugs will obviously go under the seats so start with the opposite end as per Kufatec's instructions.
Connector F (6-pole) as well as C are located behind the climate control and already exist in the carâs
loom. (that's the big, heavy one on the right side of the climate control unit)
Grey wire with yellow tull - Connector F 1 (just push the female connector into position 1, which is marked on the connector itself. look closely to see the numbering)
Grey-wire without tull - Connector F 2
Red/White - Connector F 3

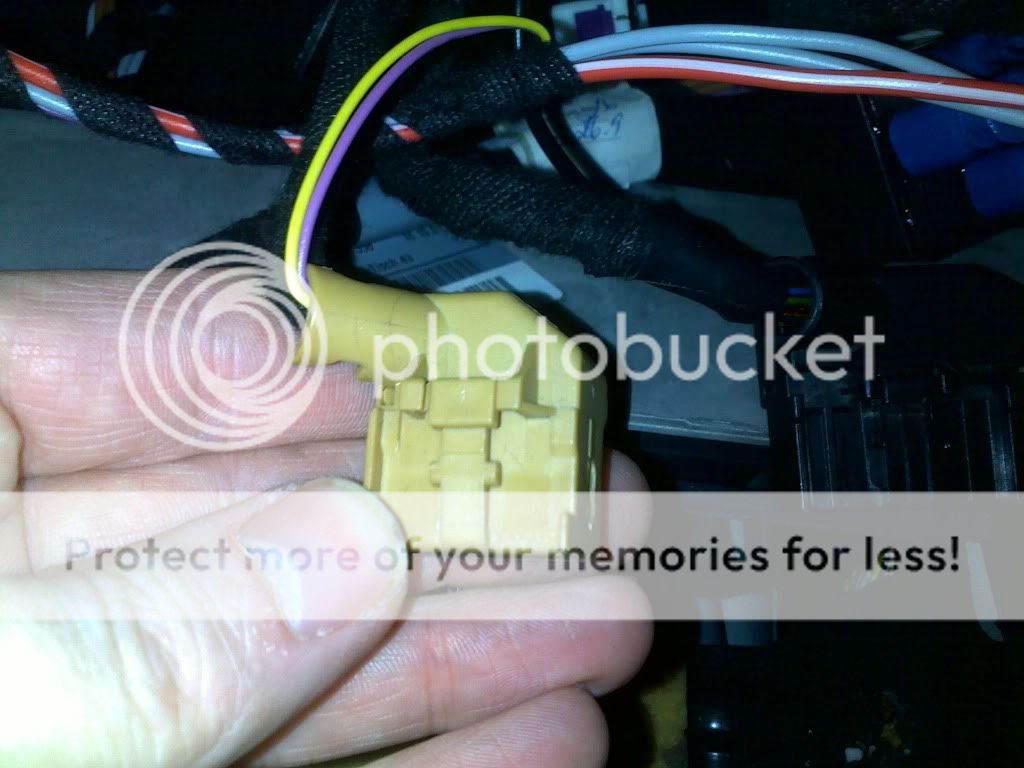
Violet - Connector C5 (C is the small mustard looking connector. You need to carefully cut the small cable tie that's holding the wiring in place, pull back the hinged plastic flap at the back, then slide the whole "innards" out of the shell. the numbering is very faint but should read 1 to 8 on one side and 9 to 16 on the other I think. push the new pins into place, slide the "ina´nards" into the shell again, fold over the end flap and put another small cable tie in place)
Yellow - Connector C6
Red/white will be connected to Terminal 30 (permanent plus) and the other end will be inserted into the fuse box of the car (Fuse number 44). The other red/white connector of the wiring will be inserted into the other free slot of the fuse box.
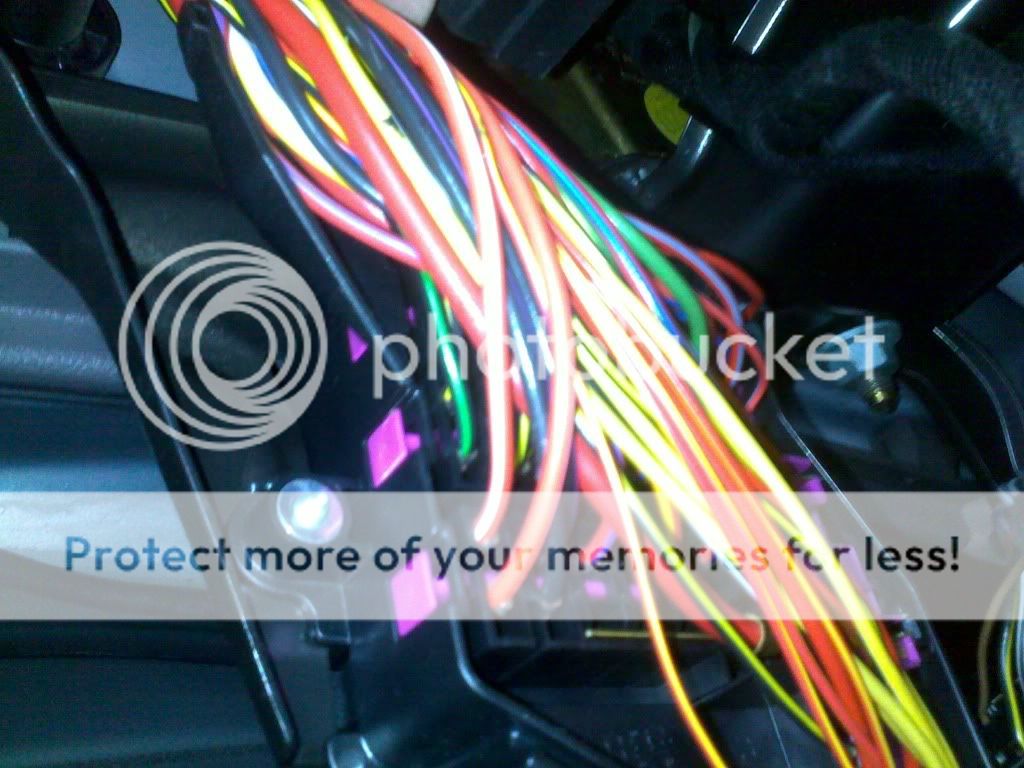
right, in english that means feed the red&white wire and the brown wire with the ring on the end behind the steering column and make sure the wires aren't going to snag anywhere.

I think the loom is designed for a LHD car and as a result I found these 2 wires didn't have much extra to play with if the main bulk of the wiring was to run down the passenger's side of the transmission tunnel (under the centre console). I fed these wires quite high behind the clocks to keep them away from the moving steering column itself.
Open the back of the fusebox.

identify position 44 from the diagram on the inside of the fusebox lid. so that's bottom left looking from the open door or bottom right from the perspective of a very small man sitting cross legged in the driver's footwell. You need to slide the purple plastic thingy down to allow you to push the pin of the red&white wire into one of the two empty slots of fuse position 44.
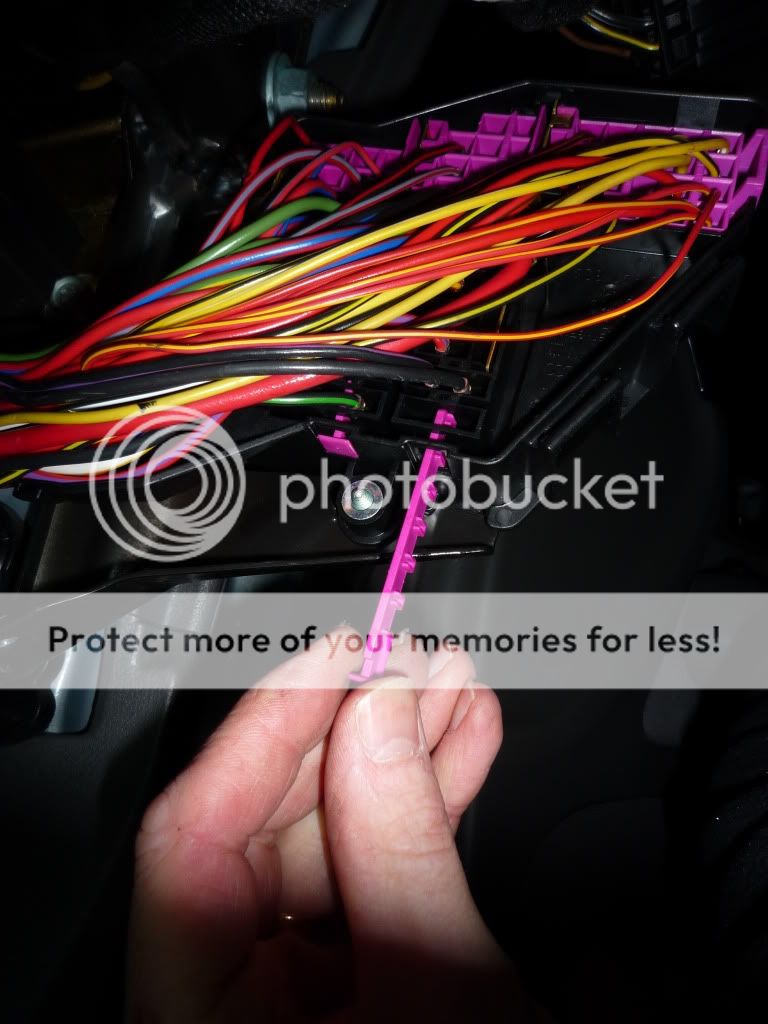
Now take the lonely little red & white wire

.......and push the pin end into the other empty slot of fuse position 44 and slide the purple thingy back up into place.
The ring connector of the red & white wire should be attached to one of the three 10mm bolts that make up a bar of three, all with heavy red wires attached. This is terminal 30 - permanent live. make sure the connections are all solid when you put the nuts back.

Brown - Ground point close to A-Column
You can now attach the ring connector of the brown wire to the earth point with other brown wires coming from it. again, it's a 10mm nut.

Last, while you're here remove the 10amp red blade fuse that's pictured here beside the 2 silver thermal fuses. replace it with a 30amp. that's the power fuse for your seat movement. 10 amp was Ok for electric lumbar support but not the full functions of a recaro seat.


The fuse for the passenger's side is located behind the kick plate in the passenger's footwell. lever off the long plastic trim that runs from seat to glovebox along the floor, starting at the end nearest the seat.
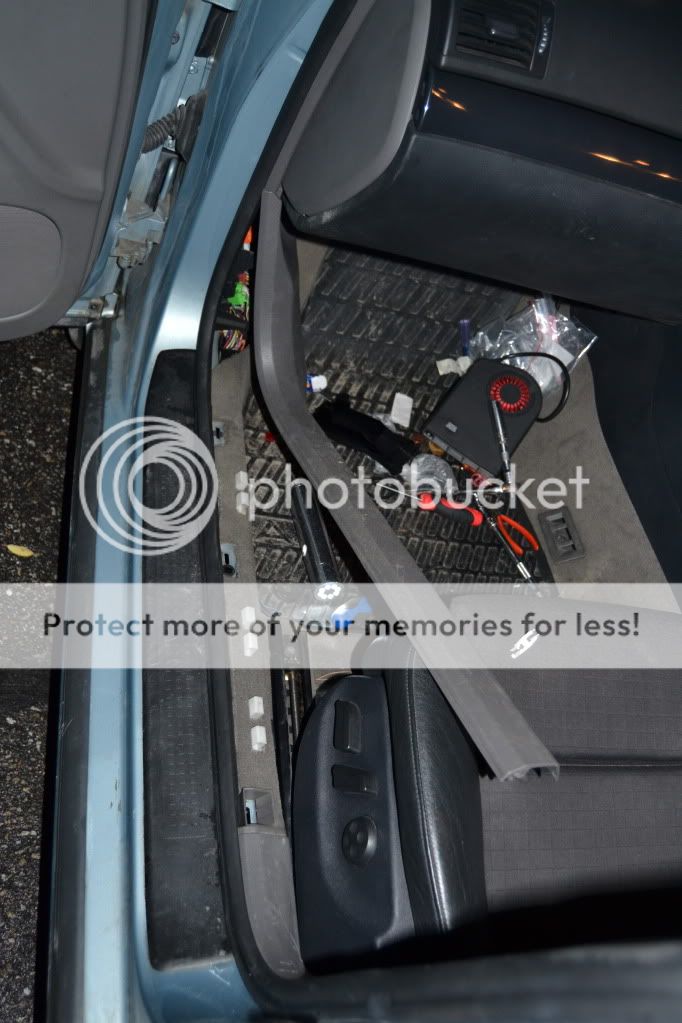
Under the large part you'll see a few electrical connectors and a lonely little red 10 amp blade fuse. change it for a 30amp and put the plastic trim back again.

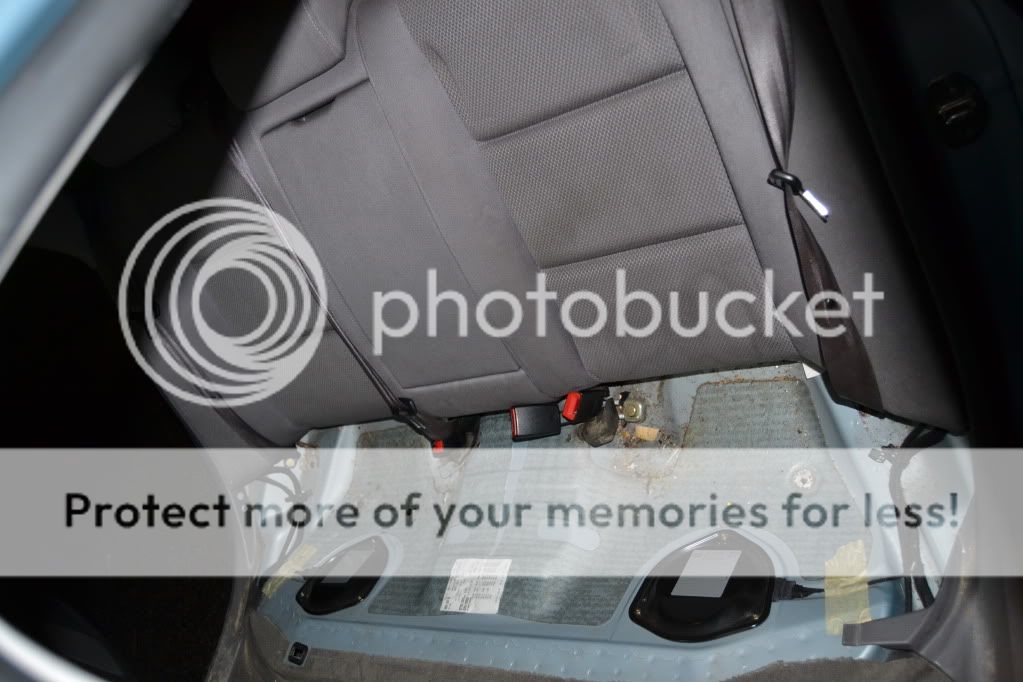
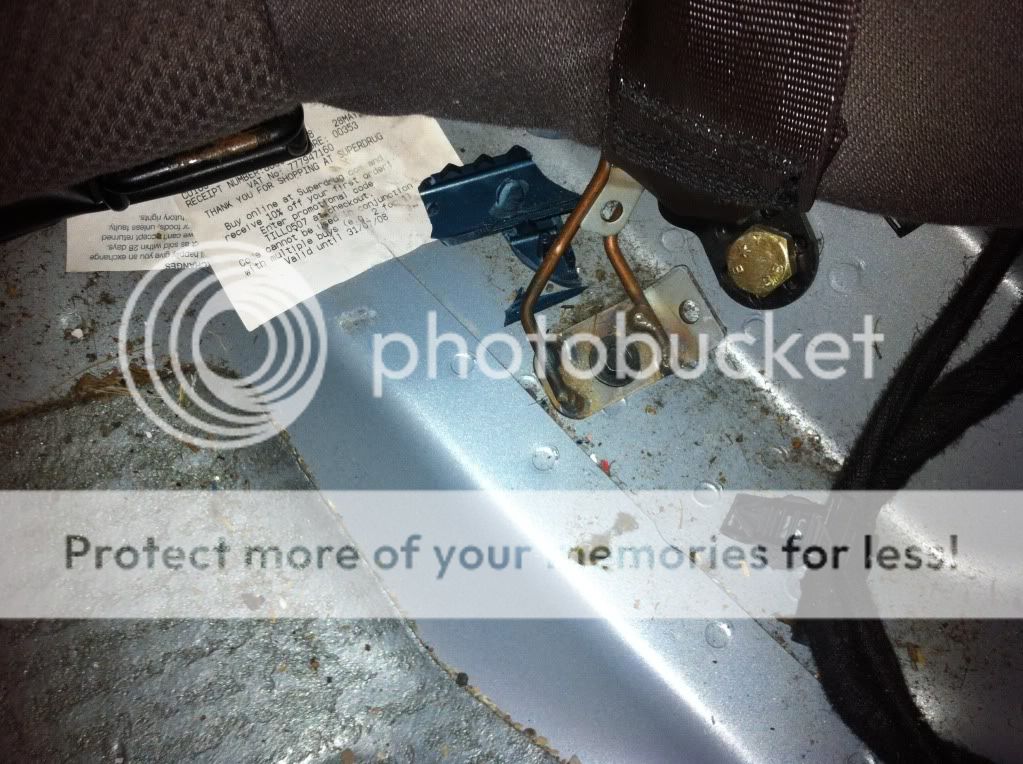
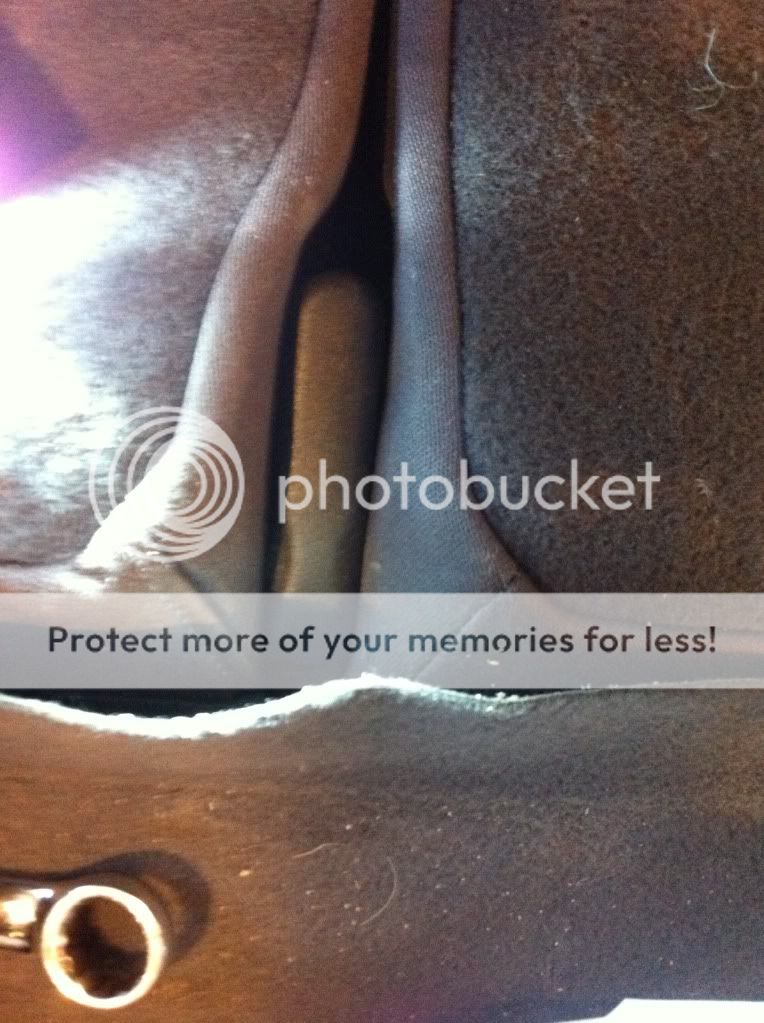
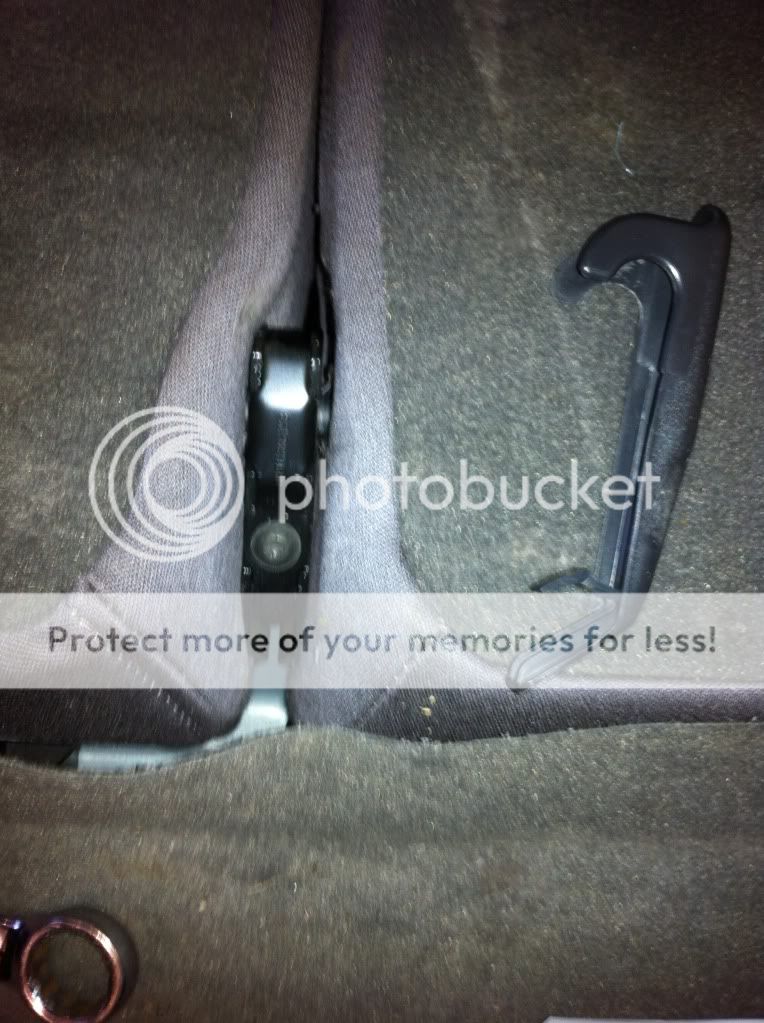
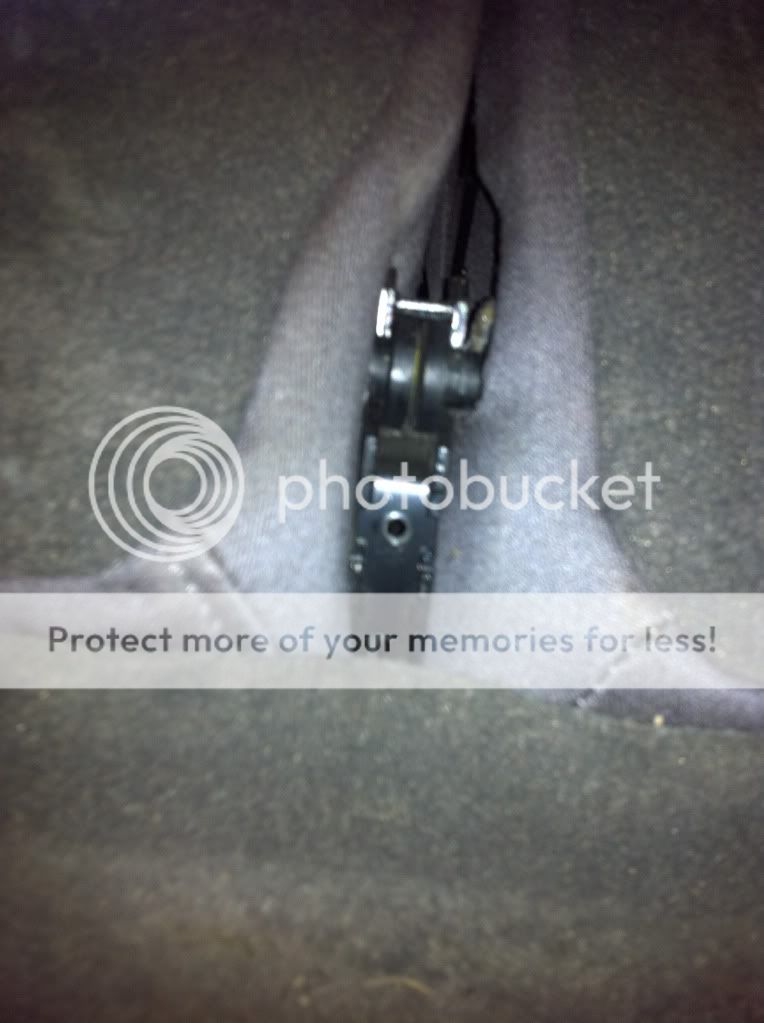
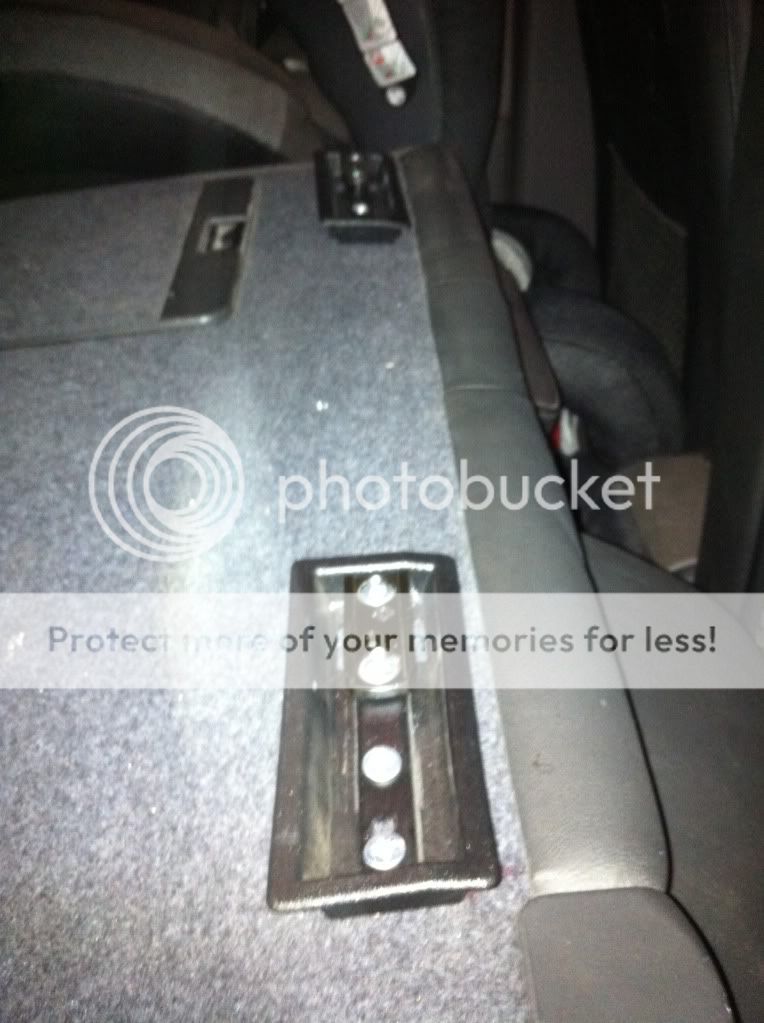
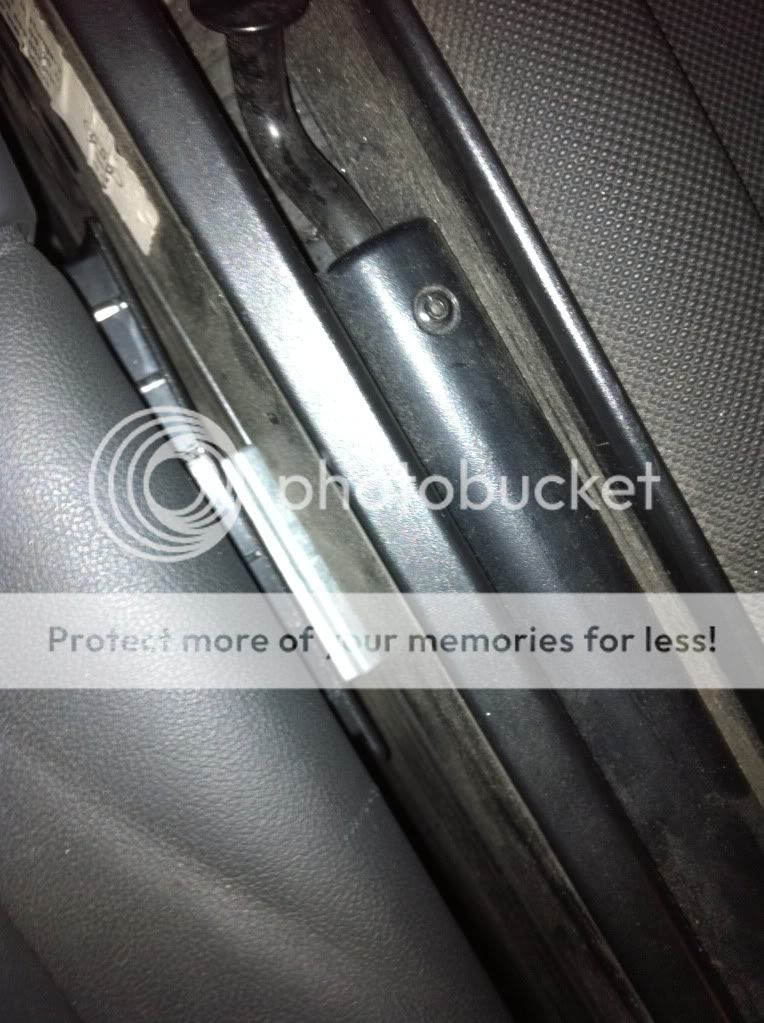
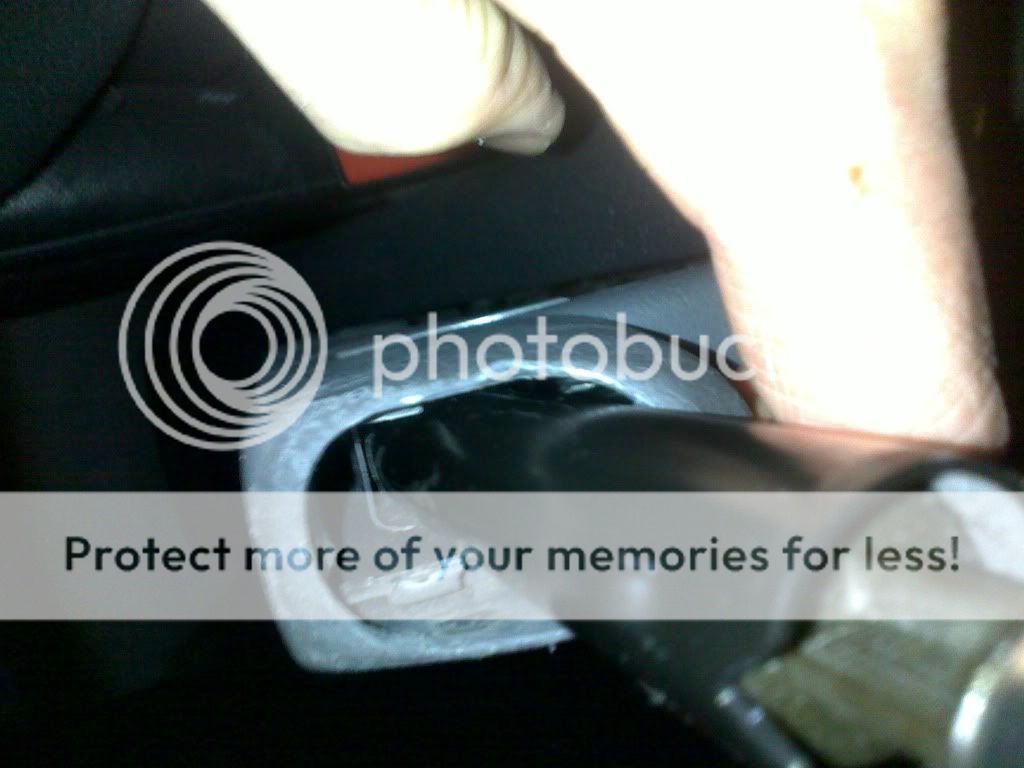
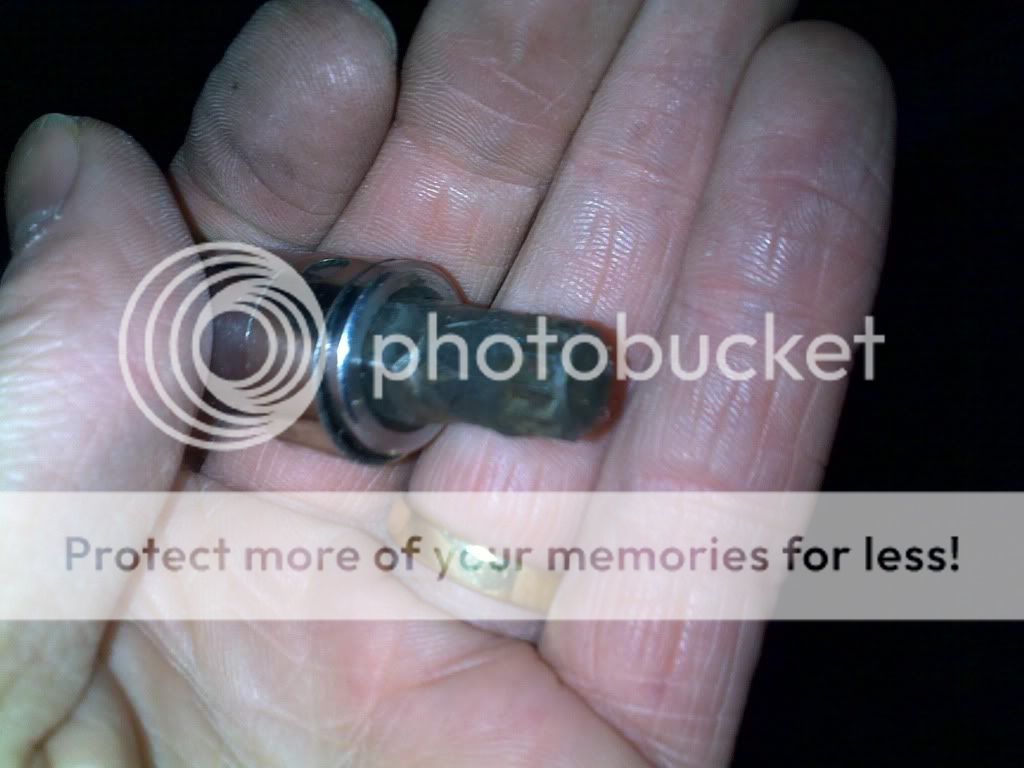
Before removing the front seats undo the seatbelts. There's a plastic flap at each side that pulls up vertically. Underneath you'll find where the seatbelt end clips onto a fat pin. lever the metal flap away from the seat and push that whole seatbelt end downwards. when it gies down far enough it will come off the pin. then your seatbelt end if free. Pic here shows the metal end unclipped

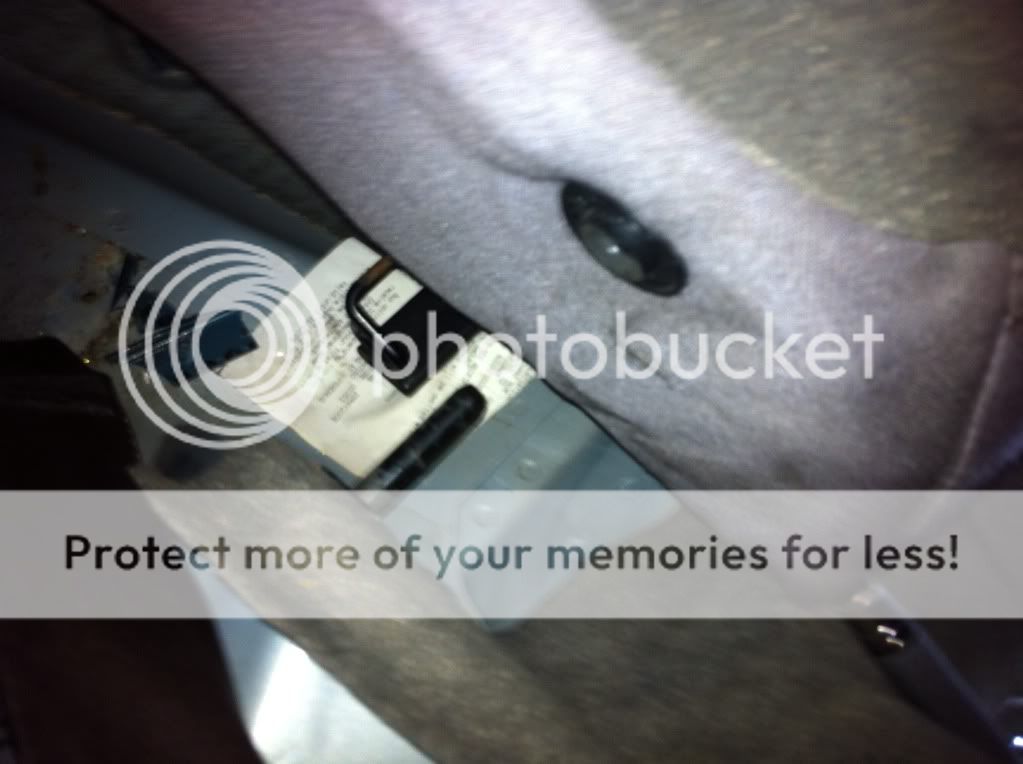
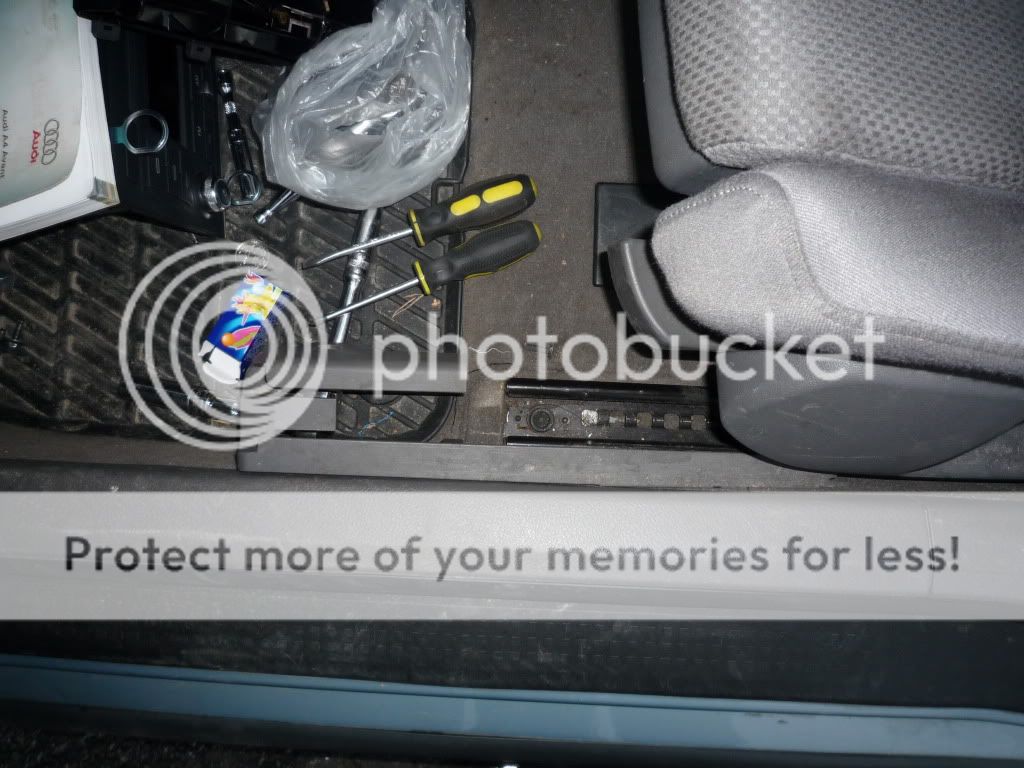
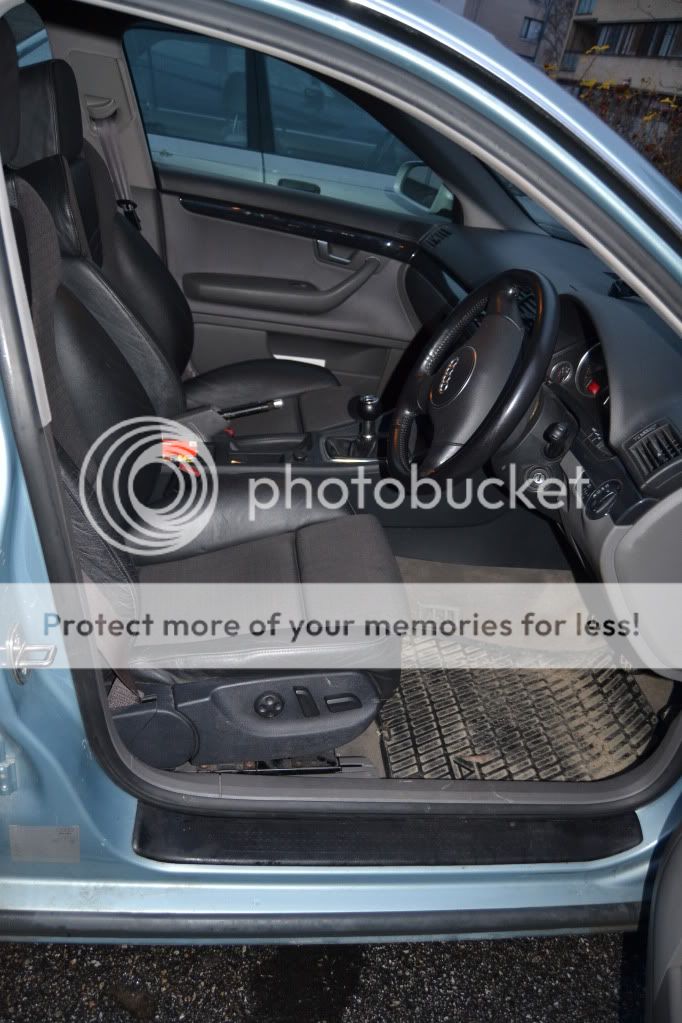
To remove the front seats slide them all the way back, lift the black plastic flap that covers the electrical plugs underneath (it hinges at the end that's farthest from the front of the car) and unplug the 2 connectors.

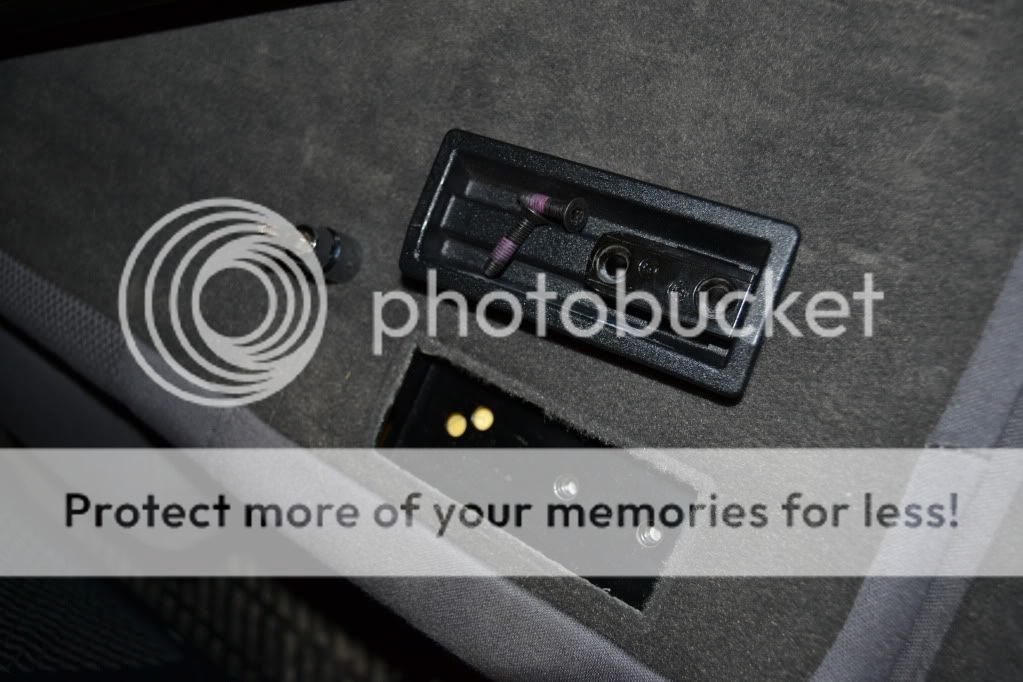
Now take a couple of small flat bladed screwdrivers or something cleverer and pull out the plastic studs that hold the runner covers in place.
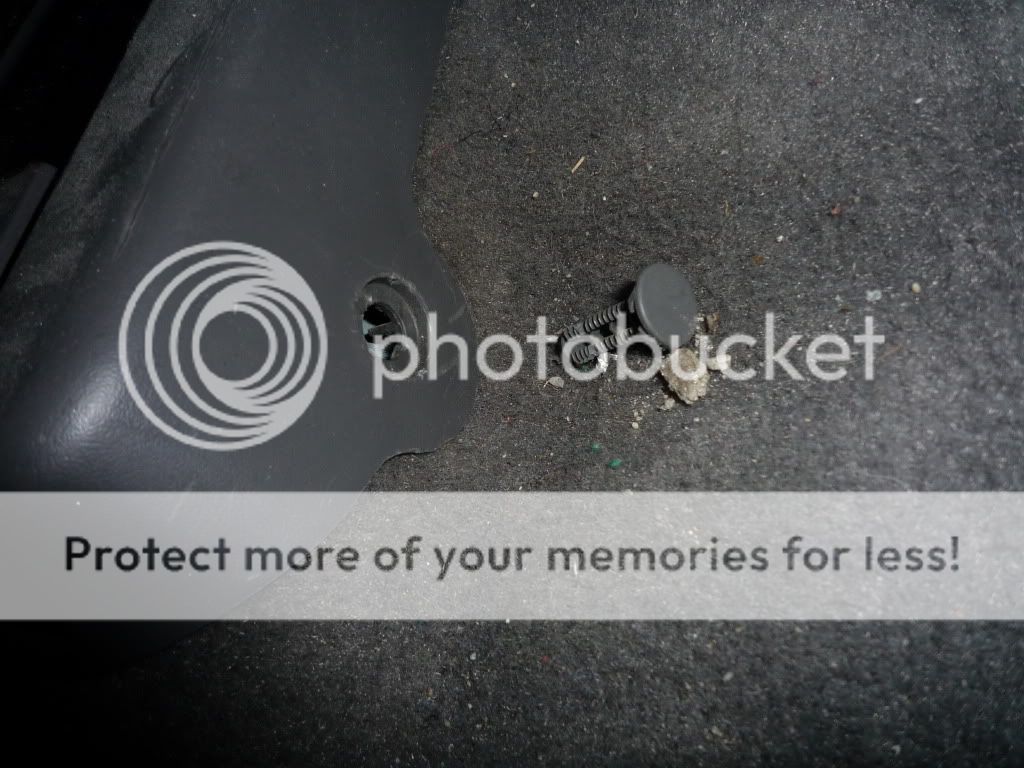
The runner covers will now slide out towards the front of the car.
Use a 12 pointed spline to remove the front bolts holding the runners to the car.
I think a standard 6 pointed torx will also do it if you don't have splines. Slide the seats forward and repeat for the rear of the runners. note that there's also a small torx screw at each side at the rear to remove.

slide the runner covers off and undo the spline bolts. slide the seat forward a fraction, use the manual winder to lean the seat back all the way forward and this will make it easier to lift out from the car. remove the 2 front seats.
Now you can run the main lump of the kufatec loom down the side of the transmission tunnel. lever open the plastic flaps and clip them back into place as you do this. when you're level with the handbrake lever you can run the longer piece over the top and to a position that will be under the driver's seat. the shorter section will go under the passenger's seat.
Lift your new seats into place. note that they're heavy mother fuggers and you might want to get someone to help (if you're not doing it yourself on a cold, dark night in a carpark in northern finland where people have more sense than to come anywhere near a man dismantling his car). The wiring is quite happy under the runners as when bolted down there isn't enough pressure to damage the wiring (disclaimer - this is my own opinion. Feel free to run the wiring under the floor or feed it above the runners in a way that it won't snag if you prefer).
Connect the wiring before you bolt the seat down as there's not much room under there. 2 plugs are the same as your old seat and the 3rd of course connects to your new kufatec plug. I managed to squeeze my kufatec plug down the side of the recessed floor panel thing and ran the additional wire over the top of the plastic clip that holds the main loom in place. with a bit of poking and on one side a bit of plastic chopped off the covers fitted back into place.
(pic to follow)
Now get your runners into position. there's stud near the back of each runner that fits into a hole in the floor so that all 4 bolt holes will line up. whether you tighten the front or back first will depend on where the seat was when it was disconnected from the donor car. bolt all your bolts down tight. i've no idea what torque to use. I just used the "very tight but without stripping the heads" on my own personal scale. I found that the runners are a different shape on the recaros so my old plastic runner covers won't fit. One more thing to add to the list of "small bits that weren't on the pallet but need to be found by the seller".
Front seats in and looking good. the joy of a warm **** on a cold morning should not be underestimated at all. Neither should the lumbar support and general feel of being hugged by these leathery beasties")
This will be my guide to installing full powered, heated seats into a car with only electric lumbar function. I'll have plenty of questions throughout but hopefully all will work out in the end.
For starters I bought a set of S4 recaros from a breaker. They arrived looking pretty sad from storage in a lock up and some kind of white dust over them and well ingrained into the driver's seat. Looks like it might have been used for someone to sit in while at the lock up. effing basserds. but anyway.... much of this will is and will take place in a dark, cold carpark as my garage isn't big enough to work with the doors open. I'd really recommend you give yourself plenty of time in a large, dry, warm garage if you're going to do the same.
I'm also changing some plastics as I do this so your install may not be as messy. First up I removed my centre console, which i'm swapping anyway. the process for this is detailed in a couple of RNS-E/double din conversion threads on asn if you need it. So head unit out, climate control unit out, pop the gear stick surround off, rear ashtray off, top trim above cup holder out. then two 13mm bolts from under the rear ash tray and a load of 8mm bolts from around the head unit and front ashtray areas.
If you need to remove the handbrake cover you need to slide a thin flat headed screwdriver down underneath the hard plastic and pull the metal clasp away from the handbrake lever to allow you to pull/wiggle the leather grip off. It's on there tight but keep pulling and wiggling sid eto side and it will come off.
Then, the hard plastic cover itself has two metal spring clasps at each side within that you need to lever away from the metal studs on the handbrake lever itself. gently pull that plastic cover as you work at each side and it should come off easily enough.
Glovebox also needs to come out so that's three 8mm bolts from inside the glovebox at the top edge and 2 from underneath. don't let it drop and remember to unplug the electrics before taking the whole thing away somewhere safe.
Also take out the shelf from under the steering column. pop the dash end cap/fusebox cover off. there's small recess at the bottom for a flat screwdriver or similar. Then there's one 8mm bolt within that space beside the fuses and two 8mm bolts from underneath. that done you need to grip the whole shelf and pull it towards you (if sitting in the driver's seat). Unclip the diagnostics plug and remove the shelf from the car.
disconnect the battery under the bonnet.
Now begind the wiring of the kufatec loom if your old seats aren't heated. there's a main loom and a single red & white wire. The plugs will obviously go under the seats so start with the opposite end as per Kufatec's instructions.
Connector F (6-pole) as well as C are located behind the climate control and already exist in the carâs
loom. (that's the big, heavy one on the right side of the climate control unit)
Grey wire with yellow tull - Connector F 1 (just push the female connector into position 1, which is marked on the connector itself. look closely to see the numbering)
Grey-wire without tull - Connector F 2
Red/White - Connector F 3
Violet - Connector C5 (C is the small mustard looking connector. You need to carefully cut the small cable tie that's holding the wiring in place, pull back the hinged plastic flap at the back, then slide the whole "innards" out of the shell. the numbering is very faint but should read 1 to 8 on one side and 9 to 16 on the other I think. push the new pins into place, slide the "ina´nards" into the shell again, fold over the end flap and put another small cable tie in place)
Yellow - Connector C6
Red/white will be connected to Terminal 30 (permanent plus) and the other end will be inserted into the fuse box of the car (Fuse number 44). The other red/white connector of the wiring will be inserted into the other free slot of the fuse box.
right, in english that means feed the red&white wire and the brown wire with the ring on the end behind the steering column and make sure the wires aren't going to snag anywhere.
I think the loom is designed for a LHD car and as a result I found these 2 wires didn't have much extra to play with if the main bulk of the wiring was to run down the passenger's side of the transmission tunnel (under the centre console). I fed these wires quite high behind the clocks to keep them away from the moving steering column itself.
Open the back of the fusebox.
identify position 44 from the diagram on the inside of the fusebox lid. so that's bottom left looking from the open door or bottom right from the perspective of a very small man sitting cross legged in the driver's footwell. You need to slide the purple plastic thingy down to allow you to push the pin of the red&white wire into one of the two empty slots of fuse position 44.
Now take the lonely little red & white wire
.......and push the pin end into the other empty slot of fuse position 44 and slide the purple thingy back up into place.
The ring connector of the red & white wire should be attached to one of the three 10mm bolts that make up a bar of three, all with heavy red wires attached. This is terminal 30 - permanent live. make sure the connections are all solid when you put the nuts back.
Brown - Ground point close to A-Column
You can now attach the ring connector of the brown wire to the earth point with other brown wires coming from it. again, it's a 10mm nut.
Last, while you're here remove the 10amp red blade fuse that's pictured here beside the 2 silver thermal fuses. replace it with a 30amp. that's the power fuse for your seat movement. 10 amp was Ok for electric lumbar support but not the full functions of a recaro seat.
The fuse for the passenger's side is located behind the kick plate in the passenger's footwell. lever off the long plastic trim that runs from seat to glovebox along the floor, starting at the end nearest the seat.
Under the large part you'll see a few electrical connectors and a lonely little red 10 amp blade fuse. change it for a 30amp and put the plastic trim back again.
Before removing the front seats undo the seatbelts. There's a plastic flap at each side that pulls up vertically. Underneath you'll find where the seatbelt end clips onto a fat pin. lever the metal flap away from the seat and push that whole seatbelt end downwards. when it gies down far enough it will come off the pin. then your seatbelt end if free. Pic here shows the metal end unclipped
To remove the front seats slide them all the way back, lift the black plastic flap that covers the electrical plugs underneath (it hinges at the end that's farthest from the front of the car) and unplug the 2 connectors.
Now take a couple of small flat bladed screwdrivers or something cleverer and pull out the plastic studs that hold the runner covers in place.
The runner covers will now slide out towards the front of the car.
Use a 12 pointed spline to remove the front bolts holding the runners to the car.
I think a standard 6 pointed torx will also do it if you don't have splines. Slide the seats forward and repeat for the rear of the runners. note that there's also a small torx screw at each side at the rear to remove.
slide the runner covers off and undo the spline bolts. slide the seat forward a fraction, use the manual winder to lean the seat back all the way forward and this will make it easier to lift out from the car. remove the 2 front seats.
Now you can run the main lump of the kufatec loom down the side of the transmission tunnel. lever open the plastic flaps and clip them back into place as you do this. when you're level with the handbrake lever you can run the longer piece over the top and to a position that will be under the driver's seat. the shorter section will go under the passenger's seat.
Lift your new seats into place. note that they're heavy mother fuggers and you might want to get someone to help (if you're not doing it yourself on a cold, dark night in a carpark in northern finland where people have more sense than to come anywhere near a man dismantling his car). The wiring is quite happy under the runners as when bolted down there isn't enough pressure to damage the wiring (disclaimer - this is my own opinion. Feel free to run the wiring under the floor or feed it above the runners in a way that it won't snag if you prefer).
Connect the wiring before you bolt the seat down as there's not much room under there. 2 plugs are the same as your old seat and the 3rd of course connects to your new kufatec plug. I managed to squeeze my kufatec plug down the side of the recessed floor panel thing and ran the additional wire over the top of the plastic clip that holds the main loom in place. with a bit of poking and on one side a bit of plastic chopped off the covers fitted back into place.
(pic to follow)
Now get your runners into position. there's stud near the back of each runner that fits into a hole in the floor so that all 4 bolt holes will line up. whether you tighten the front or back first will depend on where the seat was when it was disconnected from the donor car. bolt all your bolts down tight. i've no idea what torque to use. I just used the "very tight but without stripping the heads" on my own personal scale. I found that the runners are a different shape on the recaros so my old plastic runner covers won't fit. One more thing to add to the list of "small bits that weren't on the pallet but need to be found by the seller".
Front seats in and looking good. the joy of a warm **** on a cold morning should not be underestimated at all. Neither should the lumbar support and general feel of being hugged by these leathery beasties
Last edited: