jediknight
Registered User
- Joined
- Nov 19, 2004
- Messages
- 835
- Reaction score
- 1
- Points
- 16
- Location
- Cambridge
- Website
- www.nathanwillits.com
Realised the other thread i had going was probably in the wrong section.
http://www.audi-sport.net/vb/showthread.php?t=24510
so started a new thread
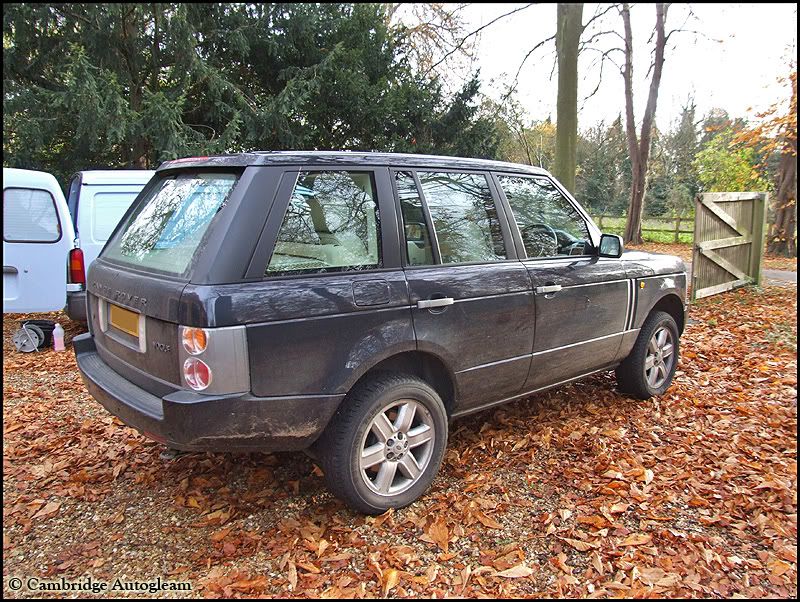
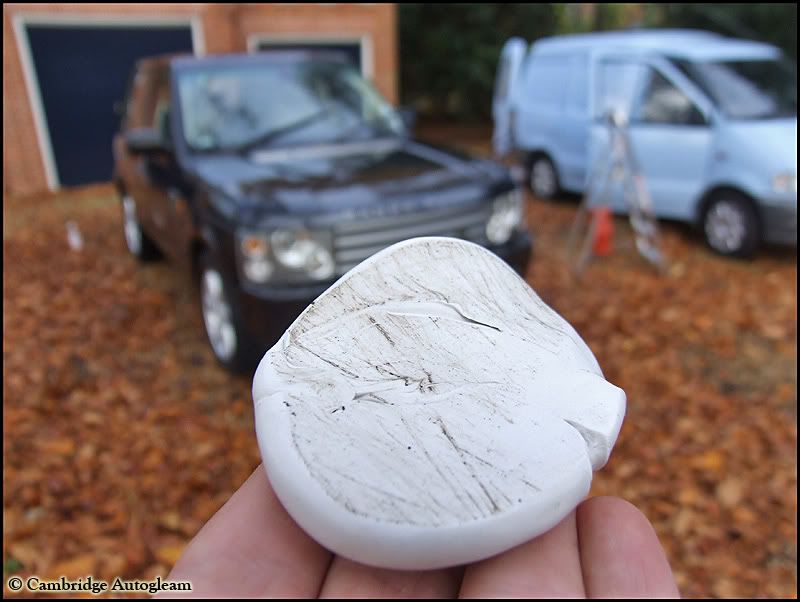
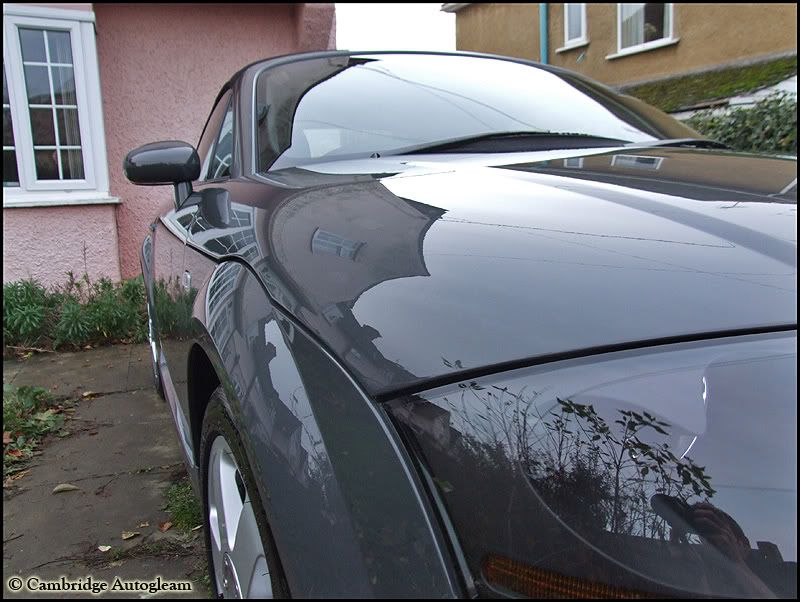
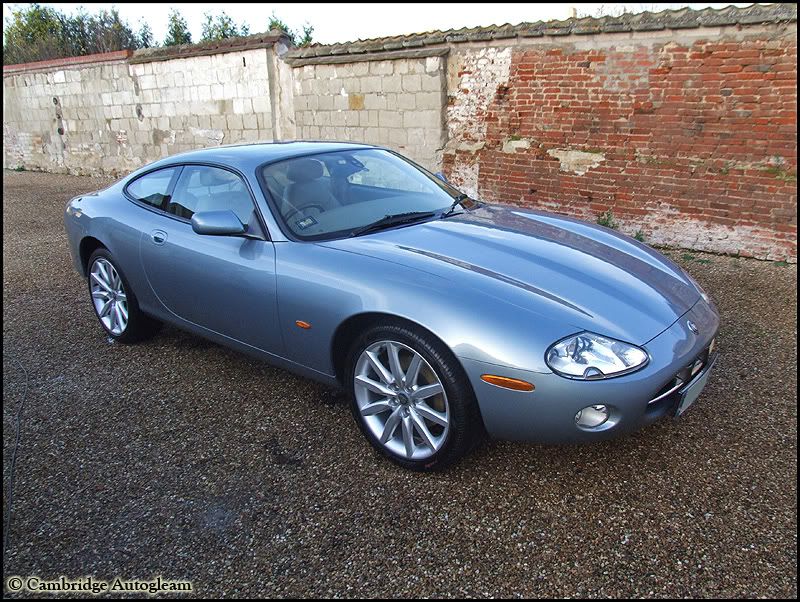
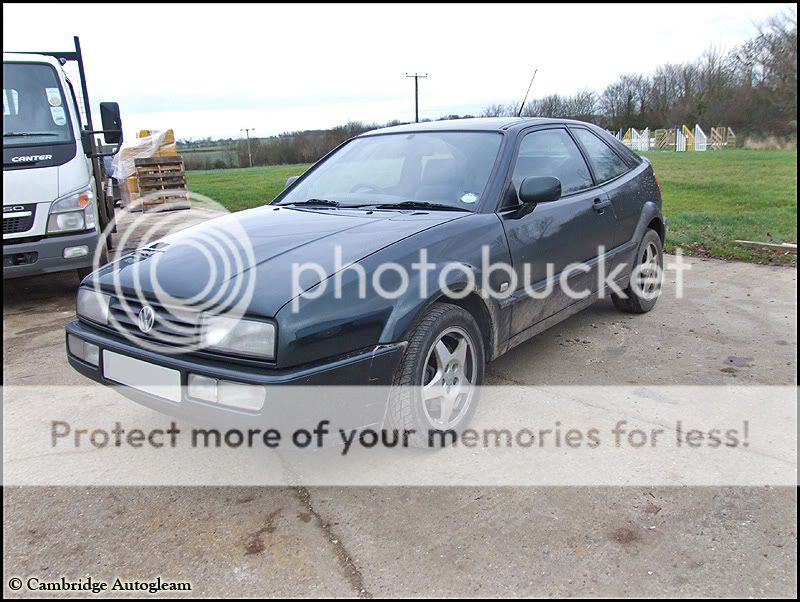
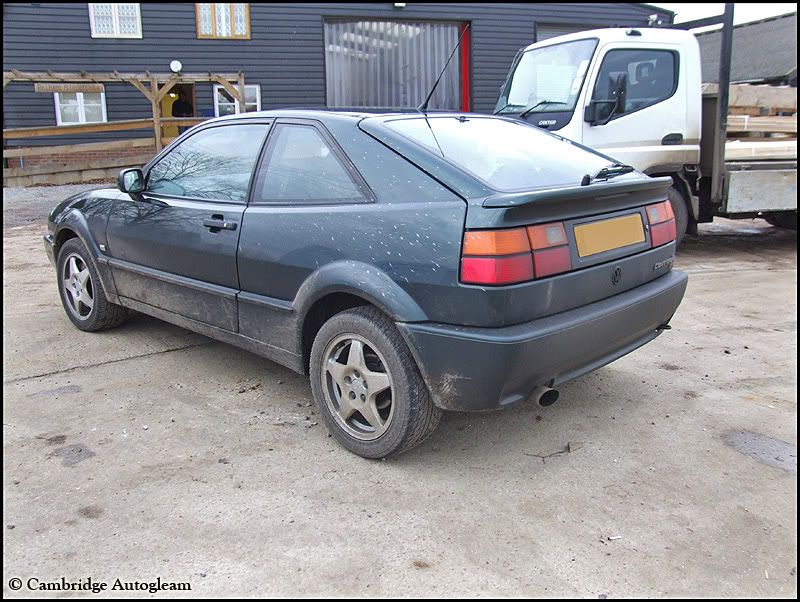
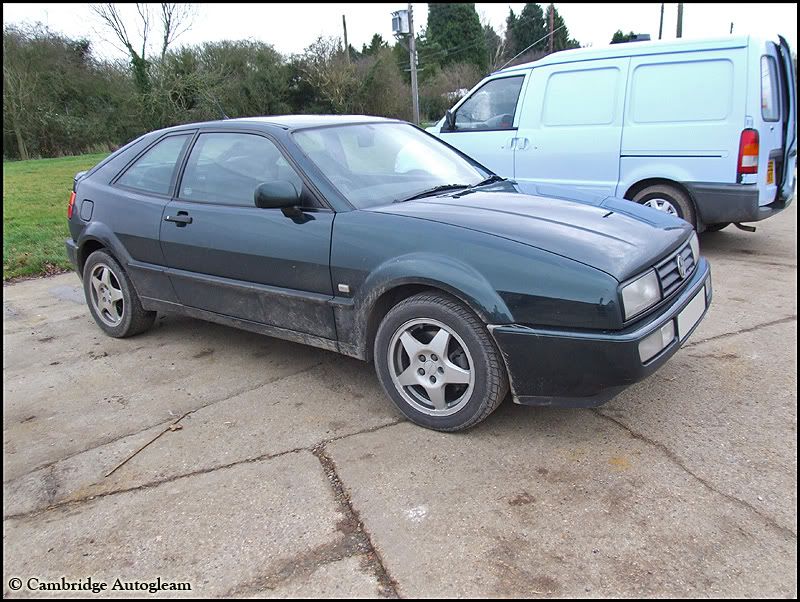
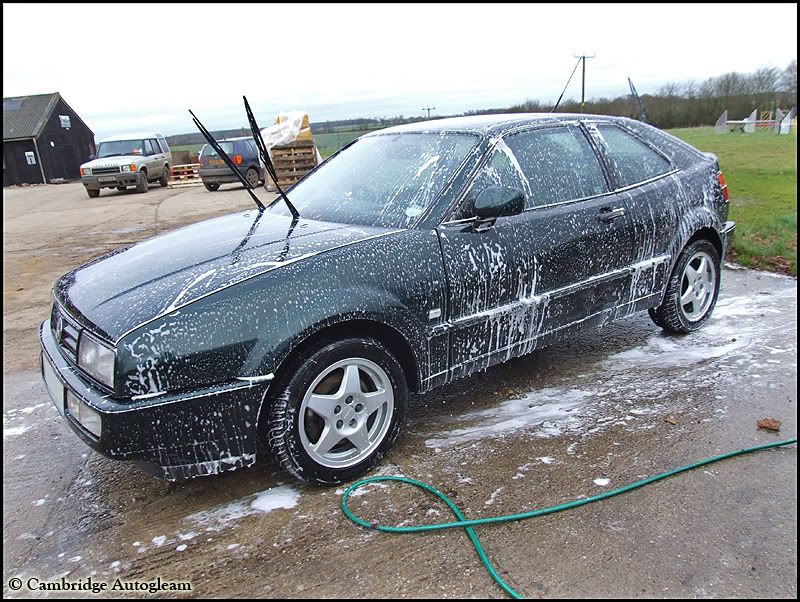
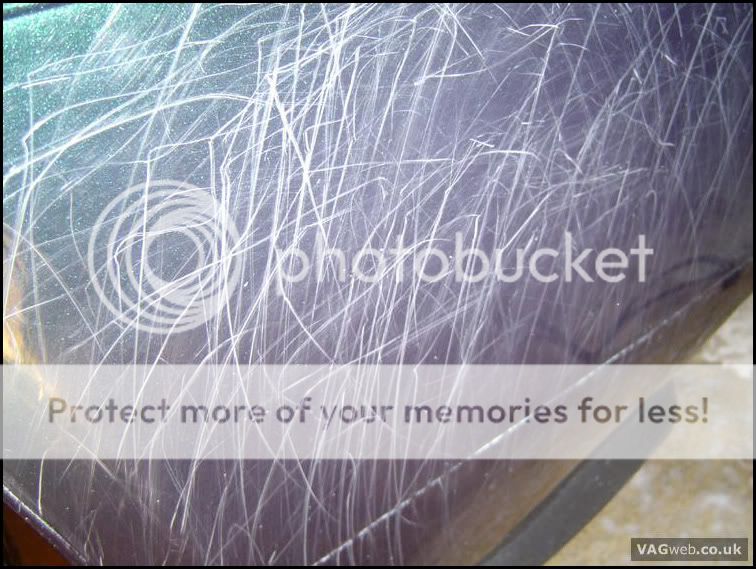
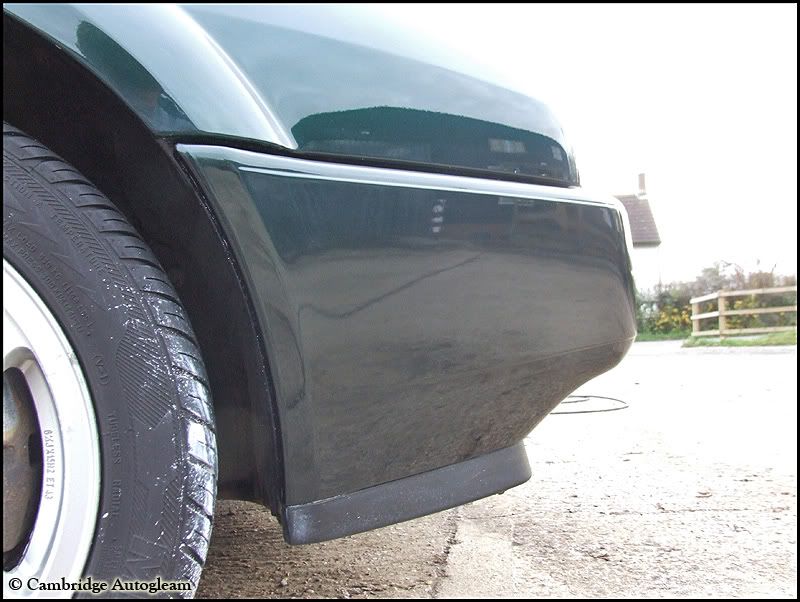
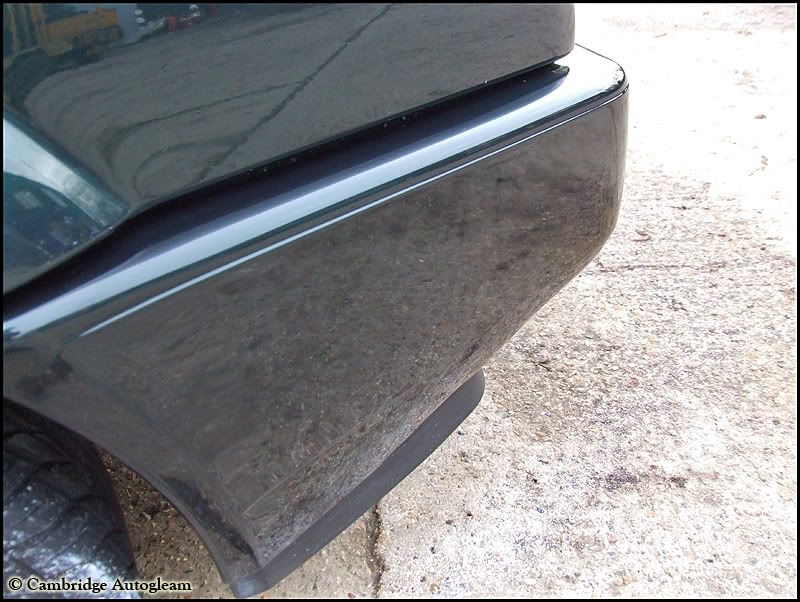
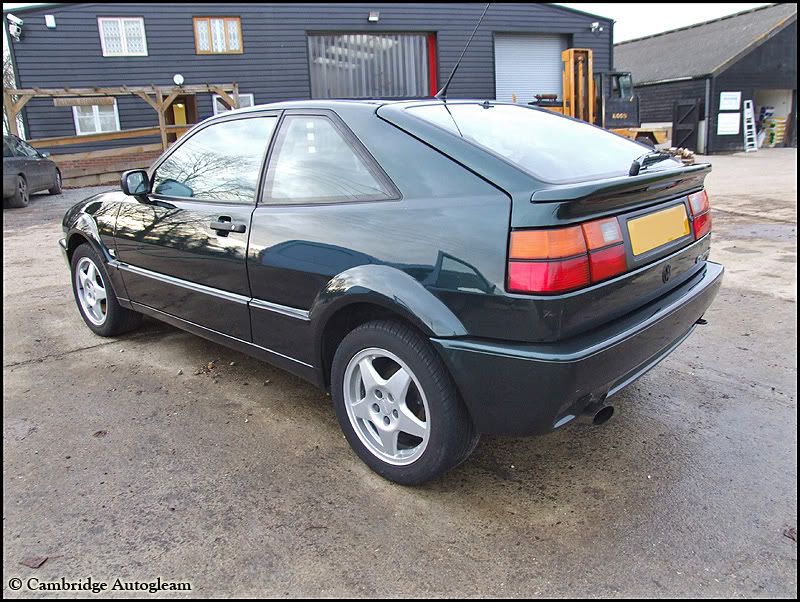
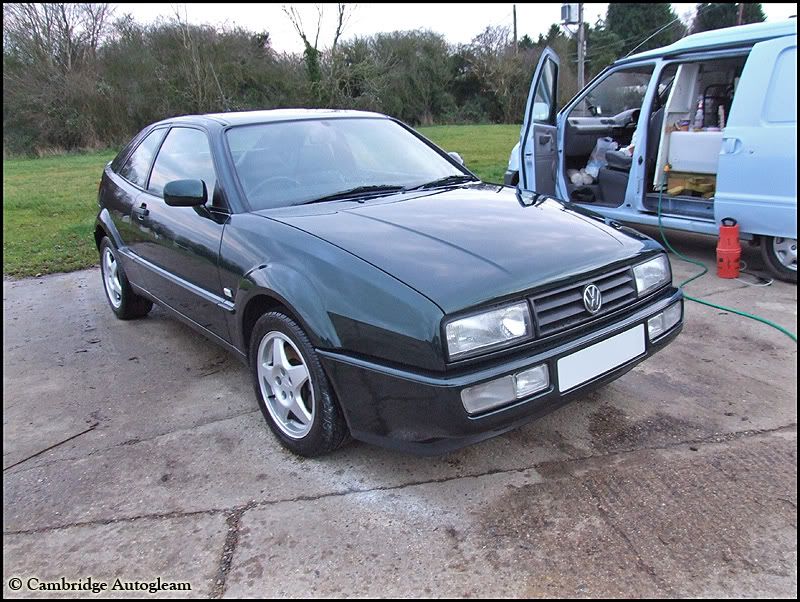
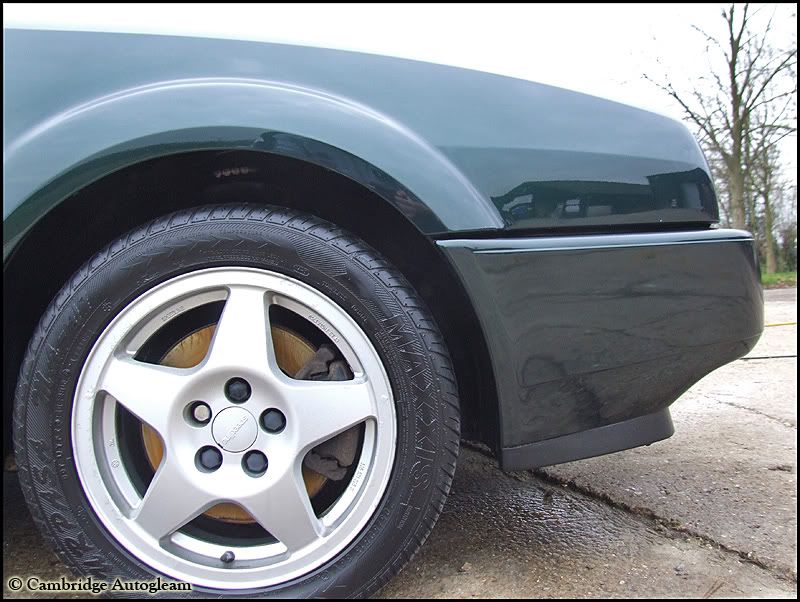
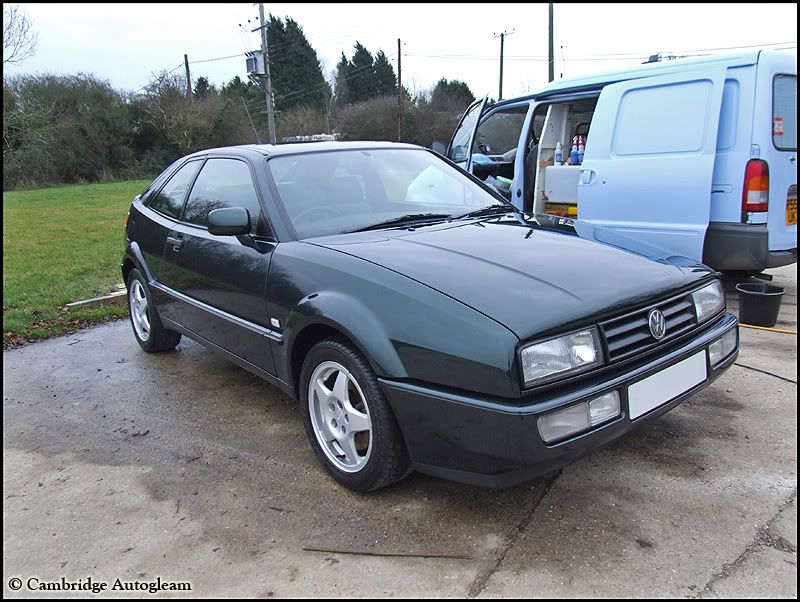
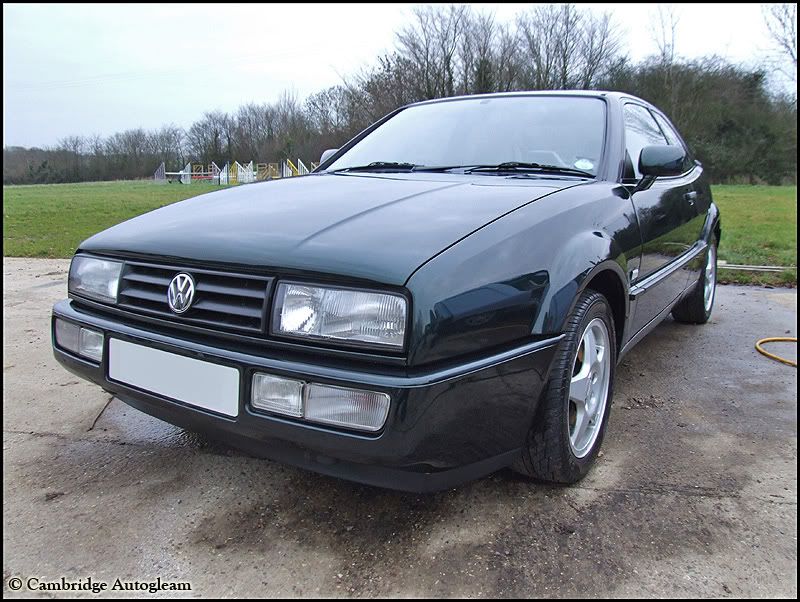
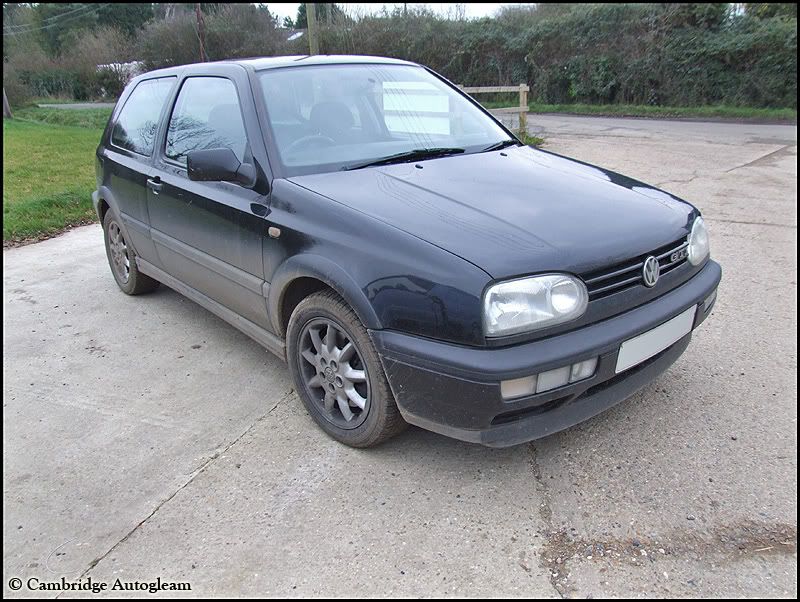
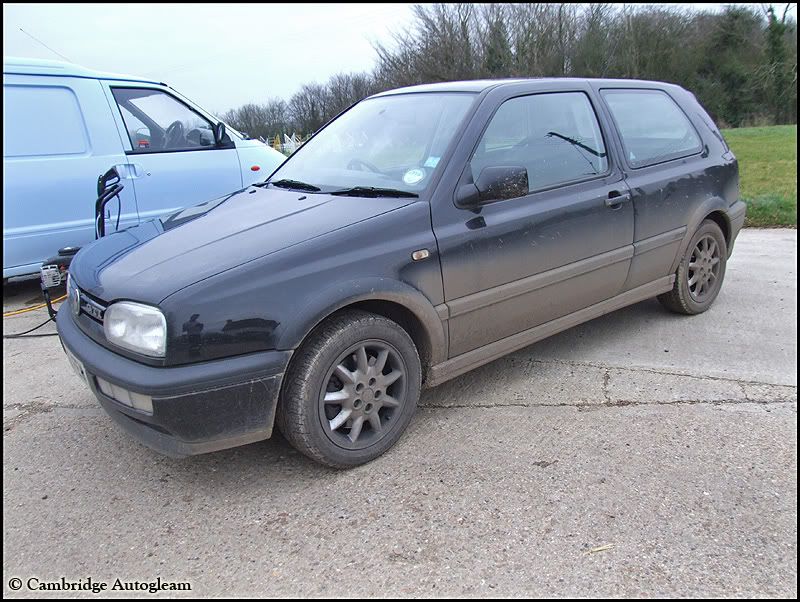
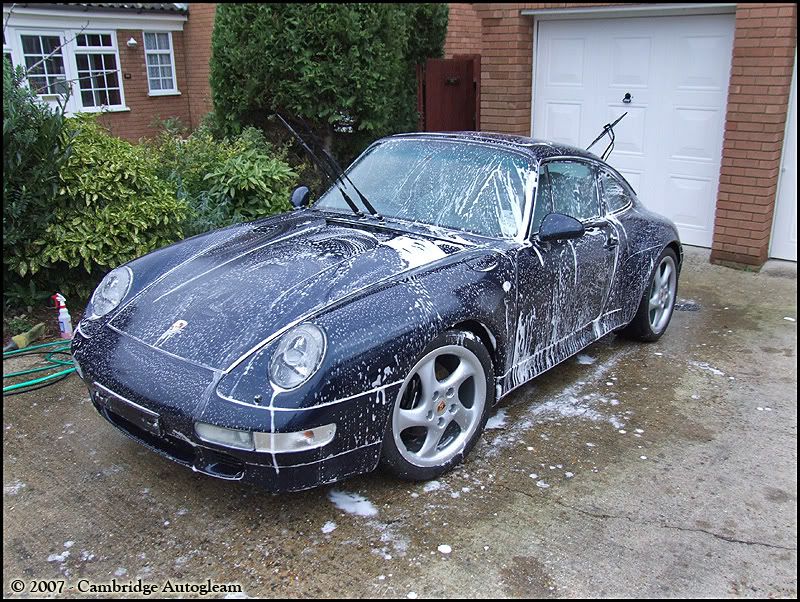
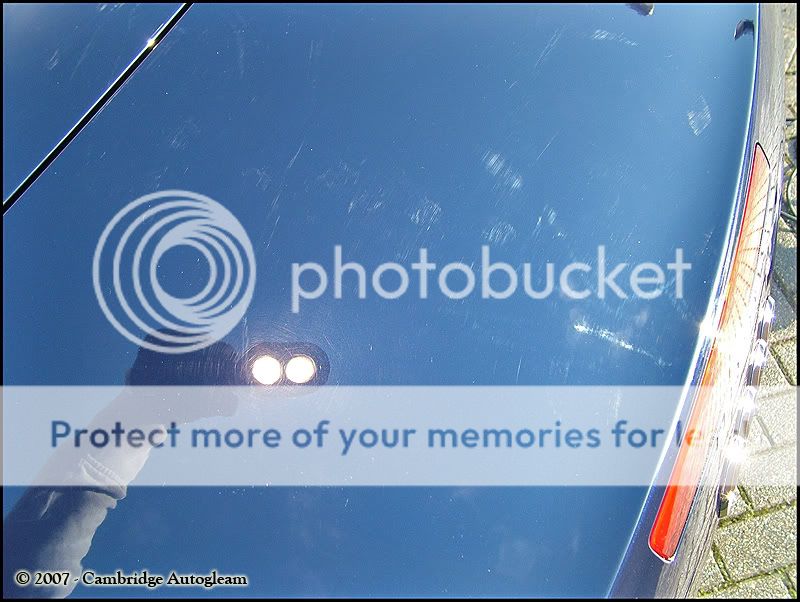
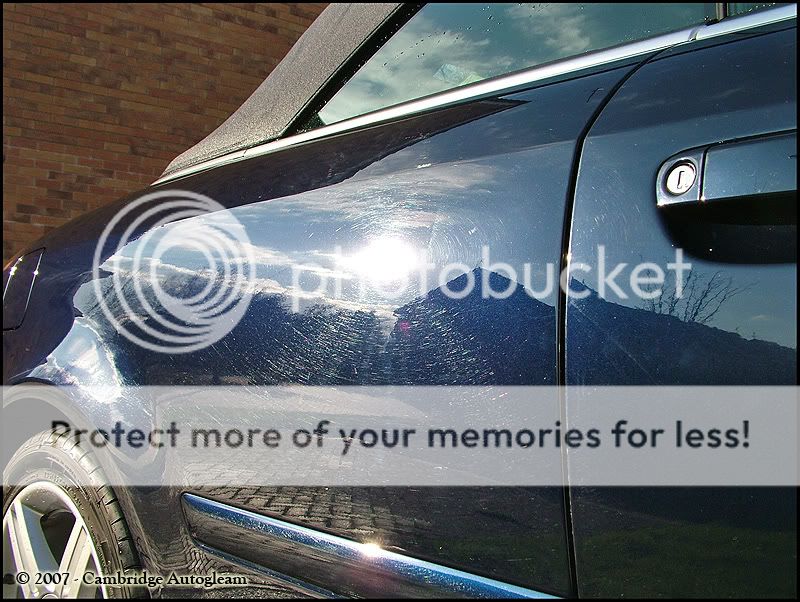
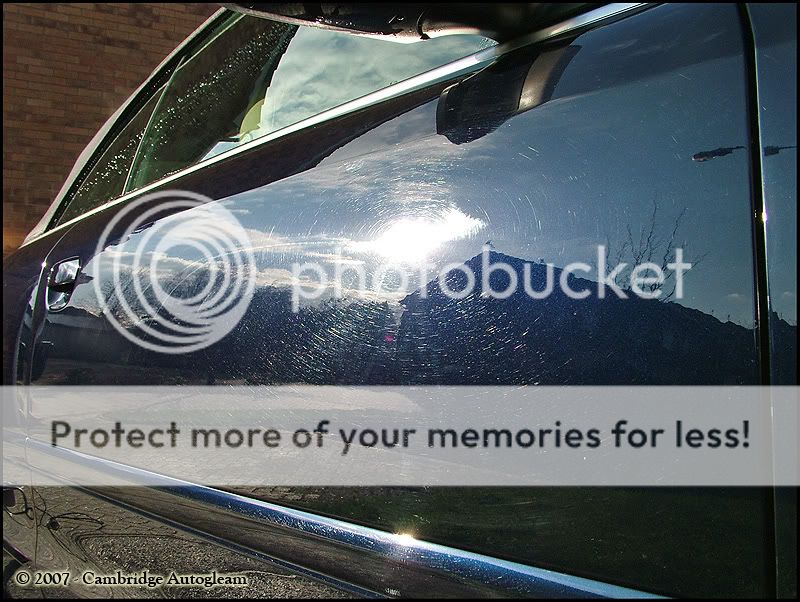
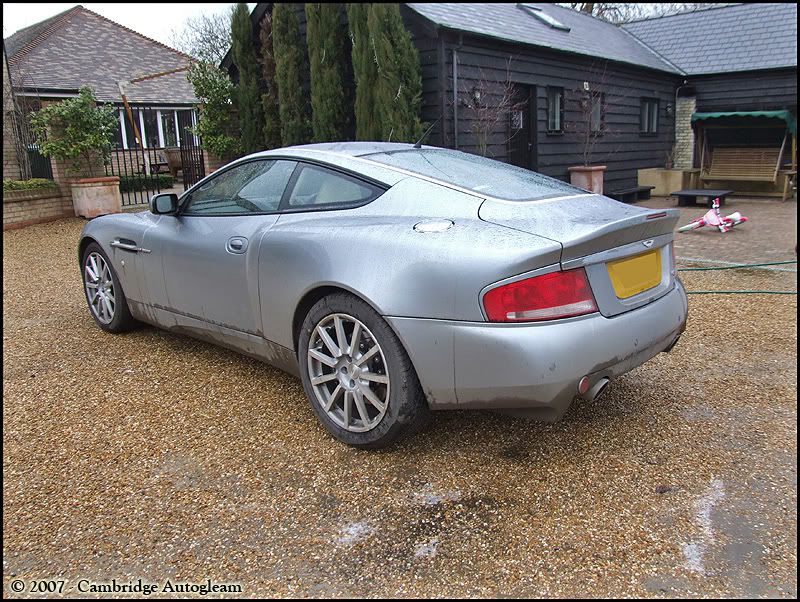
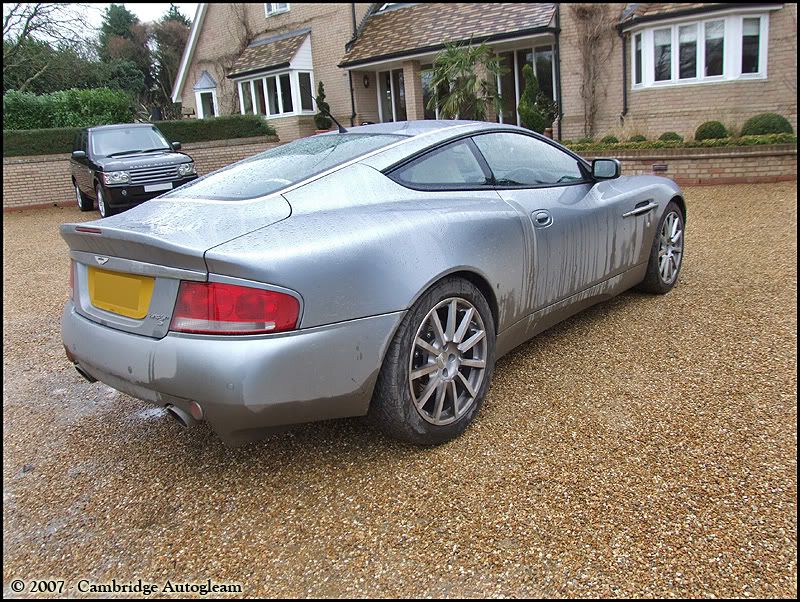
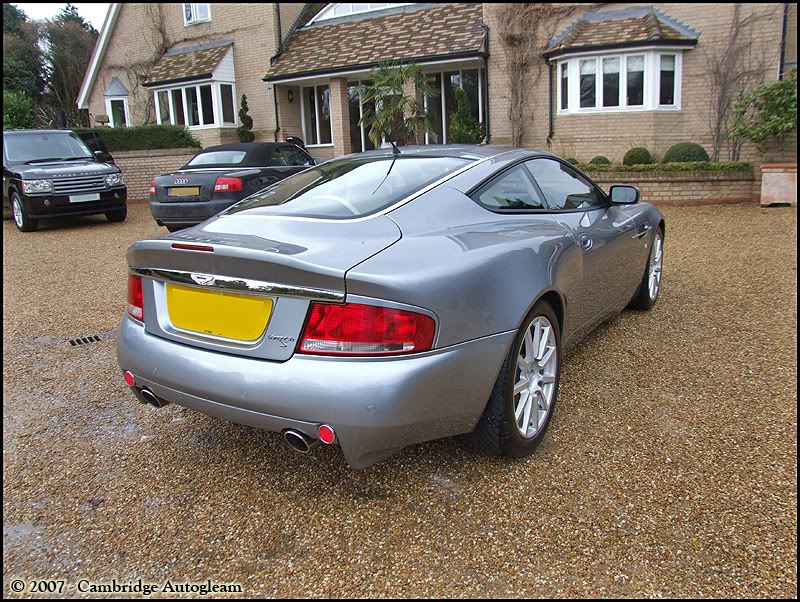
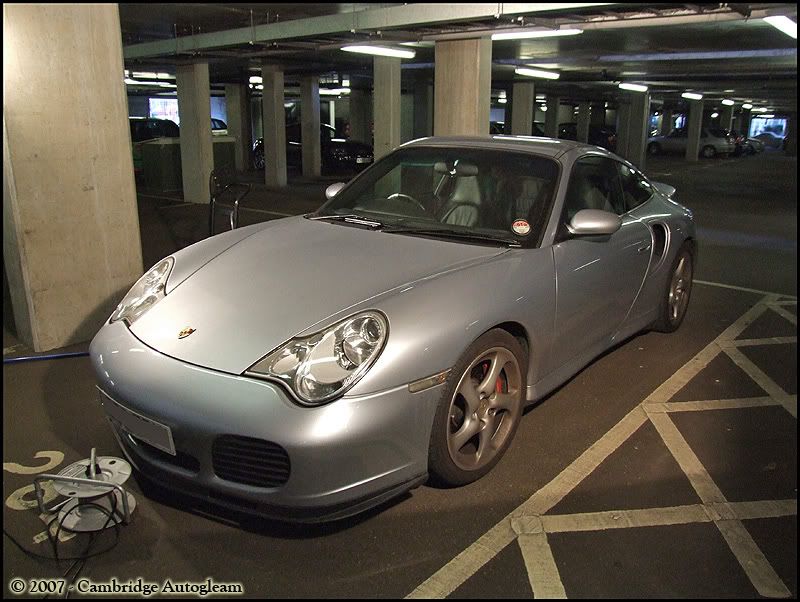
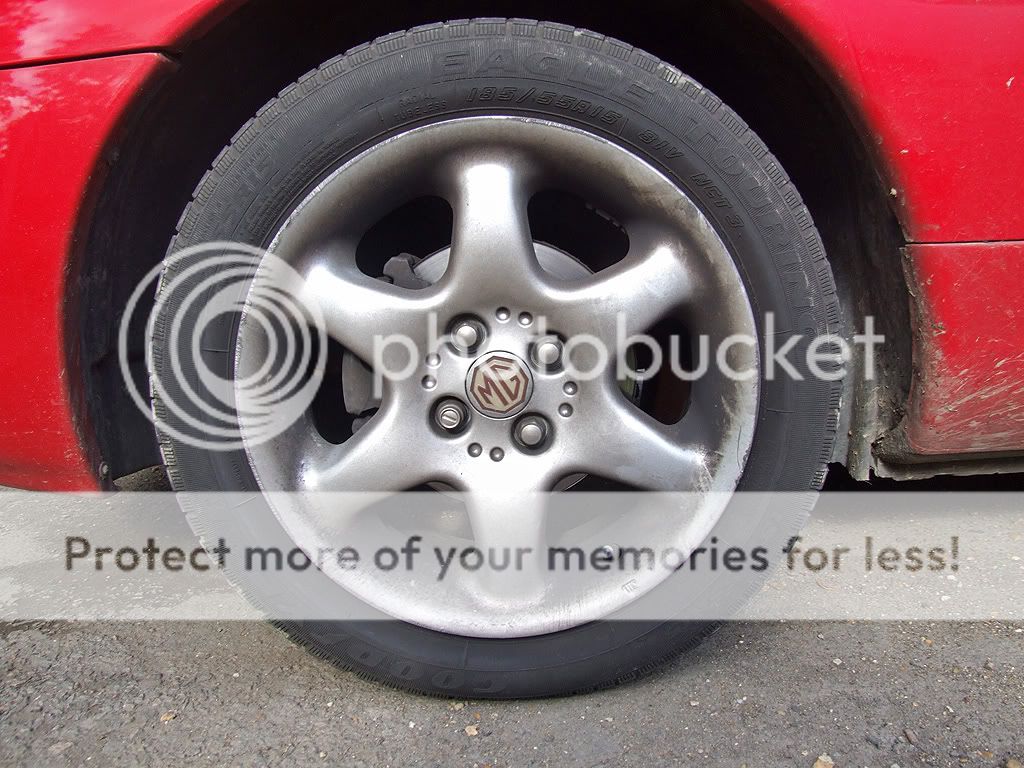
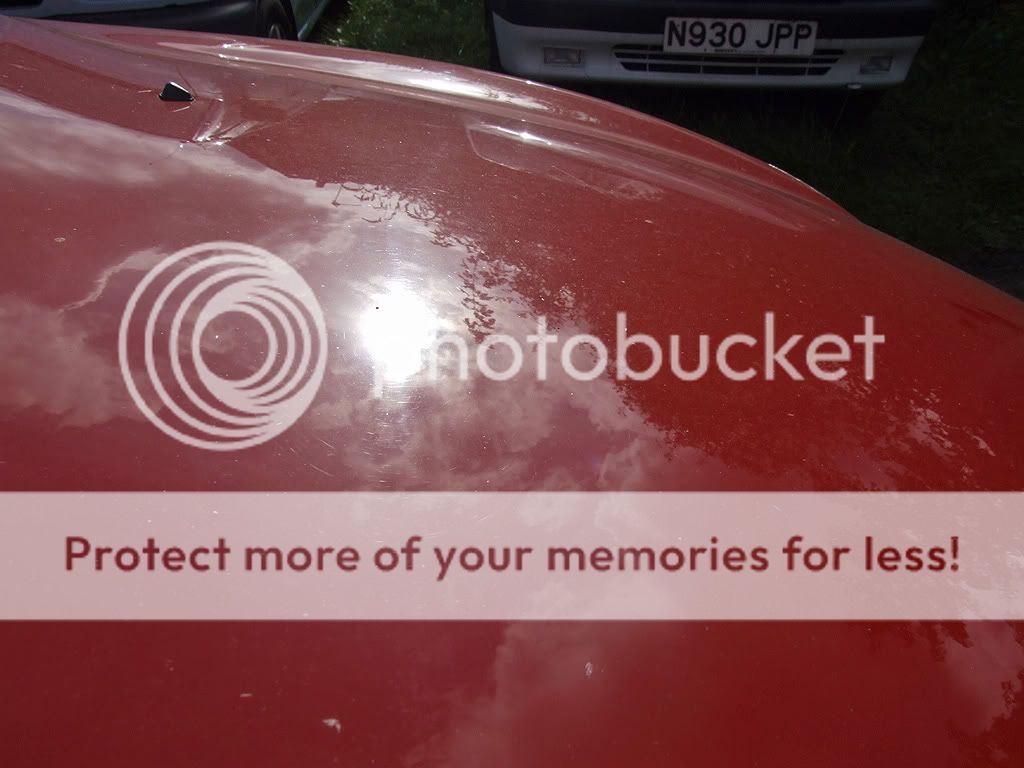
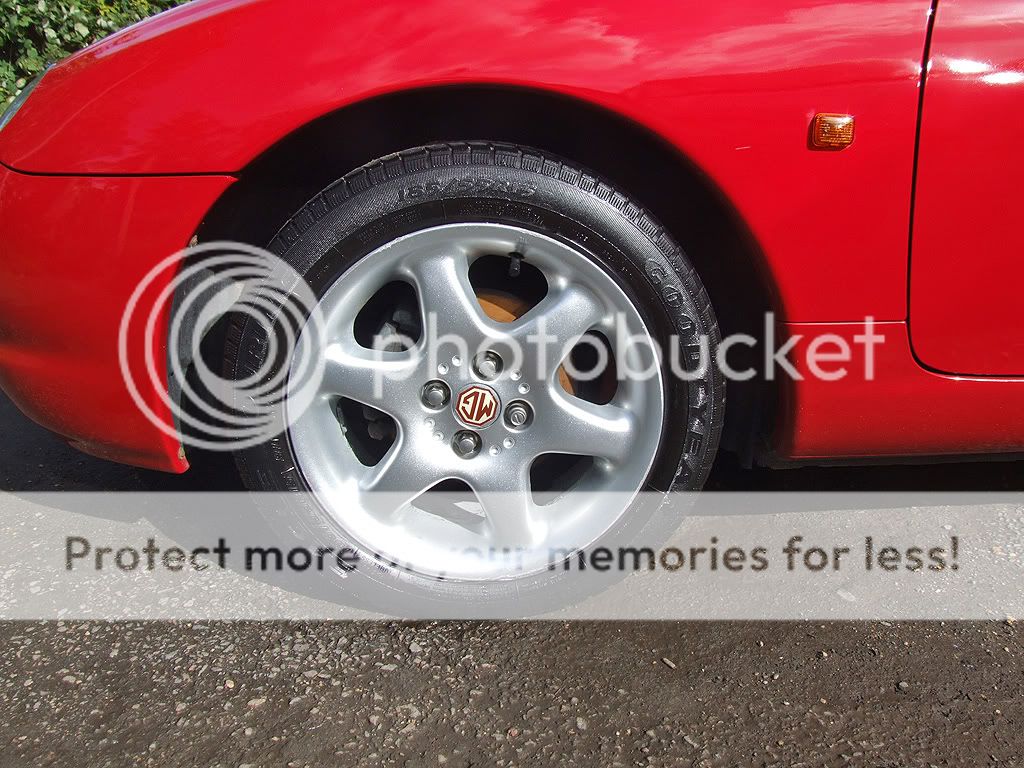
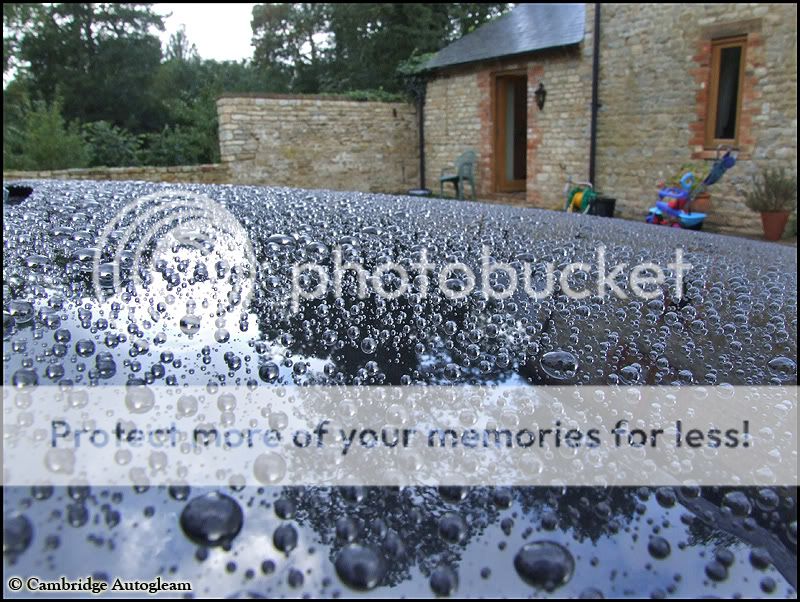
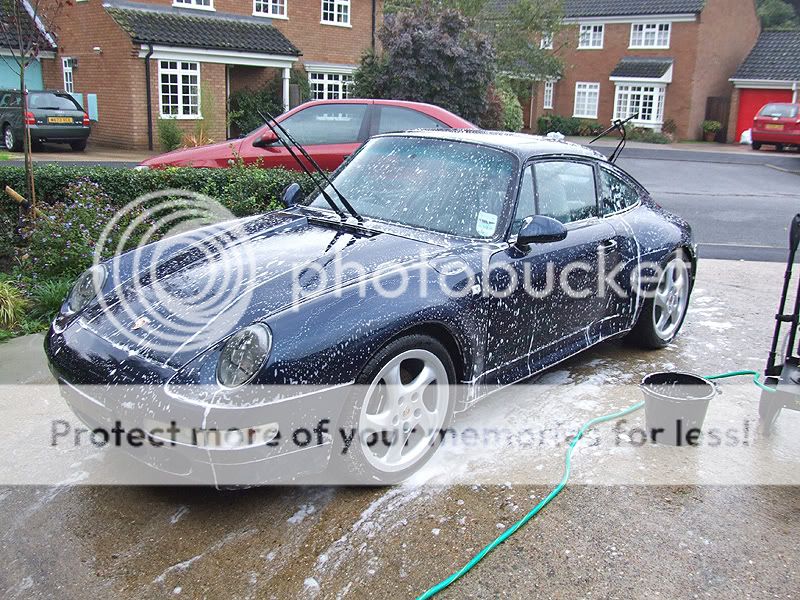
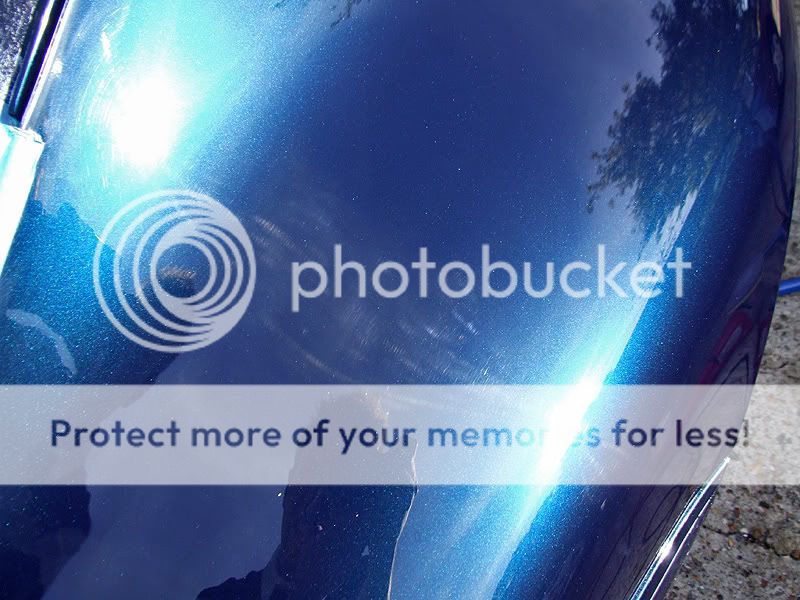
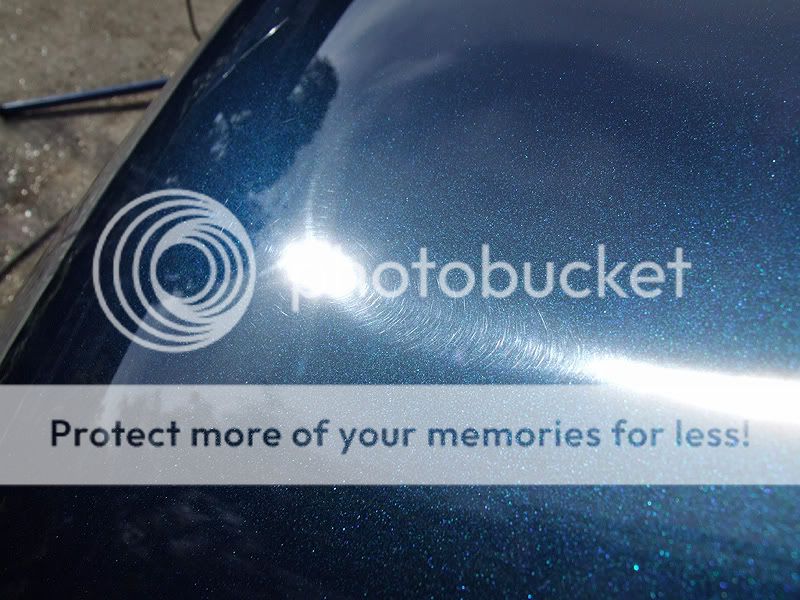
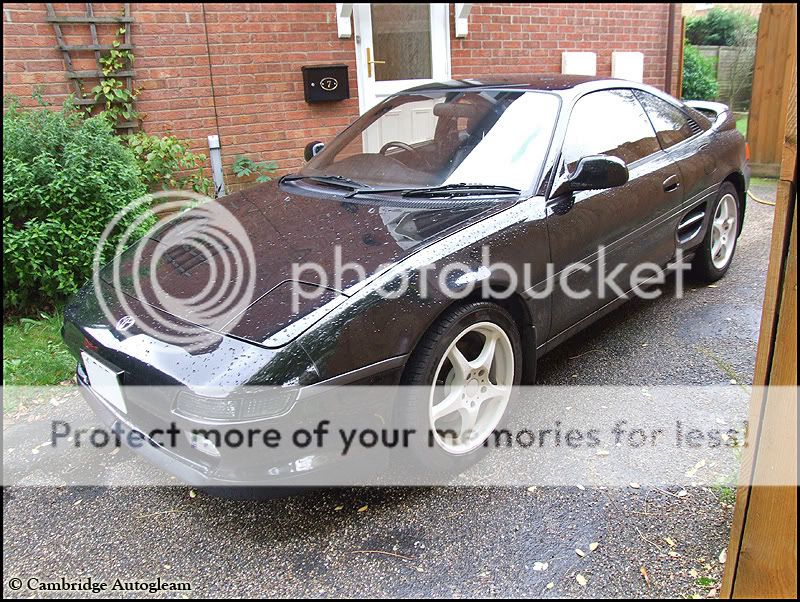
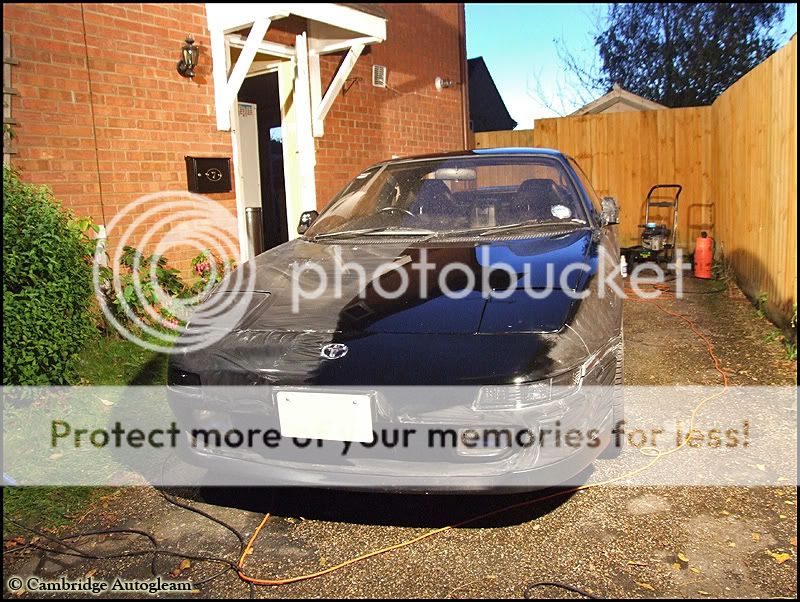
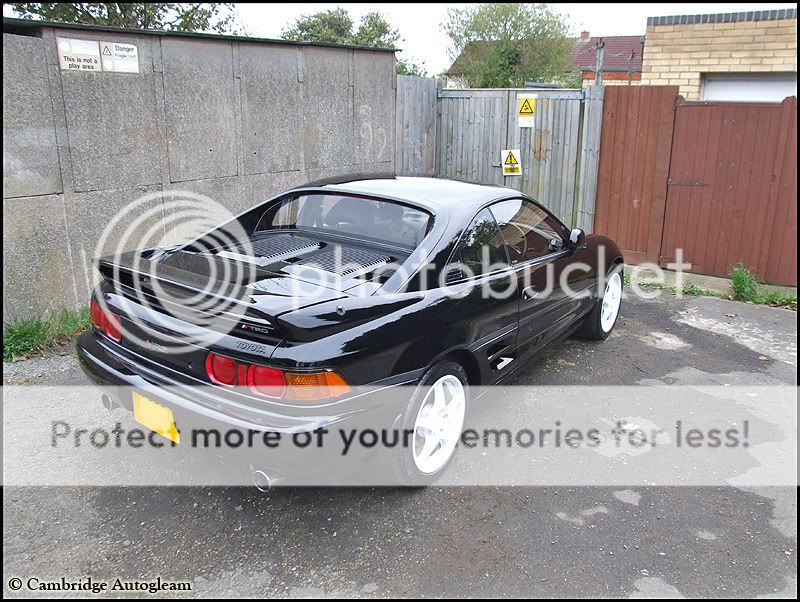
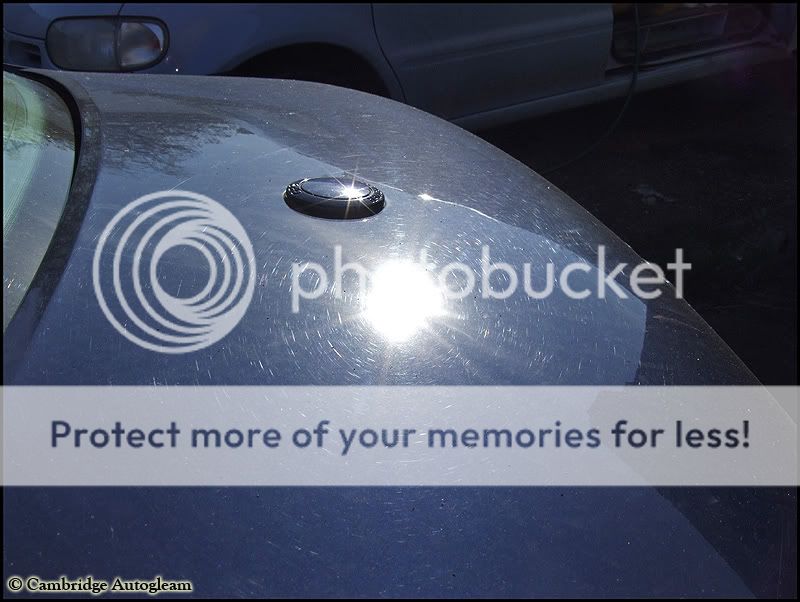
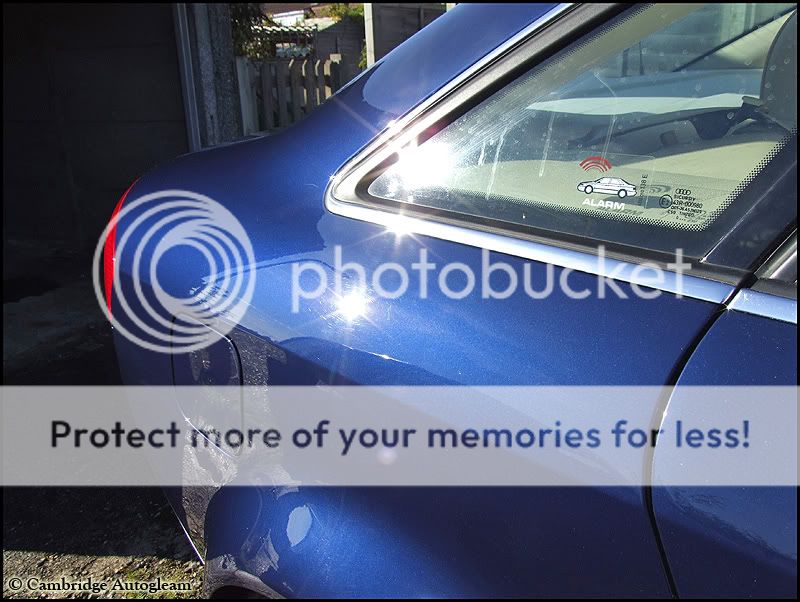
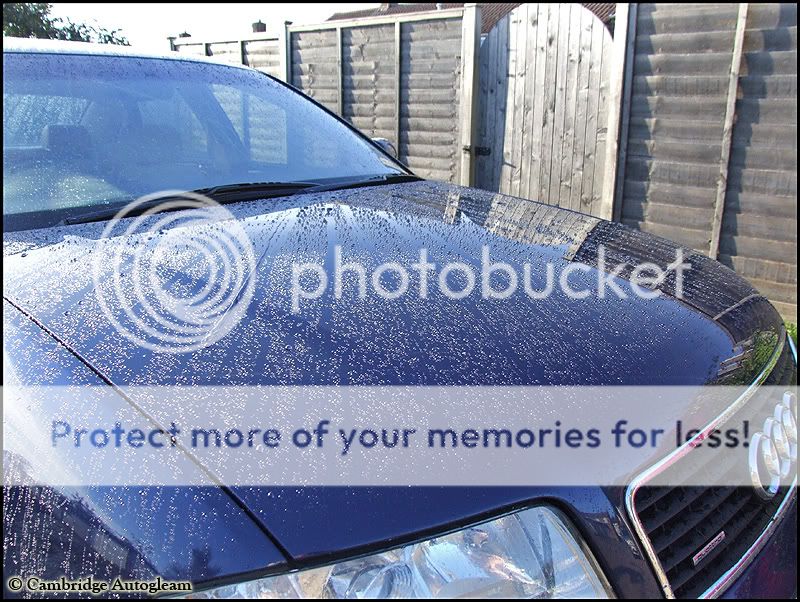
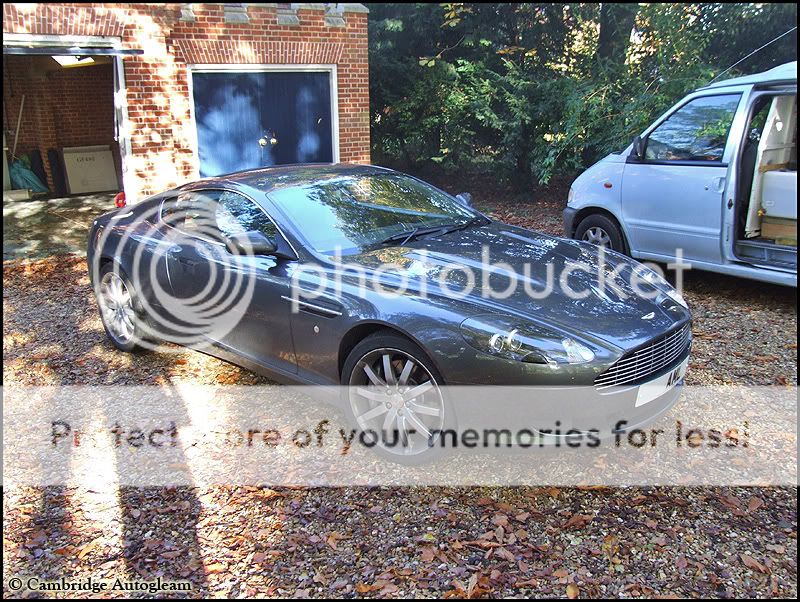
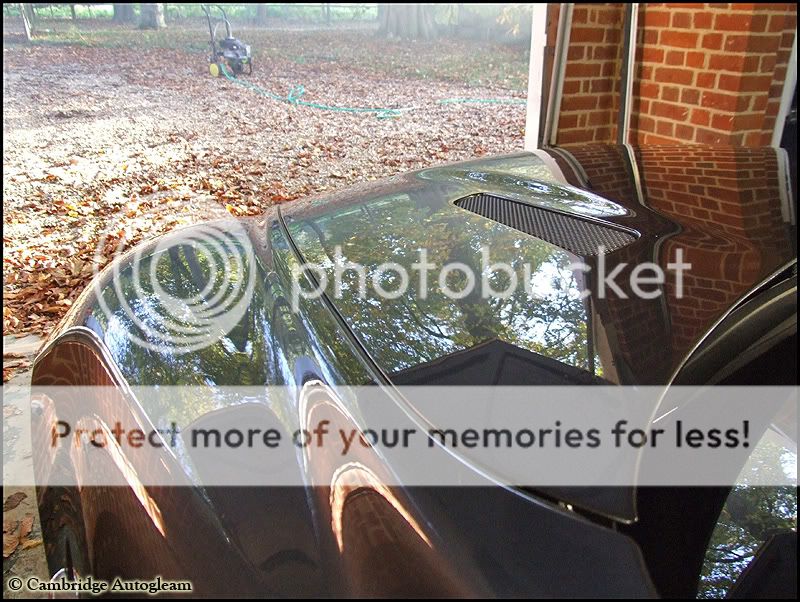
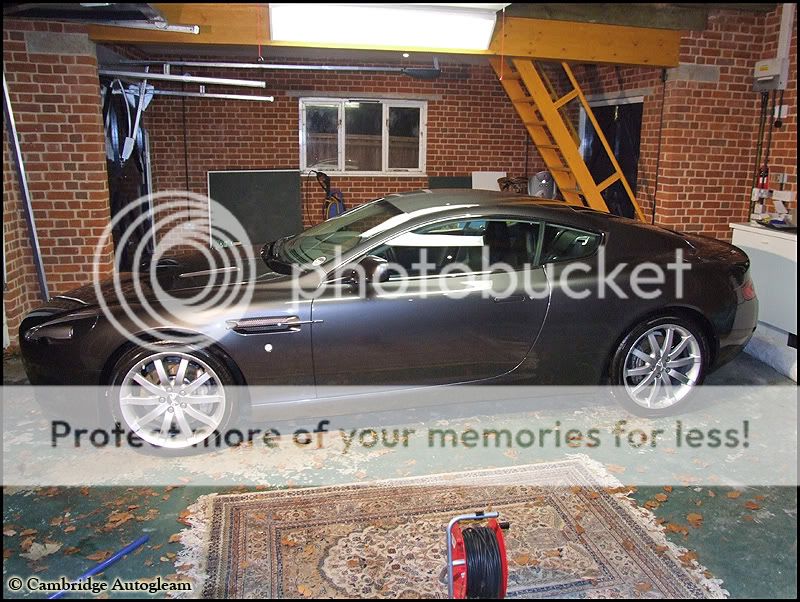
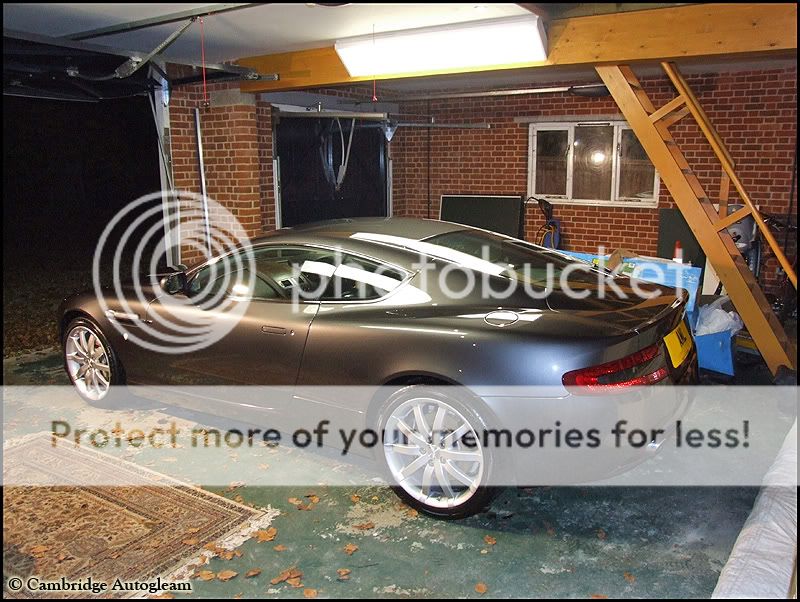
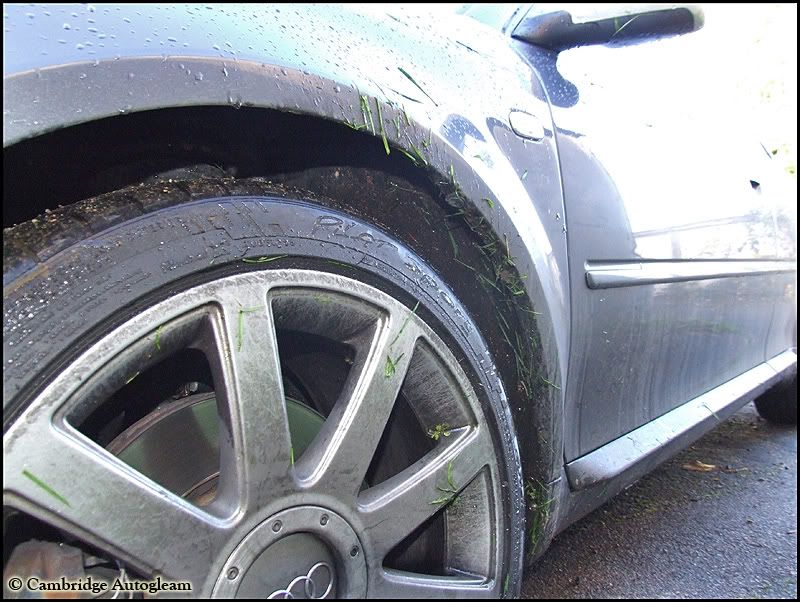
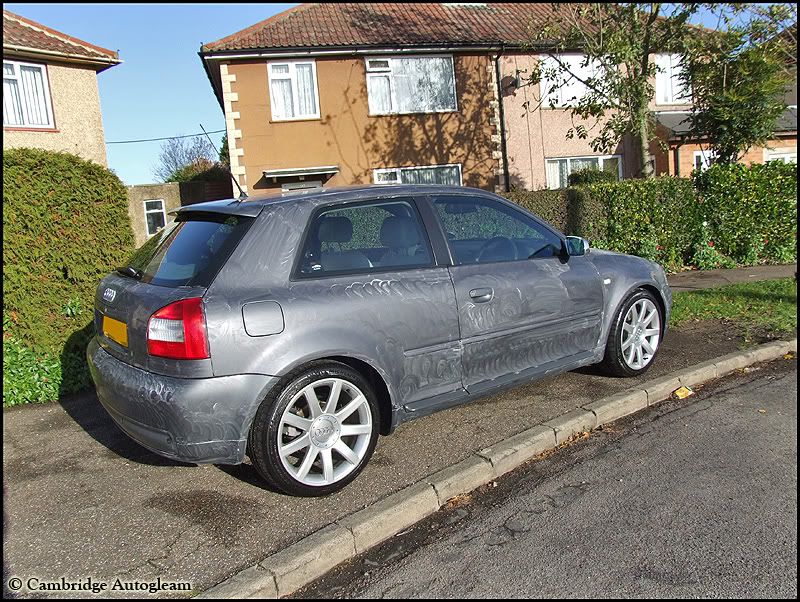
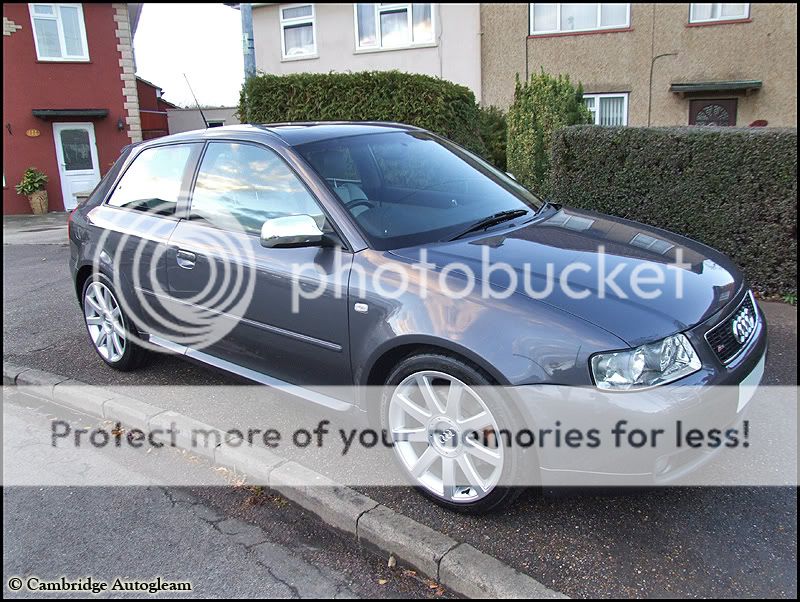
A friends P reg MGF. Pretty dirty with some light - mild swirling
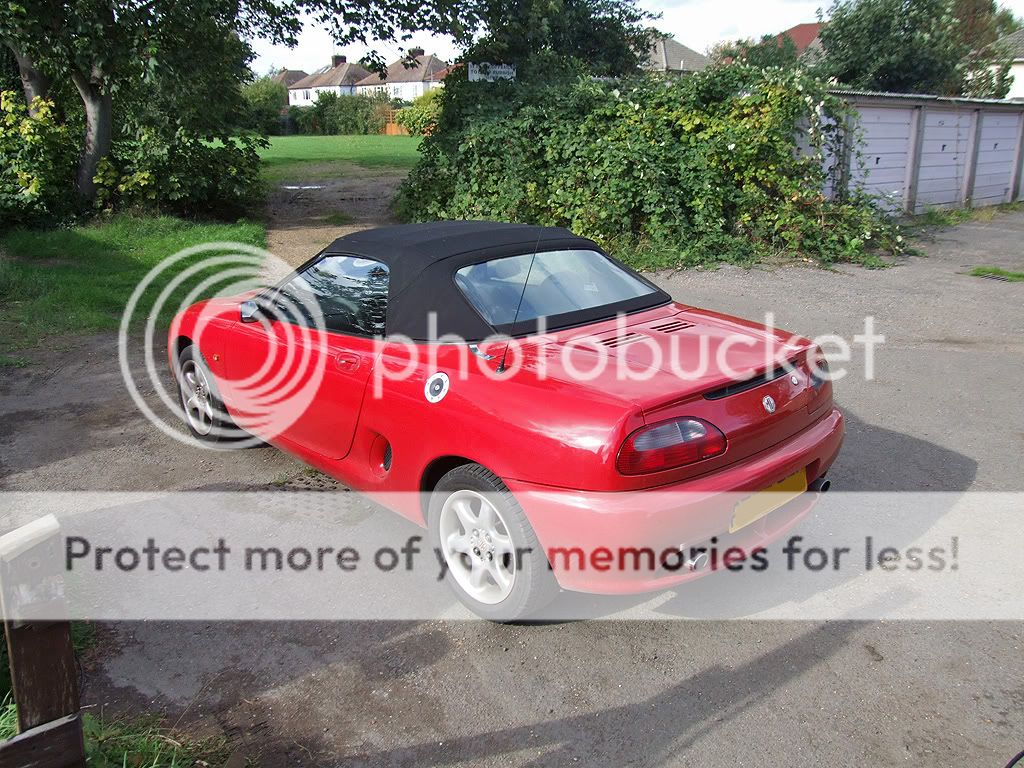

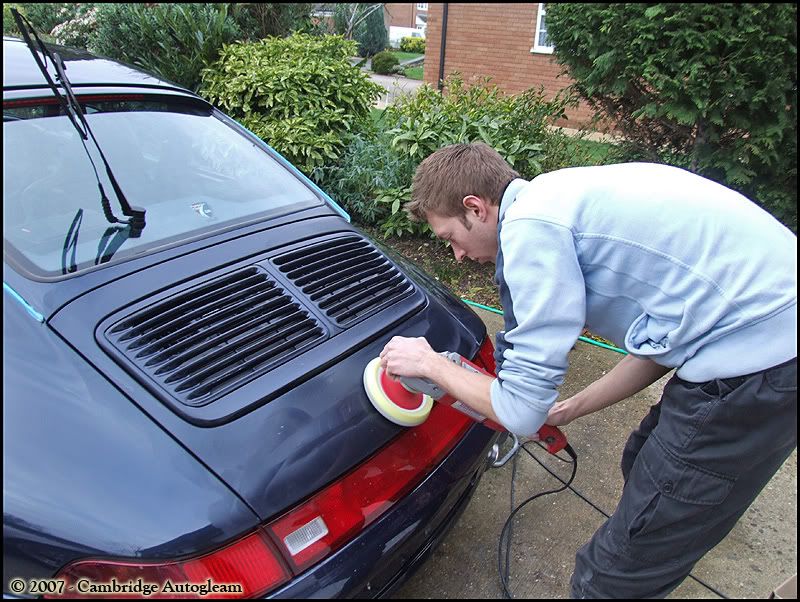
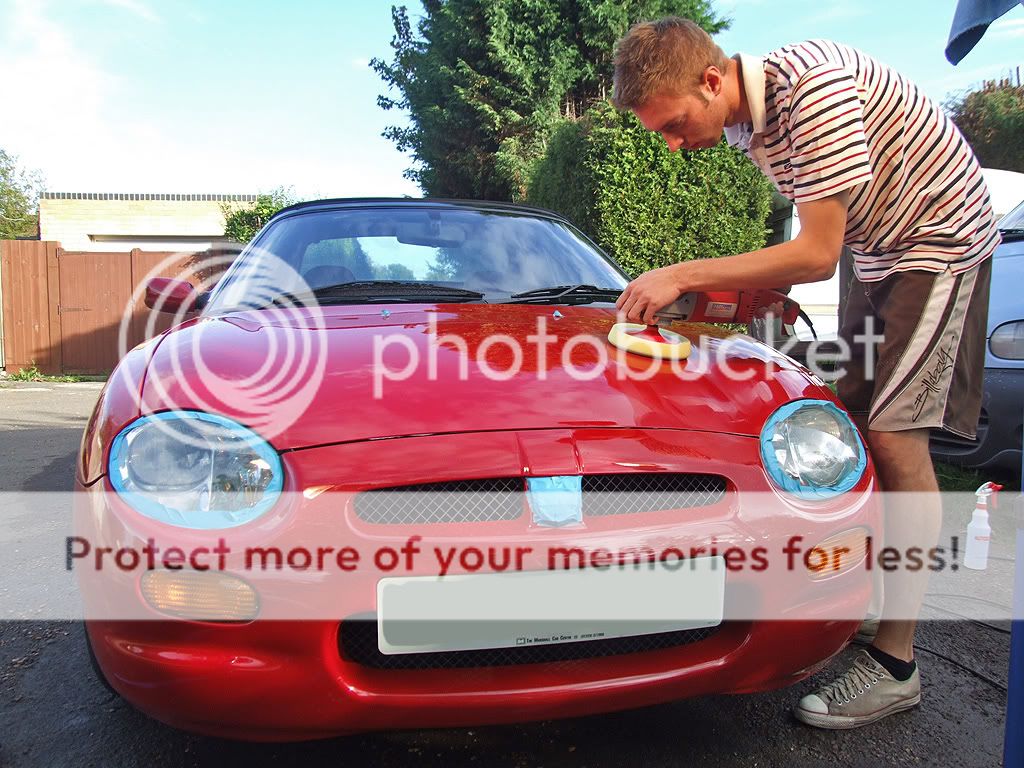
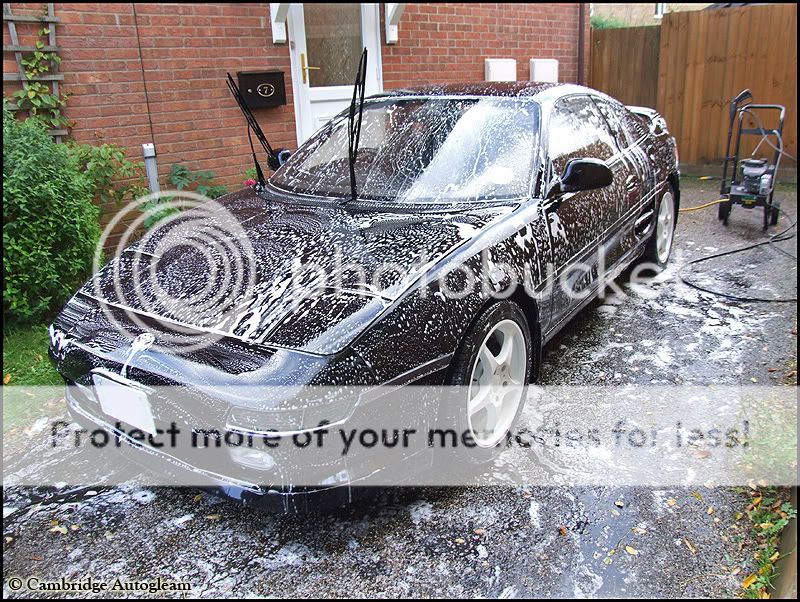
The process:
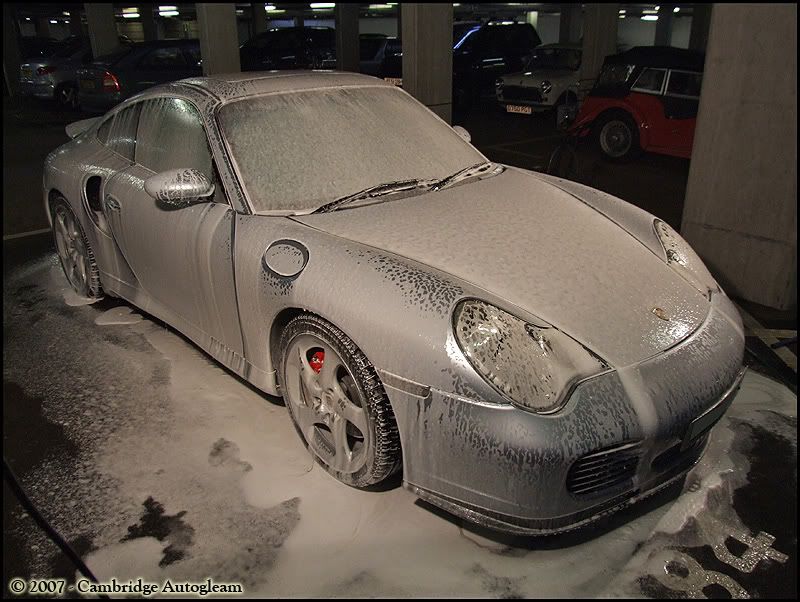
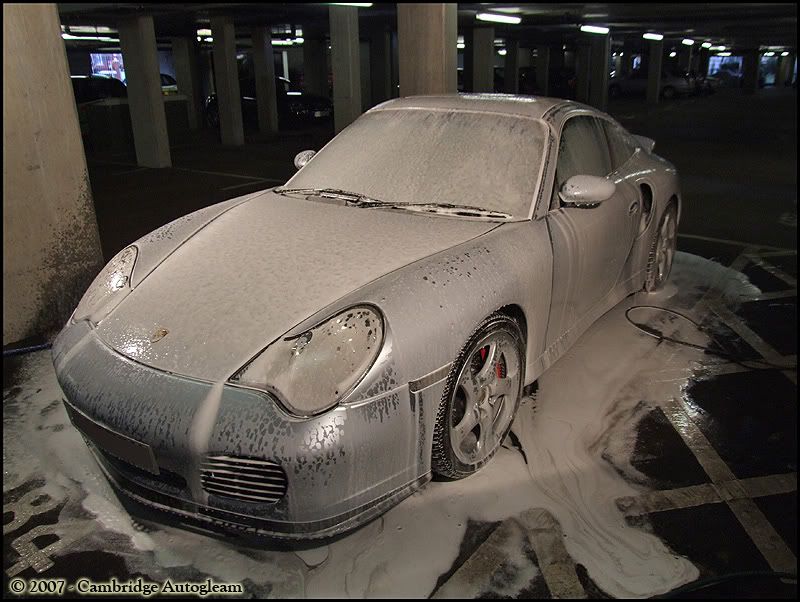
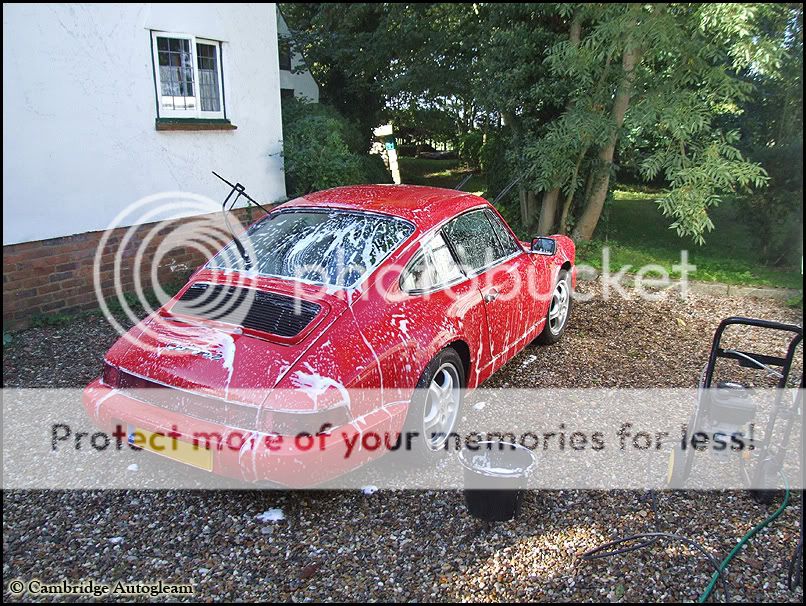
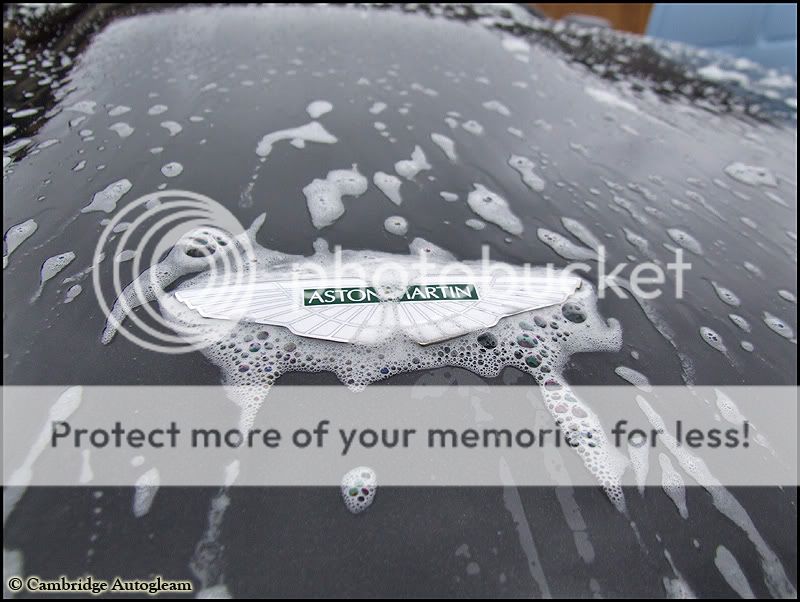
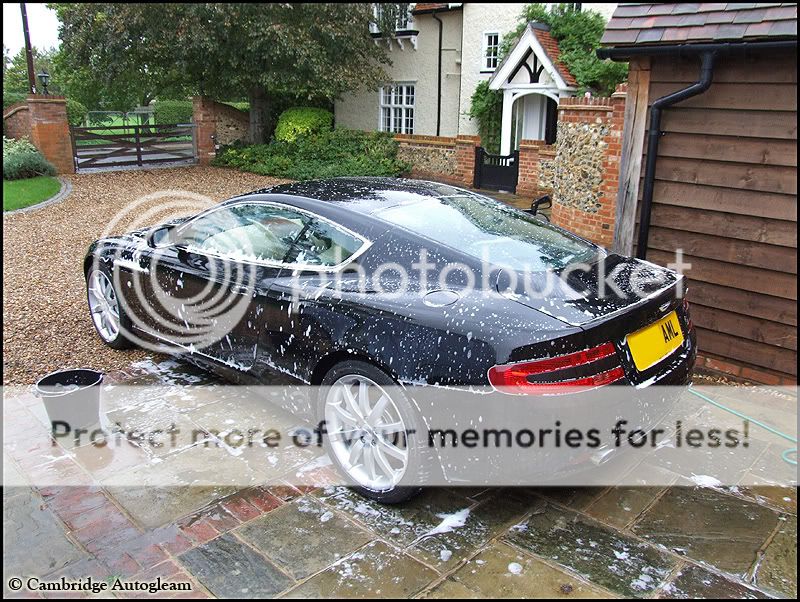
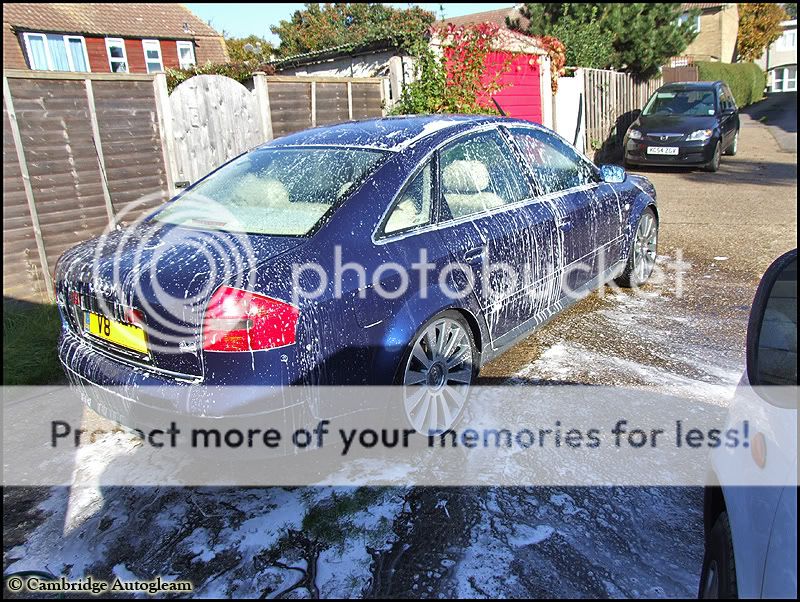
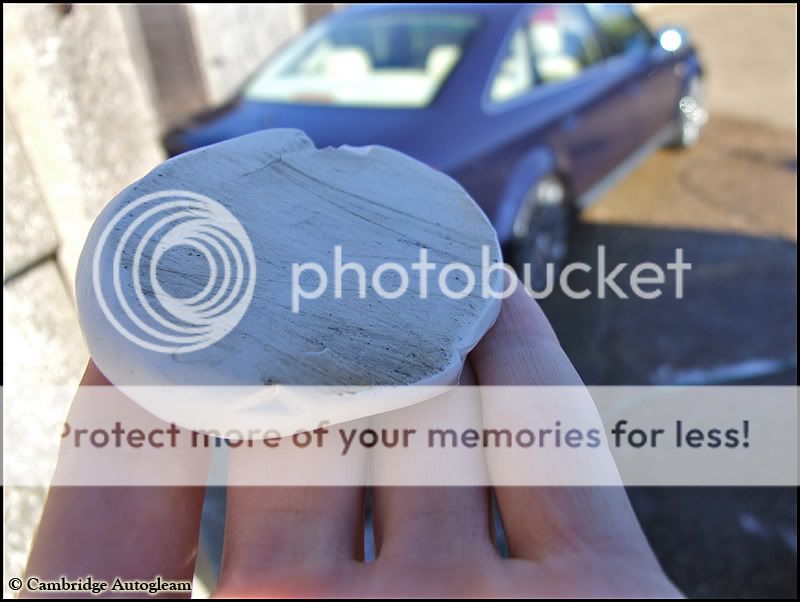
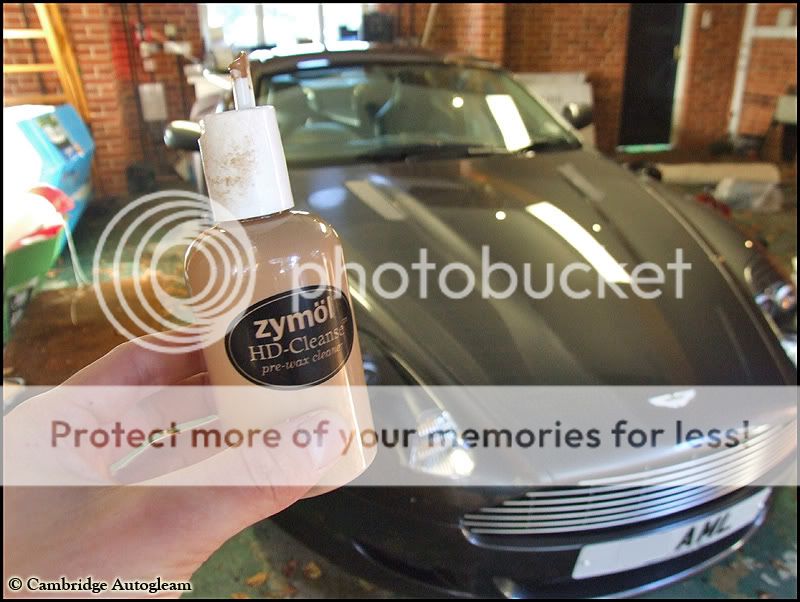
Full wash down with AG products
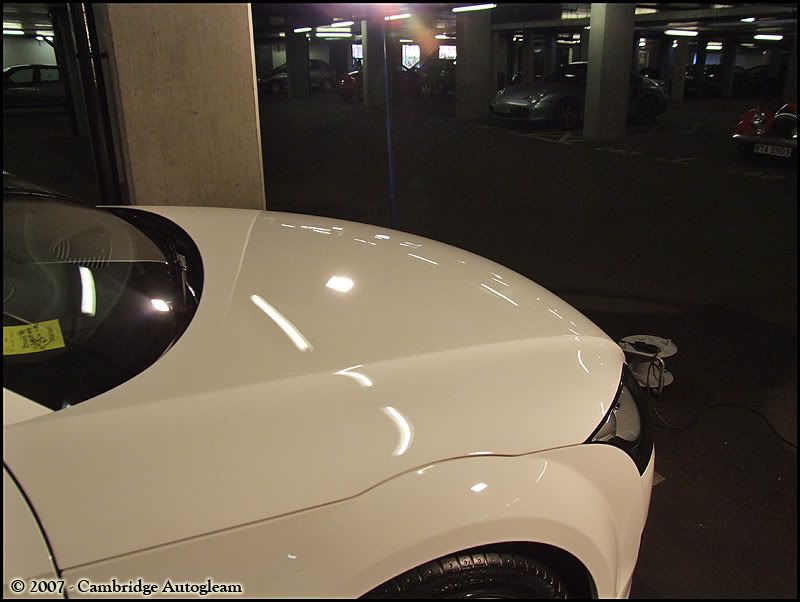
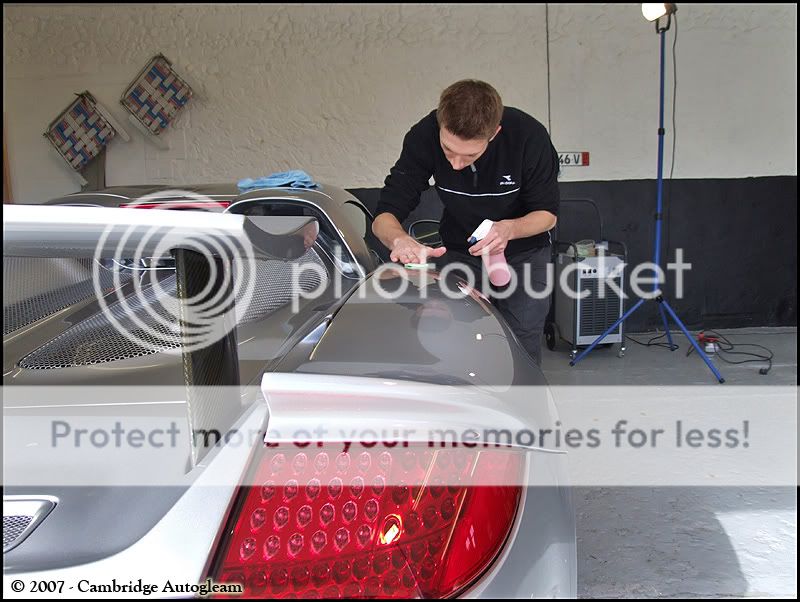
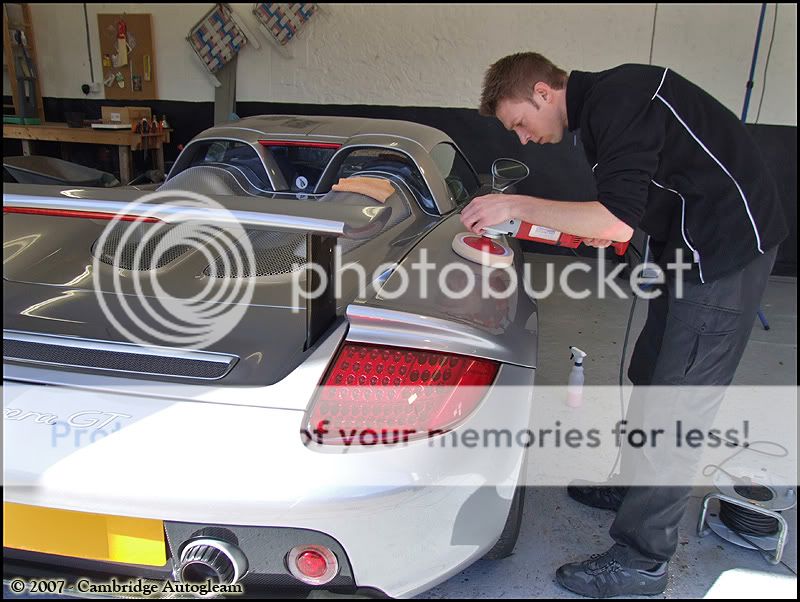
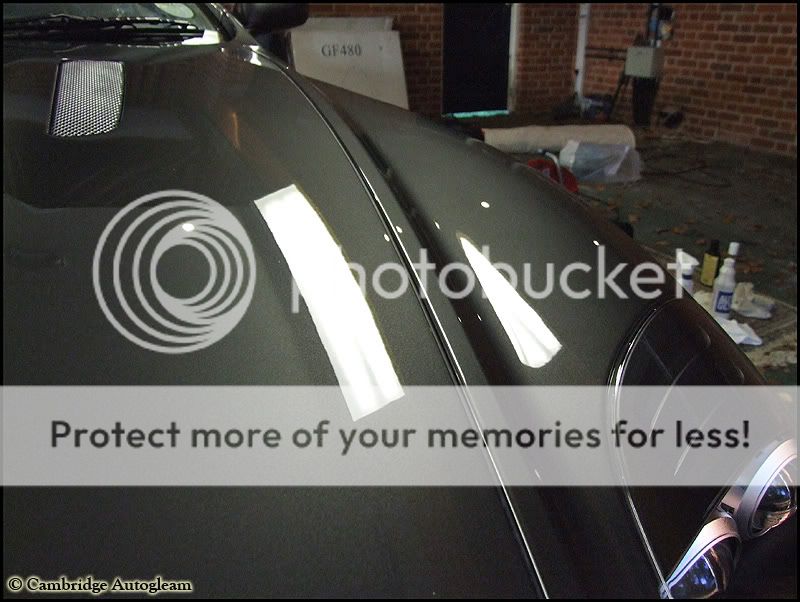
Machine polish with menzerna Final Finish 106 on a megs polishing pad
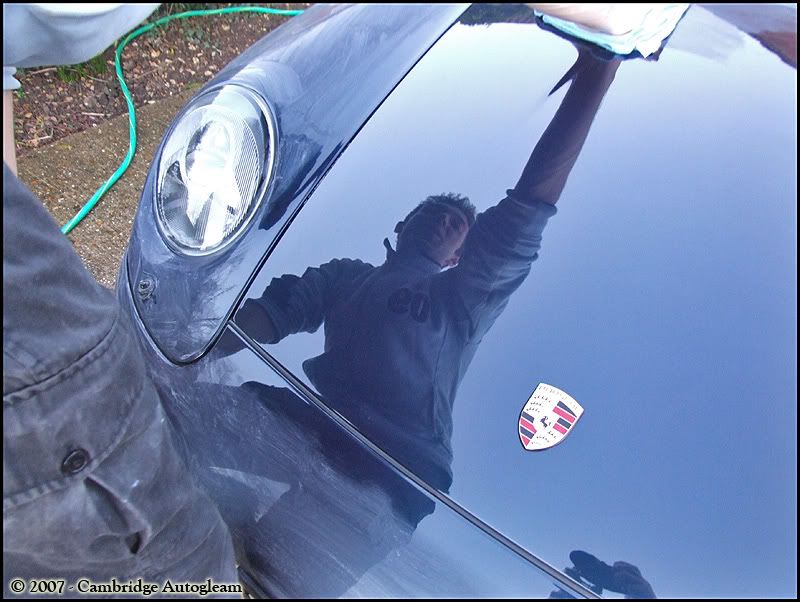
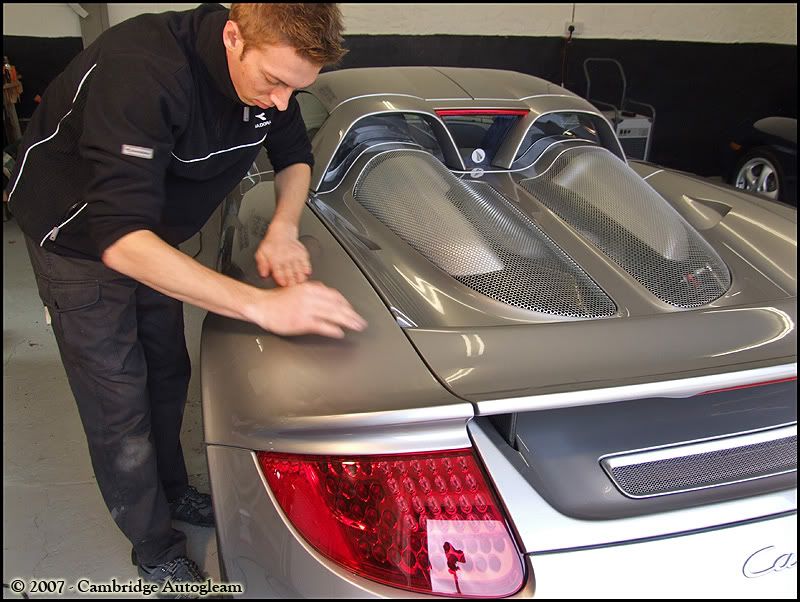
Layer of AG Super Resin Polish
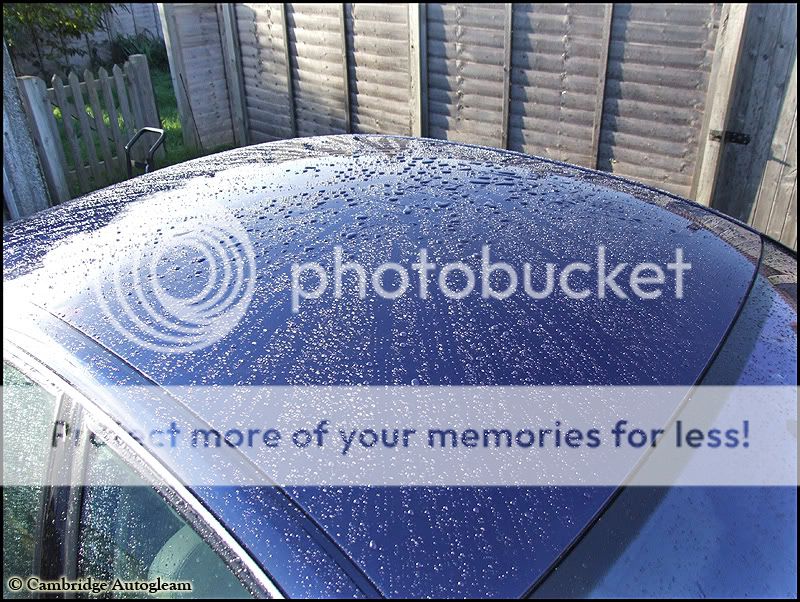
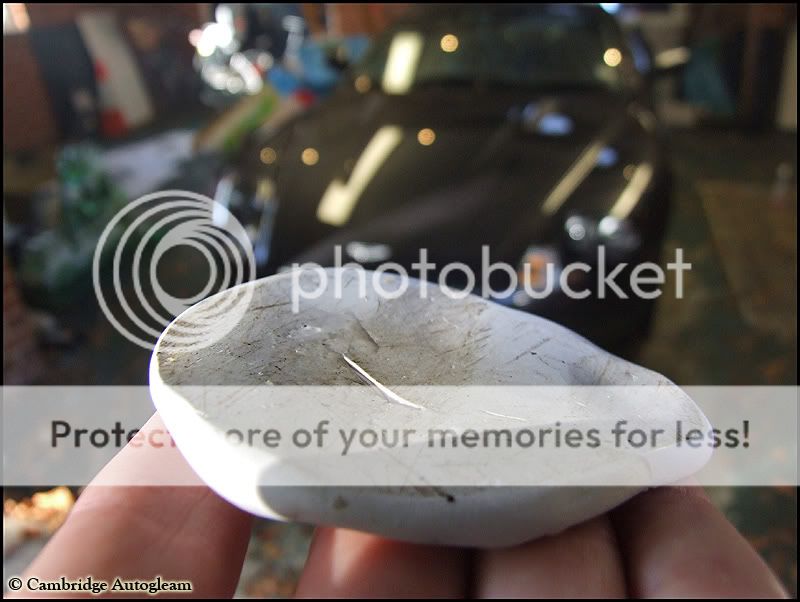
Washed again
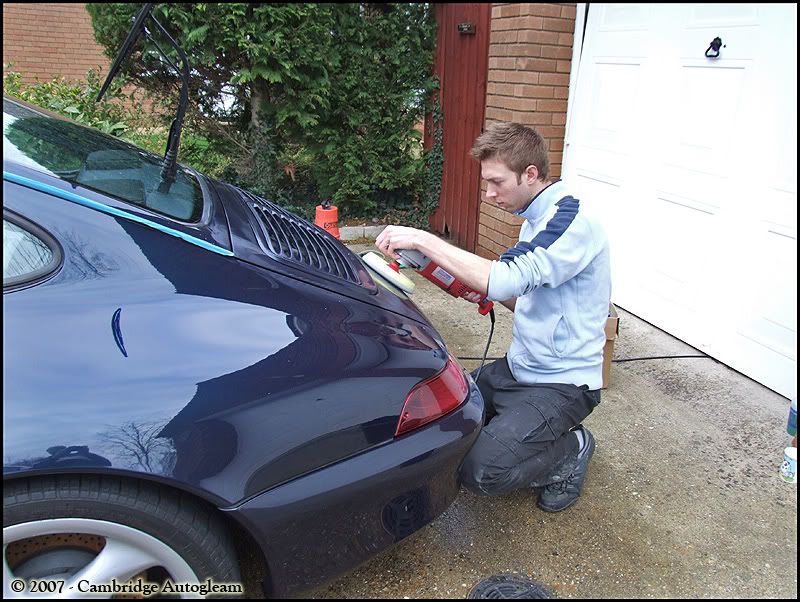
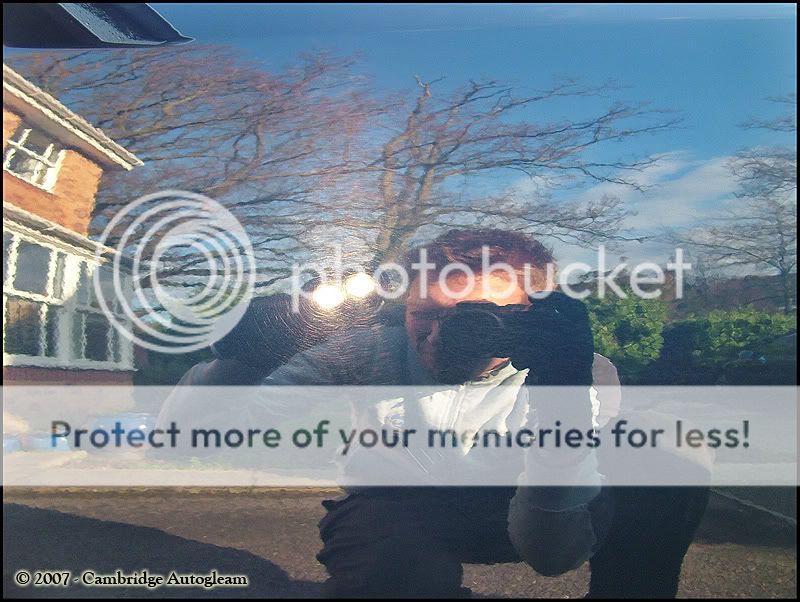
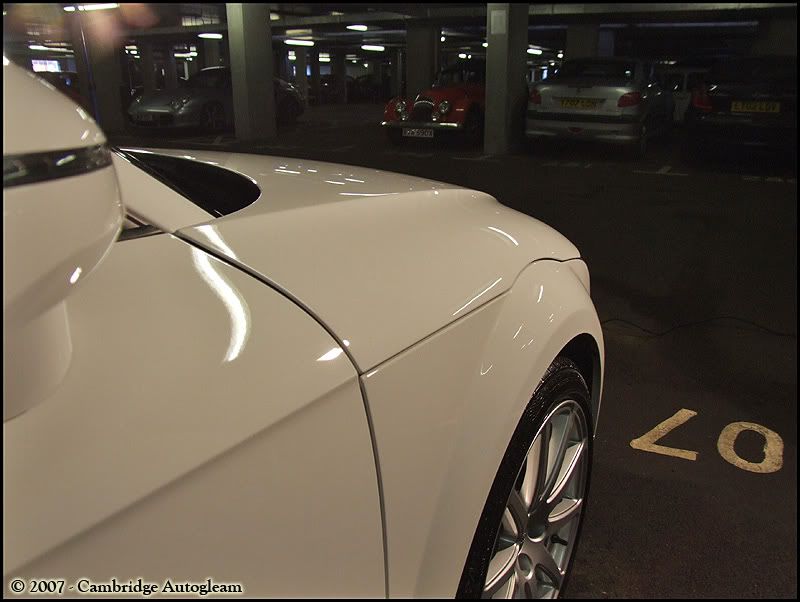
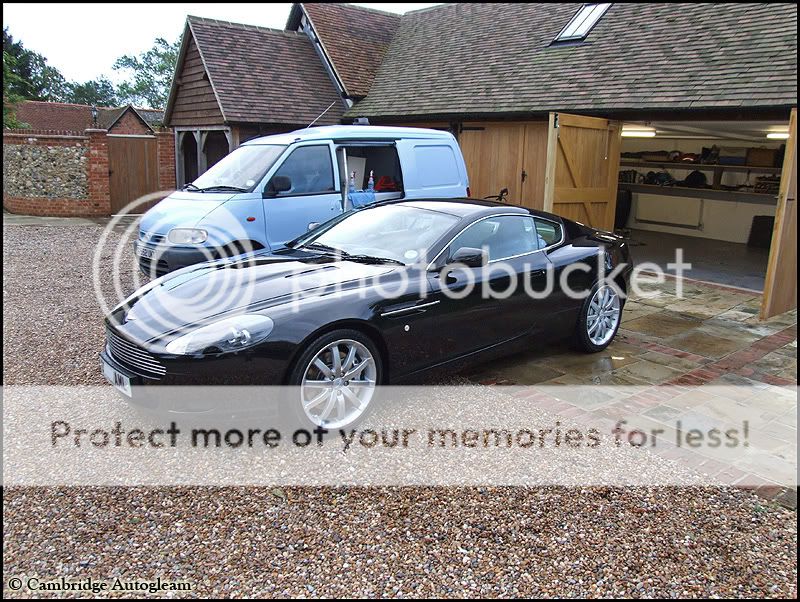
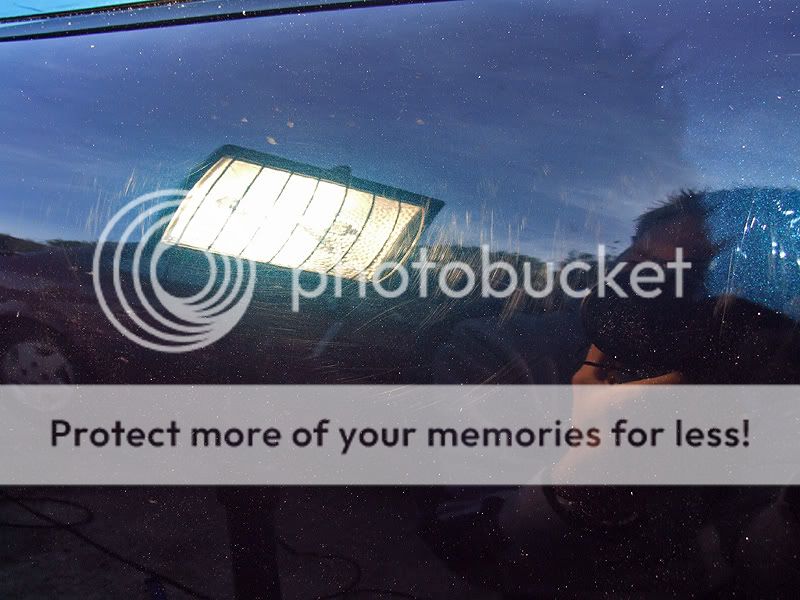
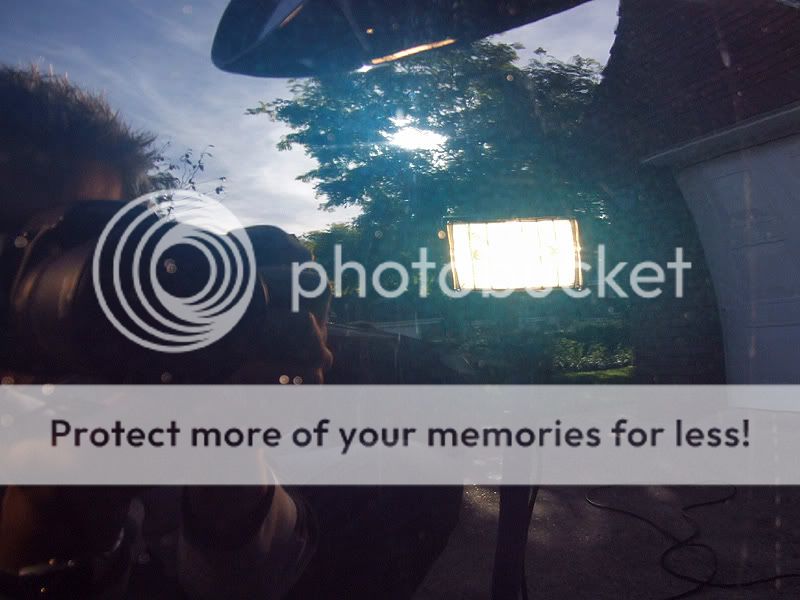
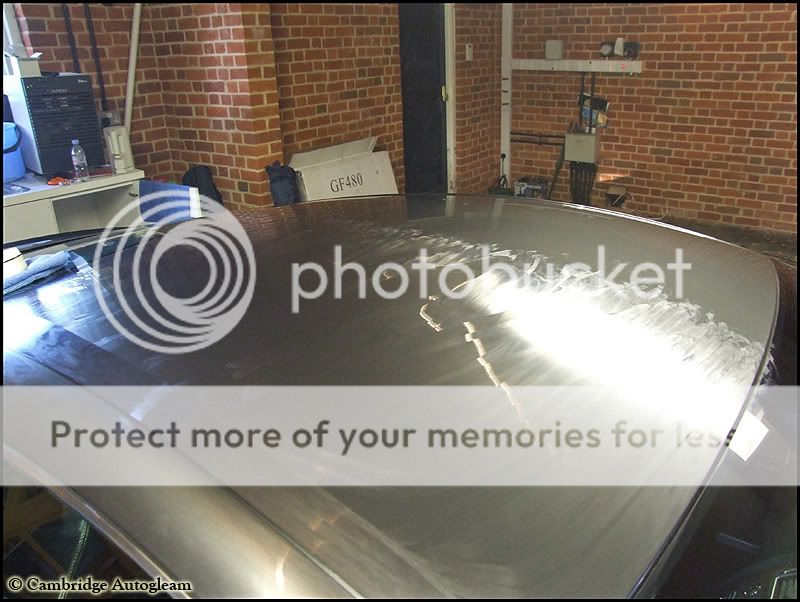
Stoped about 8:30pm
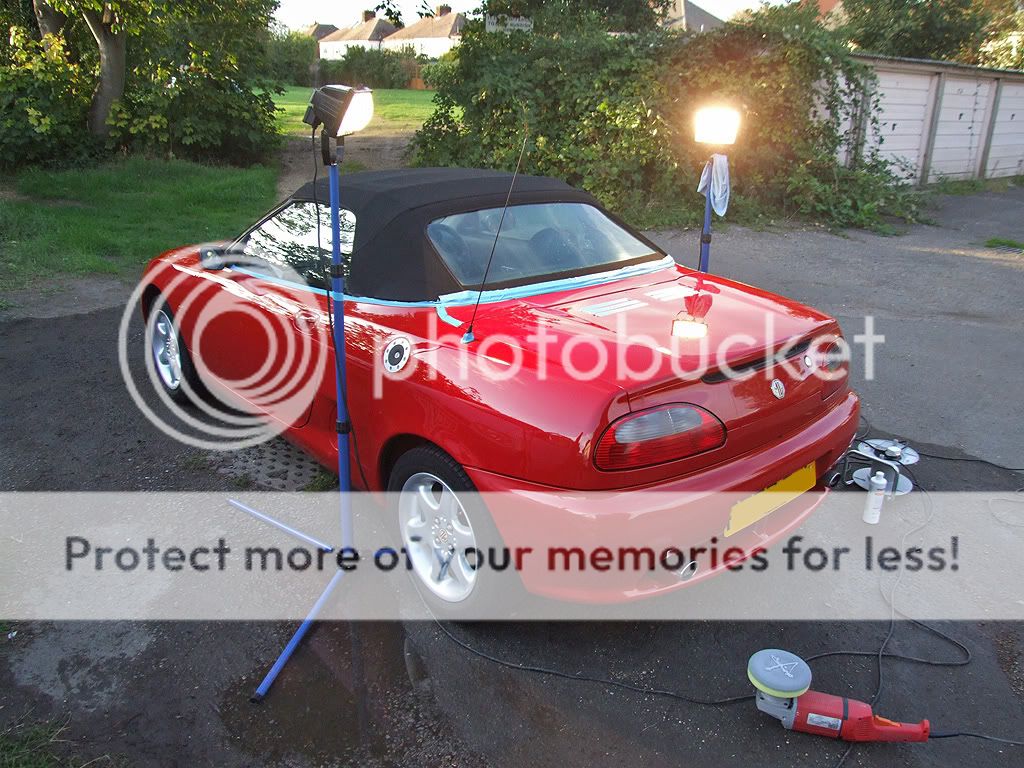
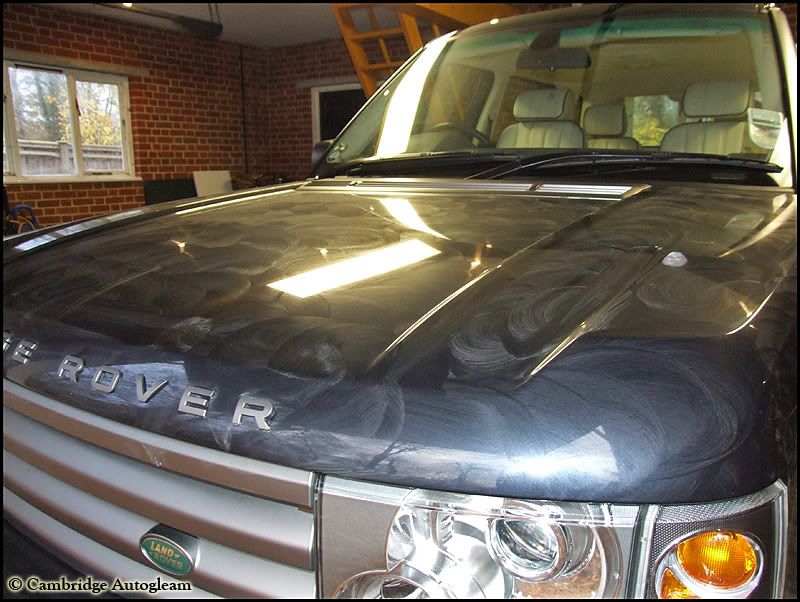
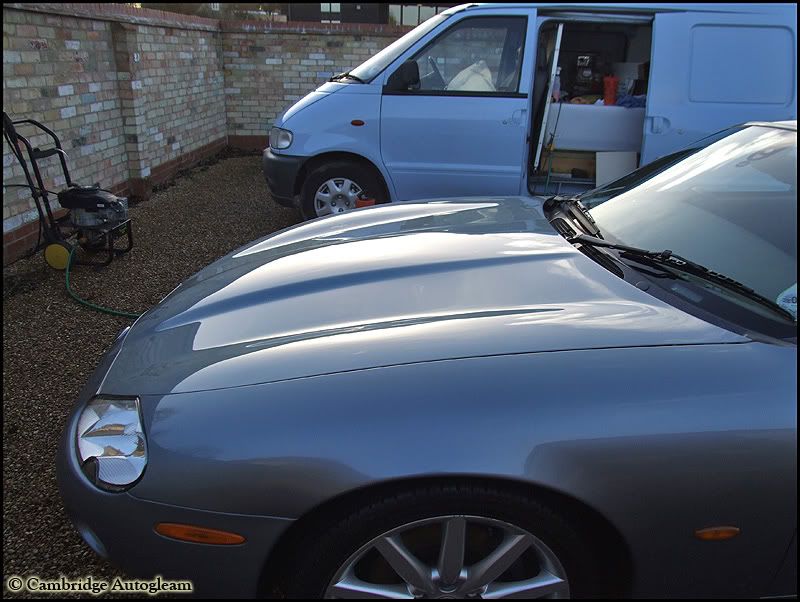
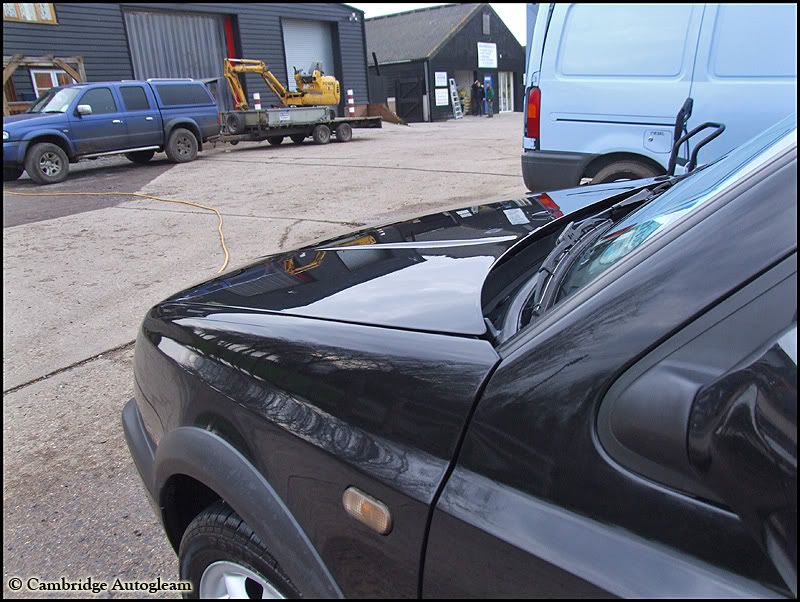
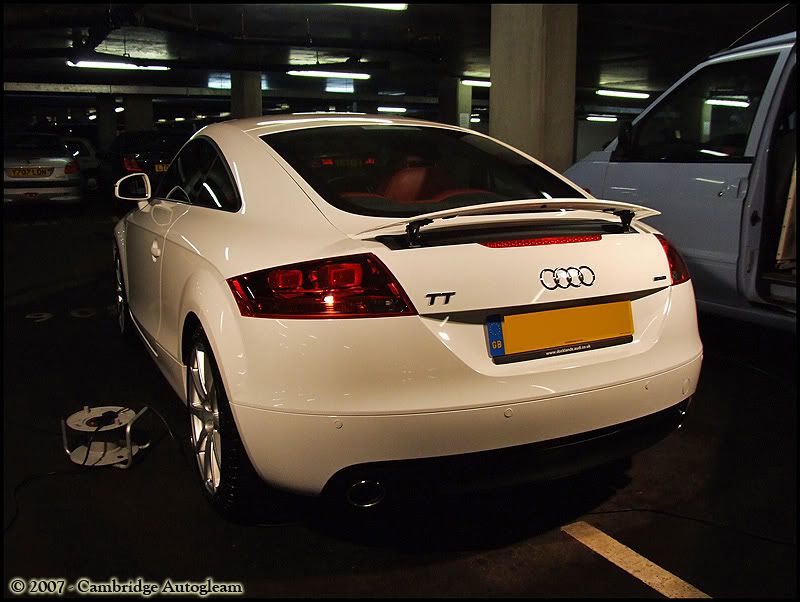
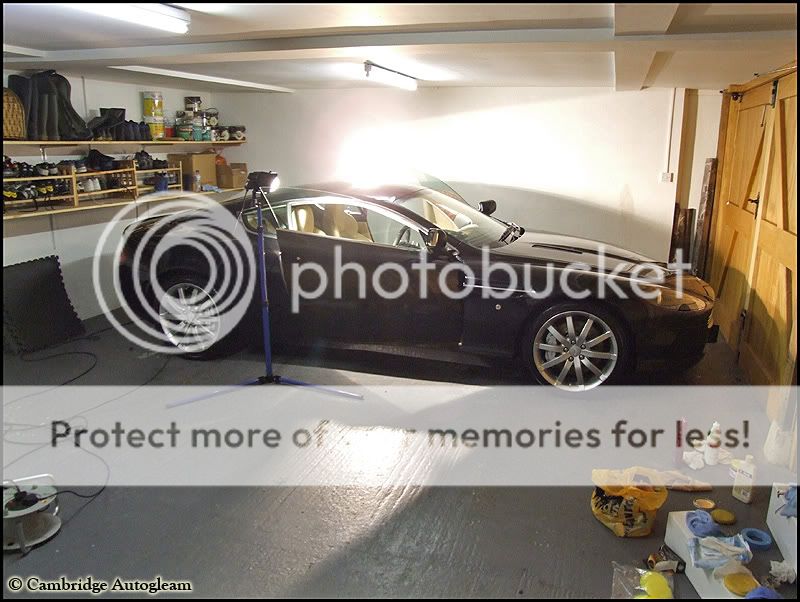
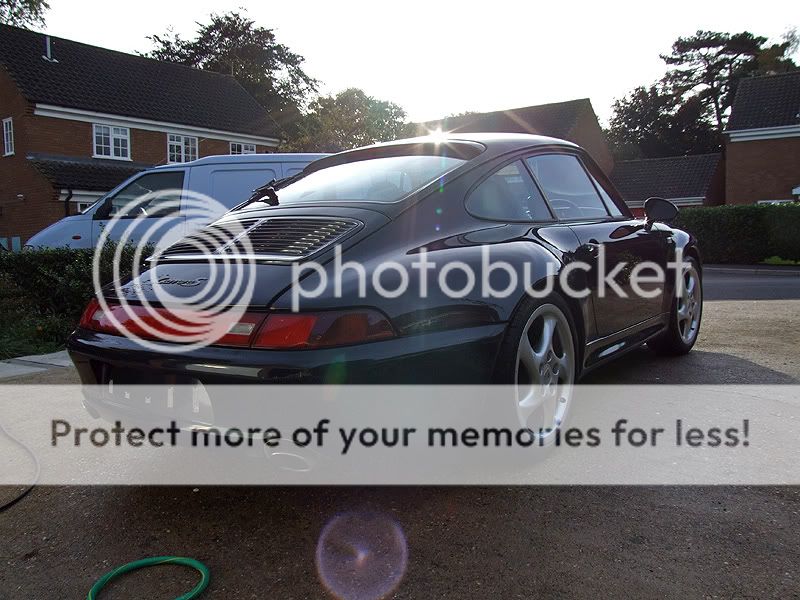
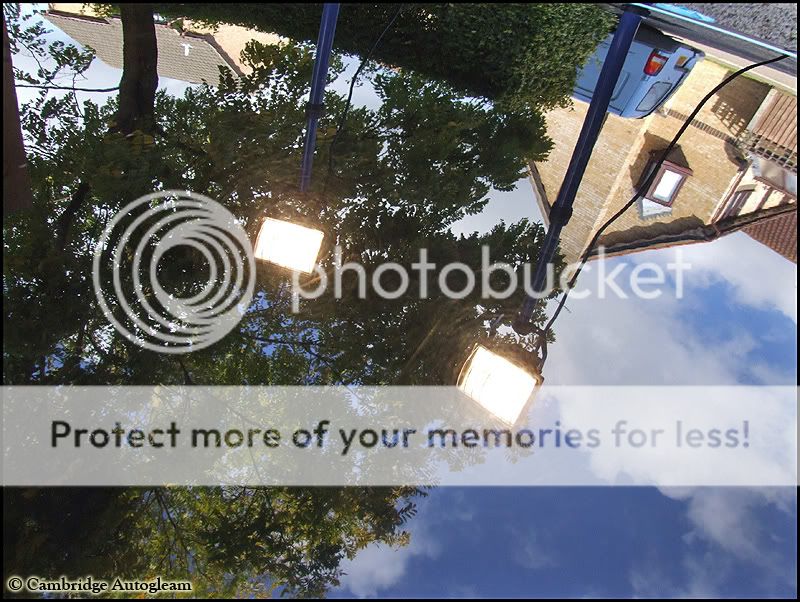
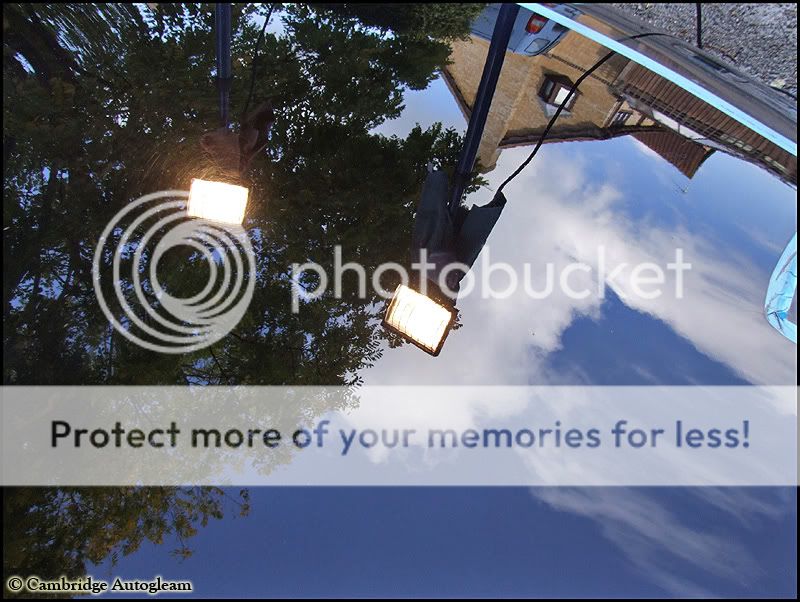
The lights came in pretty handy
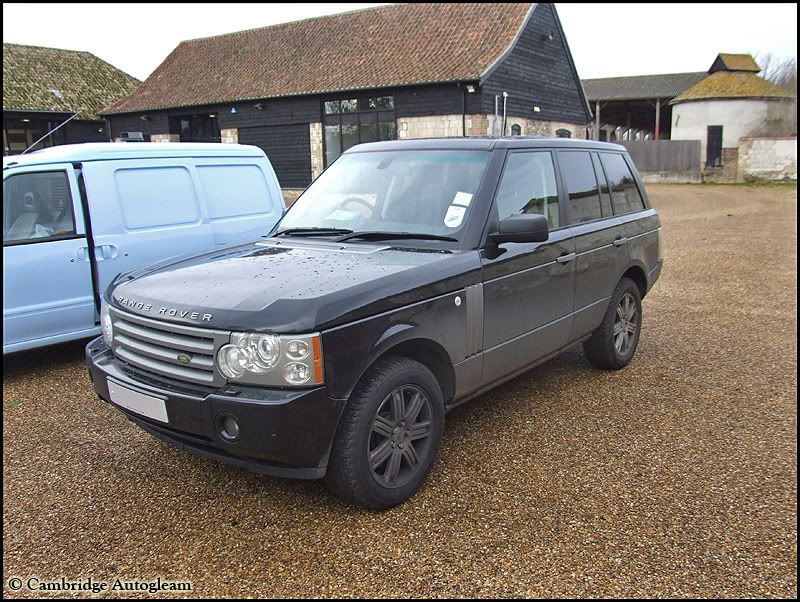
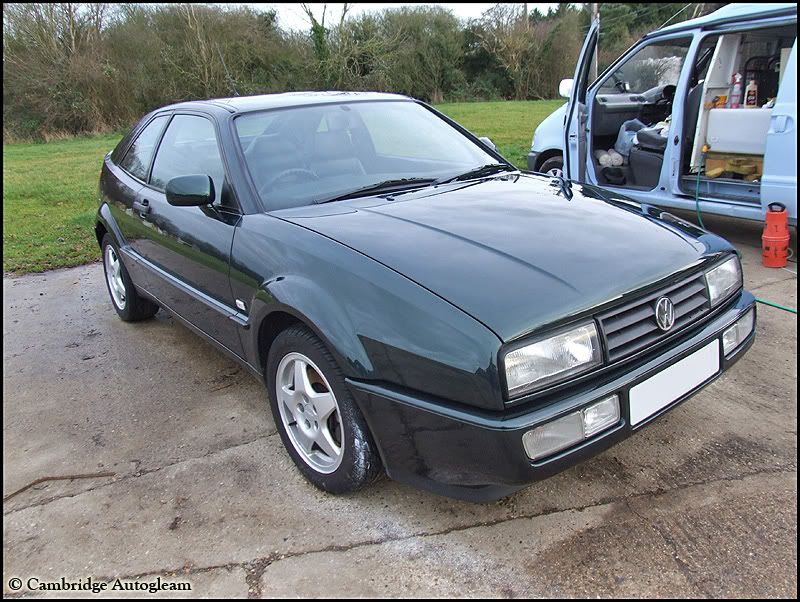
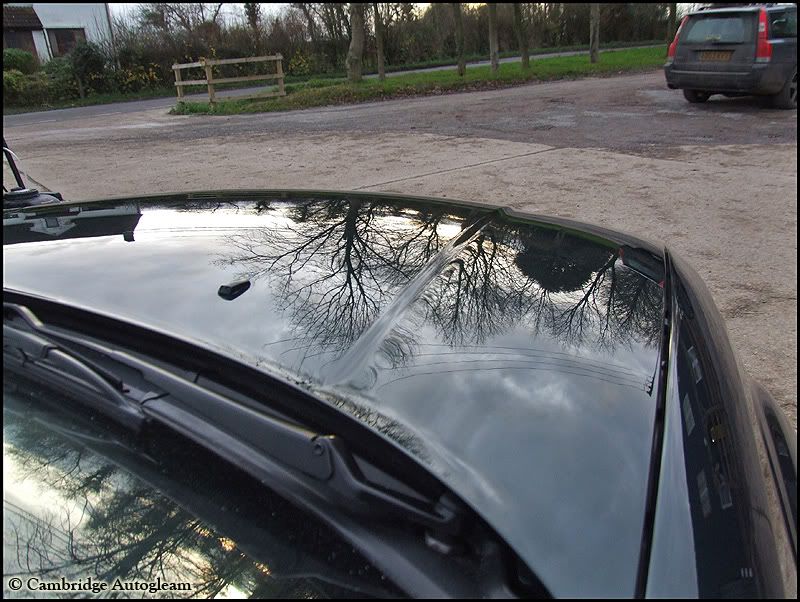
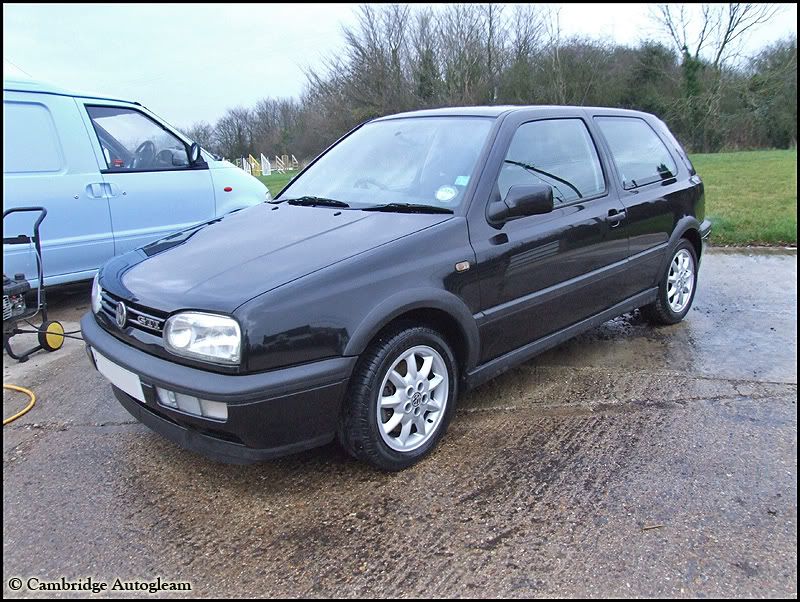
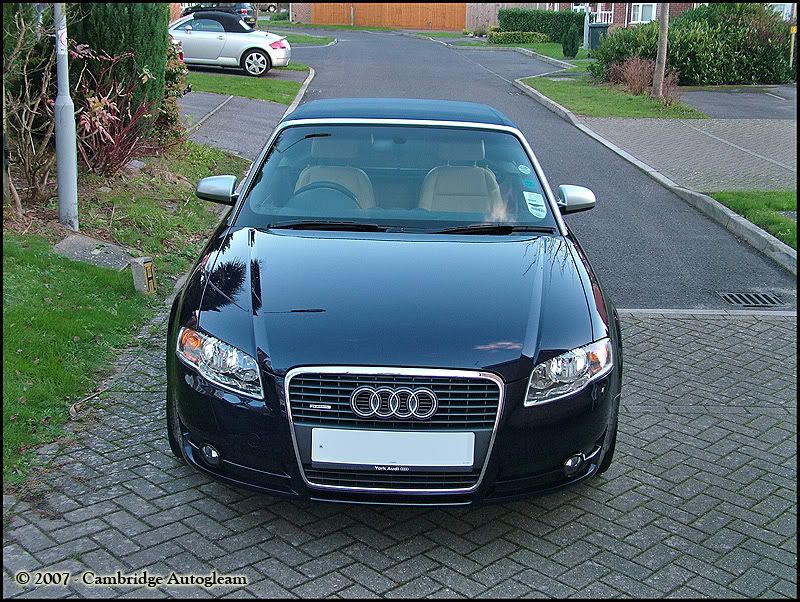
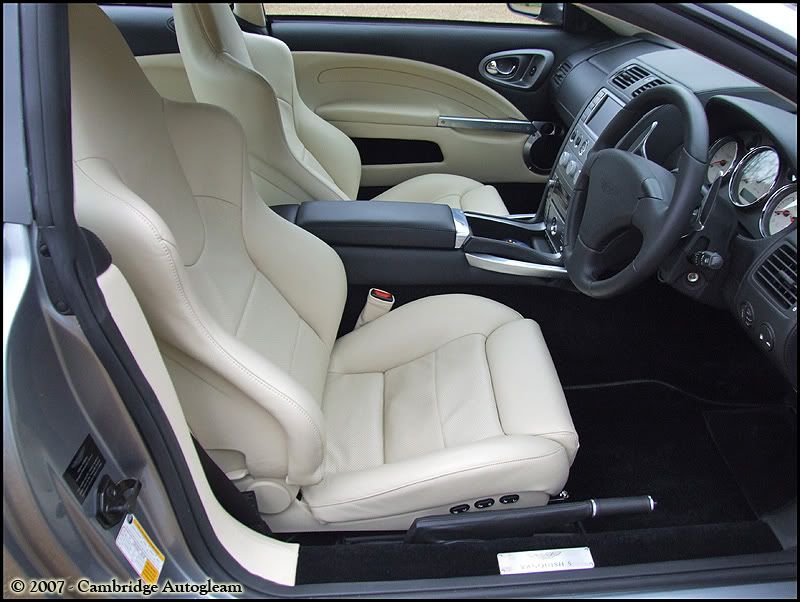
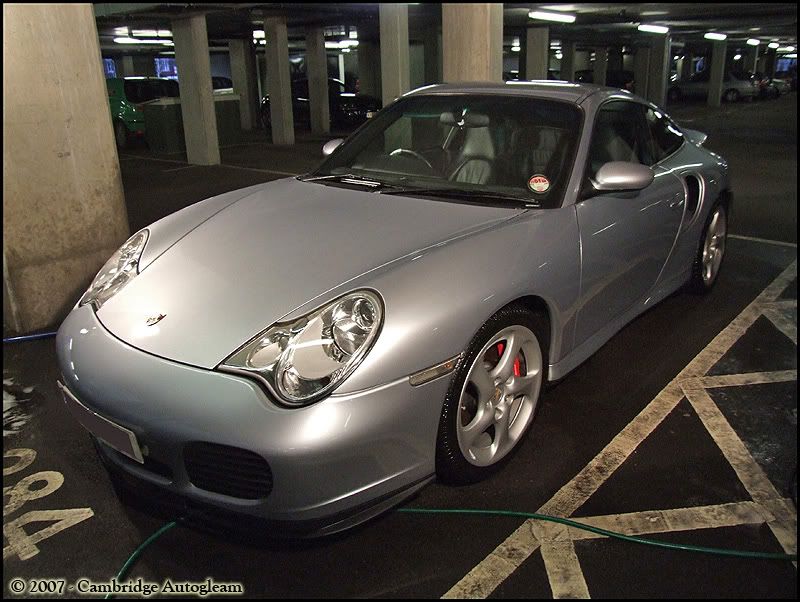
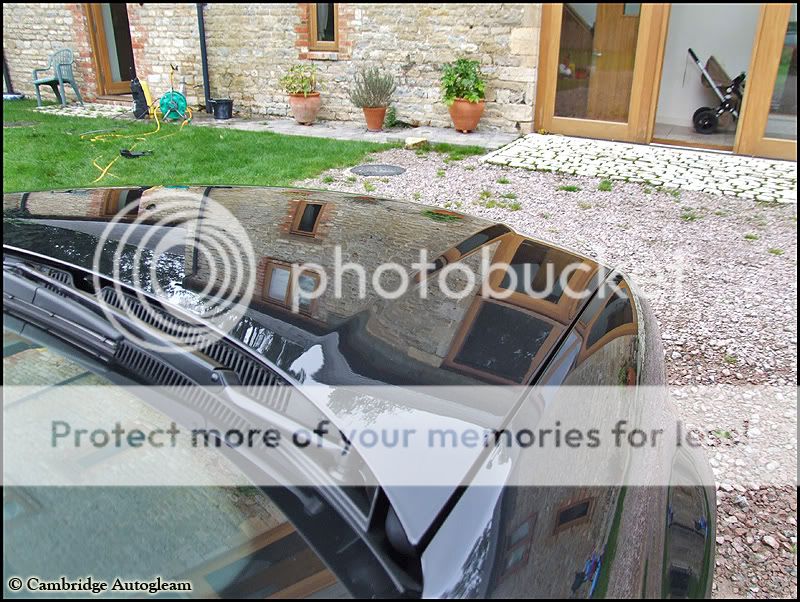
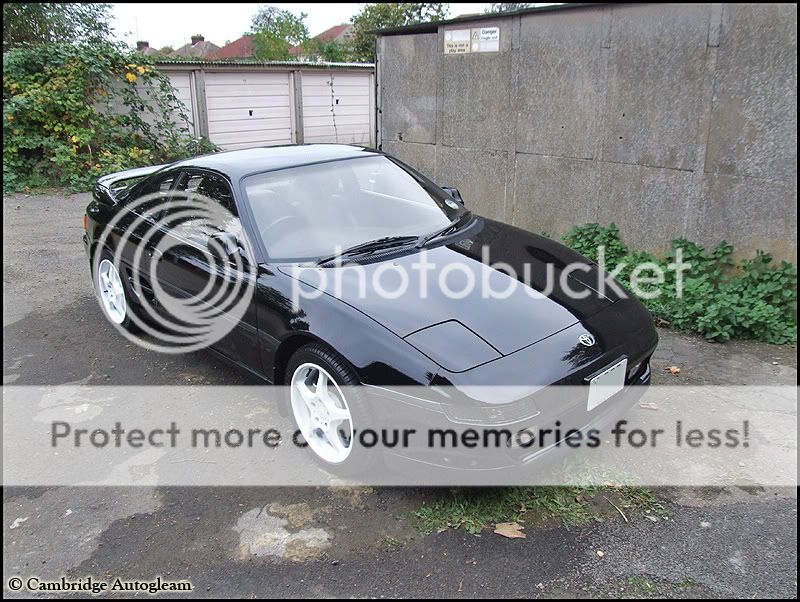
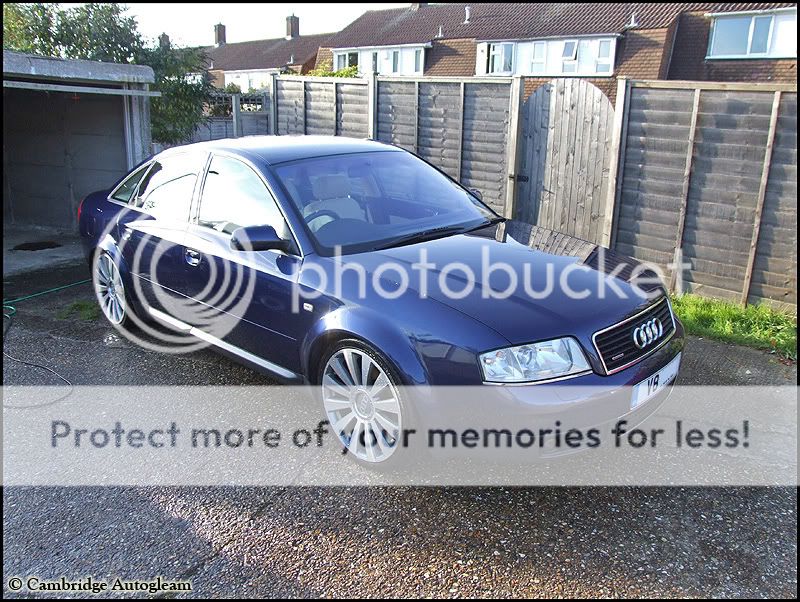
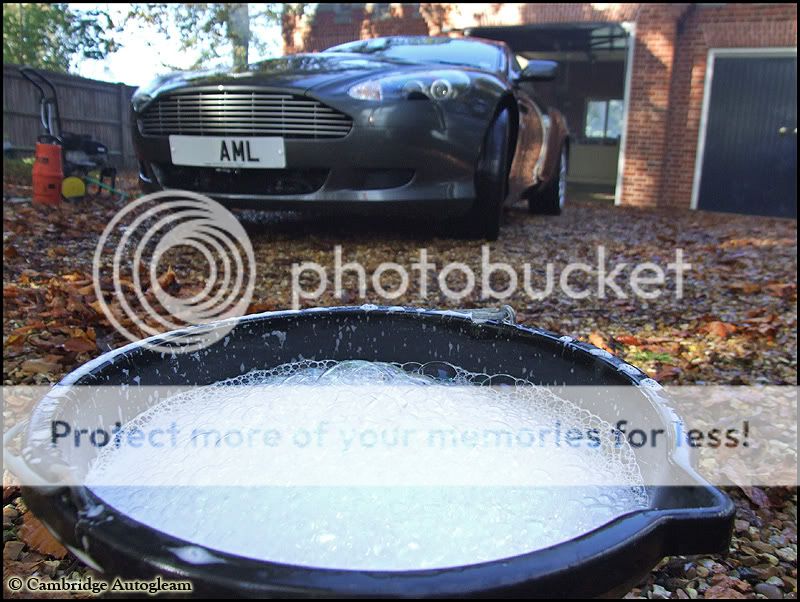
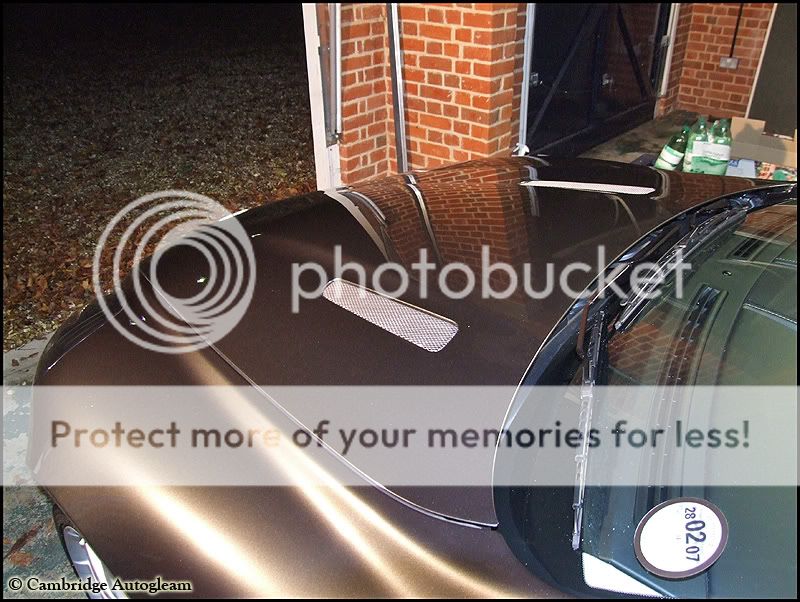
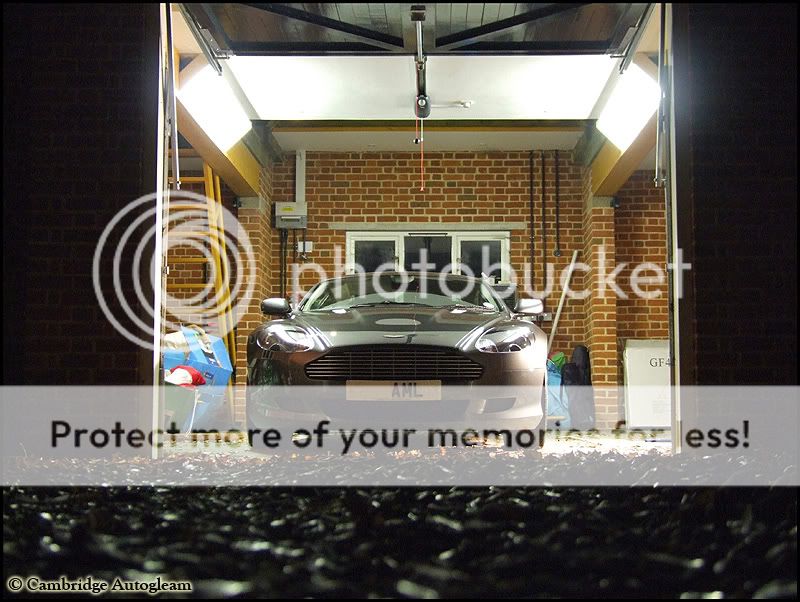
The rest of the process was:
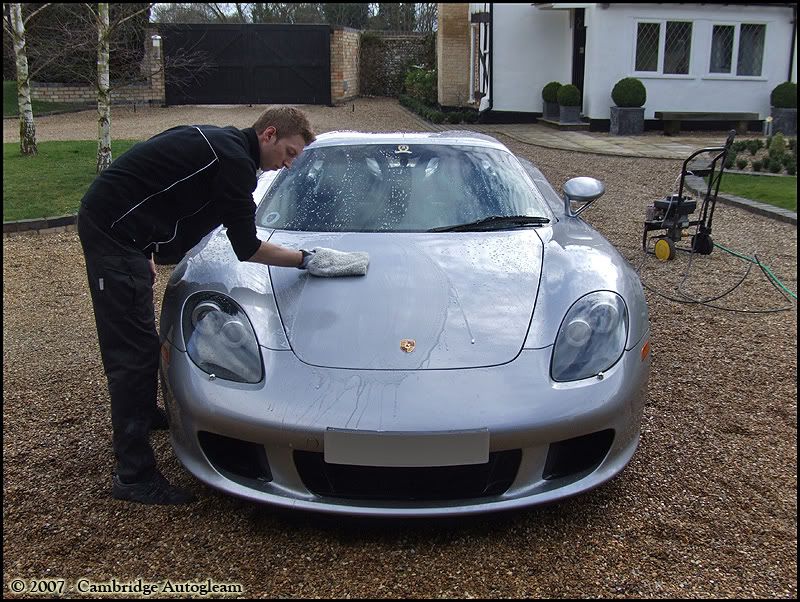
Wash again
Clean glass in and out and dress rubber
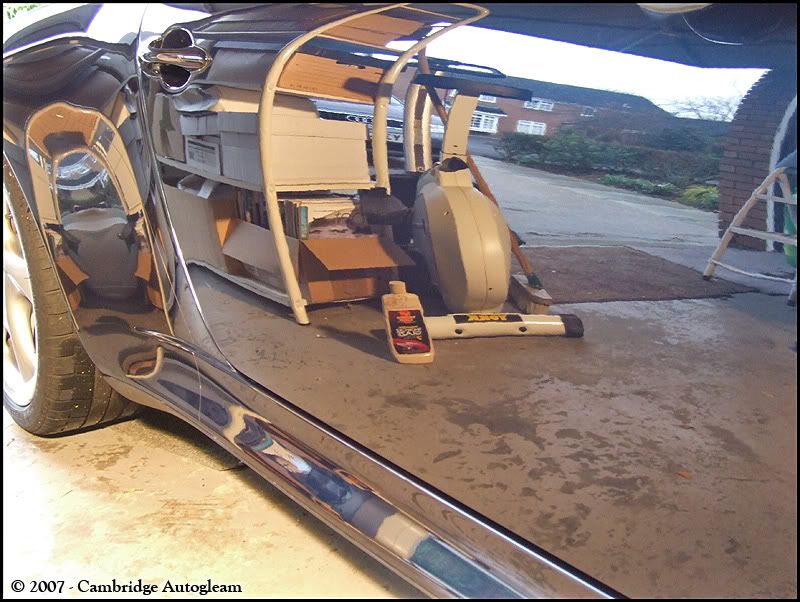
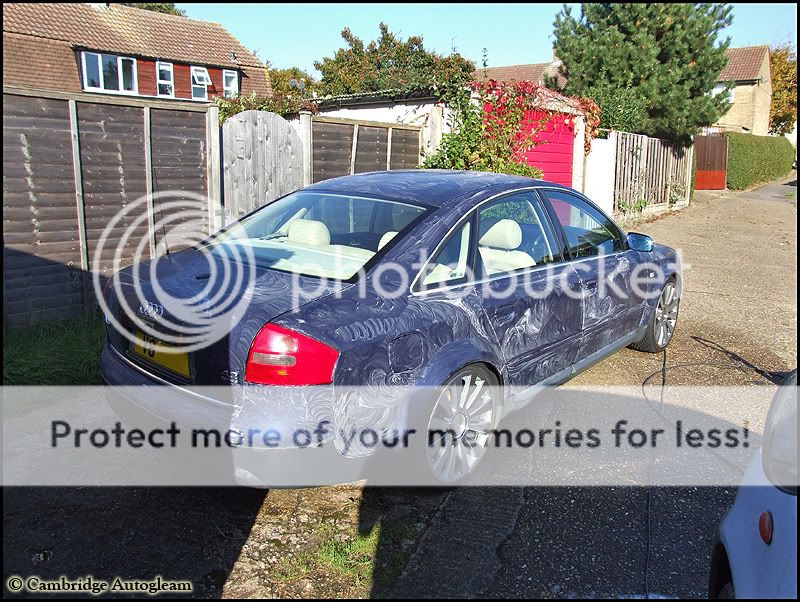
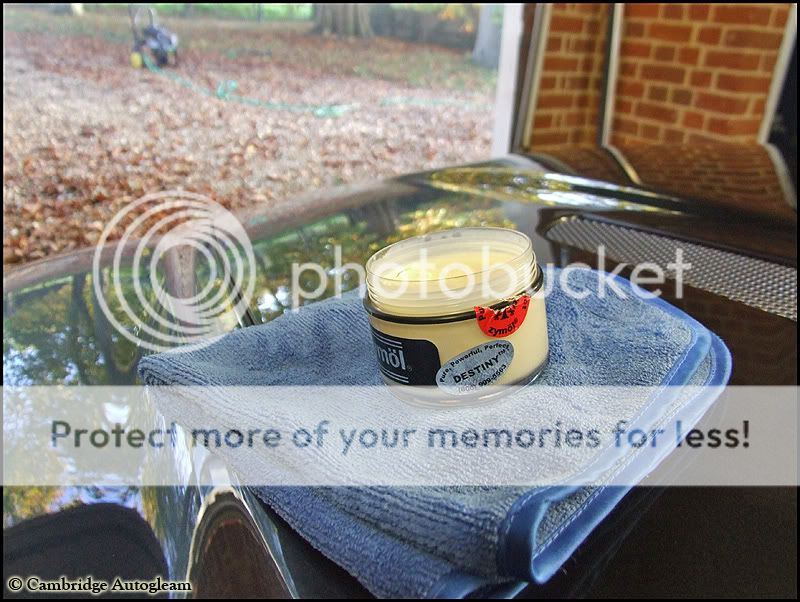
Apply Megs #7 glaze
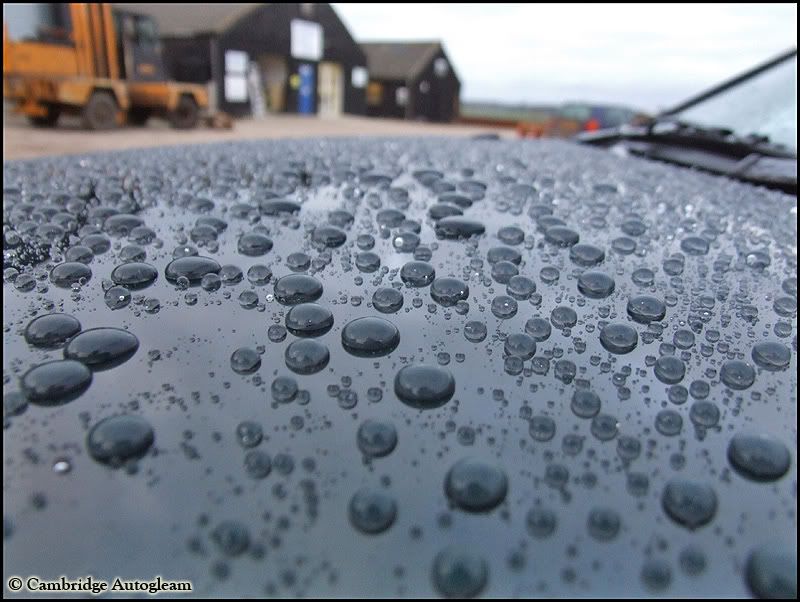
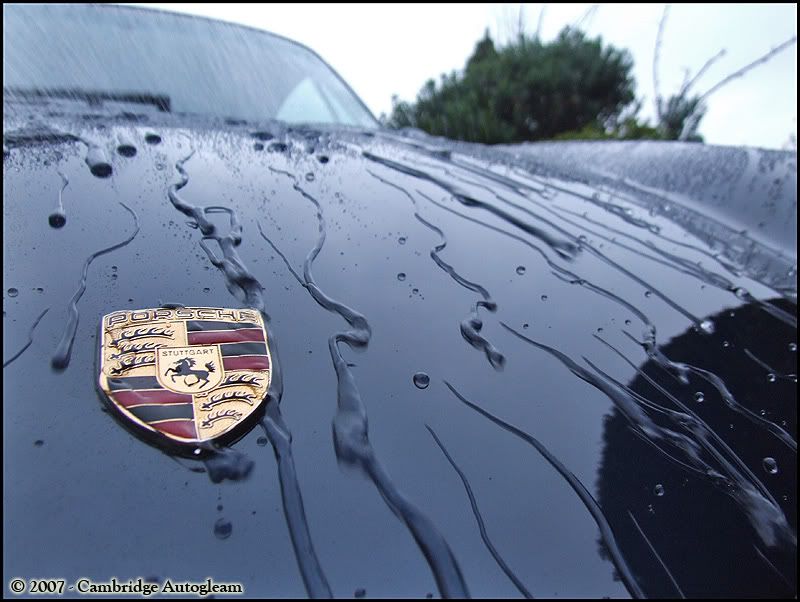
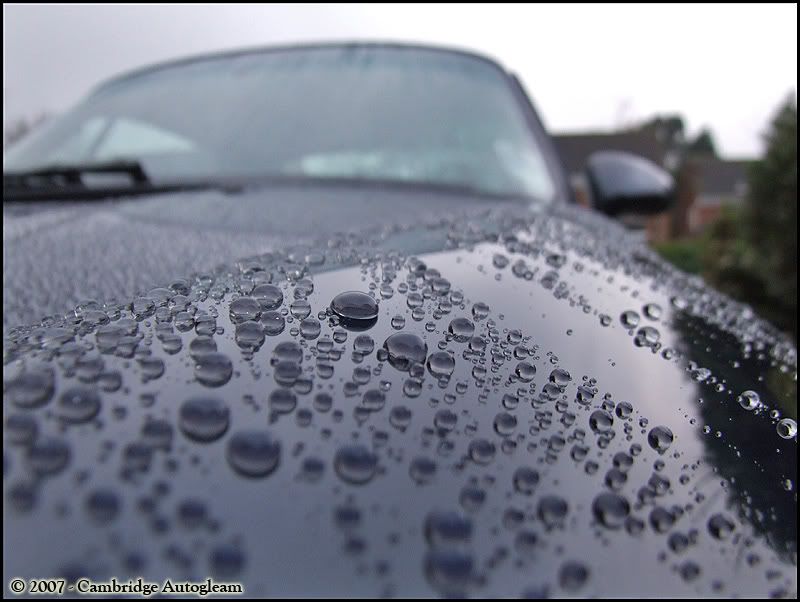
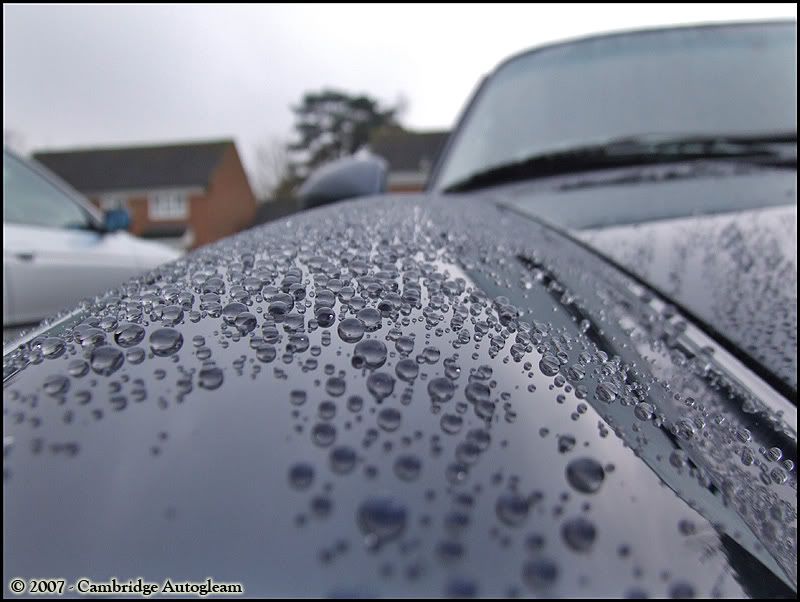
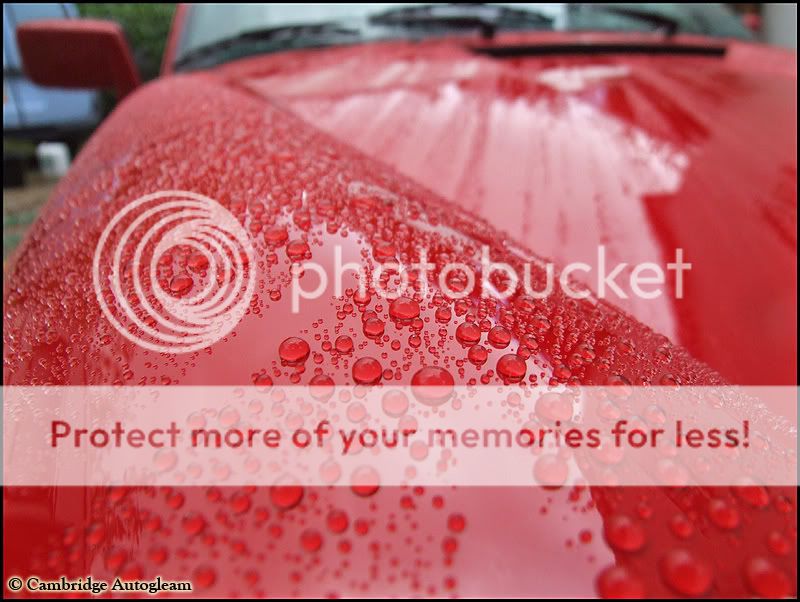
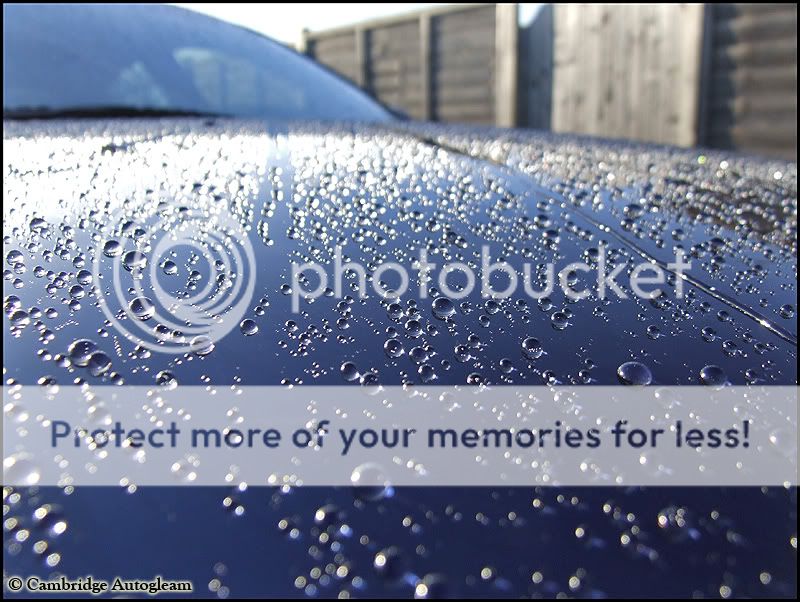
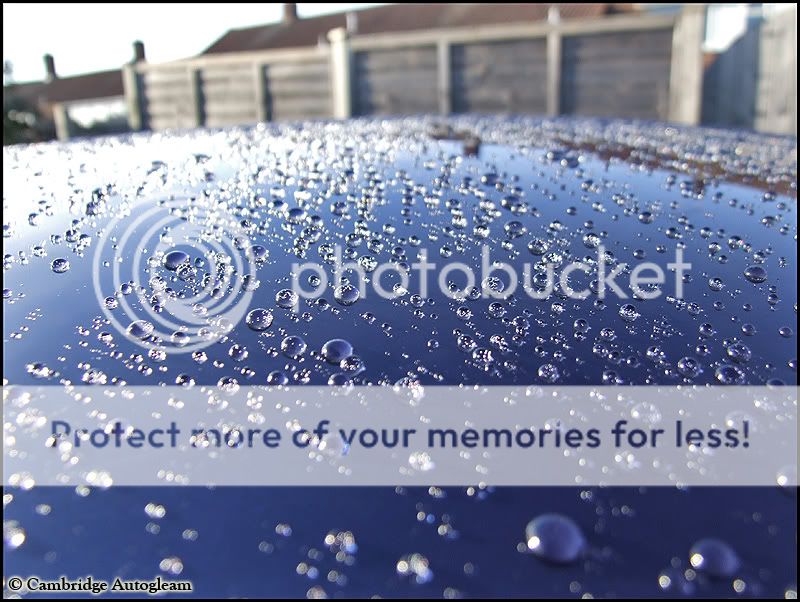
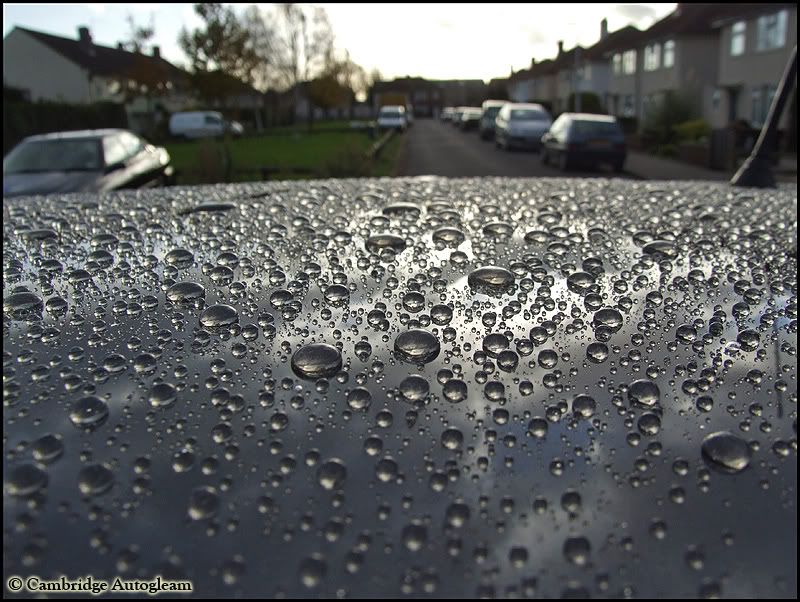
Apply Collinite 476s
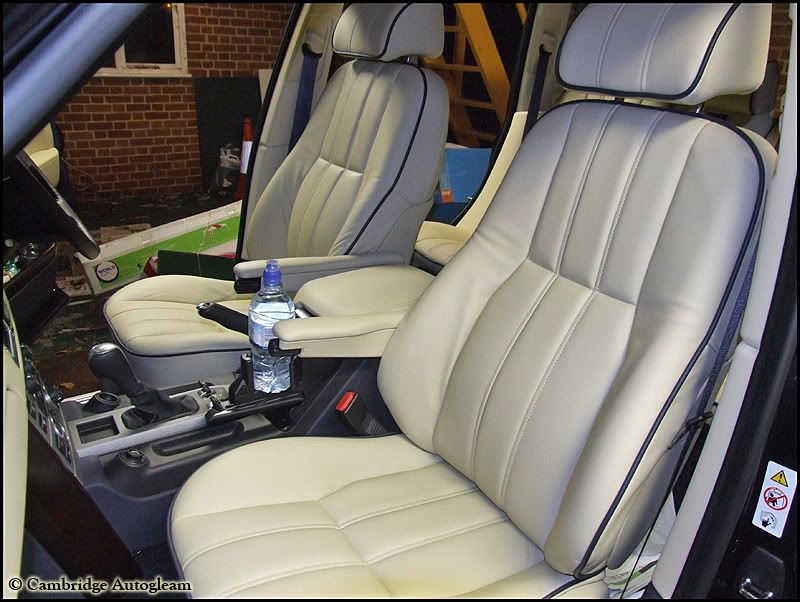
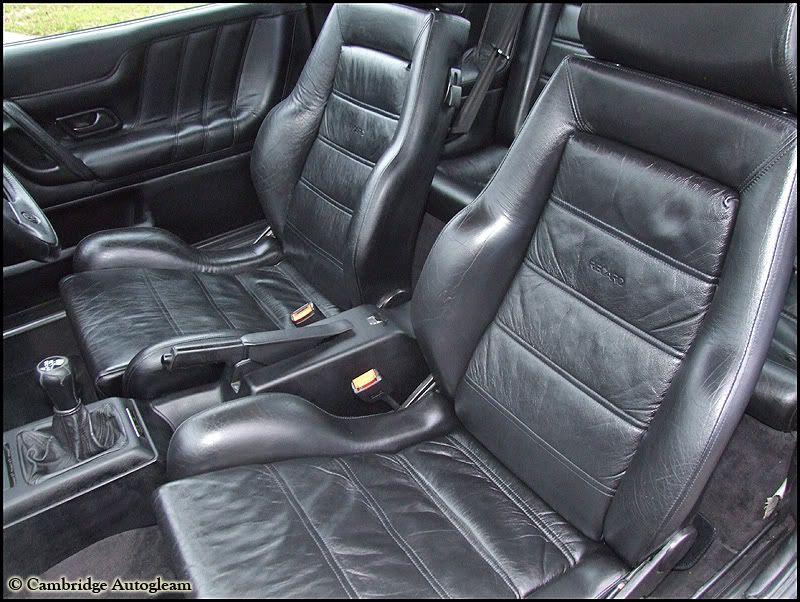
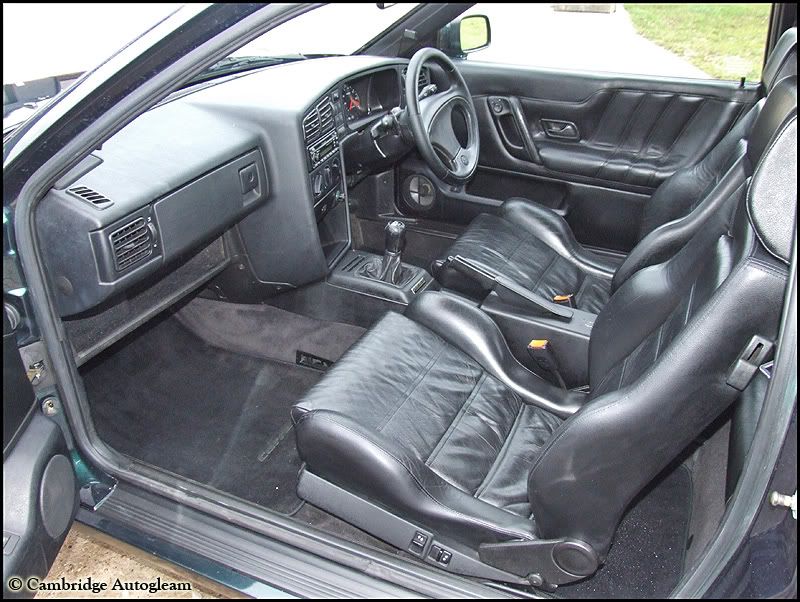
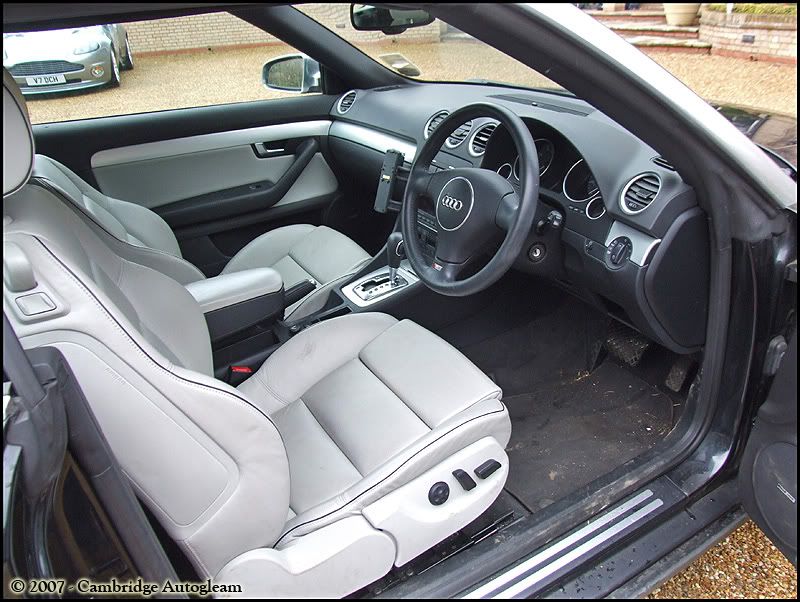
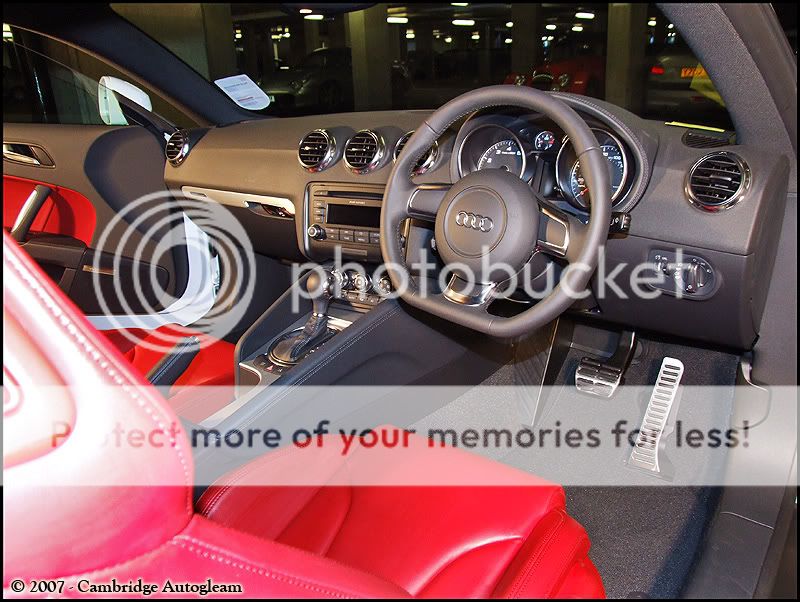
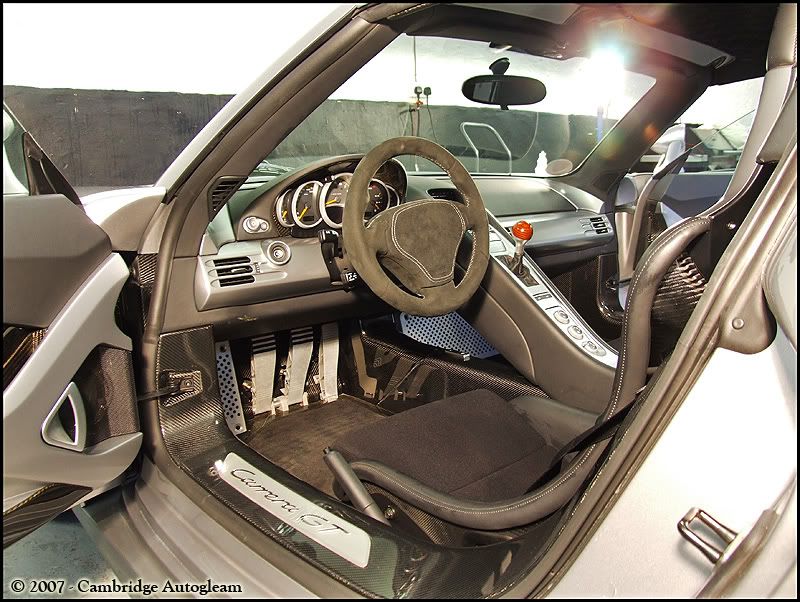
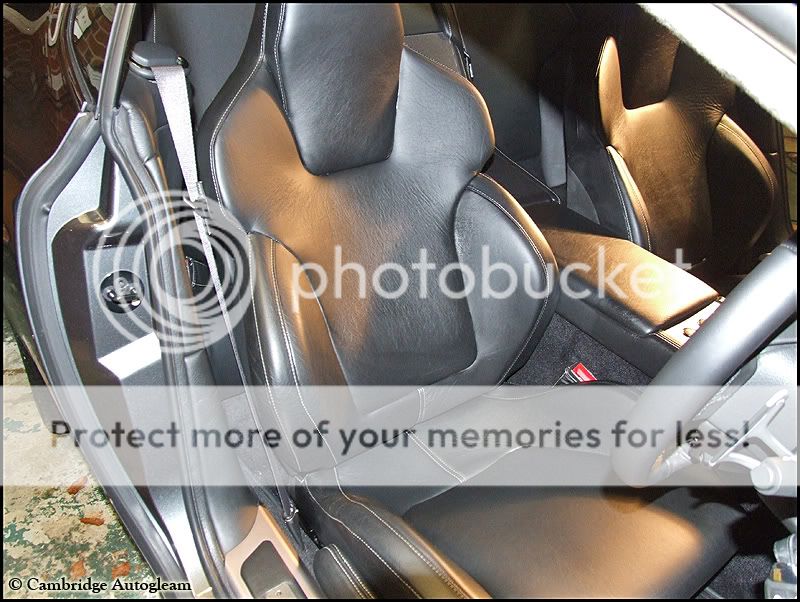
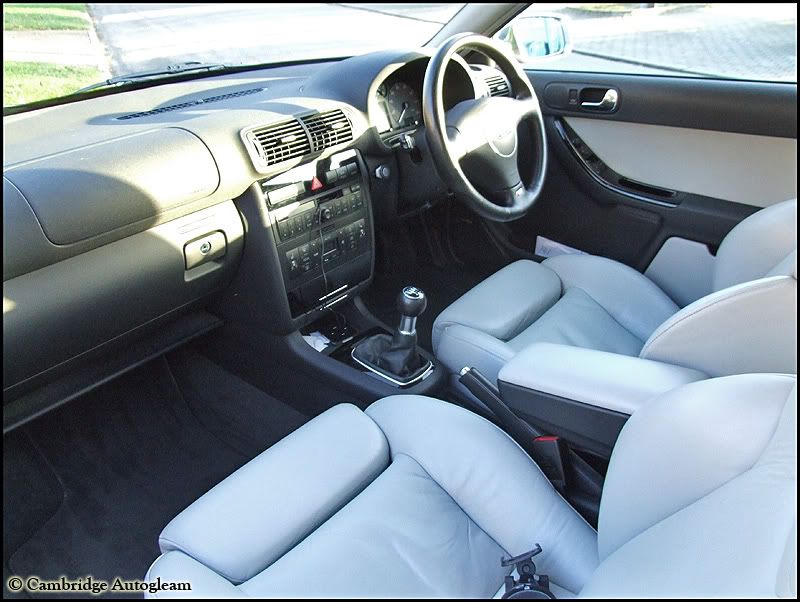
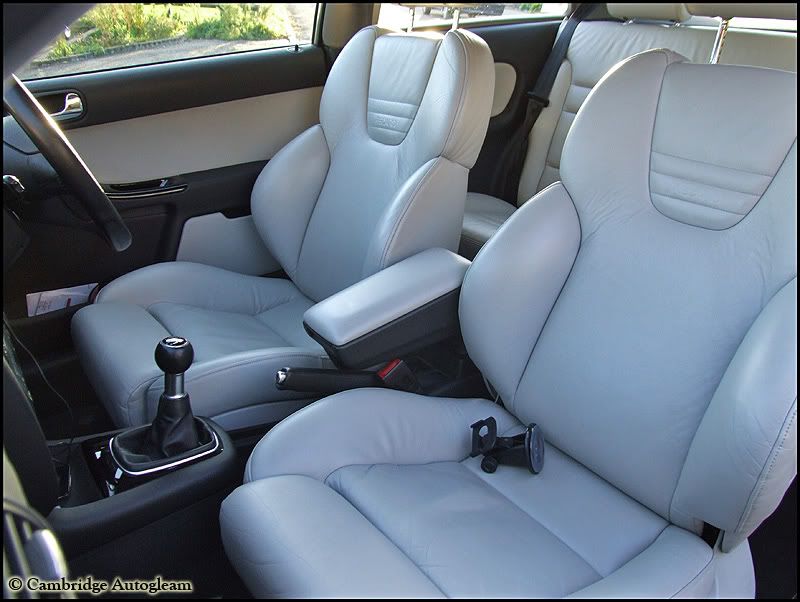
Clean interior.
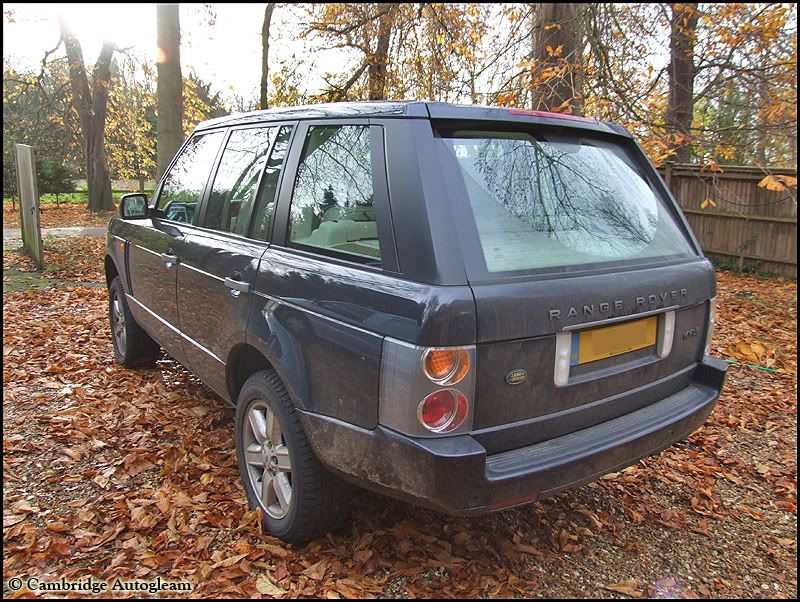
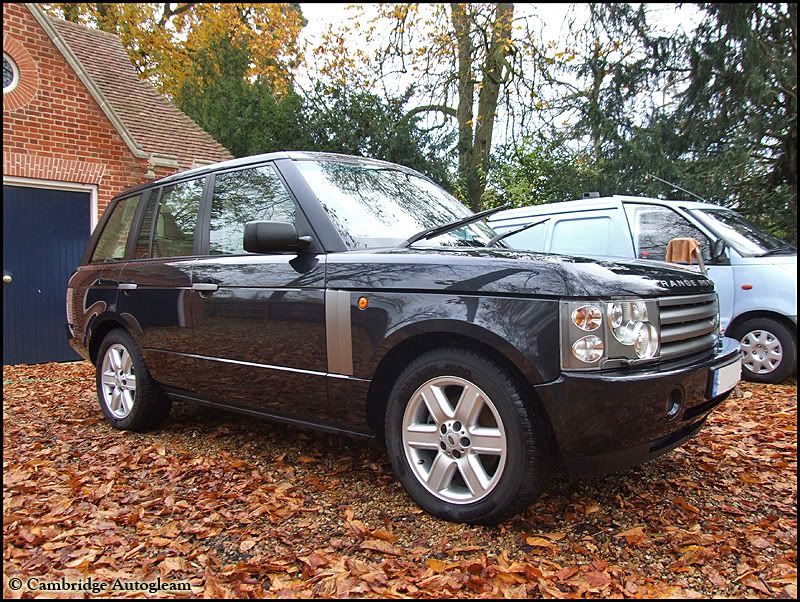
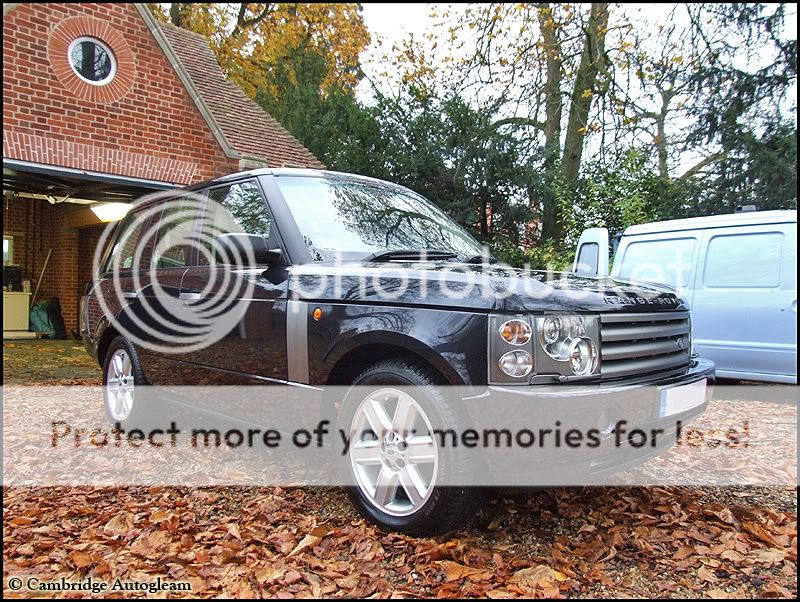
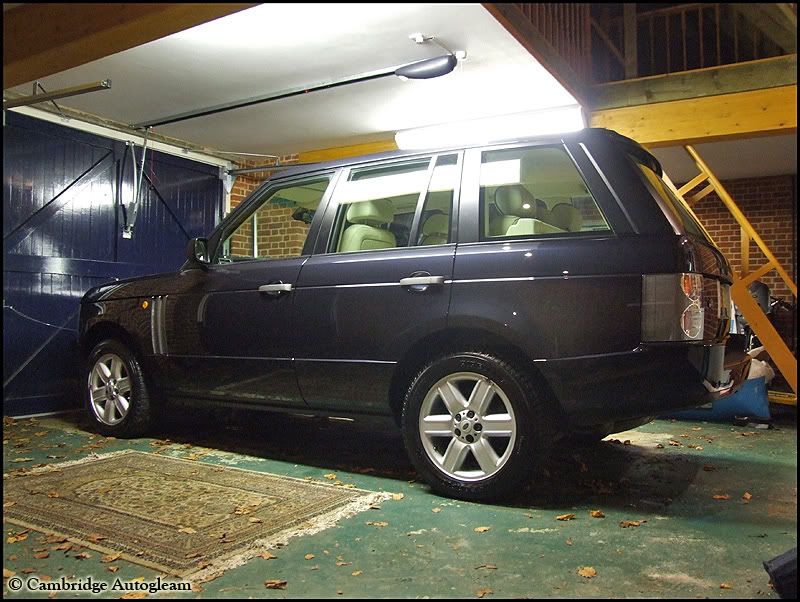
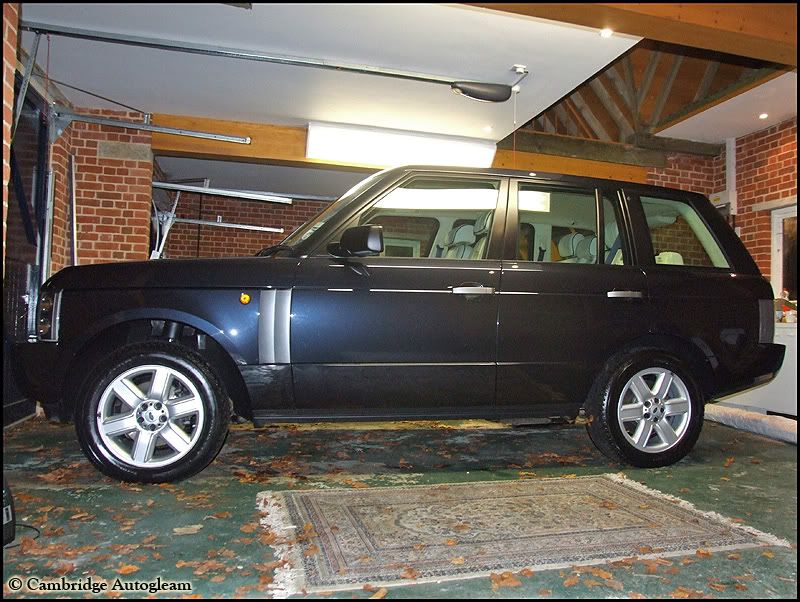
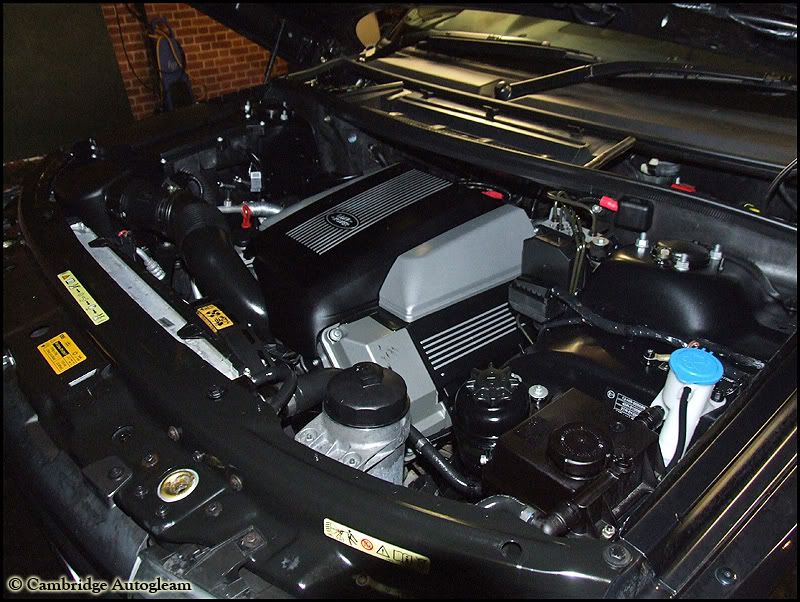
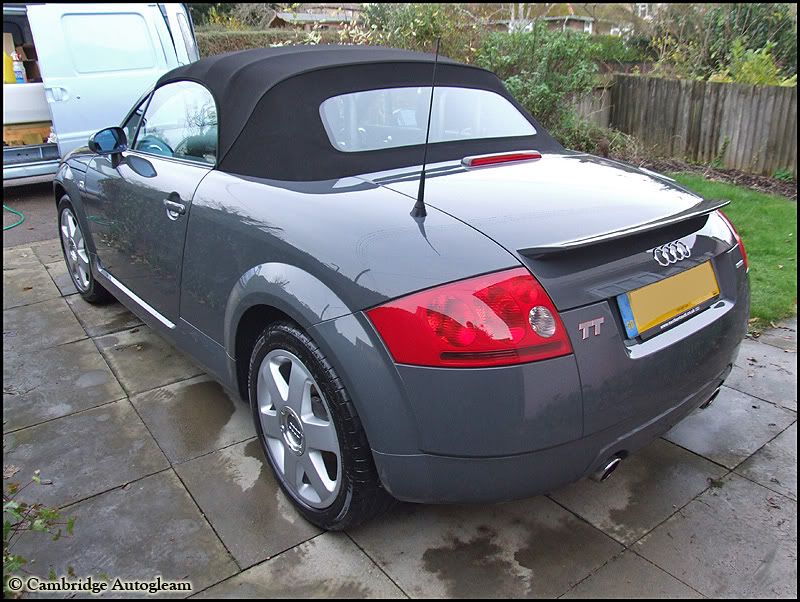
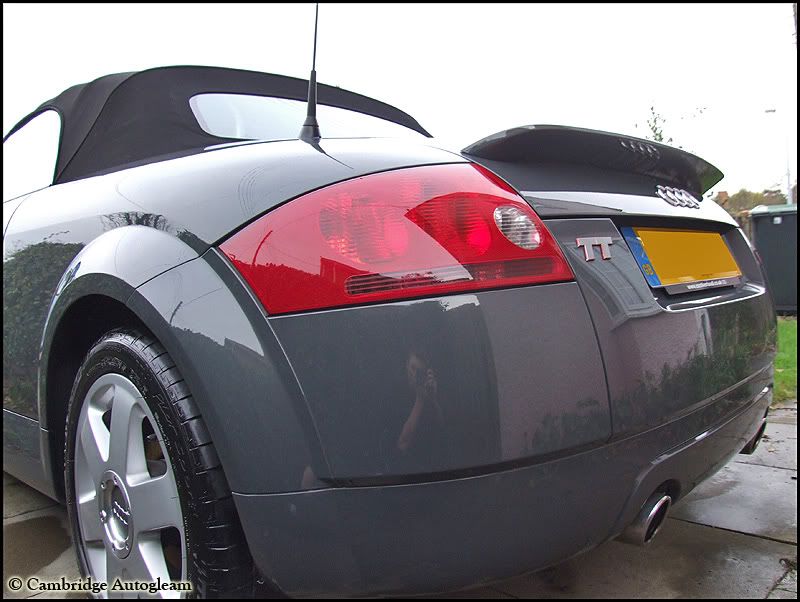
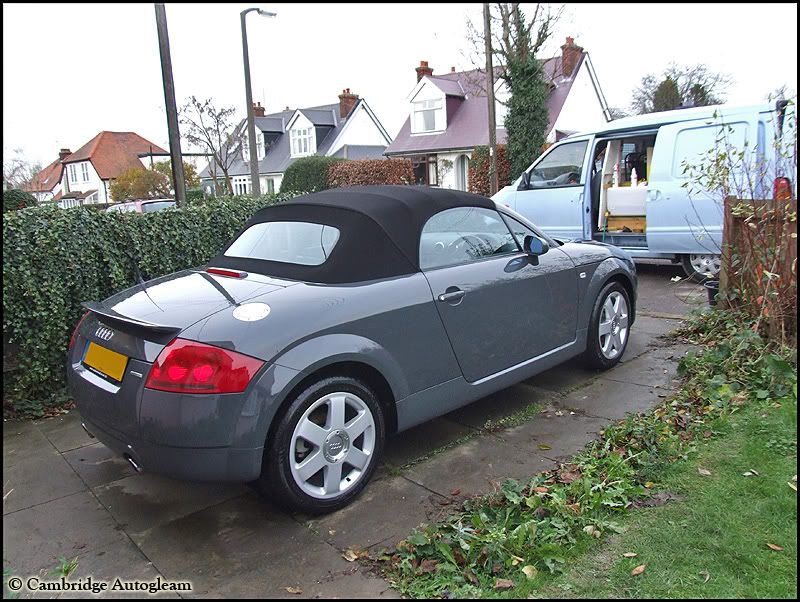
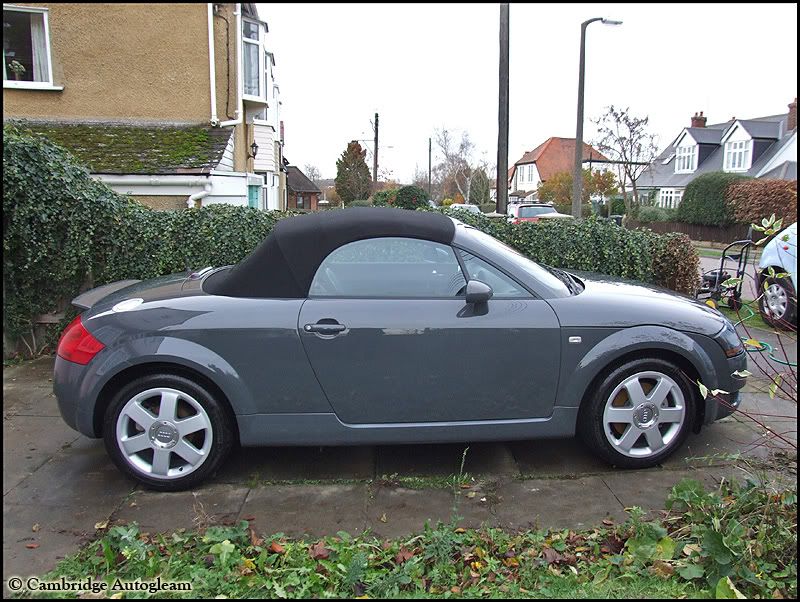
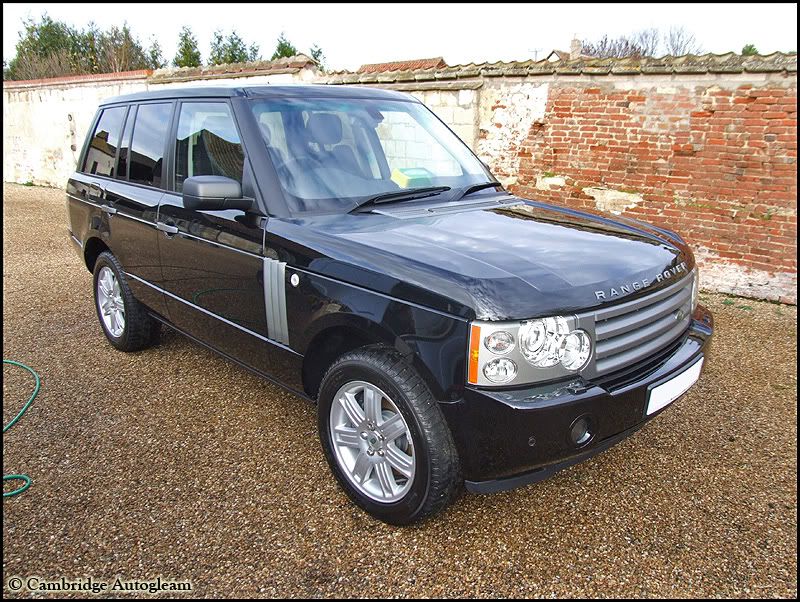
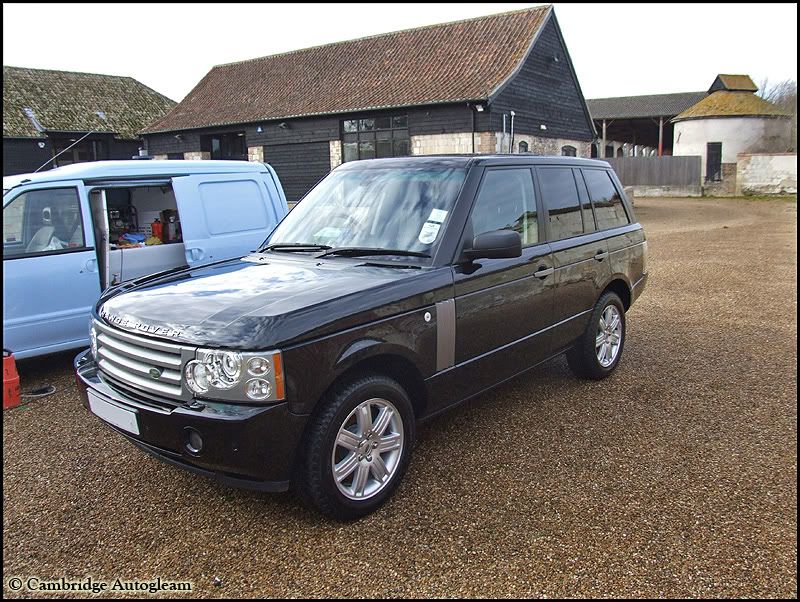
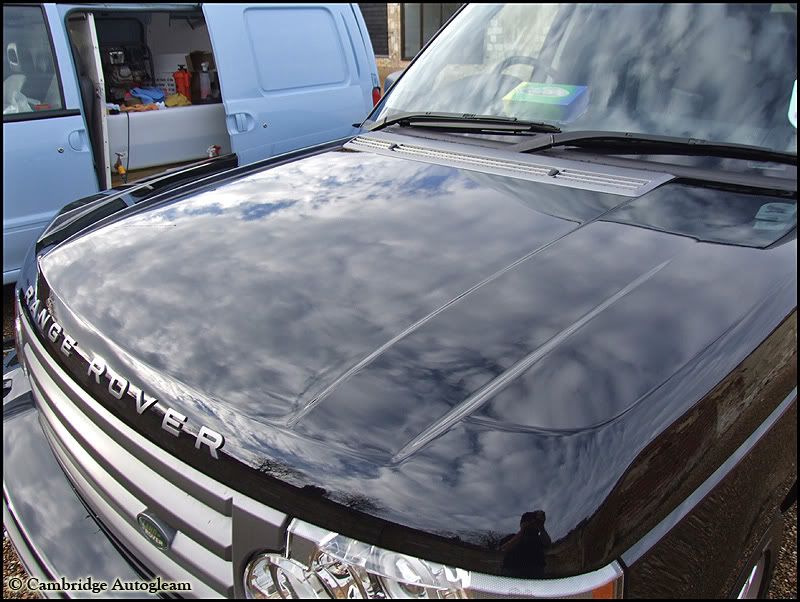
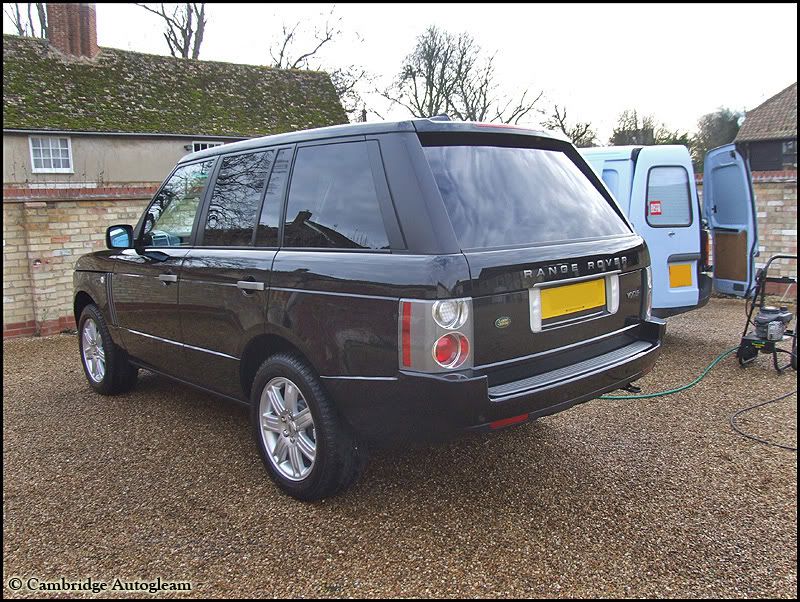
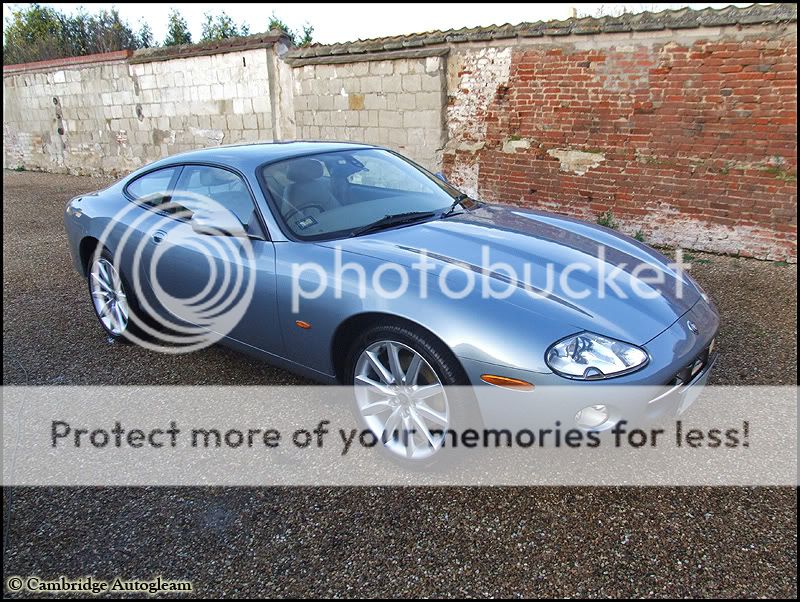
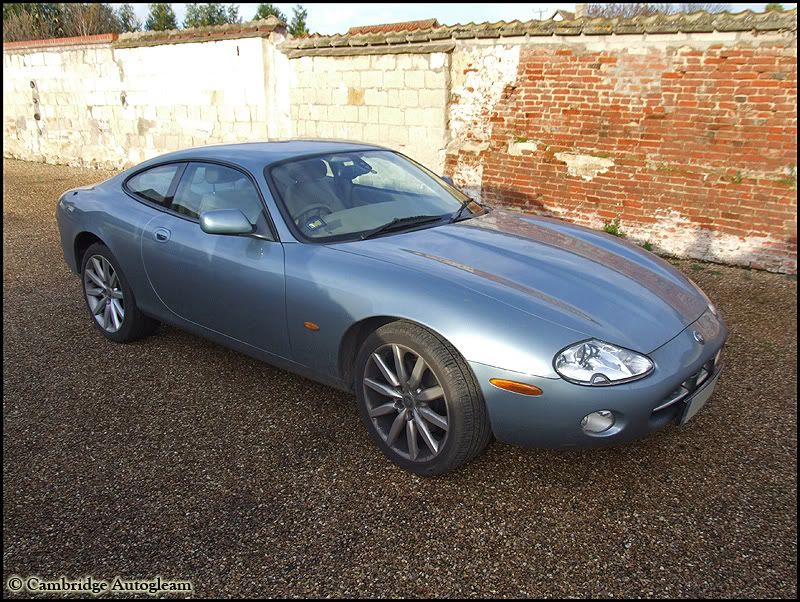
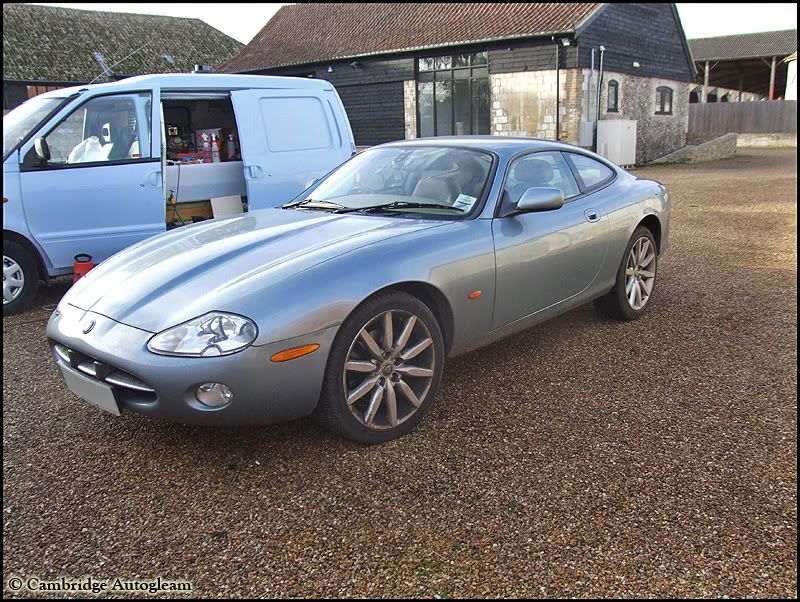
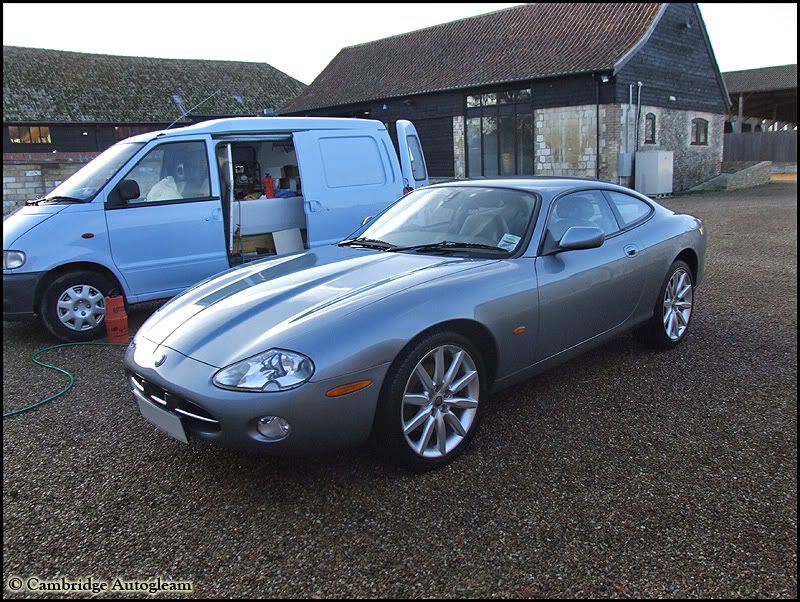
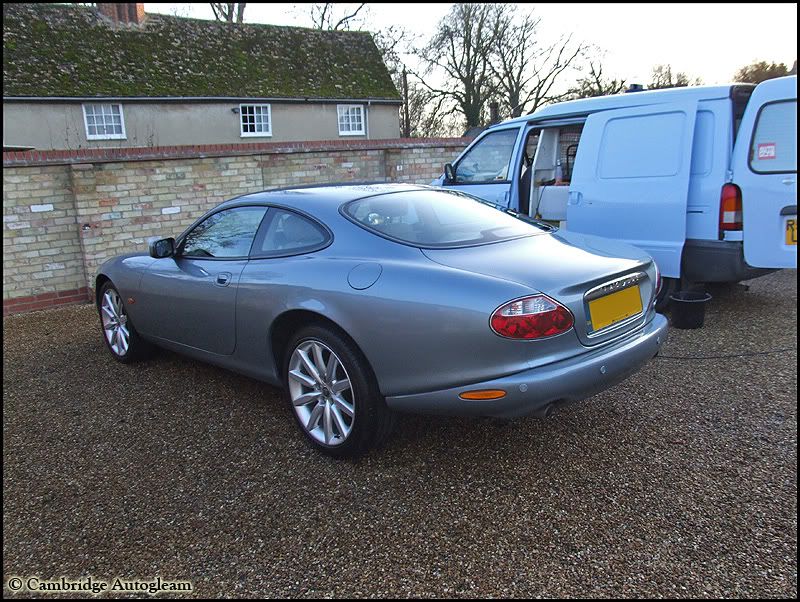
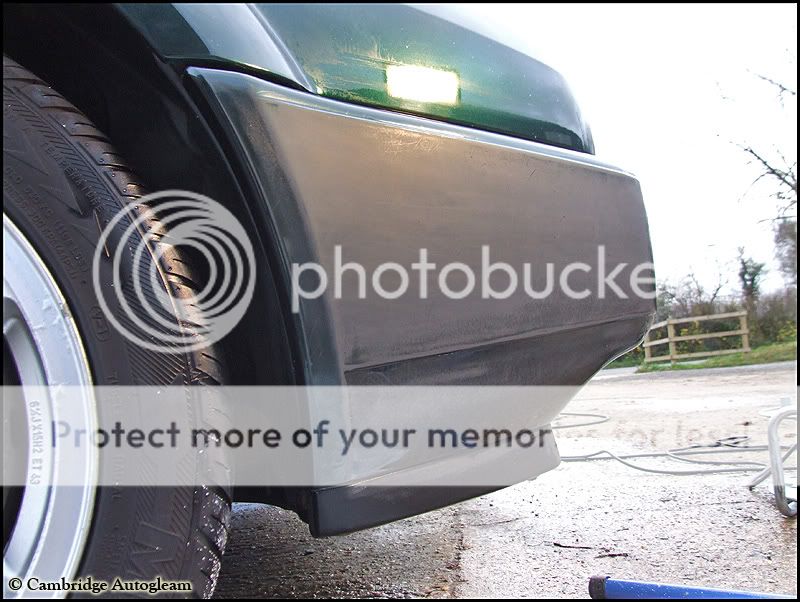
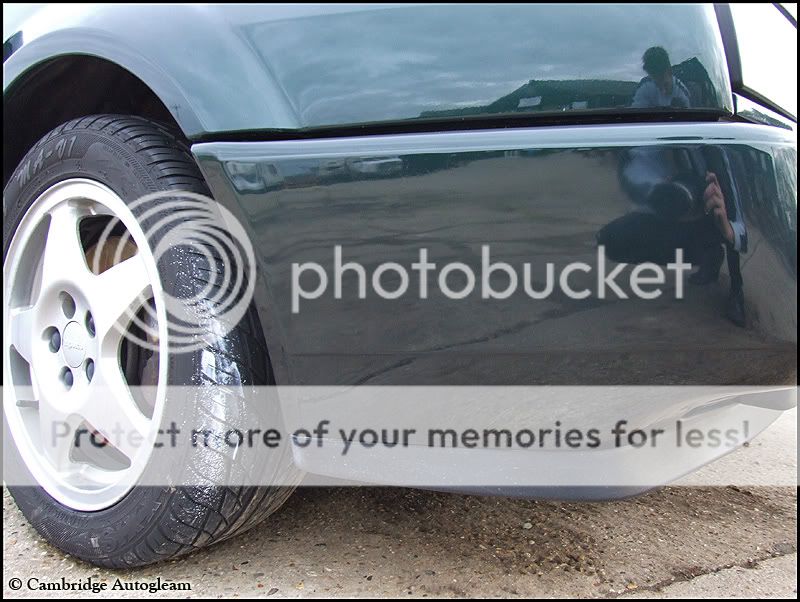
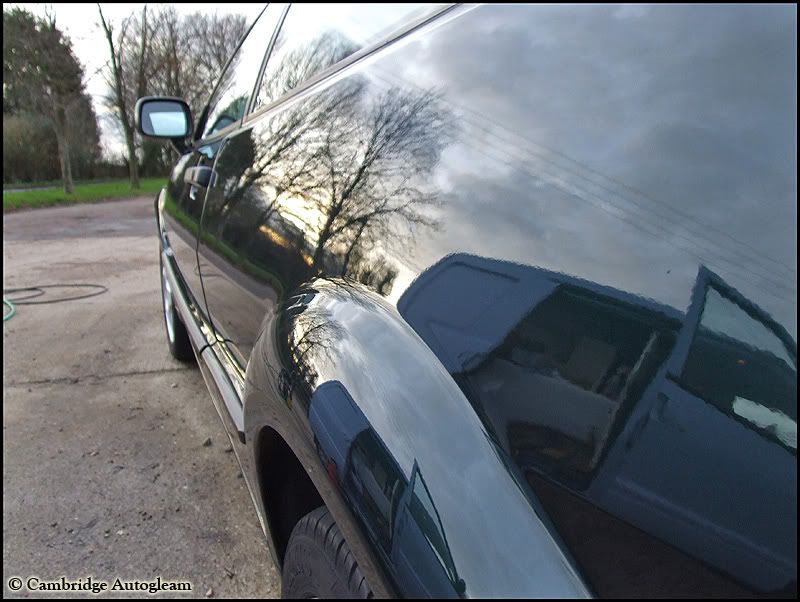
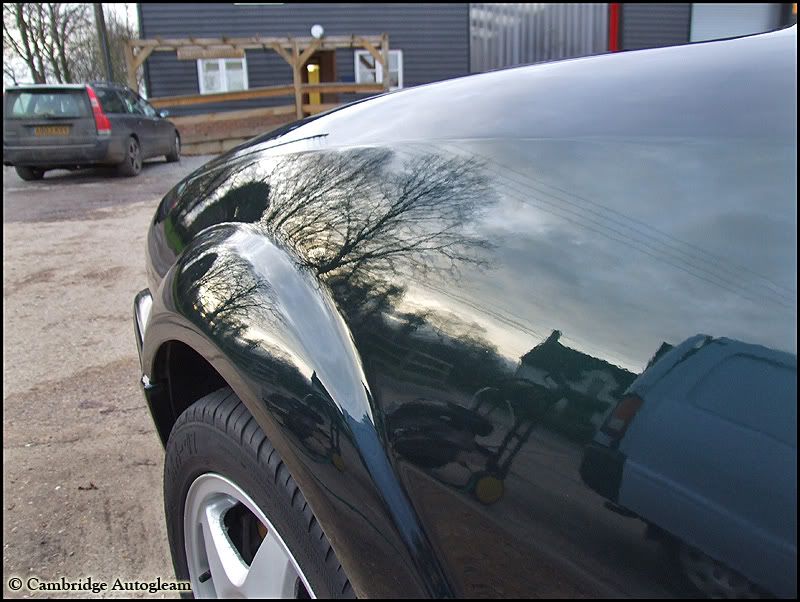
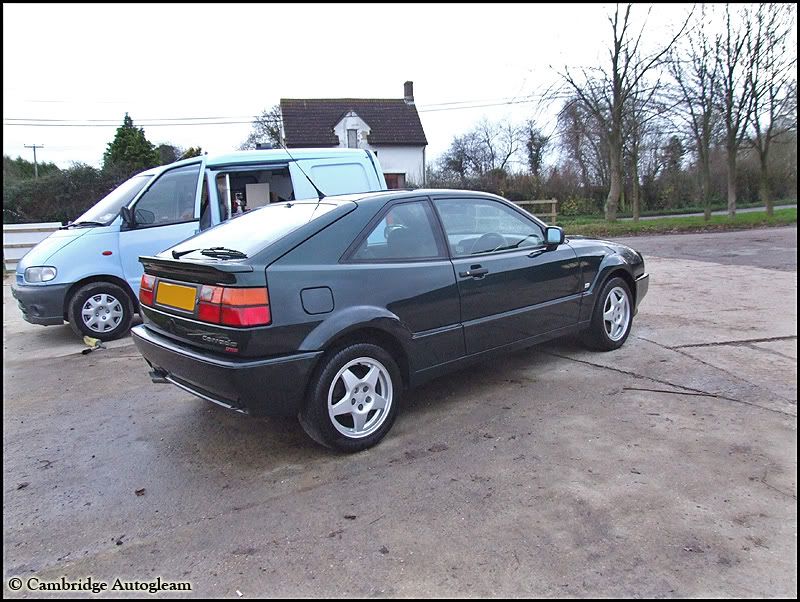
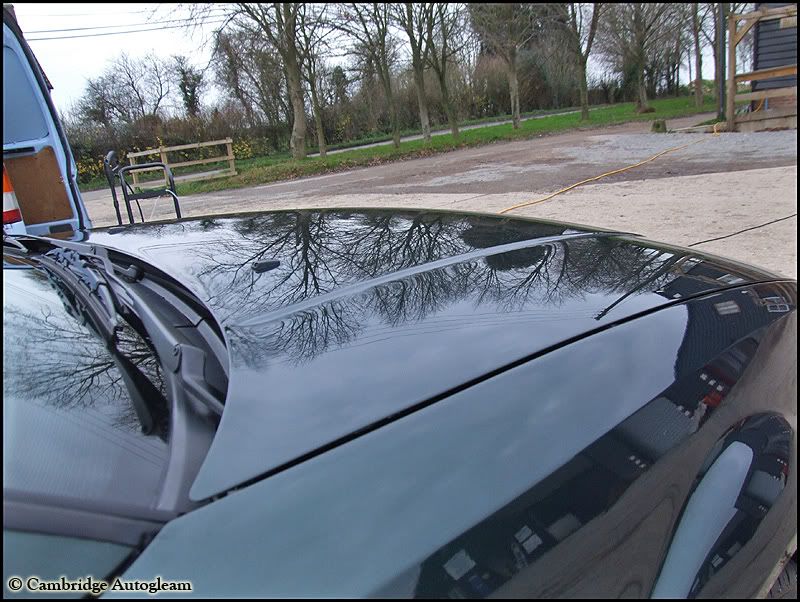
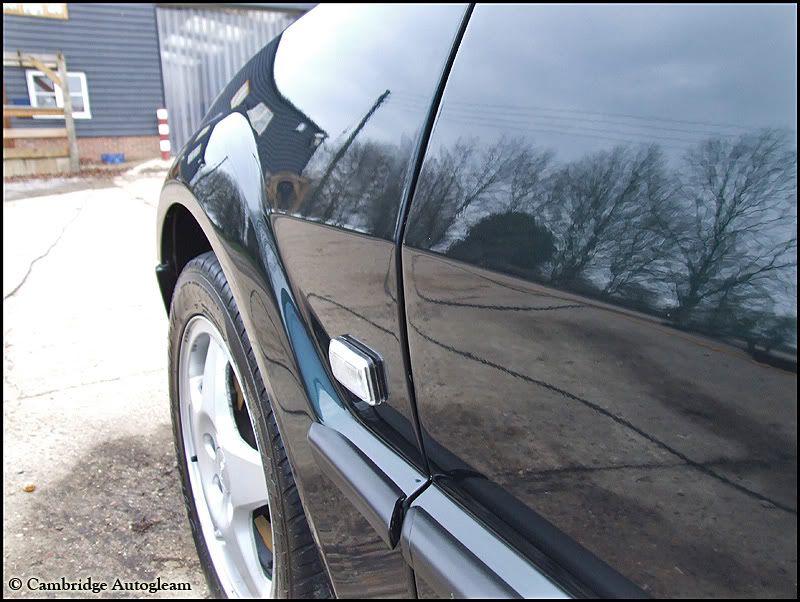
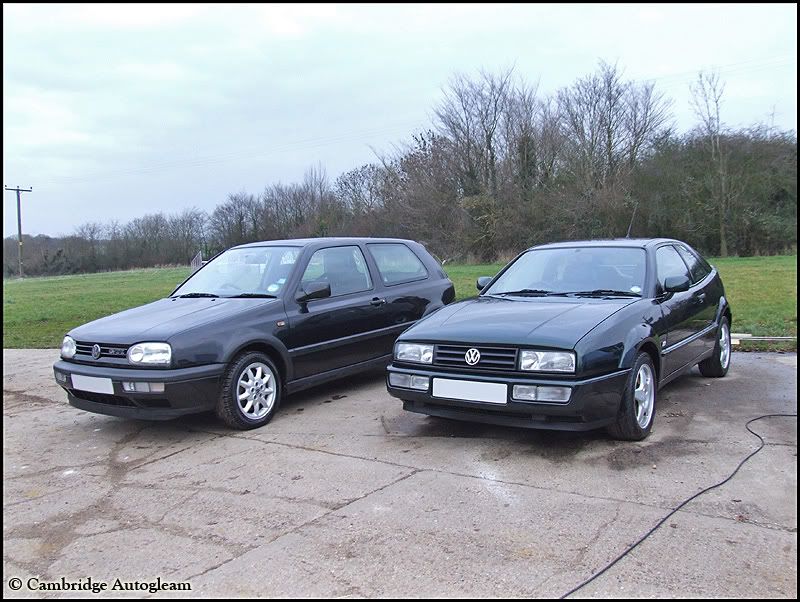
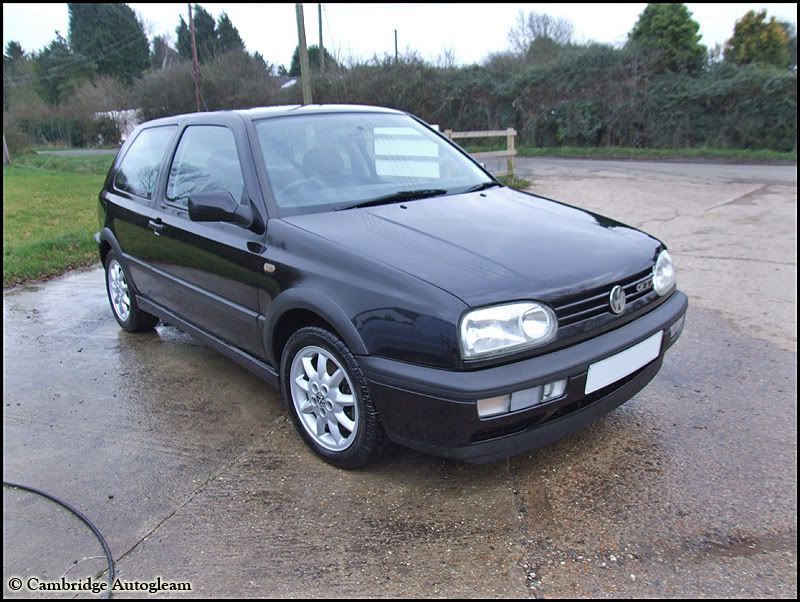
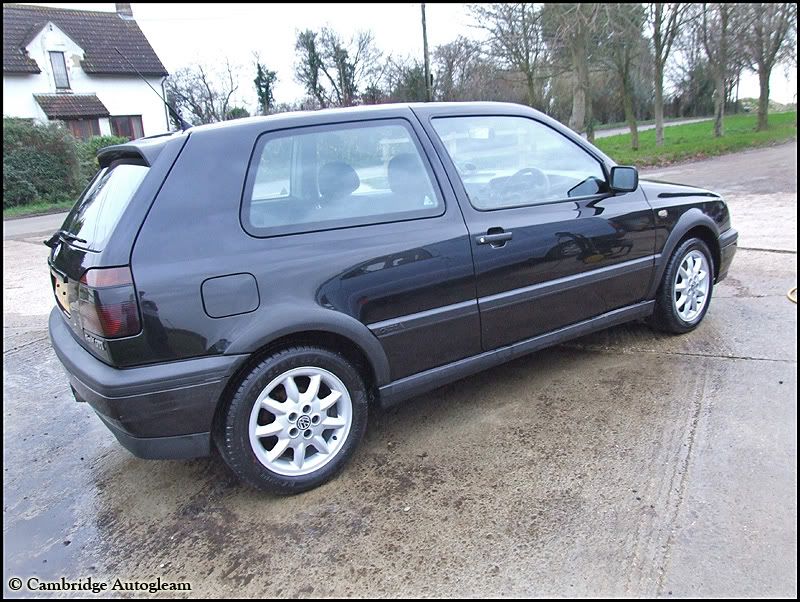
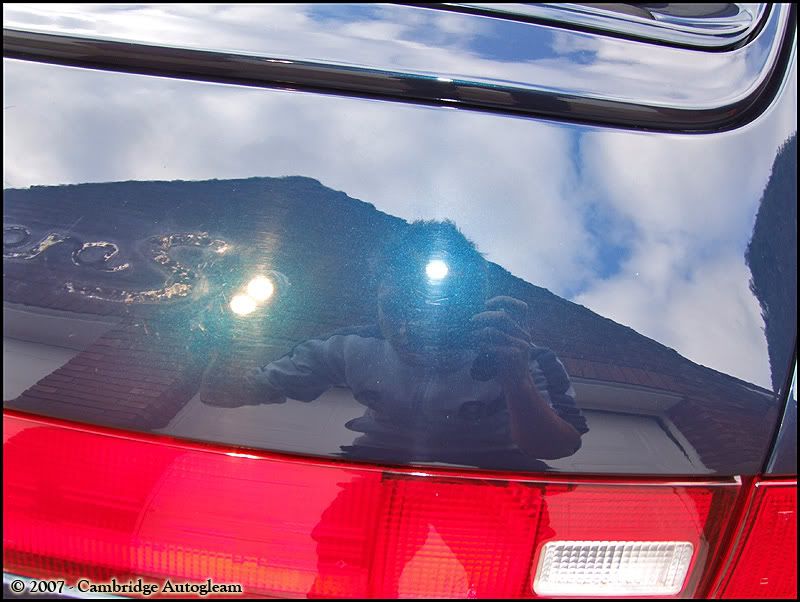
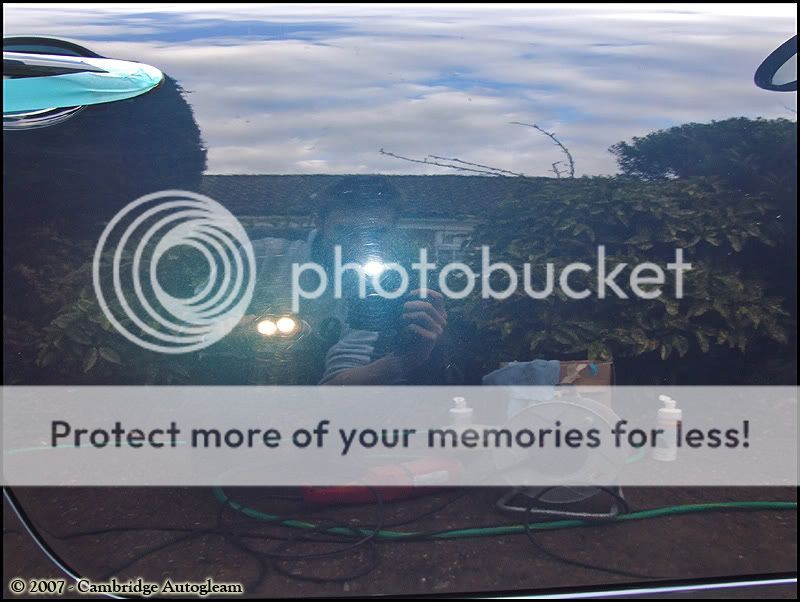
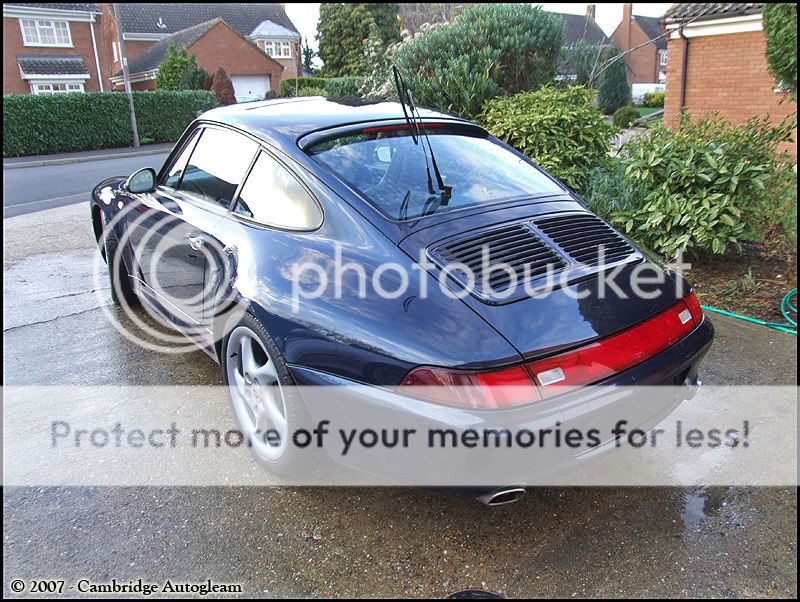
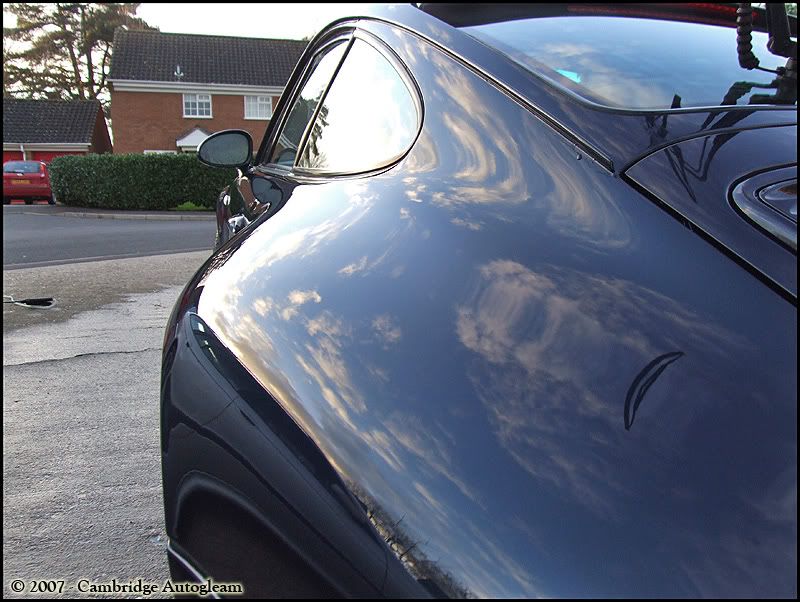
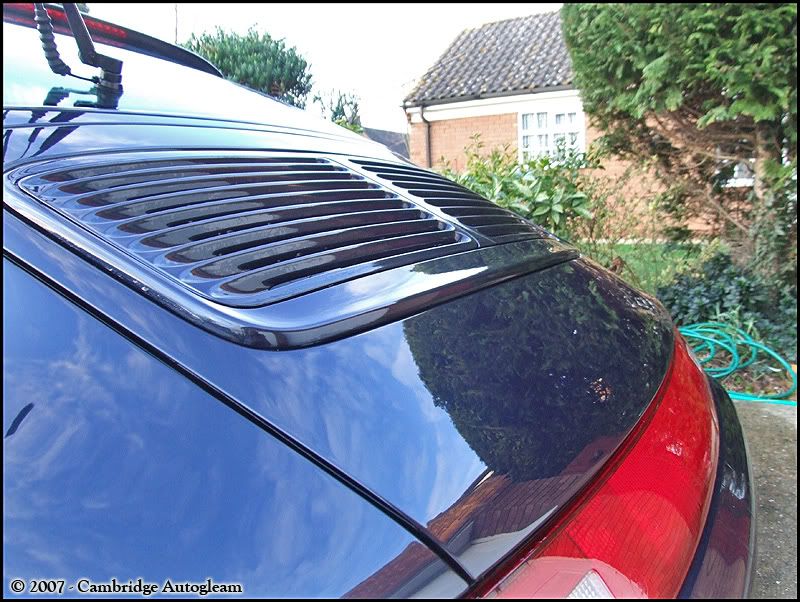
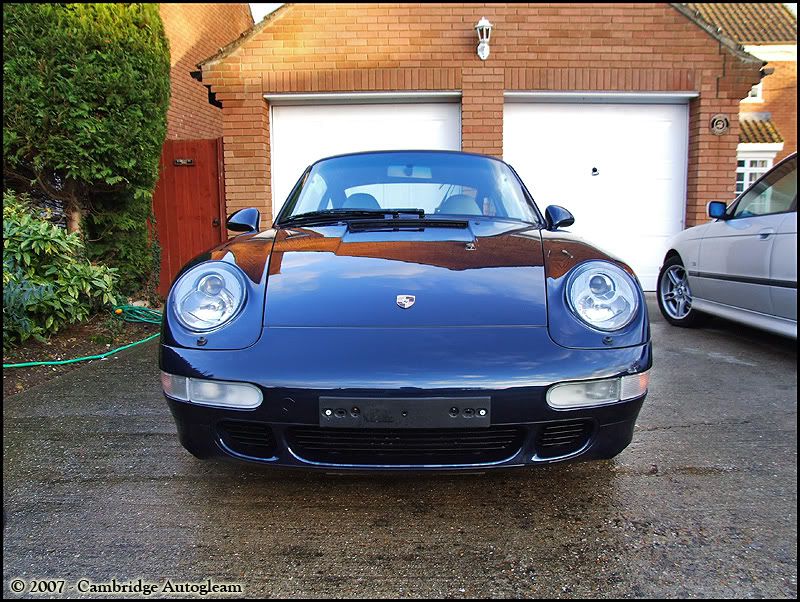
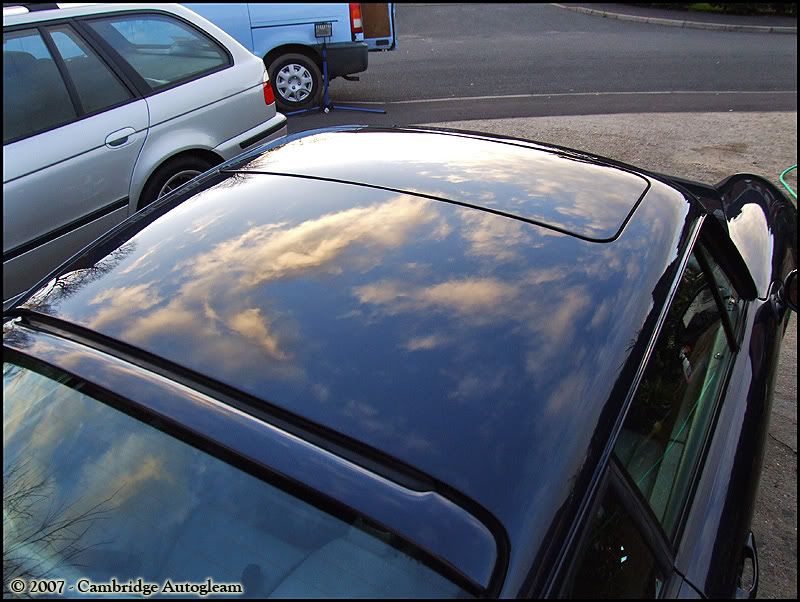
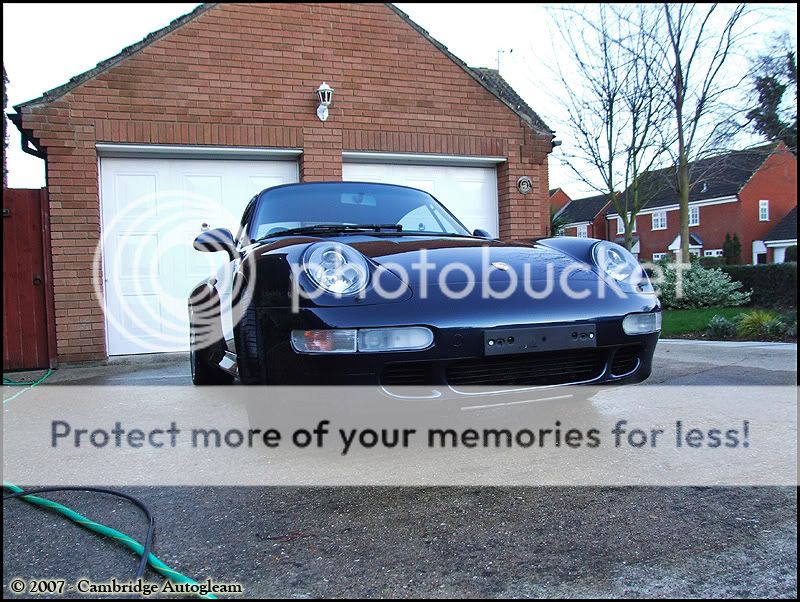
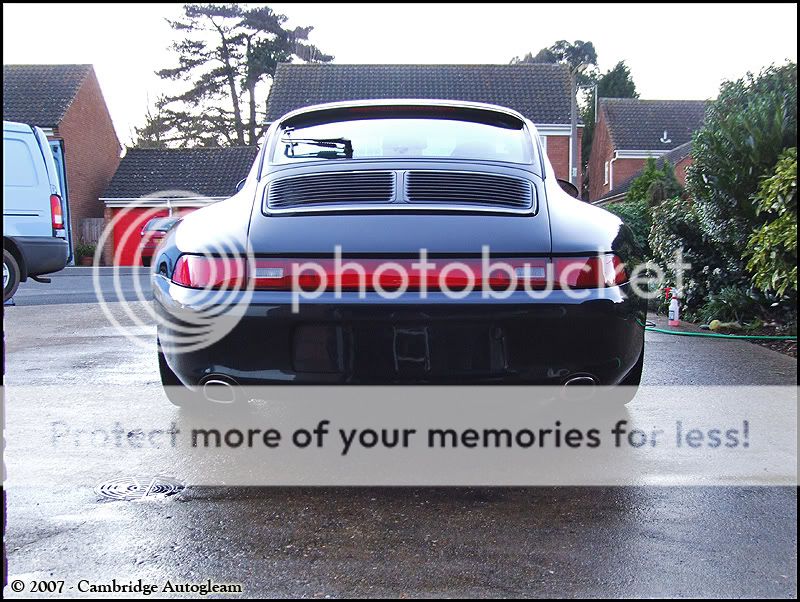
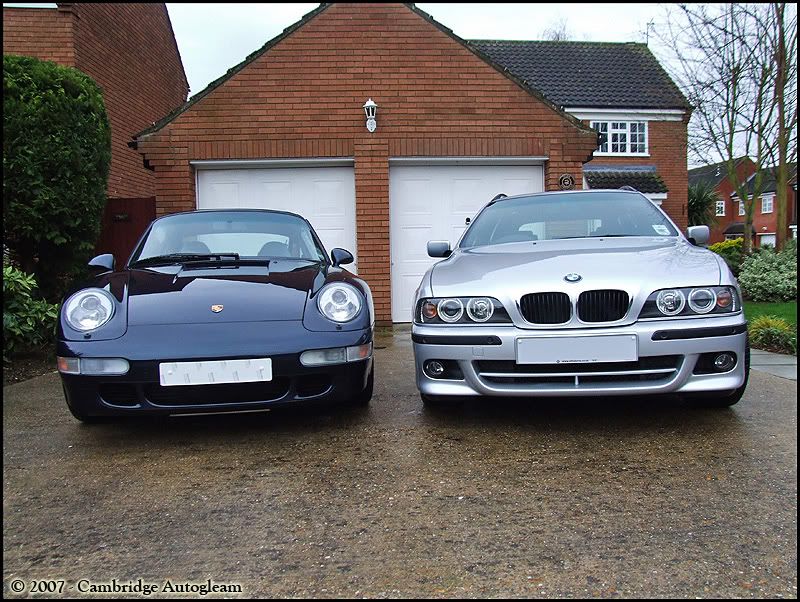
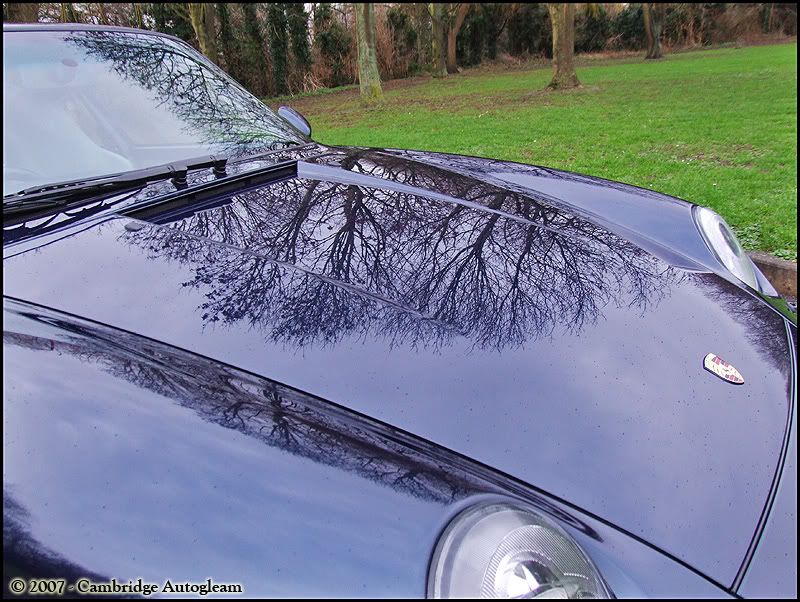
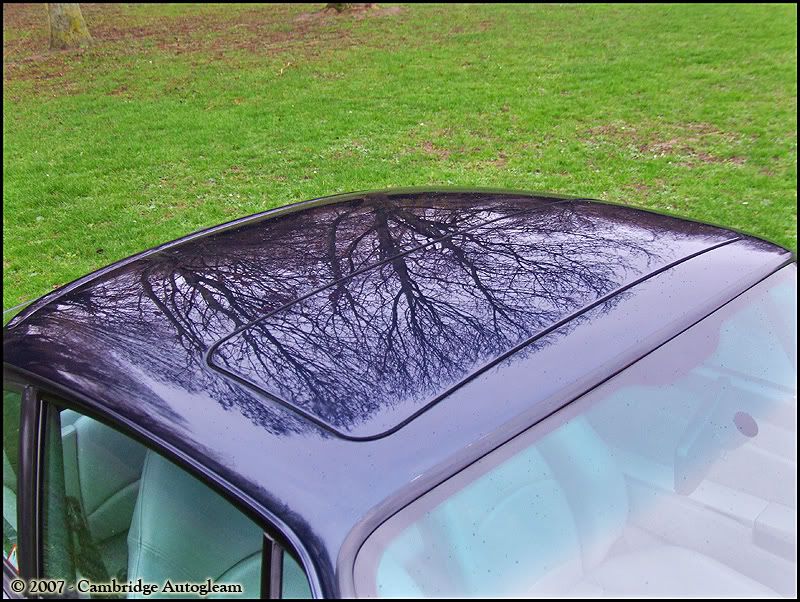
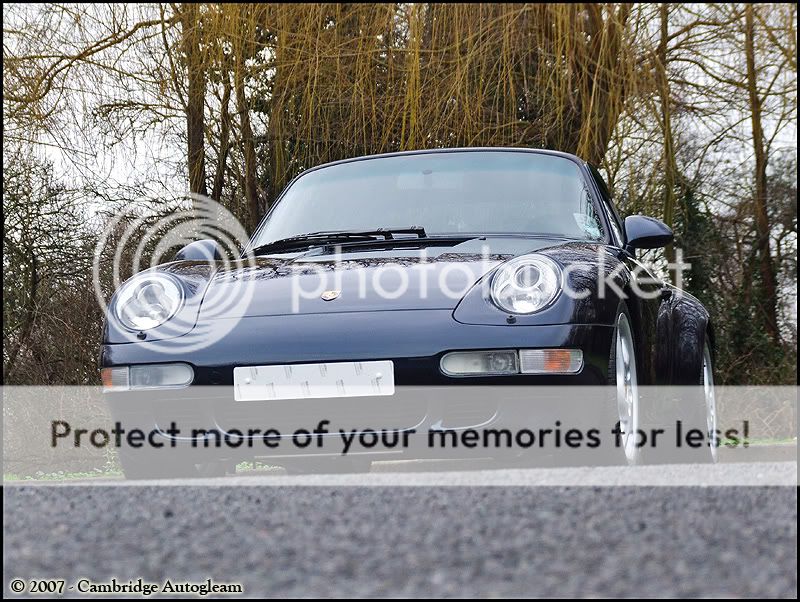
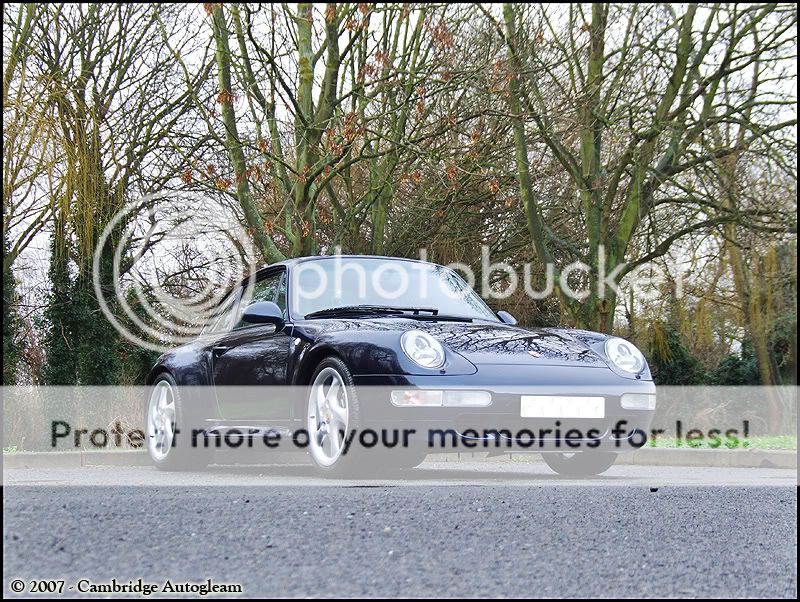
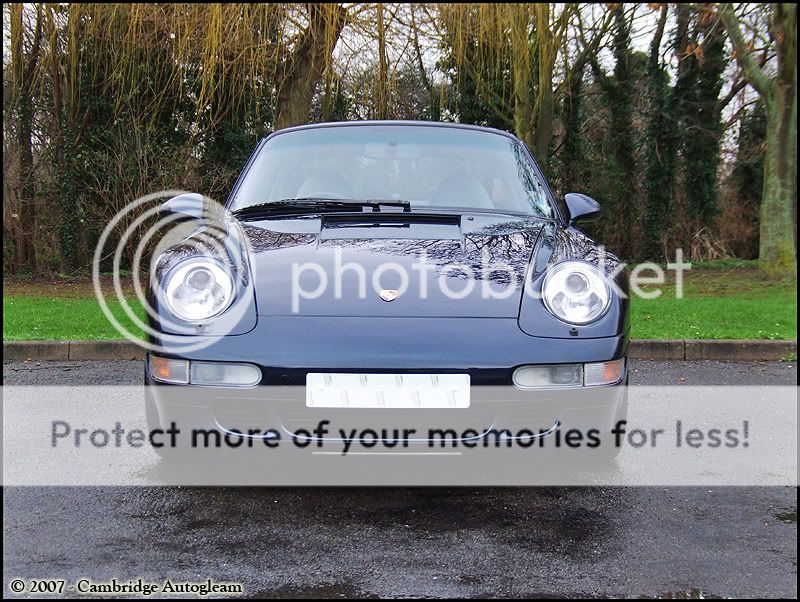
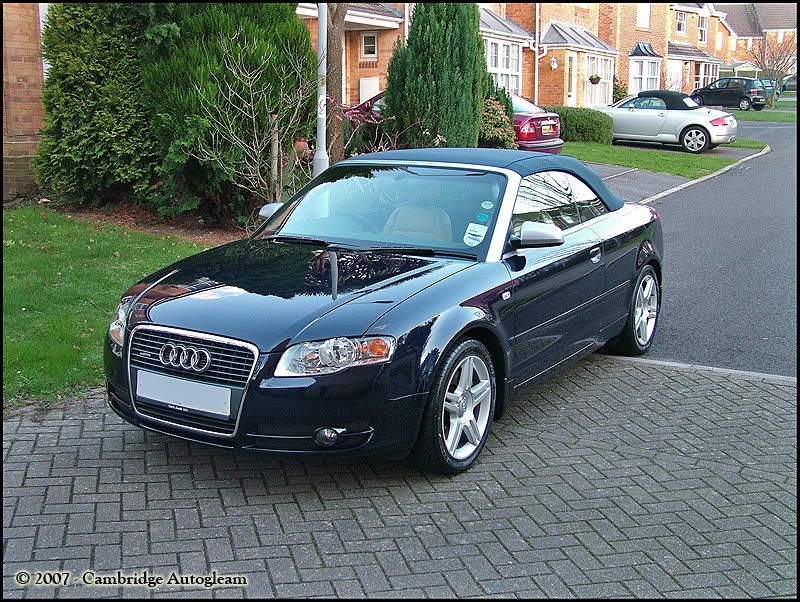
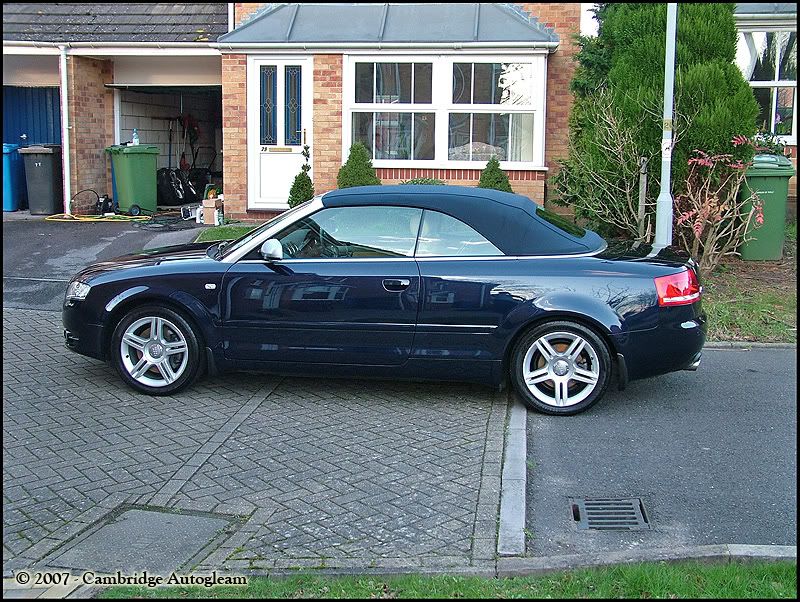
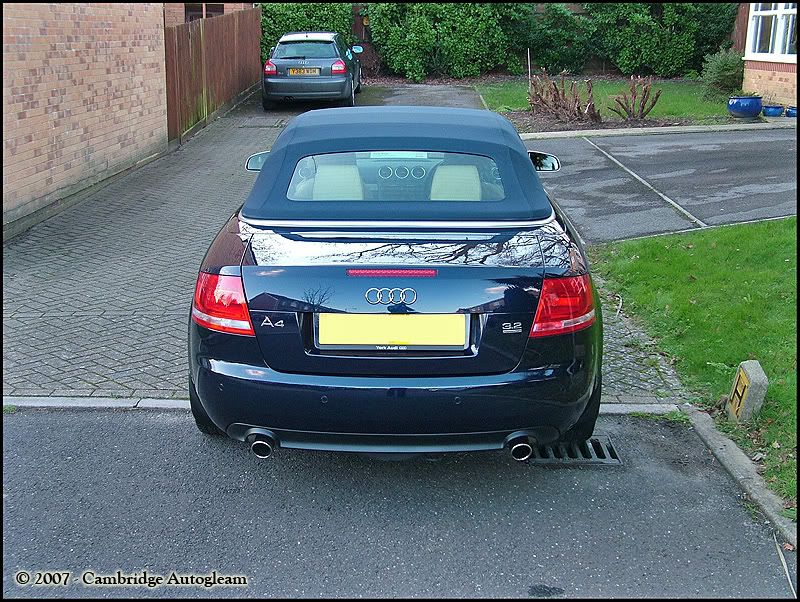
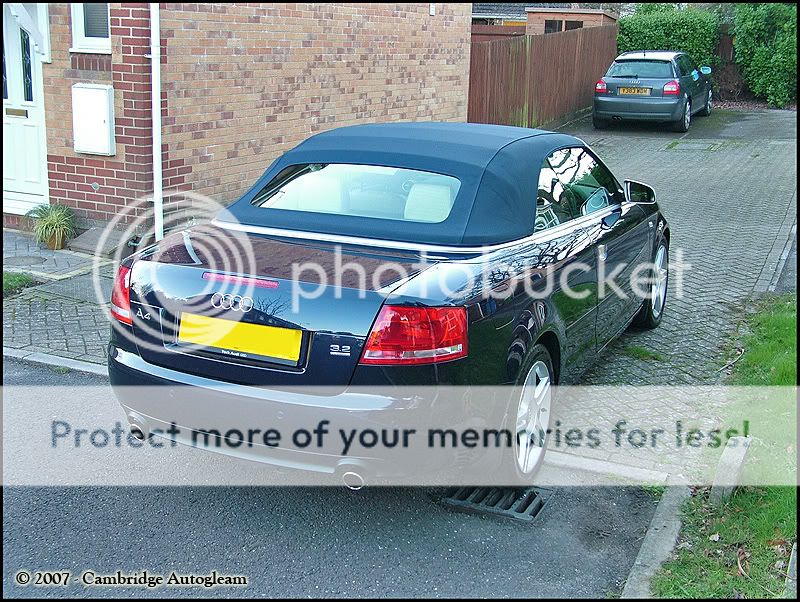
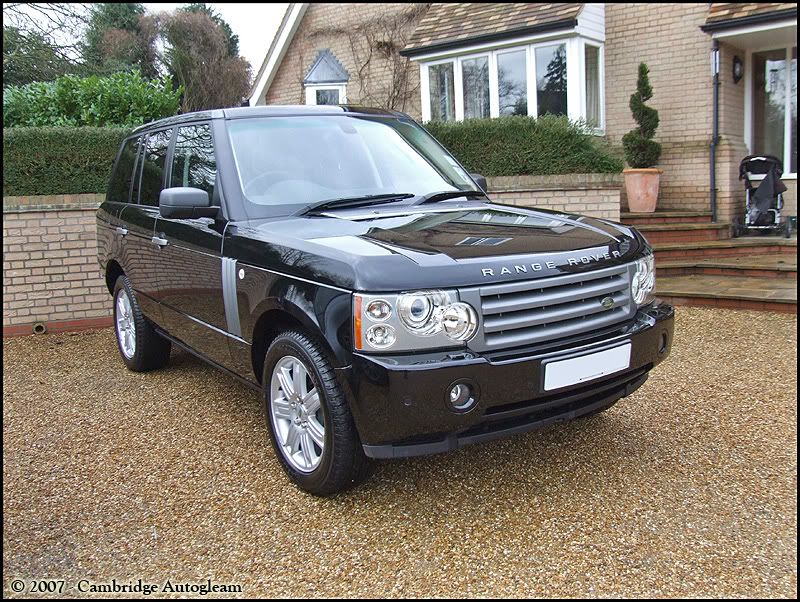
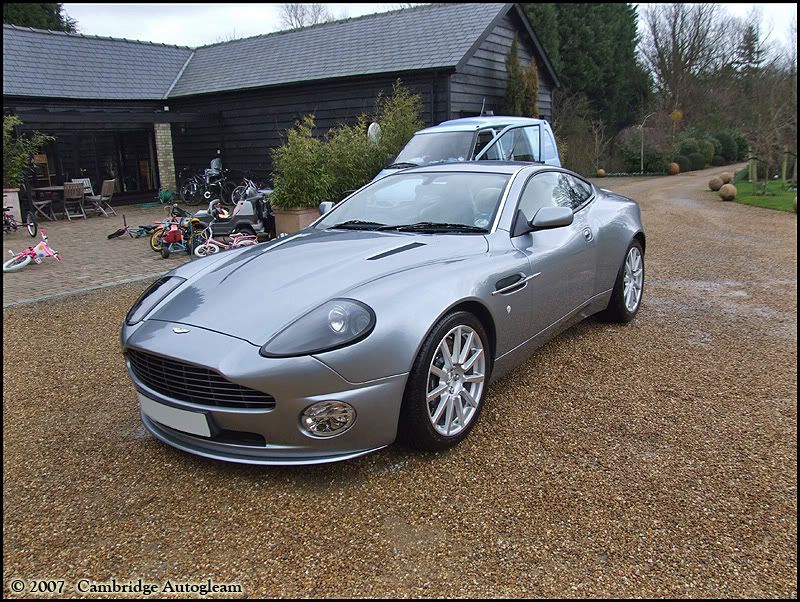
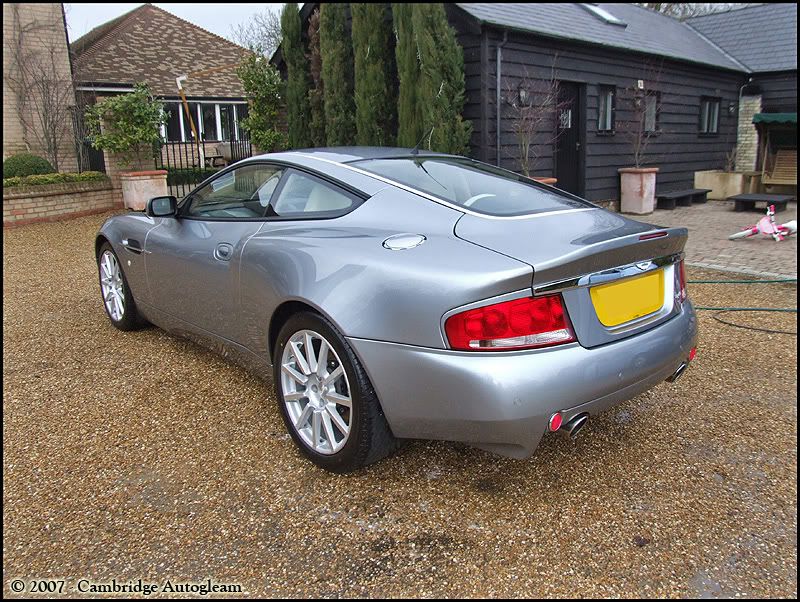
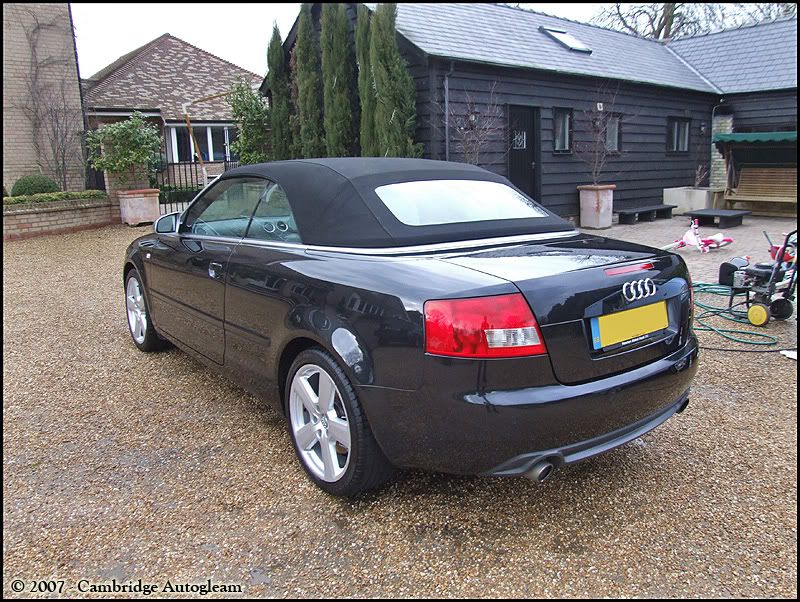
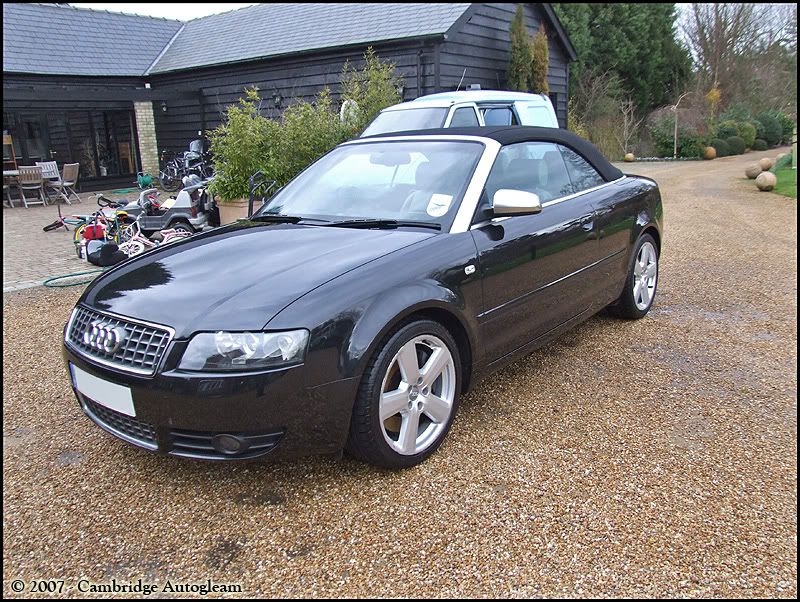
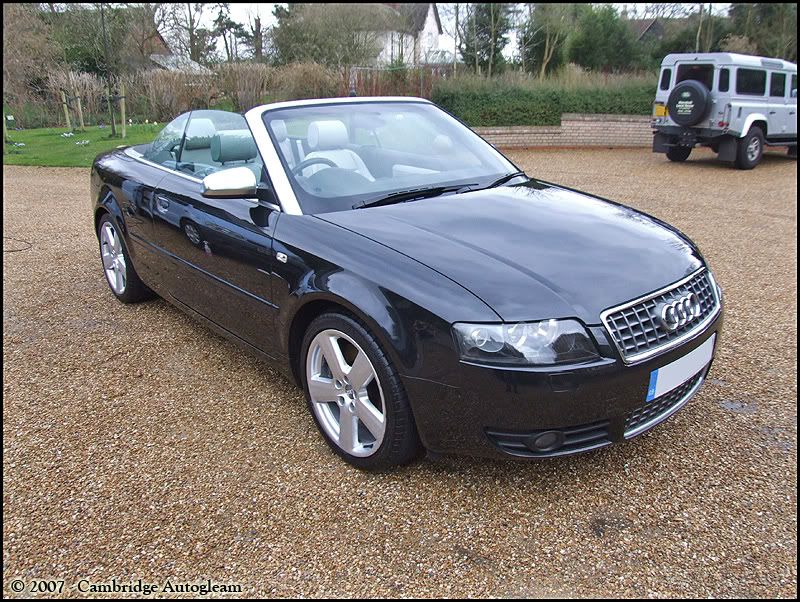
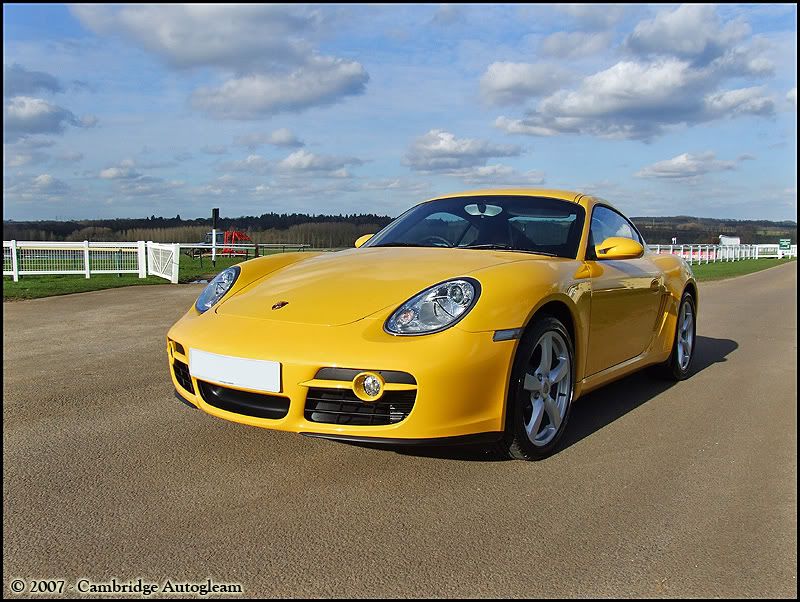
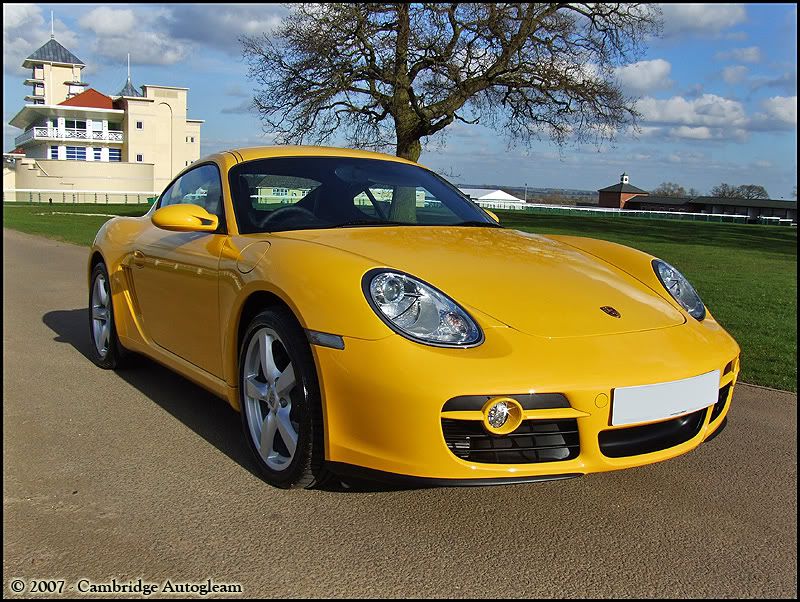
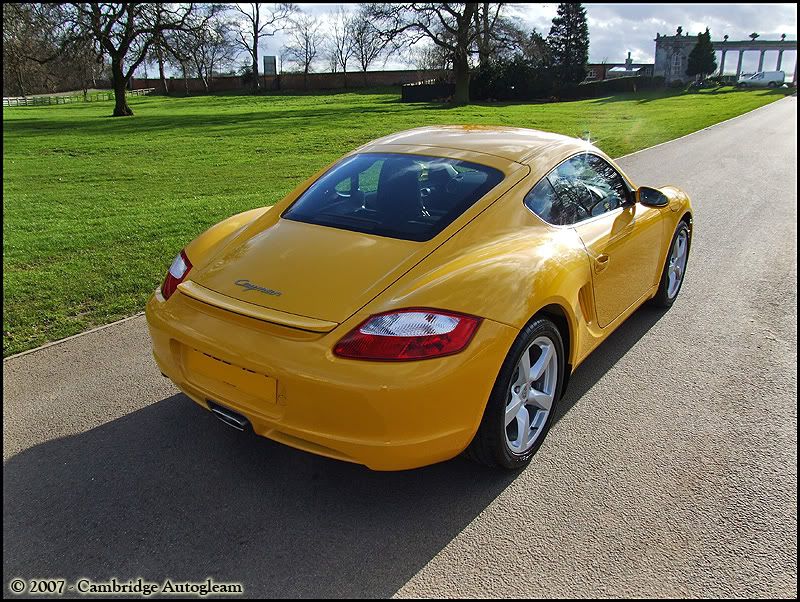
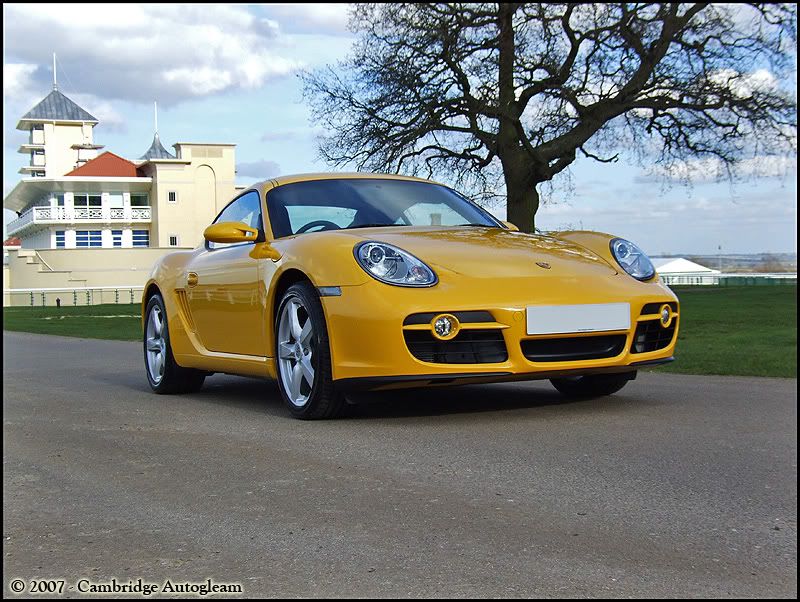
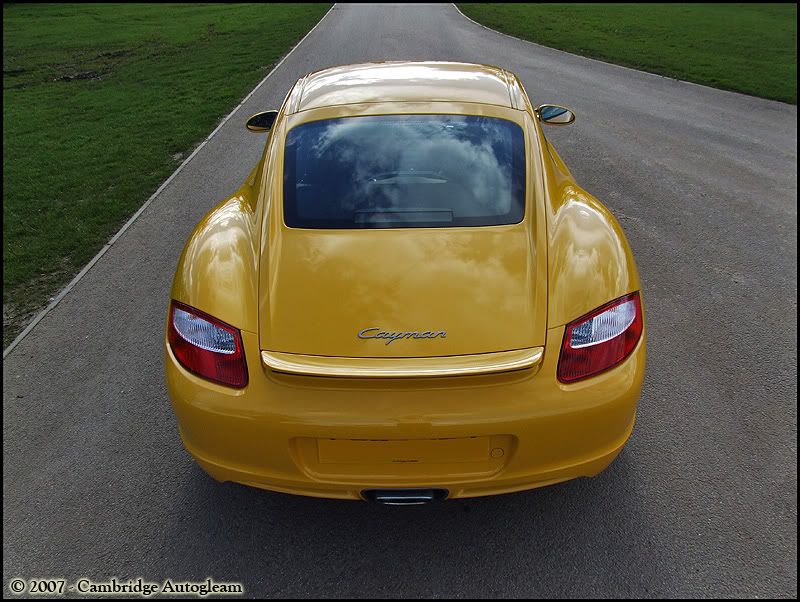
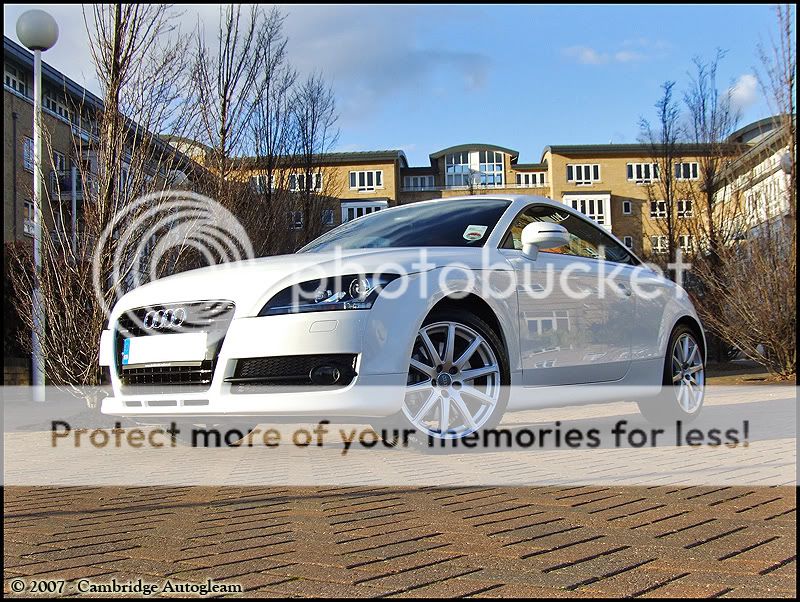
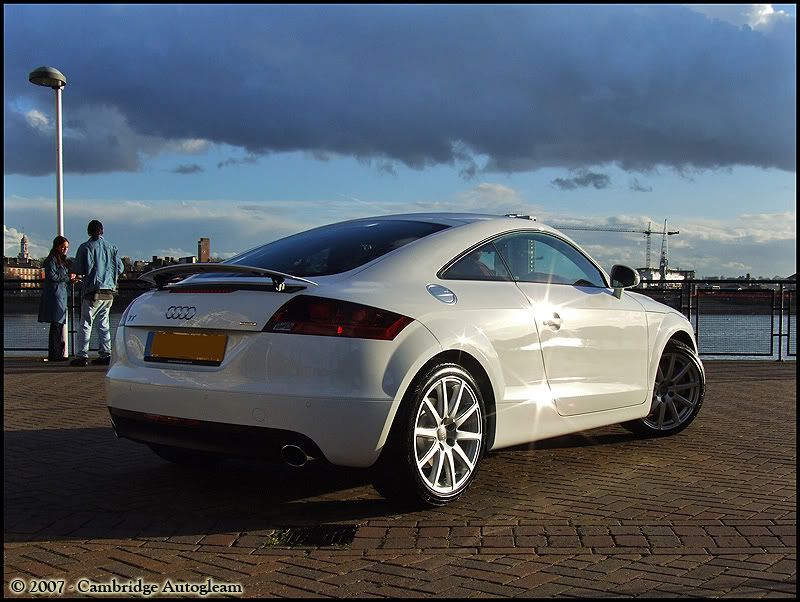
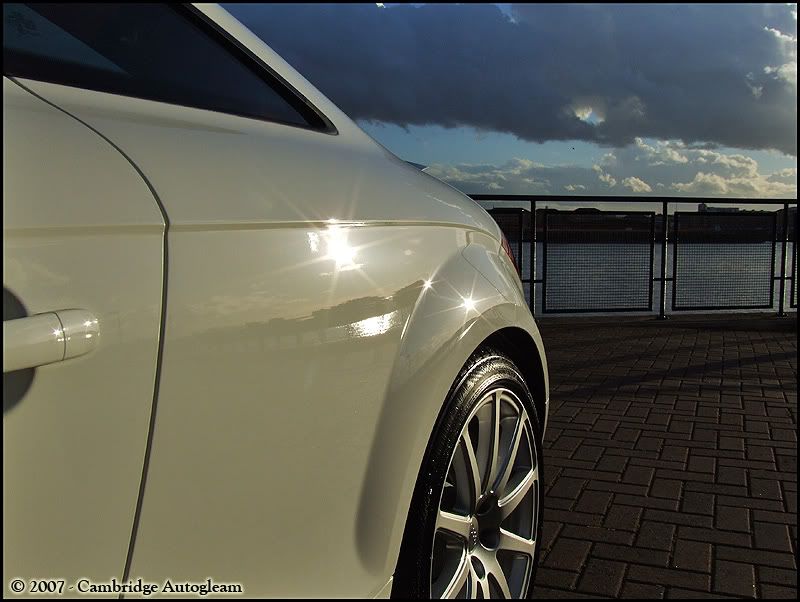
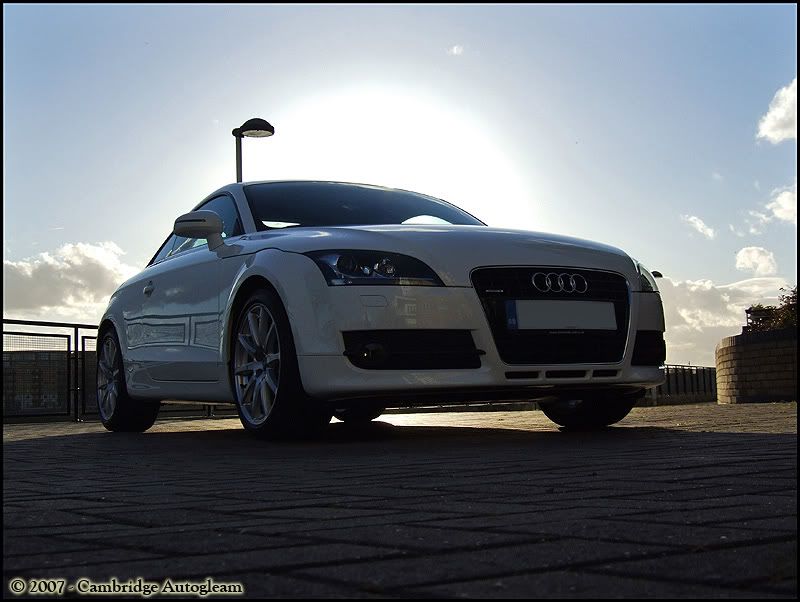
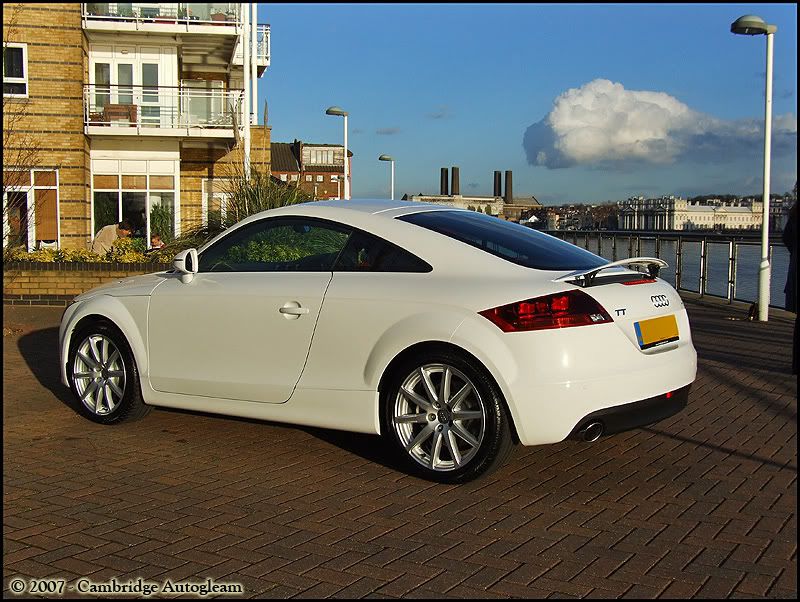
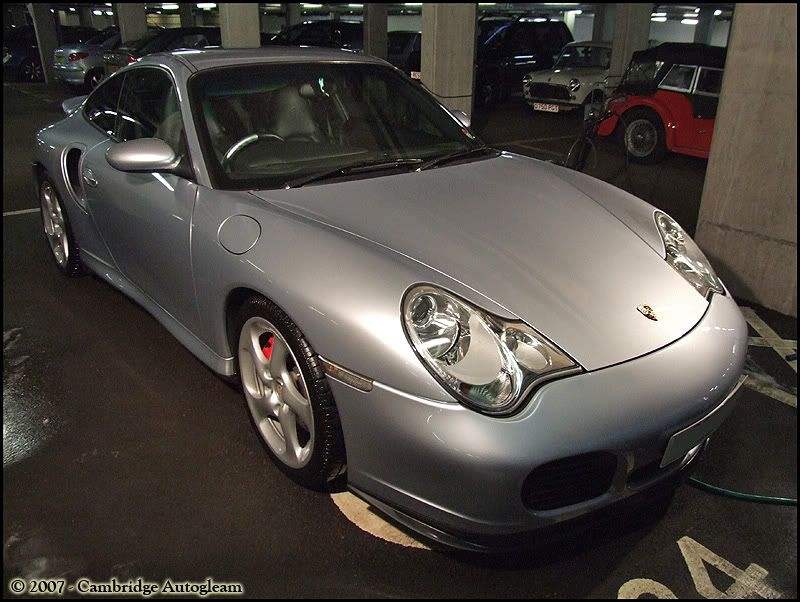
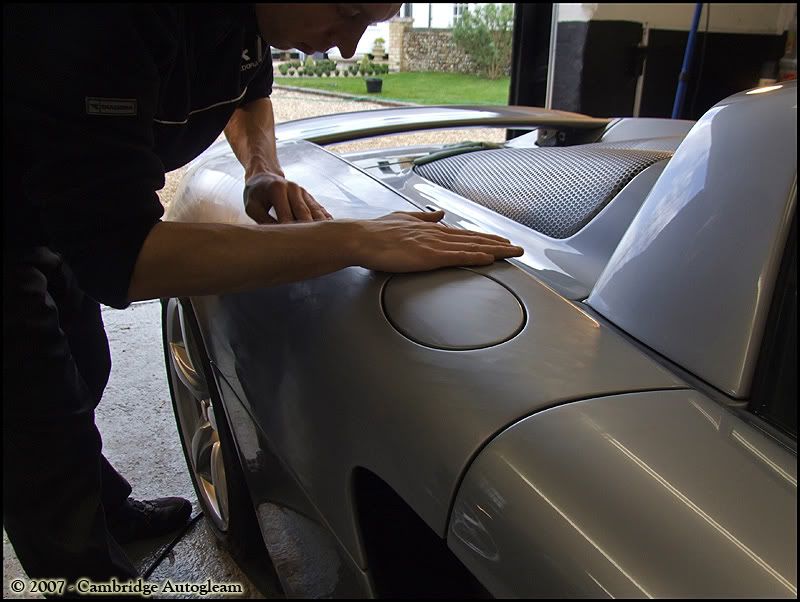
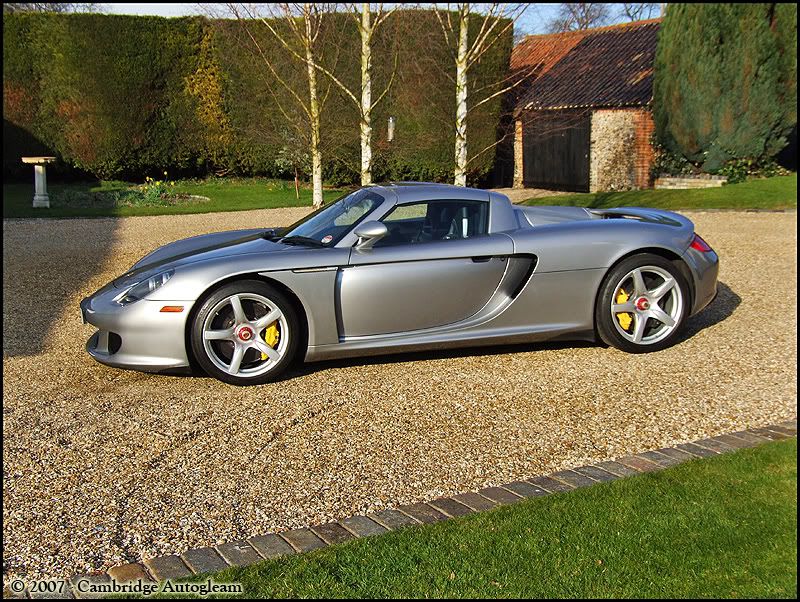
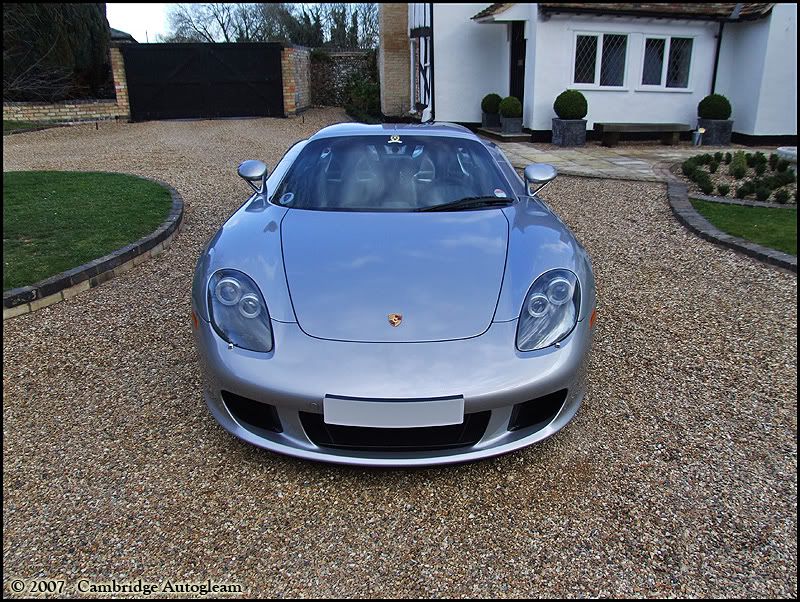
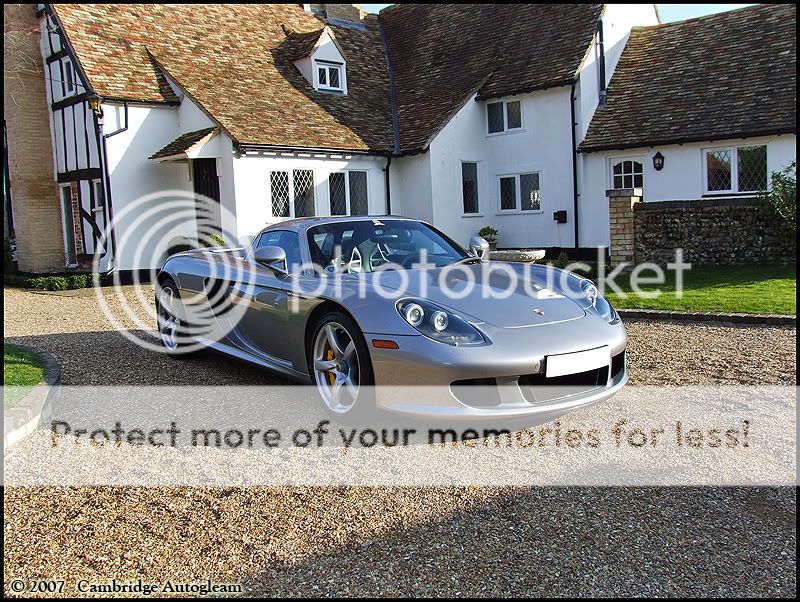
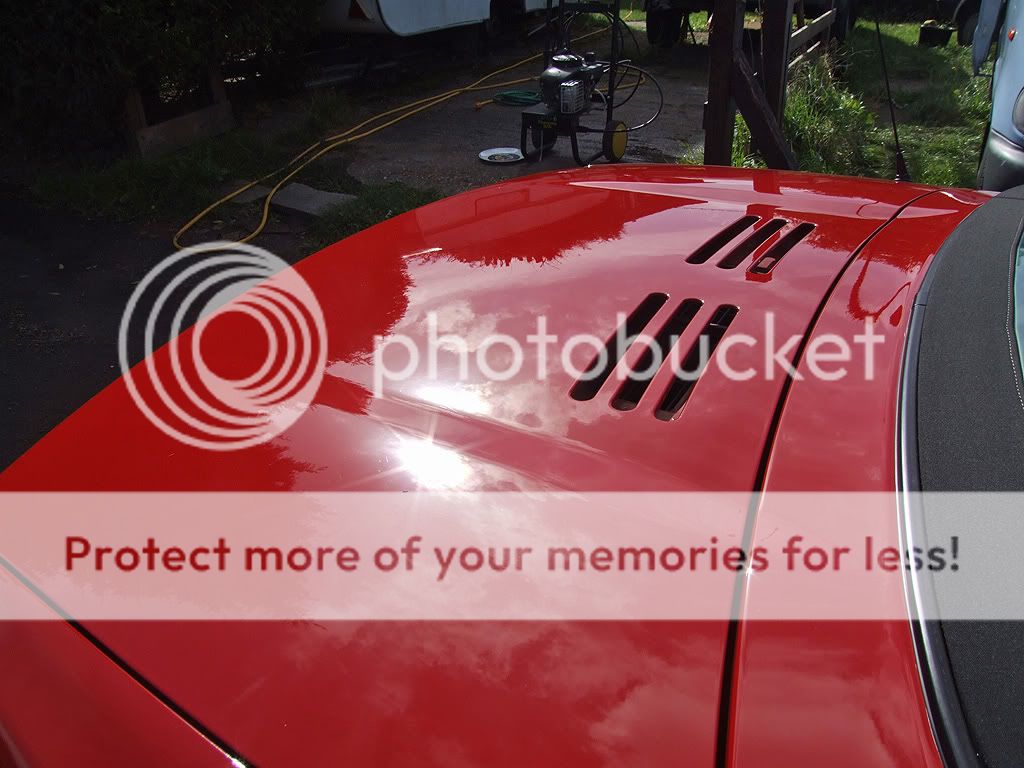
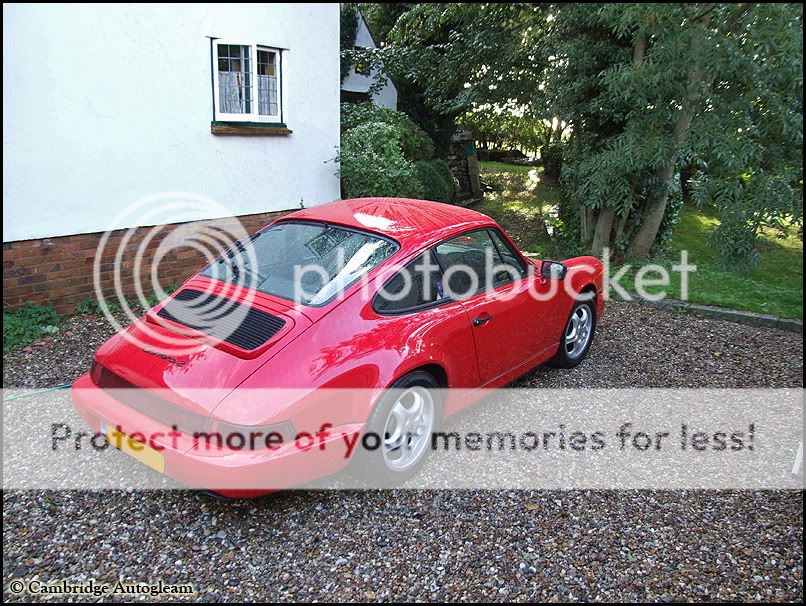
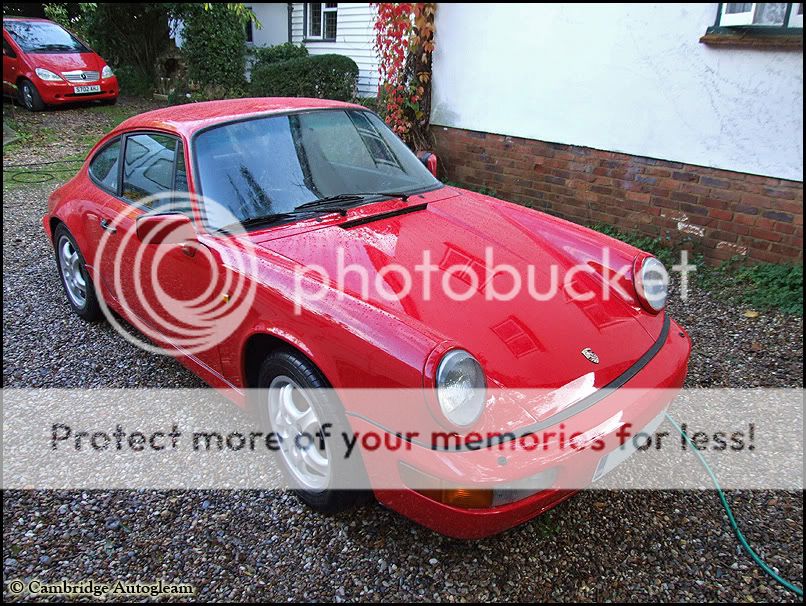
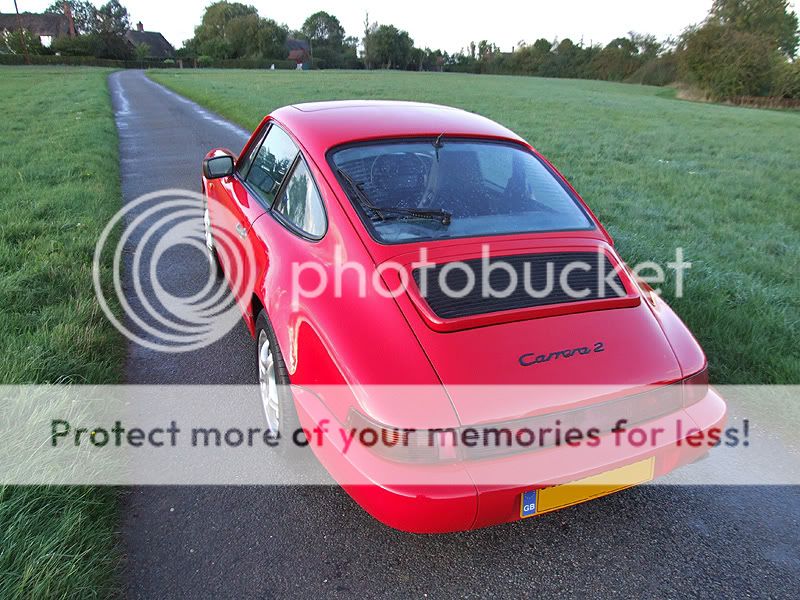
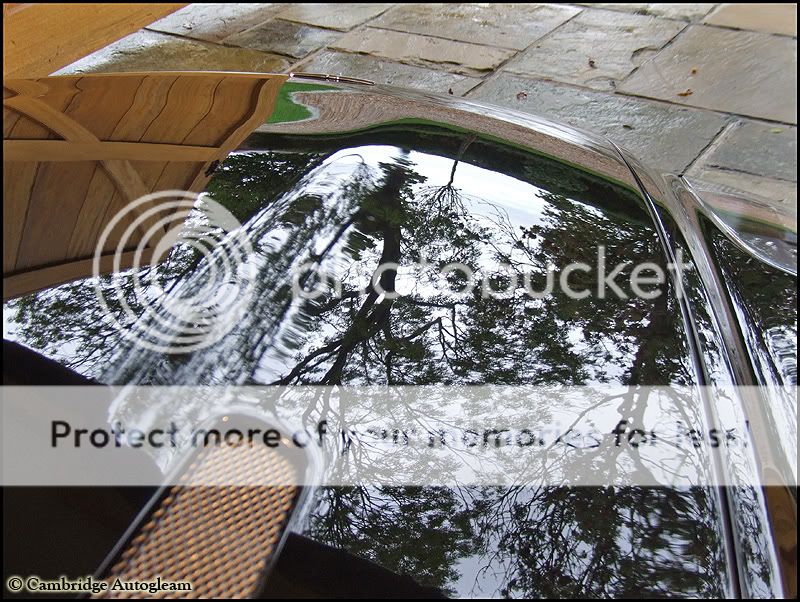
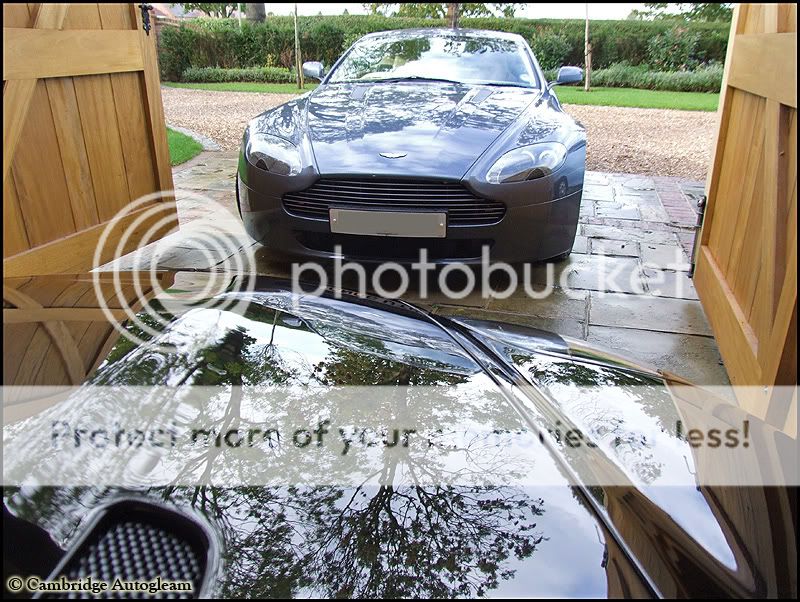
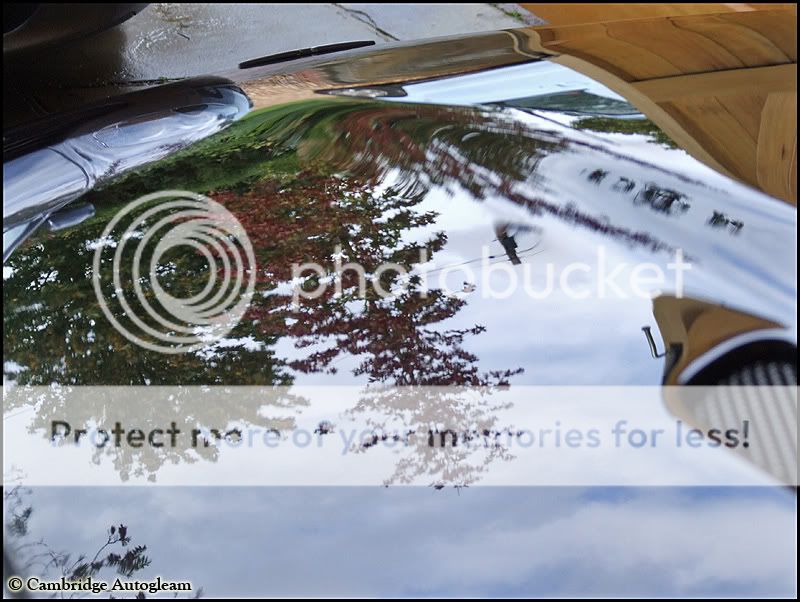
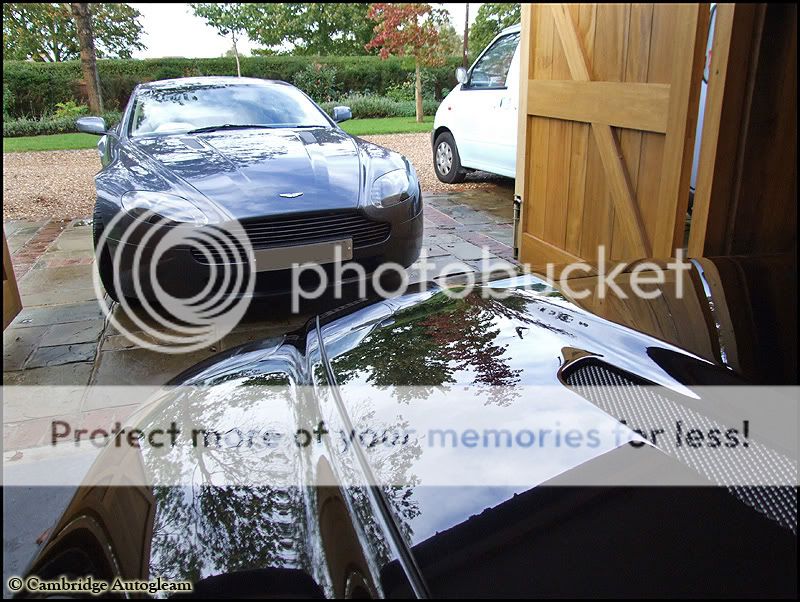
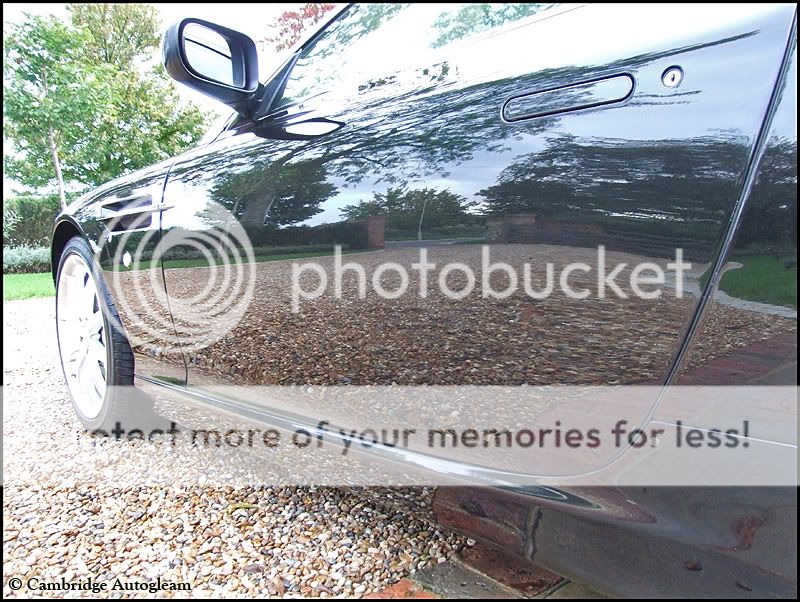
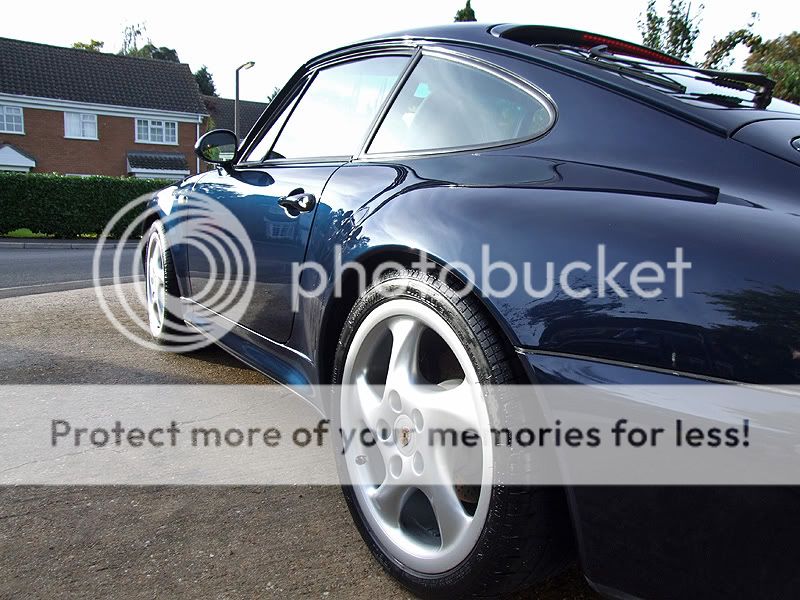
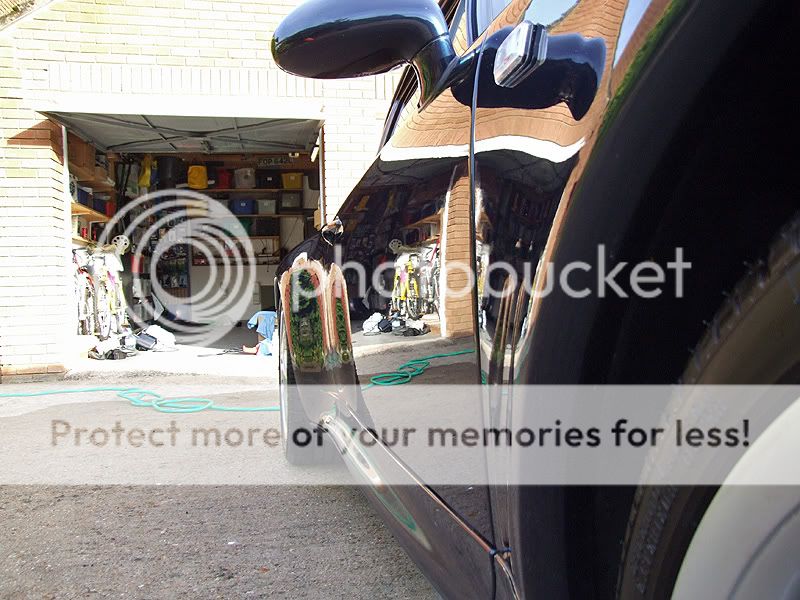
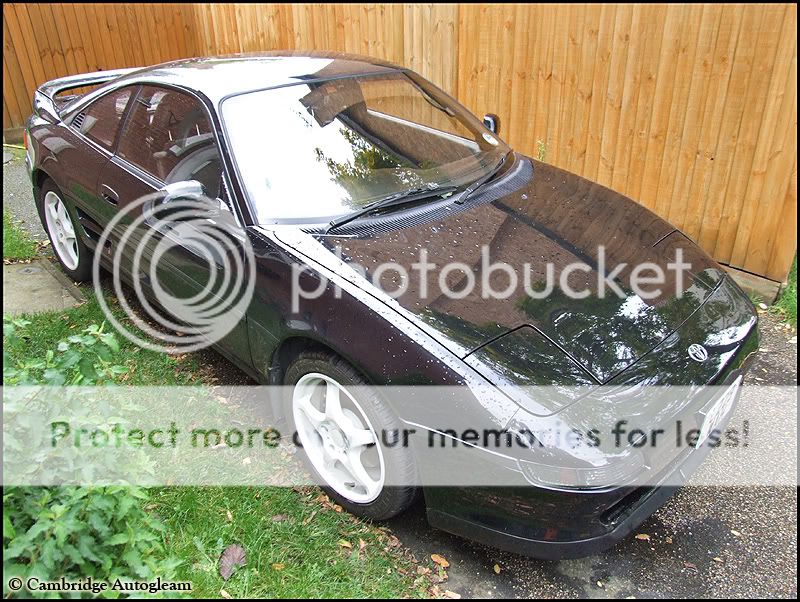
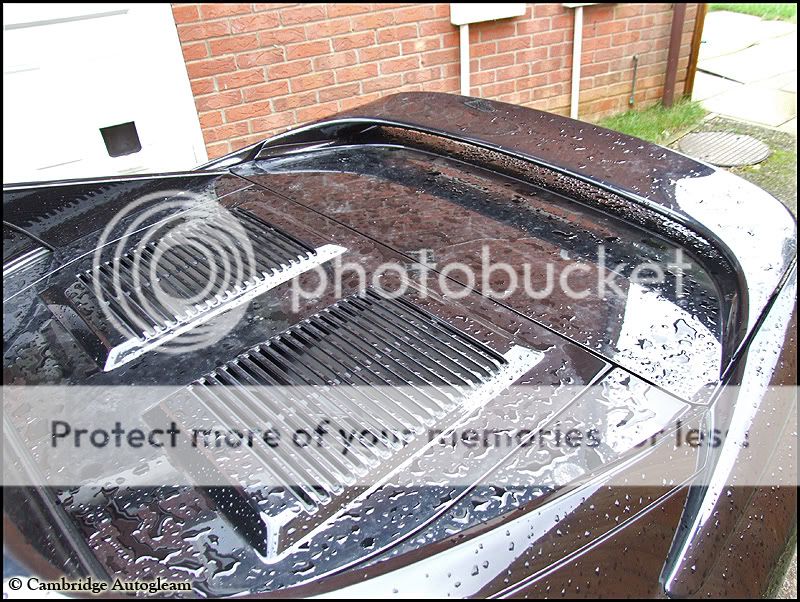
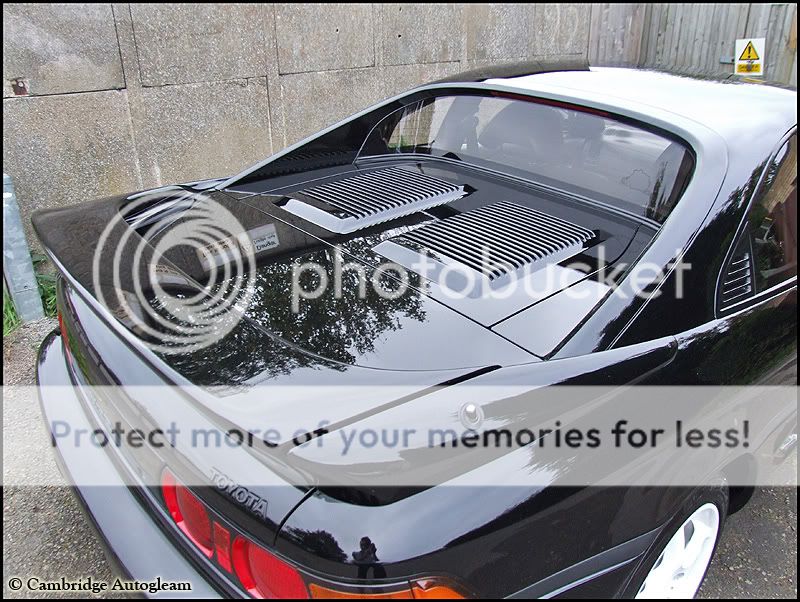
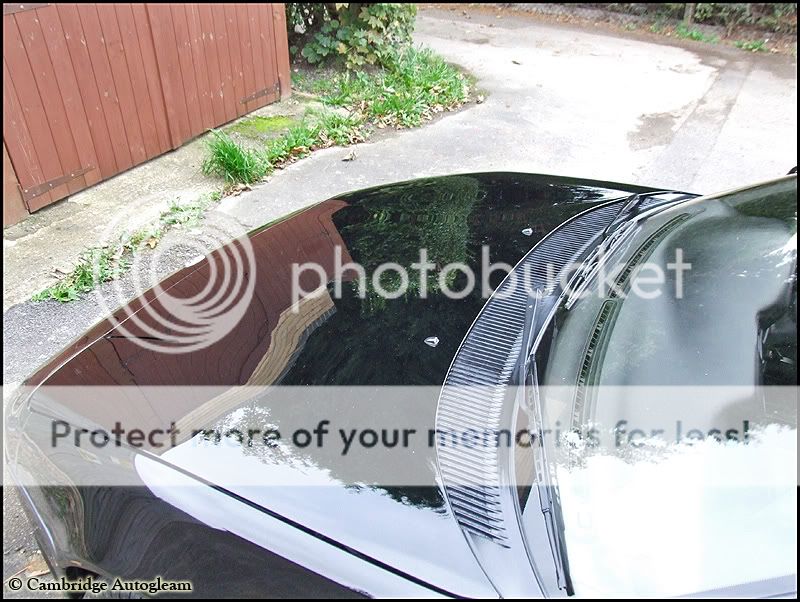
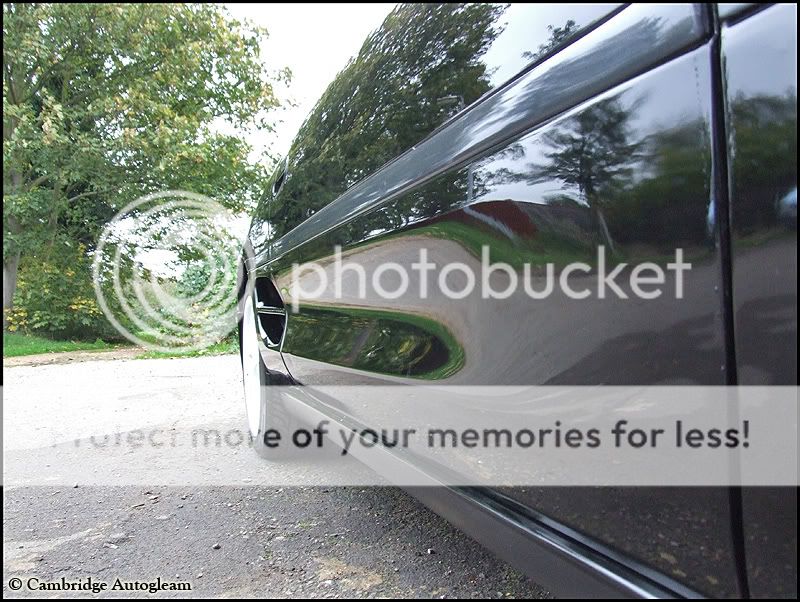
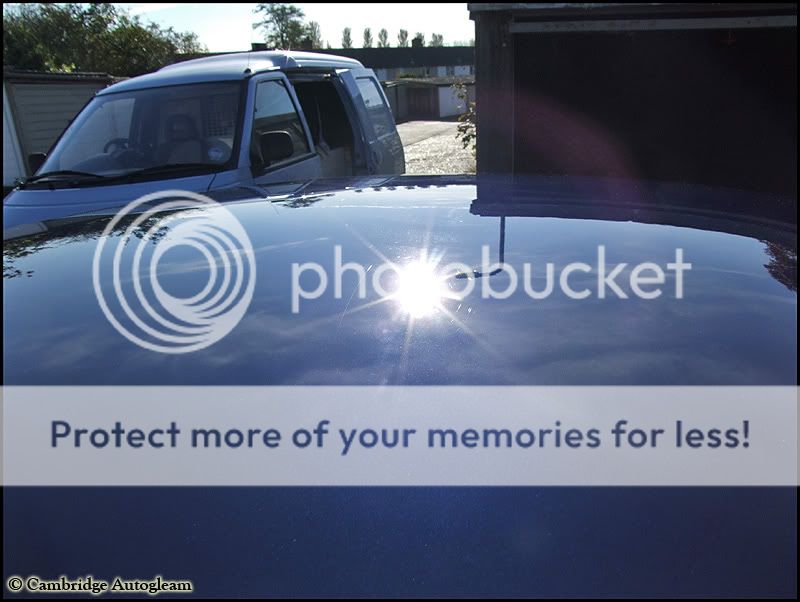
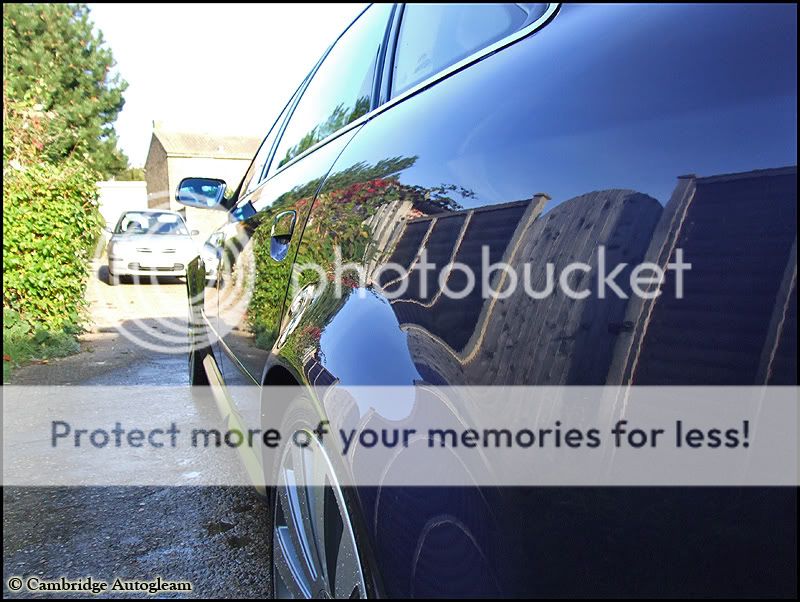
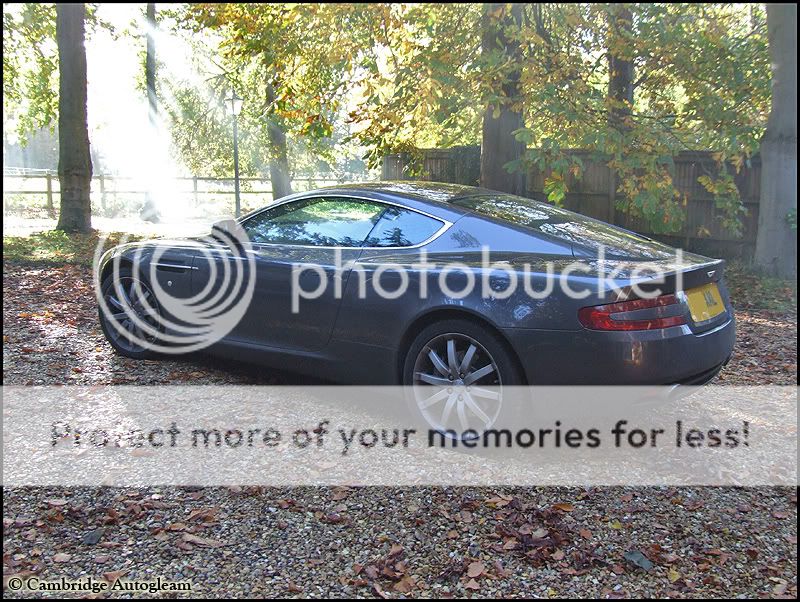
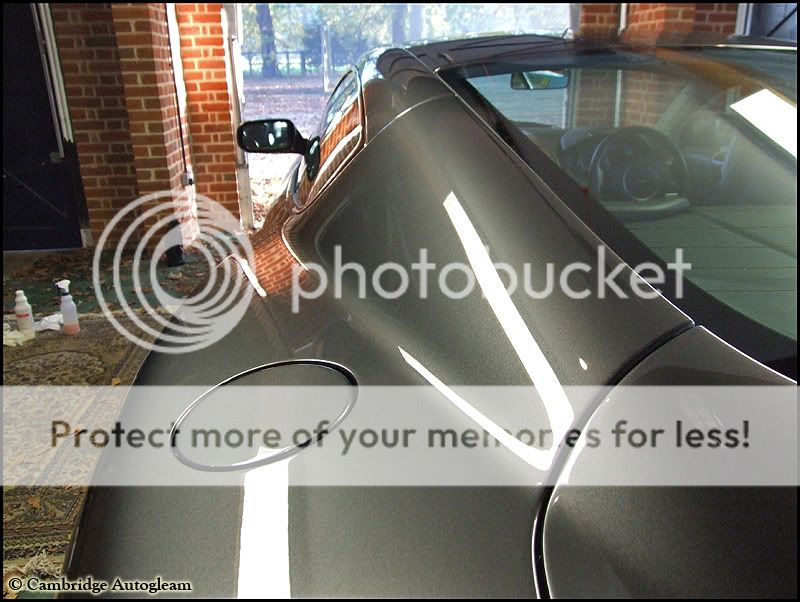
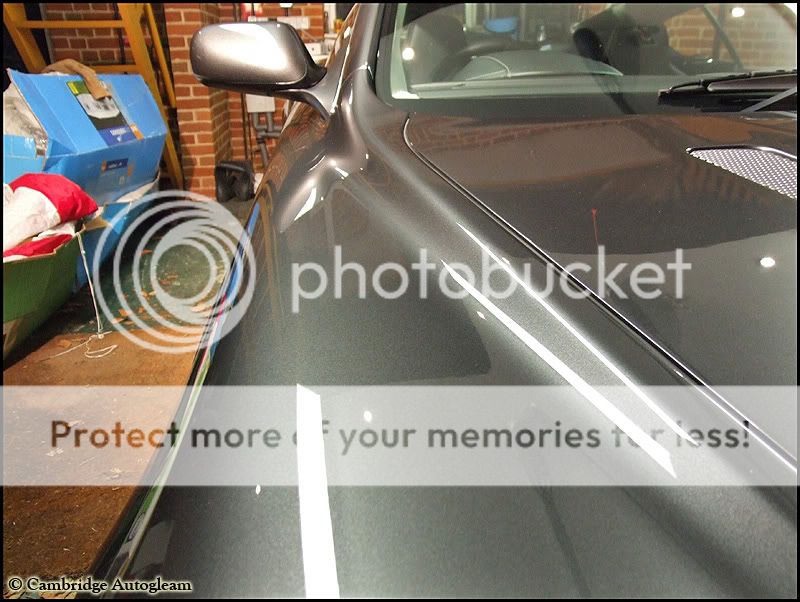
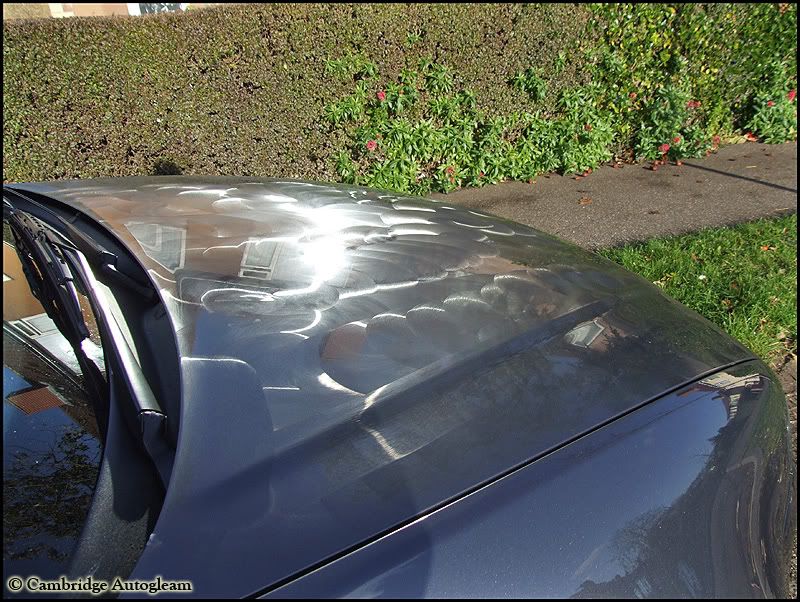
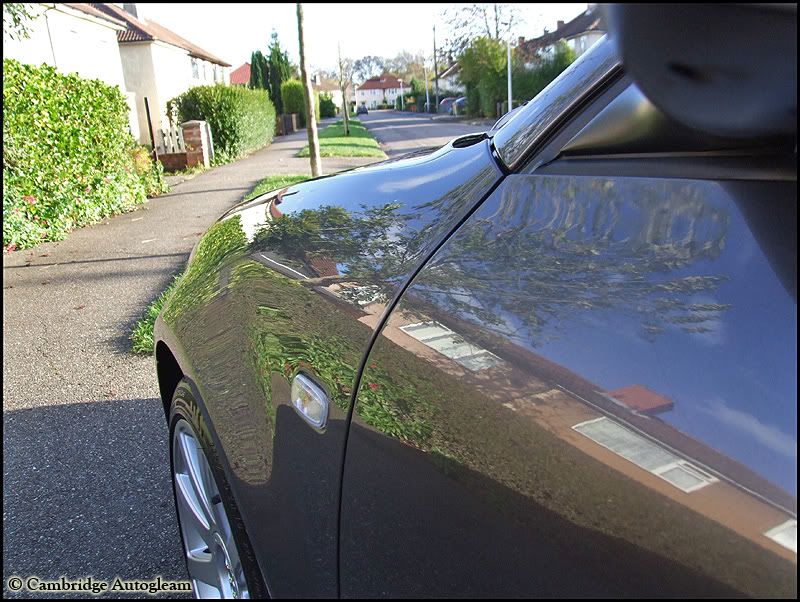
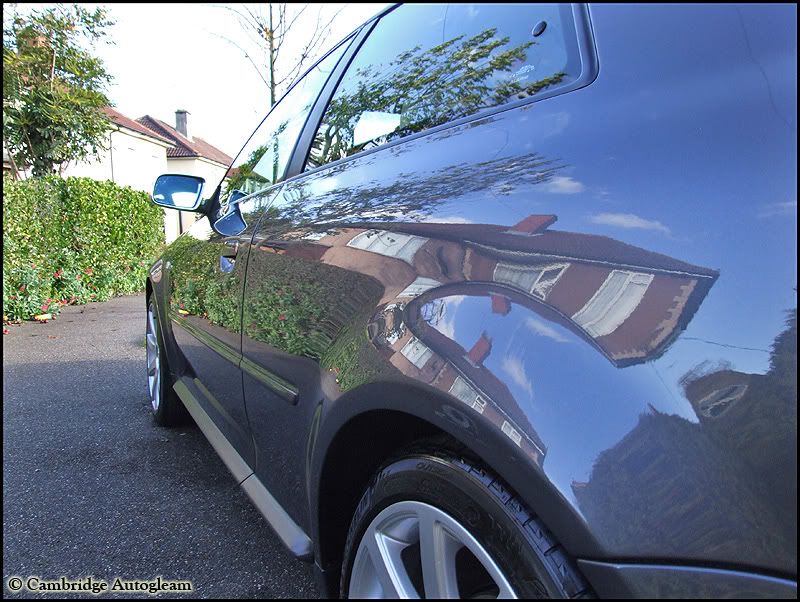
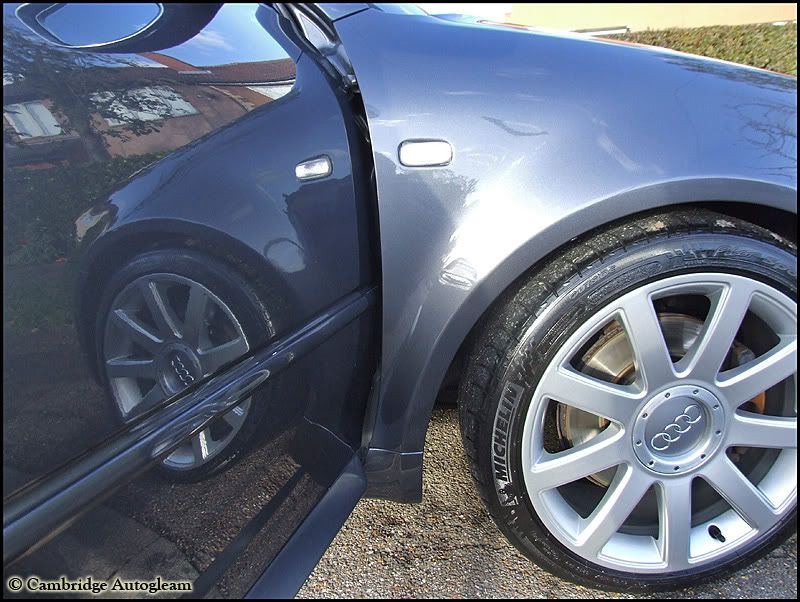
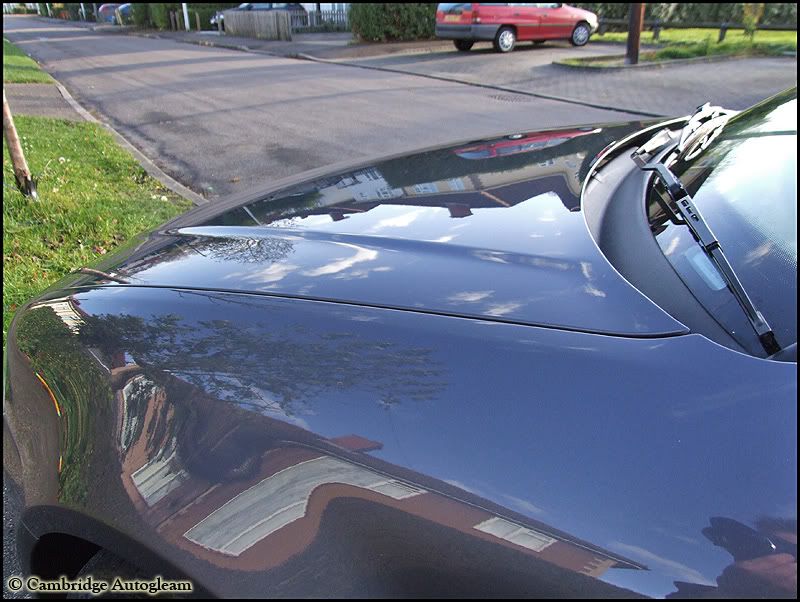
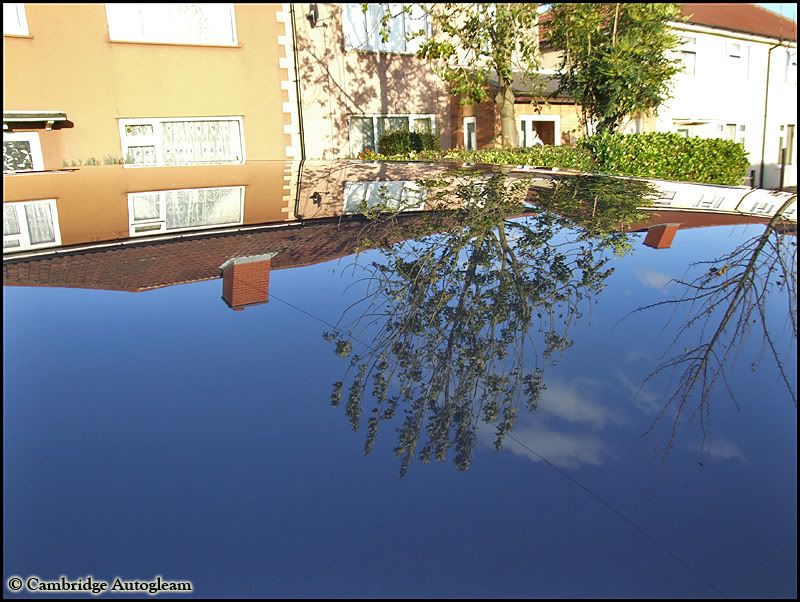
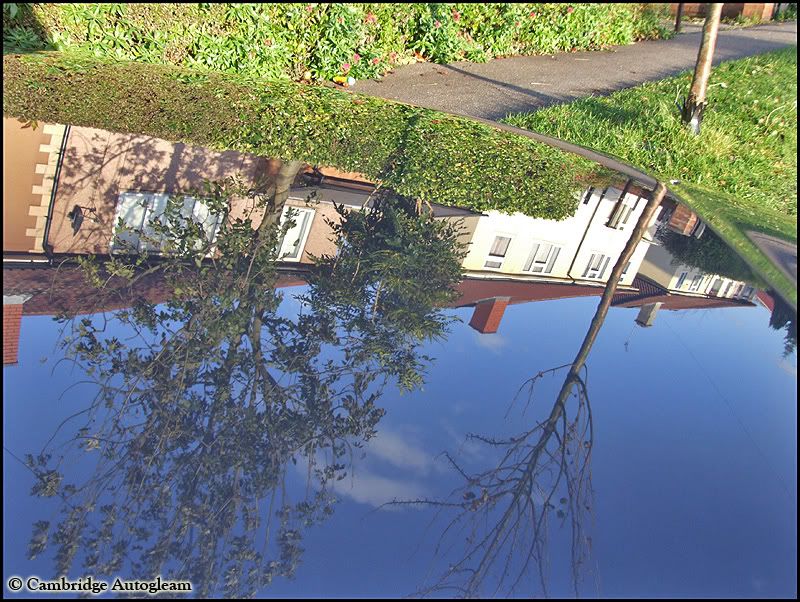
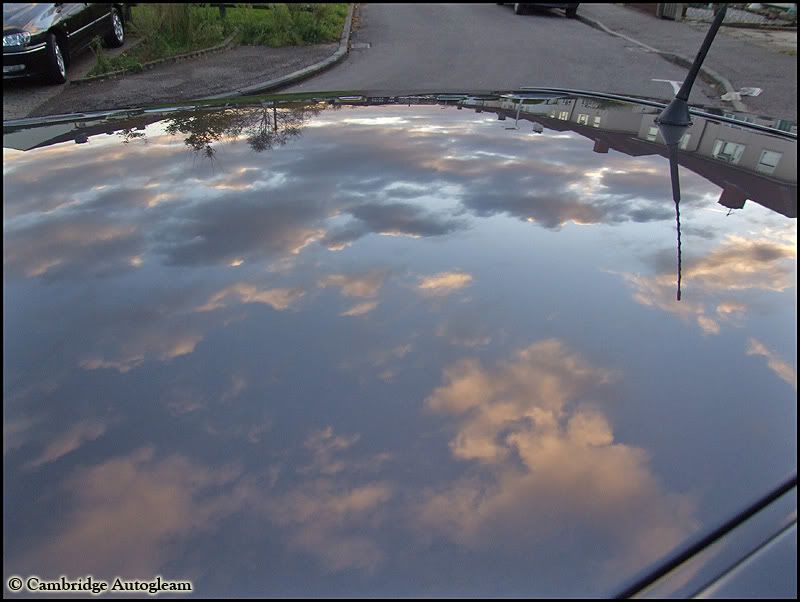
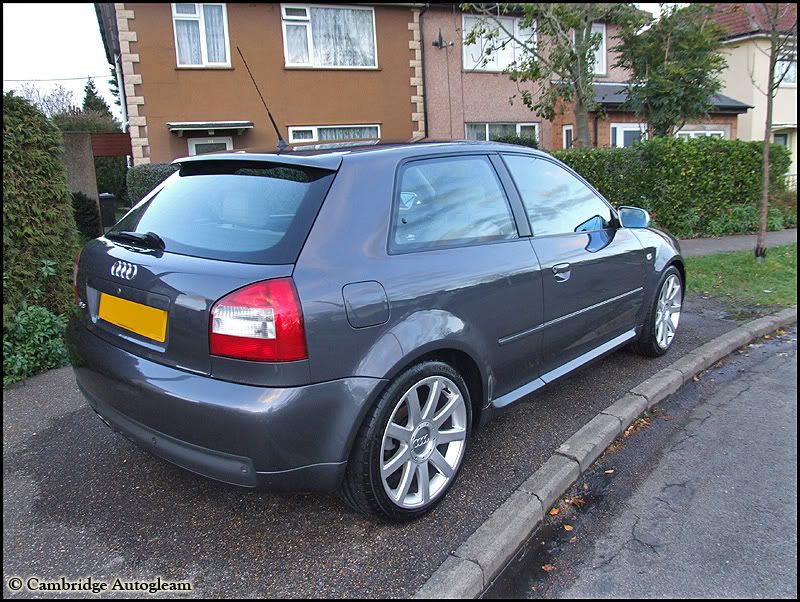
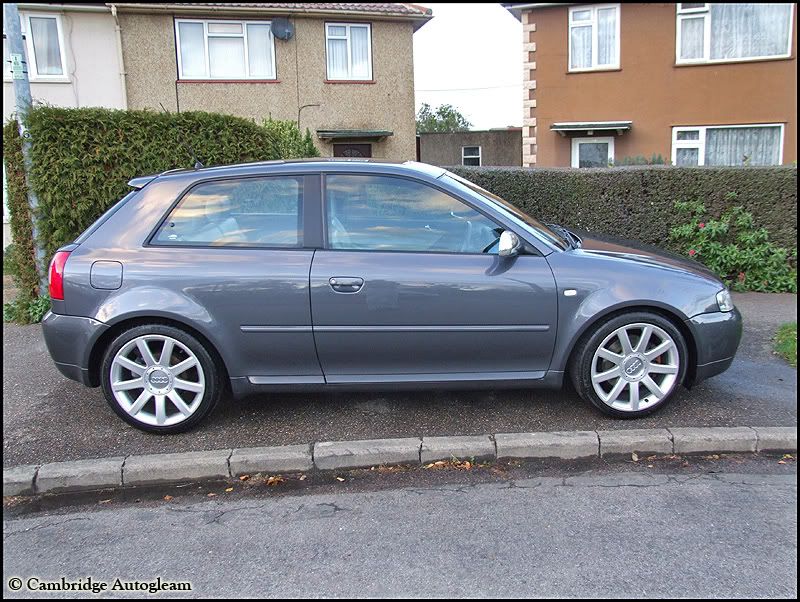
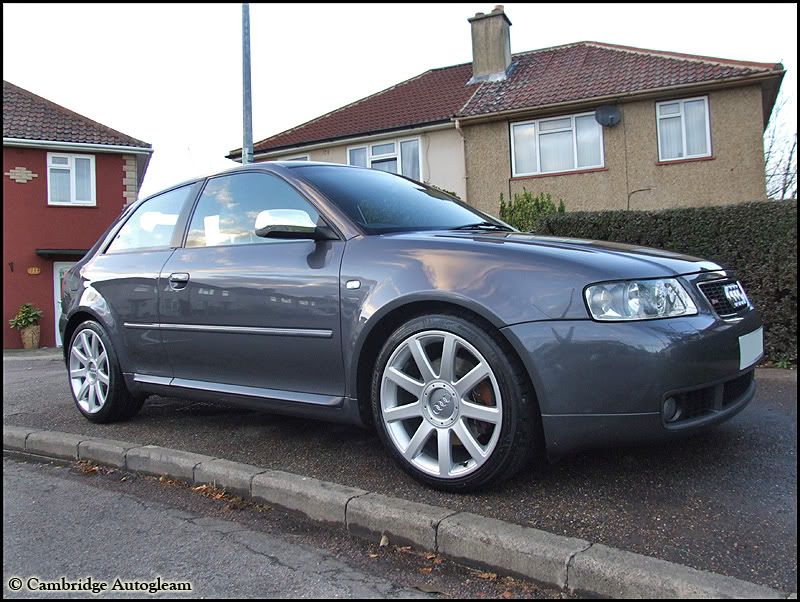
After shots


http://www.audi-sport.net/vb/showthread.php?t=24510
so started a new thread
A friends P reg MGF. Pretty dirty with some light - mild swirling
The process:
Full wash down with AG products
Machine polish with menzerna Final Finish 106 on a megs polishing pad
Layer of AG Super Resin Polish
Washed again
Stoped about 8:30pm
The lights came in pretty handy
The rest of the process was:
Wash again
Clean glass in and out and dress rubber
Apply Megs #7 glaze
Apply Collinite 476s
Clean interior.
After shots


")


 wow! very impressive!! if your ever in Wales, give us a shout! :thumbsup:
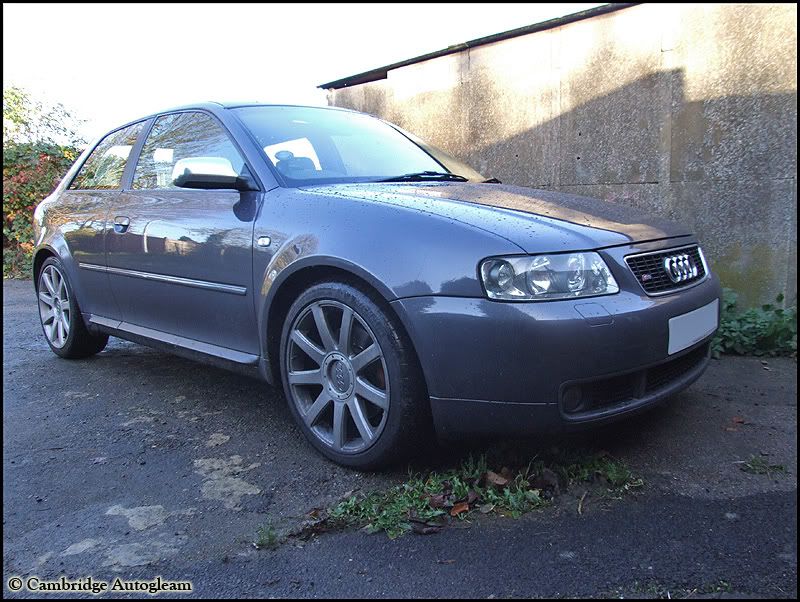


 They look fantastic mate.