

Foxmeister
Fired Up!
Well ive finally managed to start work on the car again and got on with making some carbon fibre parts. Found this site when searching a few months back http://www.carbonmods.co.uk/
So ordered the skinning kit to do my door and dash trims. After buying a set of poverty spec trims to carry out task on, i started by removing the metal front casings

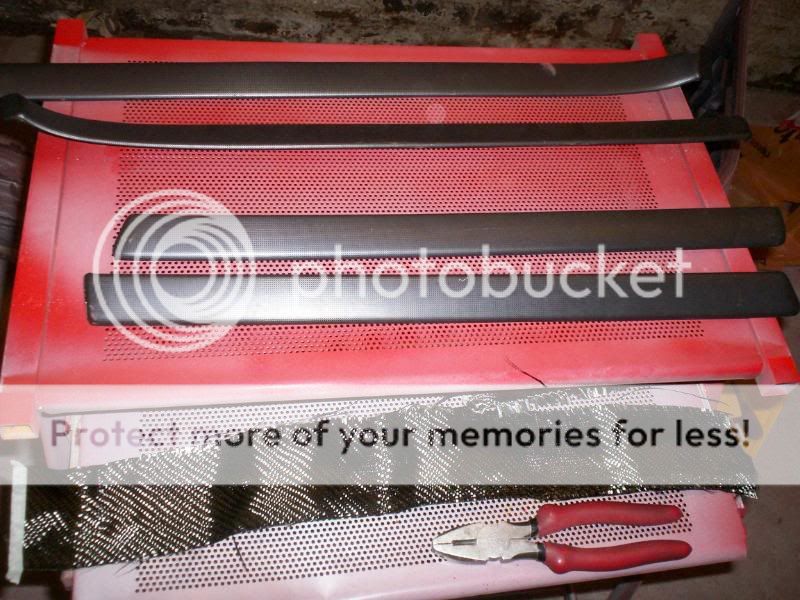
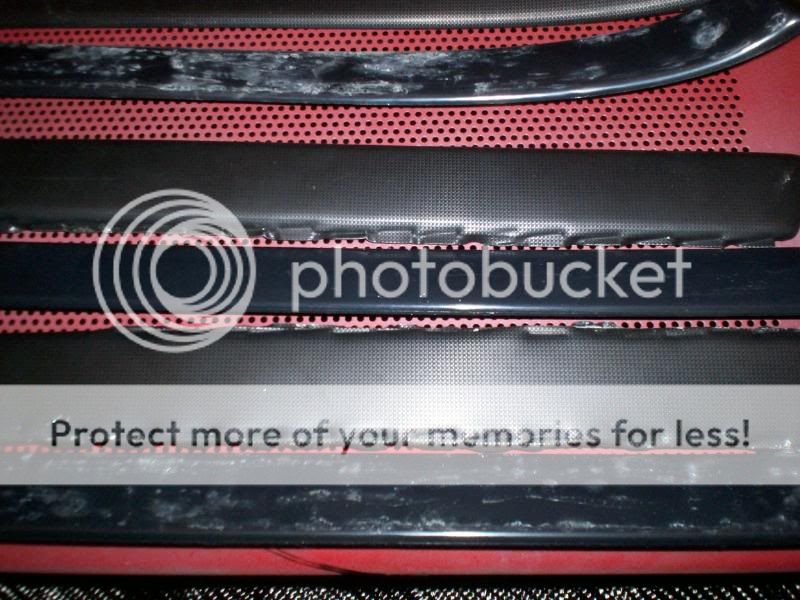
Simple enough using a pair of pliers and bending the tabs on the rear back to remove the metal, which exposes a relatively, flat, smooth plastic trim ready for paint etc as i was originally considering.
Next, i sanded all parts with 120 grit paper to key the base area for a good contact to apply base coat onto.
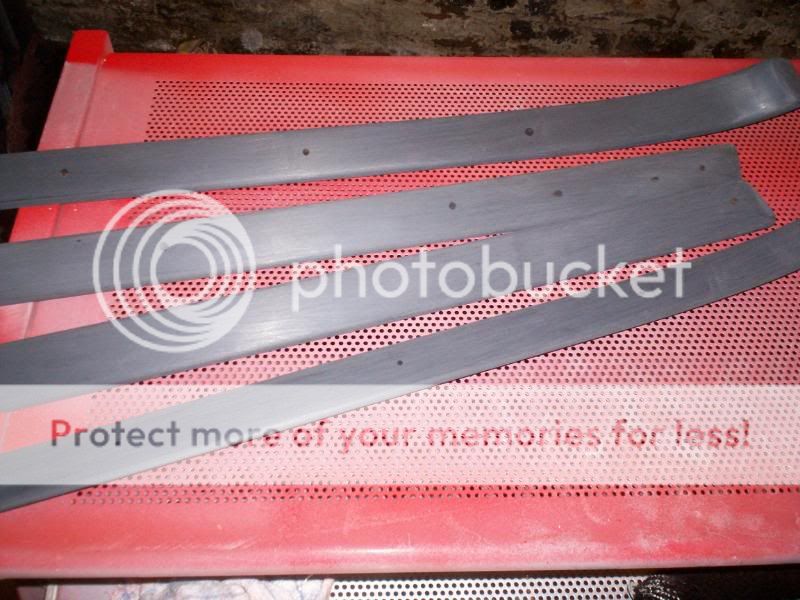
Once every area where the carbon fibre would be applied was keyed, i then mixed up the base coat with hardner and slowly applied a smooth, even coat to all parts
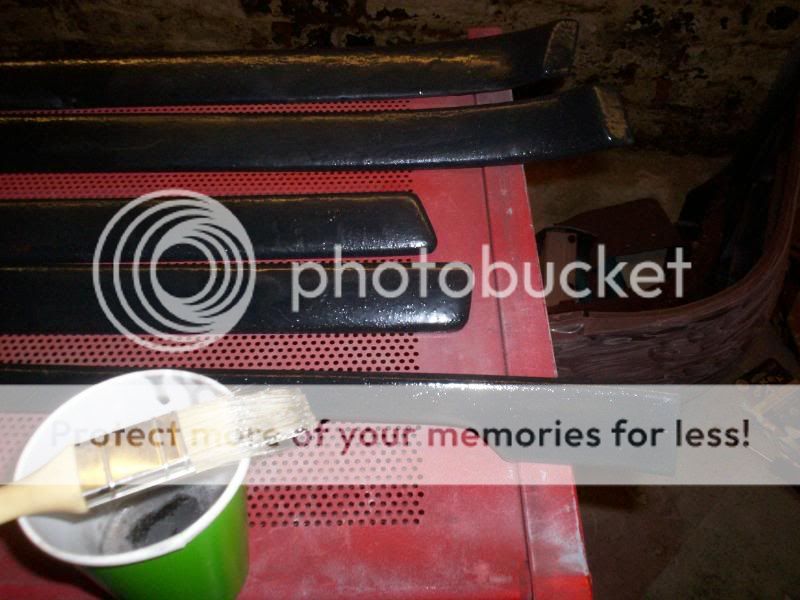
At this stage, the base coat should be left around 3hrs to dry to a tacky finish ready for next stage....cue the Indian menu selection, and a bit of Harry Hills TV Burb!
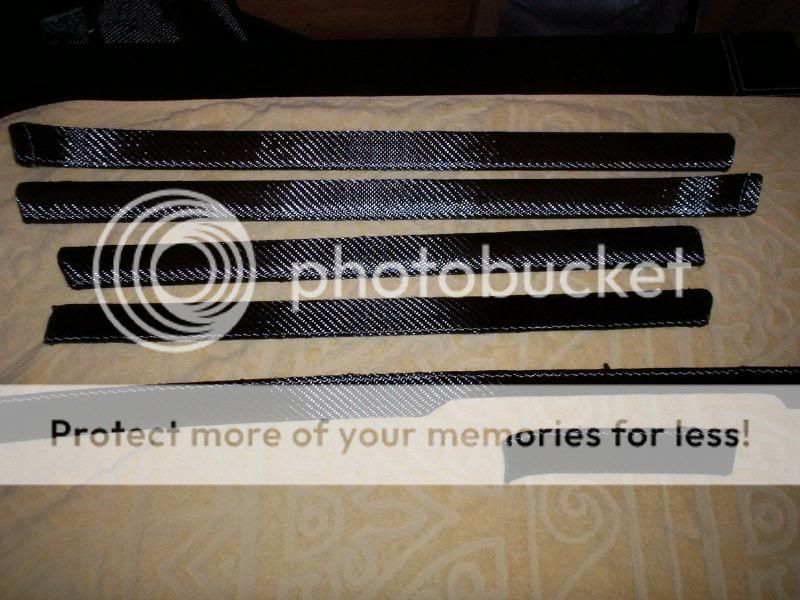
Okay, now well fed and watered, this was the tricky bit. Best idea is to pre cut all pieces of carbon fibre, oversized to each part, before you start. Then, probably needing a 2nd person, you need to lay the carbon fibre slowly, and softly so as not to disturb the weave or open any gaps, then work from the middle out and run your hand gently over all areas to get it to bond. You can then trim the excess at the rear leaving about an inch to fold back and tape onto rear of parts.
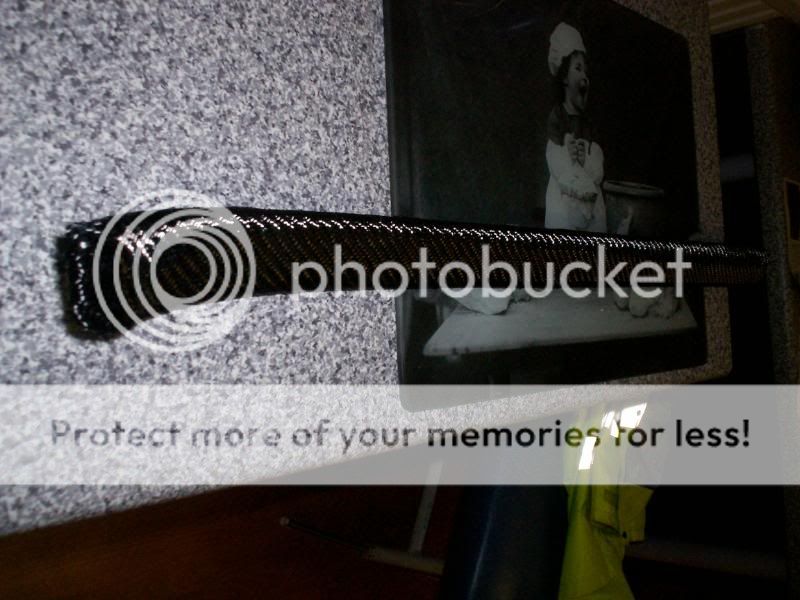

The most tricky part was the large dash piece due to shape where the cut out is.


^^^You can just see the two cuts that i had to make where the trim has the cut out section, this was vital so that the weave would not pull and distort when wrapping this section around the back of the trim.
So now i have all the door and dash trims covered, but one or two had some base coat come through slightly on top of the carbon, so i left these overnight to dry properly and also it was after midnight and the mrs was giving me evils so decided to leave it there for the night
Will continue today with applying the next few layers of top coat before lacquering and polishing to a nice shiny finish, update later on tonight!
So ordered the skinning kit to do my door and dash trims. After buying a set of poverty spec trims to carry out task on, i started by removing the metal front casings
Simple enough using a pair of pliers and bending the tabs on the rear back to remove the metal, which exposes a relatively, flat, smooth plastic trim ready for paint etc as i was originally considering.
Next, i sanded all parts with 120 grit paper to key the base area for a good contact to apply base coat onto.
Once every area where the carbon fibre would be applied was keyed, i then mixed up the base coat with hardner and slowly applied a smooth, even coat to all parts
At this stage, the base coat should be left around 3hrs to dry to a tacky finish ready for next stage....cue the Indian menu selection, and a bit of Harry Hills TV Burb!
Okay, now well fed and watered, this was the tricky bit. Best idea is to pre cut all pieces of carbon fibre, oversized to each part, before you start. Then, probably needing a 2nd person, you need to lay the carbon fibre slowly, and softly so as not to disturb the weave or open any gaps, then work from the middle out and run your hand gently over all areas to get it to bond. You can then trim the excess at the rear leaving about an inch to fold back and tape onto rear of parts.
The most tricky part was the large dash piece due to shape where the cut out is.
^^^You can just see the two cuts that i had to make where the trim has the cut out section, this was vital so that the weave would not pull and distort when wrapping this section around the back of the trim.
So now i have all the door and dash trims covered, but one or two had some base coat come through slightly on top of the carbon, so i left these overnight to dry properly and also it was after midnight and the mrs was giving me evils
so decided to leave it there for the night
Will continue today with applying the next few layers of top coat before lacquering and polishing to a nice shiny finish, update later on tonight!


")
