New DV arrived this morning, so I have used my lunch break to go and fit it. Truly is a 20 minute job at tops if your not taking photos of the task.
JKM sent the new DV for £40+VAT + registered next day post (around £50 in all), and here is a close up (including part number):
The major change to this revision D diverter valve is that there is no longer any soft perishable rubber bits on the plunger to overheat and be compromised. The new plunger head is hard plastic.
I also noticed when testing the plunger mechanism by hand, that they (the Japanese as its now made in Japan) have engineered a step into the piston action to create an initial friction in the movement before the valve then retracts. This is NOT present on the early unit which just opens freely. I am VERY much hoping this will remove any flutter.
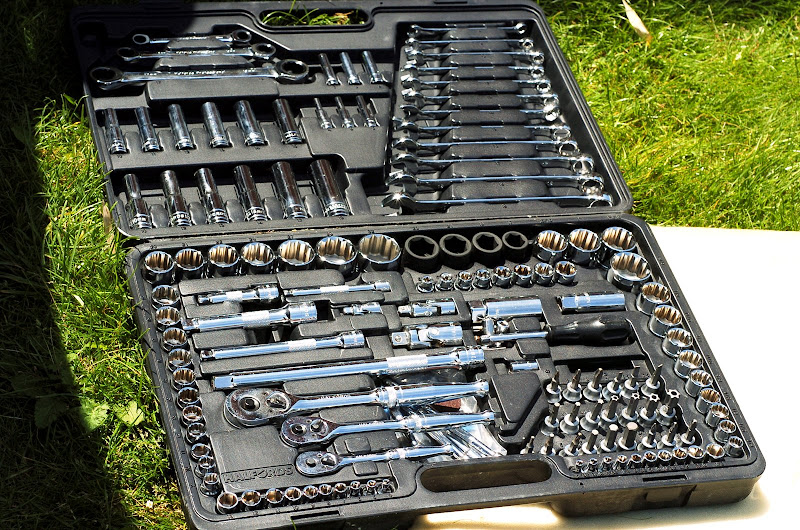
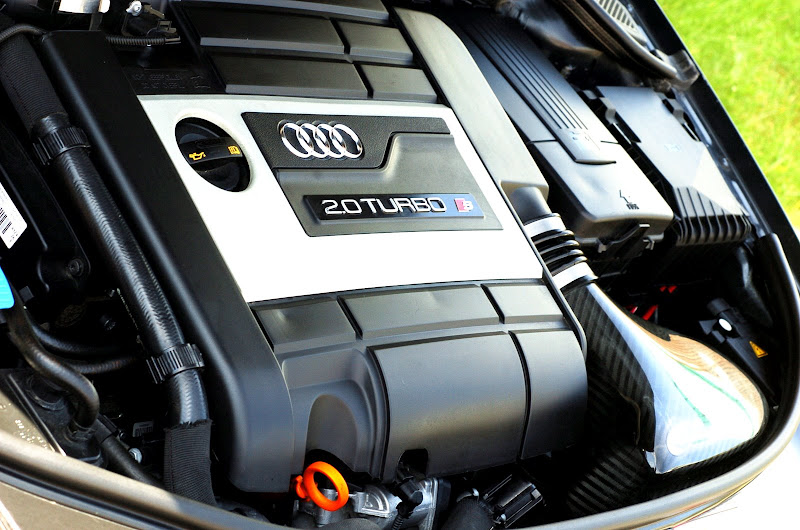
I decided I wanted this to be an easy job, and wanted to do it without removing the engine cover. I have a
Halfrauds Pro tool box (quantity as opposed to outright quality of parts), and this came in useful to build a very long tool to get to the bolts.
TOOLS USED:
T30 Torx
1/4" adaptor for attachments
Universal joint (1/4")
2-3 extenders (1/4" sized)
Ratchet or screwdriver handle (1/4")
JOB TIME: 15-20 mins
JOB DIFFICULTY: Simple
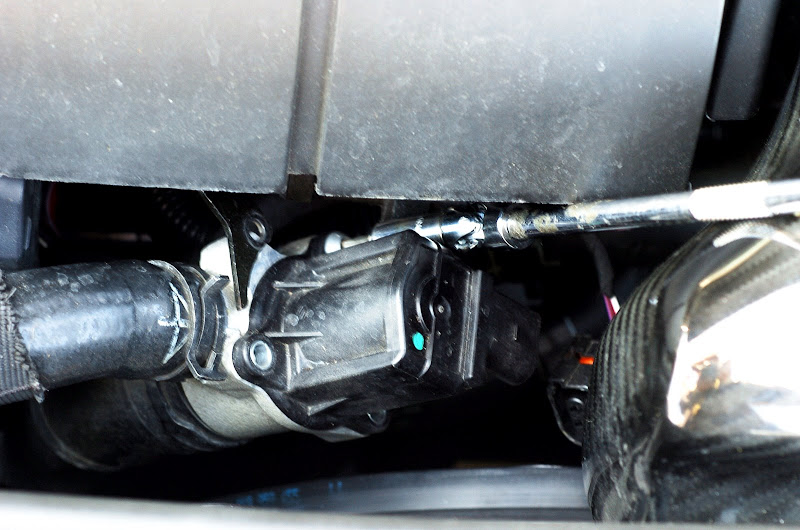
Now first I realised particularly with the larger intake, the torx bolts were not all accessible. However there is a hanger bolt which stabilises the DV unit against the engine bay (as you look into the engine bay from the front of the car this is the bolt furthest to the left but nearest the engine itself - you can't miss it, it's the only one with a black metal bracket attached to it). Take great care not to drop the bolt into the bay (like I did). Once this is removed, you can move the DV towards you to remove the remaining 3 torx bolts.
Picture 1 - Remove the locator torx bolt
PICTURE 2: Locator bolt removed
PICTURE 3: Use universal joint to get around obstacles to the bolts
PICTURE 5: Remove all torx bolts
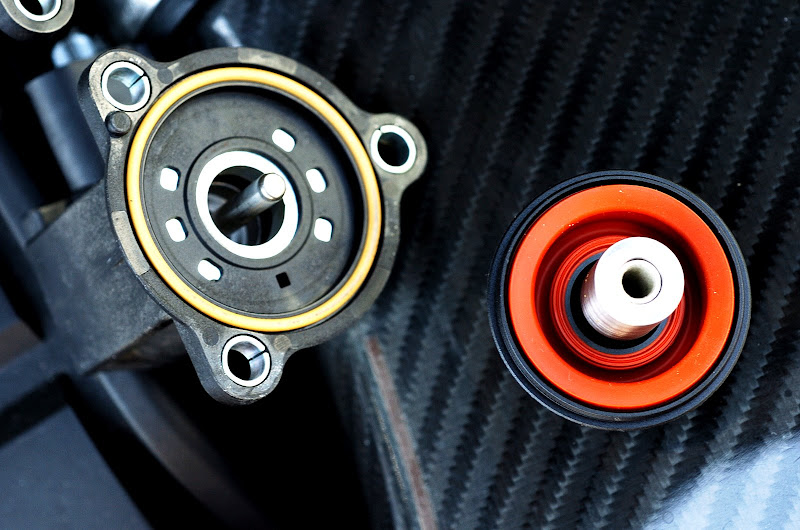
COMPARING THE DV's
As you can see thre is a significant difference in the size of the heads on the plunger. Also the design concept has changed considerably indicating the 2008 revision unit was significantly flawed.
I decided to deconstruct the old style DV to look inside and see what made it tick. My valve was in perfect condition internally, but just purely lacked the capacity with the extra boost, to hold back the pressure until release was actuated.
I then refitted the new valve (YOU WILL SEE IN THE PHOTOS THERE IS A LITTLE MOUNTING LOCATOR LIKE A ROUND PLASTIC SPOT - ENSURE YOU LOCATE THE DV WITH THIS IN PLACE!!!), conducted the reverse of the above instructions, and reconnected the electrical contact connector to the head of the DV. I fired the car up, and started as sweet as a nut. No engine lights or problems, so when I go out tonight to see Stealth wagon hopefully I'll be able to give it a test and see if the stepped resistance of the new style DV can hold the boost better.
PLEASE BE SURE TO CHECK YOUR DV MODEL NUMBER BEFORE EMBARKING ON THIS MOD. I AM NOT CERTAIN WHEN IN 2008 IT WILL HAVE BECOME THE STANDARD ISSUE PART, BUT CHECK THE REVISION LETTER AT THE END OF THE PART NUMBER BEFORE BUYING ONE.
THE PART NUMBER OF THE
LATEST REVISION DV IS MADE IN JAPAN PART NO: 06H-145-710-
D
SEE BELOW
THE PART NUMBER OF THE
EARLIER VERSION DV IS MADE IN GERMANY PART NO: 06F-145-710-
C
(SEE BELOW)
As always, any questions just ask away.
Next mod, whiter daylight running bulbs!!