Not an Audi but still part of the family

james b

Registered User
Joined
Jul 22, 2007
Messages
84
Reaction score
0
Points
6
Website
www.autofinesse.co.uk
This was dropped off on Sunday to the work shop and i set to work on it Monday being silver its a little hard to get Pics of defects and swirls but i have done my best :thumb: :

Before :

DSC01821.jpg


DSC01823.jpg


DSC01827.jpg


DSC01828.jpg


DSC01829.jpg


DSC01831.jpg


DSC01832.jpg


DSC01833.jpg


DSC01834.jpg


First off on this one i set to work De-greasing the engine bay, i used AS G101 and a few long reach brushes:

DSC01839.jpg


DSC01838.jpg


DSC01840.jpg


DSC01842.jpg


DSC01843.jpg


DSC01845.jpg
 
Then on to the door shuts with the same set up G101 and the log reach brushes:

DSC01852.jpg


DSC01850.jpg


DSC01853.jpg


DSC01855.jpg


DSC01858.jpg


DSC01860.jpg


Wheels & Arches where next up, using AS smart wheels a EZ detail and SV brush, for the arches, again G101 and an arch brush, also Tardis for the wheels:

DSC01863.jpg


DSC01864.jpg


DSC01865.jpg


DSC01867.jpg


DSC01868.jpg


DSC01869.jpg


DSC01872.jpg


DSC01873.jpg


For the wash stage i foamed with SSf and a Citrus TFR (not that foamy but cleans well) All pannel gaps cleaned with a SV detail brush, washed TBM with A Z sponge and AS auto wash, dried with a miracle towel:

DSC01874.jpg


DSC01875.jpg


DSC01876.jpg


DSC01878.jpg
 
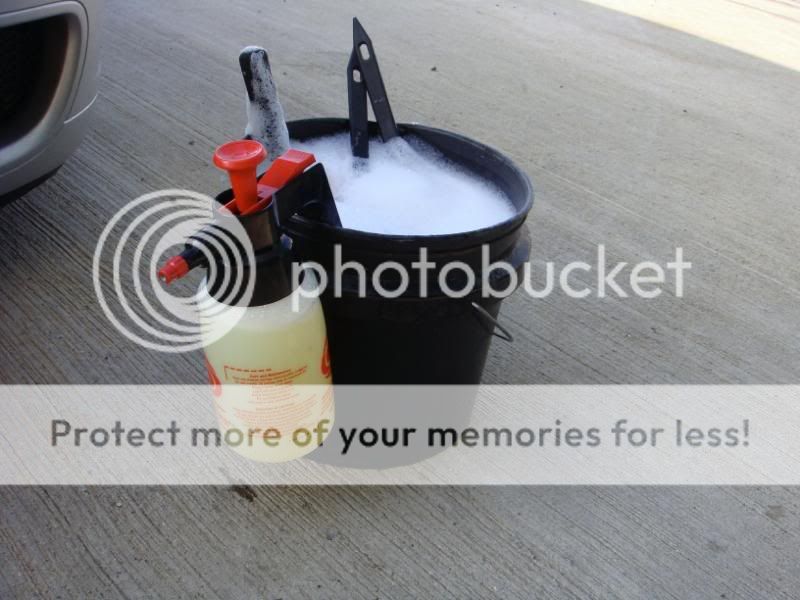
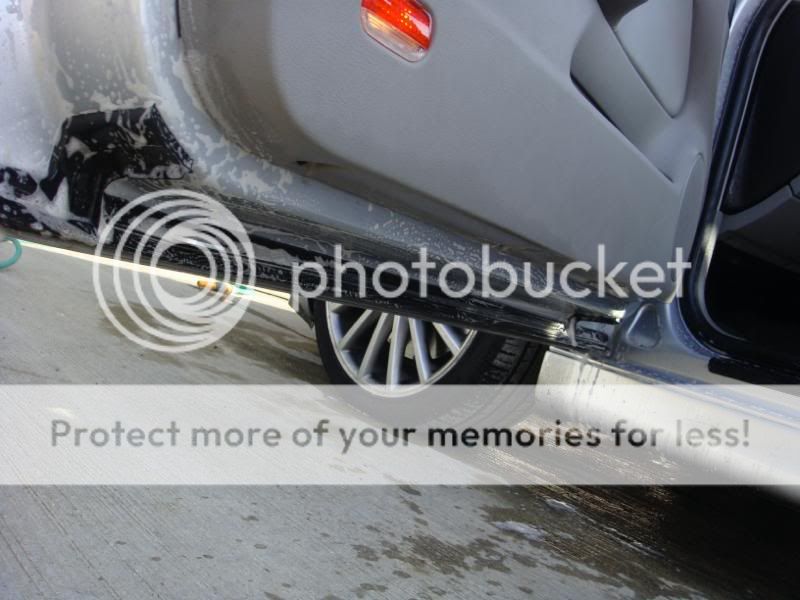
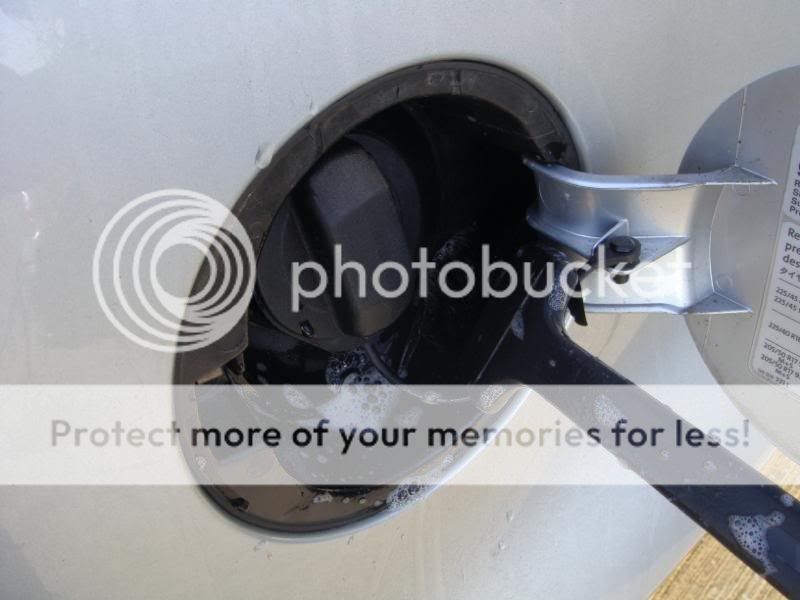
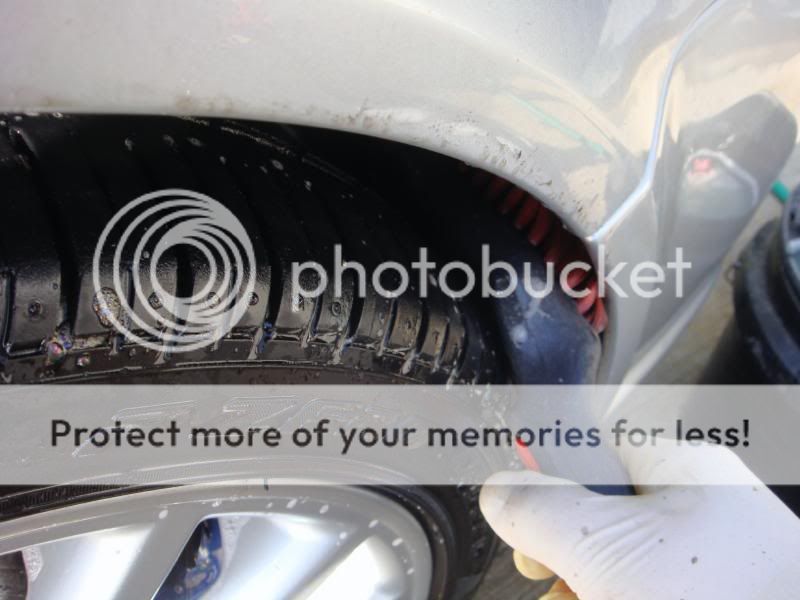
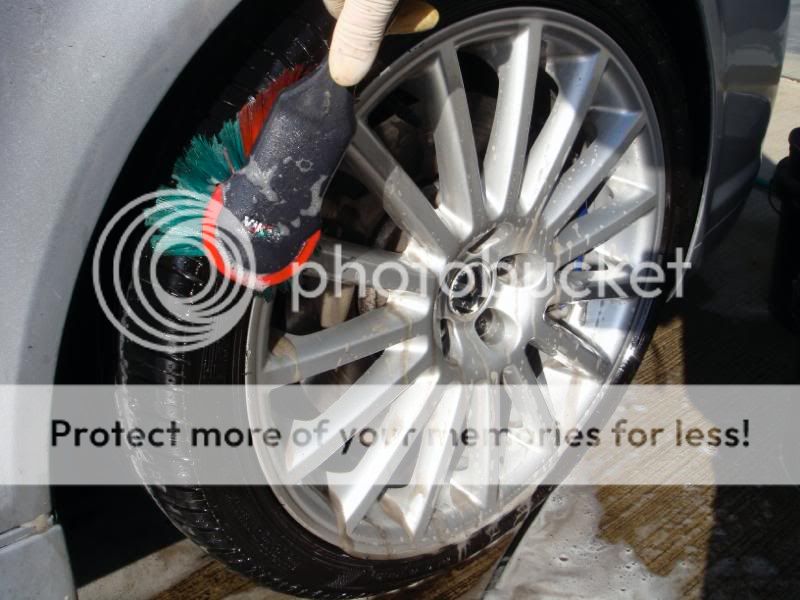
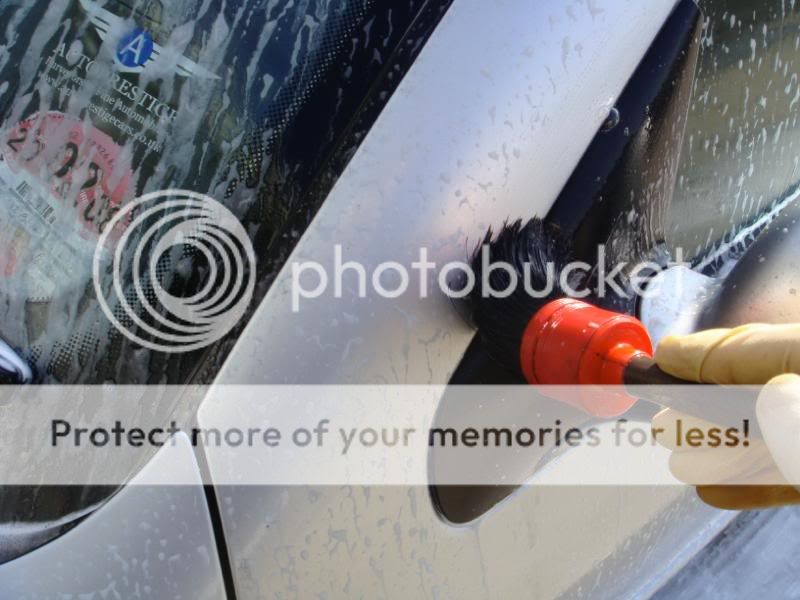
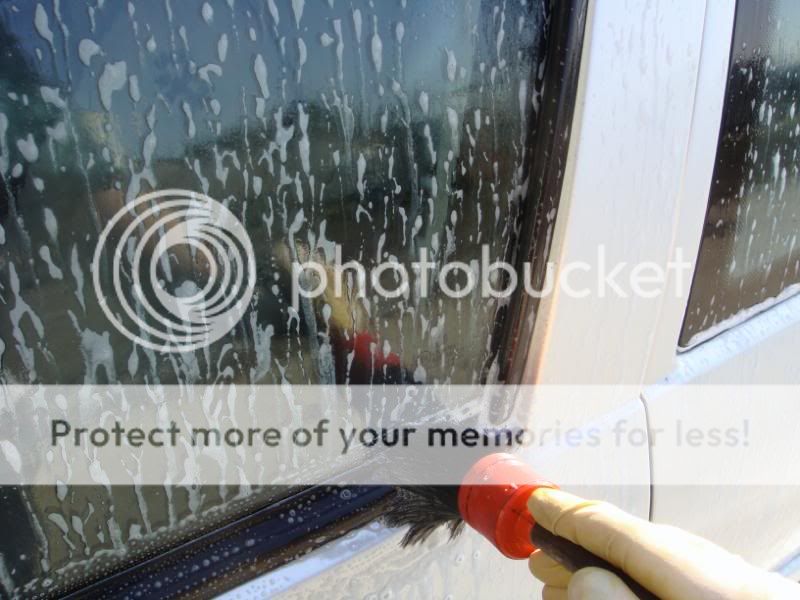
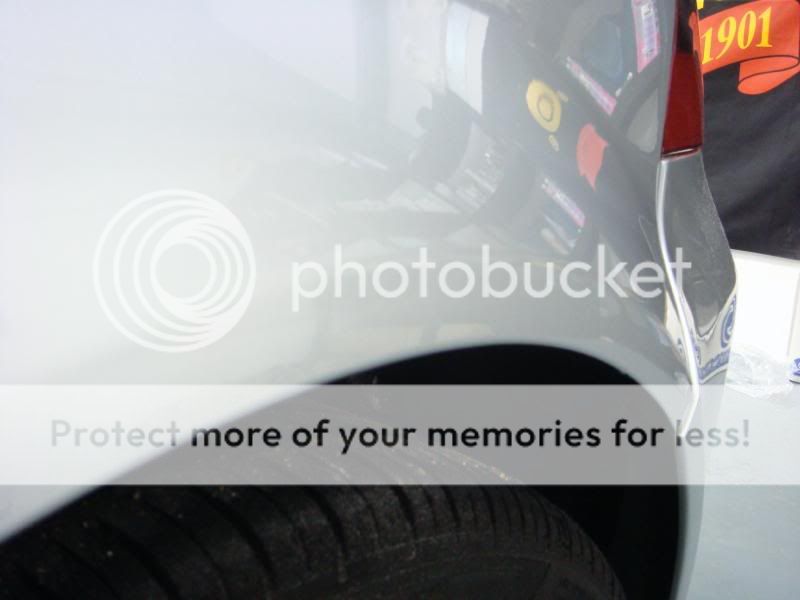
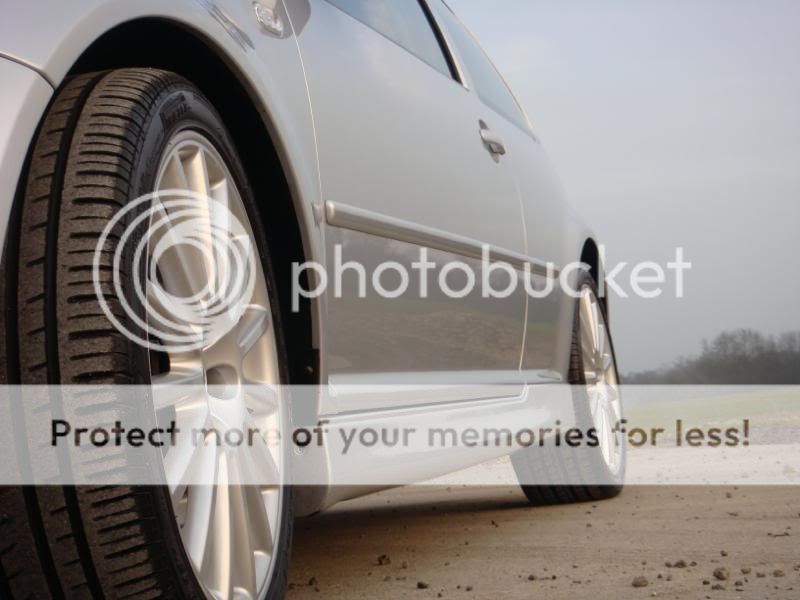
The car was then rolled inside to the warm, and the the lower parts treated with AS tardis to remove any tar, then wiped down and Clayed with Sonus green and Megs LT as lube:

DSC01879.jpg


DSC01884.jpg


DSC01886.jpg


DSC01888.jpg


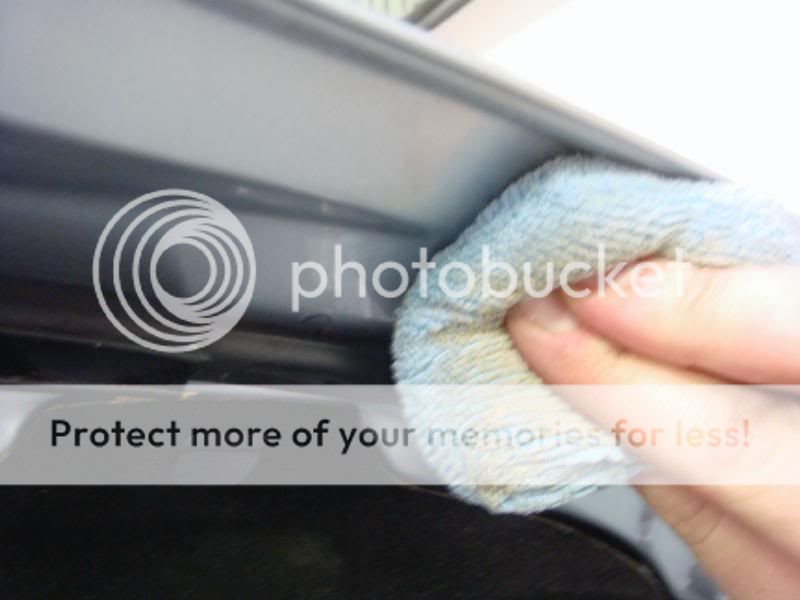
Tail pipes cleaned with Autosol and Wire wool:

DSC01891.jpg


DSC01892.jpg


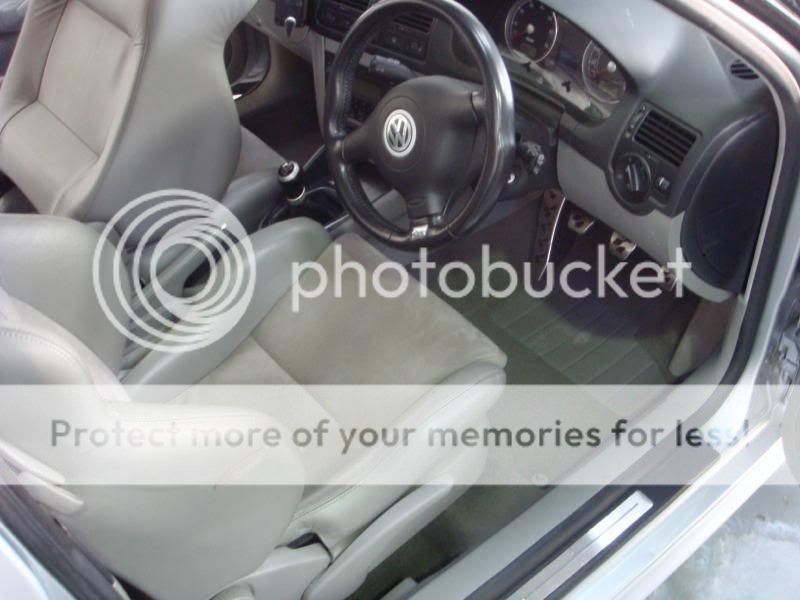
Now i set to work on the Interior (i worked this way around as i had been machining for the 3 days straight before this so gave me a rest for a day :)
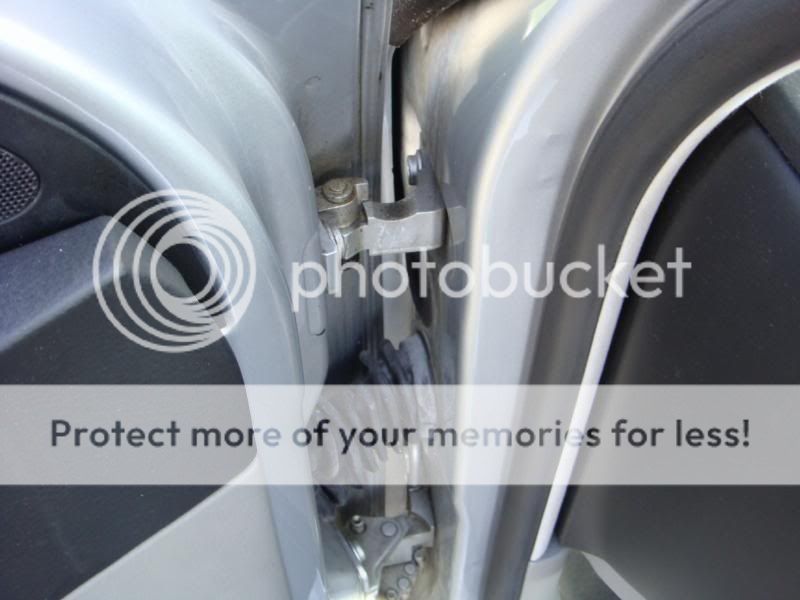
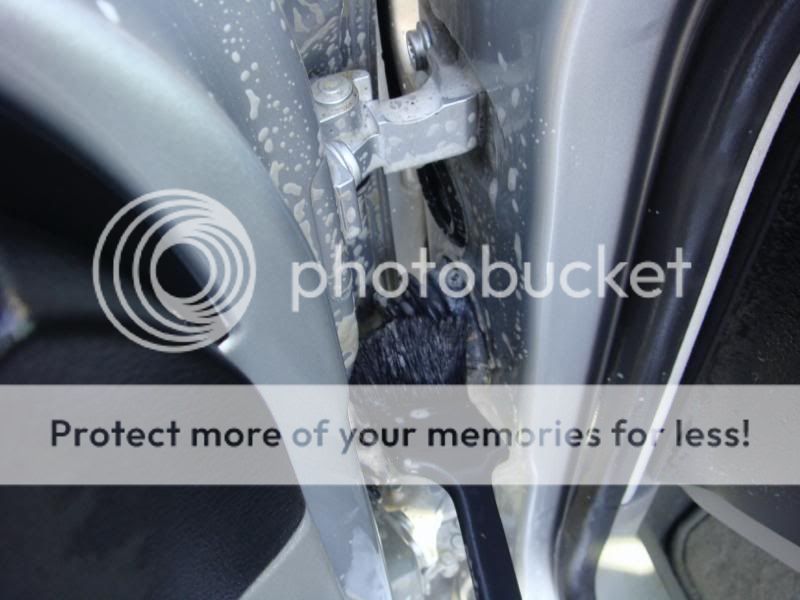
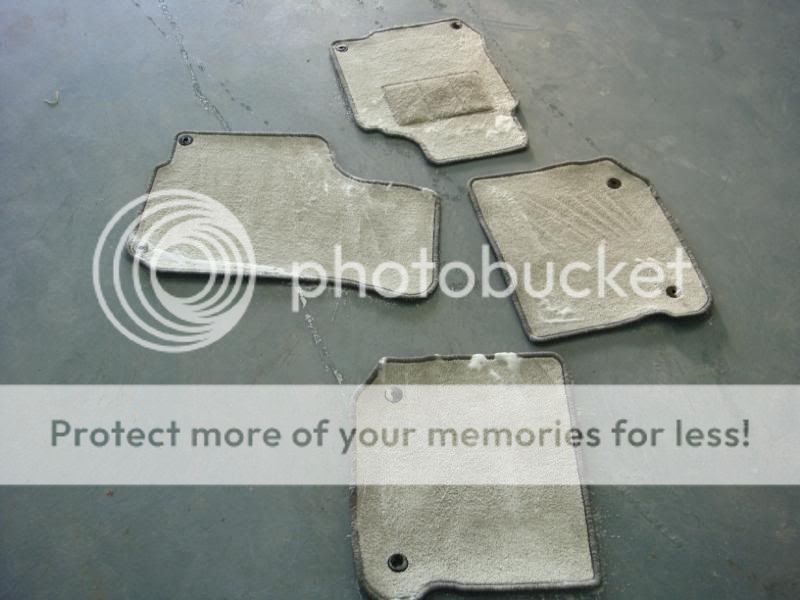
) mats where cleaned with AS brisc and scrubbed and vaced, vaced the interior and vents ETC then cleaned and treated leather with Glipton twins, all interior pannels where cleaned with G101, as where carpets :

DSC01897.jpg


DSC01896.jpg


DSC01918.jpg


DSC01917.jpg


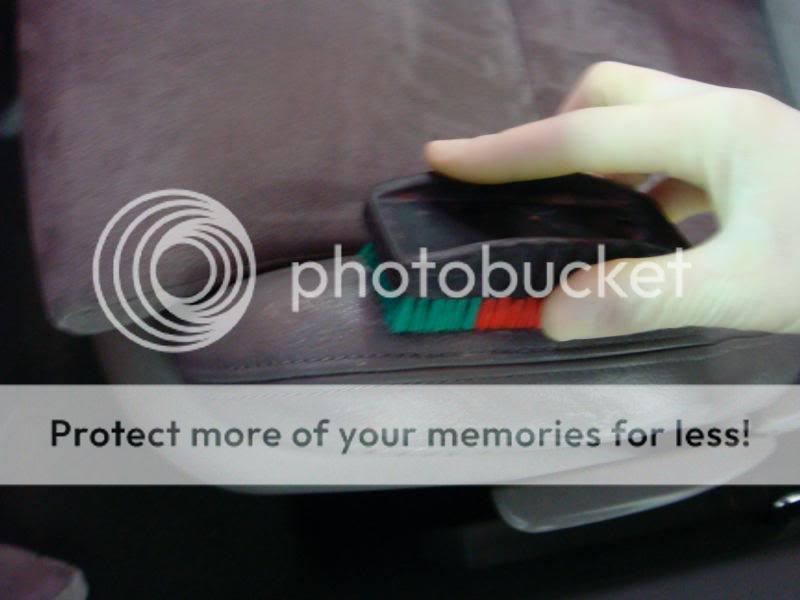
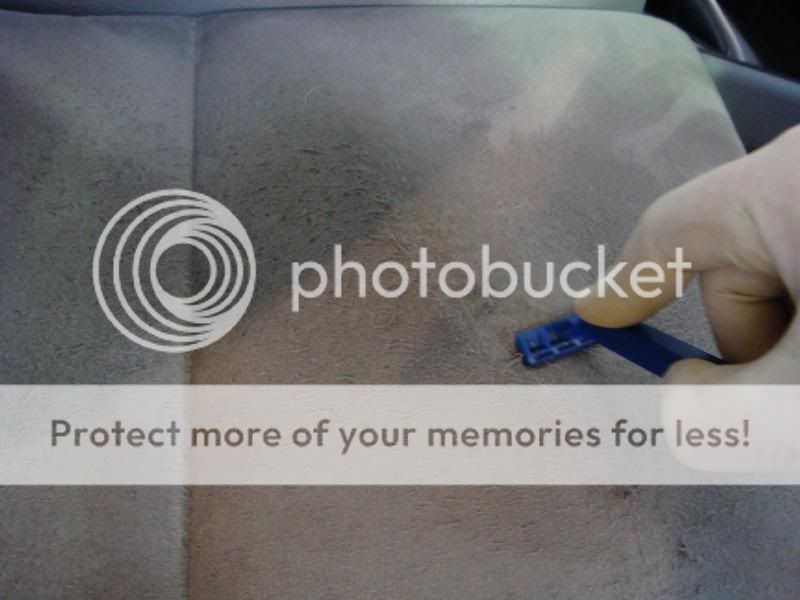
The drivers seat had "bobbleled" from wear and tear so i removed this with disposable razors:

DSC01901.jpg


DSC01902.jpg


DSC01907.jpg


Right side done left not:
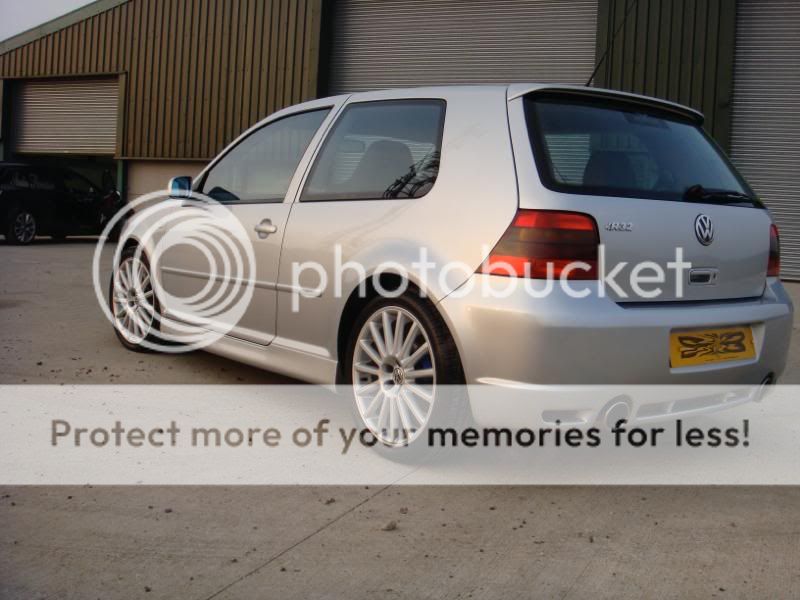
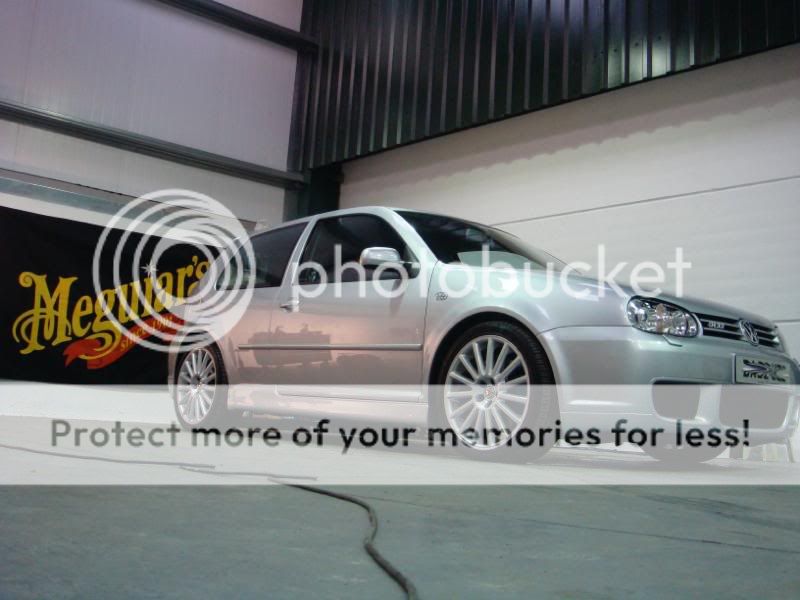
DSC01908.jpg


DSC01909.jpg


All done:

DSC01913.jpg


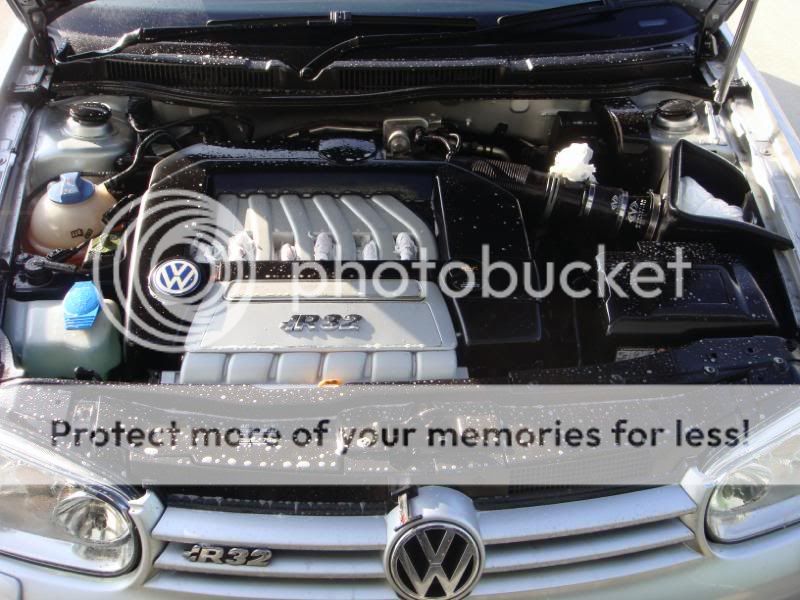
The next day i turned my attention to the paint and the job of correcting the defects, Danney (st dan on here) was over for the day having his wheels resprayed, so as his car was not going any where fast nor was he:D HELPER ! :lol: (thanks mate:thumb: ) we set to work correcting the swirls with Menz IP 3.02 on Megs polishing pads and got good results, some areas need a few hits but it was finishing down spot on and removing all the defects :

DSC01922.jpg


DSC01930.jpg


DSC01935.jpg


DSC01941.jpg


DSC01946.jpg


DSC01951.jpg


DSC01957.jpg


DSC01958.jpg


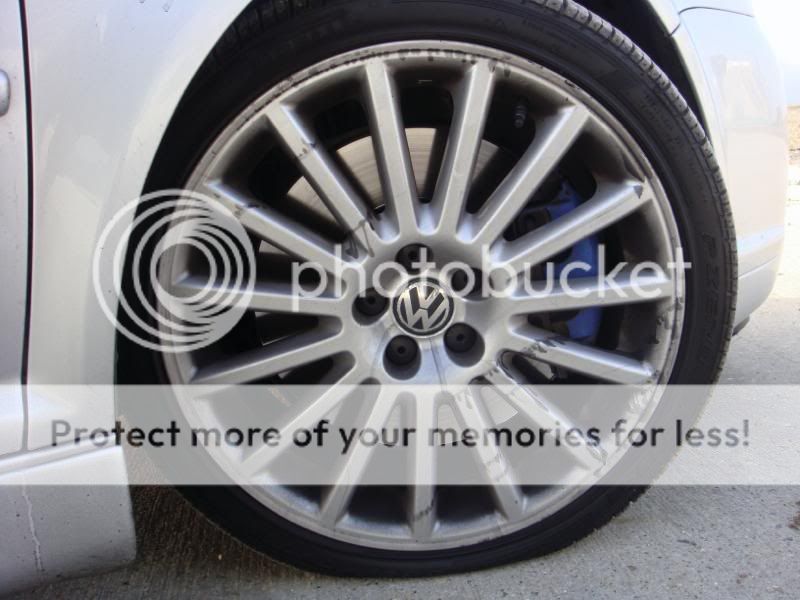
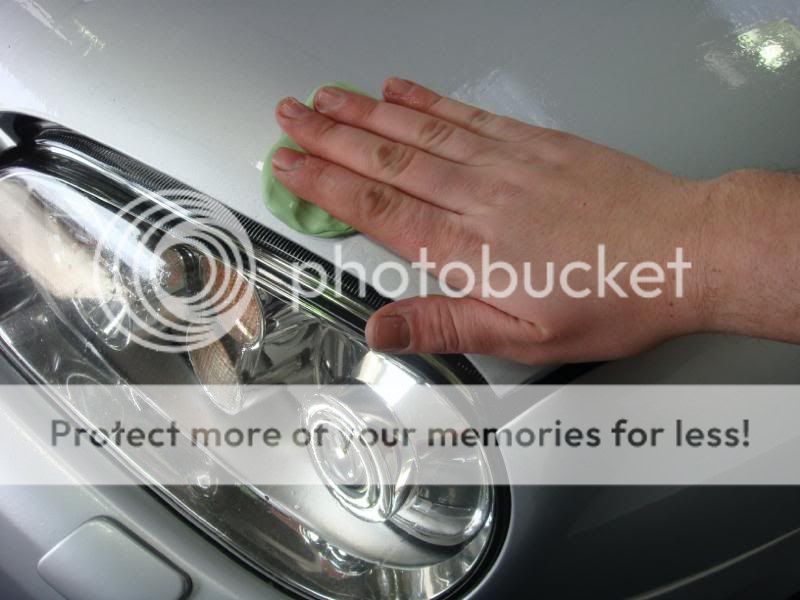
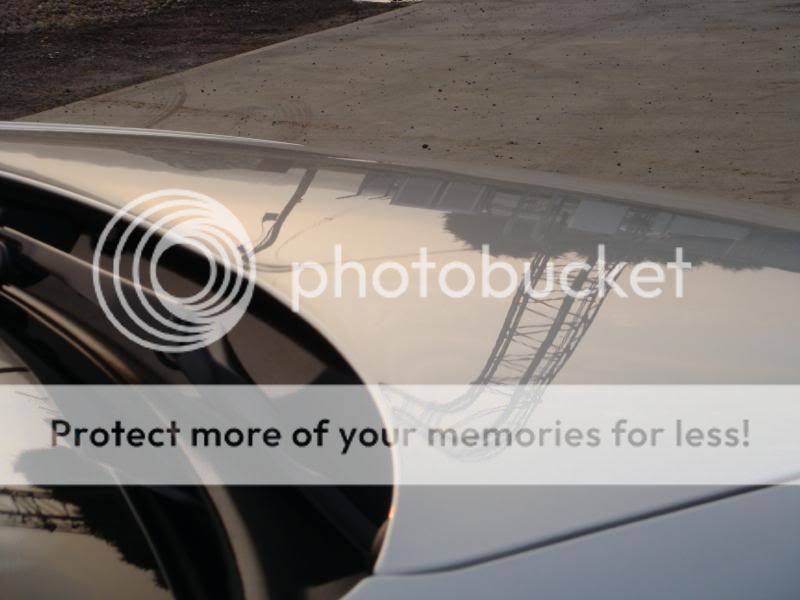
Now the paint was in fairly good shape all but a few deep RDS that remained due to resprayed areas :( 
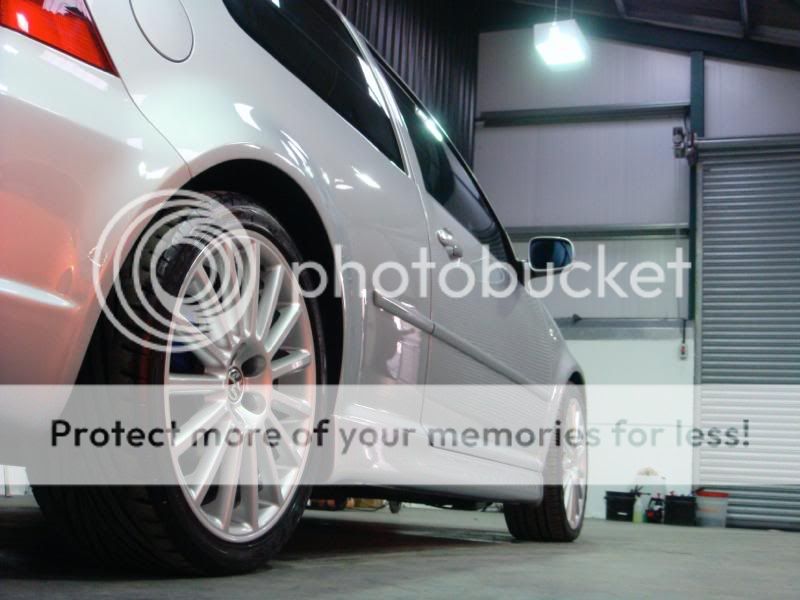
, a tidy up, dust down and IPA wipe down,it was time for the LSP as requested by the client it was to be Zaino on this one (good choice :thumb: ) Z2 with ZFX x3 coats the first left to cure for 1h (
gets a good solid base to layer up from):

DSC01961.jpg


DSC01962.jpg


DSC01963.jpg
 
Then a few last bits, Klasse AIO for the under bonnet paint work, gummy pfledge on all the seals, tyres with CG new look gel arches with megs ASD, windows cleaned in/out, and a final wipe down with Z8:

DSC01965.jpg


DSC01966.jpg


DSC01967.jpg


All that lot leaves a silver R32 looking lie this :D (pics not great as weather was a bit ropey)

DSC01971.jpg


DSC01975.jpg


DSC01978.jpg


DSC01981.jpg


DSC01983.jpg


DSC01985.jpg


DSC01988.jpg


DSC01990.jpg


DSC01991.jpg


DSC01994.jpg


DSC01995.jpg


DSC01997.jpg


DSC01999.jpg


DSC02002.jpg


DSC02003.jpg


DSC02008.jpg


A big thanks to Danny for lending a hand on this one mate:thumb:

Also a big Thanks for looking, any comments questions are welcome

Just or any that are interested heres how Dannys rims came out, honestly the pics dont do the finish justice, they look amazing "in the flesh" Cosmic black on orange :thumb:

DSC02026.jpg


DSC02027.jpg


DSC02032.jpg


James B
 
Top quality work, just out of interest how many man hours did it take ?

:icon_thumright:
 
96a6v6 said:
Top quality work, just out of interest how many man hours did it take ?

:icon_thumright:

:think:around 20 mate i dont really count them up any more unless the job is on the clock, and i dont do than unless its some thing like concourse prep etc,
 
Brings back fond memories of my r32 :)

I also used to shave the recaro's in my golf Gti 1.8T, no better or easier way to remove the bobbles.

J.
 
good job mate,im impressed with the shaving the seats idea,works a treat
 
In a word, brilliant, all you must do now is get either a better camera or some decent software for resizing the after piccies - they don't do justice to what I know full well is an awesome finish. Very impressed with your work lately! :icon_thumright: