It was around this time that Andrew appeared. Andrew is a customer of Bills, and a long time lurker on here (Hello!) . The dark colourd S3 with orange roll cage and more than a few familiar looking parts would suggest he’s read a page or two of this thread too

very nice to meet you yesterday Andrew, and I hope the thread continues to be useful to you! Best of luck with the S3 and it’s winter plans
")
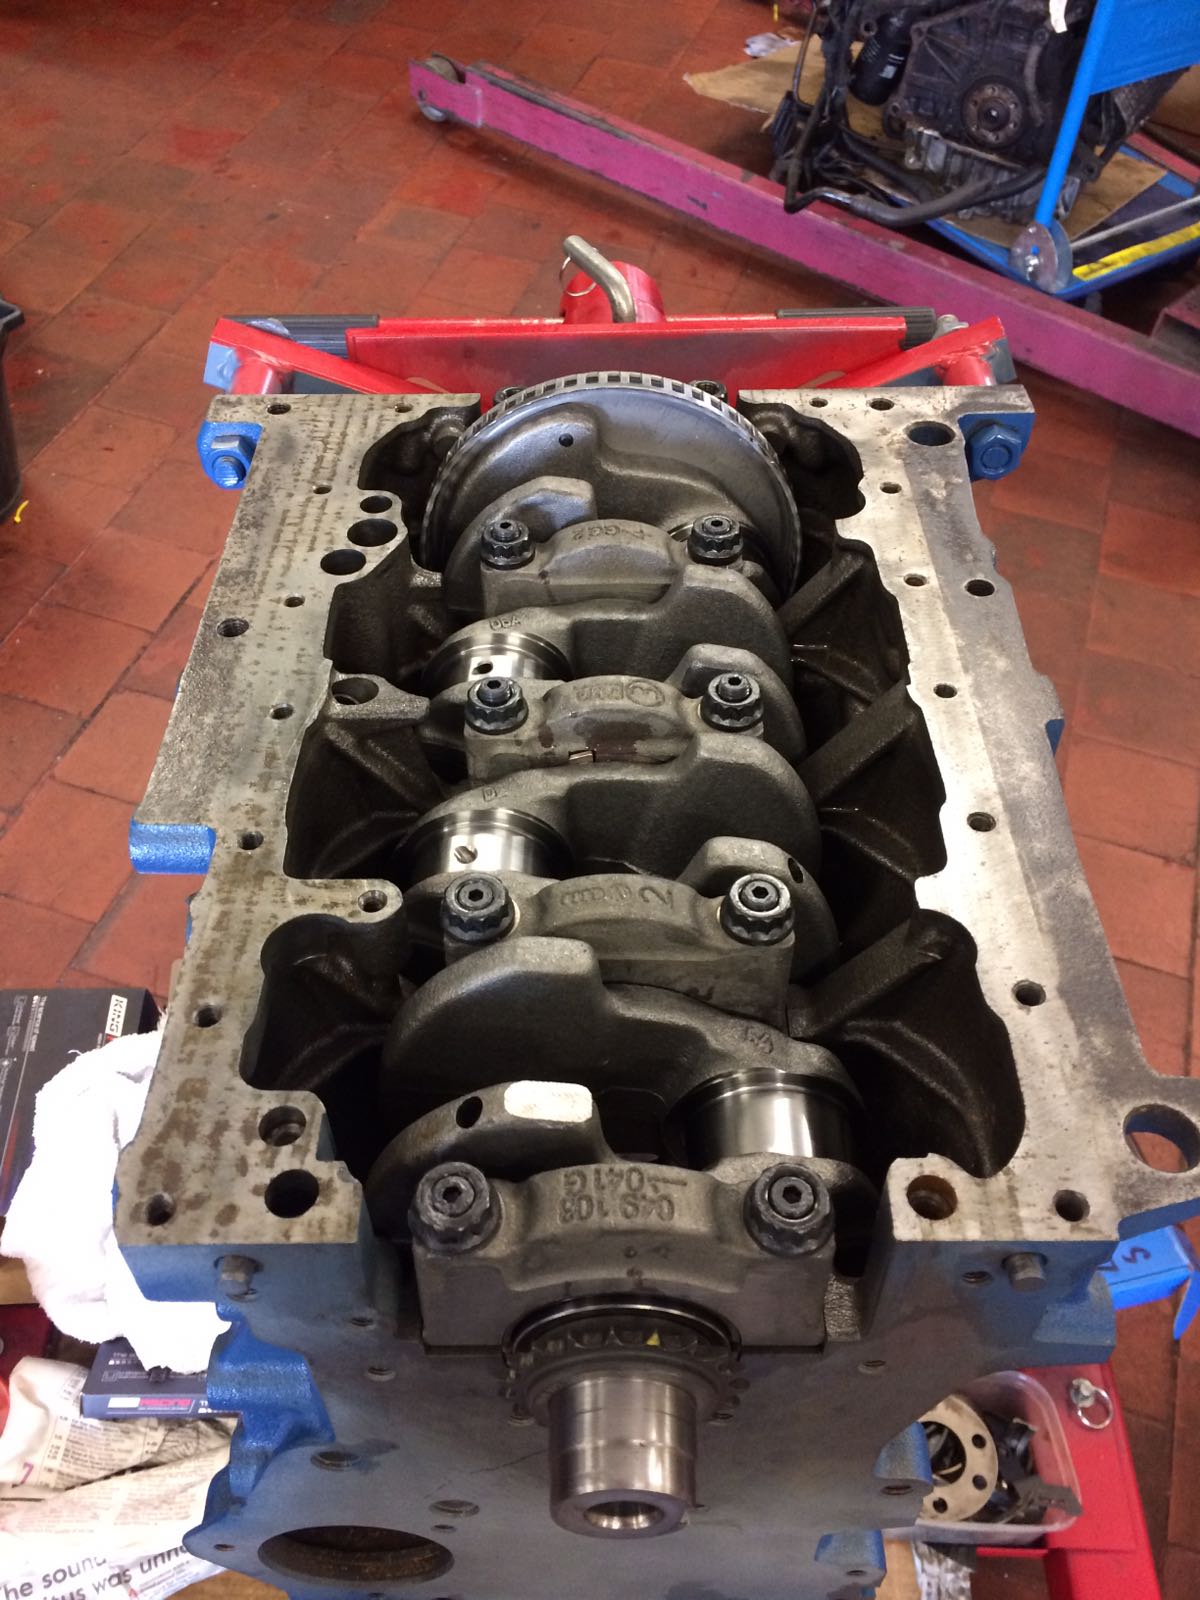
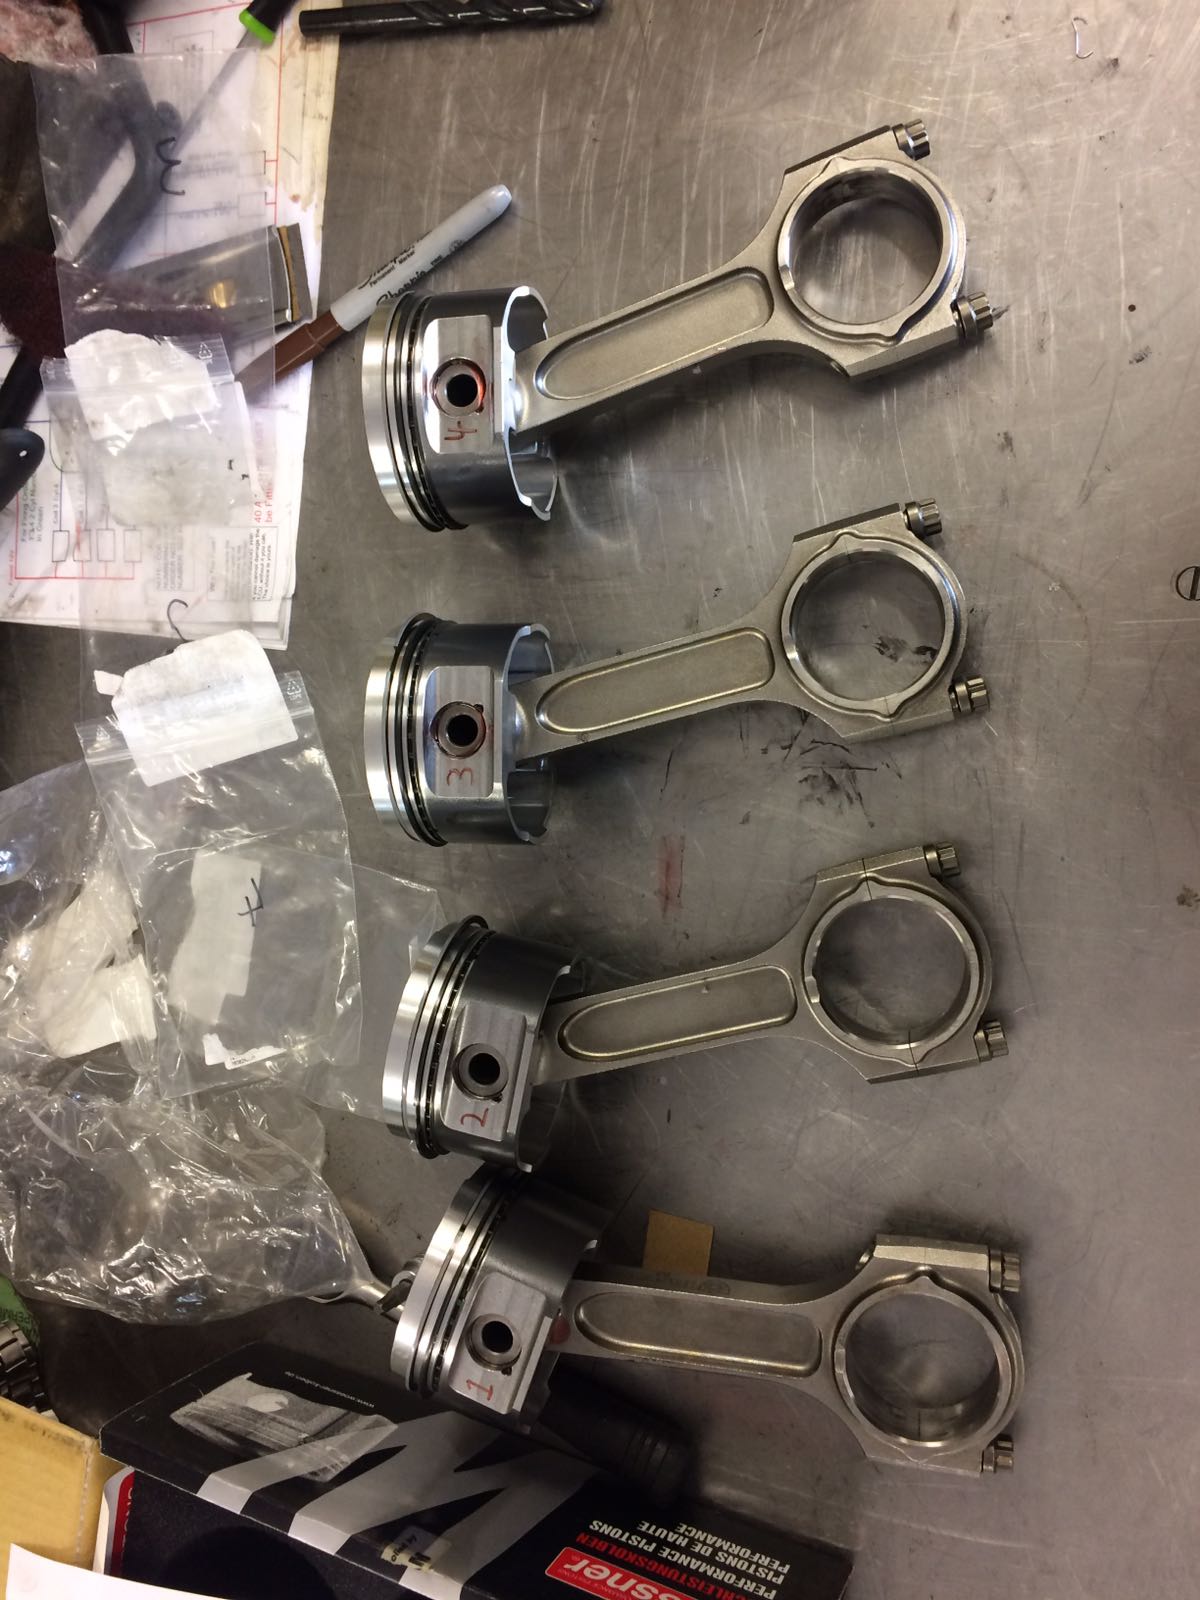
Back to the engine, and next up was fitting the pistons to the rods:
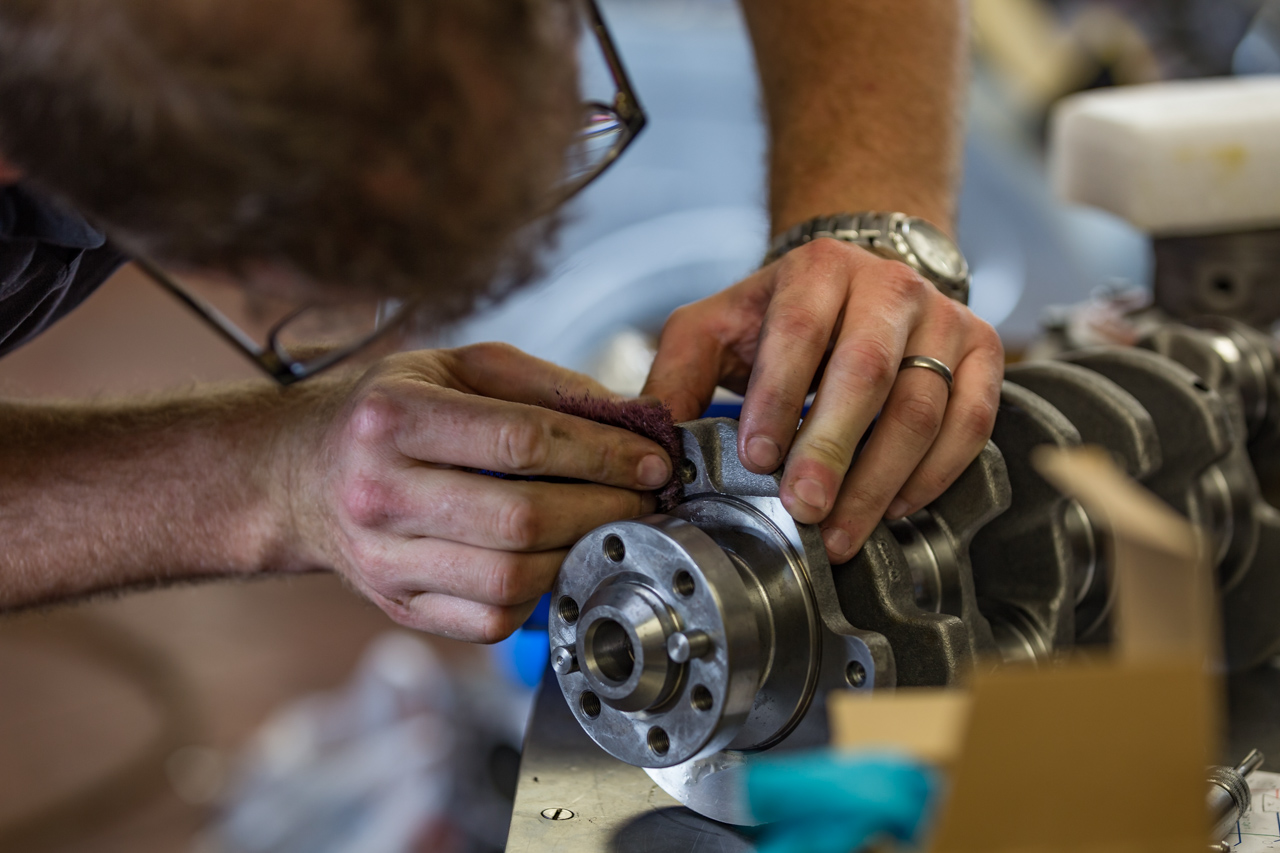
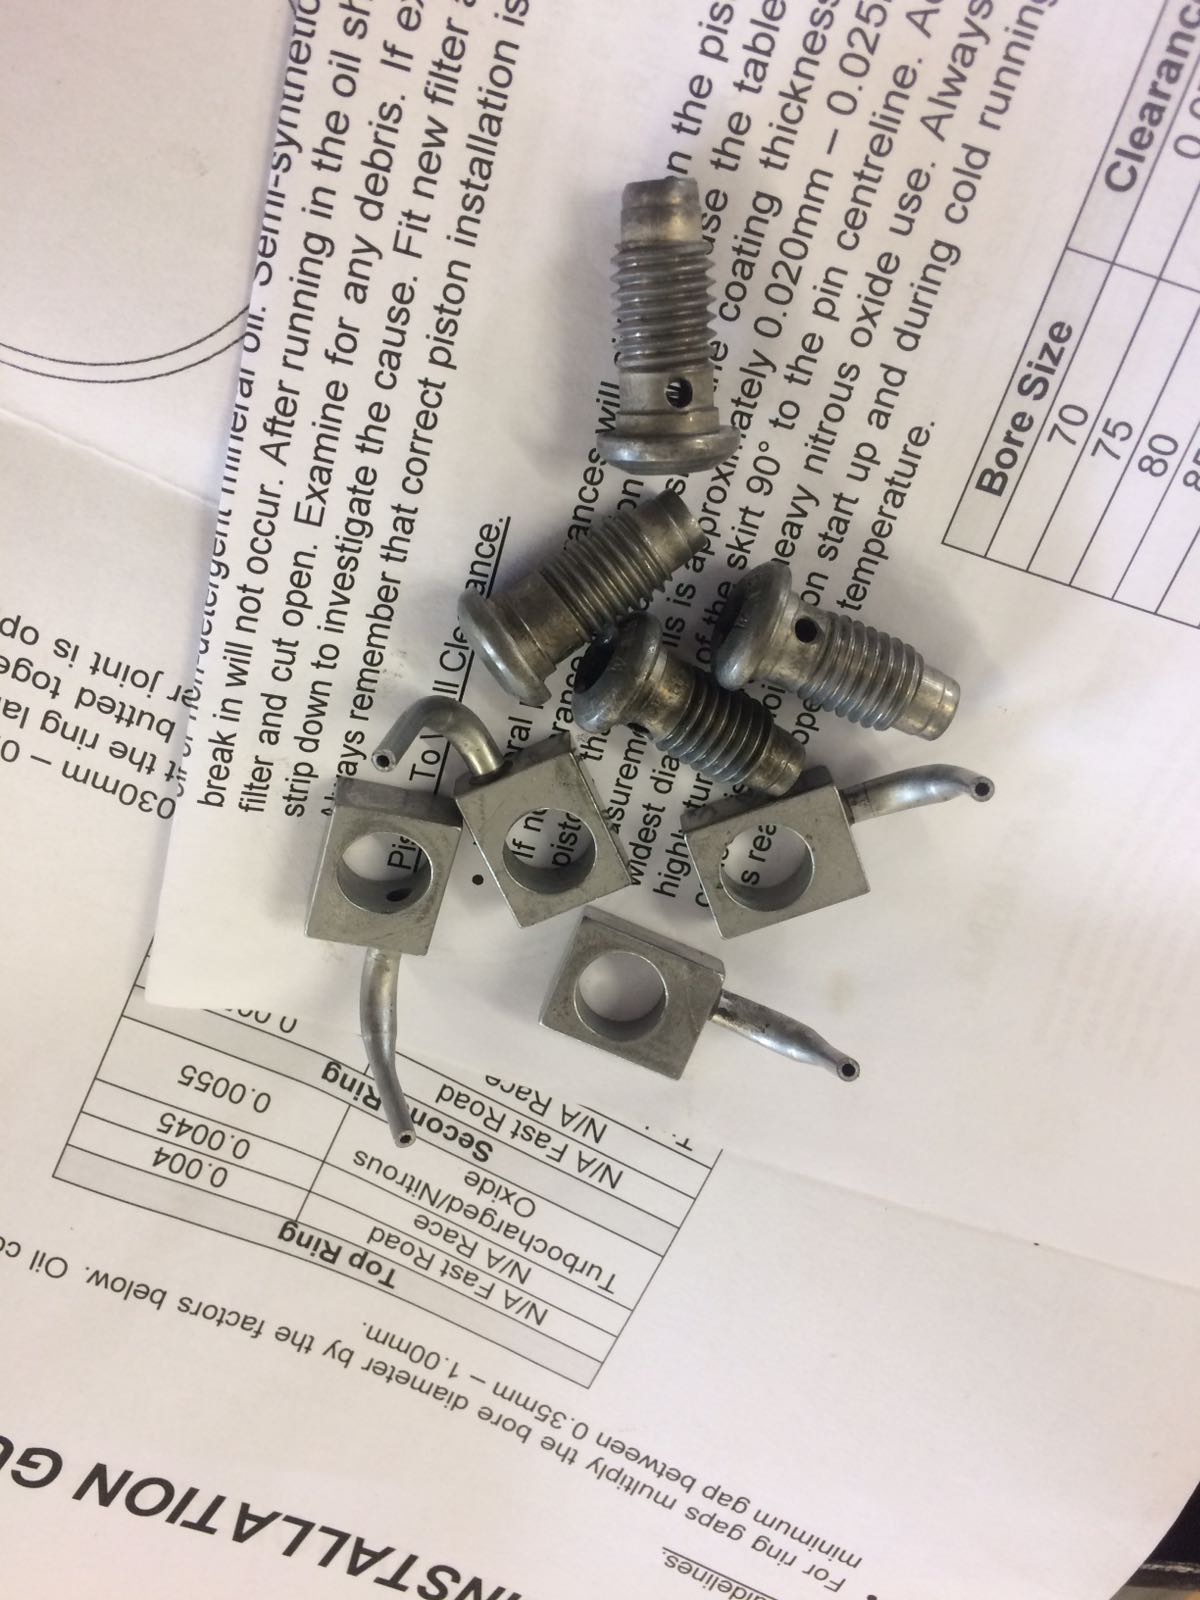
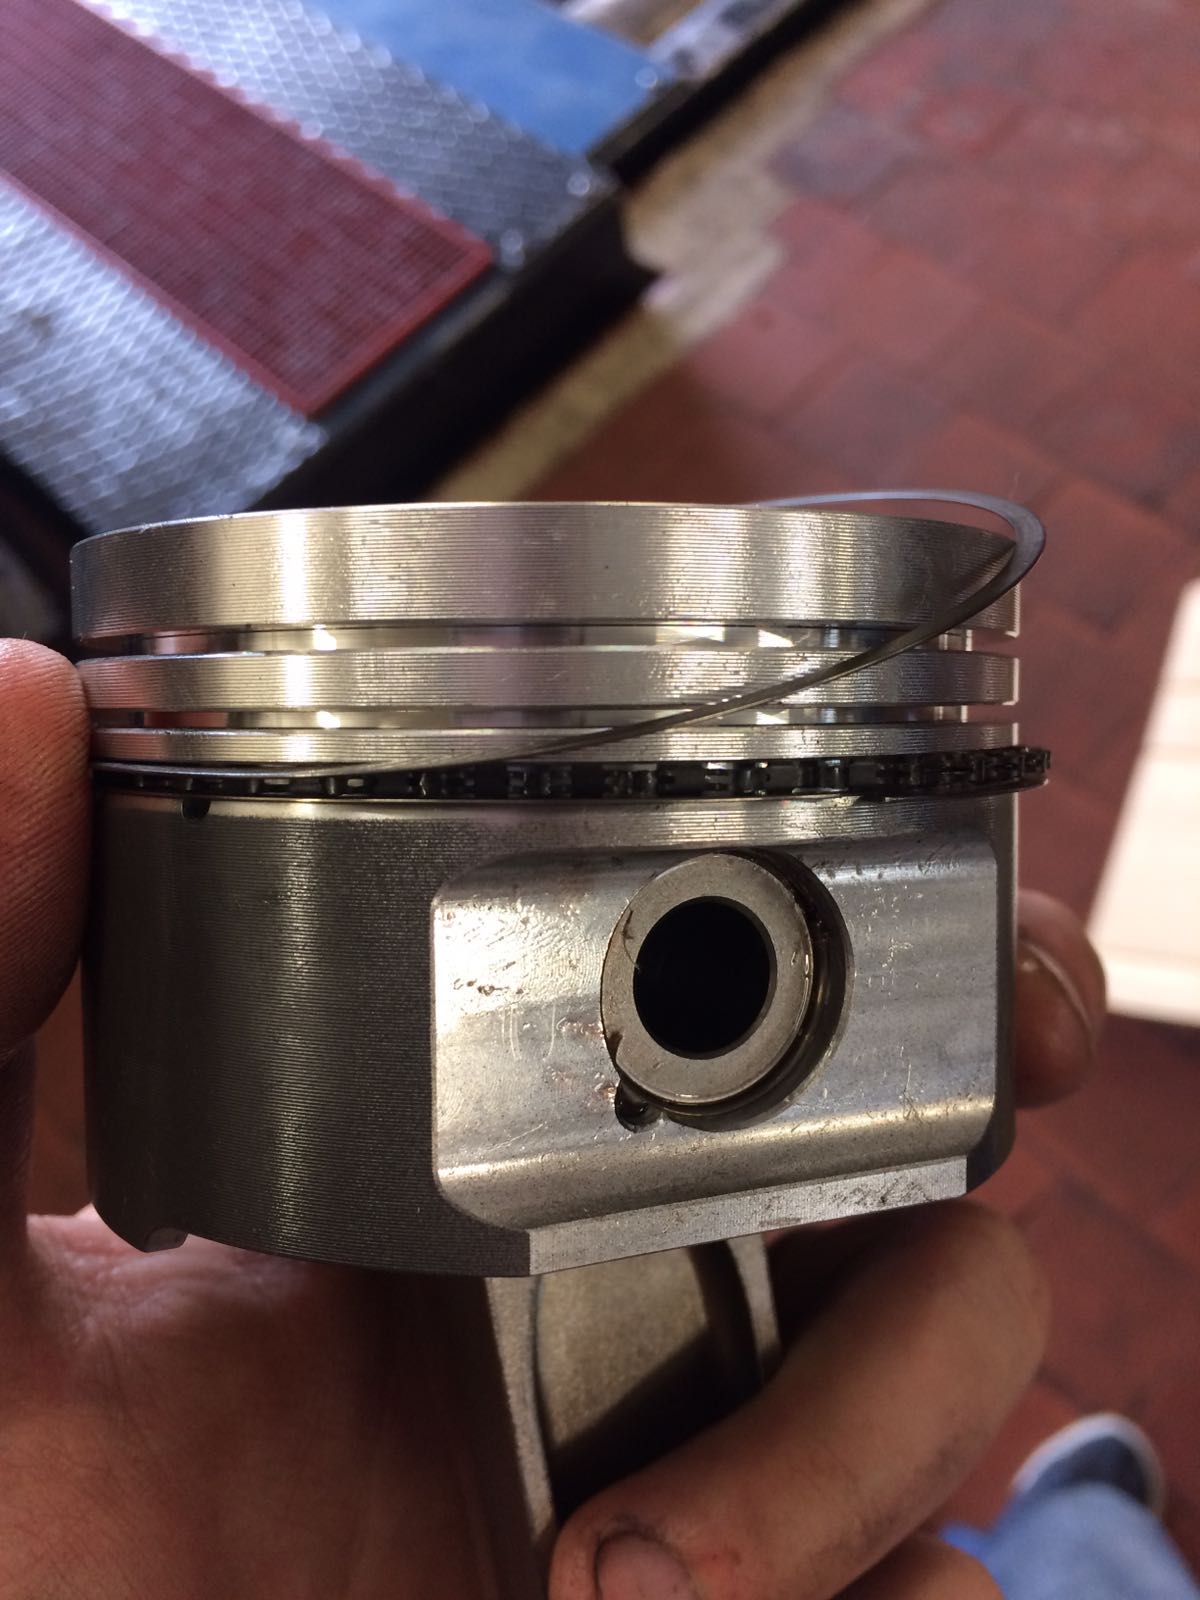
Like the standard pistons, they use a little ring clip to hold the pins in place. These were a bit tricky to rotate into place, so I filed the edges very slightly to aid them spinning round 180 from where you install them:
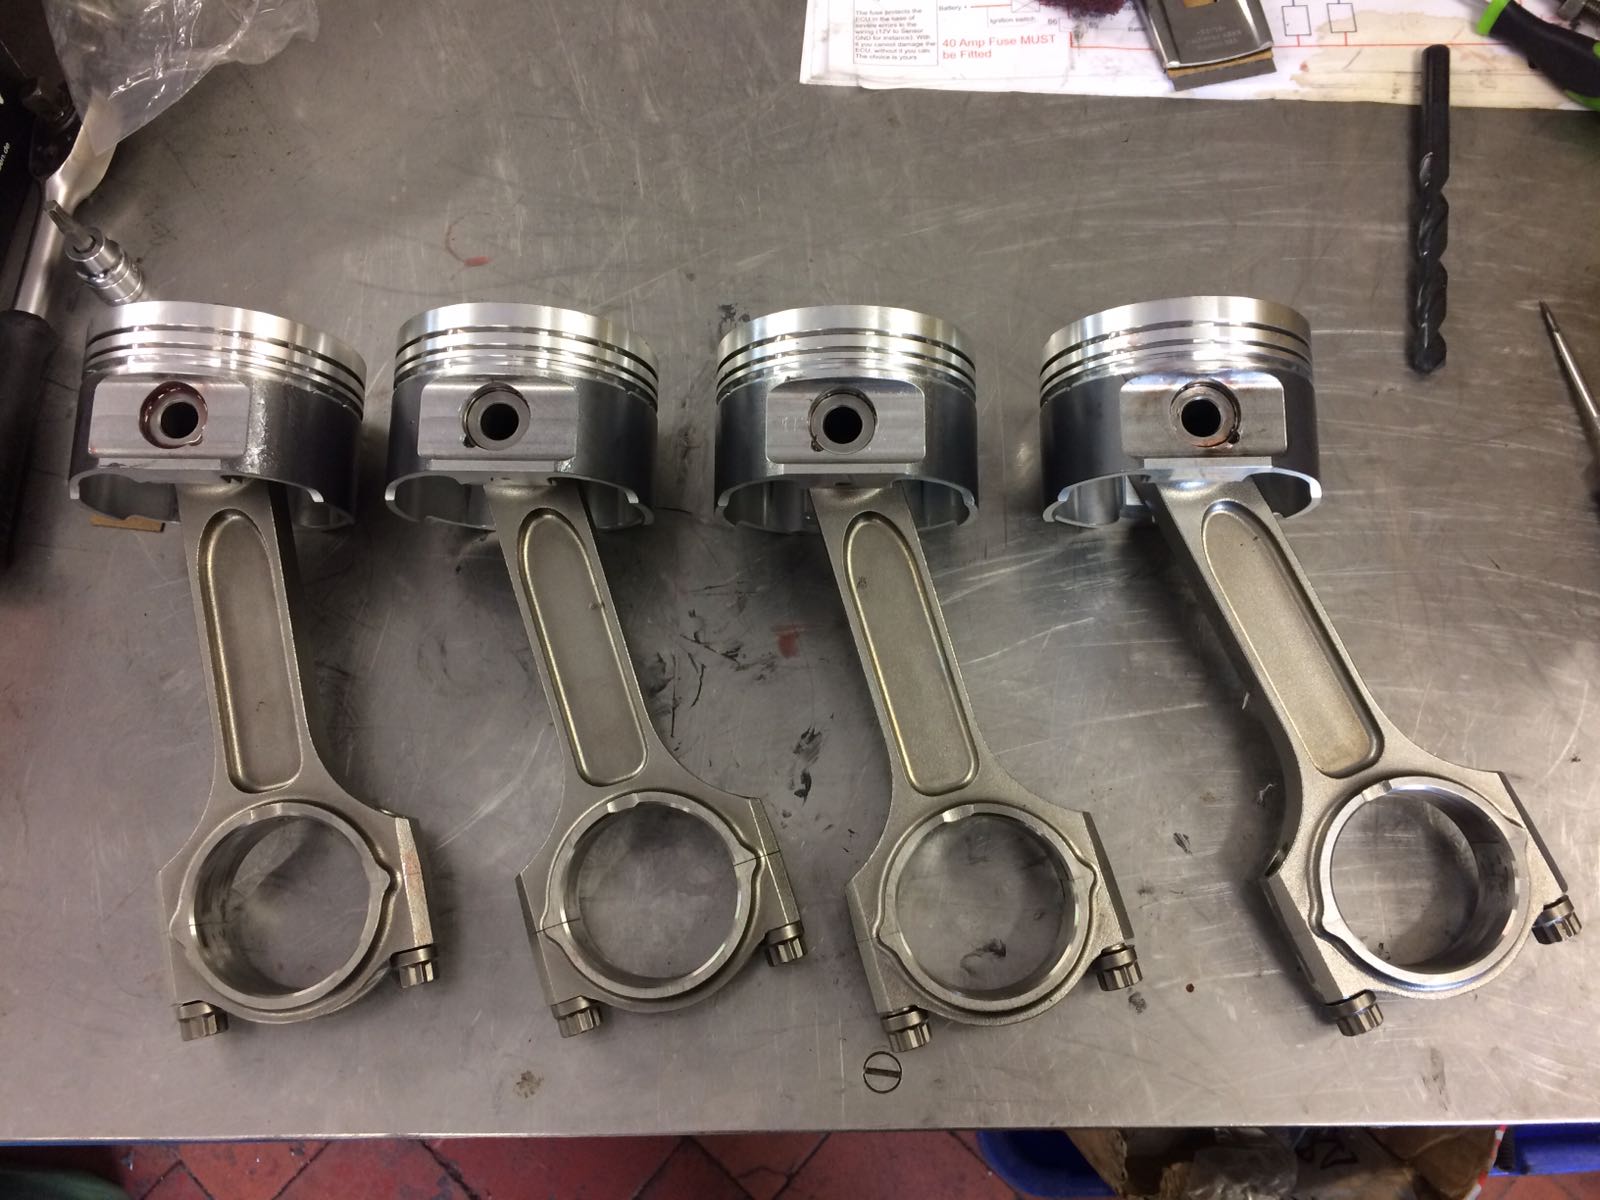
4x shiney wossners on 4 shiney IE rods!
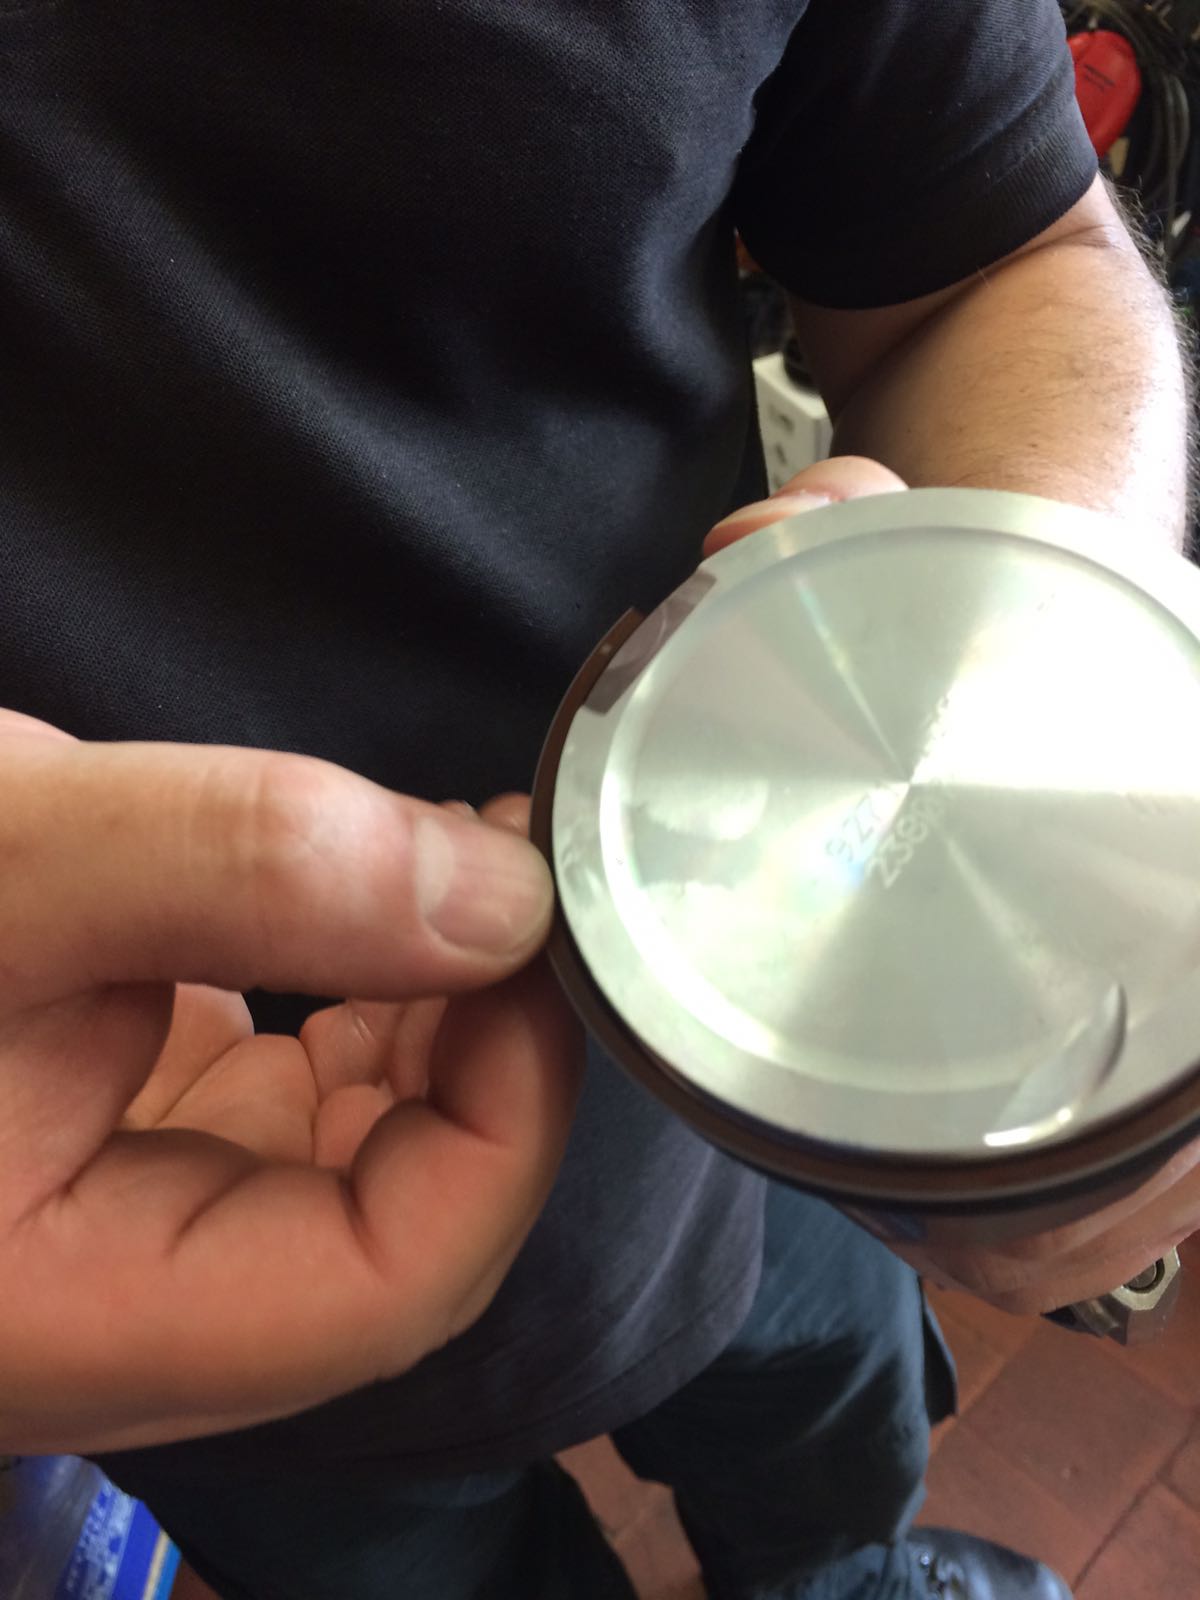
Next up PT showed me how to get the rings onto the pistons without risk of damaging them:
Then I fitted the next 3 pistons rings:
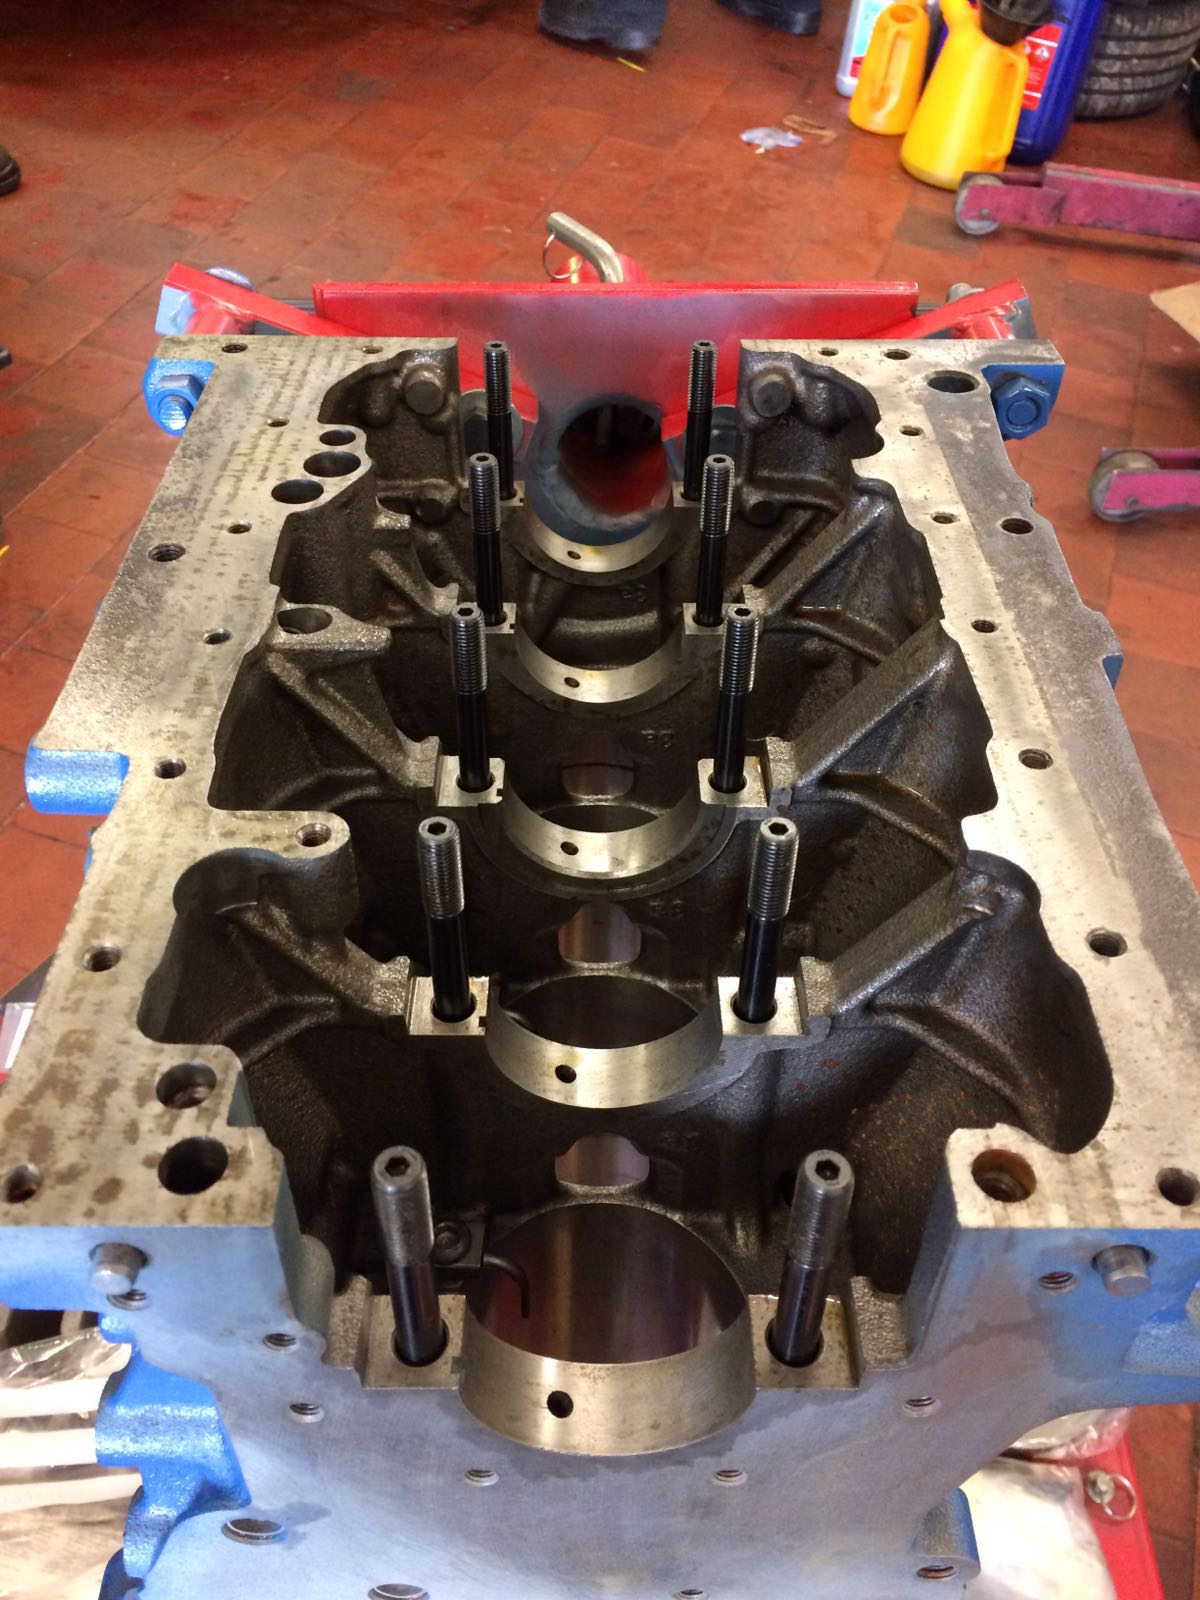
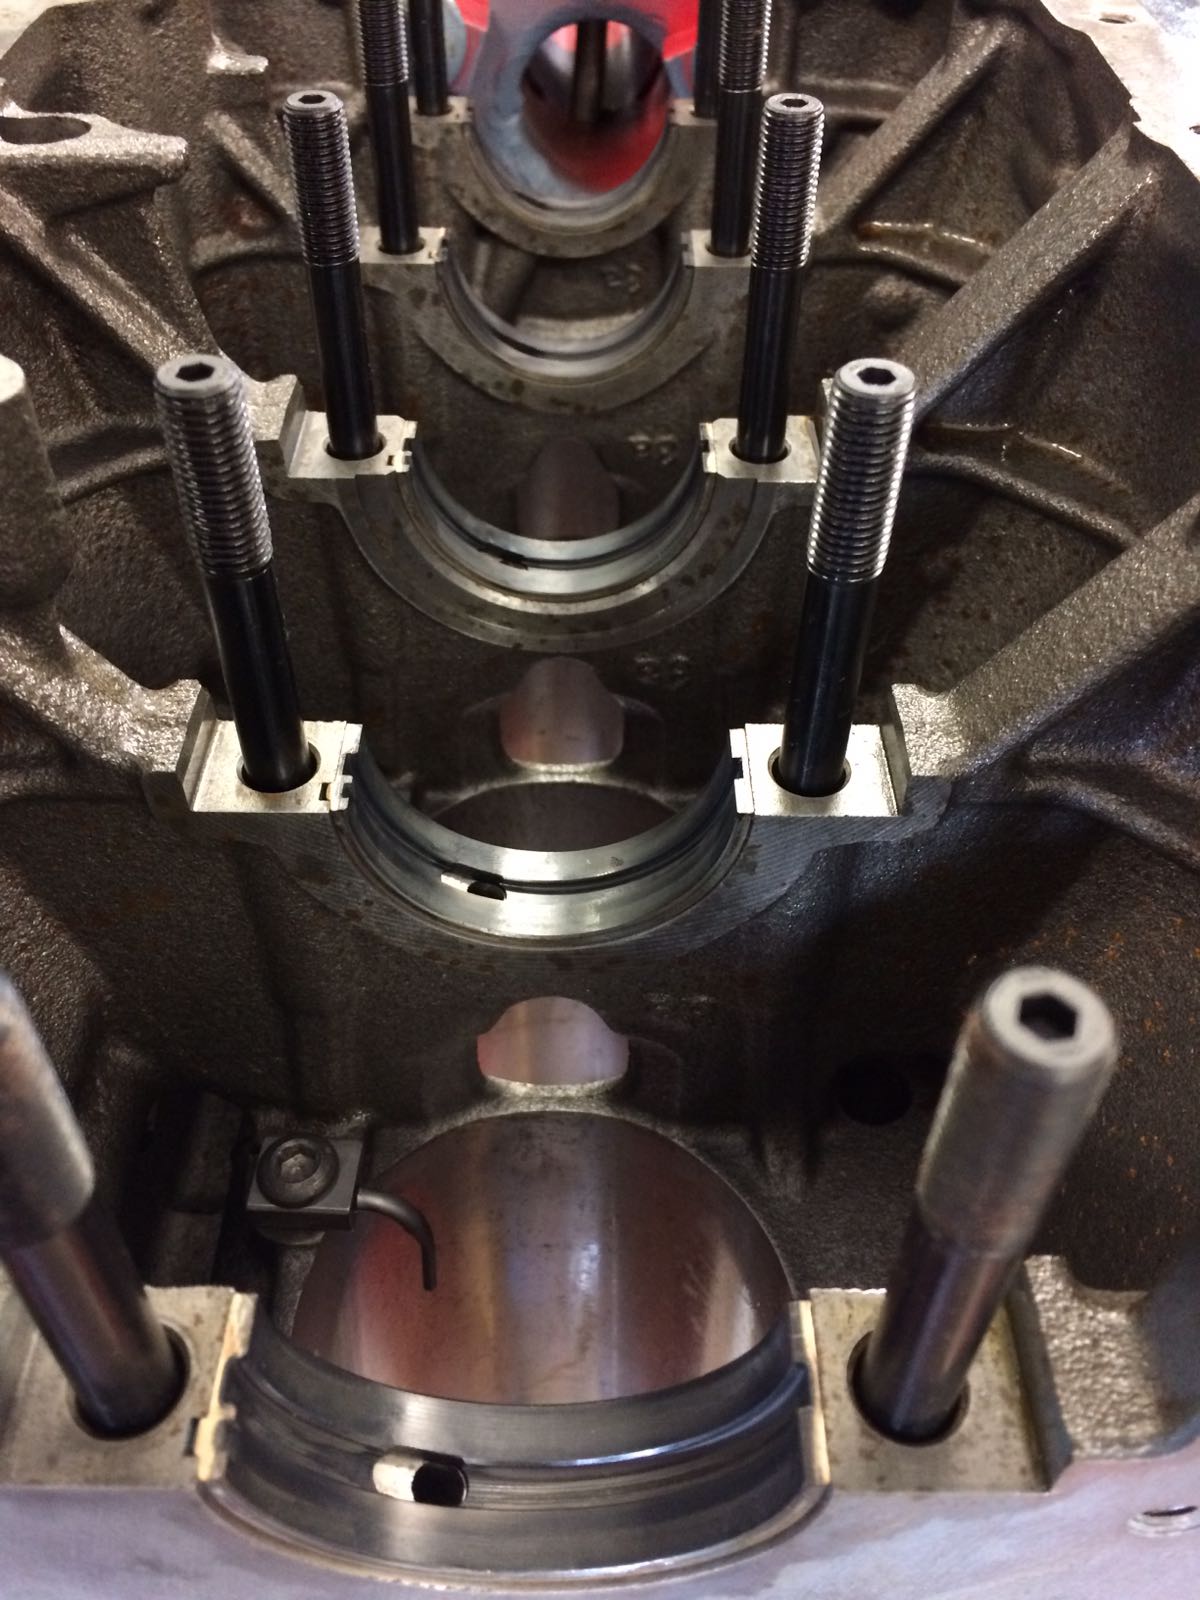
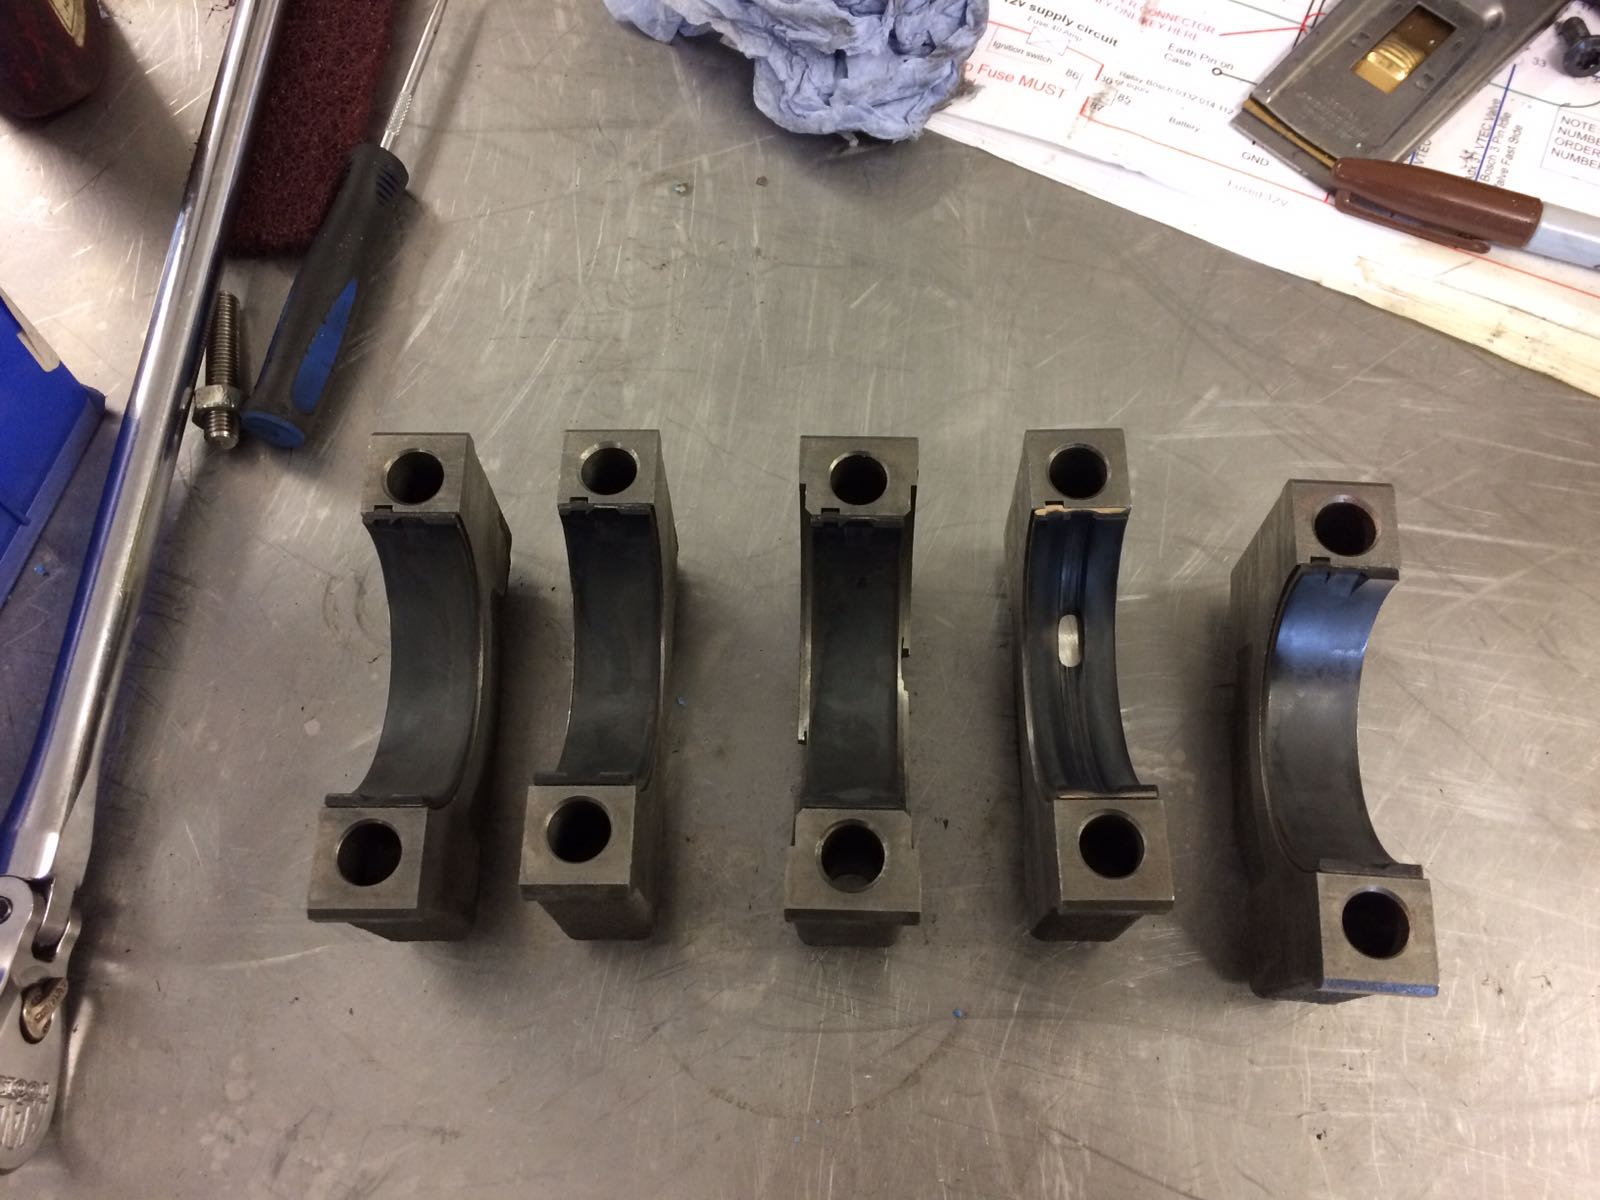
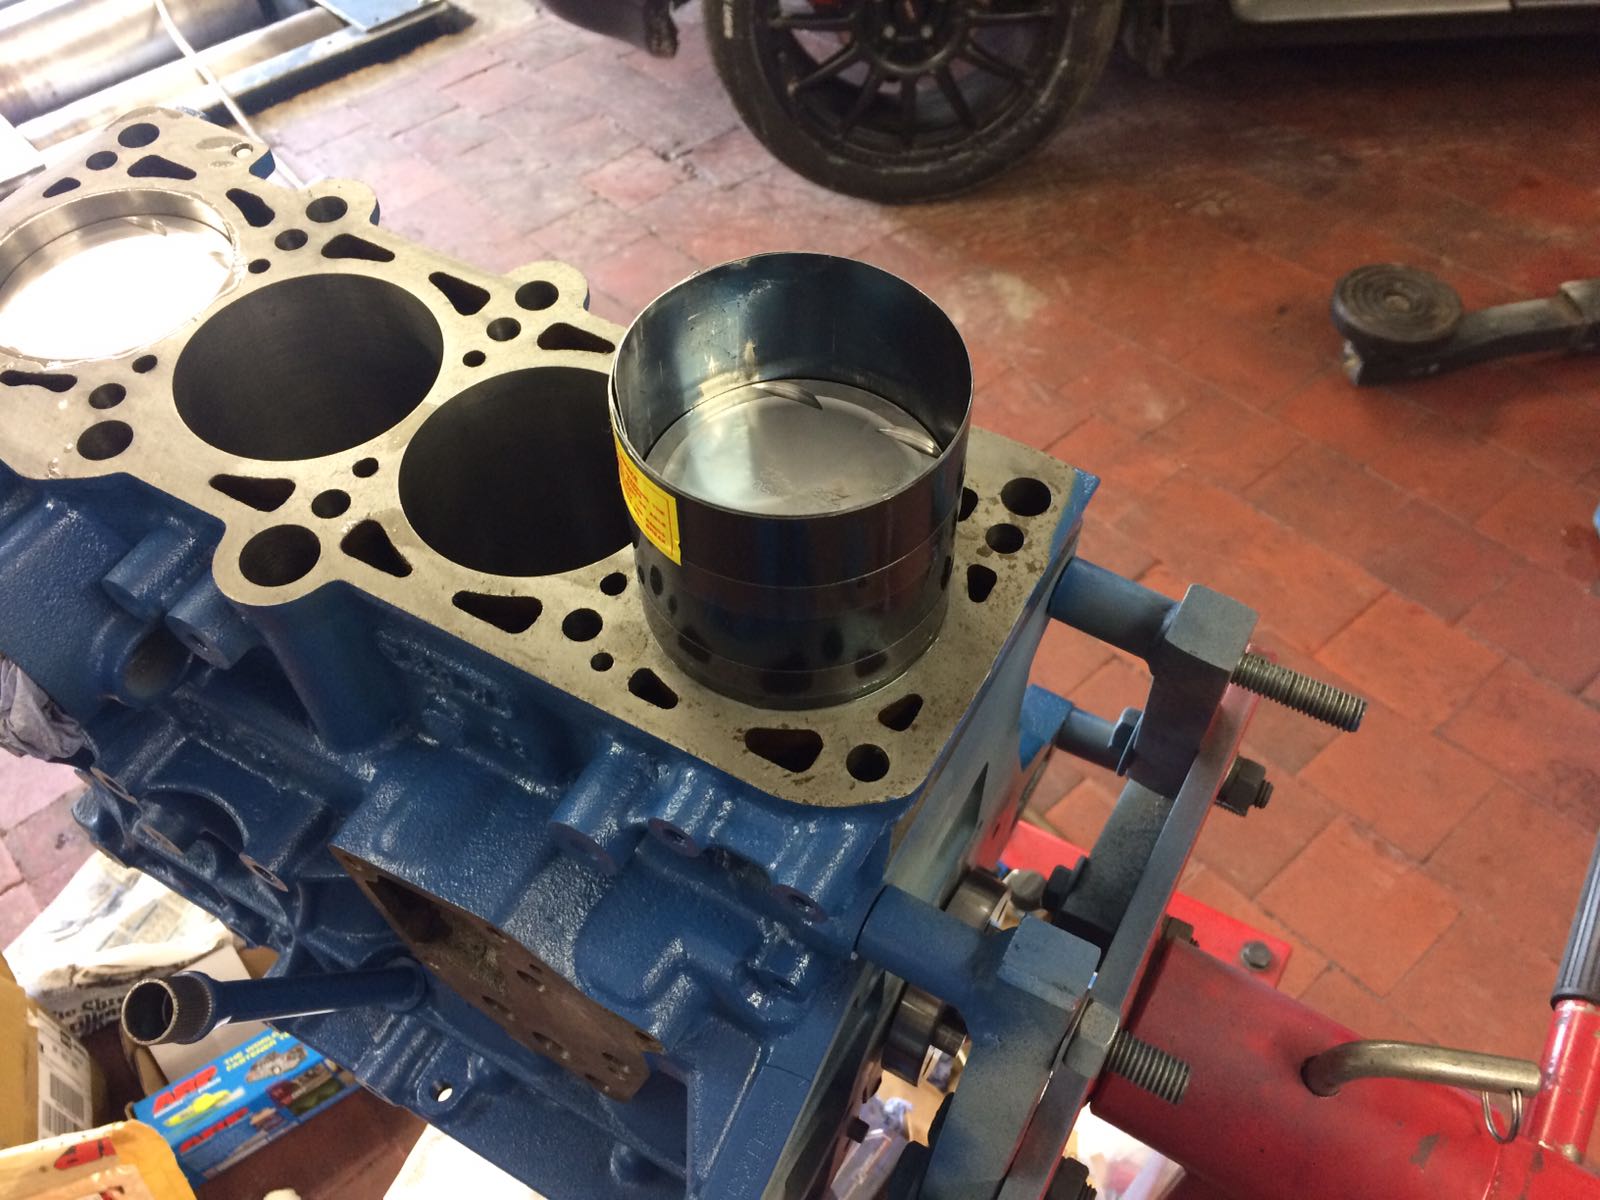
I fitted the King Racing shells to the rods, then it was time to install the pistons!
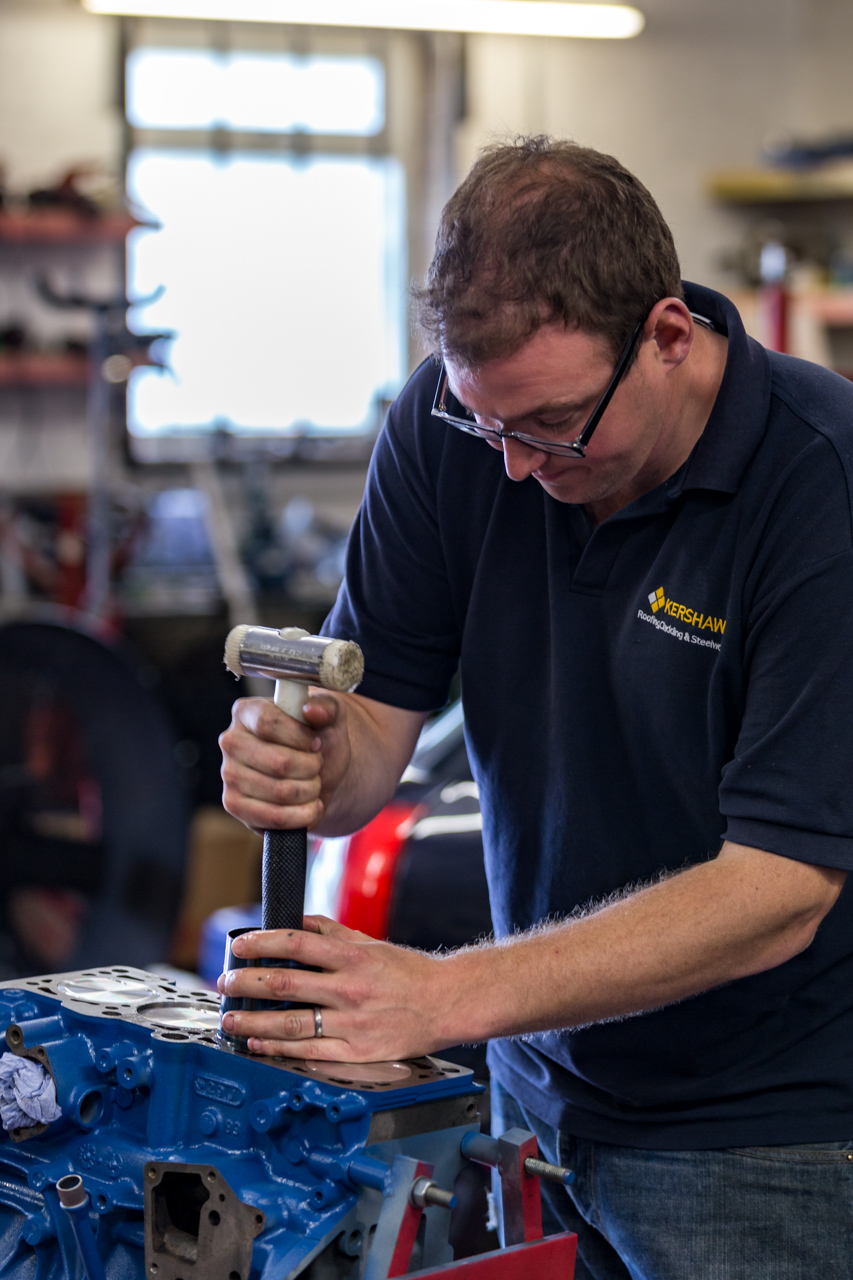
Wrapped up in the piston ring compressor tool and offered into place:
The first one Tuffty did again, just to show me the best practise, then I did the rest.
It was quite a tricky process, as you can’t always tell if it’s gone in right. I had to have a second attempt at one as it just didn’t want to go down. We refitted the ring compressor and went again, and all was good:
2 in, 2 to go!
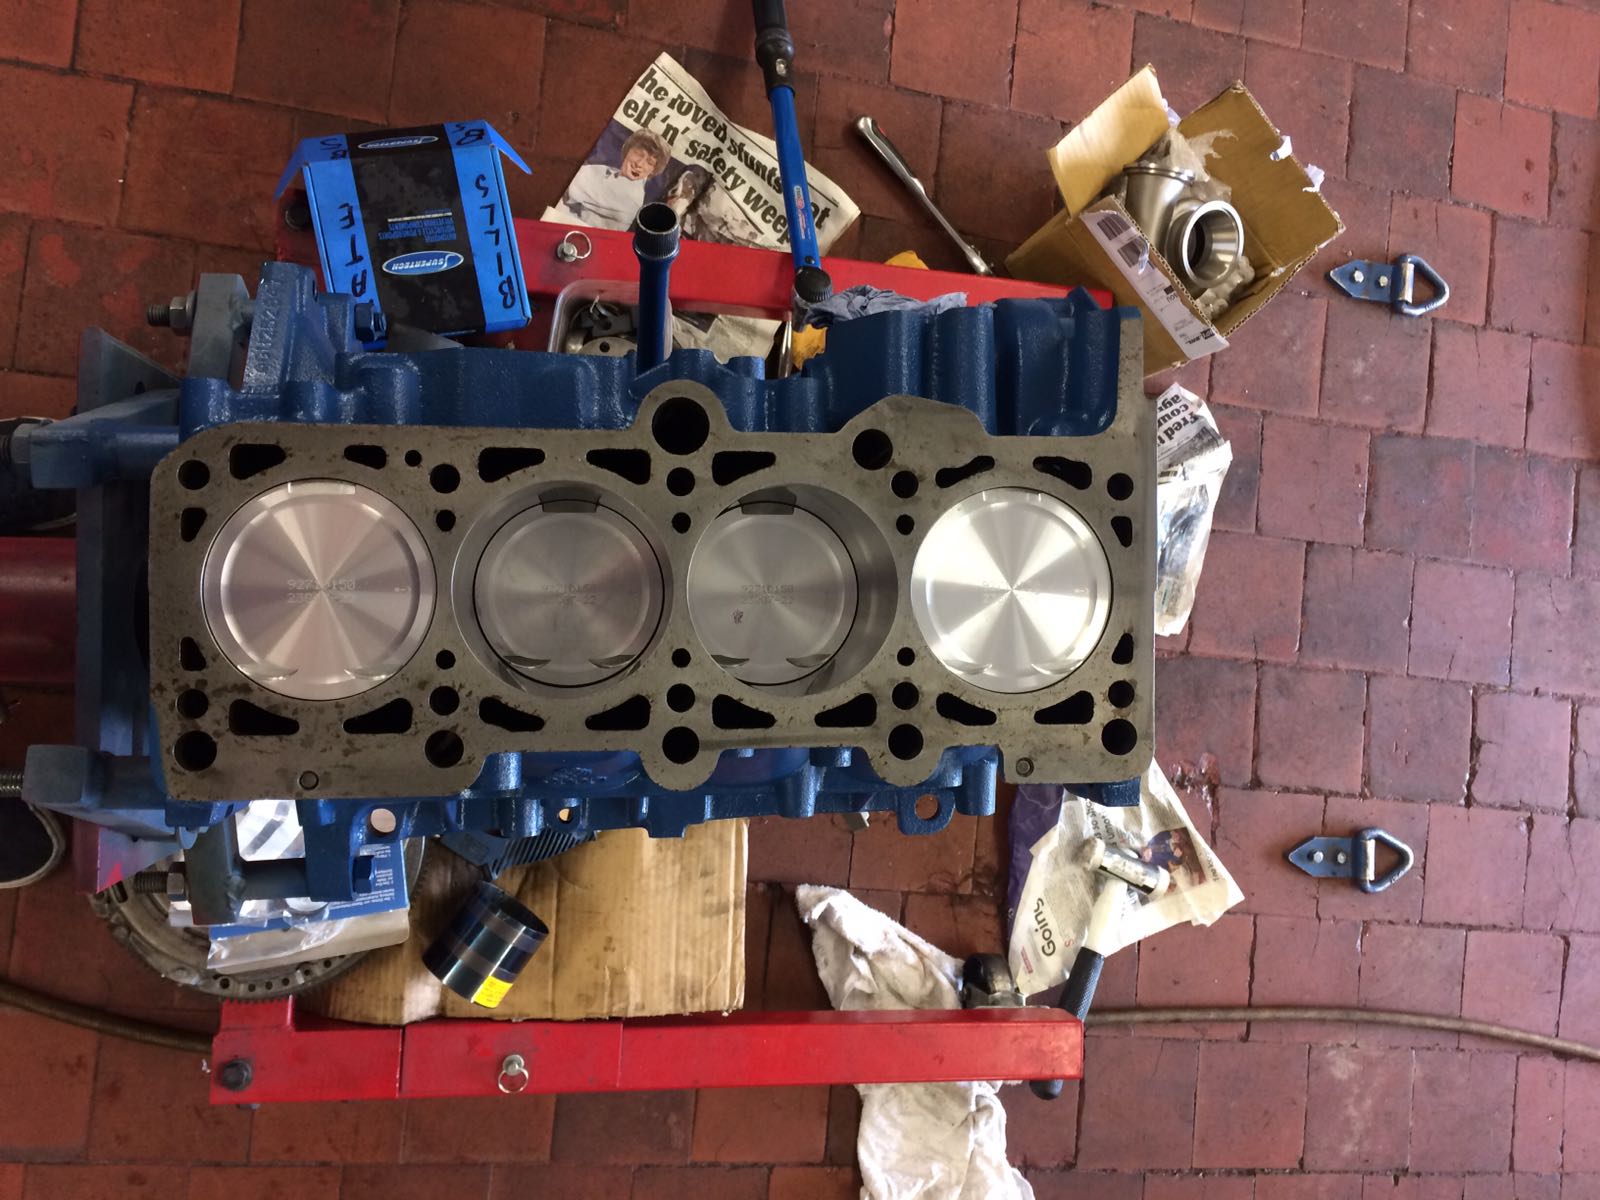
And this is the money shot I’ve been waiting for!
With that done, we flipped the engine over and torqued up the big ends.
These were torqued to 55lbft, torqued and released twice, before being torqued for a 3rd and final time. This is just to make sure everything is seating 100% correctly.
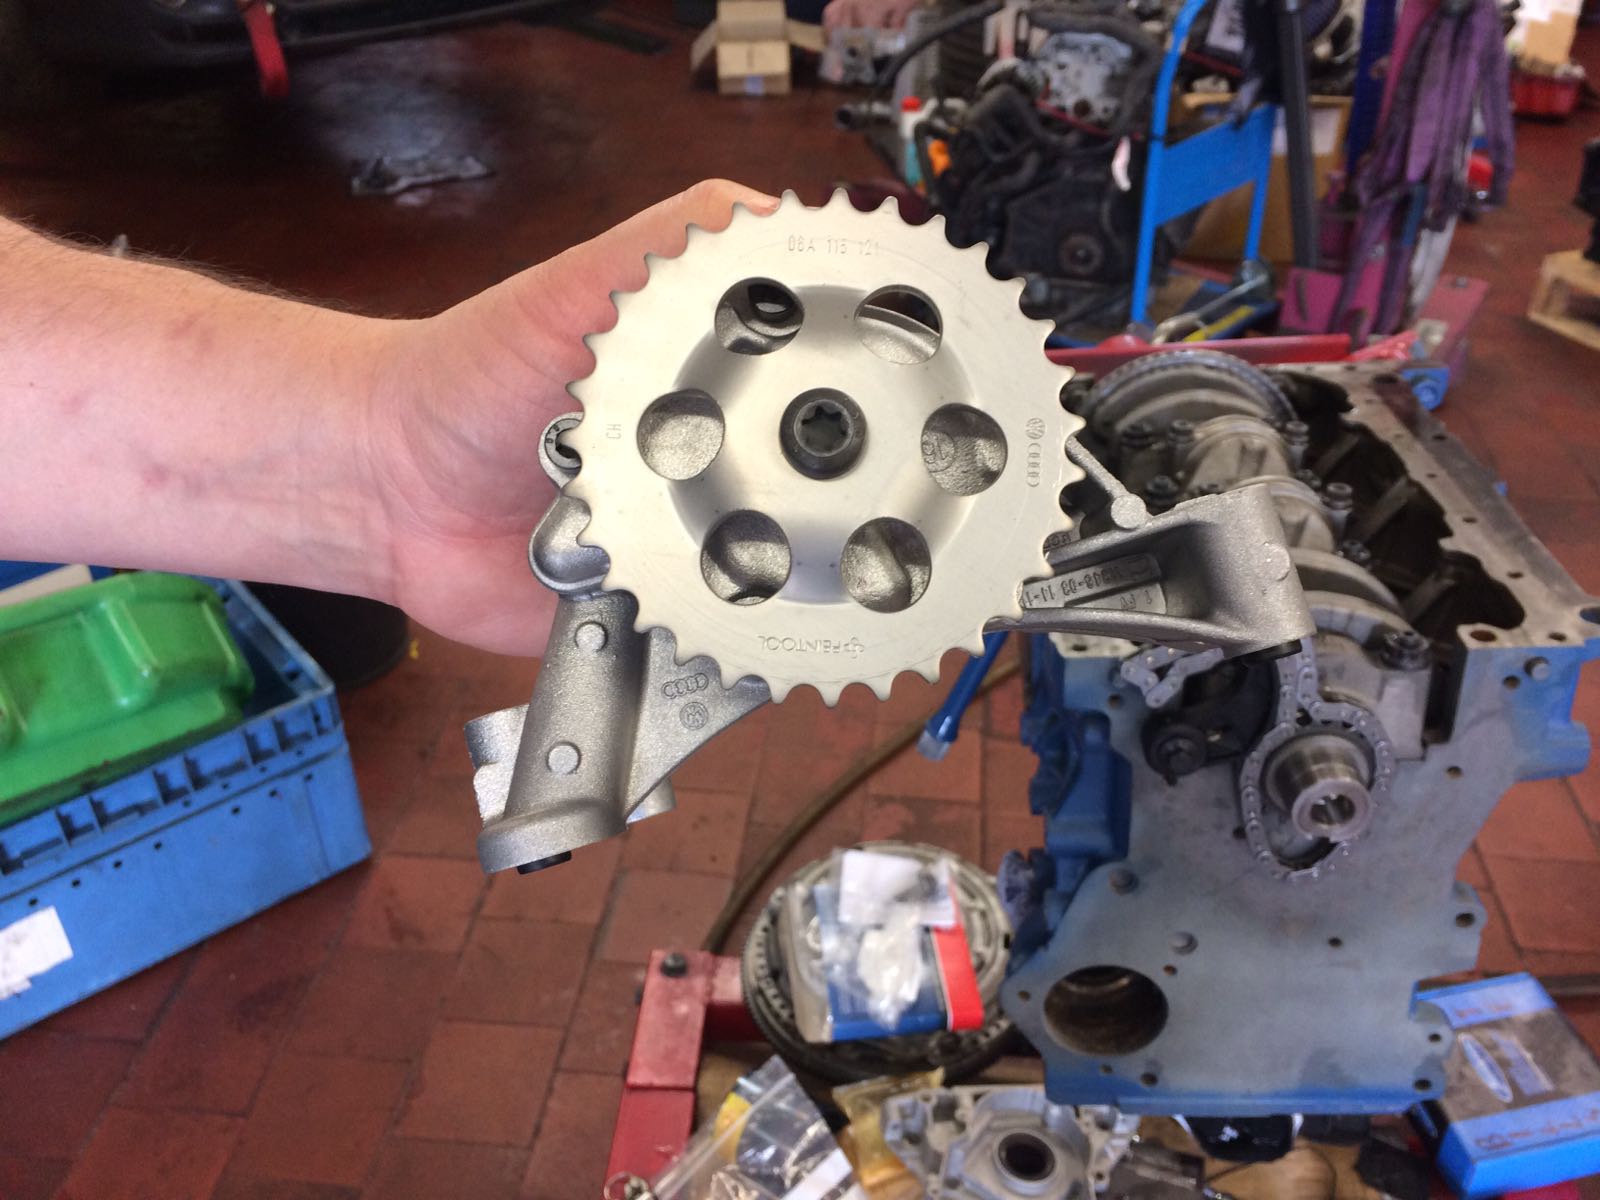
After that I installed a new oil pump chain tensioner. Only a small part, but something that’s often overlooked:
Then it was time for a brand new OE oil pump:
The oil pump was fitted, with a brand new chain, and the windage tray went on too
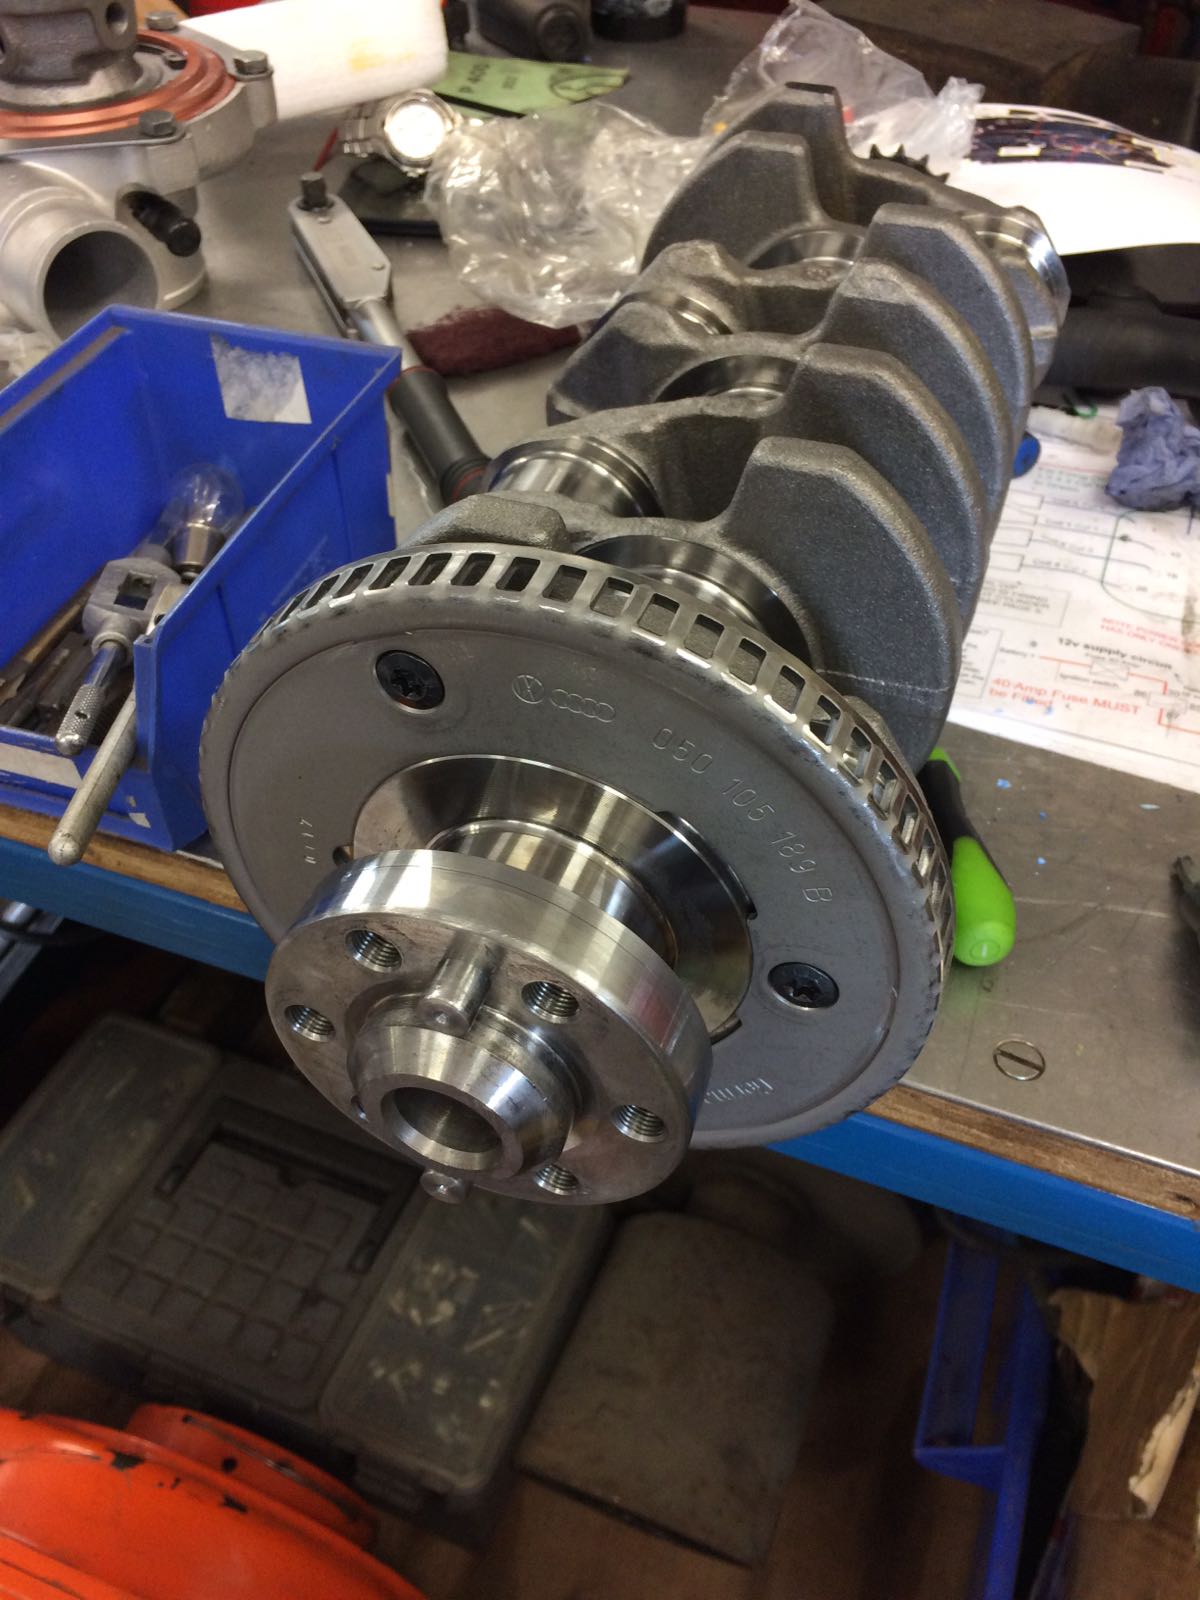
Next up was the end seal on the crank. The housing had been cleaned up, and a brand new seal fitted:
Sealant skilfully applied by PT:
And on it went:
Almost done now!
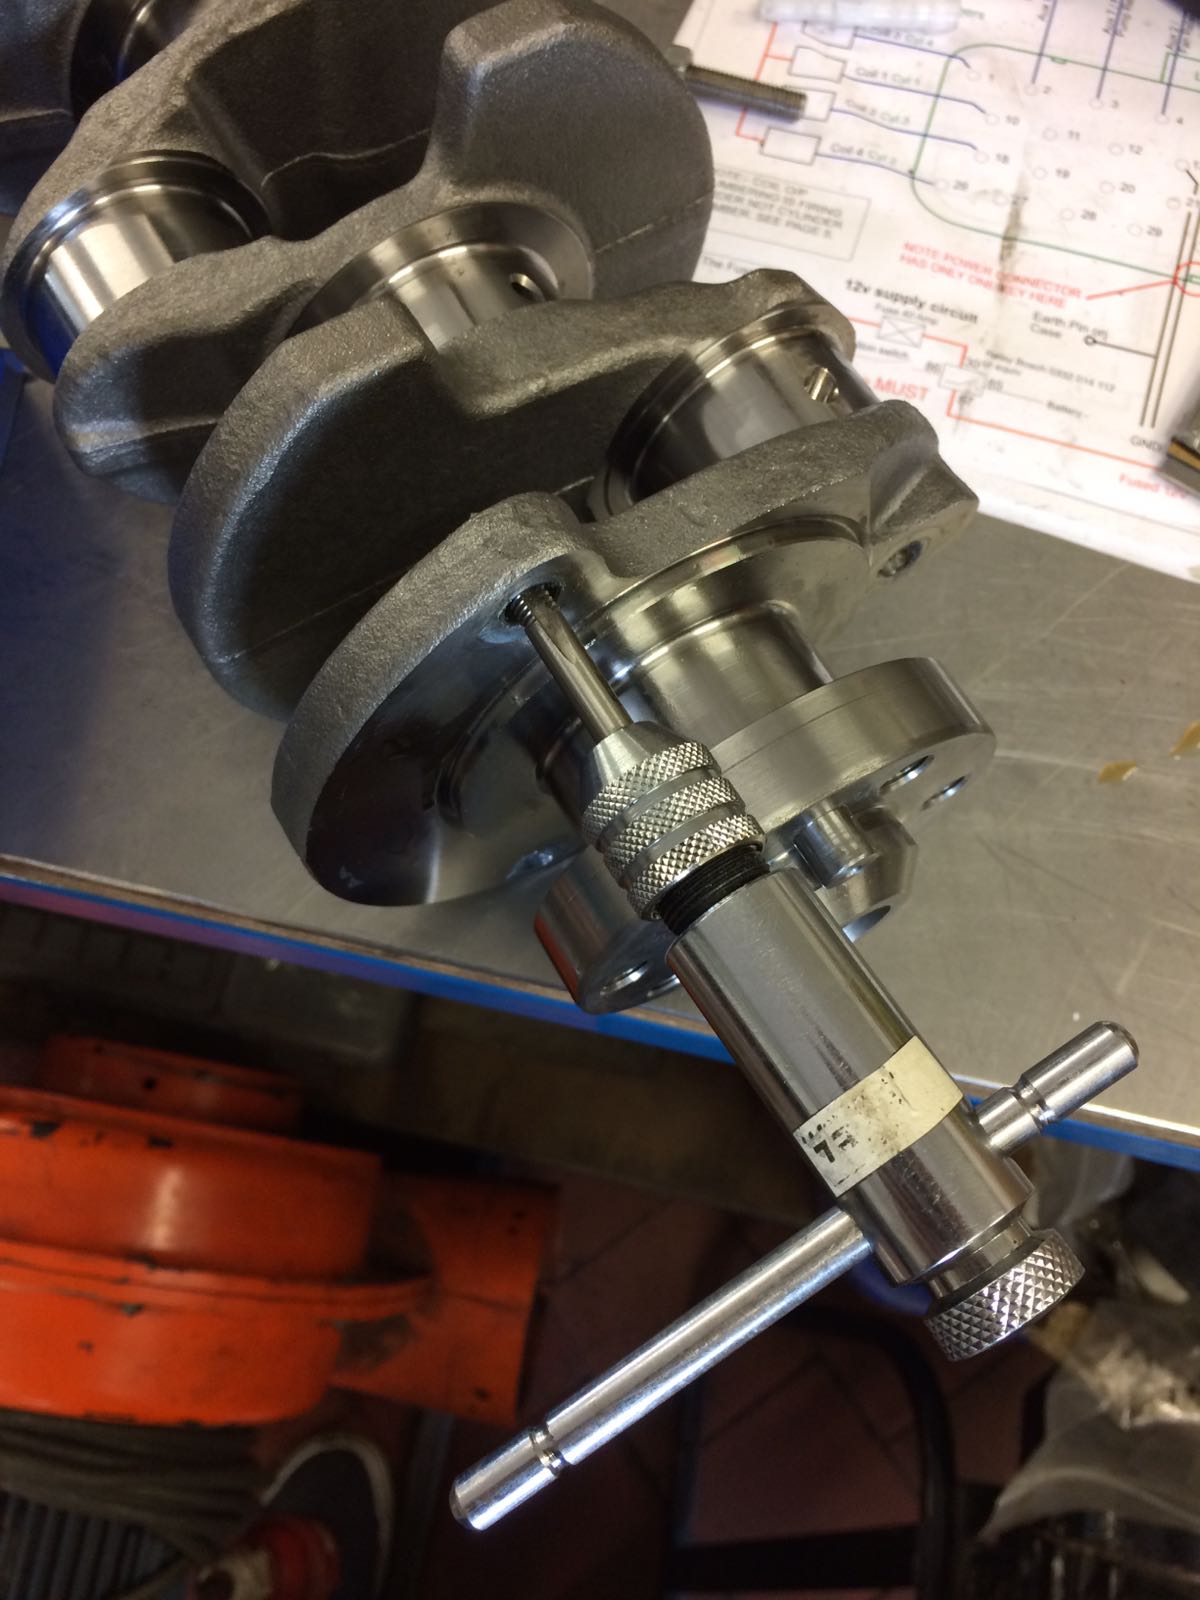
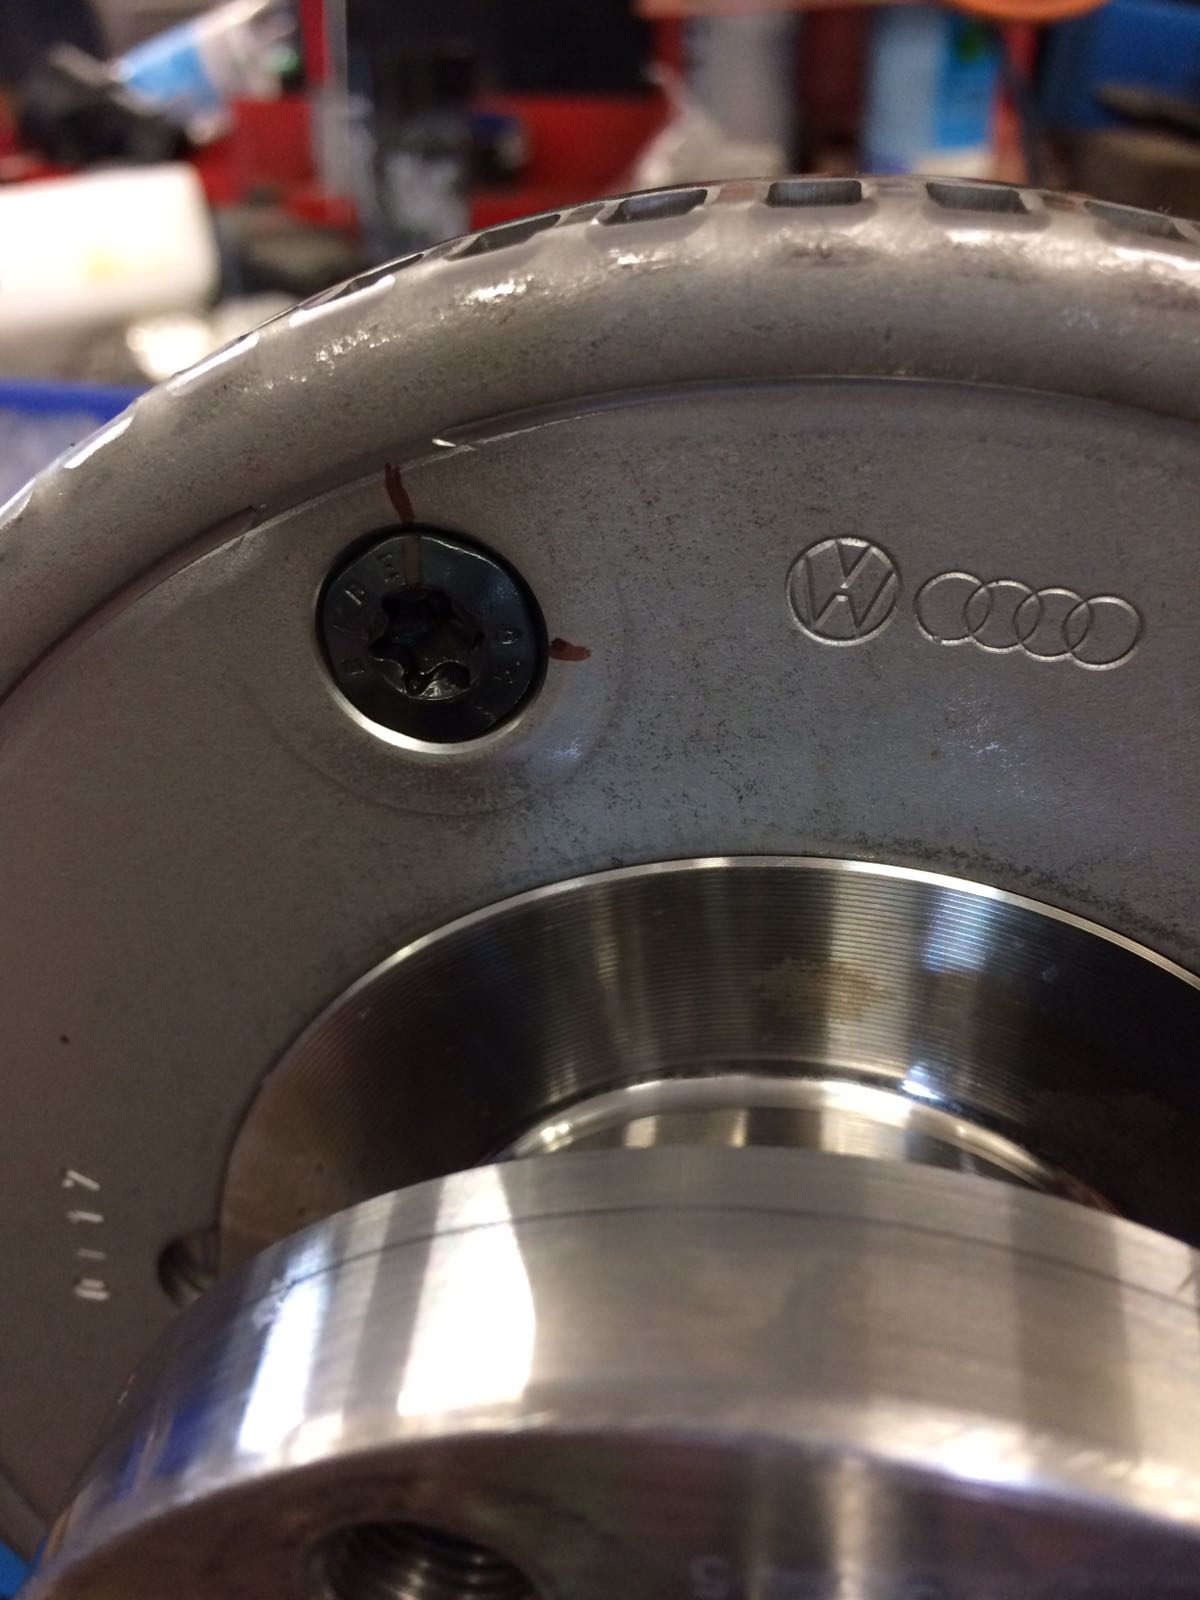
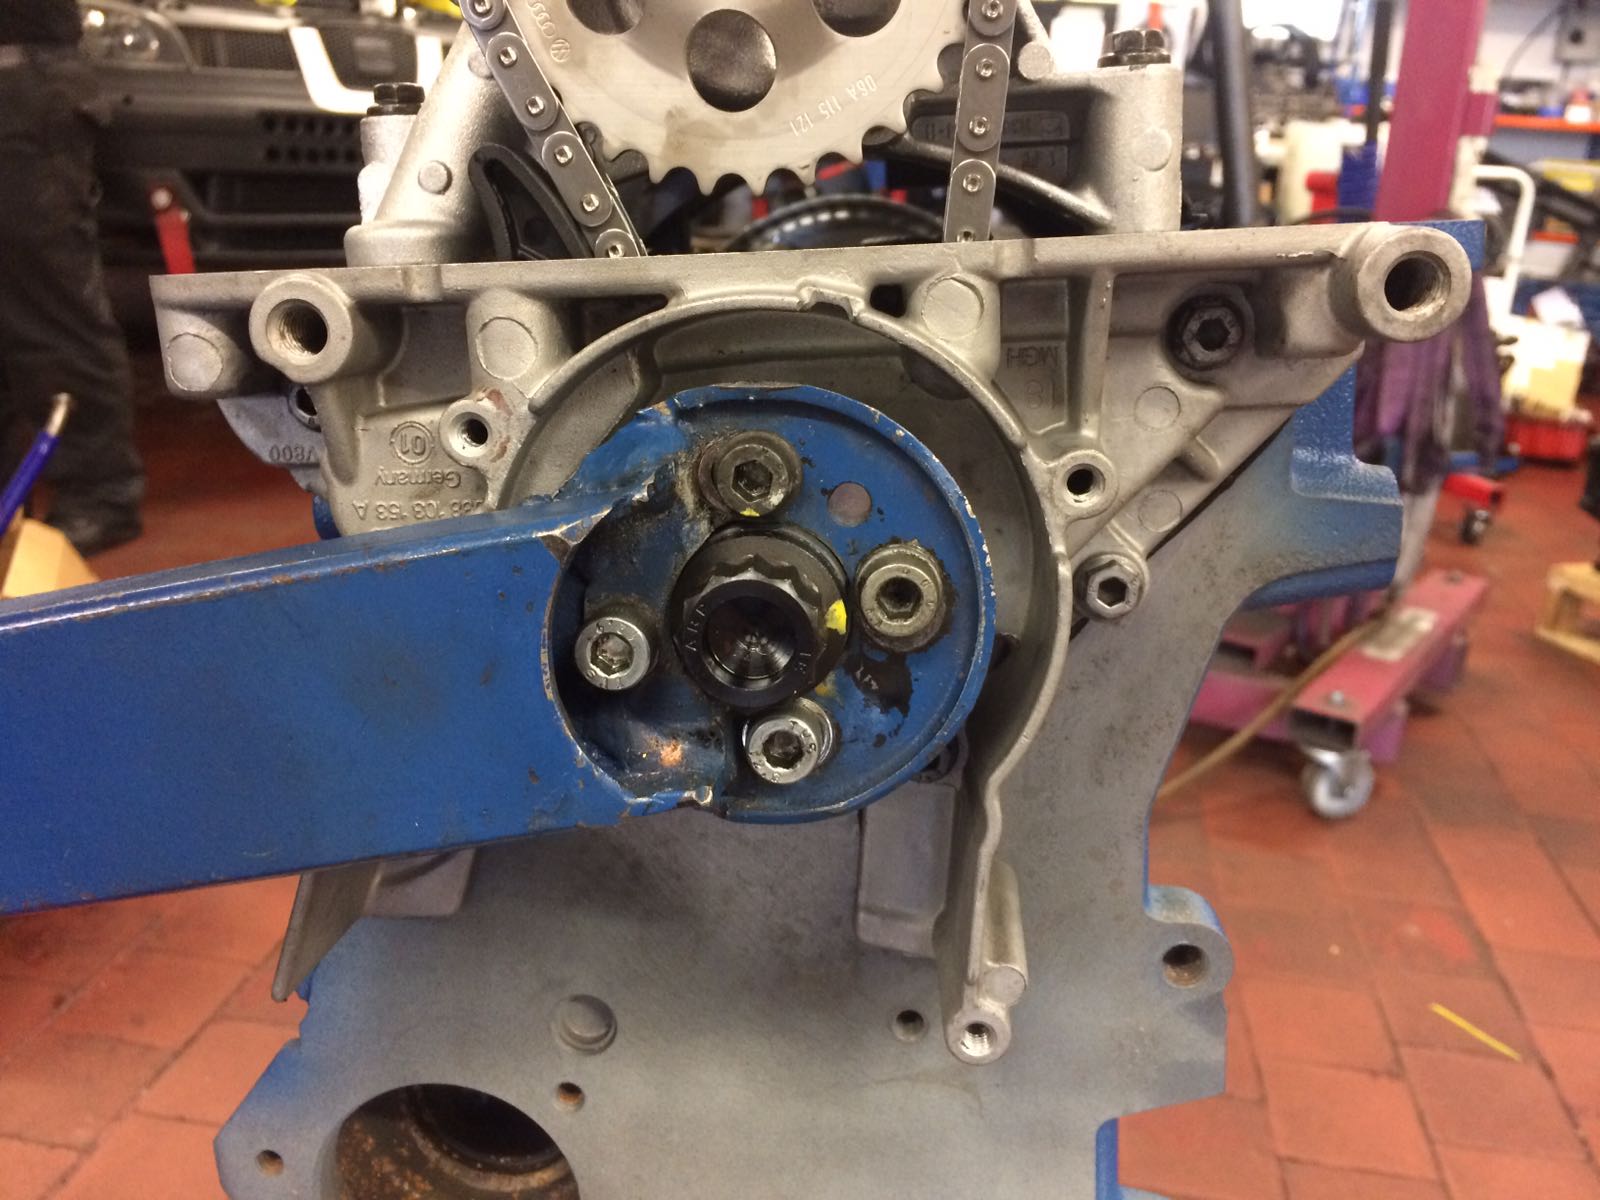
Next up was the IE Billet crank pulley. This is ****** expensive for a little lump of steel, but it’s well worth it as PT found out if you ever get an over rev situation. It’s the little things like this that should ensure the engine is done properly and not just thrown together. Excuse the blurry pic:
The ARP Bolt was lubed under the head, and run on with the gun to seat the pulley, then removed, thread locked, and reinstalled.
The Homemade looking tool was then bolted up to the pulley to allow tightening of the bolt:
This was torqued to 78lbft, then marked with the paint pen in preparation for the famous ¼ turn that’s so difficult to do:
The torque wrench was then replaced with a huge 3 drive breaker bar. Alex and tuffty held the crank tool on one side, whilst Bill used all his worldly experience to persuade the bar to turn through a full 90 degrees, picking Tuffty and Alex up off the ground in the process

Success!
With that done, we removed the engine from the stand, and fitted the other crank seal:
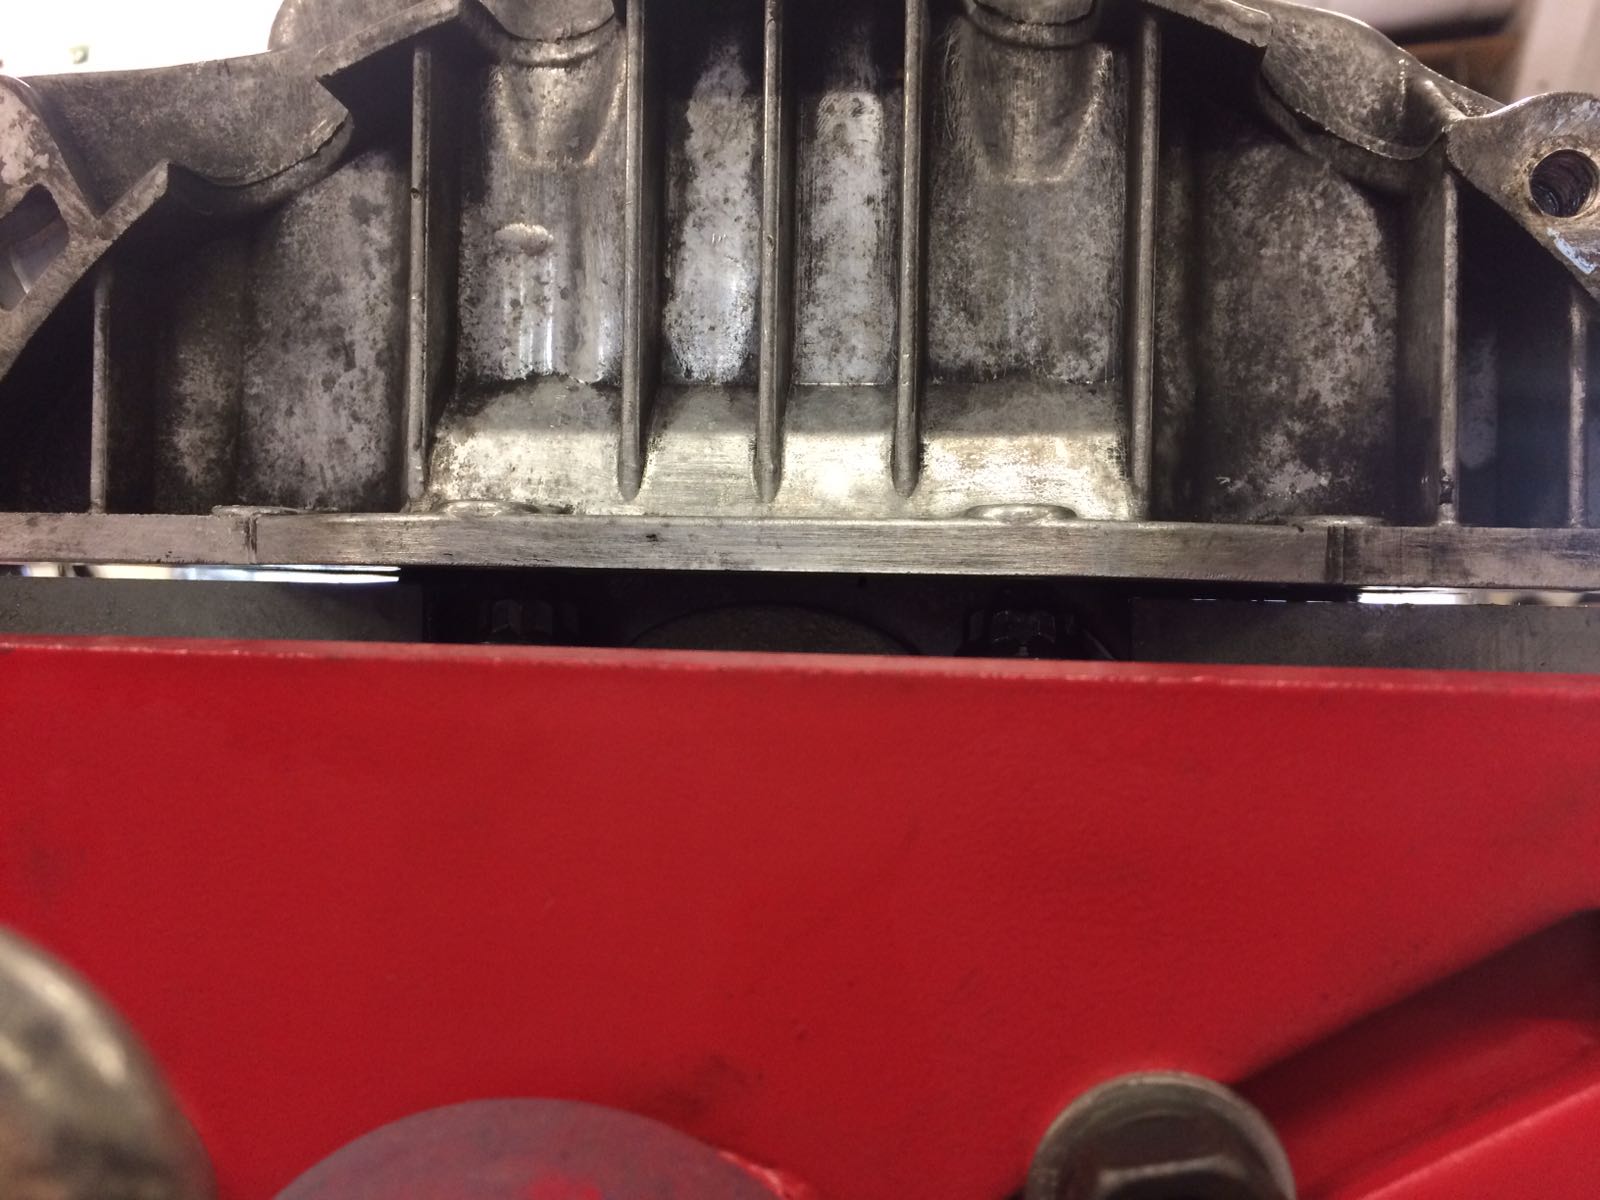
Then it was time to offer the sump up.
Tuffty had told me about this before, but I’d not seen it for myself. When using ARP main studs, a small section of the sump needs grinding out to gain clearance. You can see here the sump is sitting proud of the block:
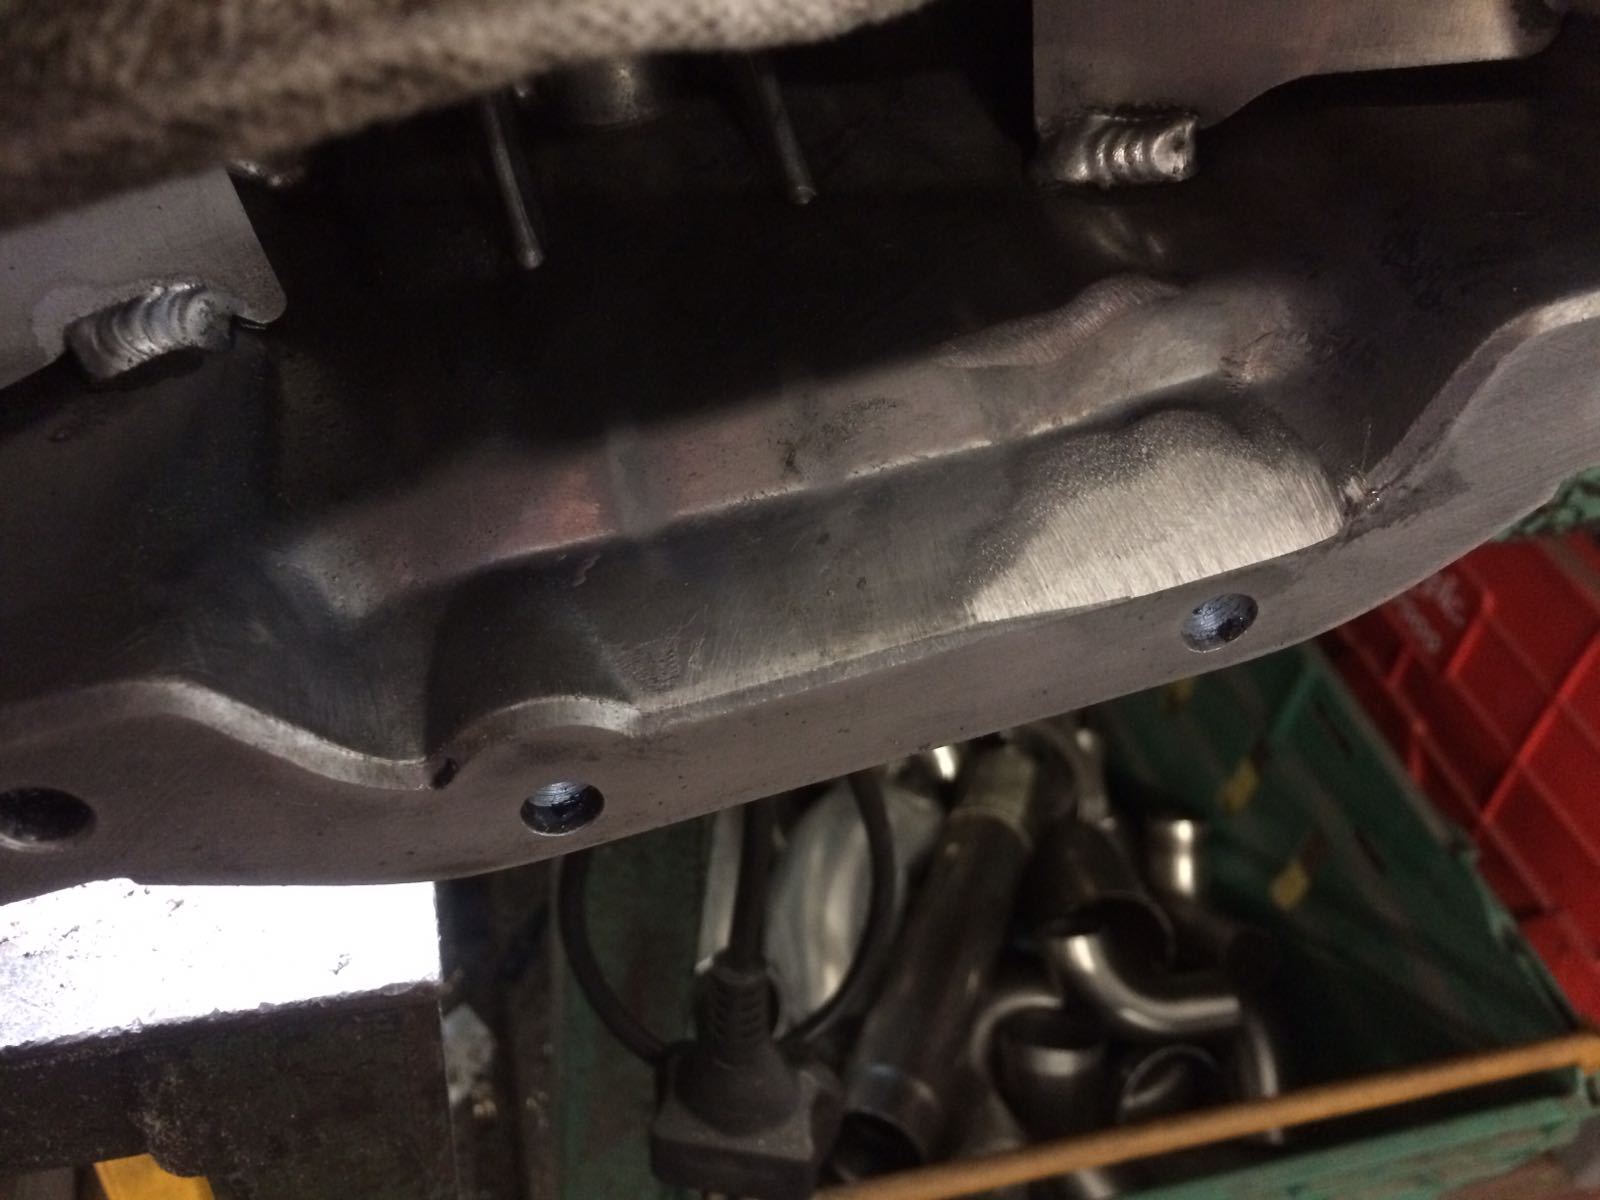
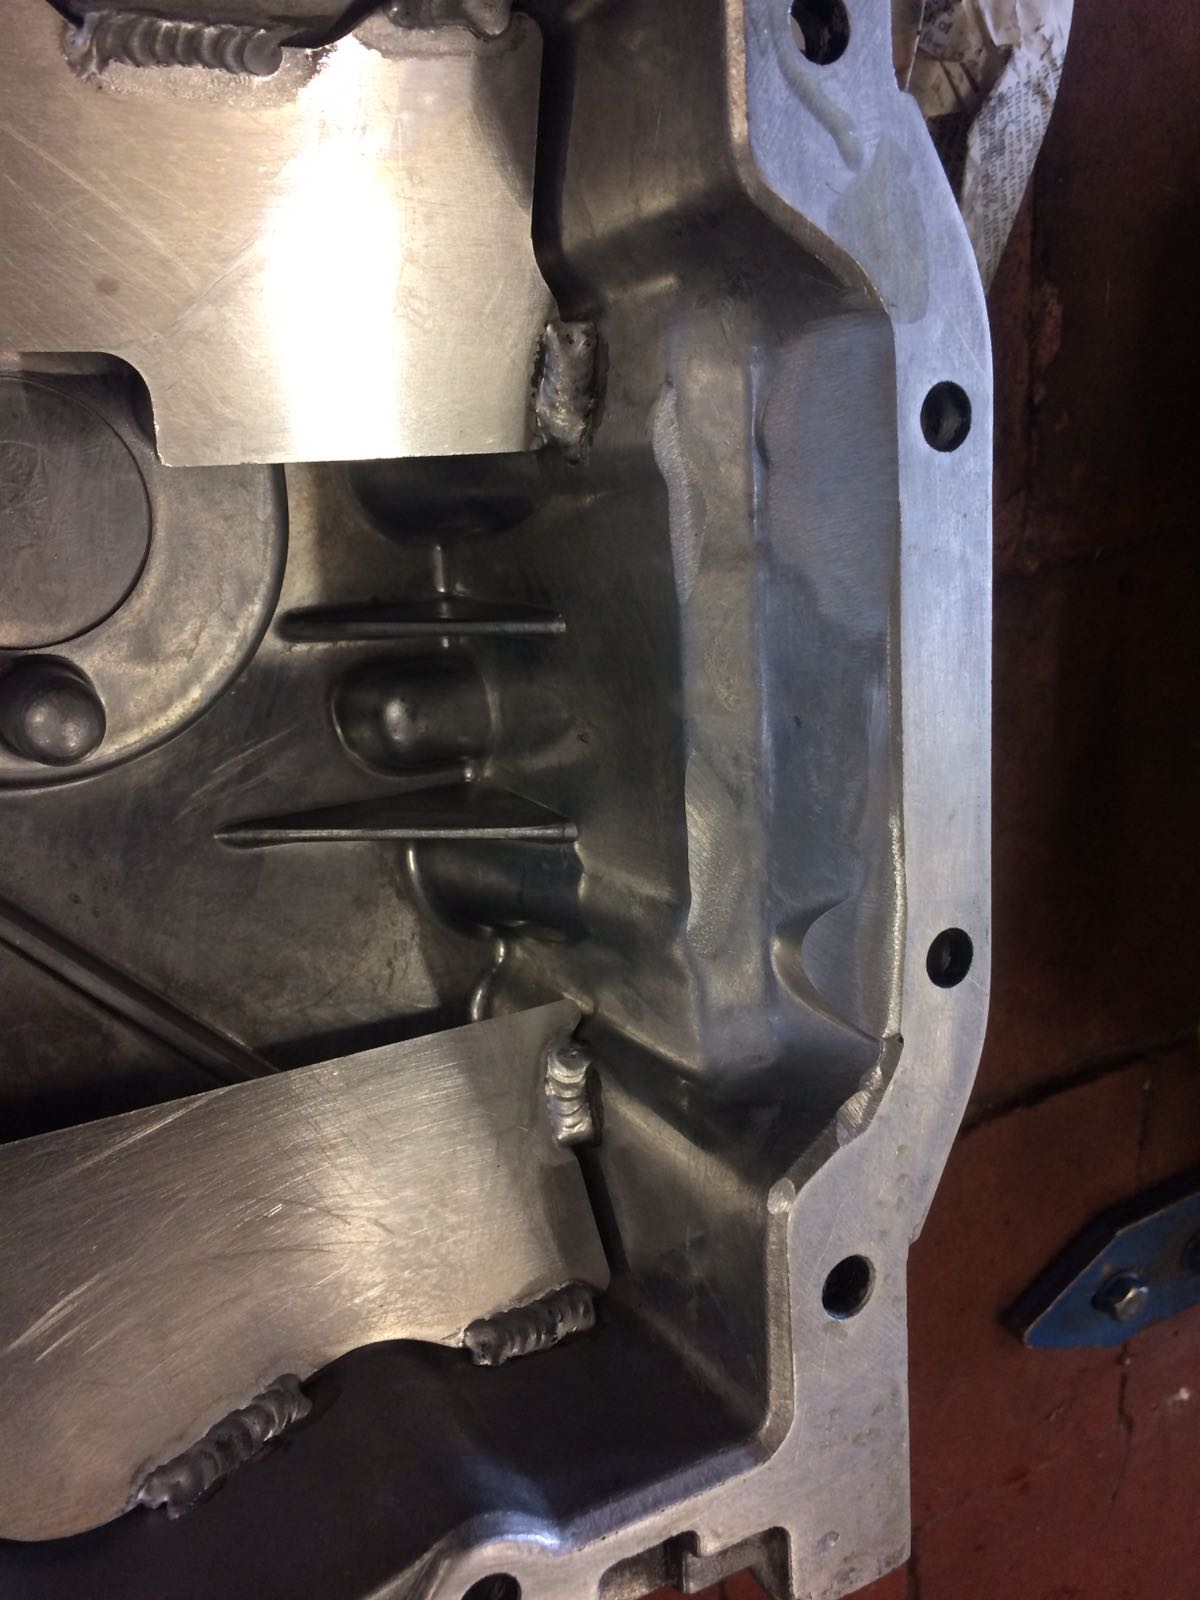
A quick play with the grinder and these were removed:
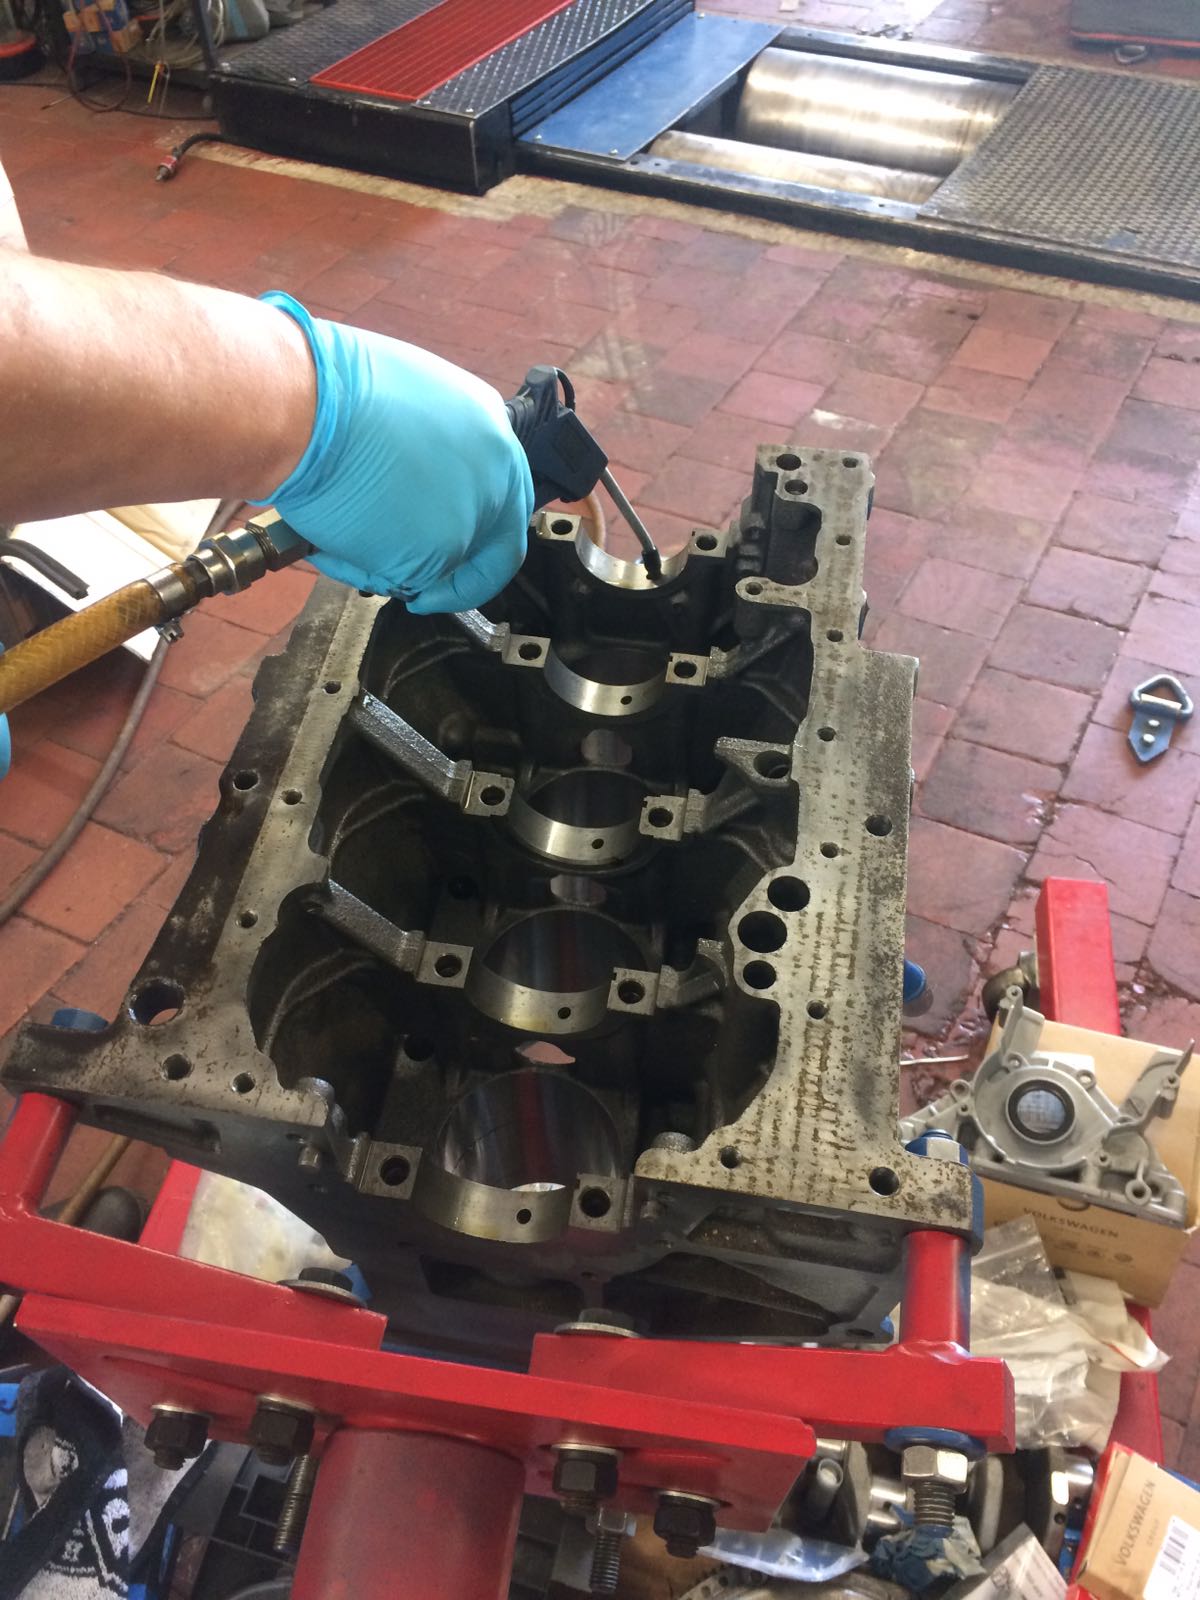
The sump then went into the parts washer to remove any swarf:
All shiney and ready for installation:
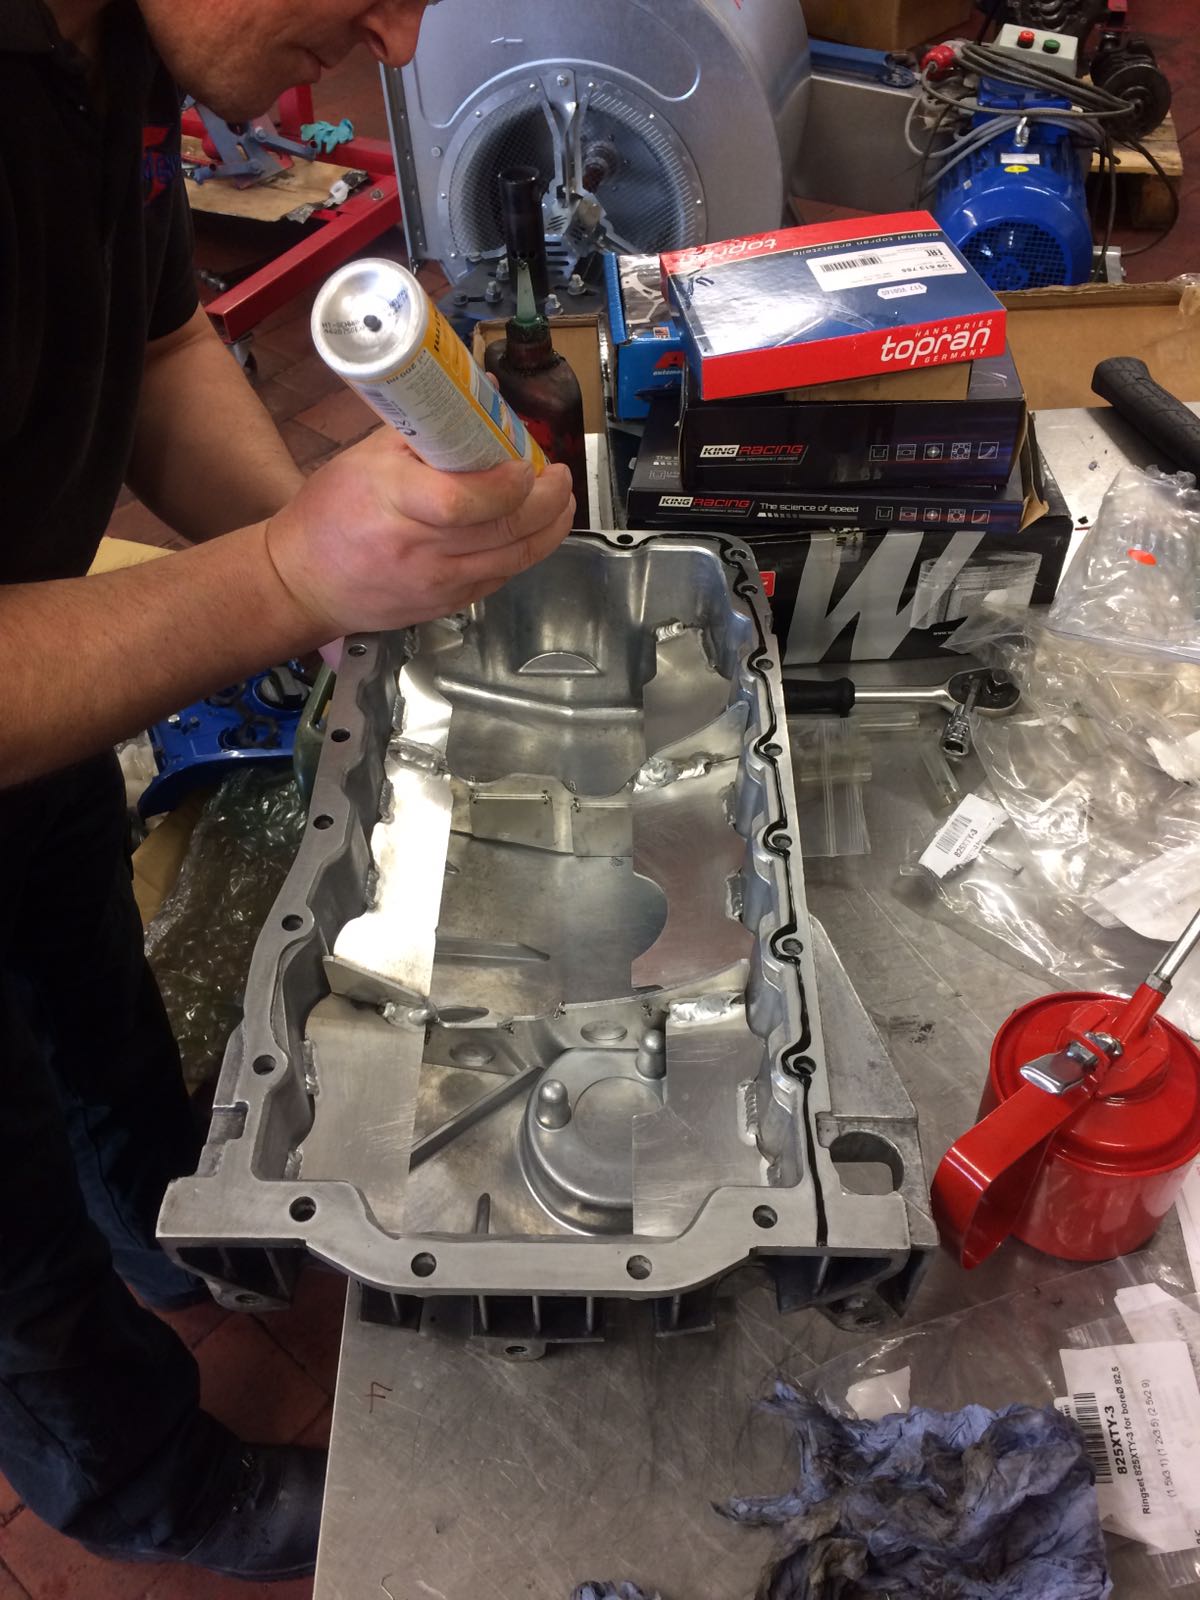
Sealant applied:
And on it goes!
All bolted down:
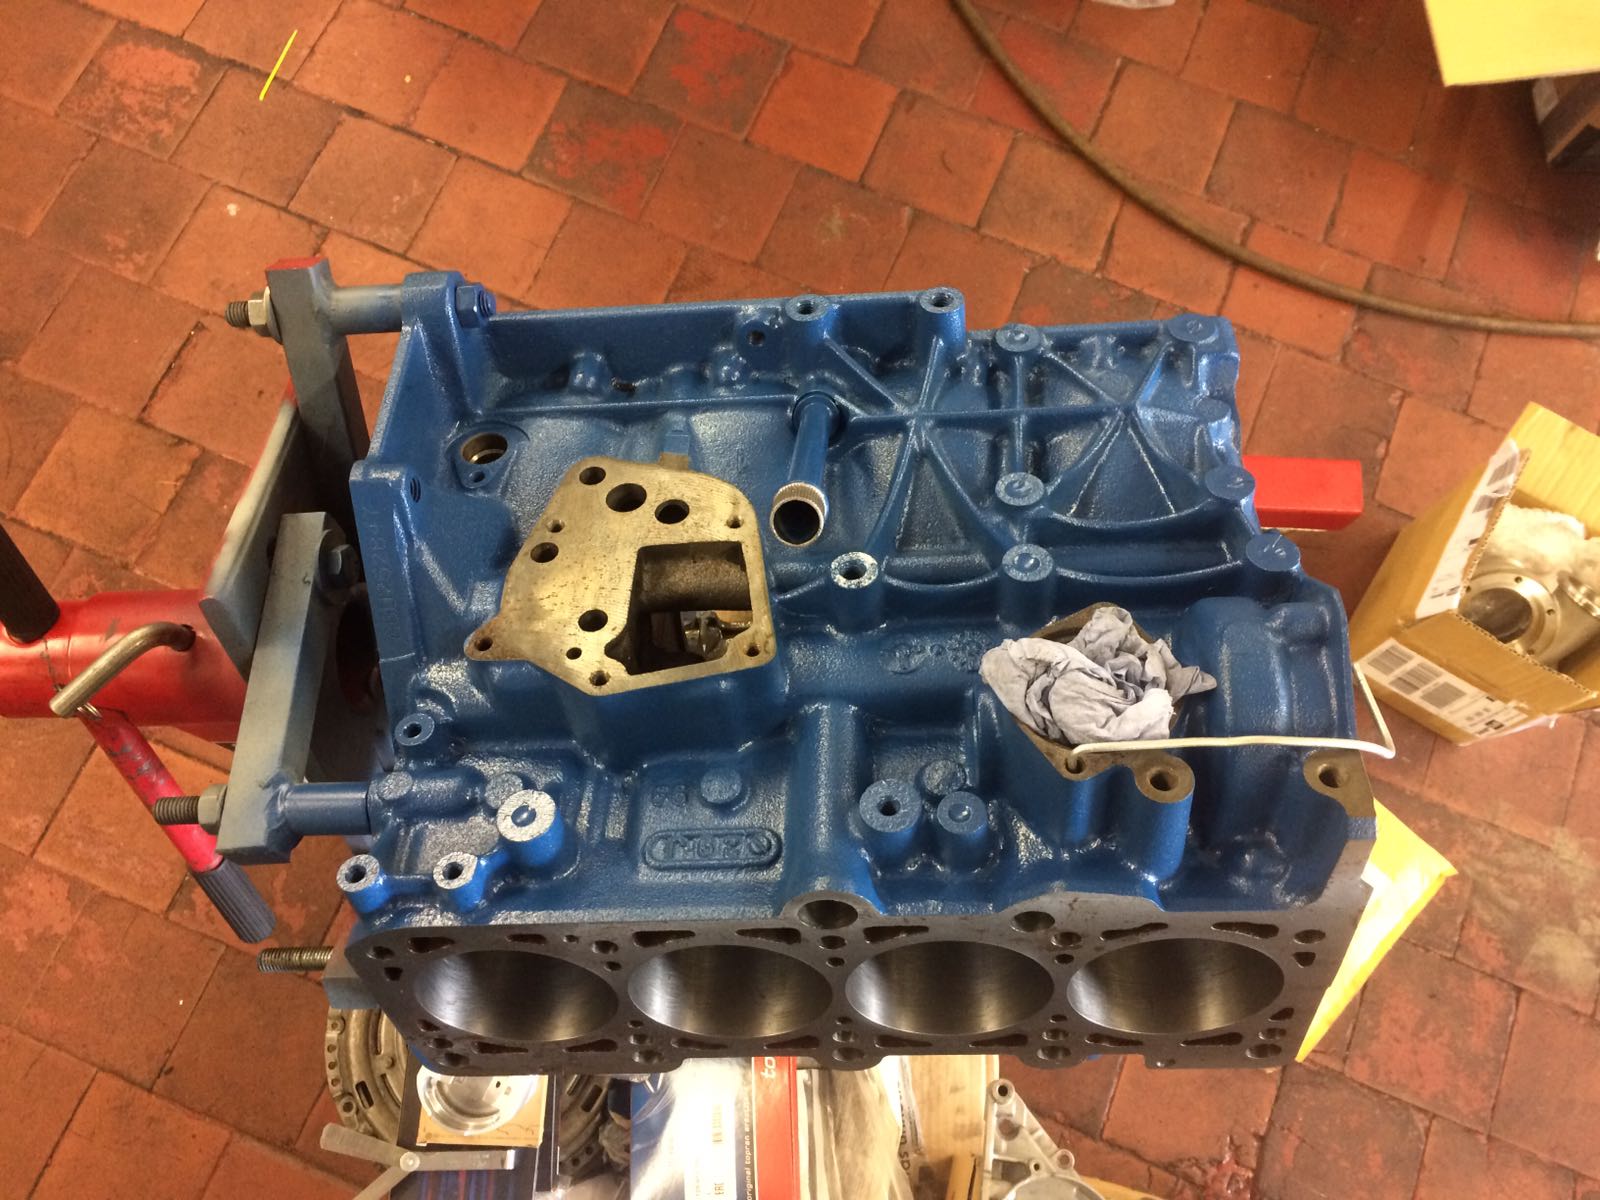
And that’s the bottom end built and ready to go!
What a cracking day. It was really nice to do most of it myself this time. Still with advice from Tuffty and Bill, but all the assembly work was done by me this time, so I can proudly say that I built this engine myself. It also means I can’t blame Tuffty when it goes wrong
Before leaving, there was of course more tea, but also time to collect my head.
Fresh from the machine shop, pressure tested, skimmed, and with new guides, plus 19 valves lapped in. Sadly one exhaust valve was bent, as I think I’ve covered before. So I’ll be lapping that one in myself! My evenings and any spare time will soon be spent assembling the head ready to go onto the block
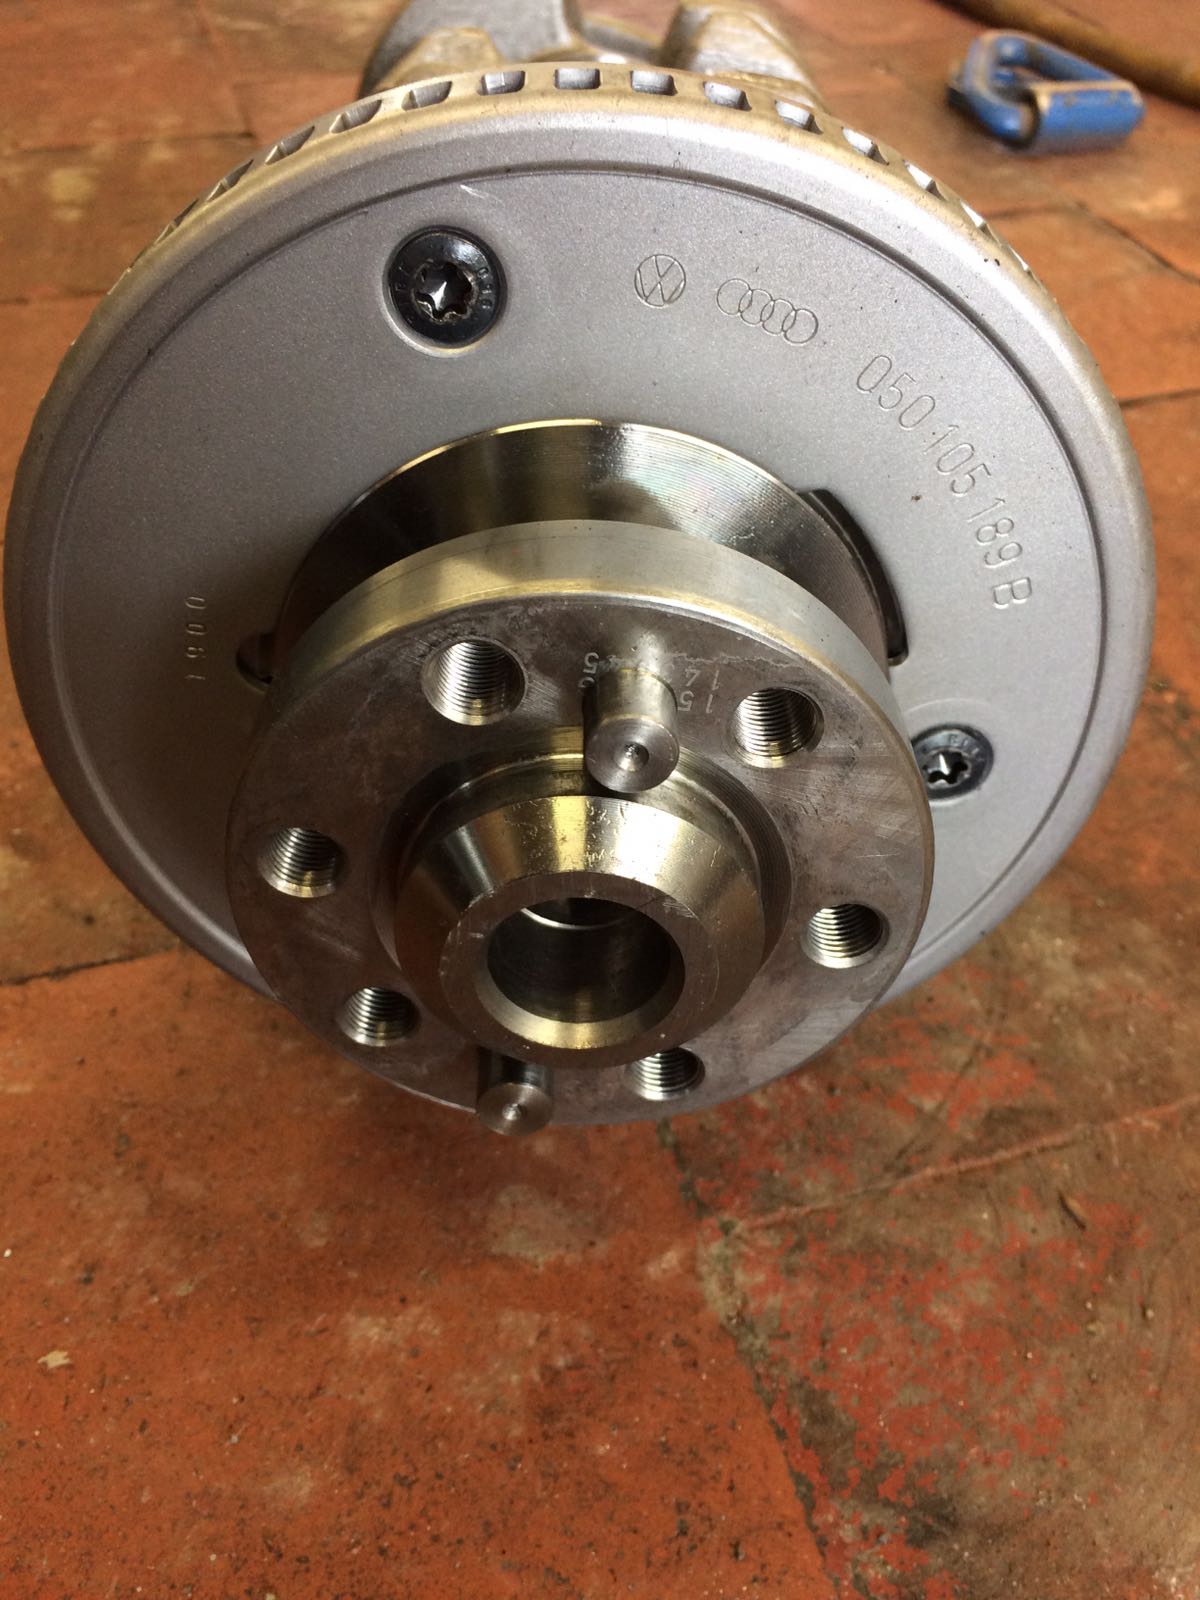
Also, to assist in dialling in the NA cams perfectly, I’ve purchased a Cat Cams Vernier pulley from Bill. I was going to buy a brand new one, but Bill had recently removed this one from his Ibiza when swapping cams, so he offered it to me at a great price to save me a few vital pennies!
So, another cracking day at Badger 5 as had. Great advise, good company, and all the knowledge you could ever need to build an engine
As I said at the start of the first post, I can't thank Bill and Tuffty enough!
I cannot wait to get things moving again now! The ball is firmly back in my court now, to get the head assembled and on the block, then I can fit the manifold and start sorting out lines, hoses, etc too.
I’ve got loads of annual leave left to take before Christmas, so once I’ve got a few things sorted out I’ll be booking a few chunks of time off and hopefully it won’t be too long before it looks like a car again!
Watch this space!