- Joined
- Sep 14, 2008
- Messages
- 24,836
- Reaction score
- 6,078
- Points
- 113
- Location
- Wibbleton
- Website
- www.tuffty.co.uk
As I needed to do the inboard gaiter on my nearside driveshaft and I know the question of how gaiters are changed comes up quite a bit I took a few pics as I changed mine to give you an idea of how to go about it.
While this is based on the S3 driveshaft the principle is relevant give or take a few differences across cars...
The way I went about this is to remove the shaft from the car and sort it on a bench... this can be done with the car on axle stands but I had access to a ramp...
First undo the hub bolt (17mm hex)... this is very tight and I used a long breaker bar to undo it with the weight of the car on the wheels and the wheels chocked as the handbrake doesn't always hold the car... To avoid wheel bearing damage, do not slacken the bolt by more than 90 degrees until you have jacked the car up...

Once you have removed the wheel, undo the bolts holding the inboard joint to the gearbox drive flange (10mm spline)...
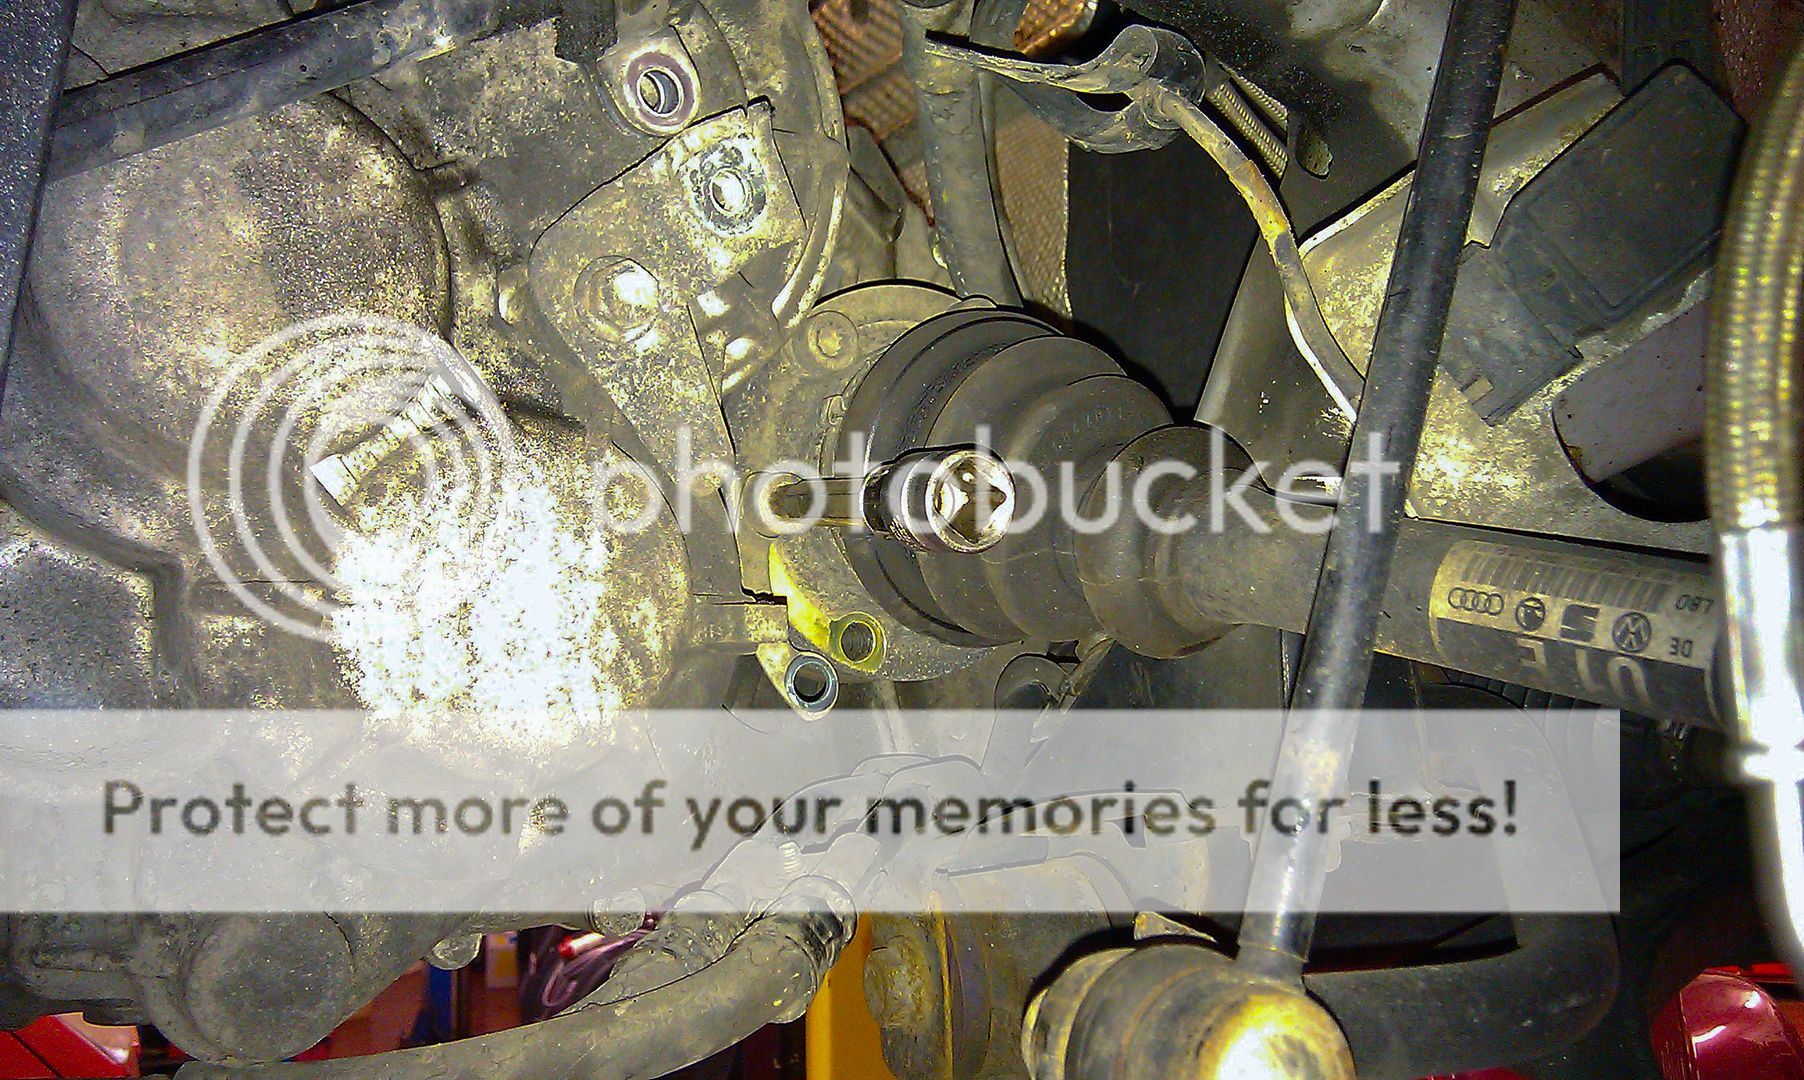
Little trick to keep the shaft from moving as you undo it is to use a screwdriver placed tactically in the brake discs vents and it will hold against the caliper...
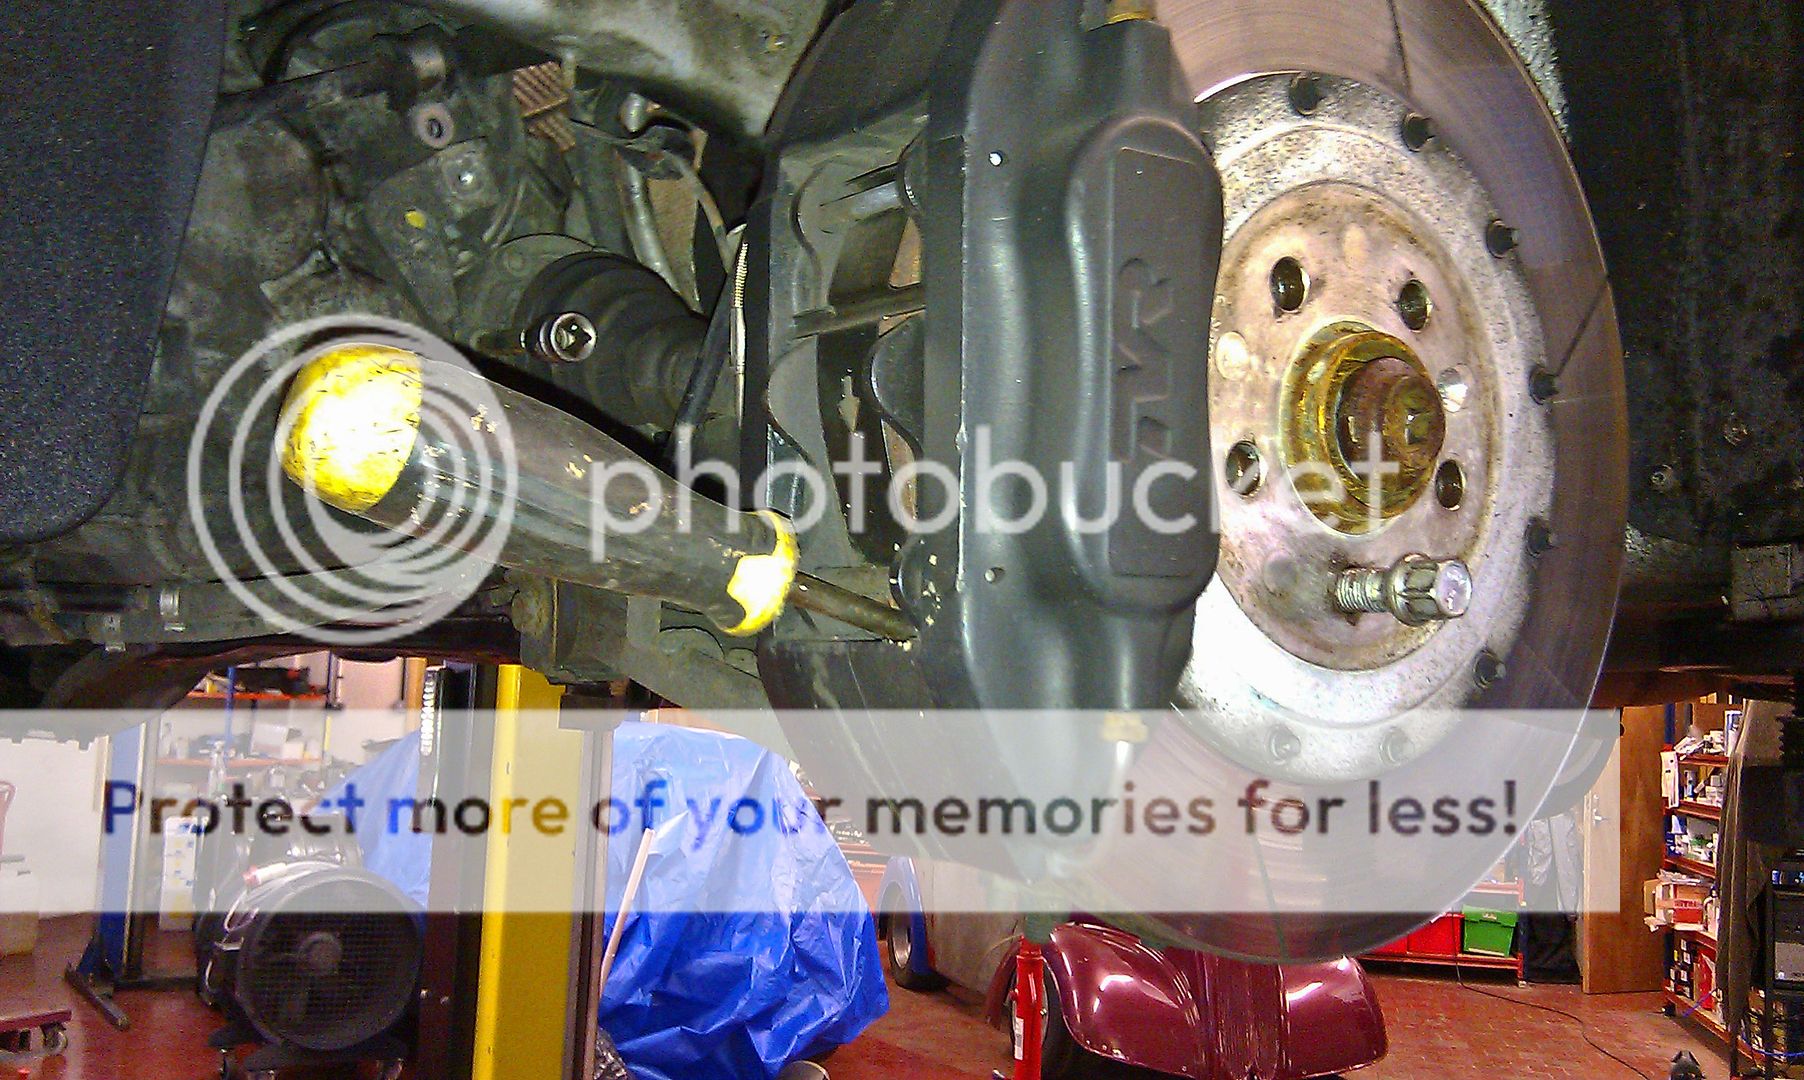
Undo the ball joint nut (18mm spanner).... on an S3 (or any VAG with forged arms rather than pressed steel ones) the the 3 fixing points for the ball joint are slotted to allow for camber adjustment and undoing these may mean you will need to get the suspension realigned...

...splitting the joint...
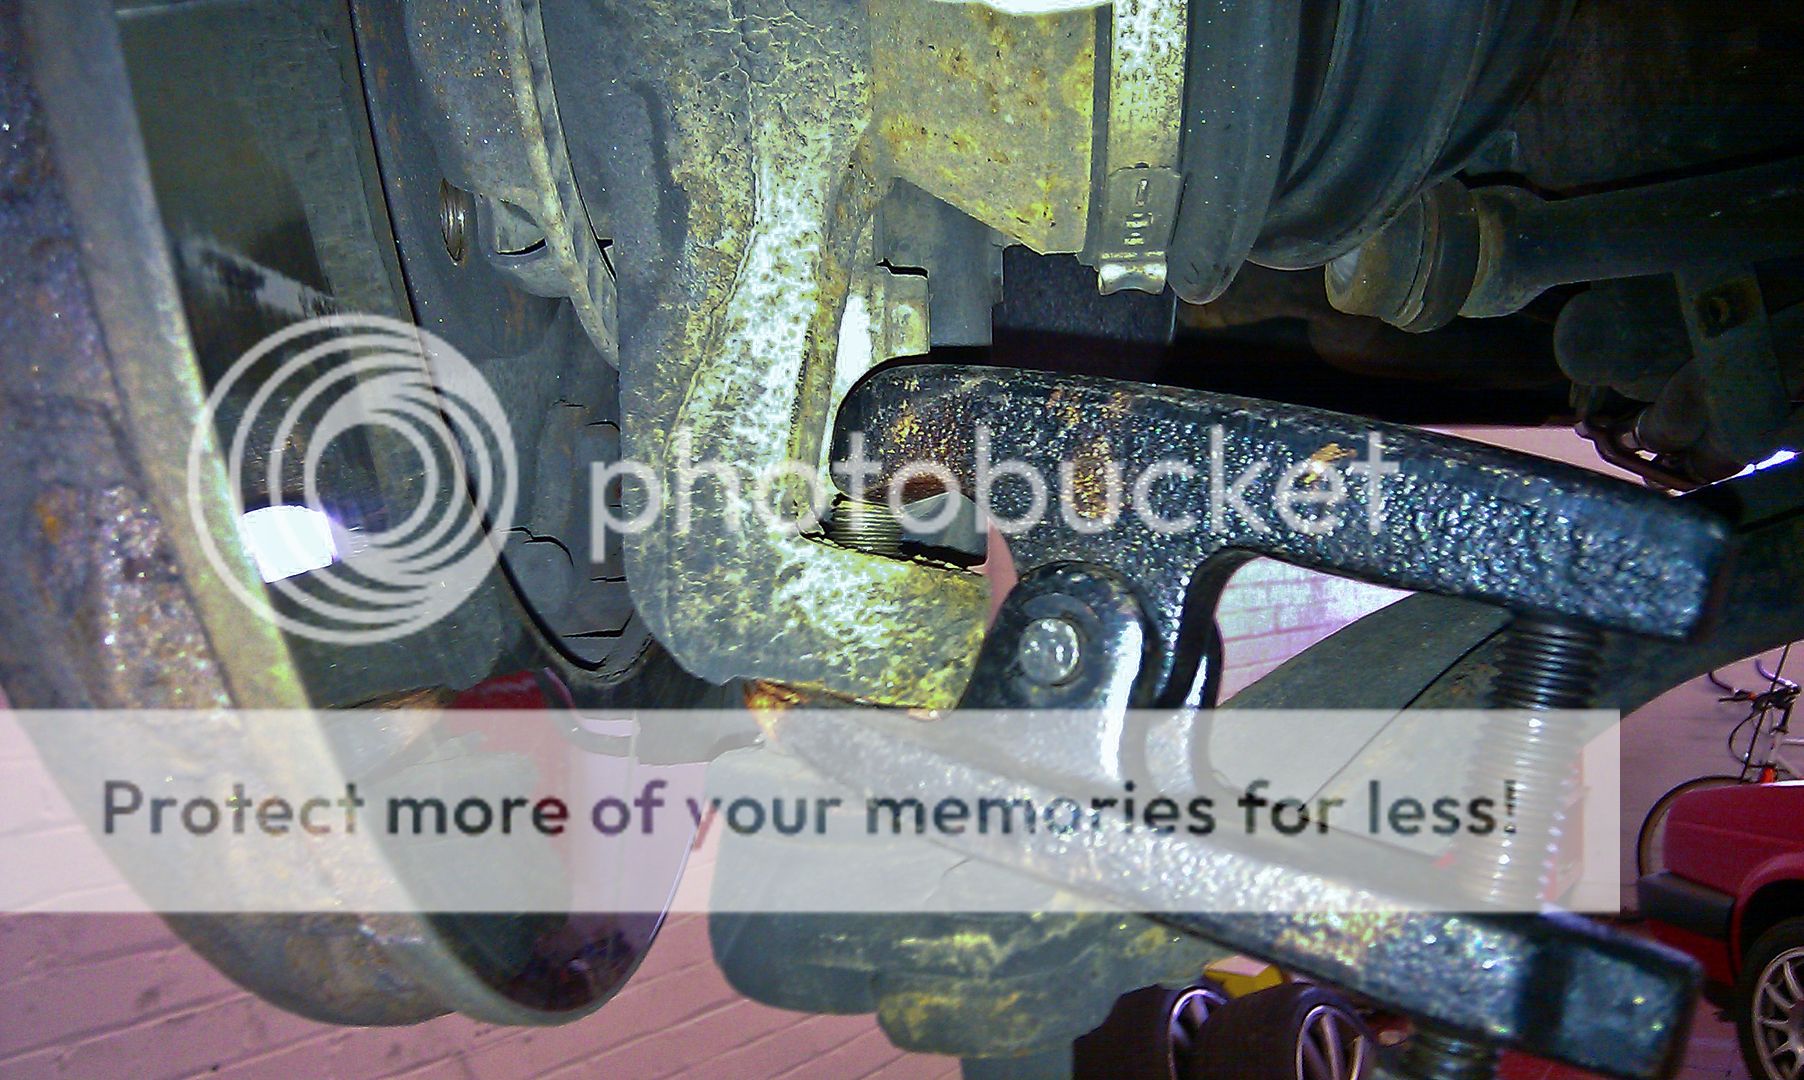
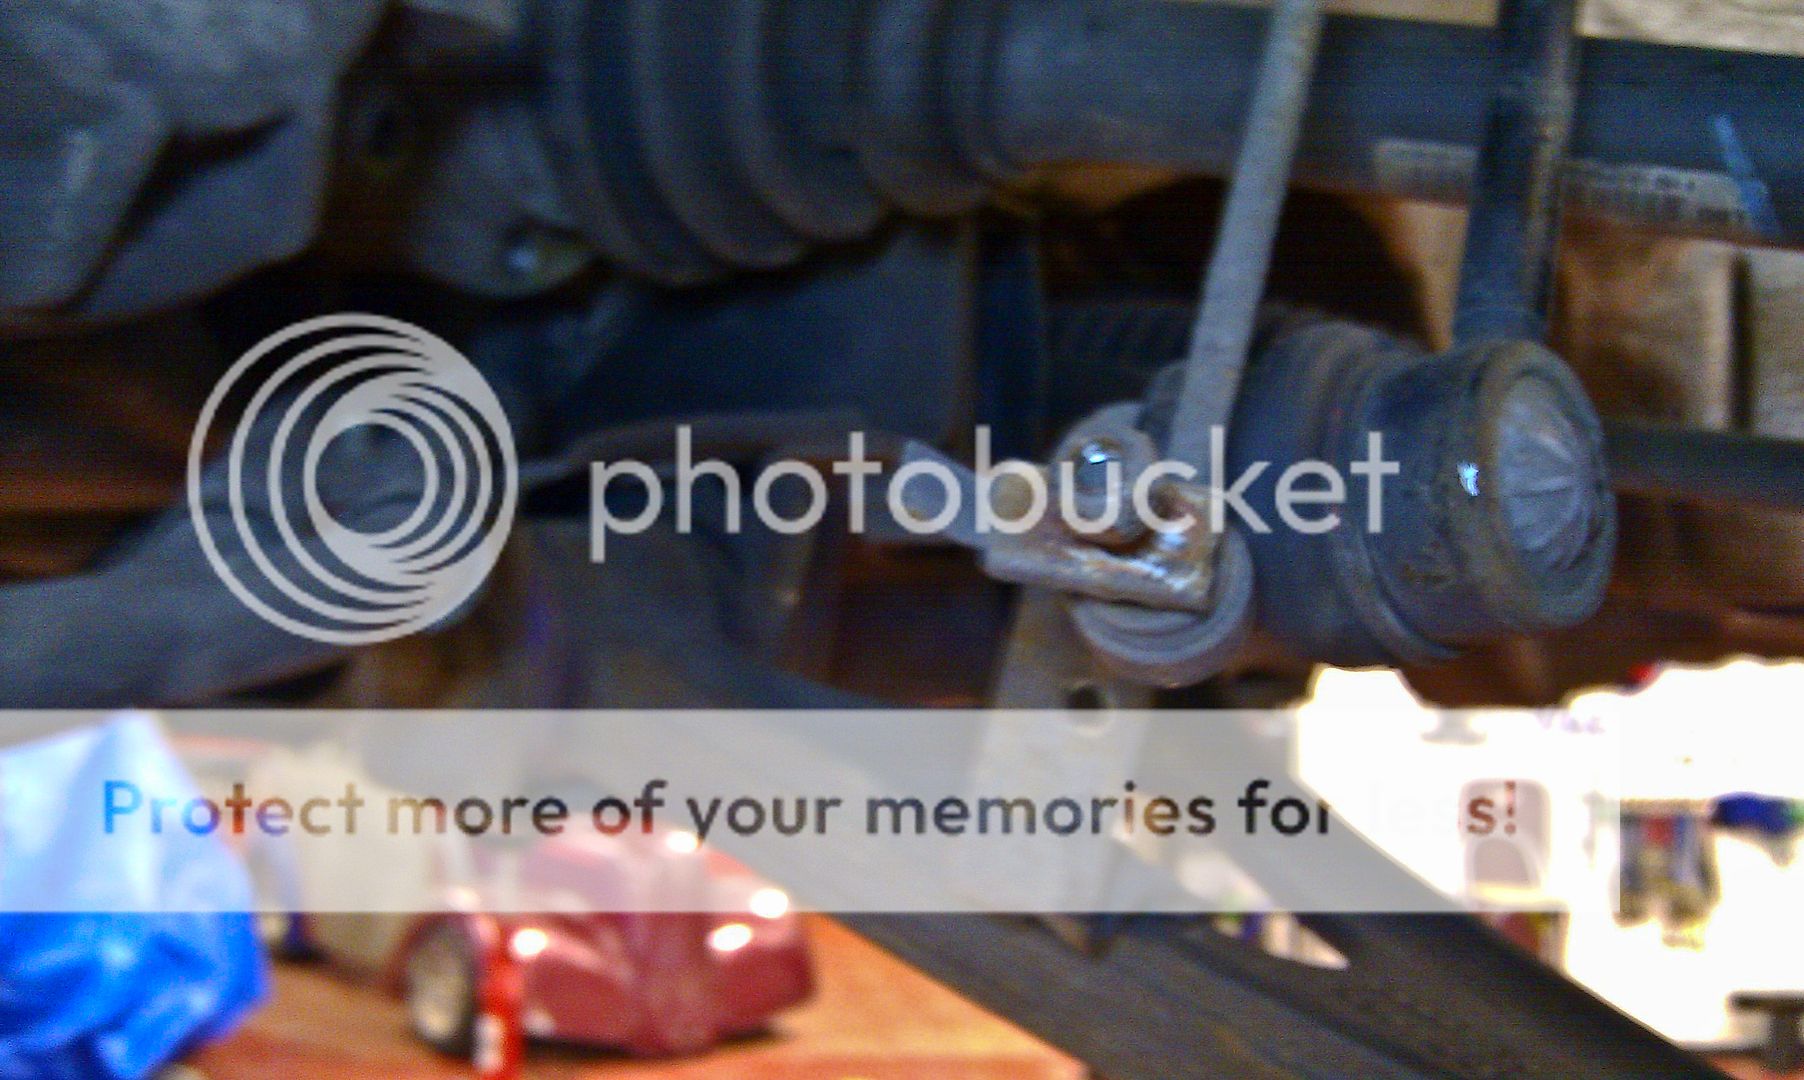
...if you have factory Xenons (S3's etc) and are doing the nearside (uk car) shaft, you will need to undo the level sensor rod thats attached to the lower arm as you can break the arm off the sensor when you move the lower arm down to get the ball joint out of the stub axle...
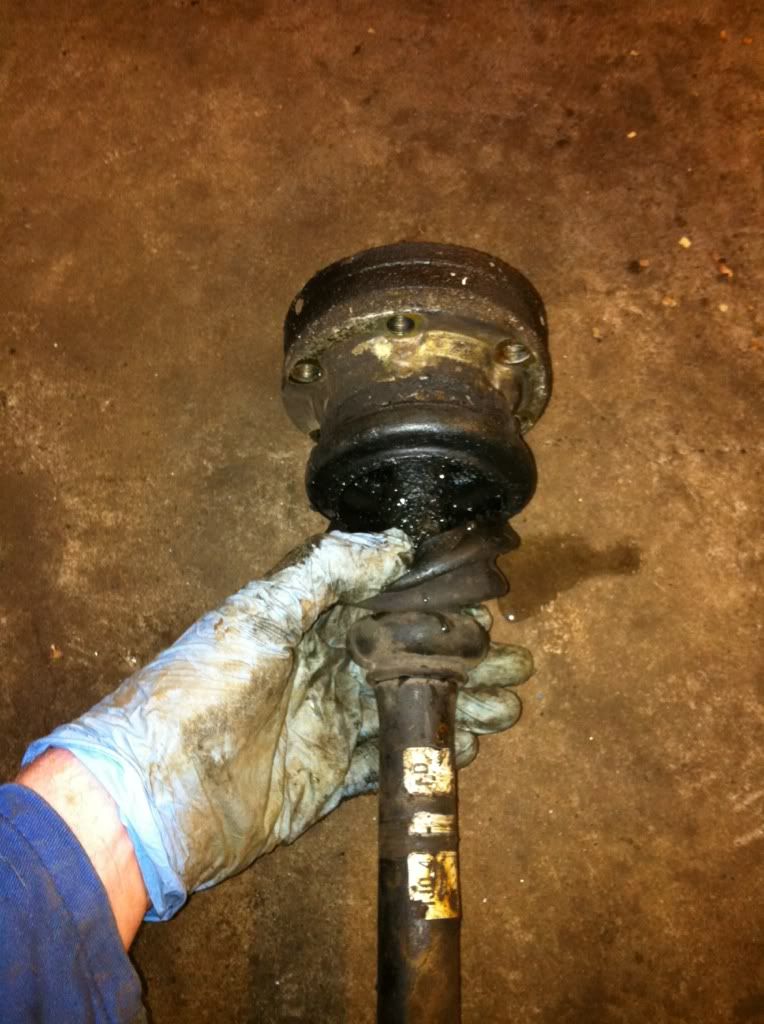
Pull the suspension strut assembly towards the outside of the car to release the outer joint from the hub and remove the shaft...
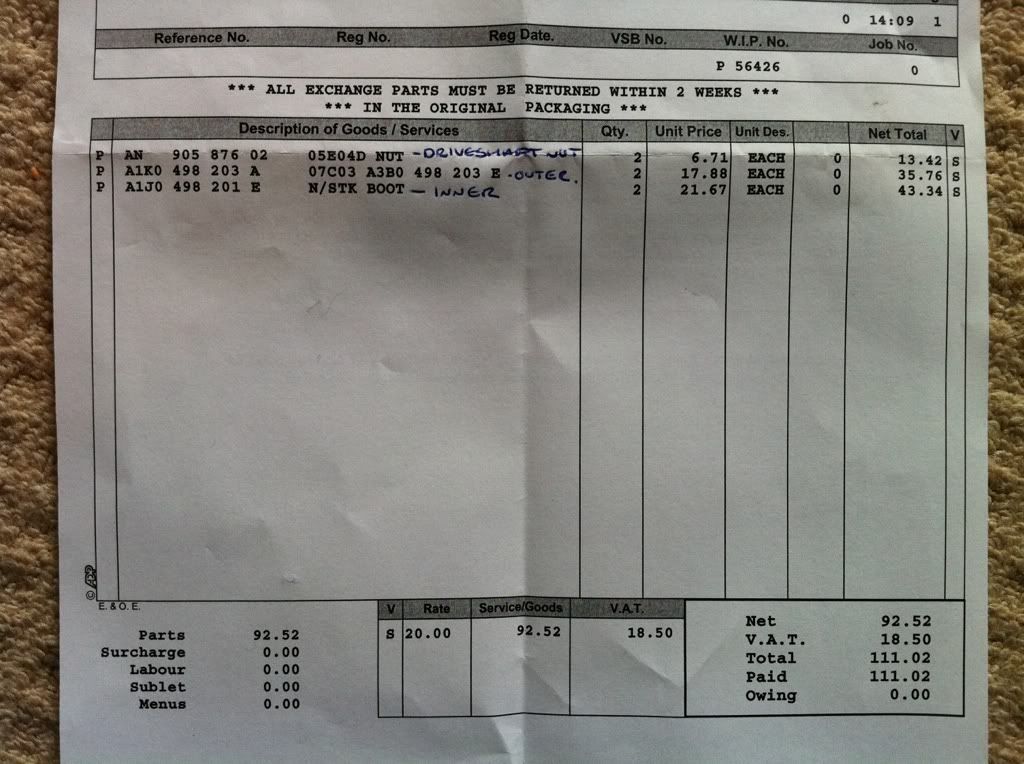
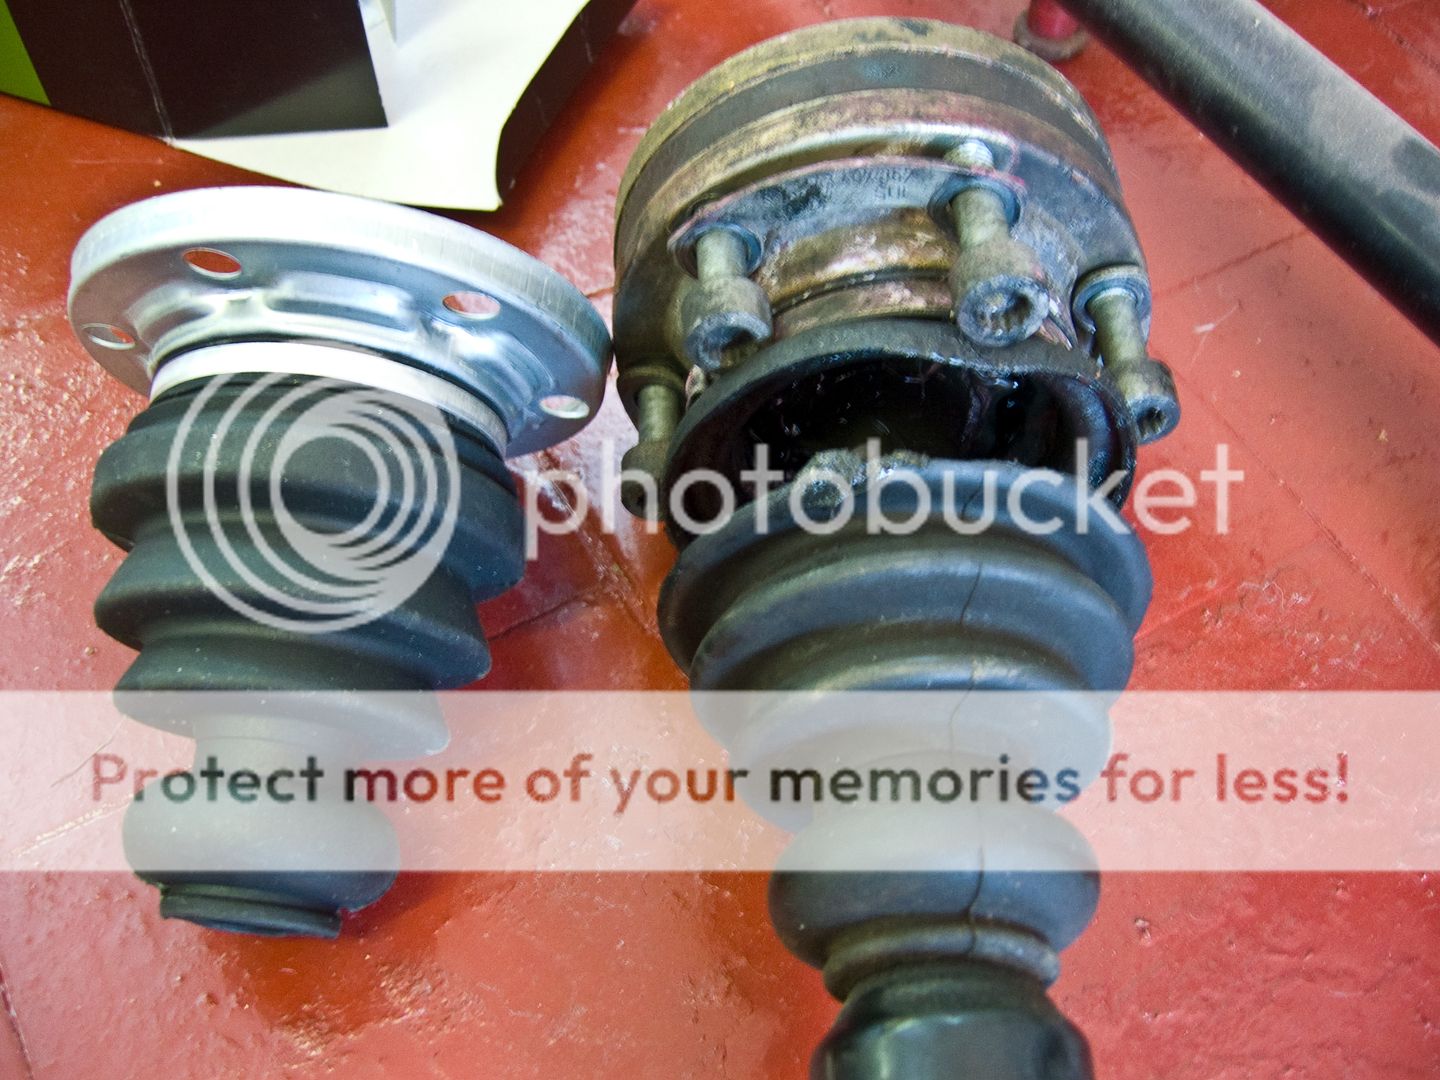
I bought a genuine Audi gaiter as GSF didn't have it listed... I have bought an aftermarket one before but its a different design to the Audi one. The Audi one is just a boot that clips to a metal flange on the joint, the aftermarket one replaces the whole thing...
Aftermarket one...
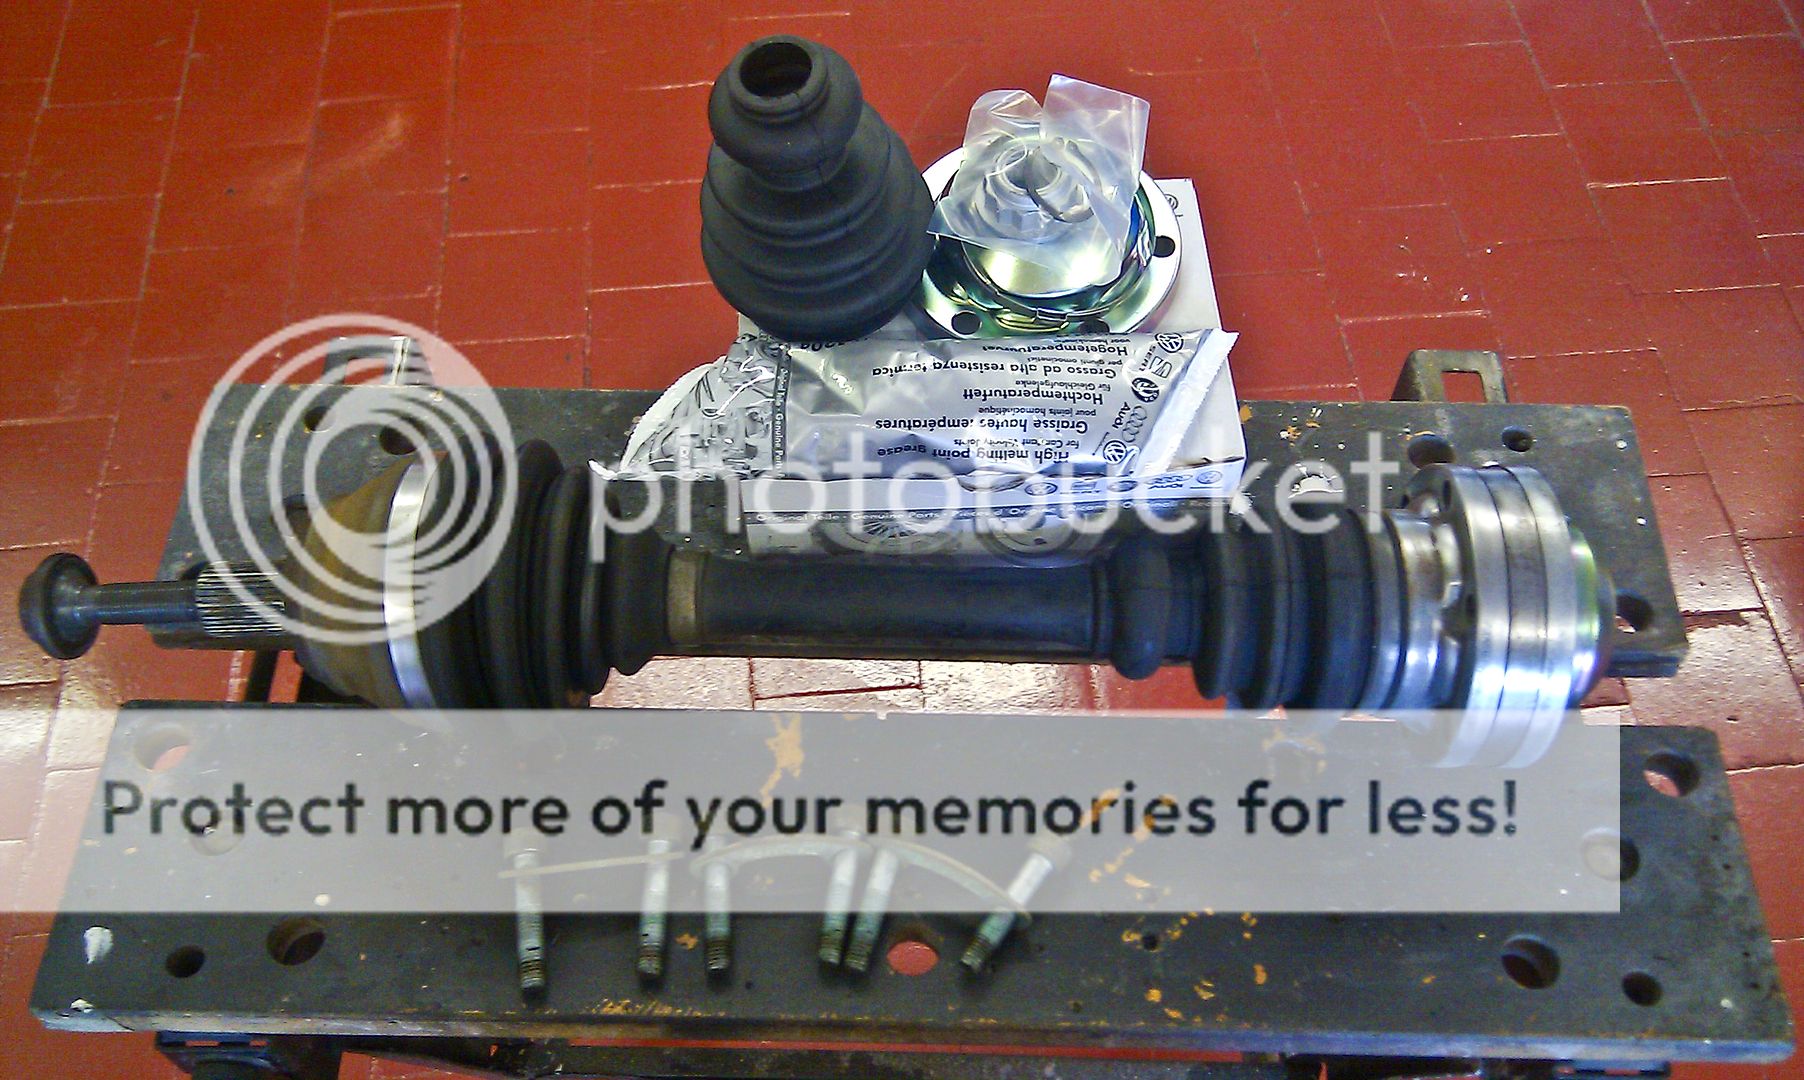
Audi kit...
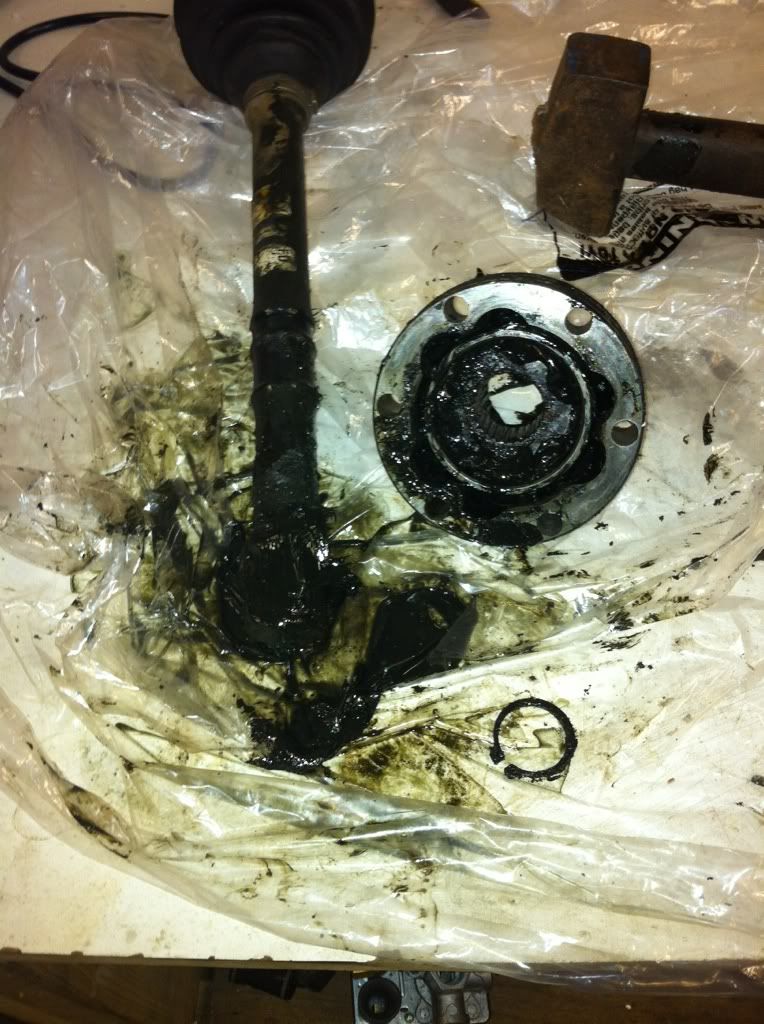
Remove the clip and just cut the old gaiter off to remove it...
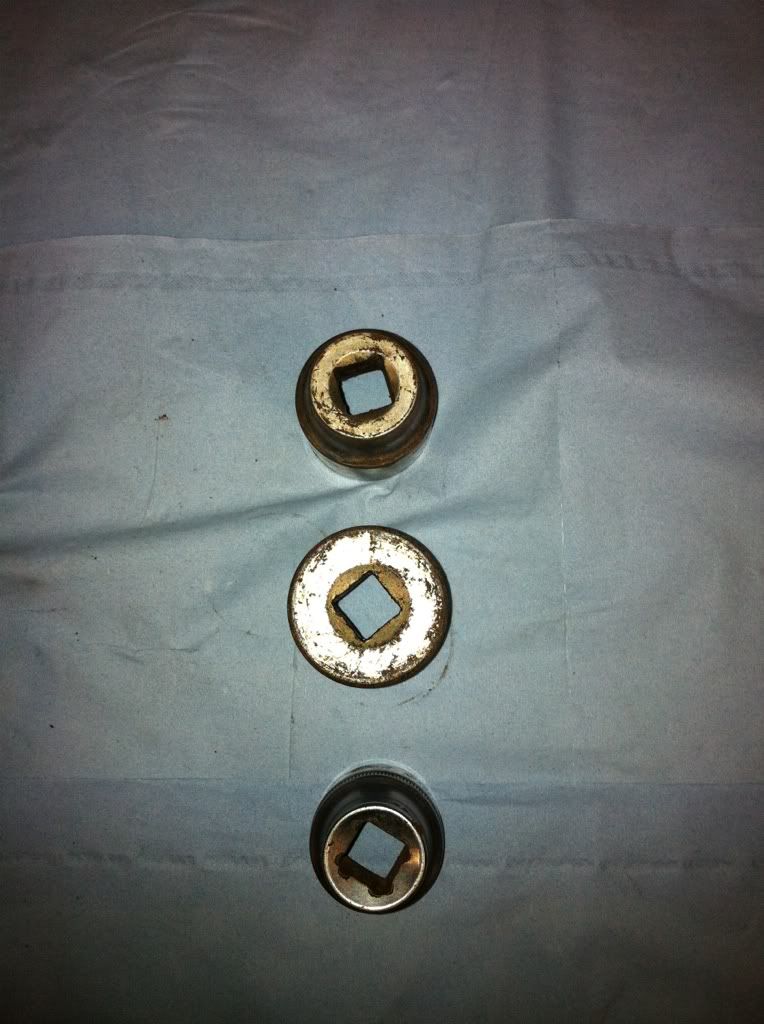
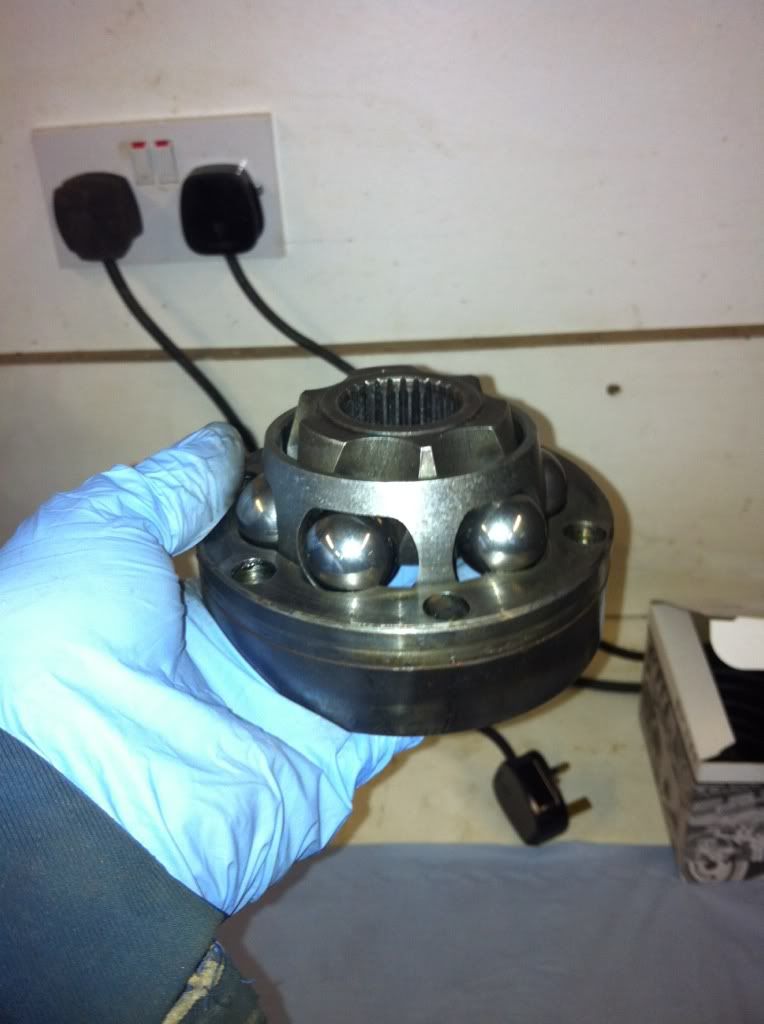
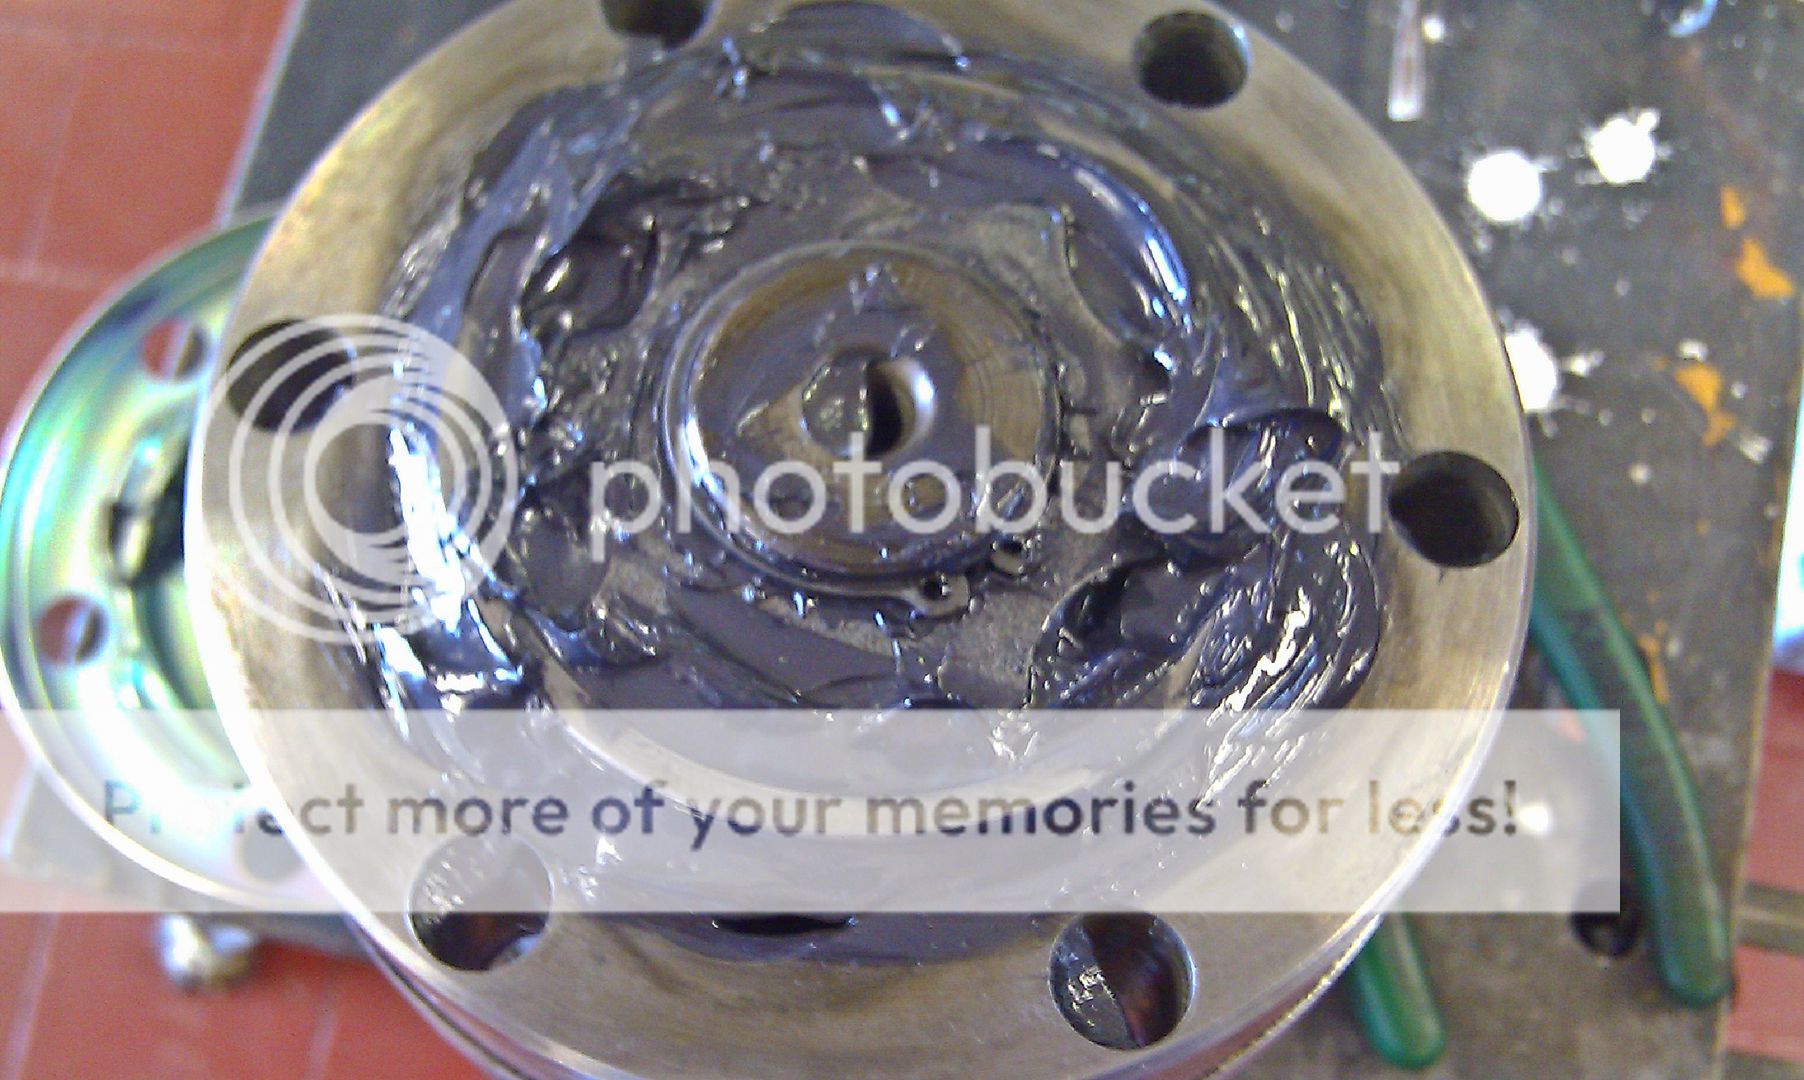
Remove the end cap by tapping or prising it off... the Audi kit comes with a replacement but if yours doesn't then take more care than I did")
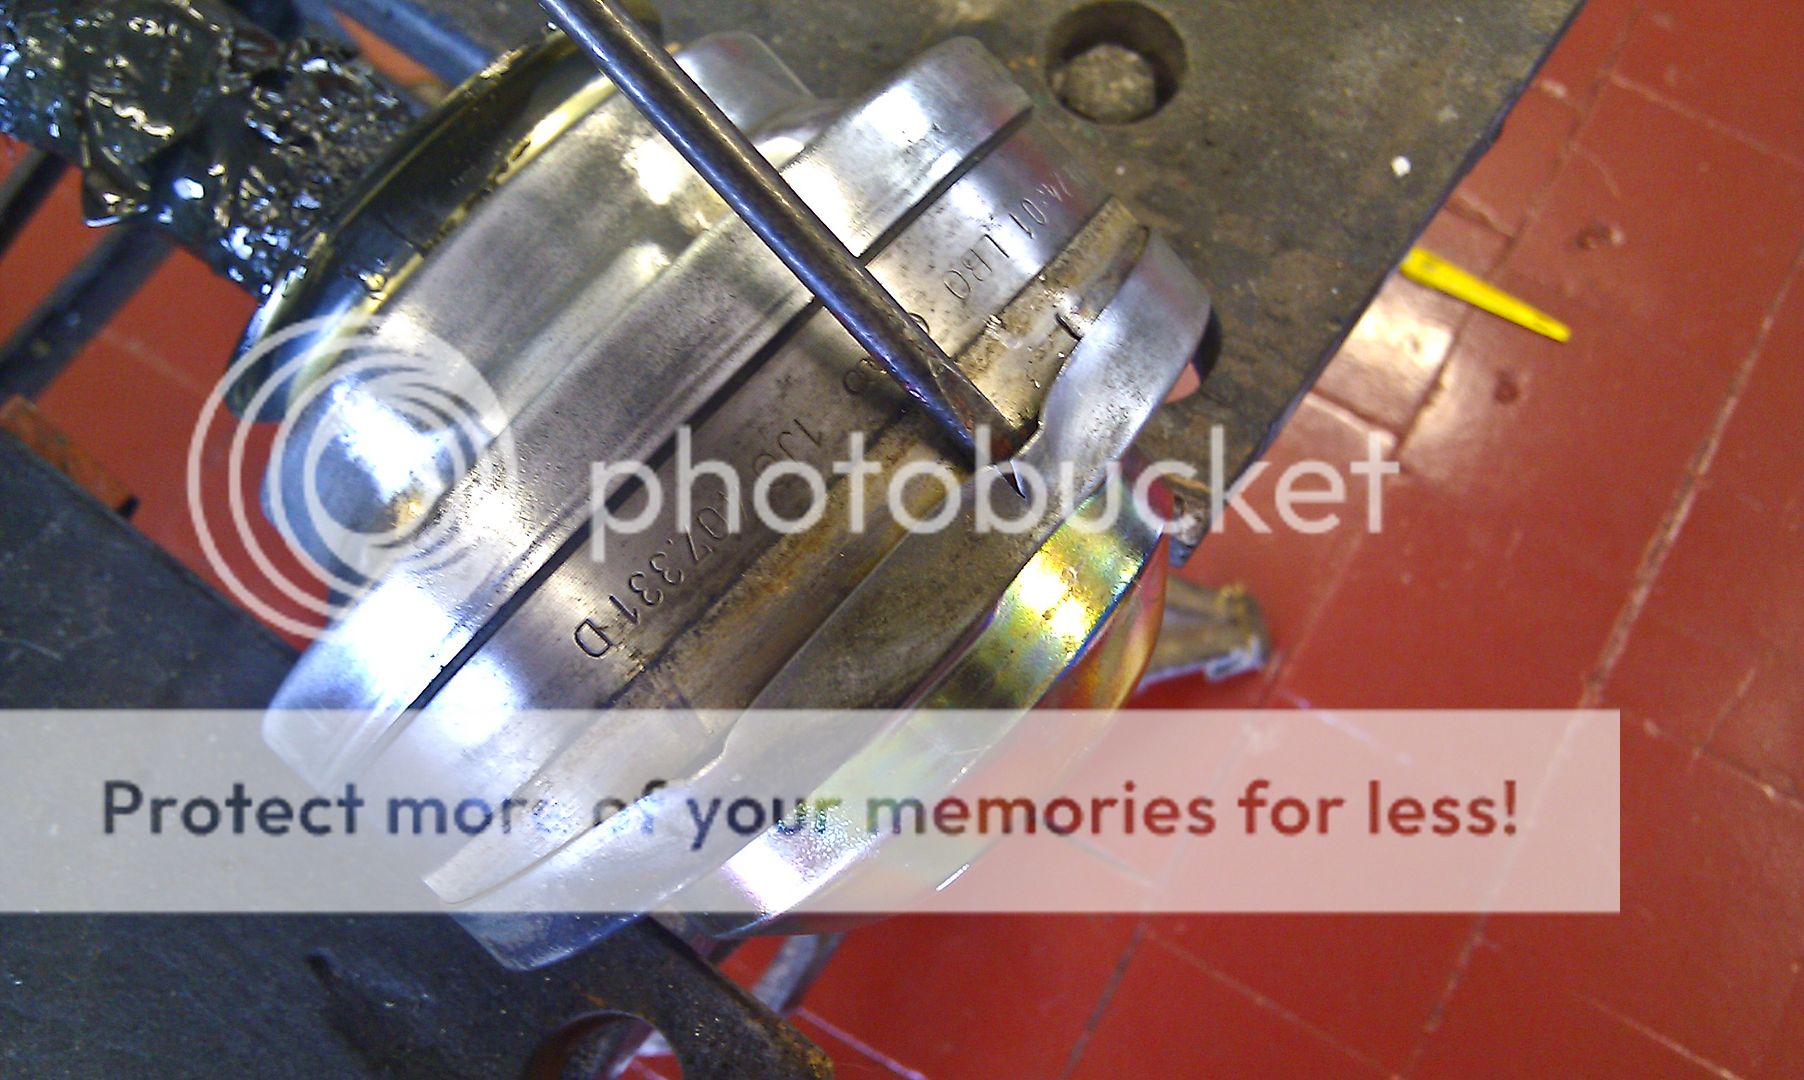
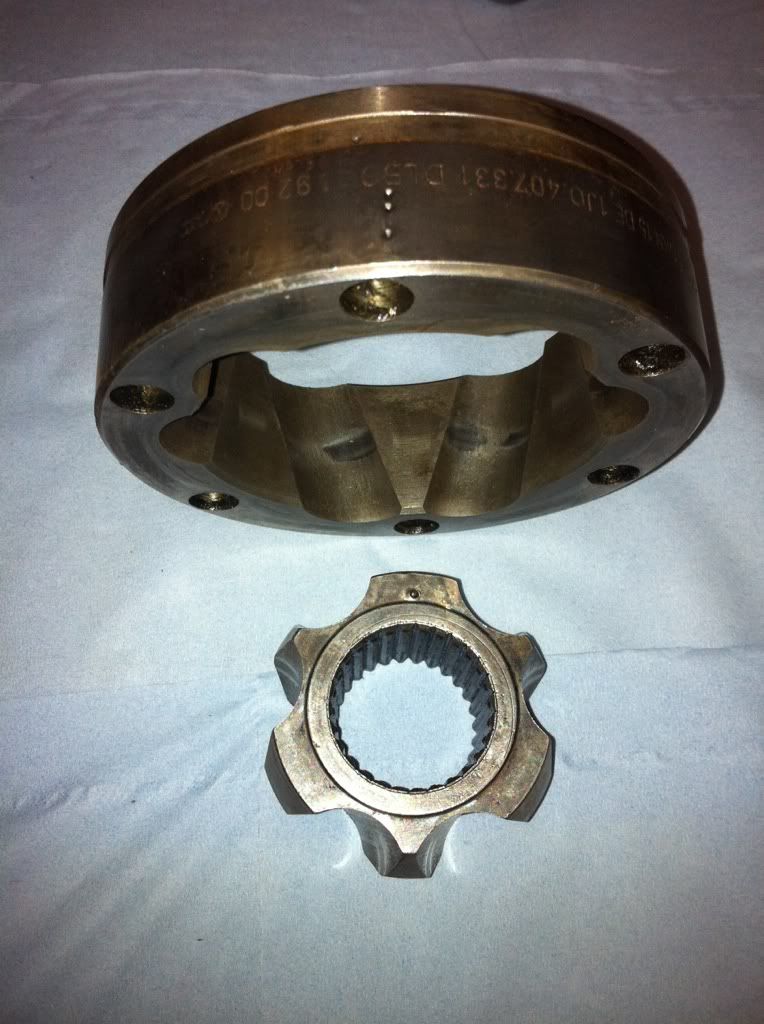
Clean up the grease from the back of the joint taking care not to overextend it on an angle as it can (and will!) fall apart... putting it back together is not the most fun job in the world but can be done...
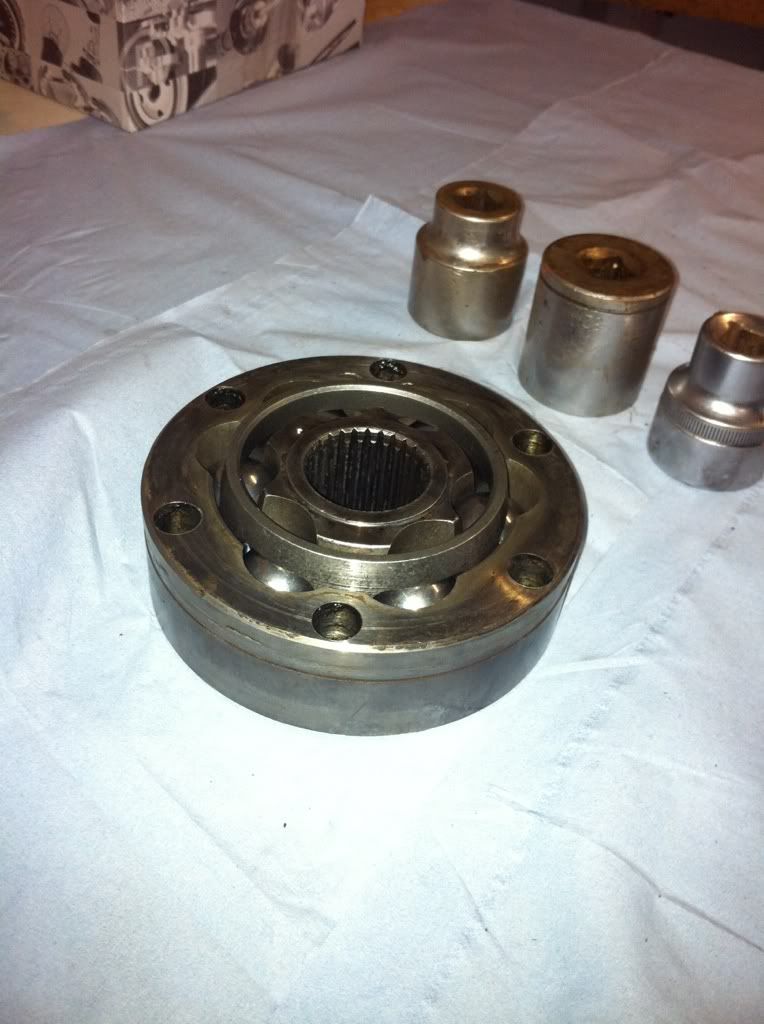
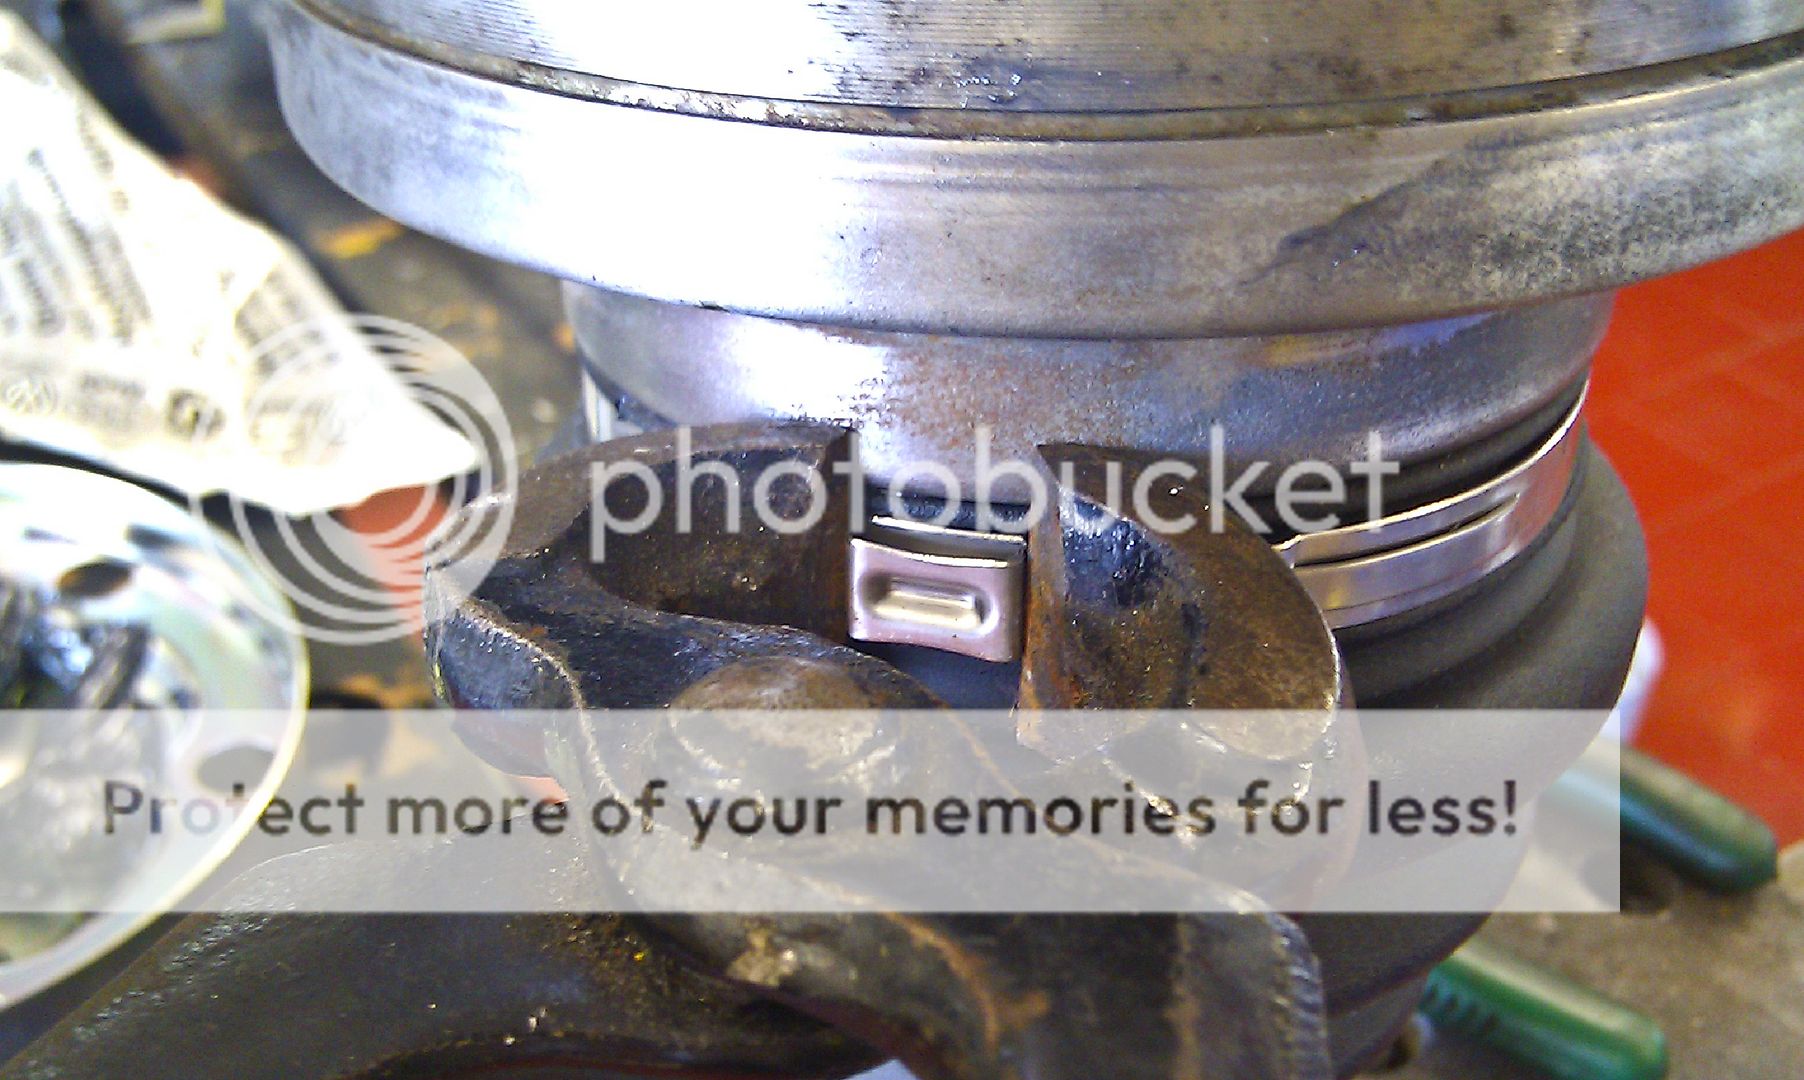
Remove the circlip on the back... the kit came with a new one...

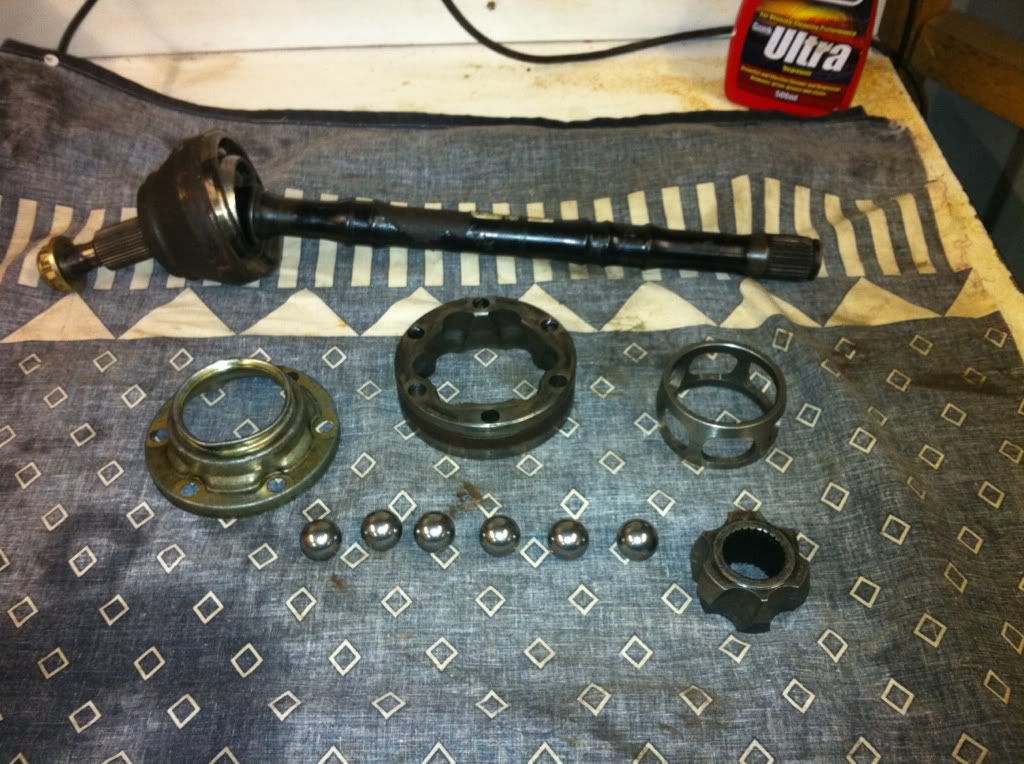
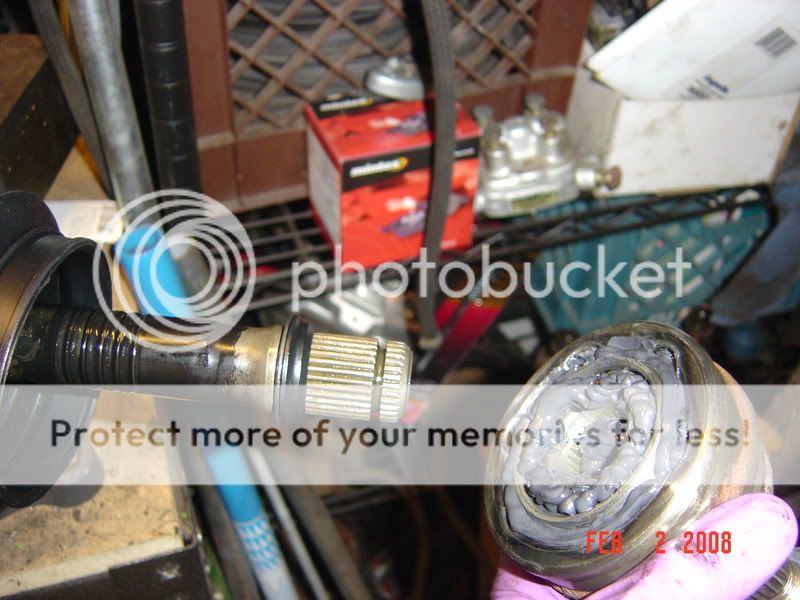
Carefully knock the joint off the shaft to remove it...
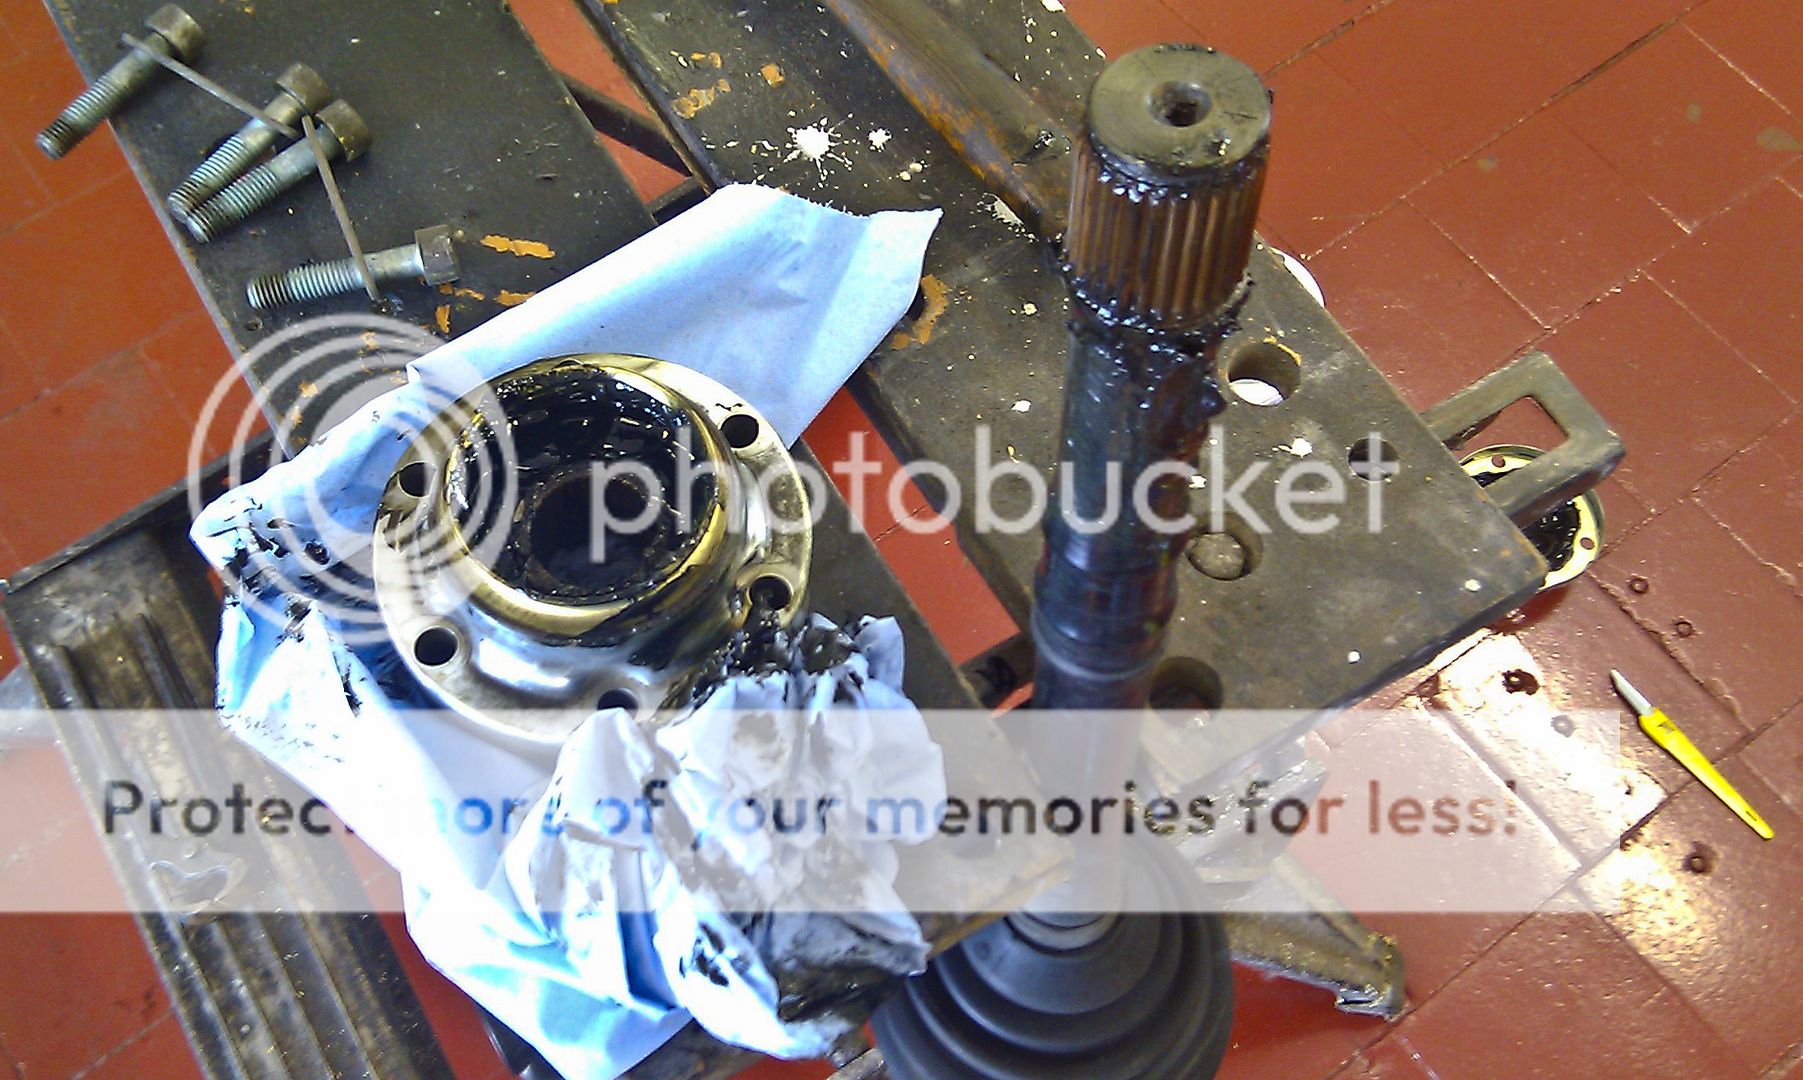
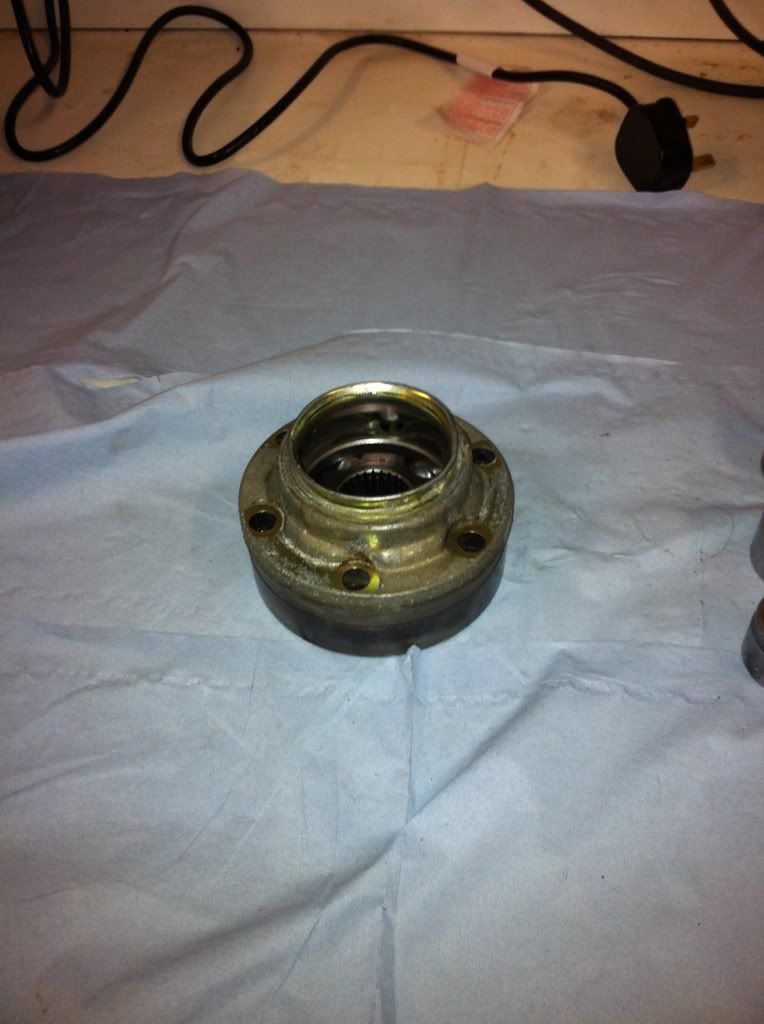
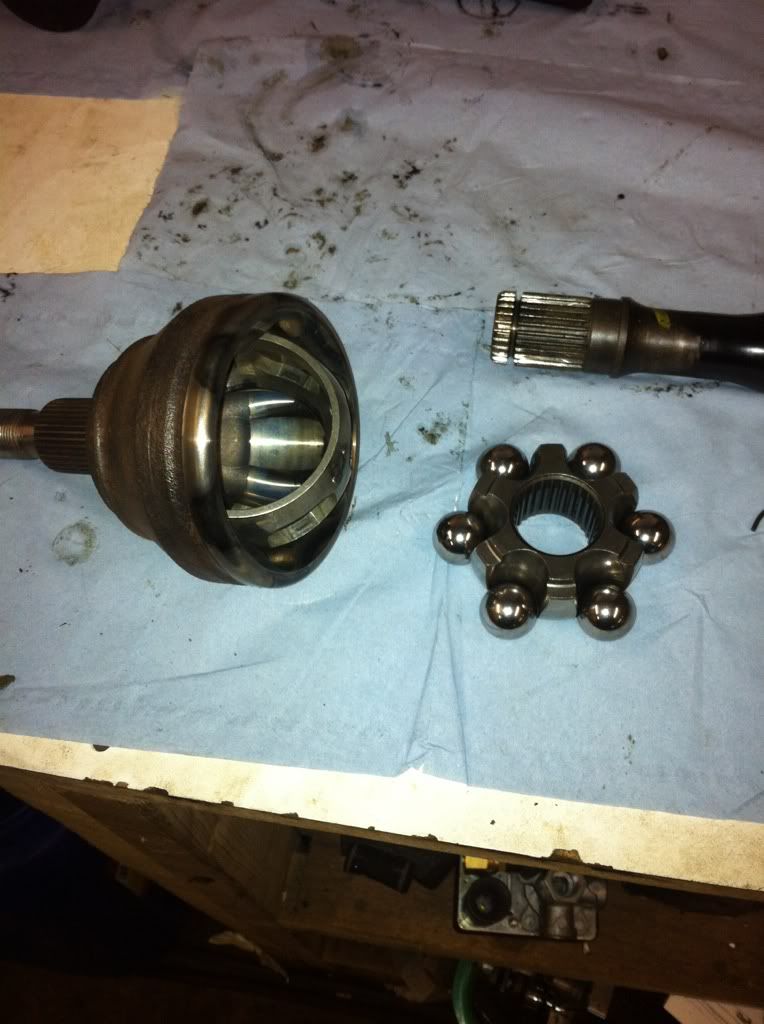
Clean as much of the old grease off as you can, I used brake cleaner but don't worry if you don't get it all unless the gaiter has been split long enough to allow in dirt and grit in which case you may need to replace the joint...
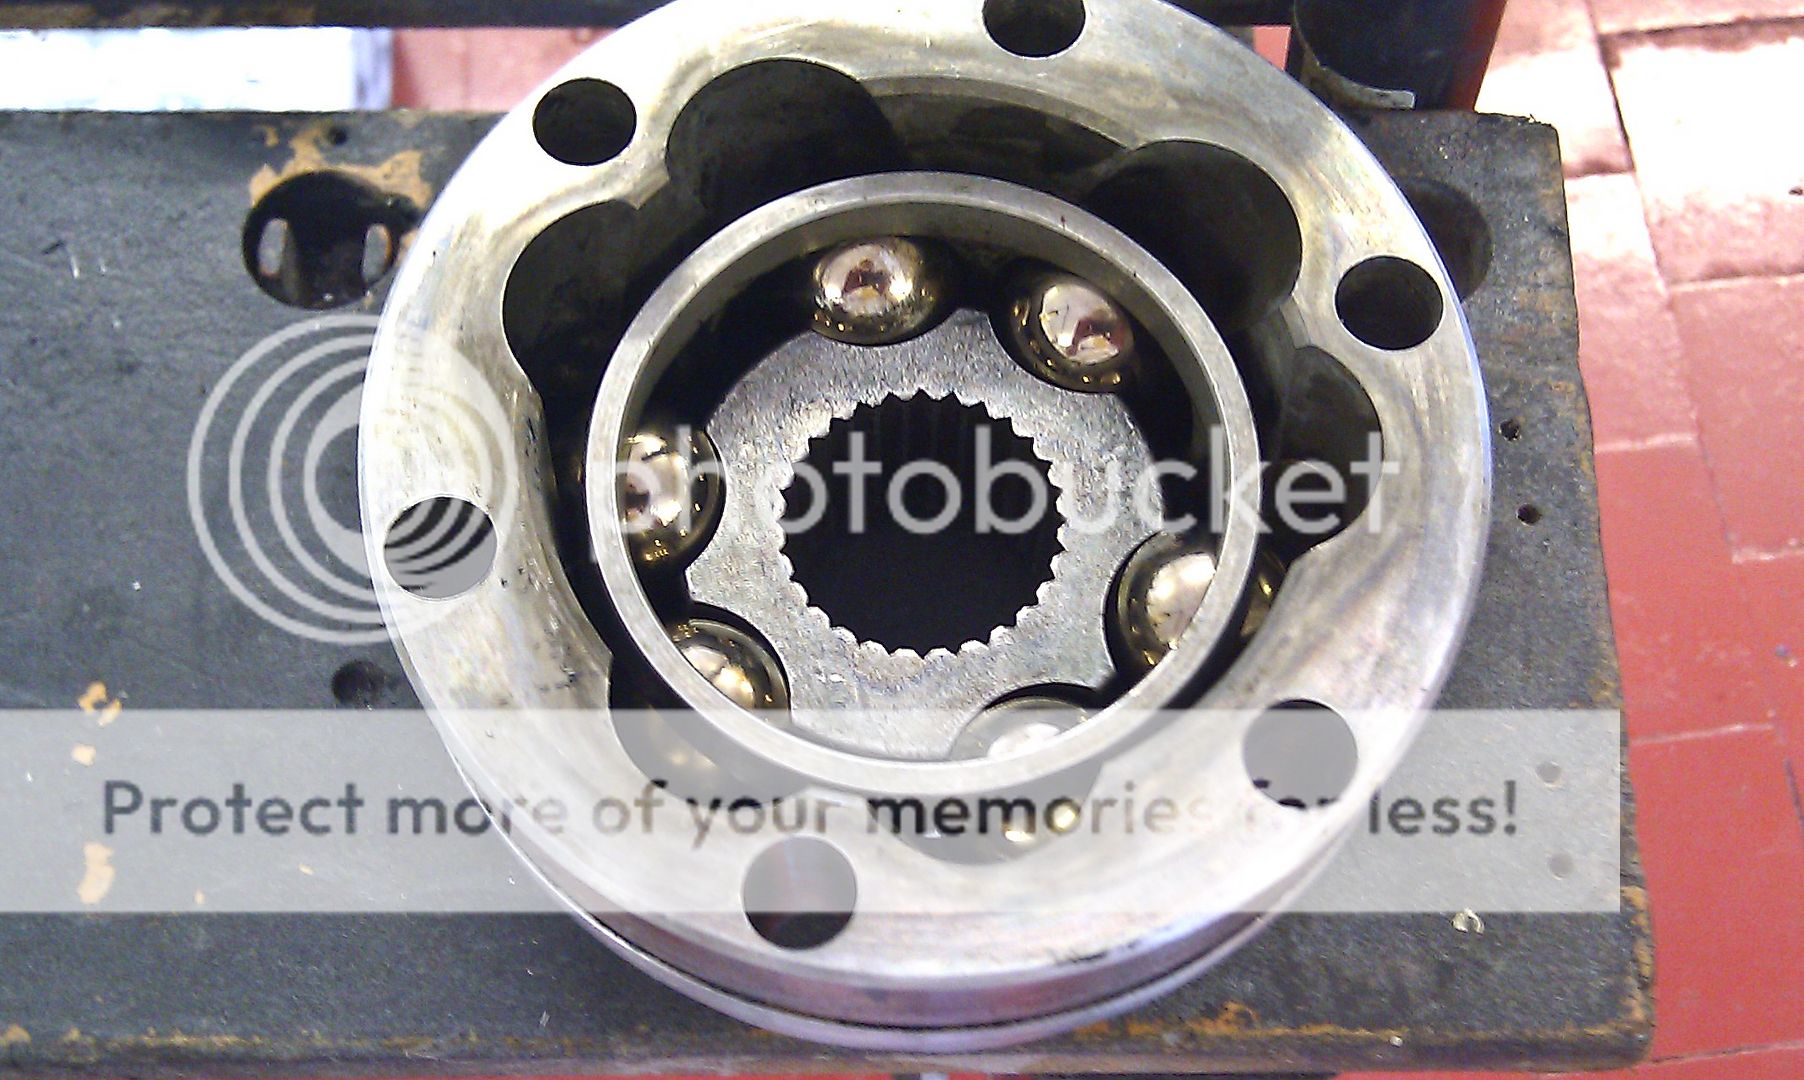
Slip the new boot over the end of the shaft first (use a little grease to help it slide over) and use the supplied grease to pack out the joint...
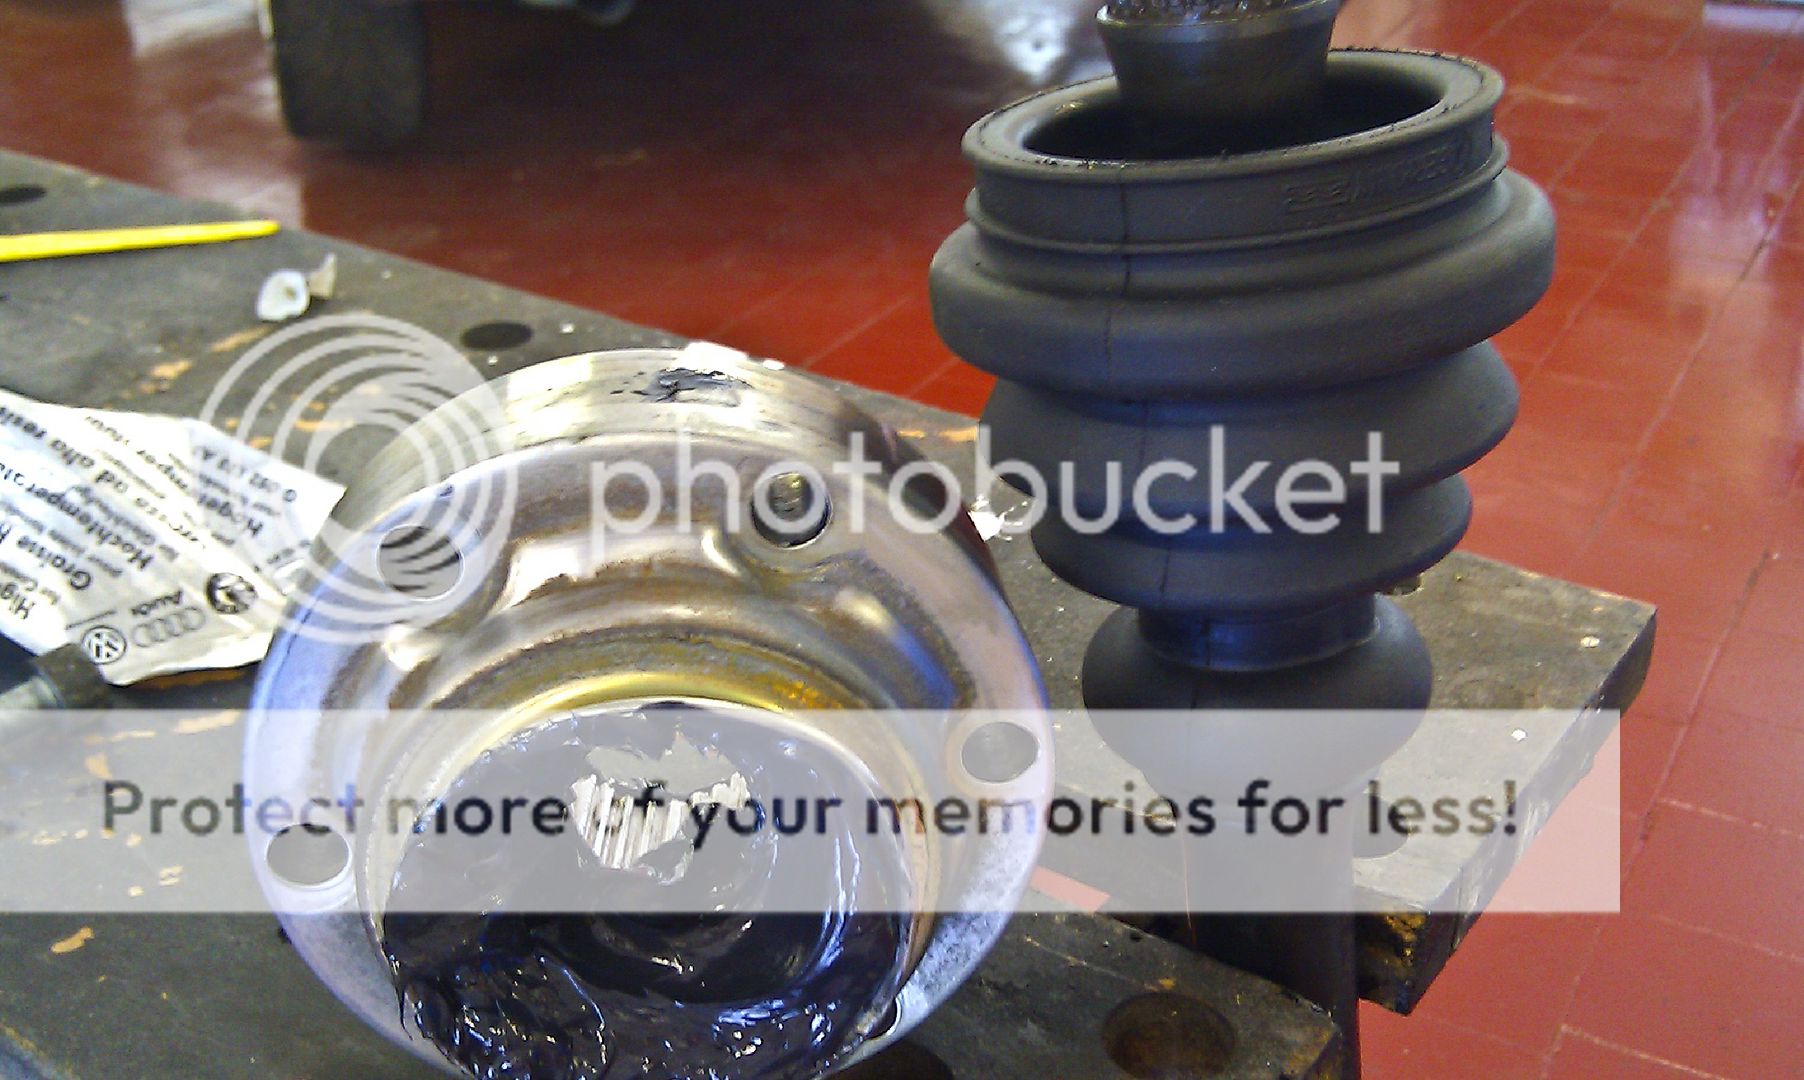
Push the joint back onto the shaft and clean around the circlip groove if its covered with grease... fit the new circlip...
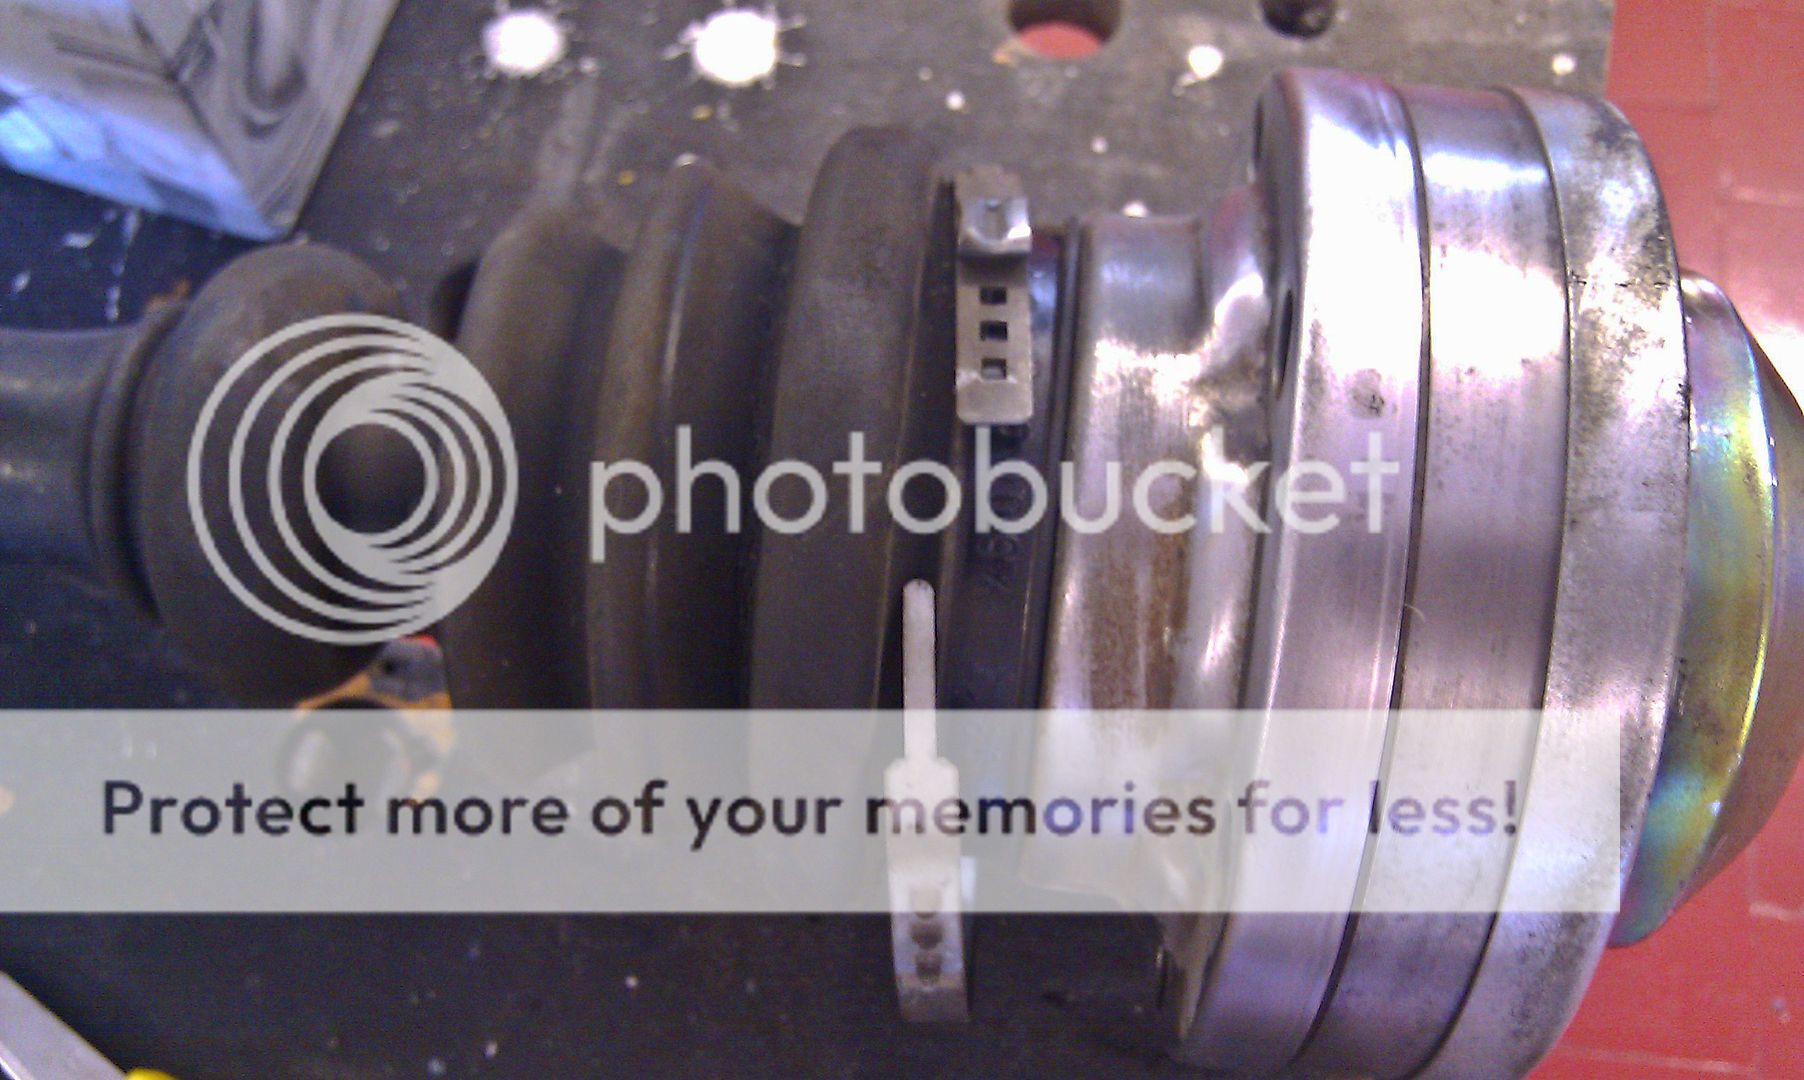
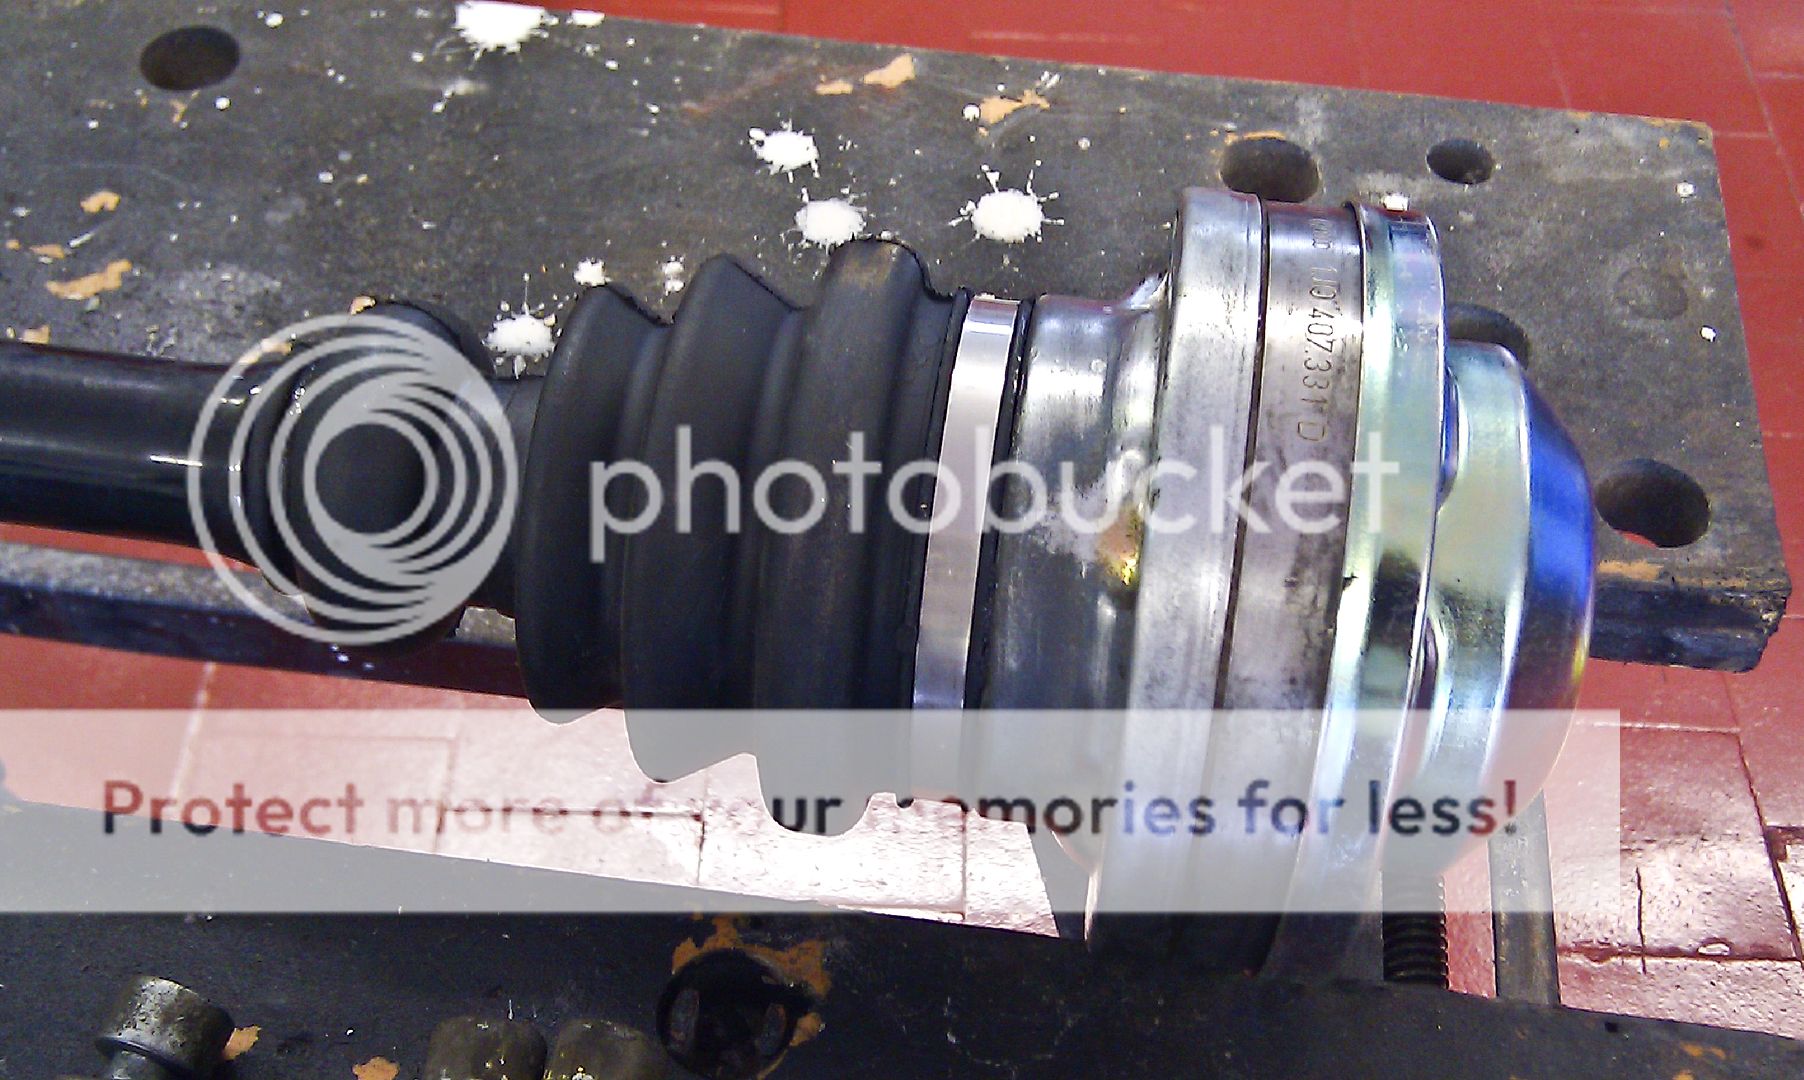
Fit the boot over the flange of the joint, separate the new clip and slip it over the boot... clip it back together and use gentle pressure with a pair of end pliers (or a proper tool if you have one) to tighten the clip...
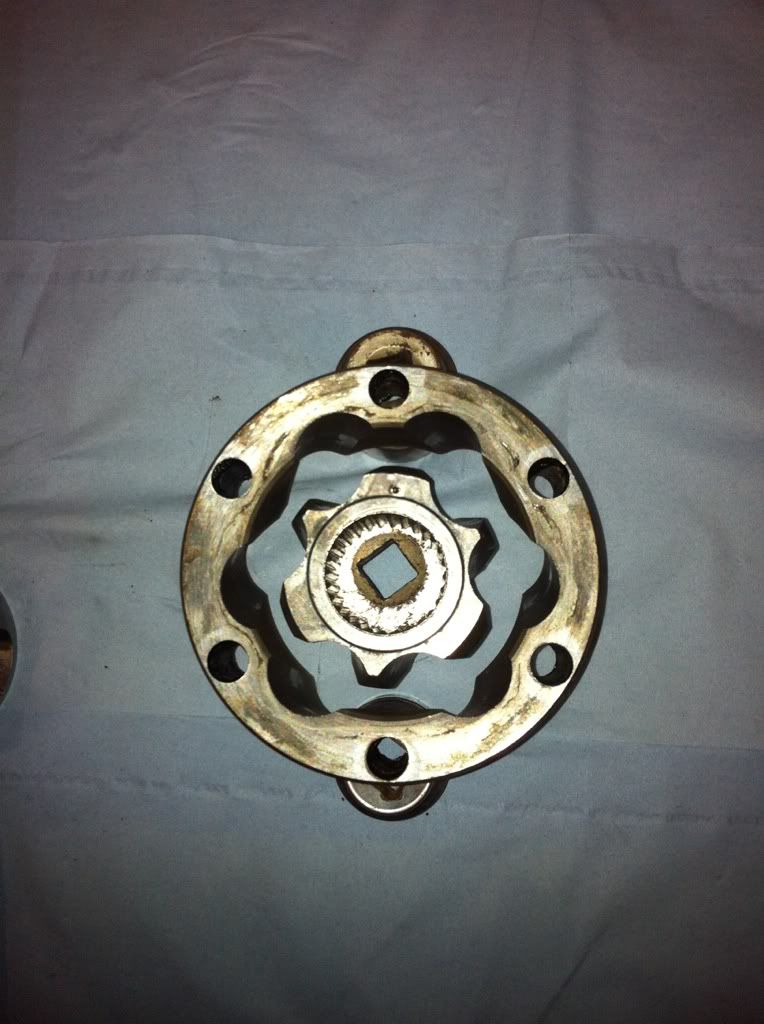
With the other face of the joint sat in the workbench, gently tap the new end cap on with a soft face hammer making sure you have lined up the bolt holes... its quite tight...
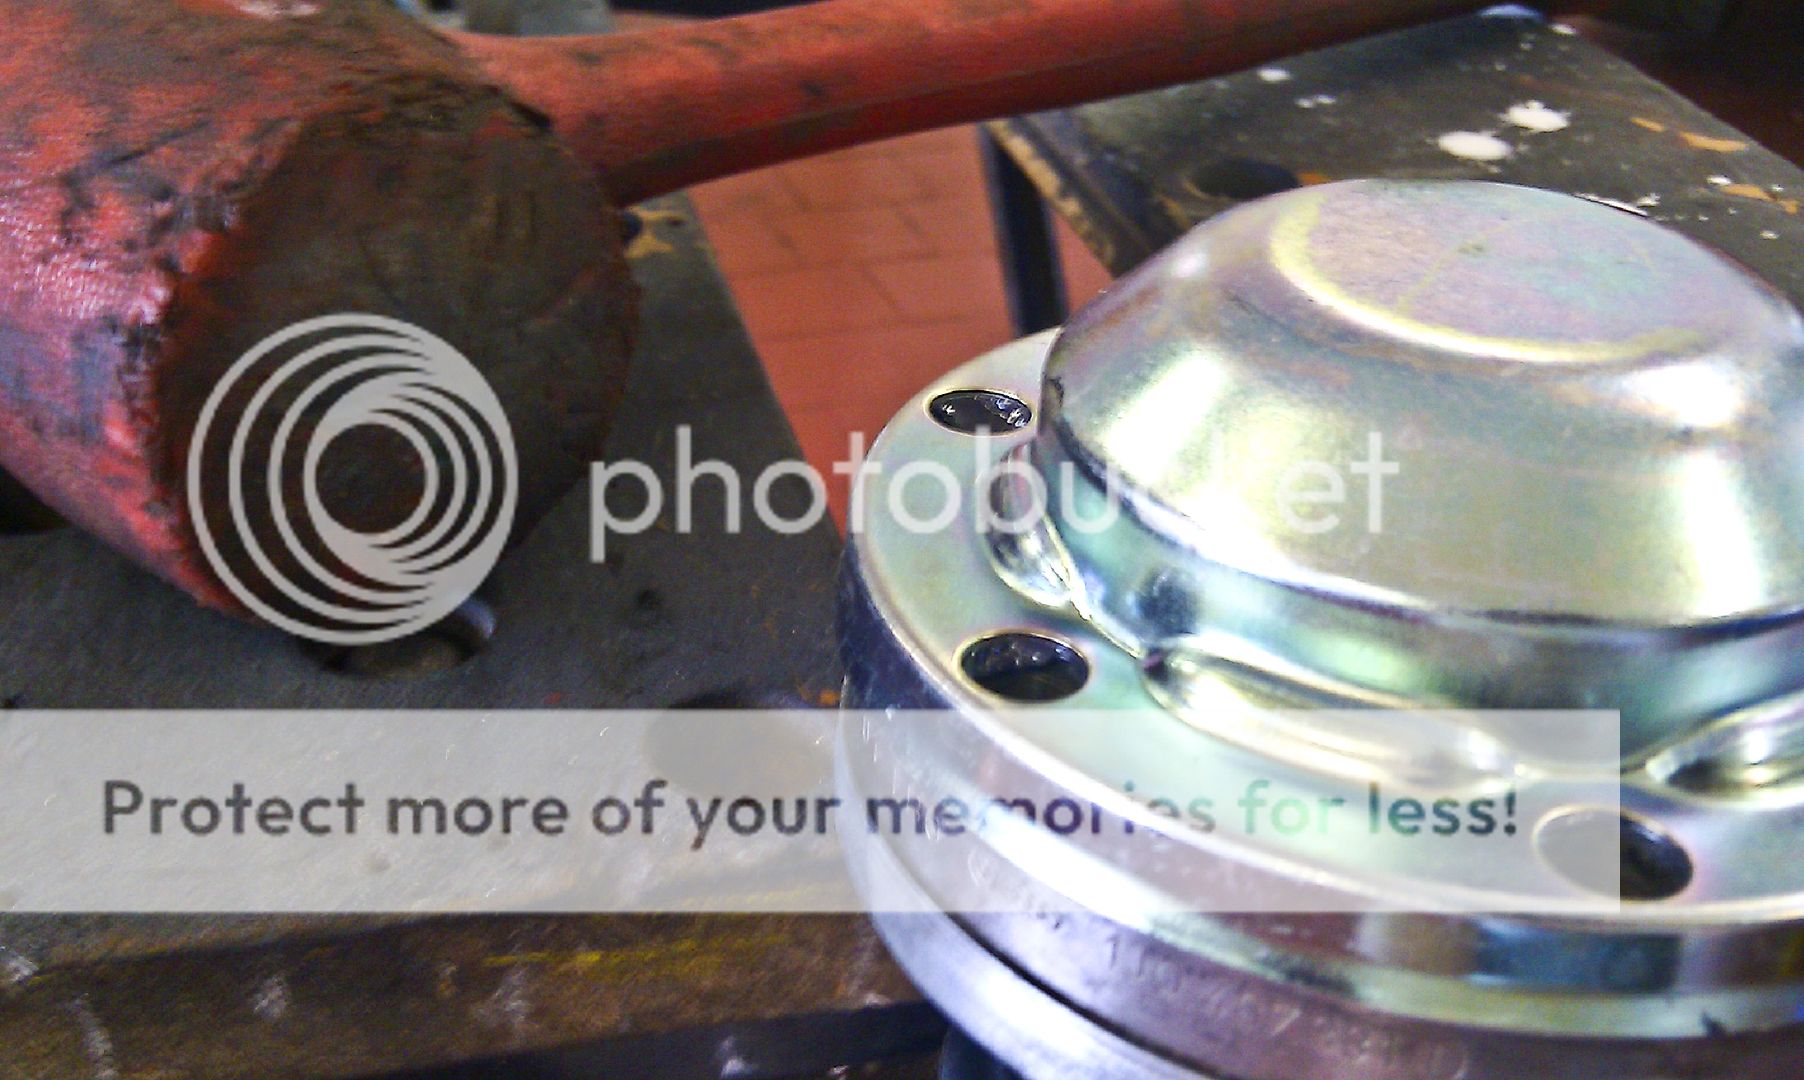
And there you have it, refitting is more or less the reverse of removal...
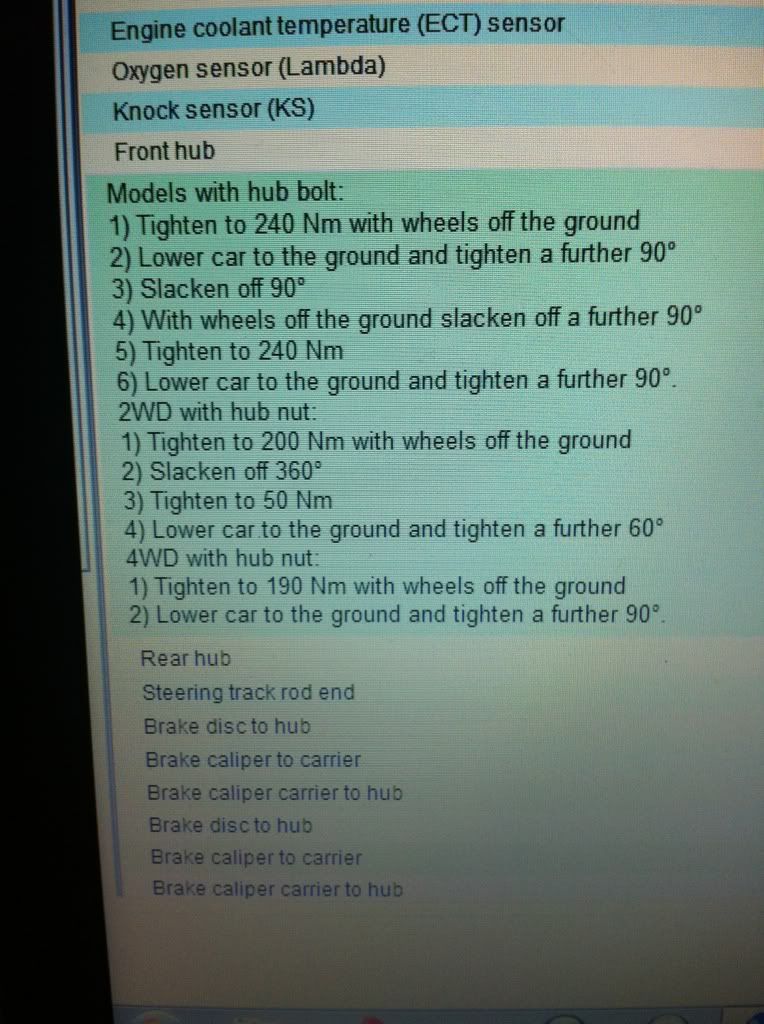
Do up the hub bolt according to following recommendations...
‒ Have second mechanic press brake.
‒ Tighten hexagon collared bolt to 240 Nm.
‒ Set vehicle down on its wheels.
‒ Give hexagon collared bolt further 90° turn.
‒ Slacken off hexagon collared bolt again by 90°.
‒ Raise vehicle.
‒ Slacken off hexagon collared bolt by a further 90°.
‒ Have second mechanic press brake.
‒ Tighten hexagon collared bolt to 240 Nm.
‒ Set vehicle down on its wheels.
‒ Give hexagon collared bolt further 90° turn.
When I do my next outboard joint/gaiter I'll update this thread..
<tuffty/>
While this is based on the S3 driveshaft the principle is relevant give or take a few differences across cars...
The way I went about this is to remove the shaft from the car and sort it on a bench... this can be done with the car on axle stands but I had access to a ramp...
First undo the hub bolt (17mm hex)... this is very tight and I used a long breaker bar to undo it with the weight of the car on the wheels and the wheels chocked as the handbrake doesn't always hold the car... To avoid wheel bearing damage, do not slacken the bolt by more than 90 degrees until you have jacked the car up...
Once you have removed the wheel, undo the bolts holding the inboard joint to the gearbox drive flange (10mm spline)...
Little trick to keep the shaft from moving as you undo it is to use a screwdriver placed tactically in the brake discs vents and it will hold against the caliper...
Undo the ball joint nut (18mm spanner).... on an S3 (or any VAG with forged arms rather than pressed steel ones) the the 3 fixing points for the ball joint are slotted to allow for camber adjustment and undoing these may mean you will need to get the suspension realigned...
...splitting the joint...
...if you have factory Xenons (S3's etc) and are doing the nearside (uk car) shaft, you will need to undo the level sensor rod thats attached to the lower arm as you can break the arm off the sensor when you move the lower arm down to get the ball joint out of the stub axle...
Pull the suspension strut assembly towards the outside of the car to release the outer joint from the hub and remove the shaft...
I bought a genuine Audi gaiter as GSF didn't have it listed... I have bought an aftermarket one before but its a different design to the Audi one. The Audi one is just a boot that clips to a metal flange on the joint, the aftermarket one replaces the whole thing...
Aftermarket one...
Audi kit...
Remove the clip and just cut the old gaiter off to remove it...
Remove the end cap by tapping or prising it off... the Audi kit comes with a replacement but if yours doesn't then take more care than I did
Clean up the grease from the back of the joint taking care not to overextend it on an angle as it can (and will!) fall apart... putting it back together is not the most fun job in the world but can be done...
Remove the circlip on the back... the kit came with a new one...
Carefully knock the joint off the shaft to remove it...
Clean as much of the old grease off as you can, I used brake cleaner but don't worry if you don't get it all unless the gaiter has been split long enough to allow in dirt and grit in which case you may need to replace the joint...
Slip the new boot over the end of the shaft first (use a little grease to help it slide over) and use the supplied grease to pack out the joint...
Push the joint back onto the shaft and clean around the circlip groove if its covered with grease... fit the new circlip...
Fit the boot over the flange of the joint, separate the new clip and slip it over the boot... clip it back together and use gentle pressure with a pair of end pliers (or a proper tool if you have one) to tighten the clip...
With the other face of the joint sat in the workbench, gently tap the new end cap on with a soft face hammer making sure you have lined up the bolt holes... its quite tight...
And there you have it, refitting is more or less the reverse of removal...
Do up the hub bolt according to following recommendations...
‒ Have second mechanic press brake.
‒ Tighten hexagon collared bolt to 240 Nm.
‒ Set vehicle down on its wheels.
‒ Give hexagon collared bolt further 90° turn.
‒ Slacken off hexagon collared bolt again by 90°.
‒ Raise vehicle.
‒ Slacken off hexagon collared bolt by a further 90°.
‒ Have second mechanic press brake.
‒ Tighten hexagon collared bolt to 240 Nm.
‒ Set vehicle down on its wheels.
‒ Give hexagon collared bolt further 90° turn.
When I do my next outboard joint/gaiter I'll update this thread..
<tuffty/>