

Jimmeh
Registered User
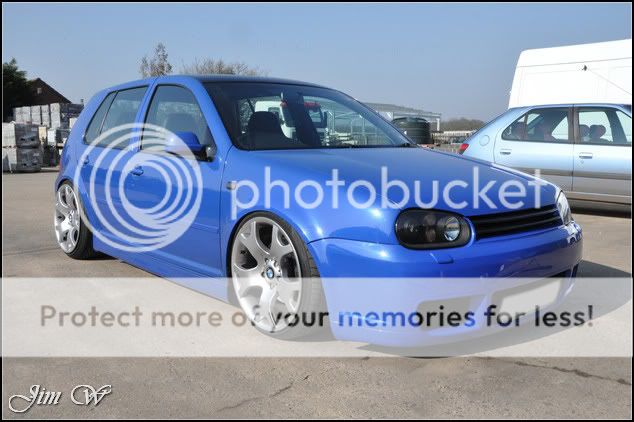
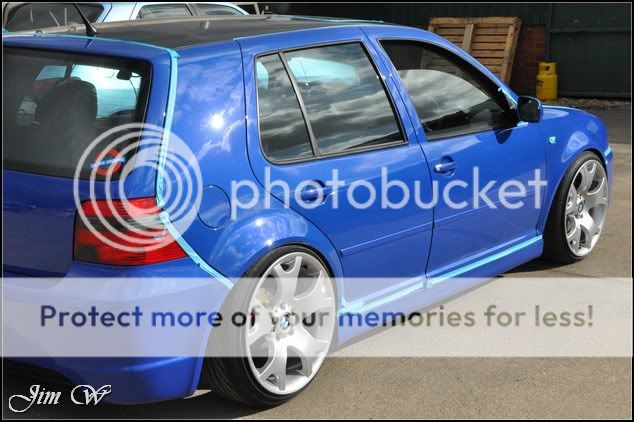
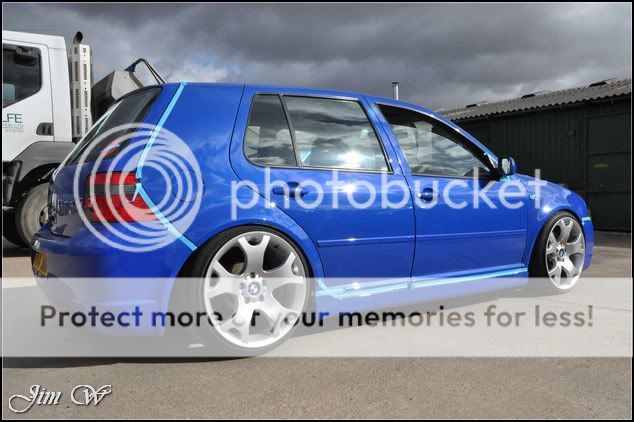
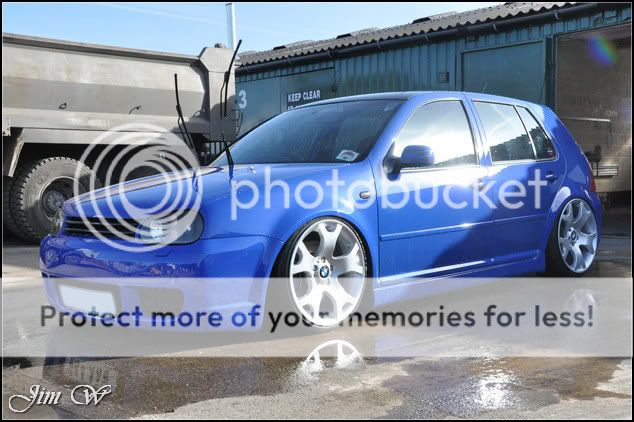
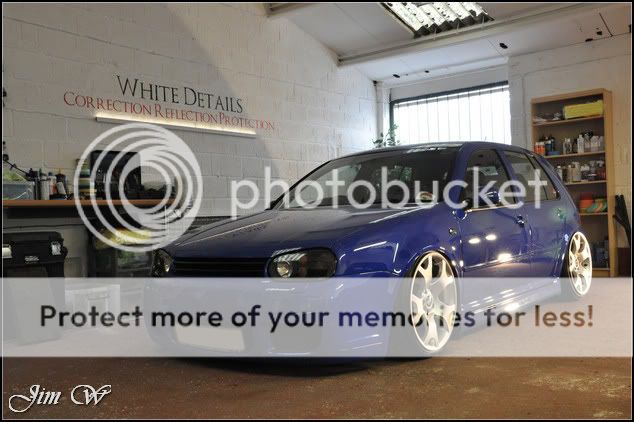
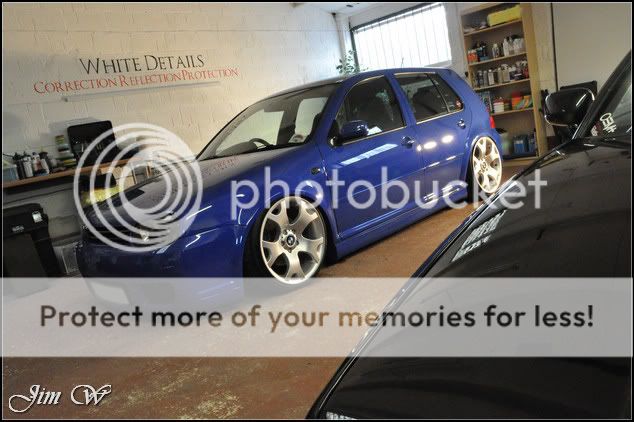
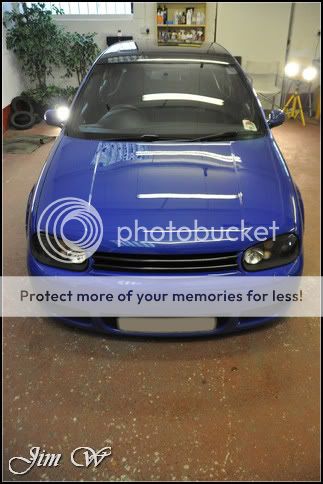
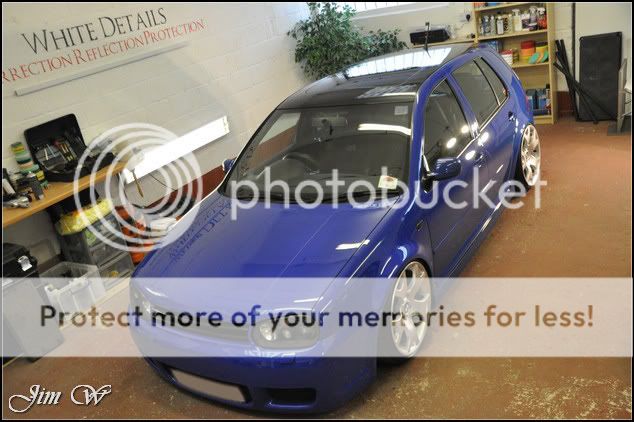
Volkswagen Golf mkiv - Ultimate Dubs 2011 show prep
The Golf was dropped off on the Tuesday afternoon and collected Friday in readiness for Sundays Ultimate Dubs show in Telford.
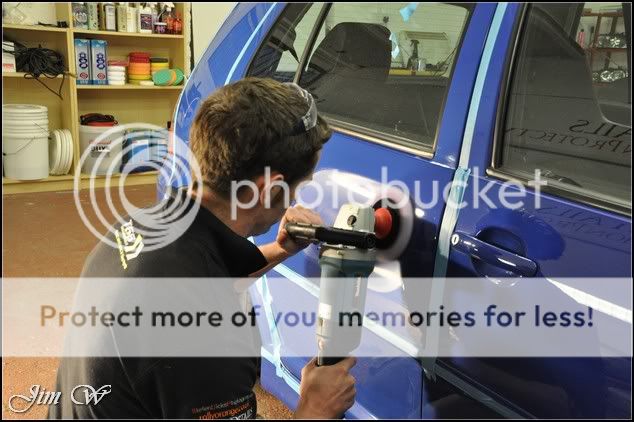
My plan? A wheels-off & Major Paint Correction Detail (I think its fair to say at this point that this one could never be 100%. 106k miles of daily use has taken its tole!)
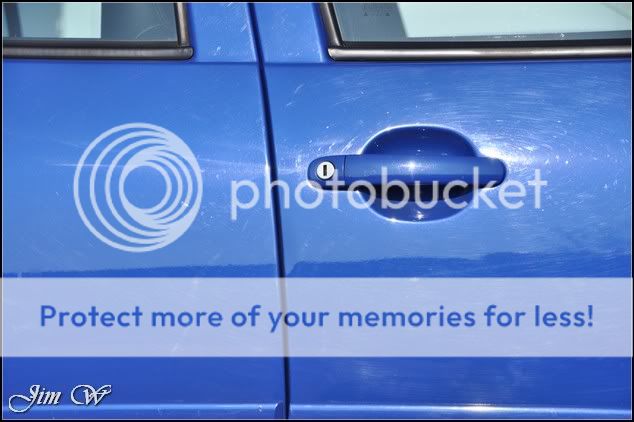
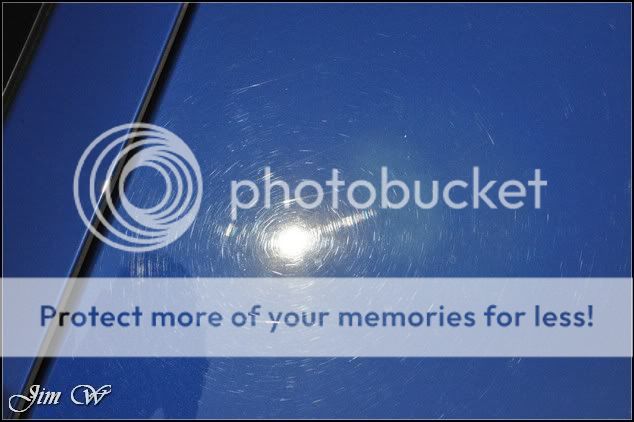
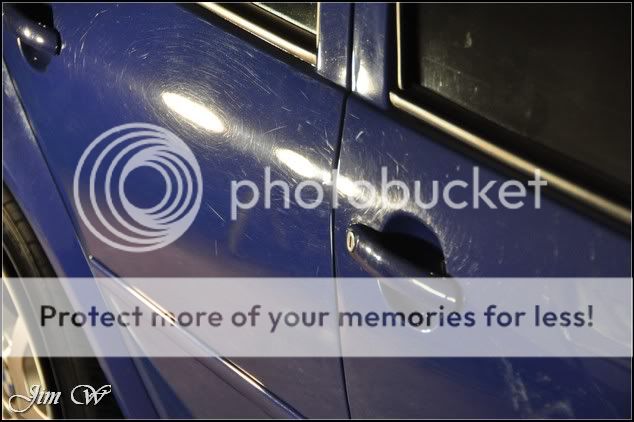
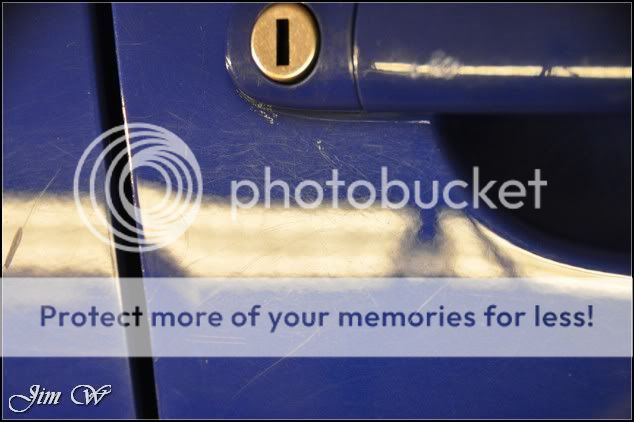
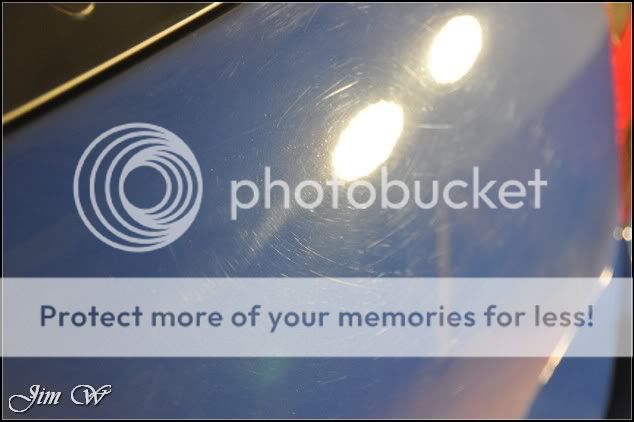
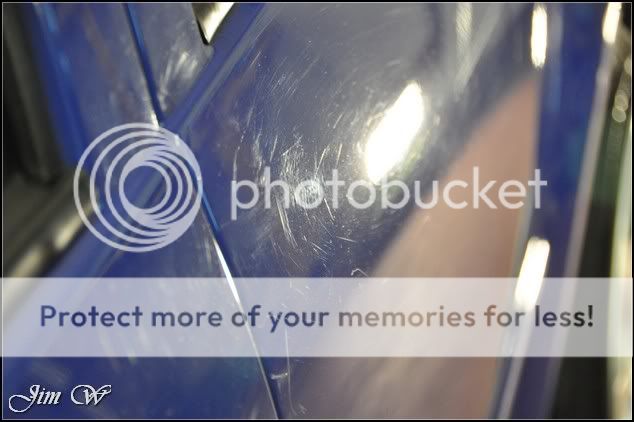
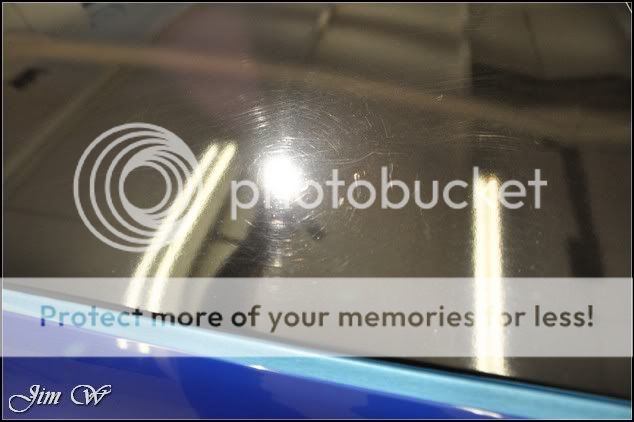
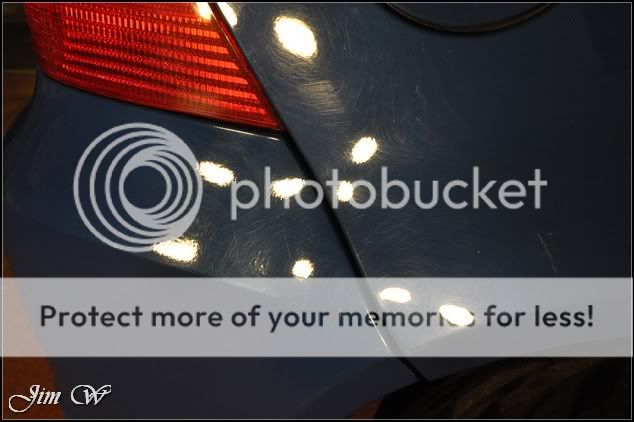
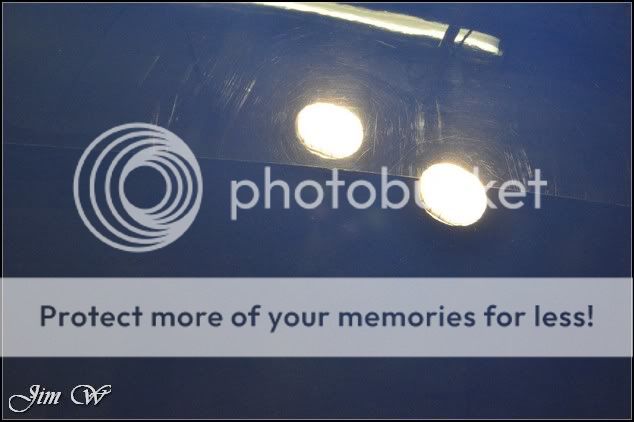
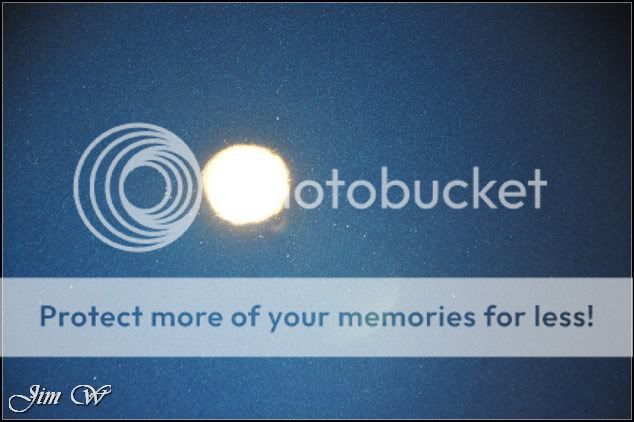
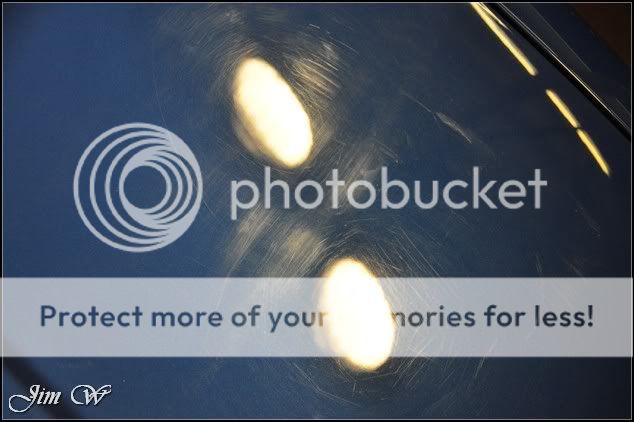
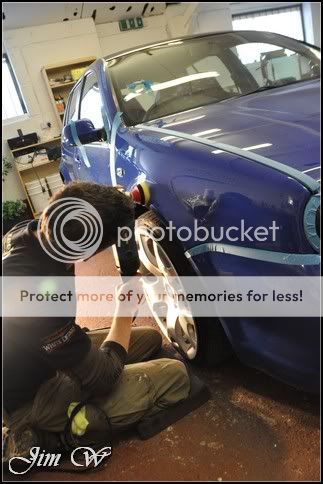
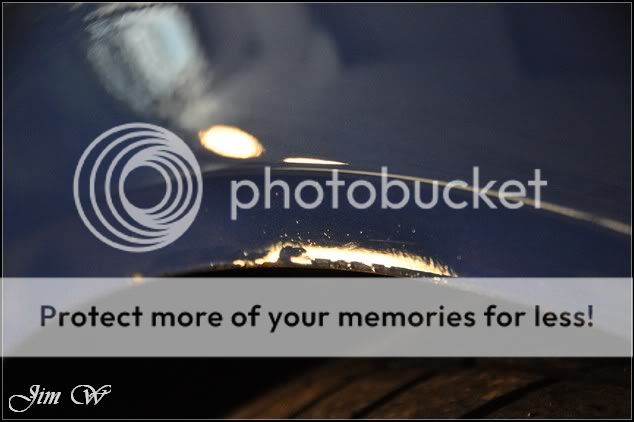
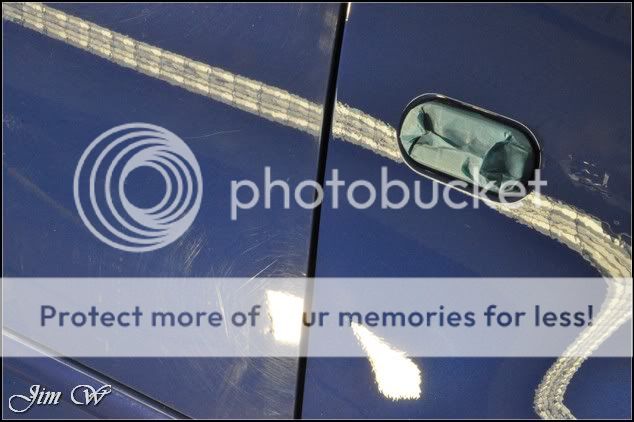
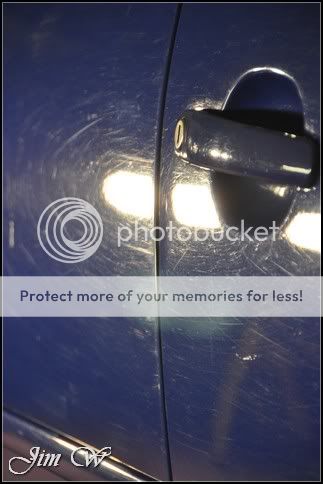
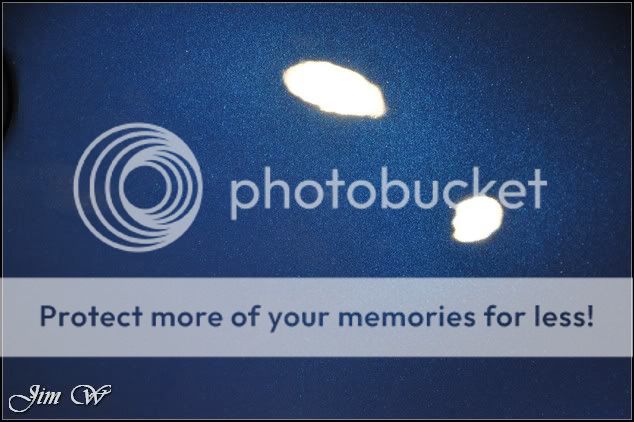
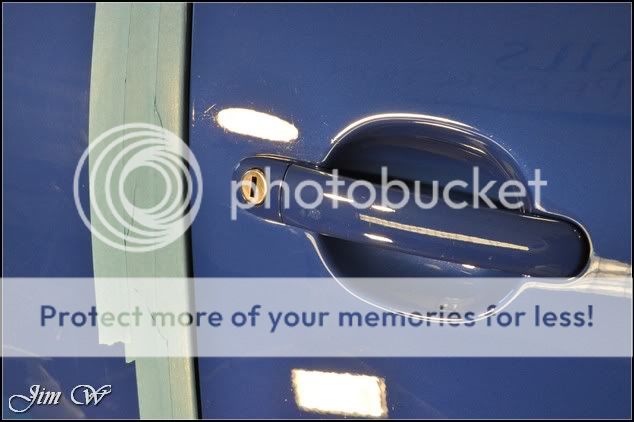
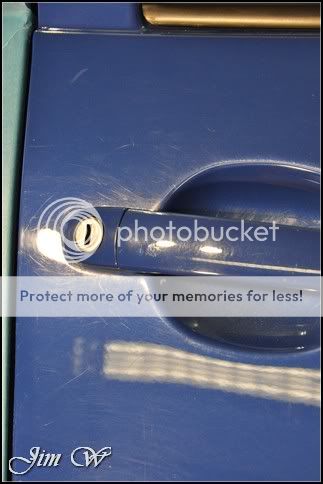
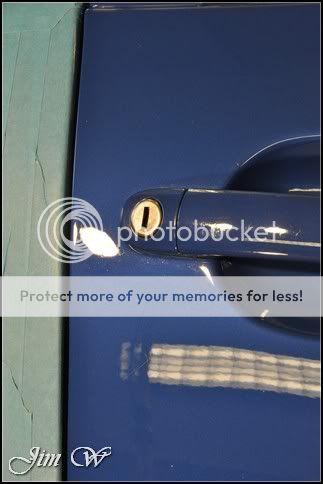
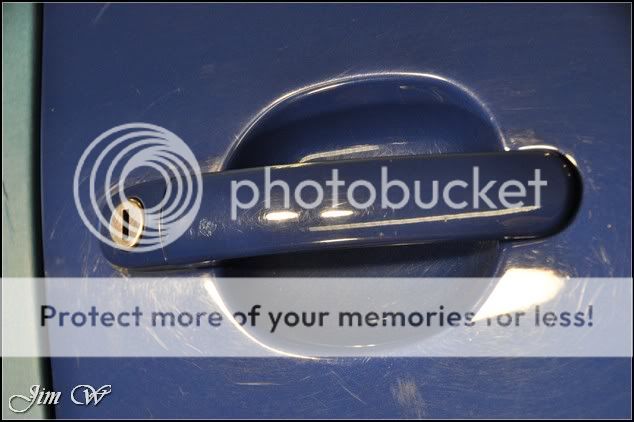
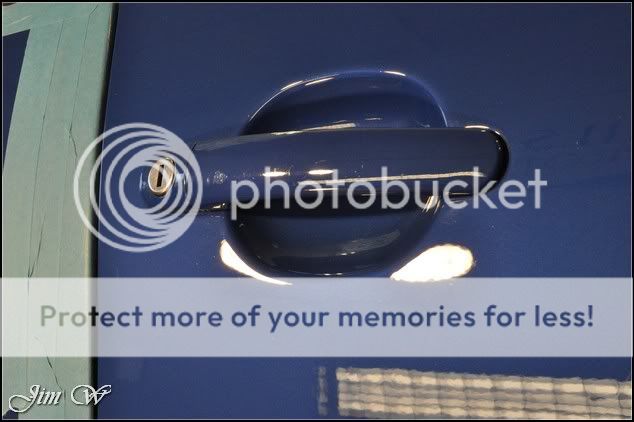
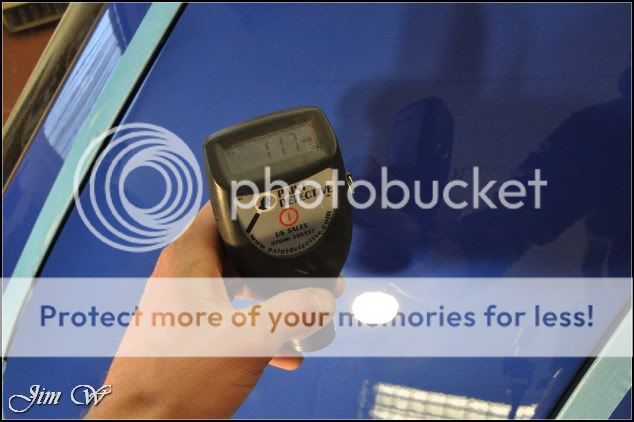
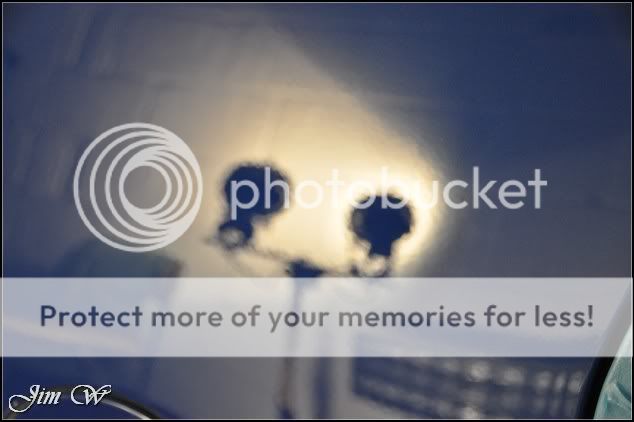
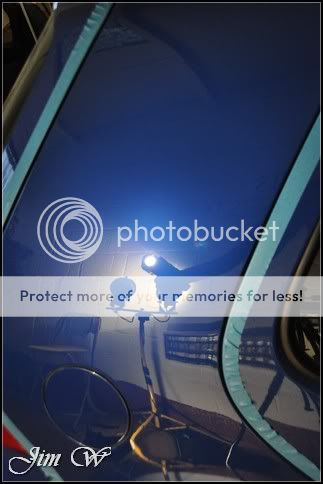
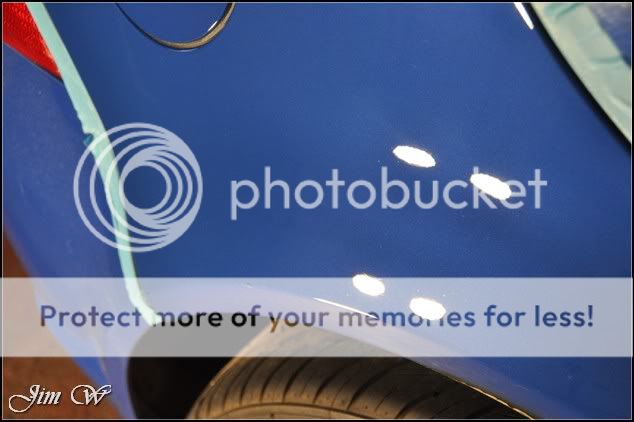
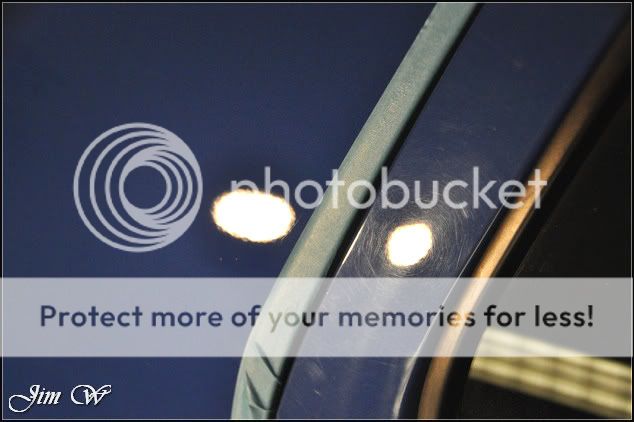
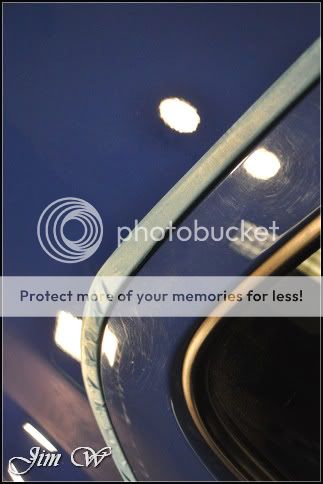
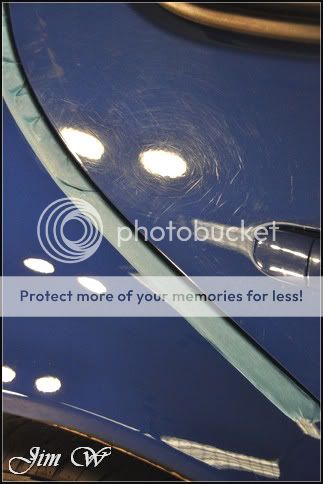
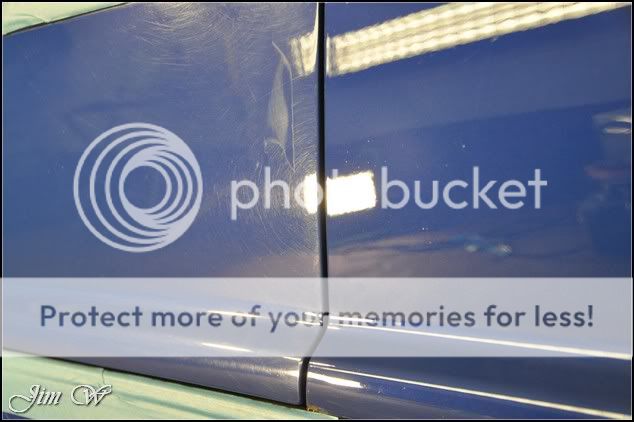
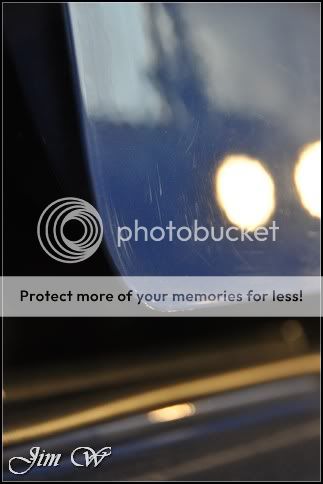
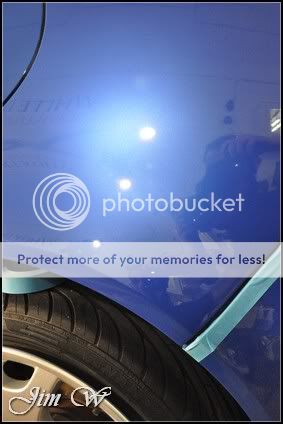
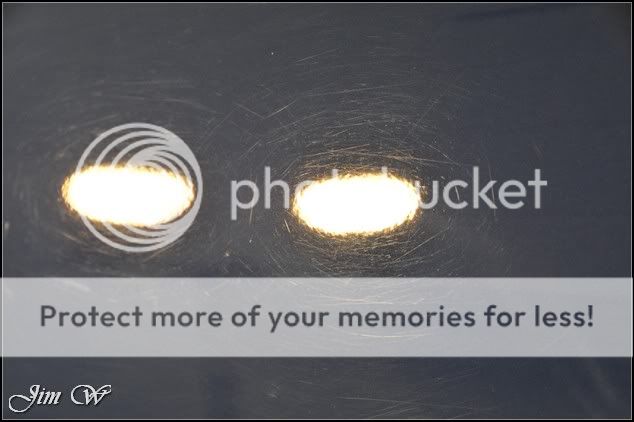
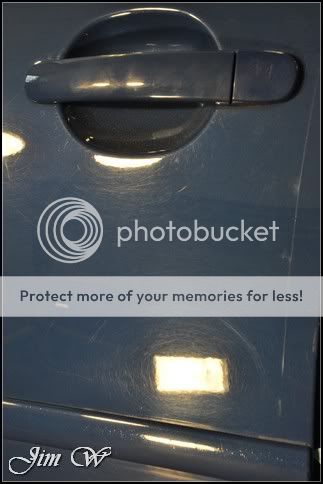
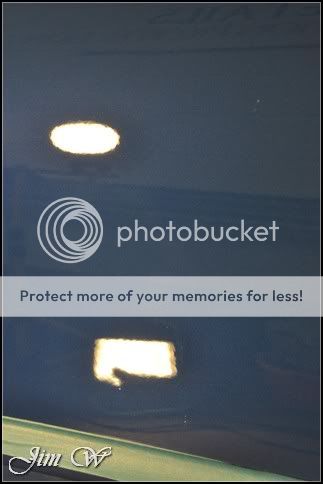
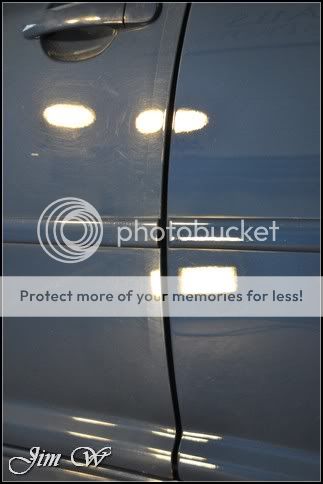
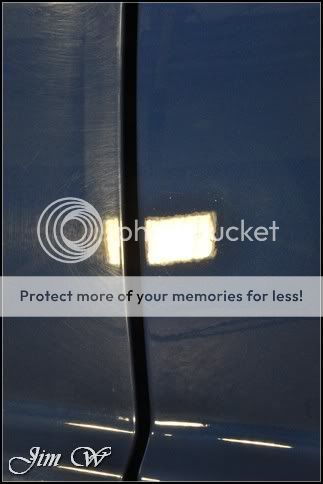
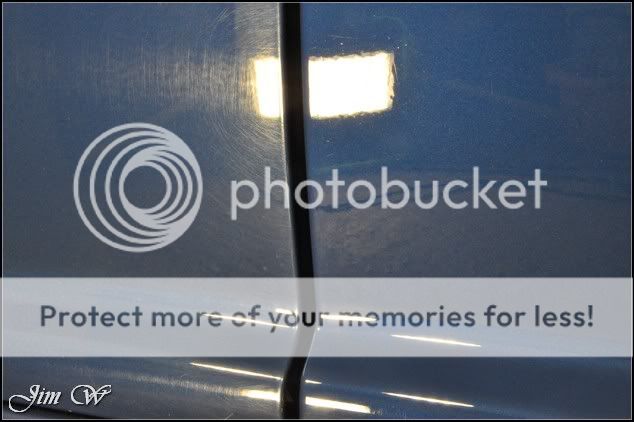
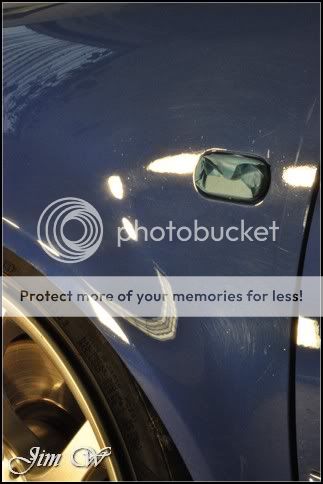
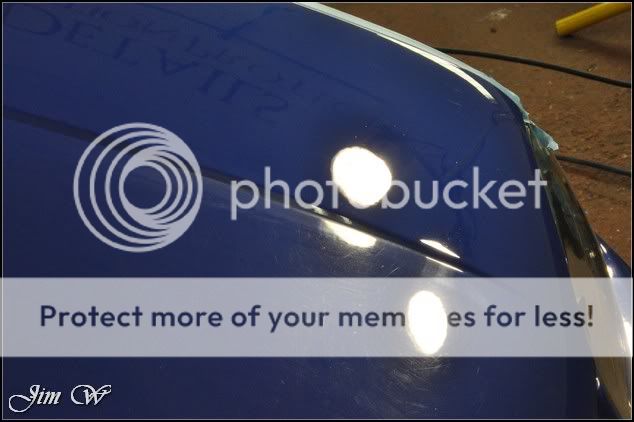
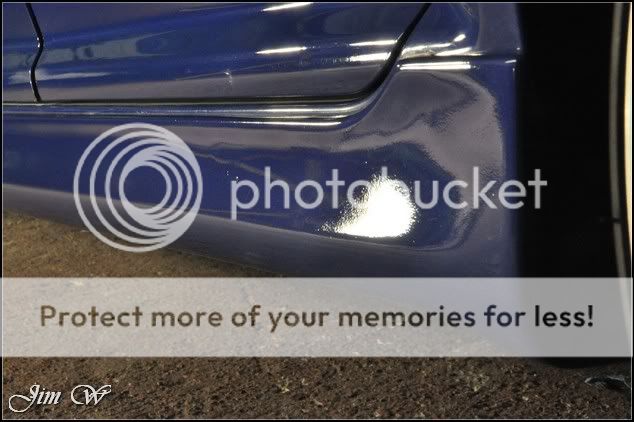
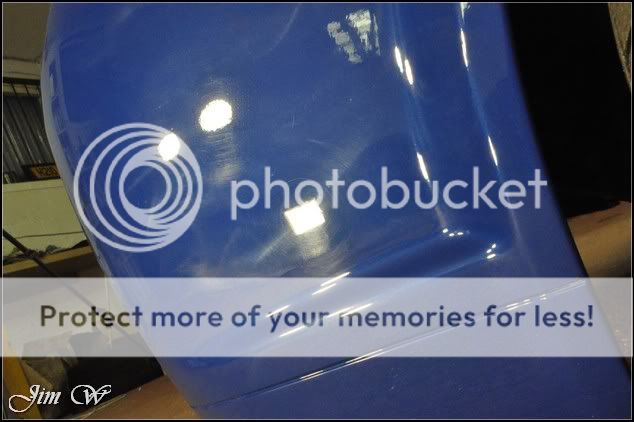
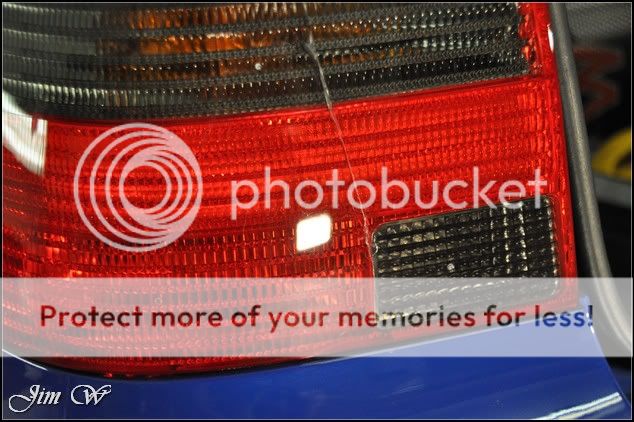
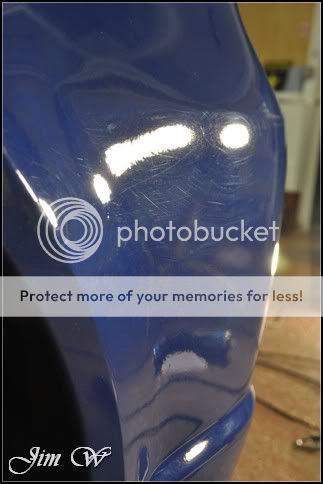
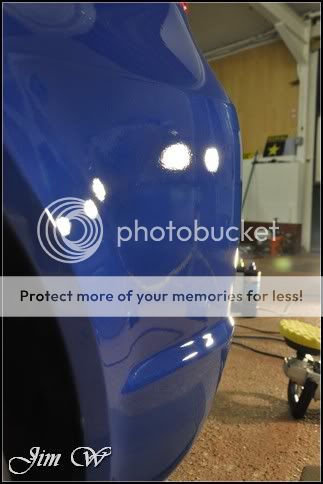
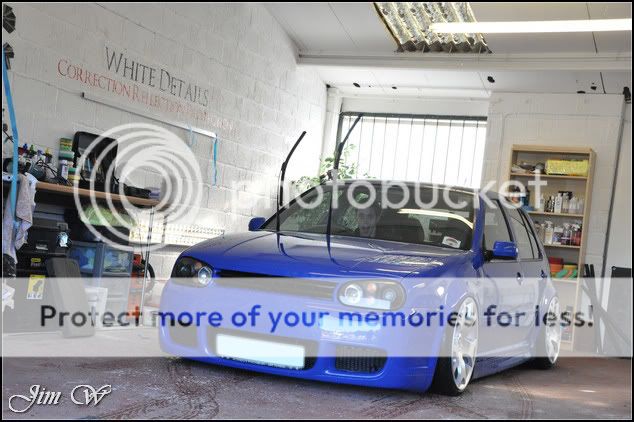
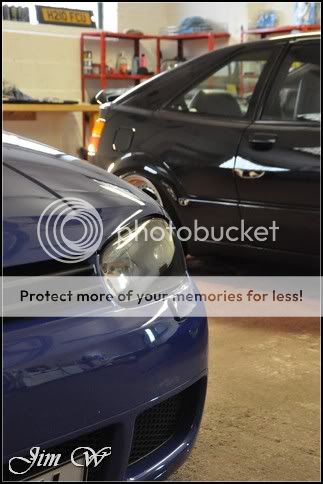
Inspection:
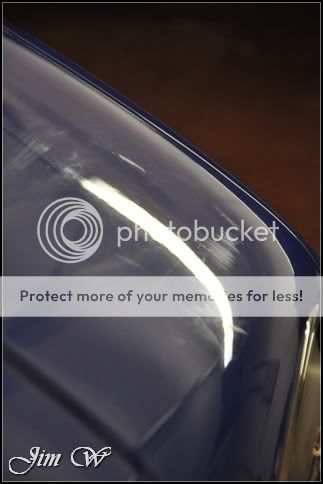
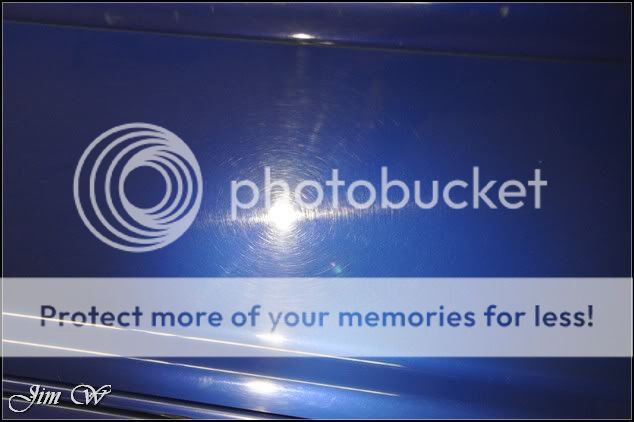
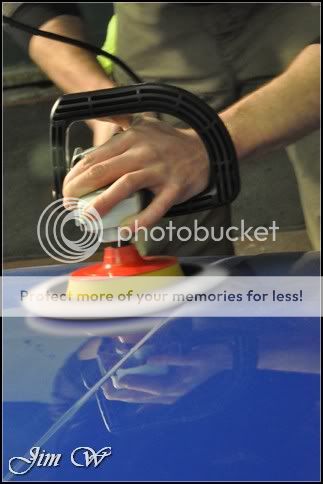
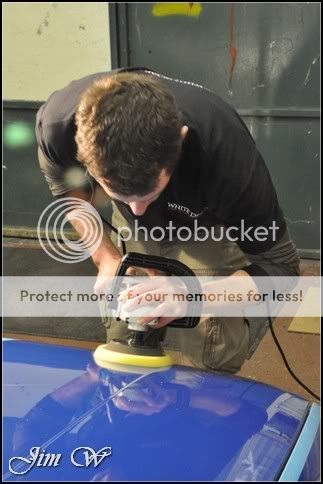
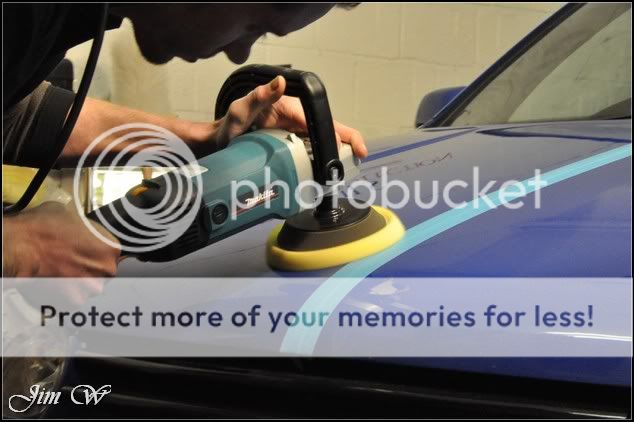
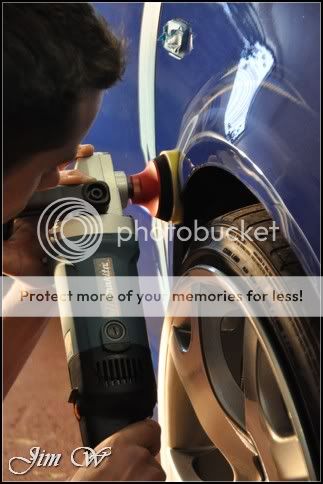
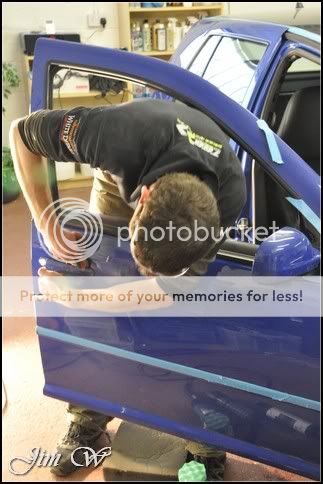
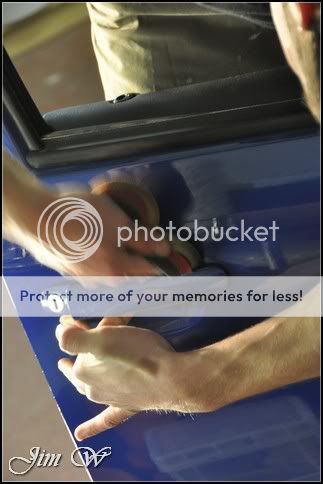
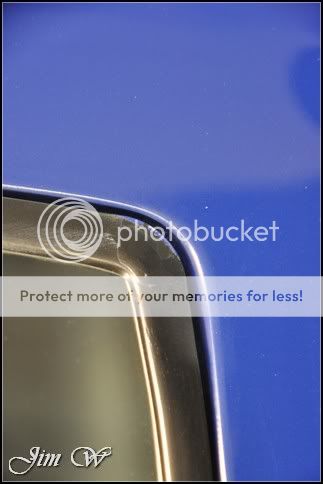
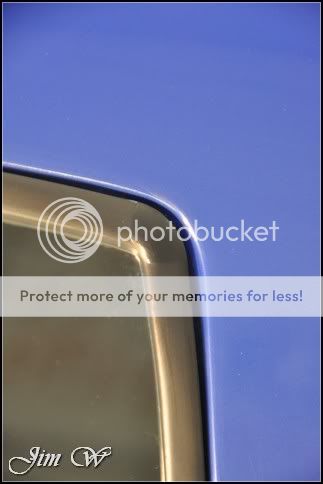
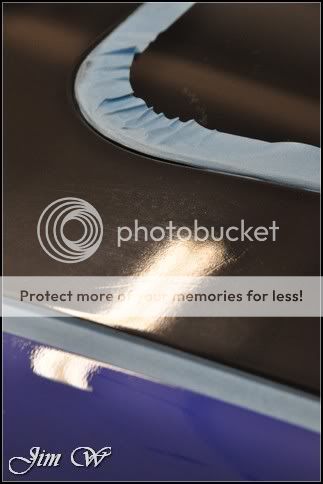
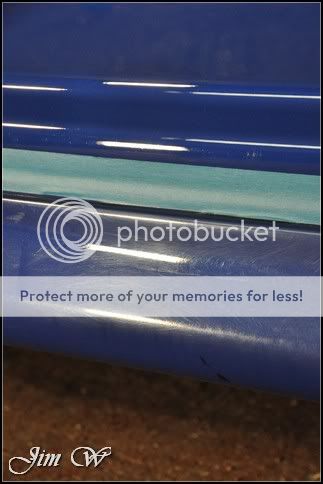
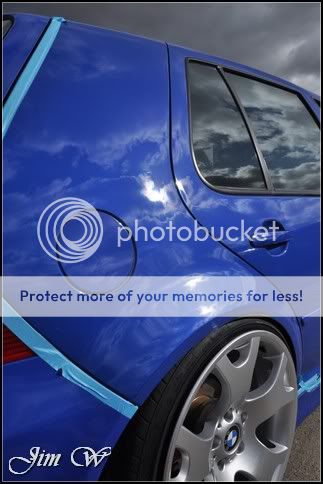
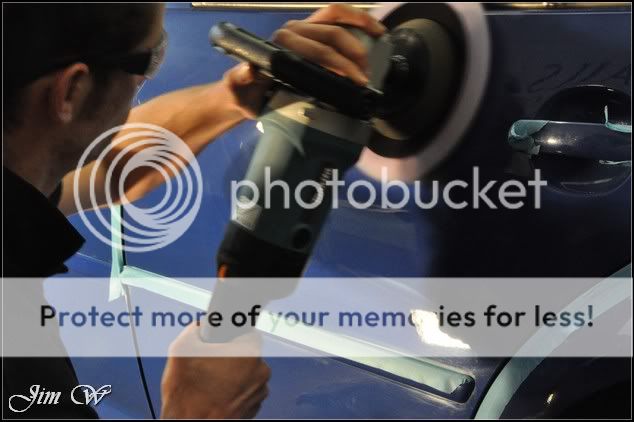
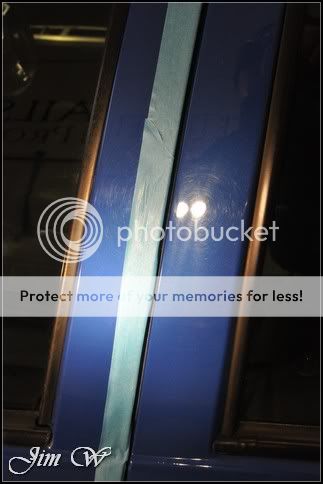
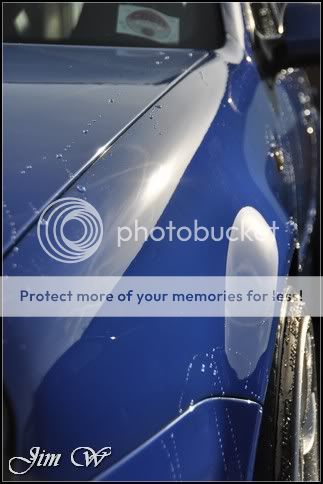
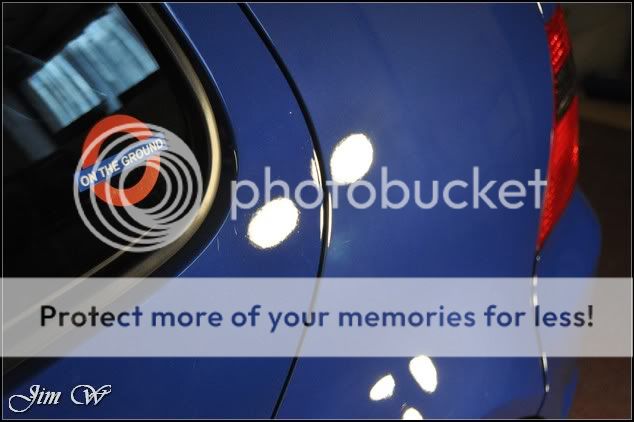
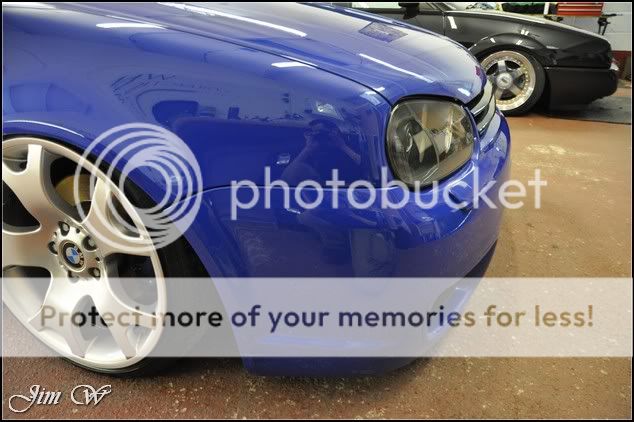
Buffertrials on freshly painted panels:
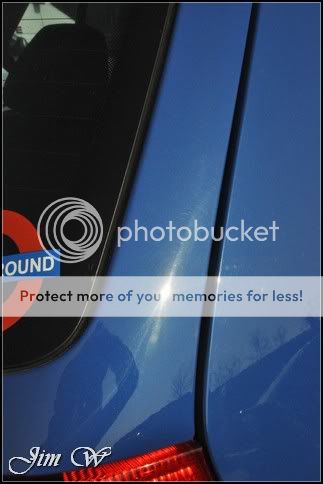
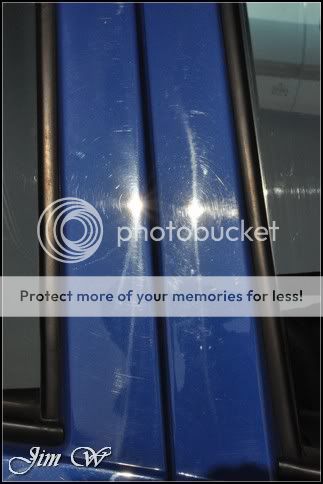
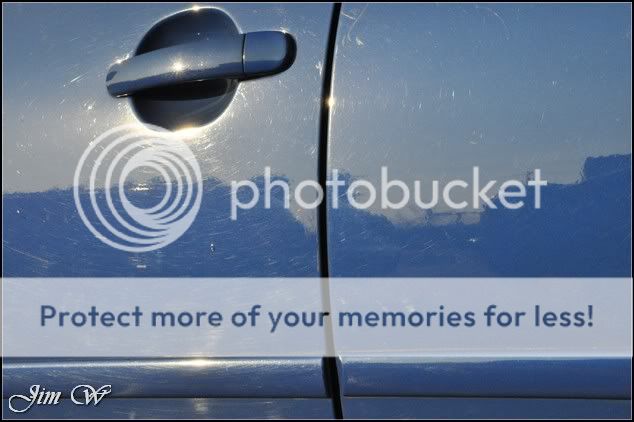
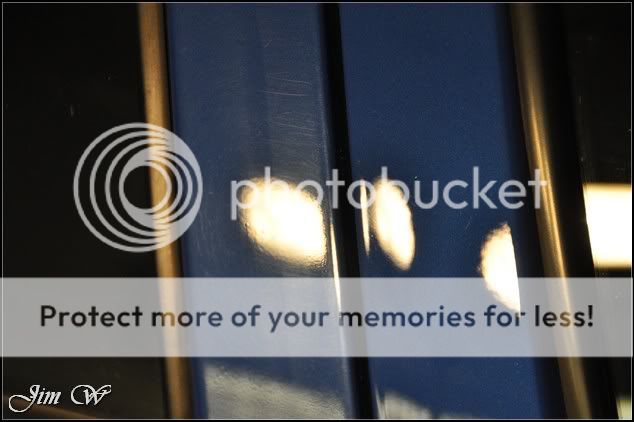
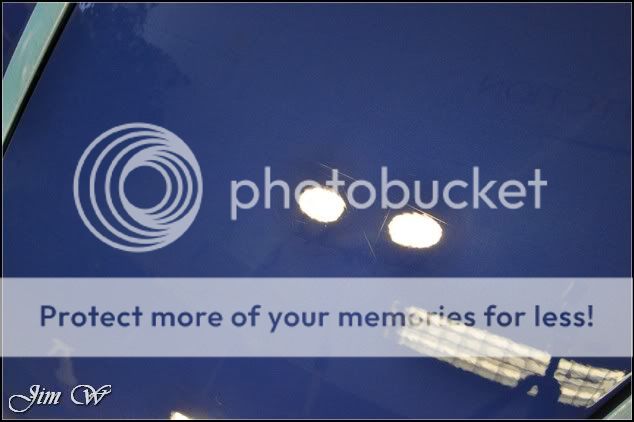
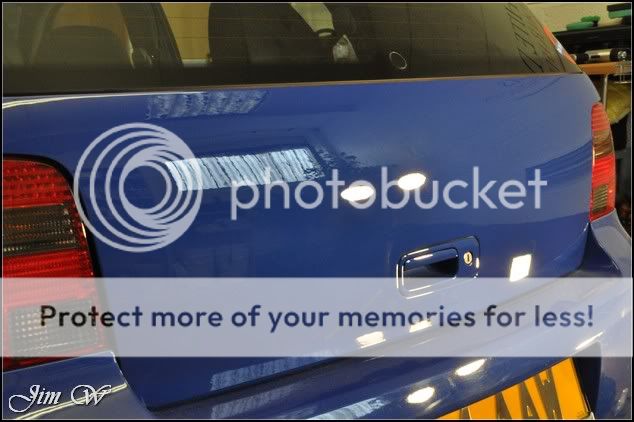
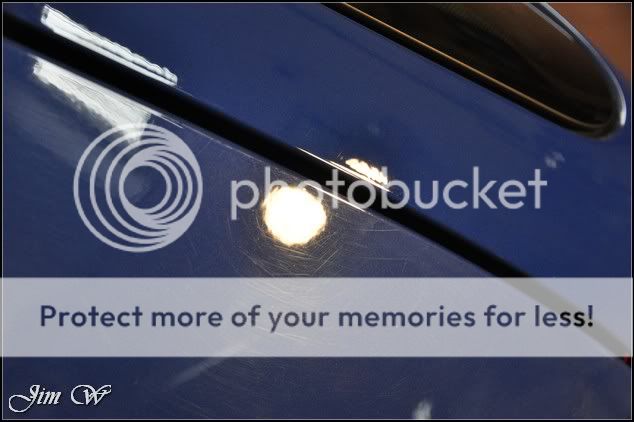
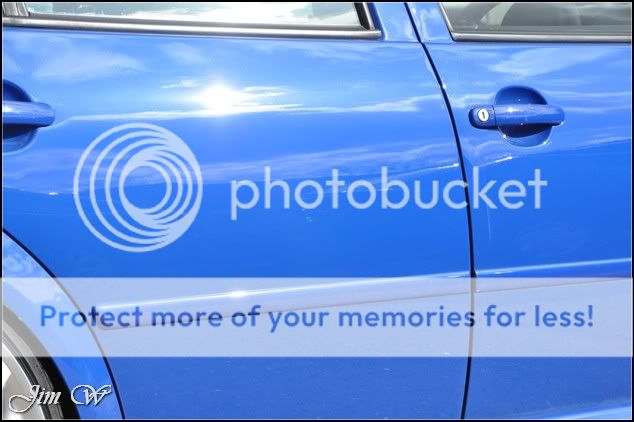
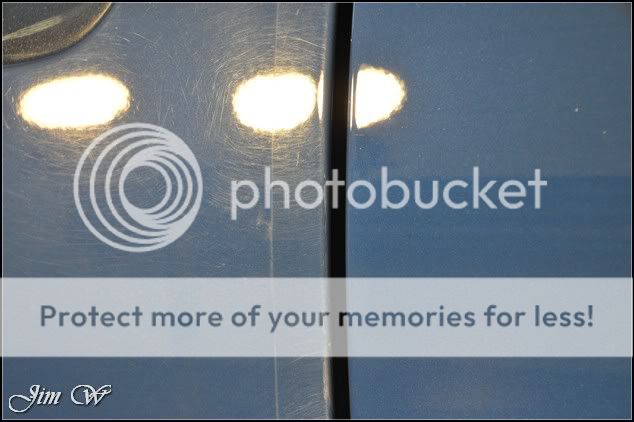
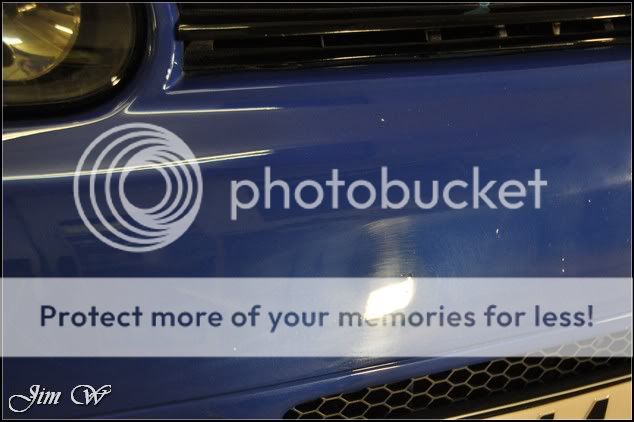
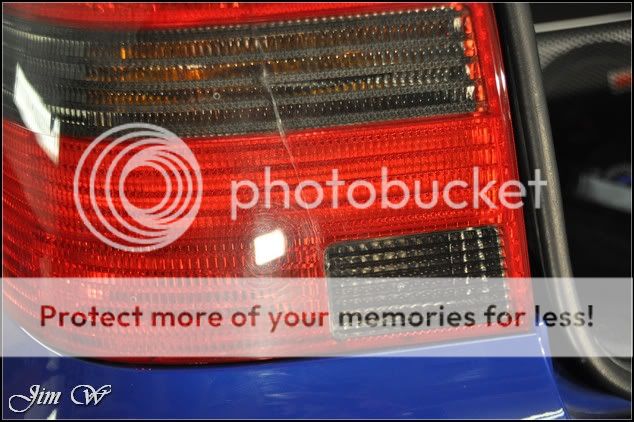
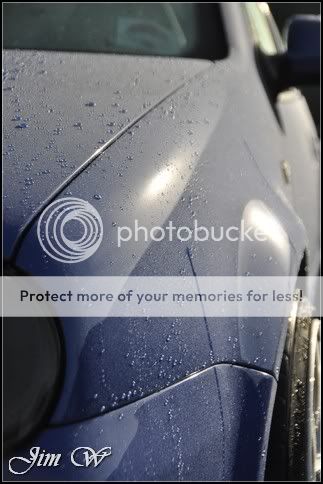
Car was ridded in deep scratches and swirls. Its going to be a tough one
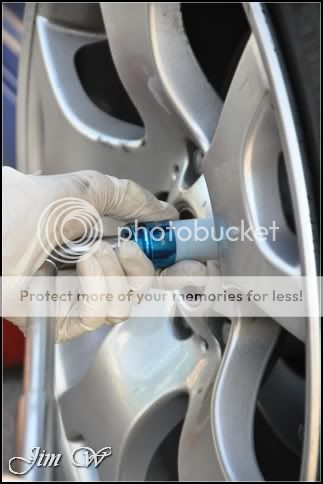
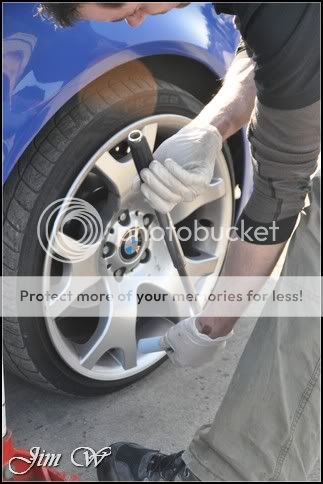
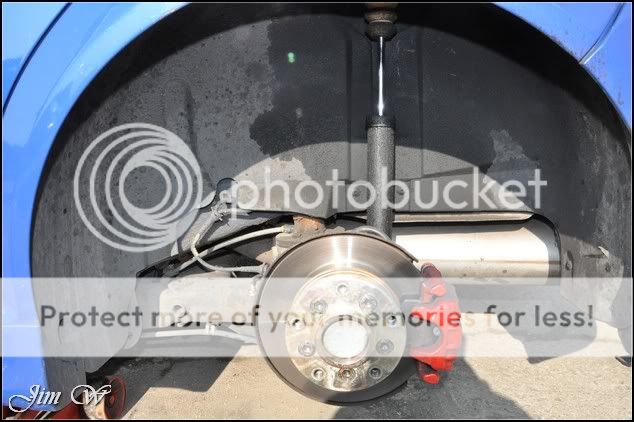
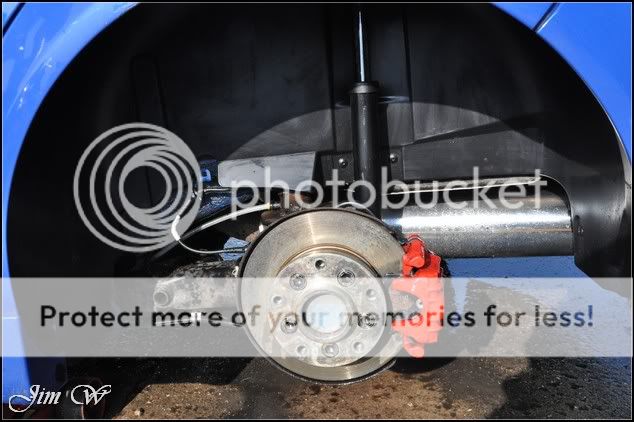
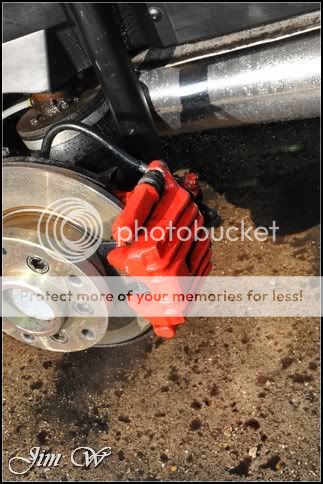
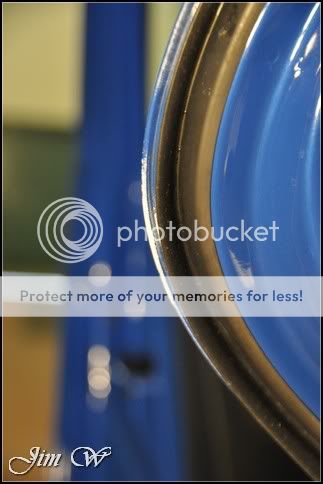
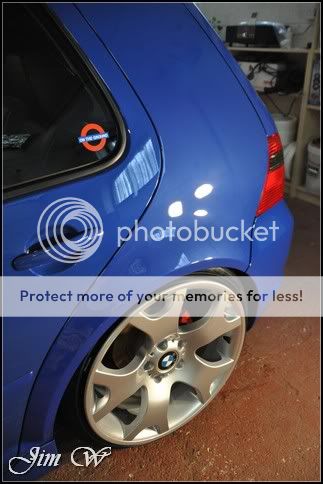
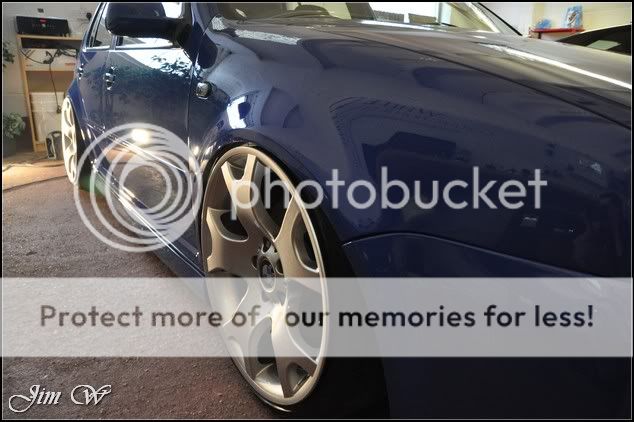
First up, wheels off, arches scrubbed , brake assembly cleaned and rims protected.
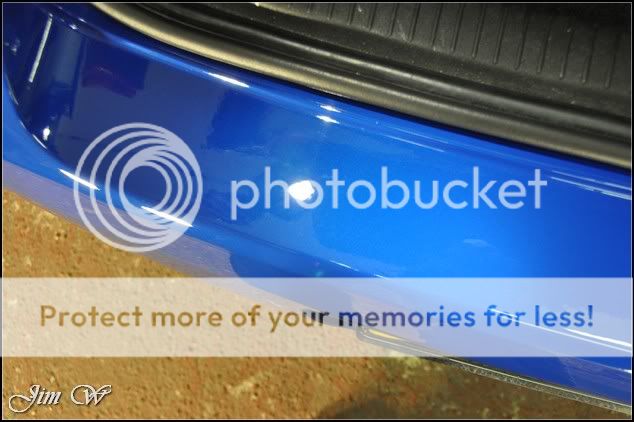
Before/after:

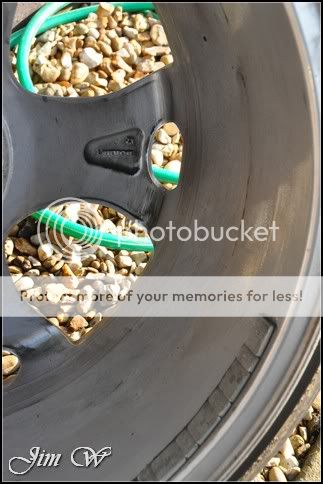
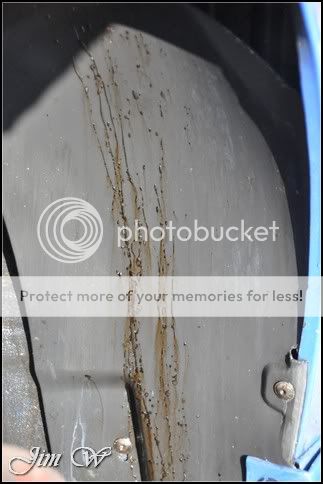


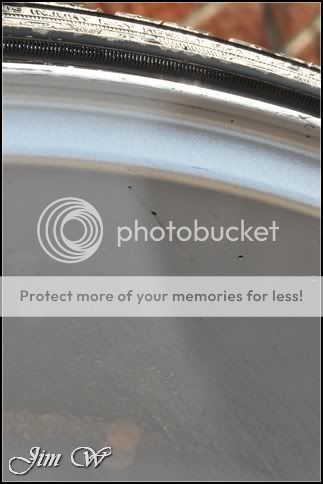
Tar deposits removed from inner rim with AutoSmart Tardis:

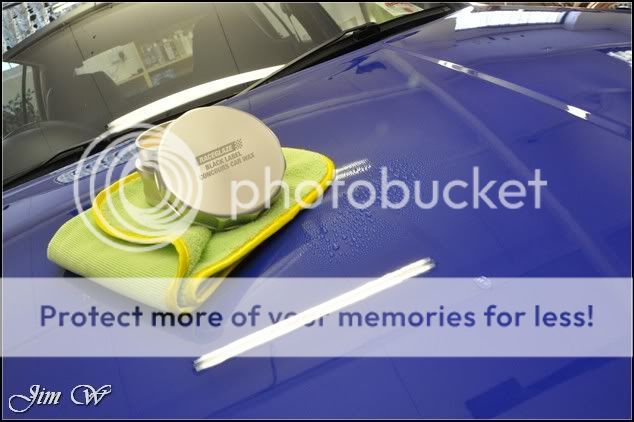
Finally sealed with Chemical Guys JetSEAL109
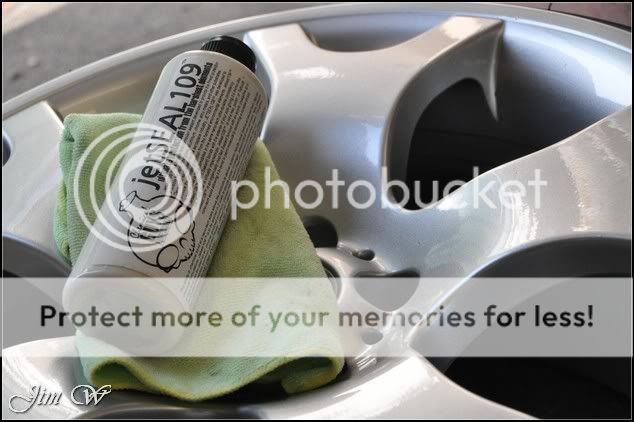
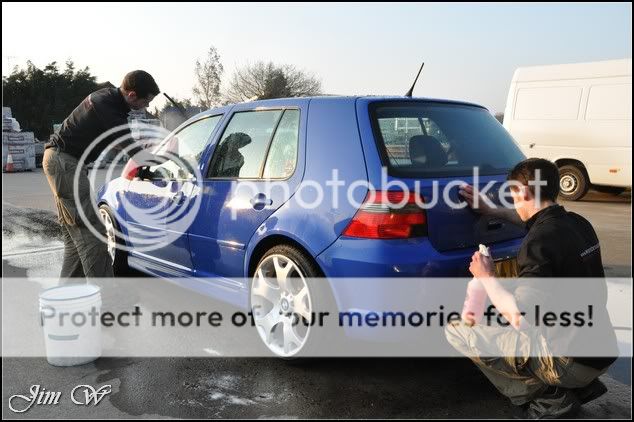
Wheel bolts correctly torqued time to wash and decontaminate.


Washed via the two-bucket system and Dodos Born To Be Mild pH neutral shampoo.
Again, AS Tardis used to remove tar deposits.

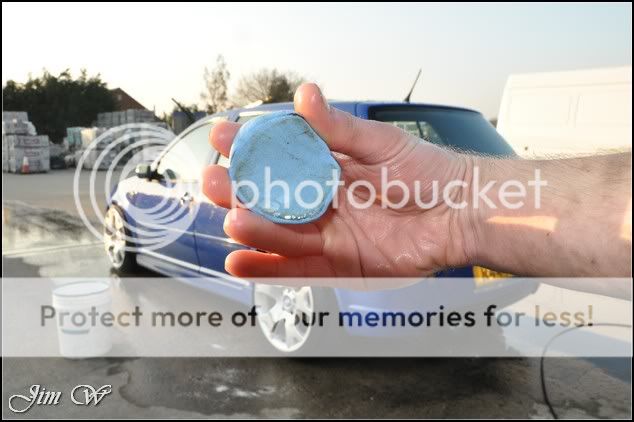
Clayed with AMDetails mild clay bar and Megs Last Touch as lube.
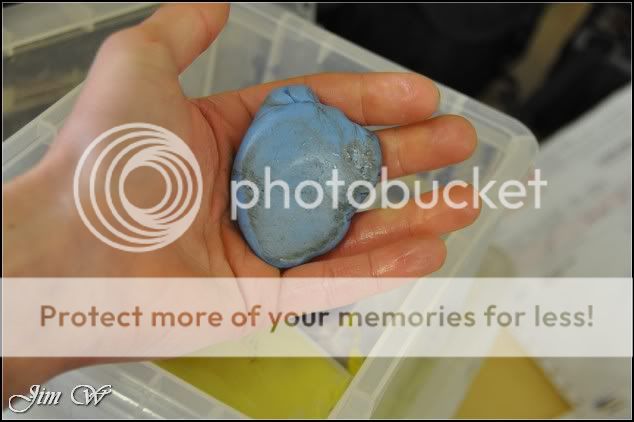
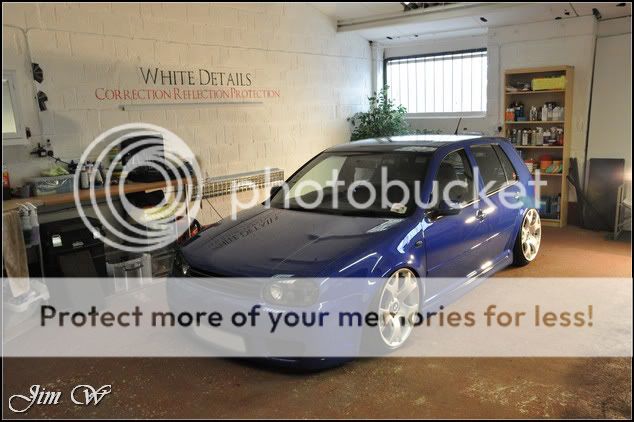
Contaminant free and ready to go inside for drying.

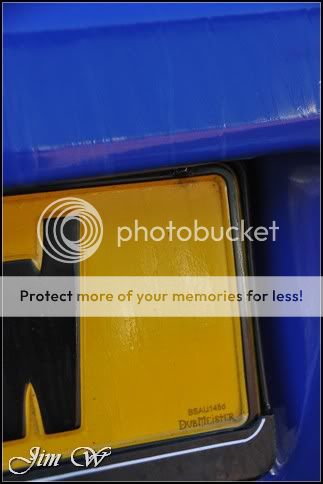
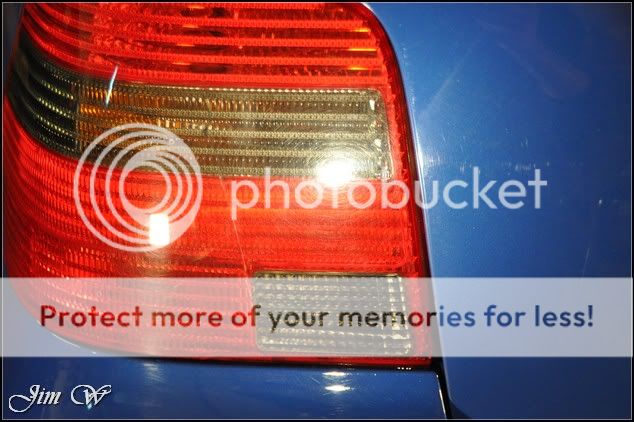
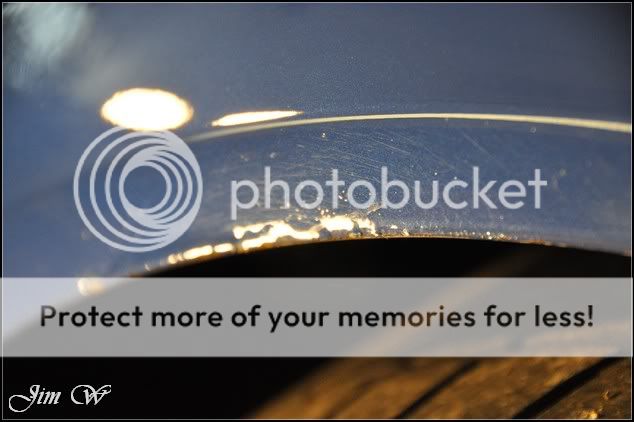
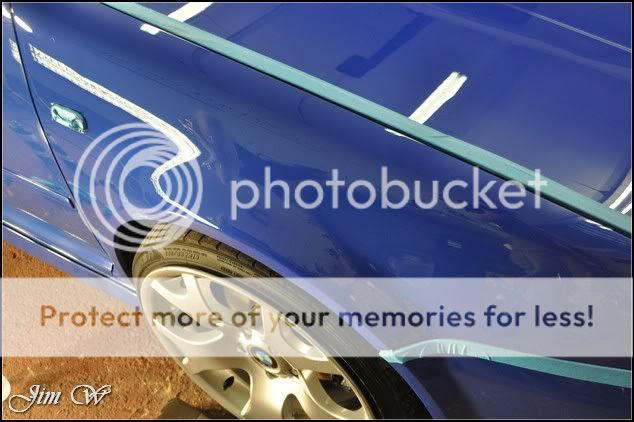
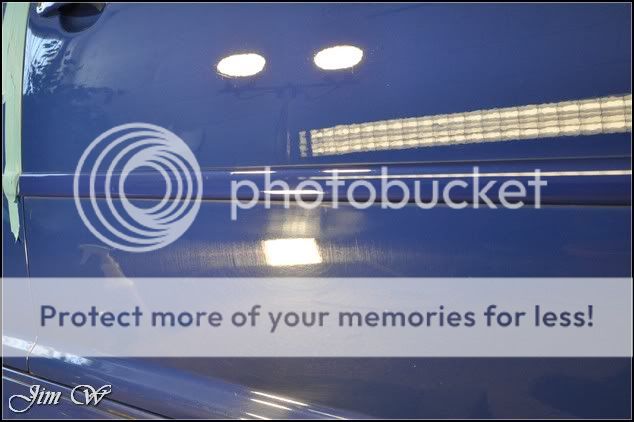
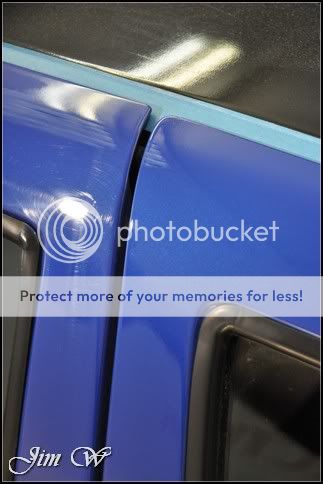
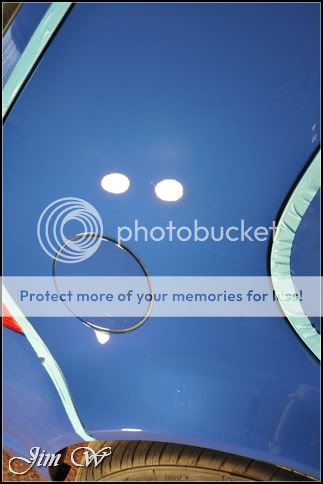
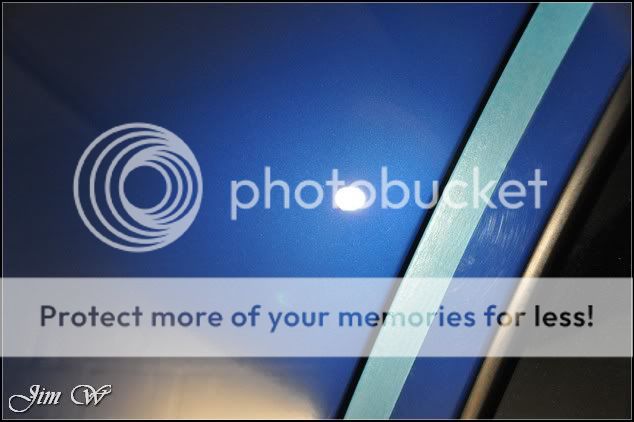
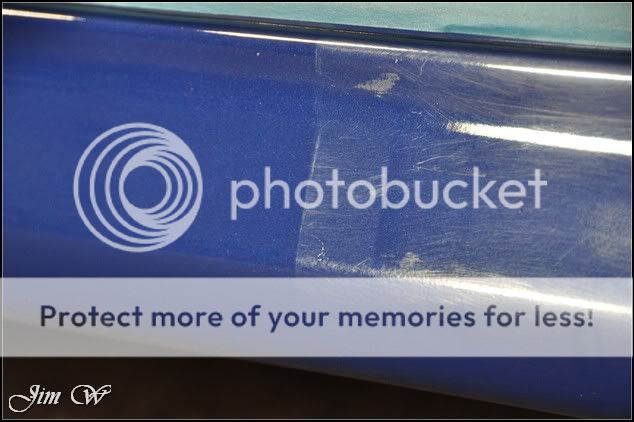
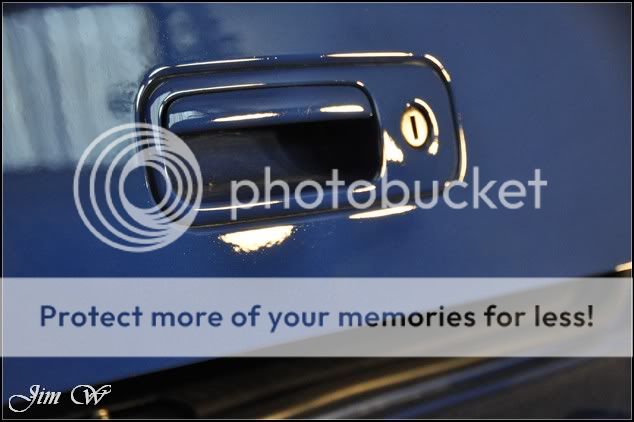
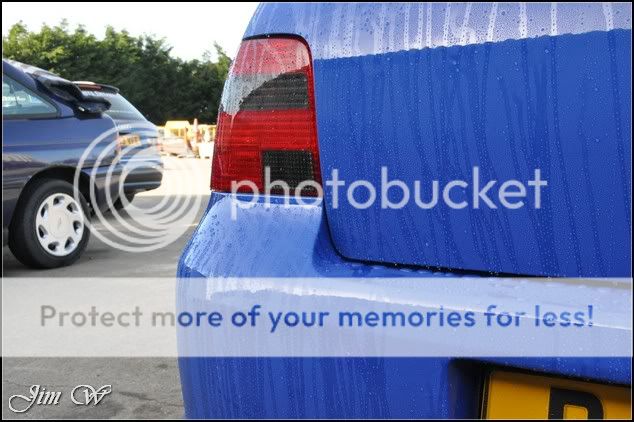
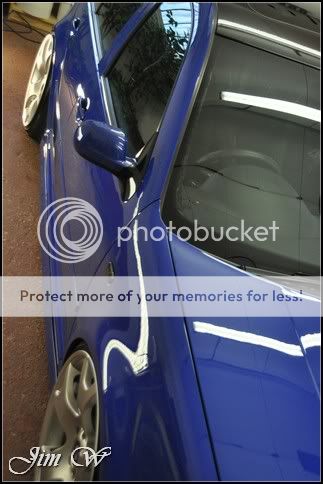
Resprayed areas: both bumpers, B-pillar and the boot lid.. The rest of the car is original VW paint and has suffered quite badly recently from regular trips to the local handwash station.
The Golf was dropped off on the Tuesday afternoon and collected Friday in readiness for Sundays Ultimate Dubs show in Telford.
My plan? A wheels-off & Major Paint Correction Detail (I think its fair to say at this point that this one could never be 100%. 106k miles of daily use has taken its tole!)
Inspection:
Buffertrials on freshly painted panels:
Car was ridded in deep scratches and swirls. Its going to be a tough one
First up, wheels off, arches scrubbed , brake assembly cleaned and rims protected.
Before/after:
Tar deposits removed from inner rim with AutoSmart Tardis:
Finally sealed with Chemical Guys JetSEAL109
Wheel bolts correctly torqued time to wash and decontaminate.
Washed via the two-bucket system and Dodos Born To Be Mild pH neutral shampoo.
Again, AS Tardis used to remove tar deposits.
Clayed with AMDetails mild clay bar and Megs Last Touch as lube.
Contaminant free and ready to go inside for drying.
Resprayed areas: both bumpers, B-pillar and the boot lid.. The rest of the car is original VW paint and has suffered quite badly recently from regular trips to the local handwash station.
Last edited:


")
