Lëon OEM+

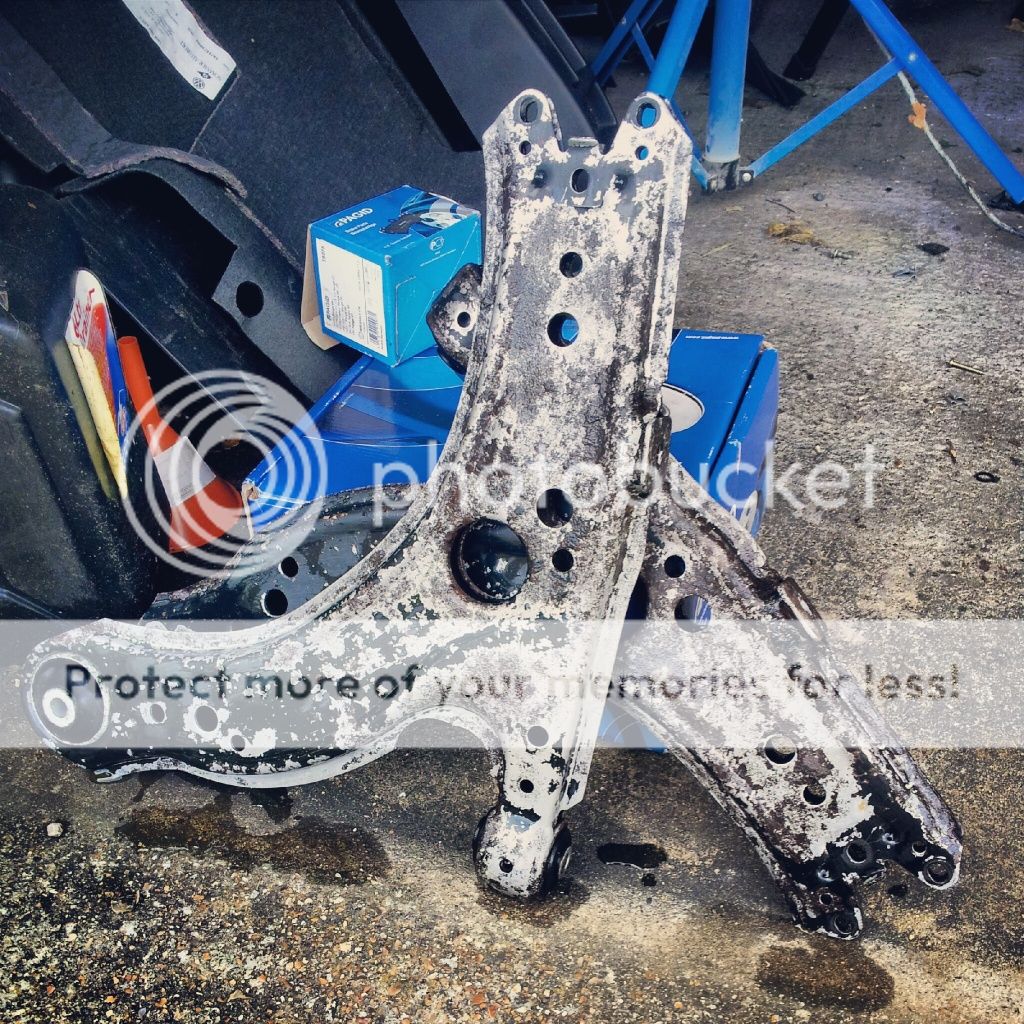
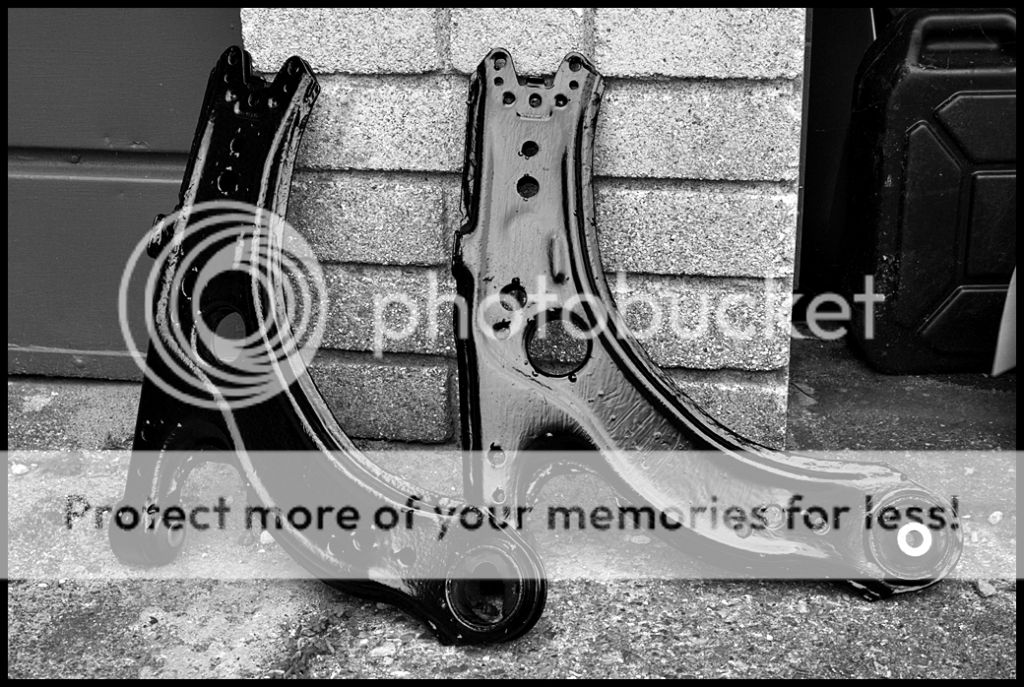
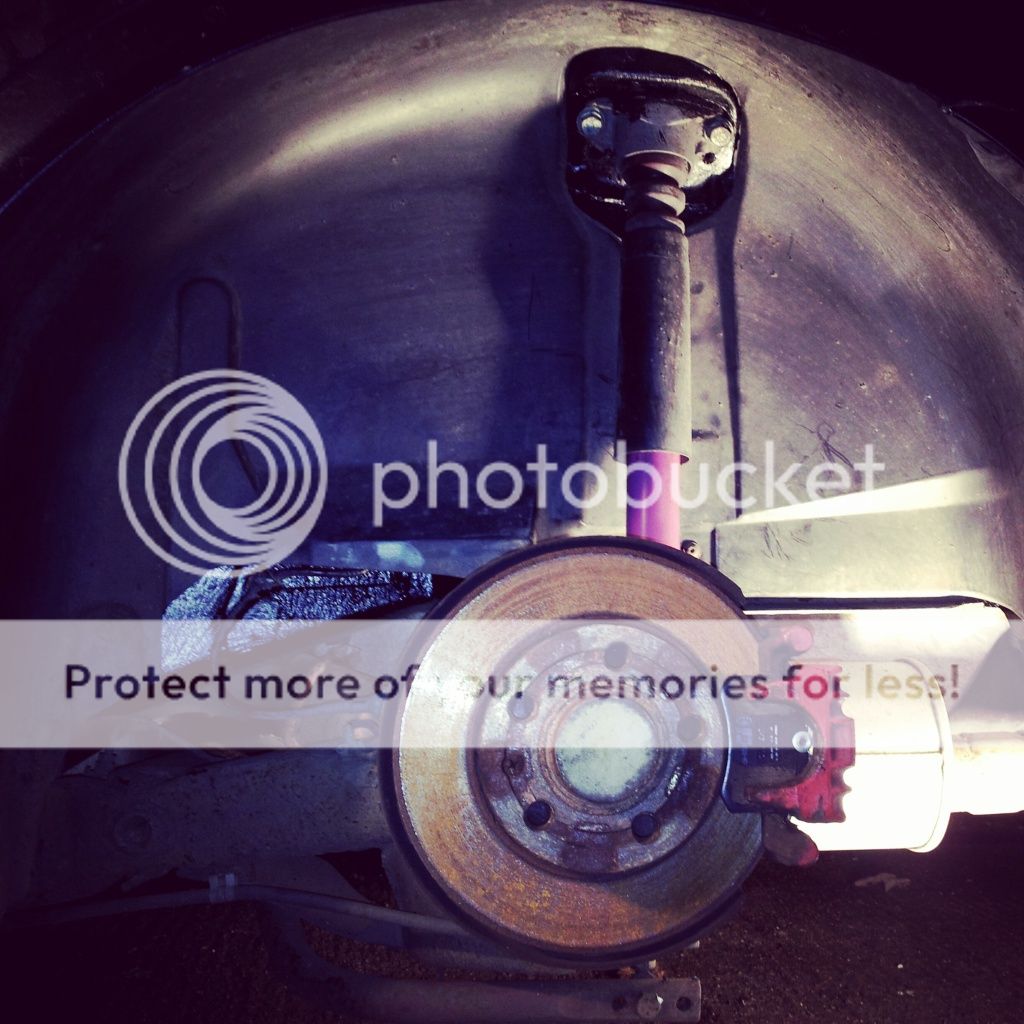
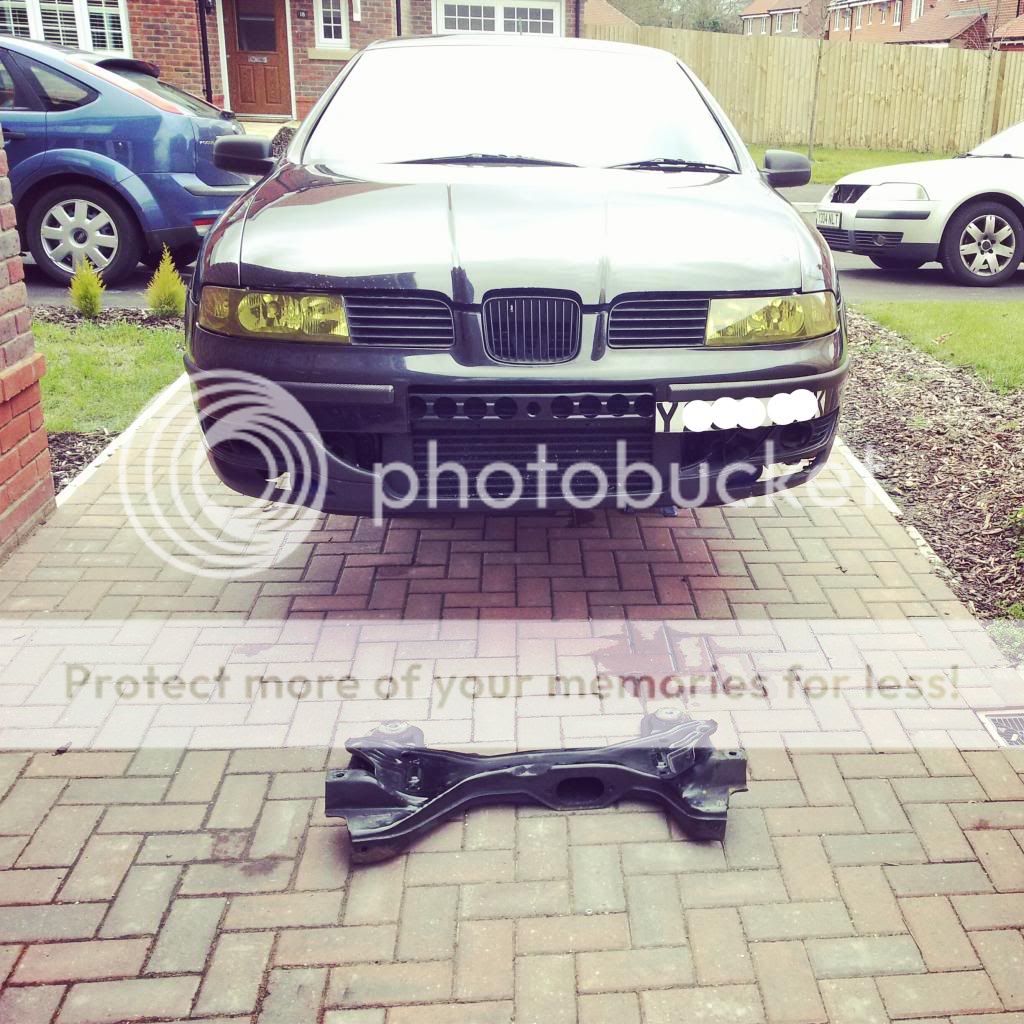
So I drove over to Nicks to pickup a set of lower arms and wheel hubs, top man! saves the car sitting on axle stands for months on end, and means its easier to do a straight swap when the time comes
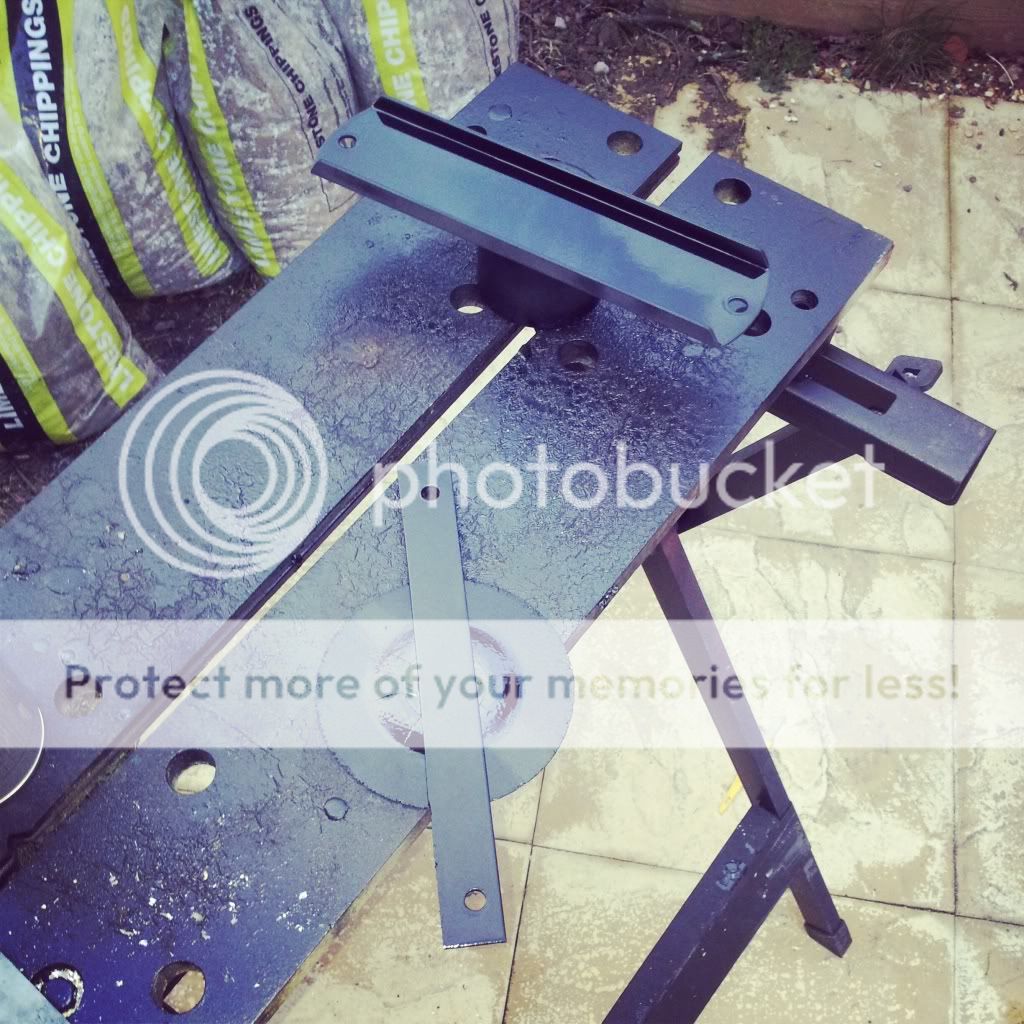
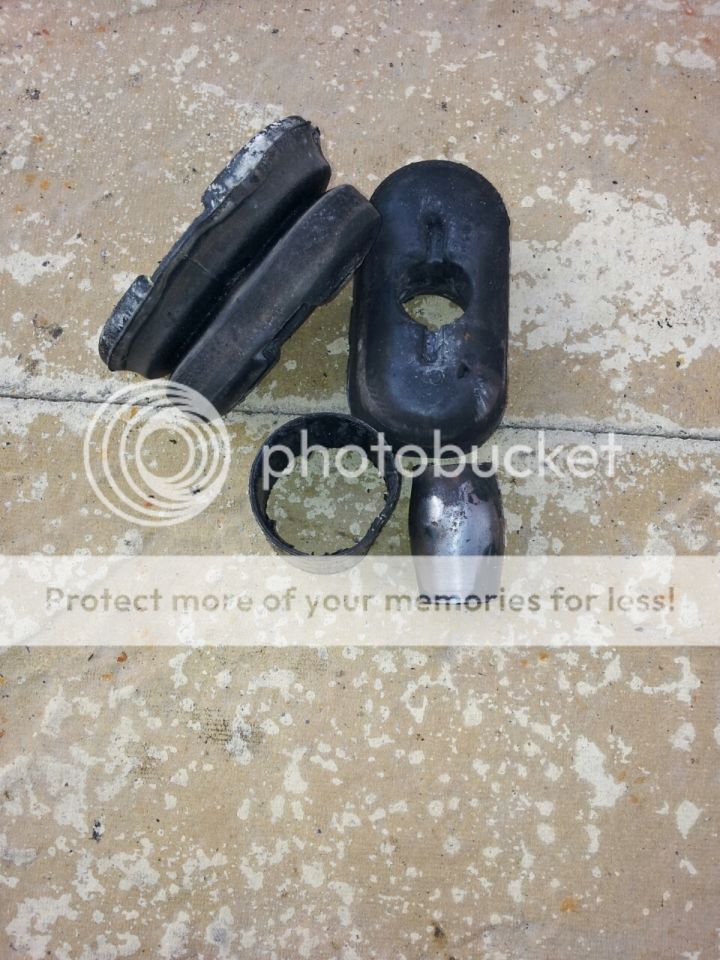
How I got them:

IMG_20120816_222900.jpg


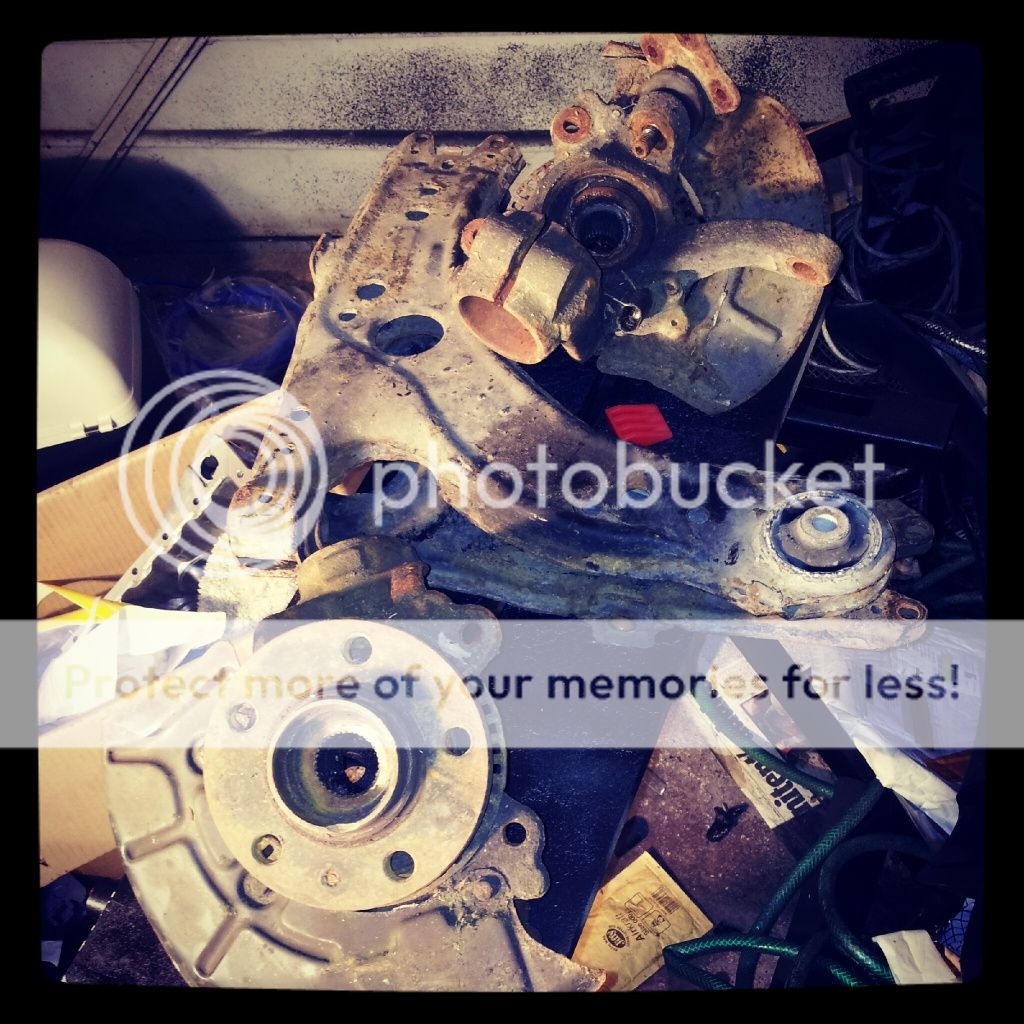
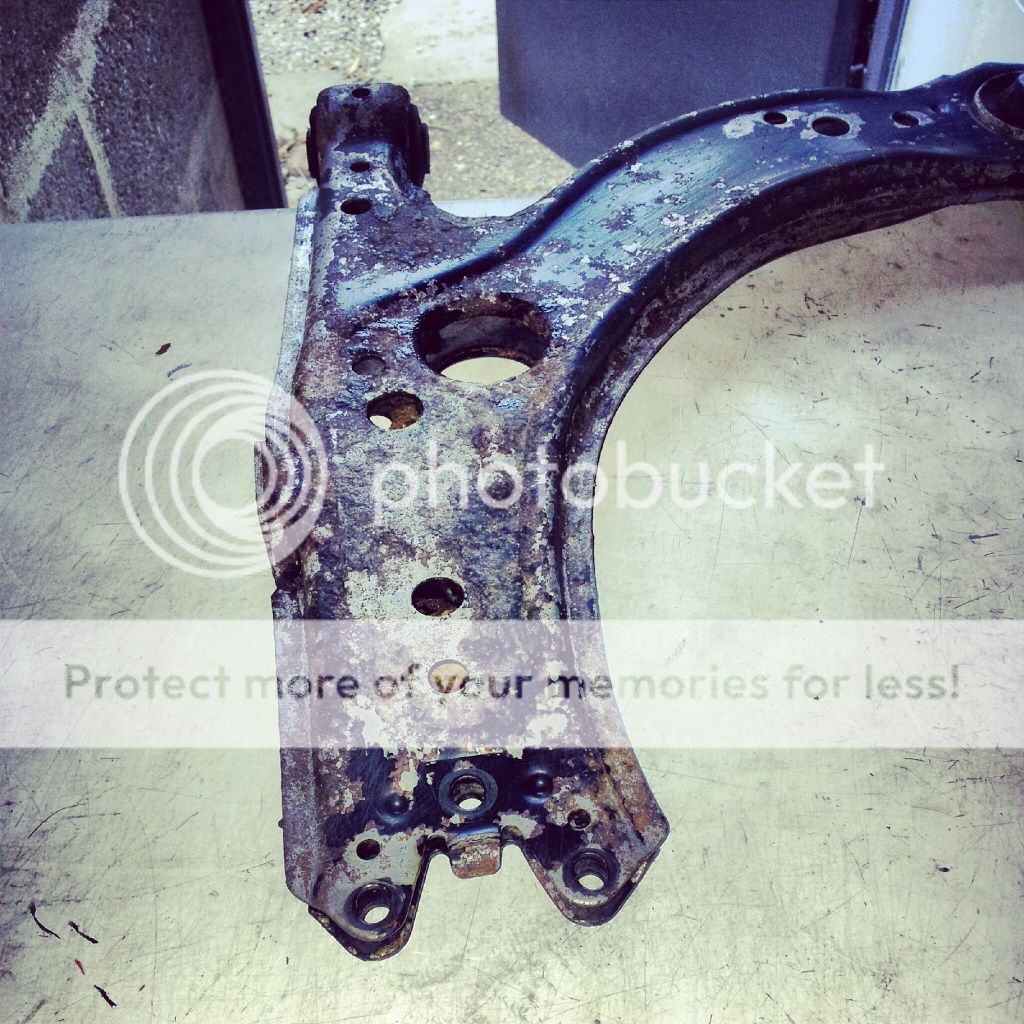
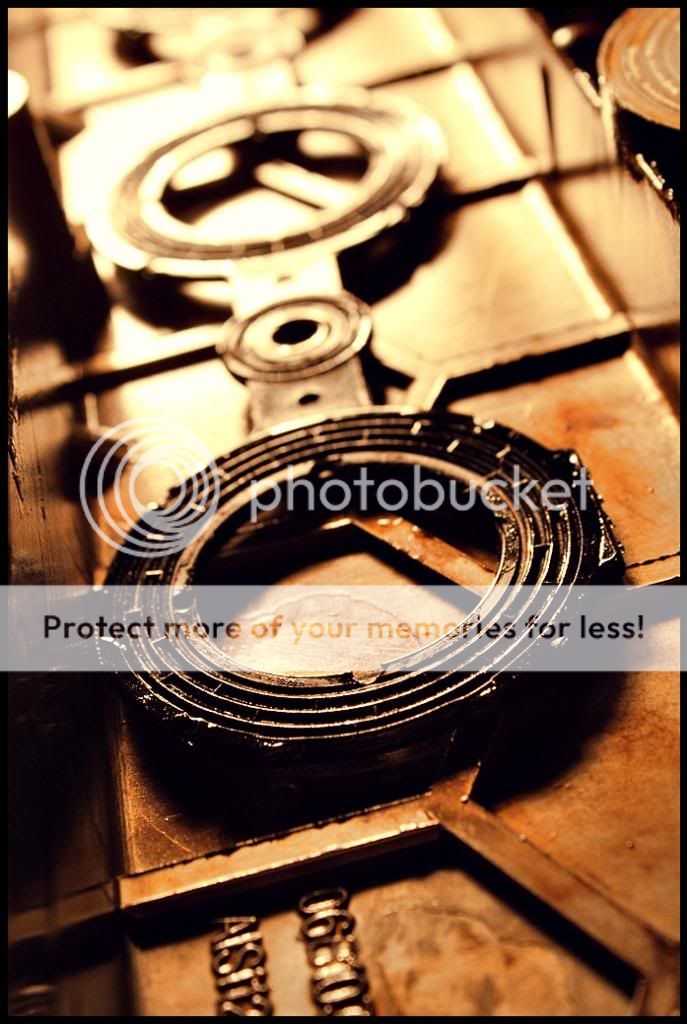
Spent an hour cleaning them tonight
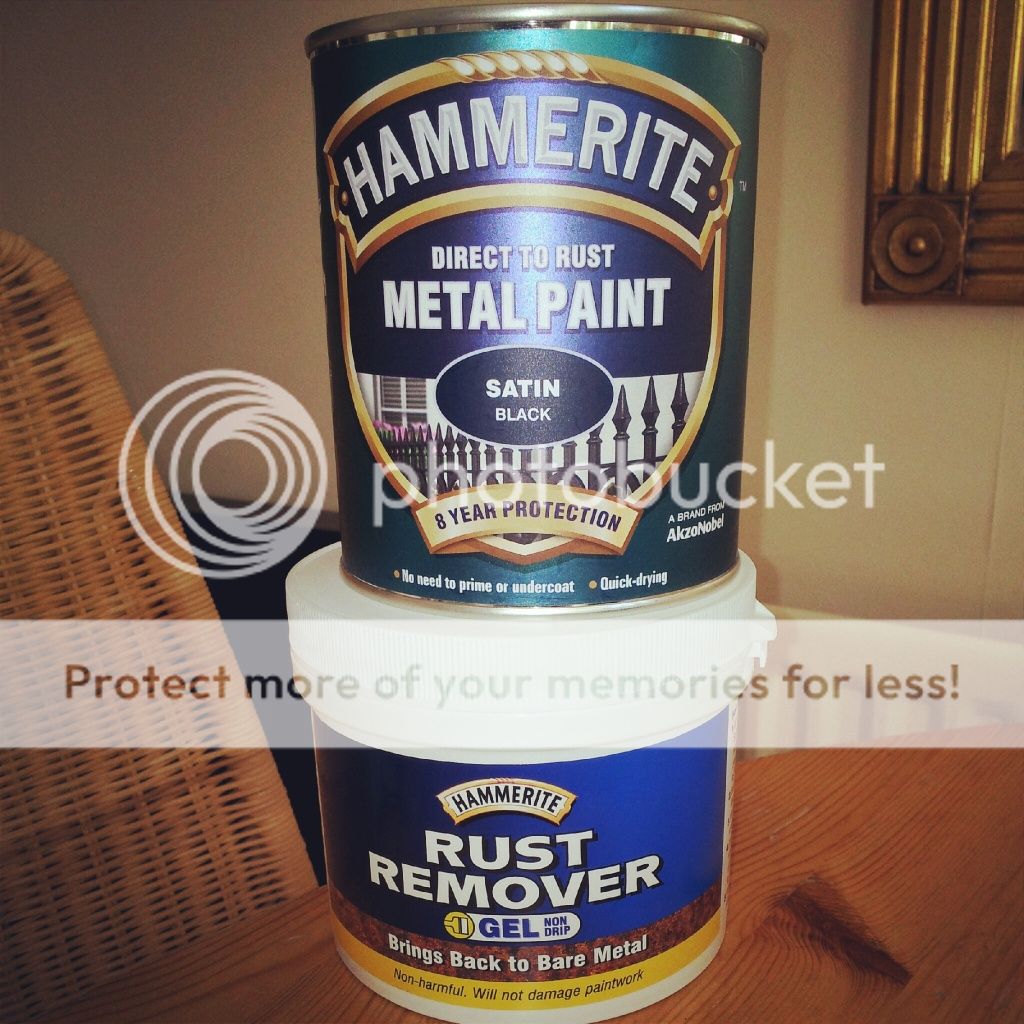
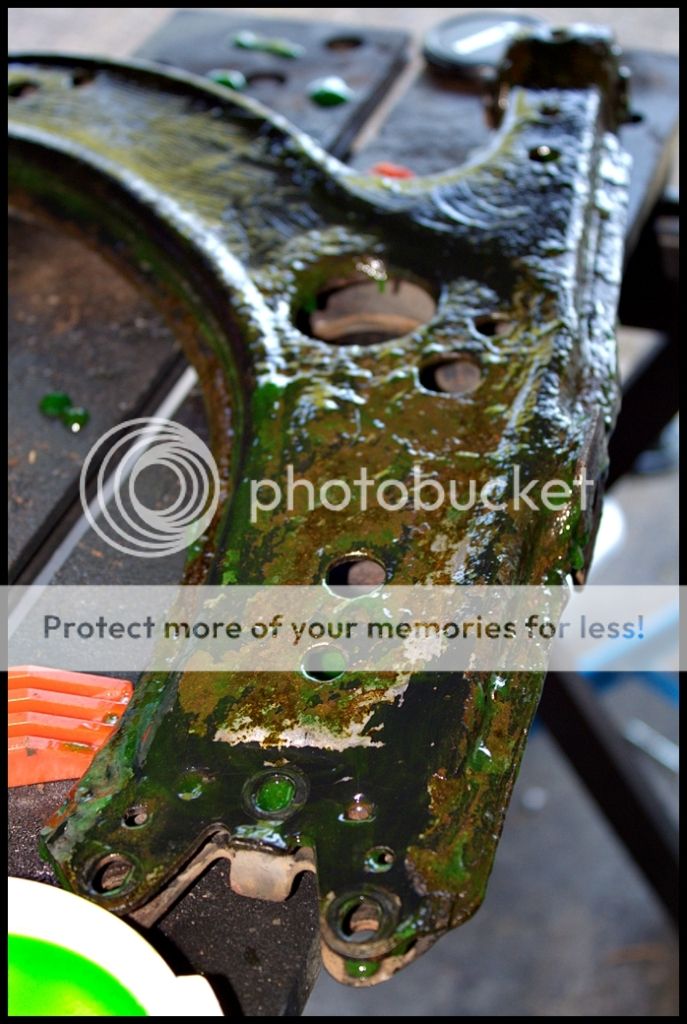
de-greasing

lowerarm1.jpg


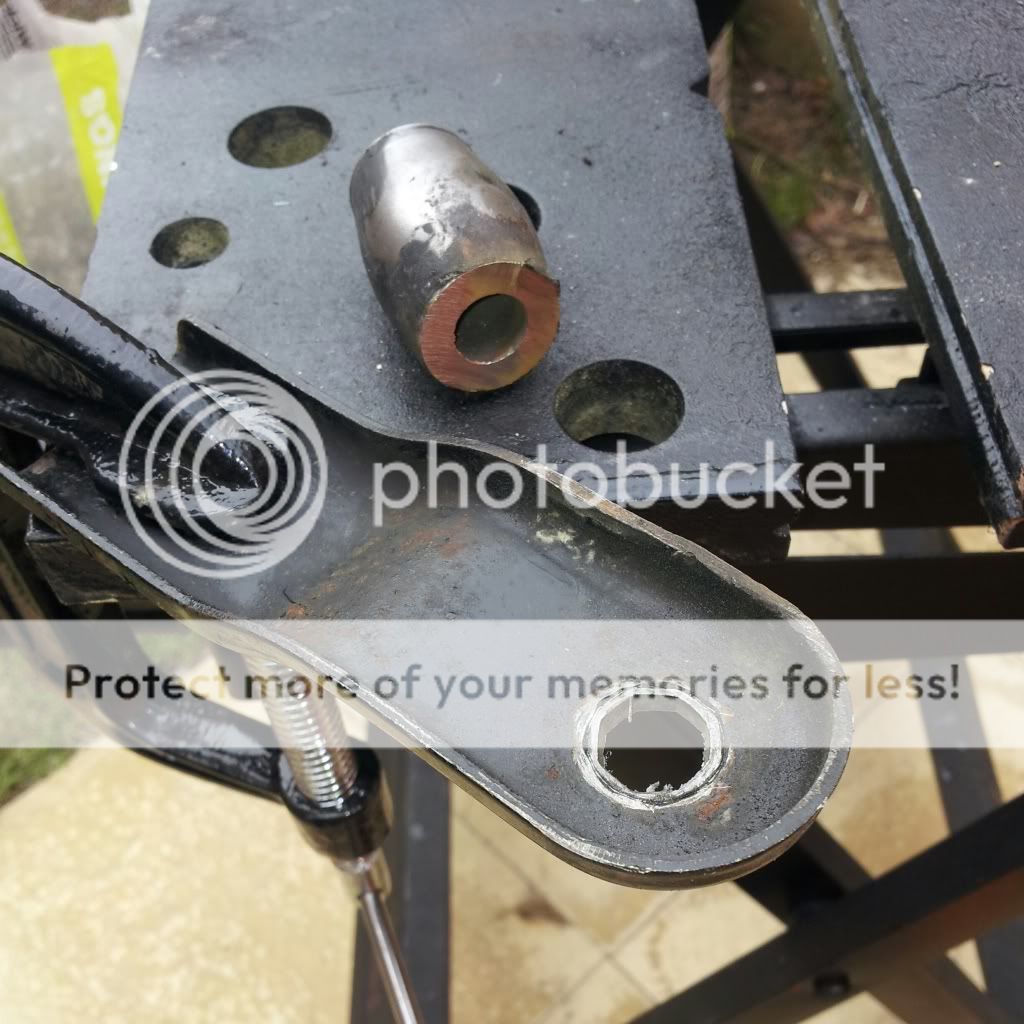
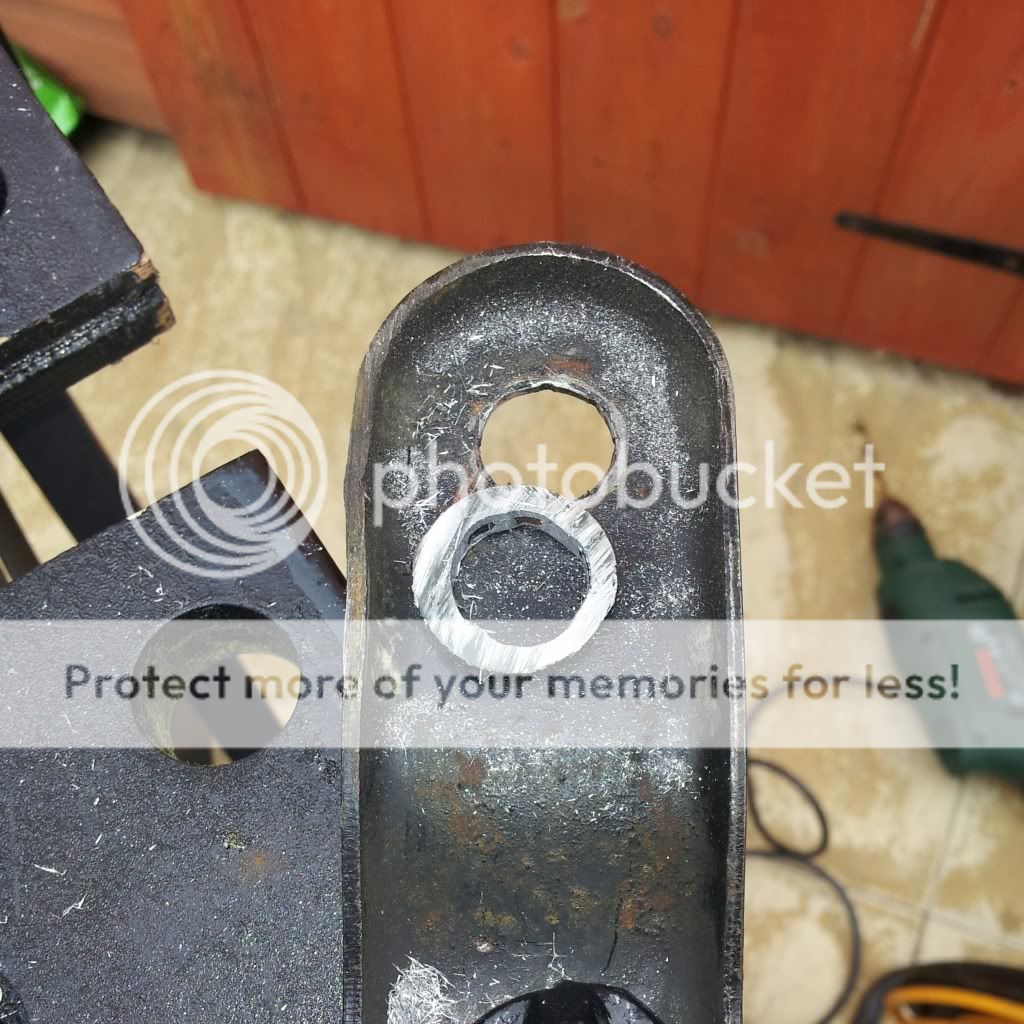
First scrub down with a wire brush and picking the old paint off with a screw driver, a bit to go yet

lowerarm2.jpg


These are going to need quite a bit of work to get like new again

hub1.jpg


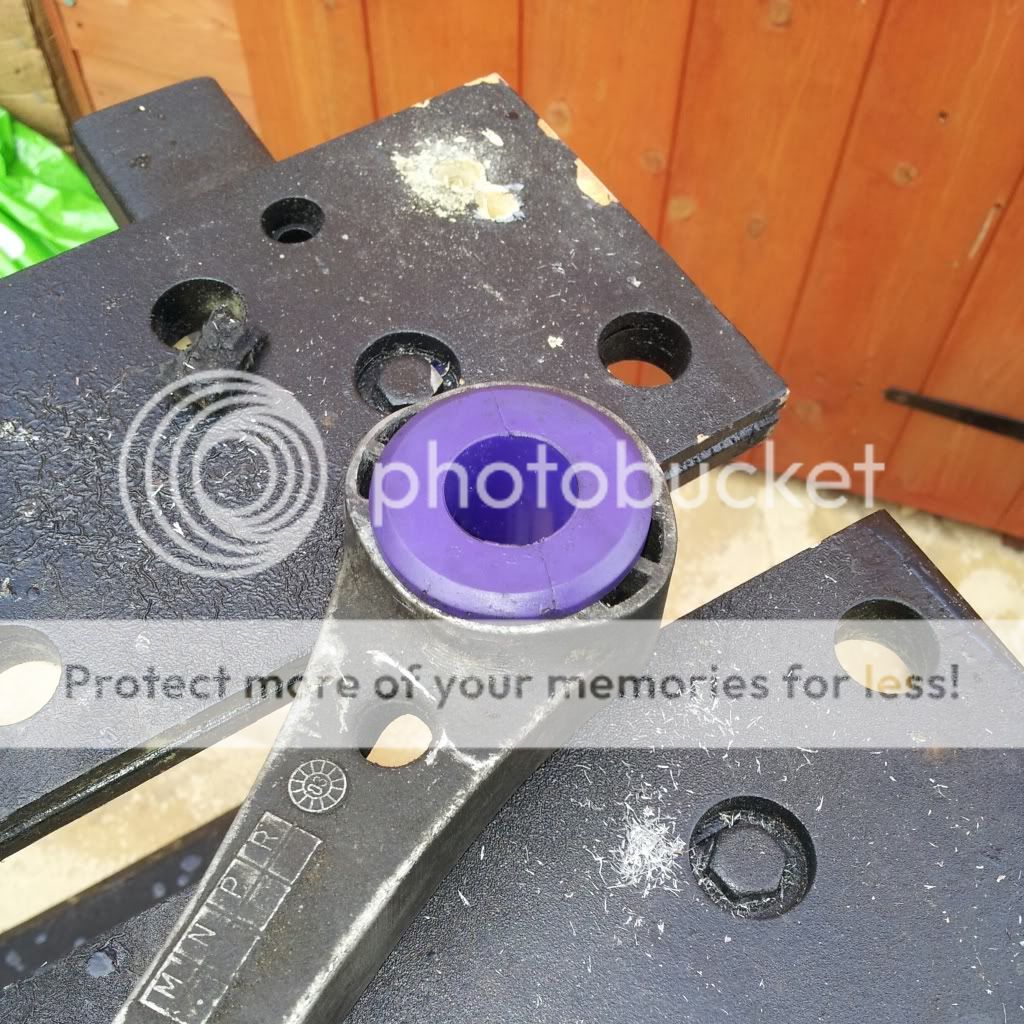
hanks to a few members off Edition today, they pointed out a 30% sale on euro car parts, so ordered two new lower ball joints and two new wheel bearings

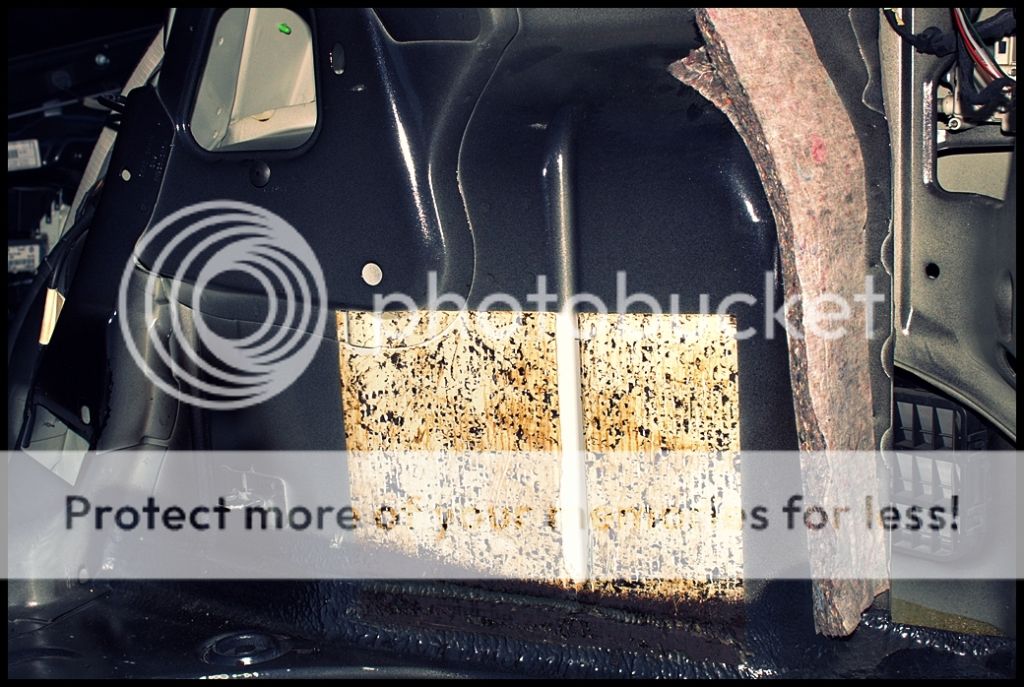
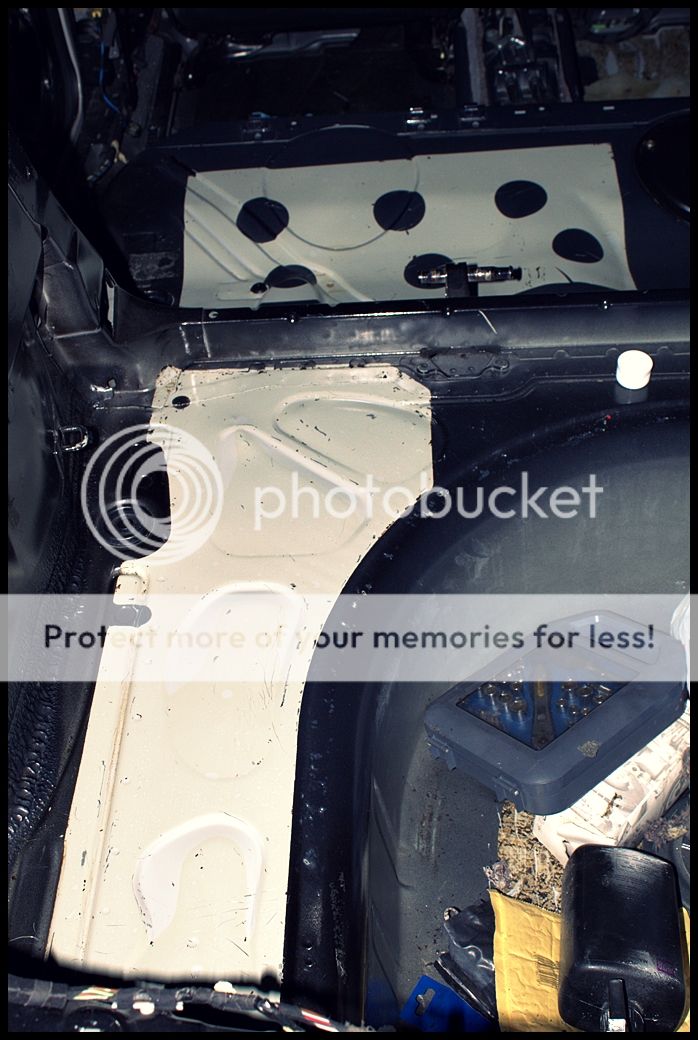
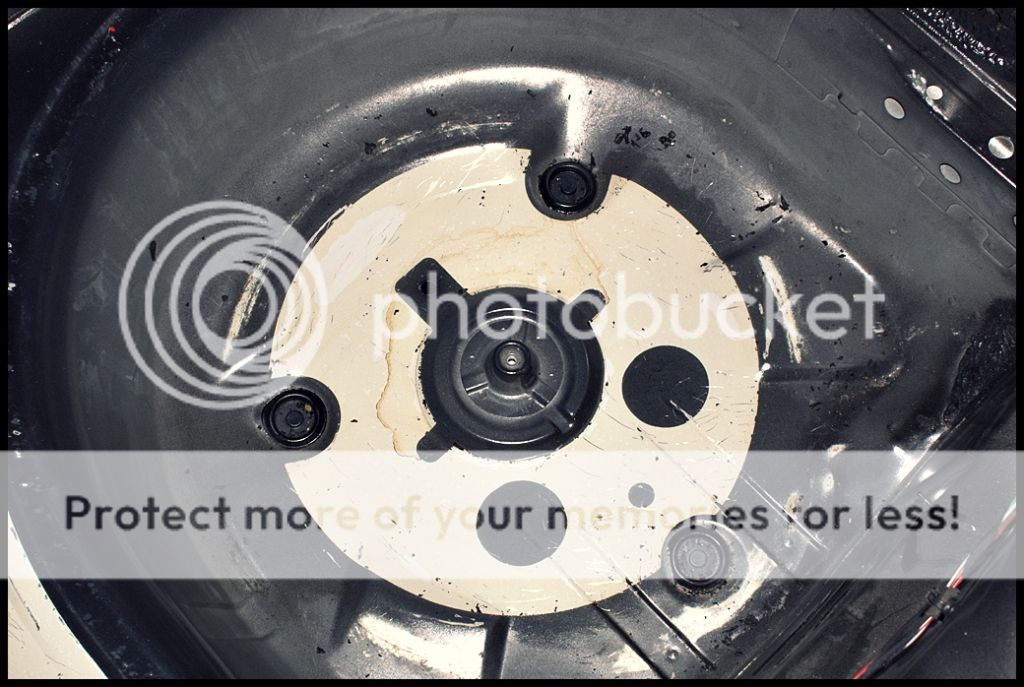
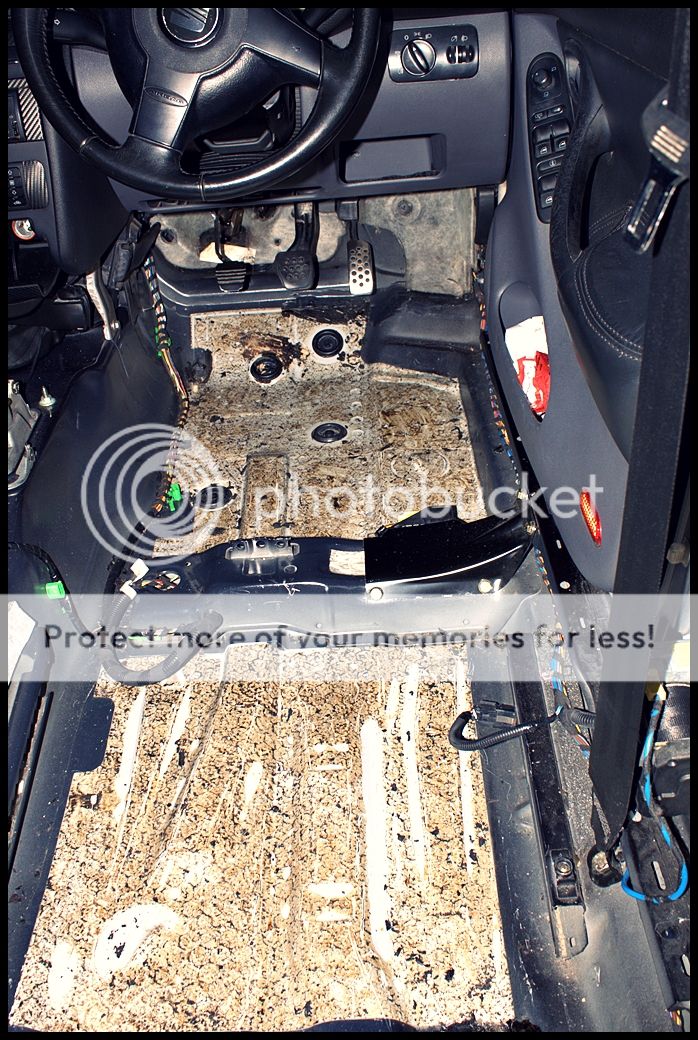
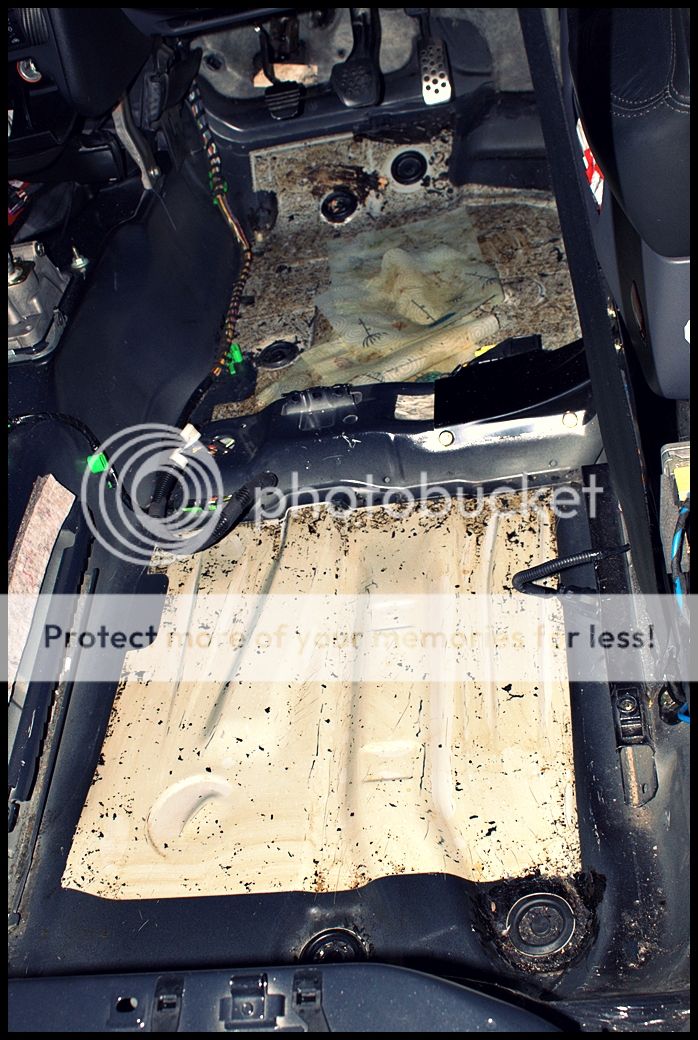
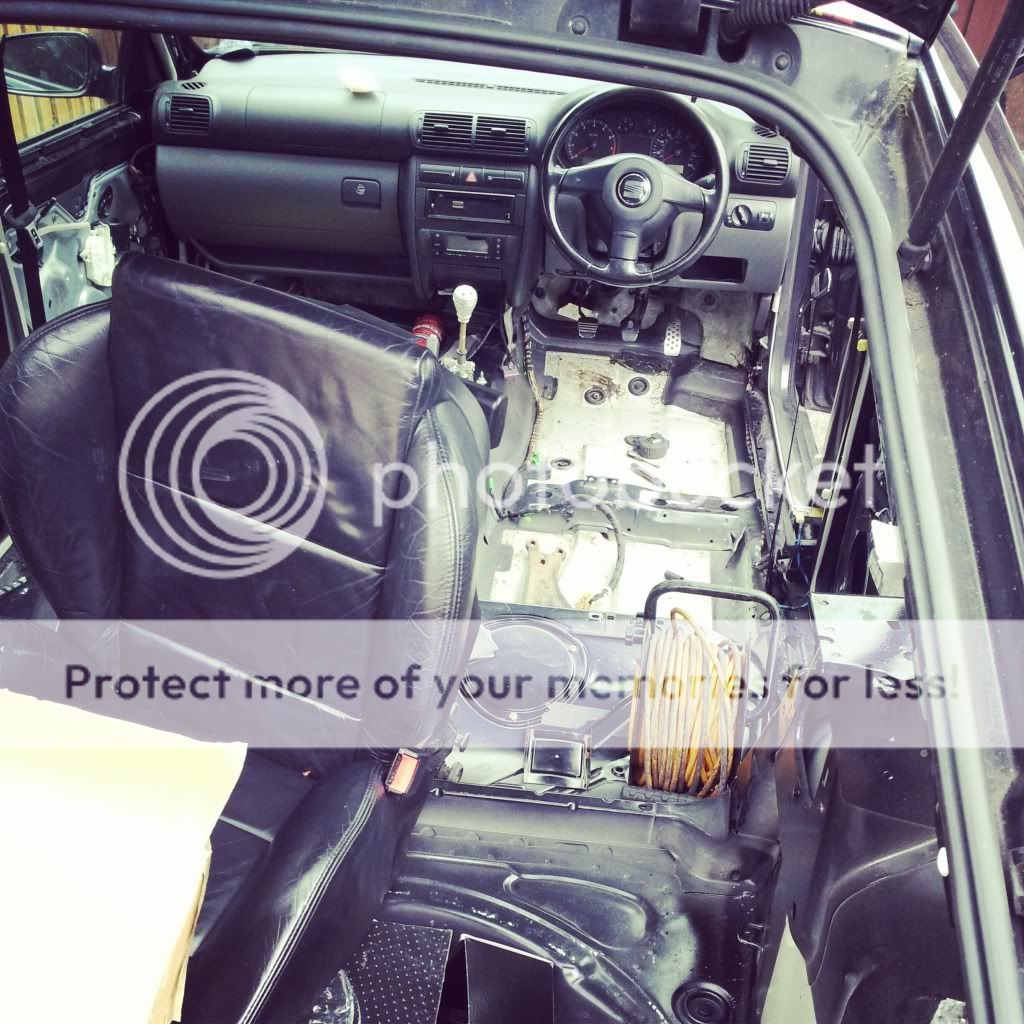
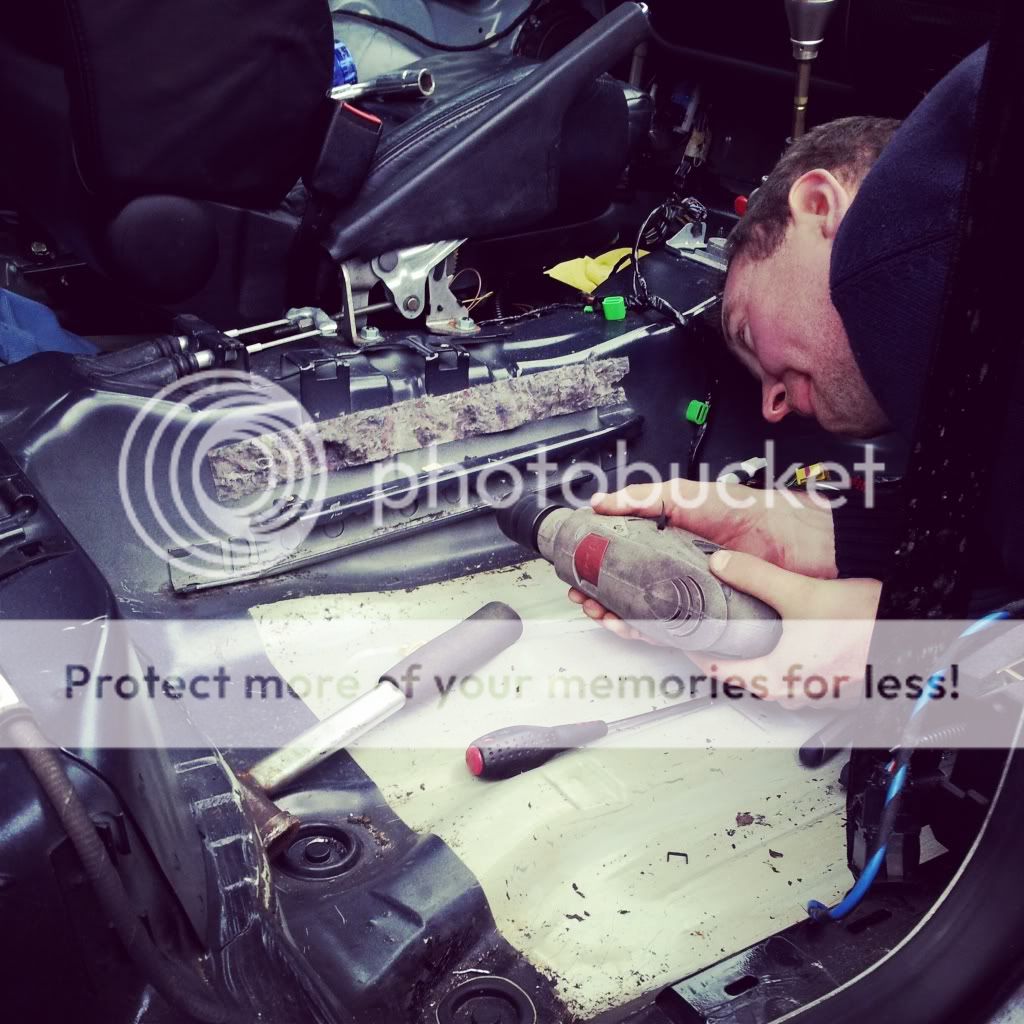
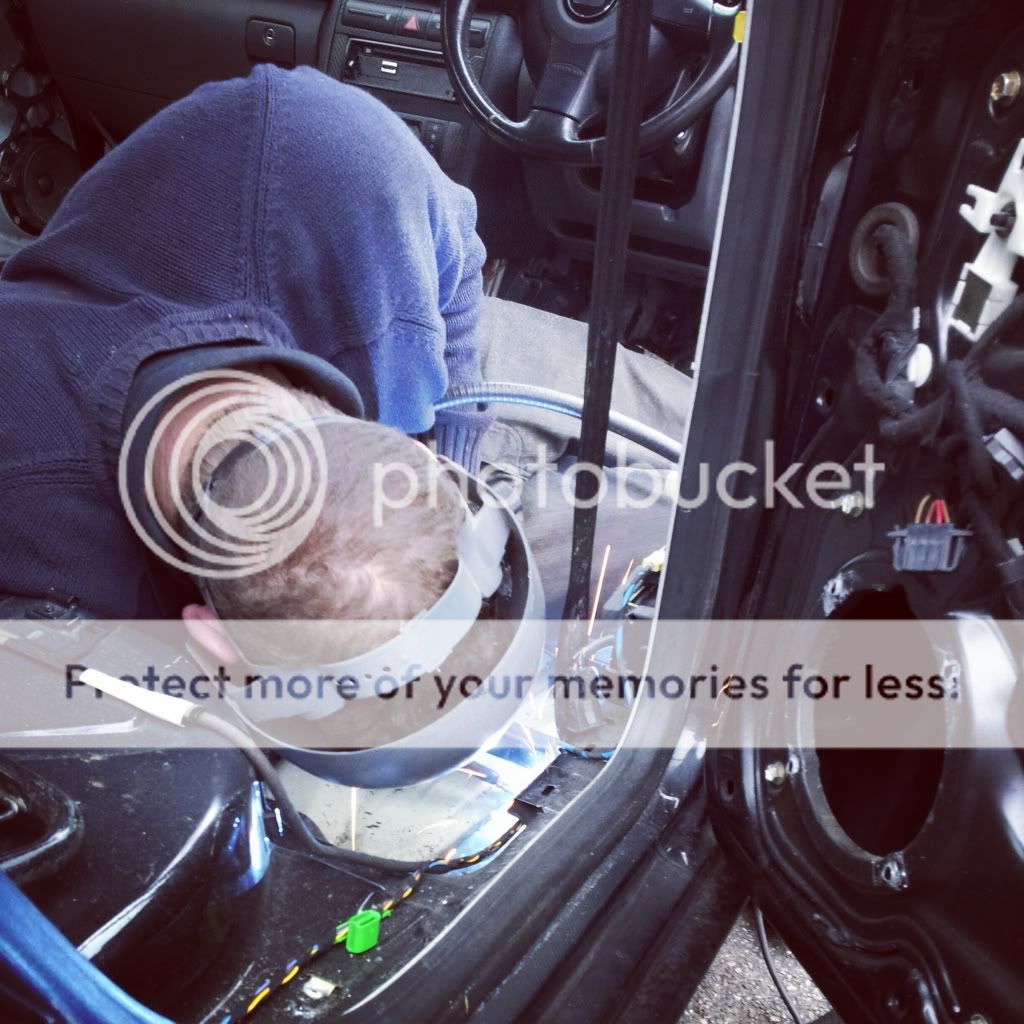
Next up is to scrape all the sound deadening out of the leon, take the roof lining out and as much weight as possible....potentially the air con as well as that weighs a ton
 
Bought some of this today....not cheap but will make it easier and get the job done

IMG_20120818_113834.jpg


and here's a picture of her next to my mates R5 before she was SORN

IMG_20120812_131804.jpg
 
Been trying out the rust stuff today, it's actually really good, and has really stripped the rust off with very little work

lowerarmsprep2.jpg


lowerarmsprep.jpg


still some discoloration, but it has stripped the rust and some paint right back. I am going to leave it on over night, then clean it off tomorrow. Pretty much done and ready for painting then

lowerarmsprep3.jpg


This was one of the worst arms. A lot of rust has been stripped but still a way to go yet

IMG_20120819_155811.jpg
 
few bits arrived

IMG_20120825_121607.jpg


ordered some snow foam as well to clean the rear arches as I will be sealing these, shortly and ordered some butyl as well to sort out the leaky doors
 
in progress

IMG_20120828_182402.jpg


suspensionarm1.jpg


Bought these from AKS Tuning as well, OEM+ coolant and washer caps in black, look awesome. One problem with spraying the washer cap is the paint cracks when you bend the fixing point back onto the bottle. This doesn't happen with this washer caps as the actual plastic is black

Coolant

coolantandwasher.jpg


Washer

coolantandwasher1.jpg


Snow foam turned up also, so I can prep the arches and sills and get sealing these before the cold properly sets in

snowfoam.jpg
 
Had a fairly productive evening tonight

Gave the arms a final coat of paint tonight, all done. Just need to drill out the bushes ready for the new polybush ones

[imghttp://i253.photobucket.com/albums/hh67/jamiebennett81/Lowerarmsfinished.jpg[/img]

Then I got onto the black sound deadening, was quite therapeutic doing this actually

To the side of the footwell

SoundDeadening.jpg


Then the spare wheel well

SoundDeadening1.jpg


A good 5kg of this stuff already, and got the whole of the footwells to go which is very thick, so a good 15-20kg I reckon of weight to come

Got a shot of the engine bay, very dirty and bogging looking, nothing pretty about it

EngineBaymess.jpg
 
Cracked on with working on the car tonight

MyGarage.jpg


Sound deadening removed from under the rear seats

RearSeatdeadening.jpg


Removed the drivers seat, and cracked on with removing more sound deadening

SoundDeadeningDuring.jpg


first half gone

FrontSeatSoundDeadening.jpg


frontandrearsounddeadening.jpg


full bag already of sound deadening, good 10kg's already

BagofSoundDeadening.jpg


Up in the air again

Intheair.jpg


Spot the difference and what is missing....

Spotthedifference.jpg


Dirty arch

Dirtyarch.jpg


Cleaned guard

Cleanedarch-1.jpg


During clean

ArchDuringClean.jpg


Spotted three spots of rust, so I am glad I started this job now

ArchRustSpots.jpg


Lower arms all done

FinishedLowerArms.jpg


Arch now sealed and left to dry

SealedArch.jpg
 
Last edited:
Decided to start tidying the interior up, and get rid of the old glue left over from the sound deadening

Before

Side%20Sound%20deadening%20before_zps32572aad.jpg


After

Side%20Sound%20deadening%20after_zps3e72181f.jpg


Rear patches tidied up

Boot%20sound%20deadening%20cleaned_zpsb0991551.jpg


spare wheel well (still a bit to sort)

Sound%20Deadening%20wheel%20well_zpse62245d3.jpg


Made a brief start on the drivers side

Before

Sound%20deadening%20drivers%20side%20after_zps888e5672.jpg


After

Sound%20deadening%20drivers%20side_zps17e98ac3.jpg


Roof lining, grab handles, interior lights and plastic side pillars removed

Roof%20lining%20removed_zps2c23c194.jpg
 
The car was absolutely full of water, I knew it had a leak but didn't realise it was this bad....and we have had some pretty torrential rain

Luckily I left some big cloths in there to soak up the water....I literally squeezed out two pints worth of water from them!

The water is pouring in from the pollen filter housing. I removed this last night, and the seals around the pollen filter were soaked. So I resealed these and I need to reseal the plastic cover against the windscreen, but ran out of sealant

Apologies for the poop quality

So the evening started off like this

IMG_20121010_203147.jpg


Pollen housing...minging

IMG_20121010_203328.jpg


Screwed seals around the pollen filter housing

IMG_20121010_203203.jpg


Now resealed, so hopefully this will hold out for a while. Doing the rest of the sealant tonight


I finally got round to sealing the last wheel arch.

During cleaning

IMG_20121010_200108.jpg


Sealed

IMG_20121010_214758.jpg


Next up is finally crack on with reconditioning the hubs, removing all the old sealant glue, relocate the battery and start to design my custom housing to enclose the air filter.....
 
Got most of the old glue off from the sound deadening

IMG_20121017_174315.jpg


Pulled off the passenger cover tonight...trying to find the source of the leak as it's still leaking...and losing some more weight from the car

IMG_20121017_173507.jpg


Before

IMG_20121017_165639.jpg


IMG_20121017_165933.jpg


IMG_20121017_165505.jpg


IMG_20121017_165556.jpg
 
Wheel arch refitted for the last arch which was sealed

IMG_20121024_200537.jpg


Finally got round to adding the last resistor to the removed SAI, so the error code stops coming up (Thanks to Mylo again for making this up for me)

IMG_20121024_210527.jpg


tidied it away since the pic.

Sorry Bill....but I have rebuilt it since

IMG_20121024_211321.jpg


Old Vs new pollen filter

IMG_20121024_212043.jpg


Hopefully sealed the leak...but still don't think I have properly, as yet again the cloths on the passenger floor were absolutely soaking
 
These arrived (and still to be fitted yet also)

IMG_20121025_181339.jpg


3" Downpipe and decat off Nick

IMG_20121105_203714.jpg


Silica Gel, to soak up the moisture, as still got a small leak, and water collects on the inside of the roof (no roof lining)...also with it sitting around so much it never gets warm to dry up the moisture, so this will have to do for the mean time

IMG_20121113_122416.jpg


First set of polybushes arrived also

IMG_20121115_115014.jpg
 
Determined to get my downpipe off ready for the 3" downpipe and decat....in the pouring ****** rain

Downpipe off, not too difficult but made harder laying on the drive way

IMG_20130114_193407.jpg


Spot the restriction. 3" DP vs the restrictive supposed updated downpipe from Blueflame which is measuring in at just over 2.2"

IMG_20130114_194027.jpg
 
So I got the spark plugs changed, which had not been changed since the turbo went pop.....they were very oily

Old Vs New

Spark1_zps8d0e2975.jpg


This was the plug nearest the turbo (something isn't right)

Next was to pull out the sensors from the existing exhaust, but first I had to get this bolt out of the decat which was a pig...ended up putting the spanner and standing on it, which released it

DPBolt_zpsdfd66ef9.jpg


sensors out and then I put them in the 3" DP and decat....again standing on the spanner to undo the sensors!

DPBoltOff_zps1789a586.jpg


Then my outside light went pop!

Inside of the old cat as well

OldCat_zps8f00b029.jpg


Next will be getting the DP and decat on, and changing the fuel filter
 
Time to replace the rocker cover gasket and the valve cover gasket

Valve cover off, came off nice and easy too

Rockercoveroff_zpsea60c5f3.jpg


Bit of dried gunk on the 4th valve

oilyvalve_zps80e89bbe.jpg


This is the old valve cover gasket, the 4th one which was where the oiliest spark plug was....I couldn't notice any splits or particularly worn gasket

oldvalvegasket_zpsba427d87.jpg


newvalvecover_zps8a79039a.jpg


Fresh nuts also

freshnuts_zpsc83ad544.jpg
 
Stage one to losing some more weight out of the car, this turned up
smile.gif


Corbeau Pro Kevlar, weighing in at 8.6kg, compared a good 35kg+ for my leather electric seats. Only one at the moment as I couldn't afford two at the same time, so the second one will come later.

SchrothHarness_zps95ba07e5.jpg


SchrothHarness1_zps262fadda.jpg


Corbeau1-1_zpsfc9d2280.jpg


CorbeauBack_zps45e3f027.jpg


Other developments recently are my 3" Downpipe and decat are now on the car, and has made a big difference. You can really hear the turbo spooling even more now. Thanks to Nick.

Getting the seat fitted on the 10th March, then next up will be ordering my water meth kit
 
Box steel arrived ready for the bucket seat being mounted

IMG_20130301_125836_zps7cdc78f4.jpg


Relocating the battery

batterytray_zps9c73a456.jpg


Bucket seat was installed. Started at 9 and finished at 18:00.....for one Seat. I did not realise the amount of work that went into this, but wow.

Nick is an absolute legend, and his technical skills amazed me today.

Today started off like this, at Prawn HQ

IMG_20130310_102518_zpsd68014d4.jpg


Seat out

IMG_20130310_123838_zpsb0886961.jpg


Nick drilling out the welded OEM Seat rails

IMG_20130310_105426_zps6db3764c.jpg


Mess around the car

IMG_20130310_131715_zps9c2984d3.jpg


Nick cutting out the 3mm steel for the box steel to be welded too

IMG_20130310_112948_zps2f4d178d.jpg


Nick Tack welding the steel to the sides

IMG_20130310_125313_zpse0dac0b5.jpg


This was then removed, and sprayed up (to ensure this doesn't ever rust)

IMG_20130310_141800_zps9e9489be.jpg


All done

IMG_20130310_142615_zps0eb6188e.jpg


Welding bolt eye into place

IMG_20130310_150126_zpse2013841.jpg


Half done

IMG_20130310_150212_zps0e088f68.jpg


Lovely jubbly

IMG_20130310_150750_zps11cf1956.jpg


more welding

IMG_20130310_155532_zpsdf063a35.jpg


Seat rails in

IMG_20130310_161951_zps4d7a01c2.jpg


Trial mounting seat

http://i253.photobucket.com/albums/hh67/jamiebennett81/IMG_20130310_175802_zpsf4adaa74.jpg/img]

AND fitted, sorry for the poor pic, but this was late, we were frozen beyond belief

[img]http://i253.photobucket.com/albums/hh67/jamiebennett81/BucketSeat_zps0bf7697d.jpg
 
few better pics of the seat in daylight

IMG_20130316_132153_zps7d1deabd.jpg


IMG_20130316_132051_zps6ee37426.jpg


Ordered my water methanol kit, DVC30 progressive kit, with low level float warning and 4 quarts tank. This also comes with the sensor showing the pump is actually pumping to stop any issues with detonation etc which is pretty important!

dvc-na-stage-2a.jpg
 
Bought a gauge pod, which is slightly angled towards the drivers seat

Took the gauges out of the old Audi mounting brackets and trial fitted them

Perfect fit

Gauges_zps4157a1d8.jpg


Notice how the fittings are slanted also, so they point towards the driver

Gauges1_zps23b34c77.jpg


Got myself a Makita angle grinder as well, as I need to cut up some steel plates to hold the alloy battery cage in and start making my custom heat shield

Makita_zpsf5ea26ae.jpg


Makita1_zps6f32abac.jpg
 
plan today was to get some more airflow to the FMIC

Bumper

IMG_20130331_132500_zps89630a4d.jpg


Half cut out

IMG_20130331_133219_zps30f91a3a.jpg


Done

http://i253.photobucket.com/albums/hh67/jamiebennett81/IMG_20130331_134258_zps296914fc.jpg/img]

I tidied it up a little bit after this as well

hanging on after drilling the crash bar a bit as well, as you can see its quite a bit more flow to the FMIC with the number plate cut out

[img]http://i253.photobucket.com/albums/hh67/jamiebennett81/IMG_20130331_145517_zps415df264.jpg

Bits cut out

IMG_20130331_150513_zps908efd0f.jpg


Cut out.....actually looks wonky the holes cut but that's because parts of the bumper are sunken

IMG_20130331_152927_zps51f89d54.jpg


Took it off and drilled the back with a larger hole saw to maximise flow

IMG_20130331_163135_zps6d8df997.jpg


Naked again

IMG_20130331_171534_zpsea7cc22f.jpg
 
Tidied up the crash bar and finished off spraying it

IMG_20130401_175645_zps6cea0783.jpg


Decided to clean up the points where the crash bar mounts to

Before

IMG_20130401_172521_zps04cb857f.jpg


Sprayed

IMG_20130401_172726_zpsa9cbf0a1.jpg


Dried and done

IMG_20130401_175955_zps2d5042f4.jpg
 
3m carbon arrived to finally do the missing bumper cover

In yellow, but that doesn't matter

bumpercover_zpsd8c205d4.jpg


Carbon covered

bumpercover1_zpsdbdb6923.jpg


Parts have arrived for the gauges today

oil pressure sender

oilpressuresender_zpsf66497f8.jpg


Sump plug and sump plug oil temperature sensor

Gaugeparts_zps3c56825c.jpg


Gaugeparts1_zpsd51dbefa.jpg


nd my bits are ready from GStar wraps....SUPER excited about these
grin.gif


Massive thanks to them. They can be found by searching for GStar wraps or www.gstarwraps.com

spoilerlightsmirrors_zps20136e7f.jpg
 
Few bits arrived for the car. Some of the cars performance issues is related to the stat and temp sensor as these are bringing the engine management light on, and this can really affect fueling etc.

This figures because the mpg I get is **** poor even when coasting off boost and is effecting power top end as I don't think it can work out fueling correctly. Either running lean or rich

Stat

Stat_zpsb774f55d.jpg


Temp sensor

tempsensor_zps923ecef7.jpg


Boss to be welded into the intake pipe for the water meth

WMIBoss_zpsf2bfb7a1.jpg
 
Superseize TIP arrived. This was a custom made one from SFS which fits to a K03 hybrid turbo, but goes into an 80mm MAF fitment. I wanted all one pipe, instead of having to use reducers from the MAF to the intake, as a hybrid runs an 80mm MAF

IMG_20130410_204050_zps14f861e7.jpg


MUCH bigger than the forge one
 
Battery relocation is a work in progress at the moment

cut the brackets to pin the battery cage down. The lips on the end of the battery cage were to narrow and too thin to put bolts put through them, so I cut my 3mm steel left over

cut and drilled the ends

IMG_20130411_184404_zps7b843f96.jpg


Started spraying them up, and the other black bracket is the top which goes over the top of the battery in the cage. The cage is too bling for my liking to its getting sprayed satin black also

IMG_20130411_192647_zps9ffb44ba.jpg


Trial mounted in the boot. You can just see the ends of the battery cage where they are too thin, so the metal bars will be clamping this down.

IMG_20130411_193630_zps980acf70.jpg


I'm going to spray the white patch in the spare wheel well also at the weekend.

Then all I have to do is drill the foot well and bolt it down, fit the negative cable then that's job done and I can start on the supersize TIP.
 
went down to Portsmouth today to pick up the replacement subframe, was in ****** good nick as well, rushed back.

car jacked up and ready to go

c3143fa9-9fd5-462c-936d-3b296b118963_zps5e37d0a7.jpg


Subframe was changed in an hour thanks to the help of Nick, but while changing it over we noticed the dog bone mount was absolutely shagged....literally no rubber left in the mount at all

IMG_20130414_164832_zpsda354b24.jpg


now going to order a polyflex replacement one

got the dogbone mount done today, as it was absolutely fecked

Old rubber from the mount, absolutely soft as butter....an uprated mount from a supplier I won't mention]

2013-04-21180112_zpsab27bb1b.jpg


Old bush insert cut off, but had to drill a 15mm hole....and drill bits come in 14mm or 16mm....so out with the 14mm drill and widened the hole until the small insert came out

IMG_20130421_162052_zps1badb310.jpg


Insert out

IMG_20130421_163248_zps1fbc10d9.jpg


Bush was then pressed in. This was a struggle, but managed to do it with a clamp I had. Took a few goes as it was only a small clamp and it kept sliding off the bush, but got there in the end

IMG_20130421_165918_zps6315cfc2.jpg


Put the whole dog mount together. Next challenge was to press the two main bushes enough for the bolt to grip through the center of them onto the connecting nut, but got there in the end

IMG_20130421_173815_zps467d2288.jpg
 
Fitted the dogbone mount tonight, hardly any engine movement now, and it's very stiff

IMG_20130422_182044_zpsacbca9fa.jpg


Then started with fitting the supersize TIP.

Comparison (this is a custom made version as I run a K03 Hybrid, so it is a K03 fitment on the turbo end, but an 80mm MAF fitment the other end, as I run an LCR MAF)

IMG_20130422_183704_zps52a67eed.jpg


Fitted...excuse the absolute mess and wiring everywhere as I am in the middle of relocating the battery as well which is to be tidied up

IMG_20130422_191256_zpsdead2105.jpg
 
small bits of progress tonight

9.5mm bung's for the supersize TIP

95mmblank_zpsbaf7c442.jpg


Started making the heatshield template tonight. Cut and ready, bit rough around the edges and a few bits to tidy up but on the whole it's sorted

HeatShieldTemplate_zps75e0f0bc.jpg


Looks like it sits very high, but that's because there is a bolt on the chassis so it's not sitting flush yet, and the bolt needs cutting off. It will sit lower once done.

HeatShielfTemplate1_zpsbdcc236f.jpg


Shielding is going to be made from 1.5mm mild steel sheet, sprayed black, then wrapped in reflective heat material

Ordered a few other bits as well arriving this week, more updates to come shortly
 
Few things arrived today

Methanol intake pipe, thanks to Bill Brockbank at www.badger5.co.uk

MethanolIntake_zpsb5069f55.jpg


6 speed quick shift as well.

QuickShifter_zpsc98c7dcf.jpg


Just ordering 1.5mm mild steel now for the heatshield and magmashield tape for the heat shielding

still sat on the driveway going nowhere...

IMG_20130505_120930_zps41540ee2.jpg
 
Since stripping the car, the buttons for the TCS and fuel cap are hanging loose in the car, so I have started to make the mount. The VAG com port is also going to be mounted into this.

cut (maybe a bit too tall at the moment, but this is to be adjusted) and also small pieces to brace the sides of the mount

IMG_20130505_165452_zps583039e9.jpg


This is how its going to look. It will sit lower than this as it is resting on the two bolts which is what it's going to be bolted onto. Will spray it black also to tidy it up

IMG_20130505_153158_zpse9c4d416.jpg


Battery relocation done, but the boot is too thin to mount the negative wire too, which is causing a weak signal, so I need to get a longer piece of cable and mount it to the seat belt point

IMG-20130505-WA0000_zps39ce779d.jpg


Final filter relocation bits arrived

IMG_20130509_192134_zpsccd91ab5.jpg
 
Started on my heat shield properly, cutting it etc

From this

IMG_20130513_143106_zpsa60088b5.jpg


To this

IMG_20130518_184433_zps2861660d.jpg


fits perfectly, needs trimming more, and the holt cut out for the filter then its almost done
 
Did some more work on the car tonight, only had an hour or so though

Battery tray

Batterylocation_zpsc9023fe3.jpg


two bolts in the way, out comes the angle grinder..... (earth for cable is going onto the engine mount where the hard pipe is)

Batterylocation1_zpsed4364b9.jpg


quick clean

Batterylocation2_zpsf7063457.jpg


The issue with catch can as you can see is its a complete mess and in the way of the TIP, and the pipework is also in the way of the DV.

EngineBay1_zps224cb1f0.jpg


This needs to be relocated. I have taken it off its mount

Mock up of how it will look, and the catch can which is going to be mounted to the side of the heat shield. Other pipes need trimming down of course

Batterylocation3_zps9a031905.jpg


Got the day off on Thursday and Friday so I aim to finally complete it all then
 
Also just ordered a 5m roll of magmashield, to wrap the heat shield and to wrap the pipe going onto the filter (will also be sprayed satin black)

Example picture:

magmashield_zps56dc5122.jpg
 
So finally finished off my custom heat shield yesterday, really pleased with how it has turned out!

Hole cut out and filter mounted

IMG_20130523_130511_zpsf9806ac5.jpg


Trial fit

IMG_20130523_135122_zpscfb5354c.jpg


Rubber mount

IMG_20130523_132910_zps708d5375.jpg


Sprayed satin black

IMG_20130523_153856_zps9aac38e0.jpg


Here it is finished

CustomFilter-1_zps9c5e800d.jpg


CustomFilter_zpsda520b02.jpg
 
ll in and done. Relocated the catch can as well and mounted it to the heat shield

IMG_20130526_192018_zpscd740e65.jpg
 
Finally got the car up and running today with help of Nick.

It was such a stupid problem as well.

when I originally took apart the battery fuse box to fit a new cable, I only did up four of the nuts...leaving the other four loose

We scratched our heads for a few hours this morning. We went and bought a volt meter tester in the end, 4 of the nuts were good and showing good current, but when testing other areas of the fuse box, the signal was very weak.

We only figured this out because when applying pressure from the volt tester, we faintly heard a few sparks....then we realised the four nuts were loose....

tightened these up and hey presto.

SO frustrating because everything I had done with the battery relocation was right, and it was all undone from 4 nuts loose on the fuse lid

I can't believe it was something so stupid!

I then went for a test drive...almost straight away the car died on me and the EPC light came on and the car was struggling to run.....something had popped off

found that the charge pipe to turbo had not been tightened

Limped home, tightened it and all good
 
Few pics of the battery install in the boot. Need to cable tie the main cable to tidy it up still

Batteryrelocation_zpsd6c66c32.jpg


Batteryrelocation-1_zpsb5c2ed73.jpg


You can see the LCR spoiler in the passenger footwell I picked up the other night as well, going to fit this when it stops raining, much bigger than the standard LC spoiler

BucketSeat-1_zps222d5d03.jpg


and because race car

BucketSeat-2_zps519ed7c0.jpg


finally got my hands on a facelift rear spoiler. Much bigger than the LC one.

Pic doesn't do it justice, but when fitted it looks a lot bigger and much deeper as well. very pleased with it

IMG_20130531_212126_zps5586a26d.jpg