Headlight Restoration (With Pics)

Metro

Error
Joined
Nov 10, 2011
Messages
379
Reaction score
3
Points
18
Location
Derbyshire
Evening all, Oh how time flys when your working on your car! done a few clean up jobs today interior etc, next minute, got a friend popping over offering me a headlight restoration kit for free... so obviously i didnt refuse!
Now, ive only done one pass on each light so far, so they are not perfect by any means of the word but they are massively improved from how they were, heres the story:
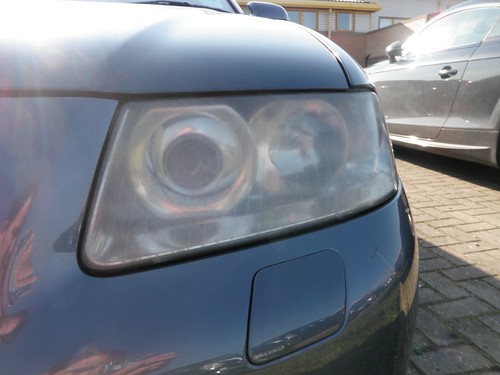
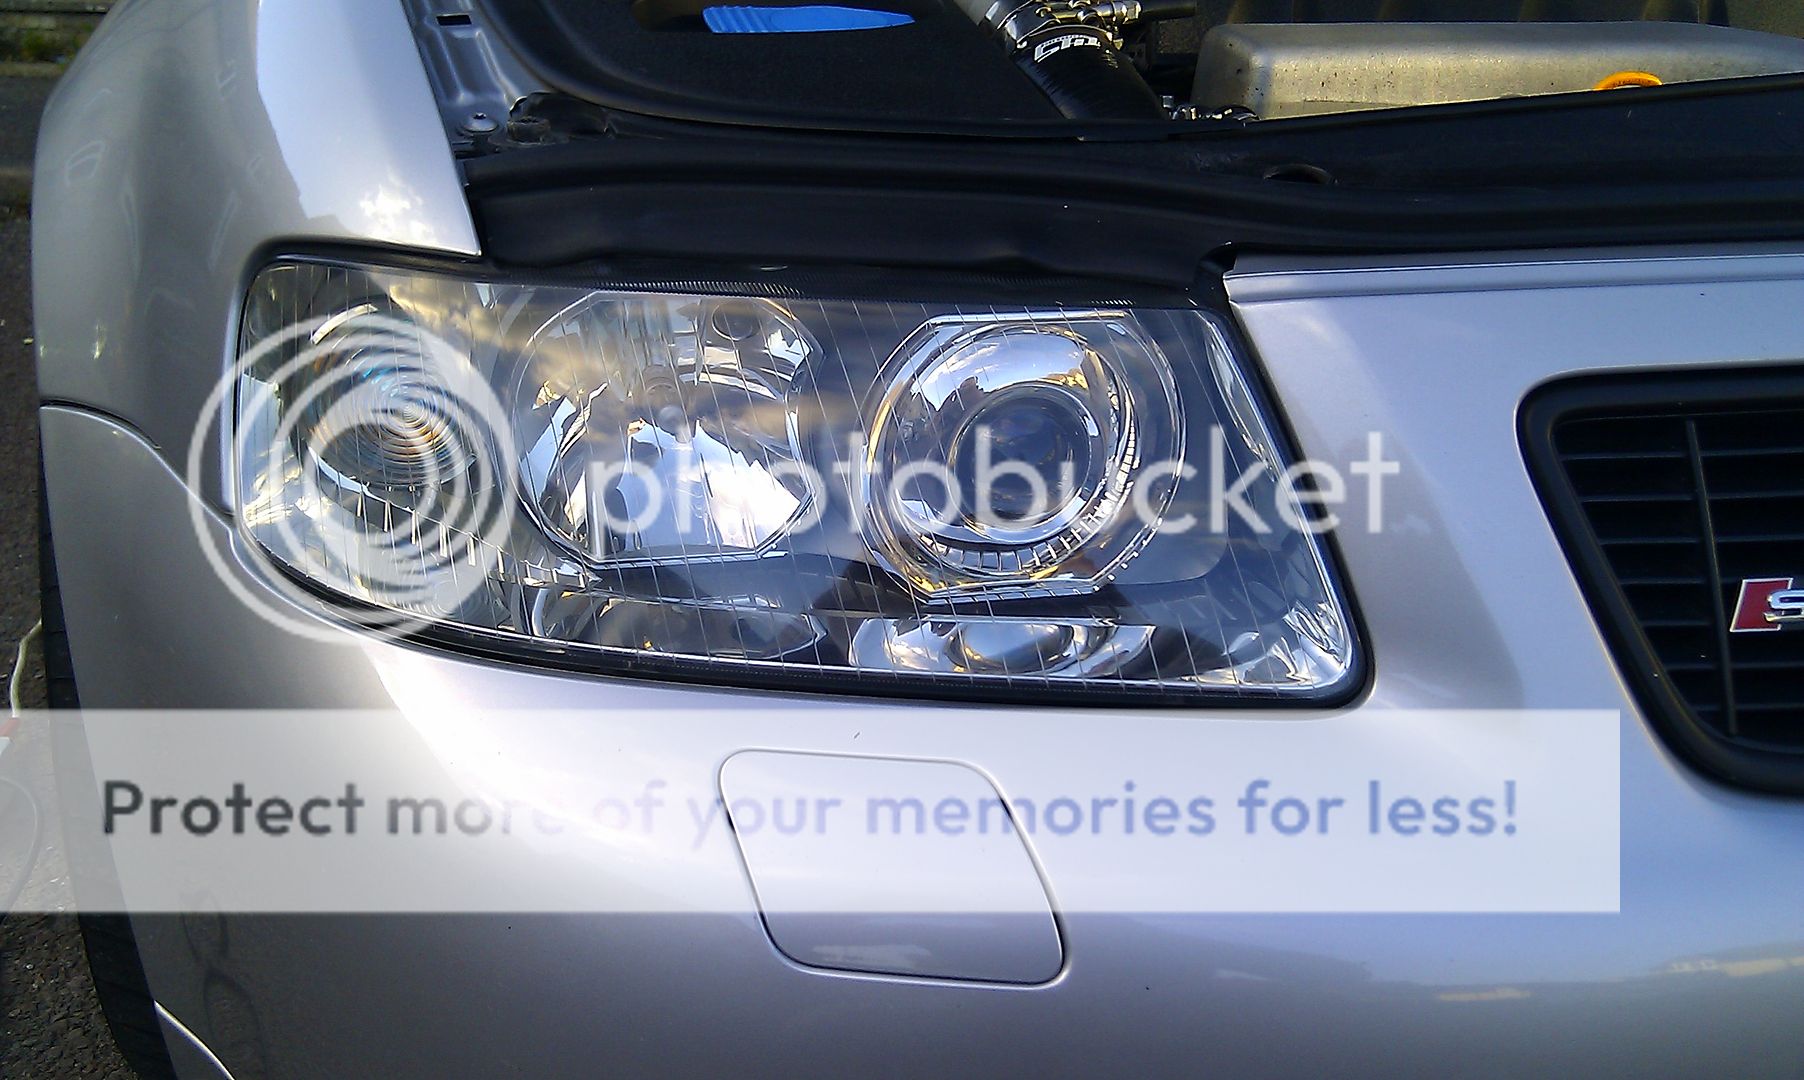
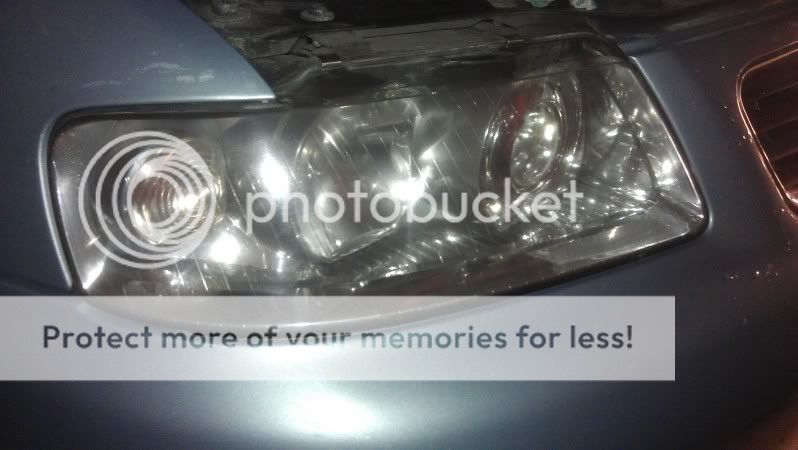
Before:

IMAG0101.jpg


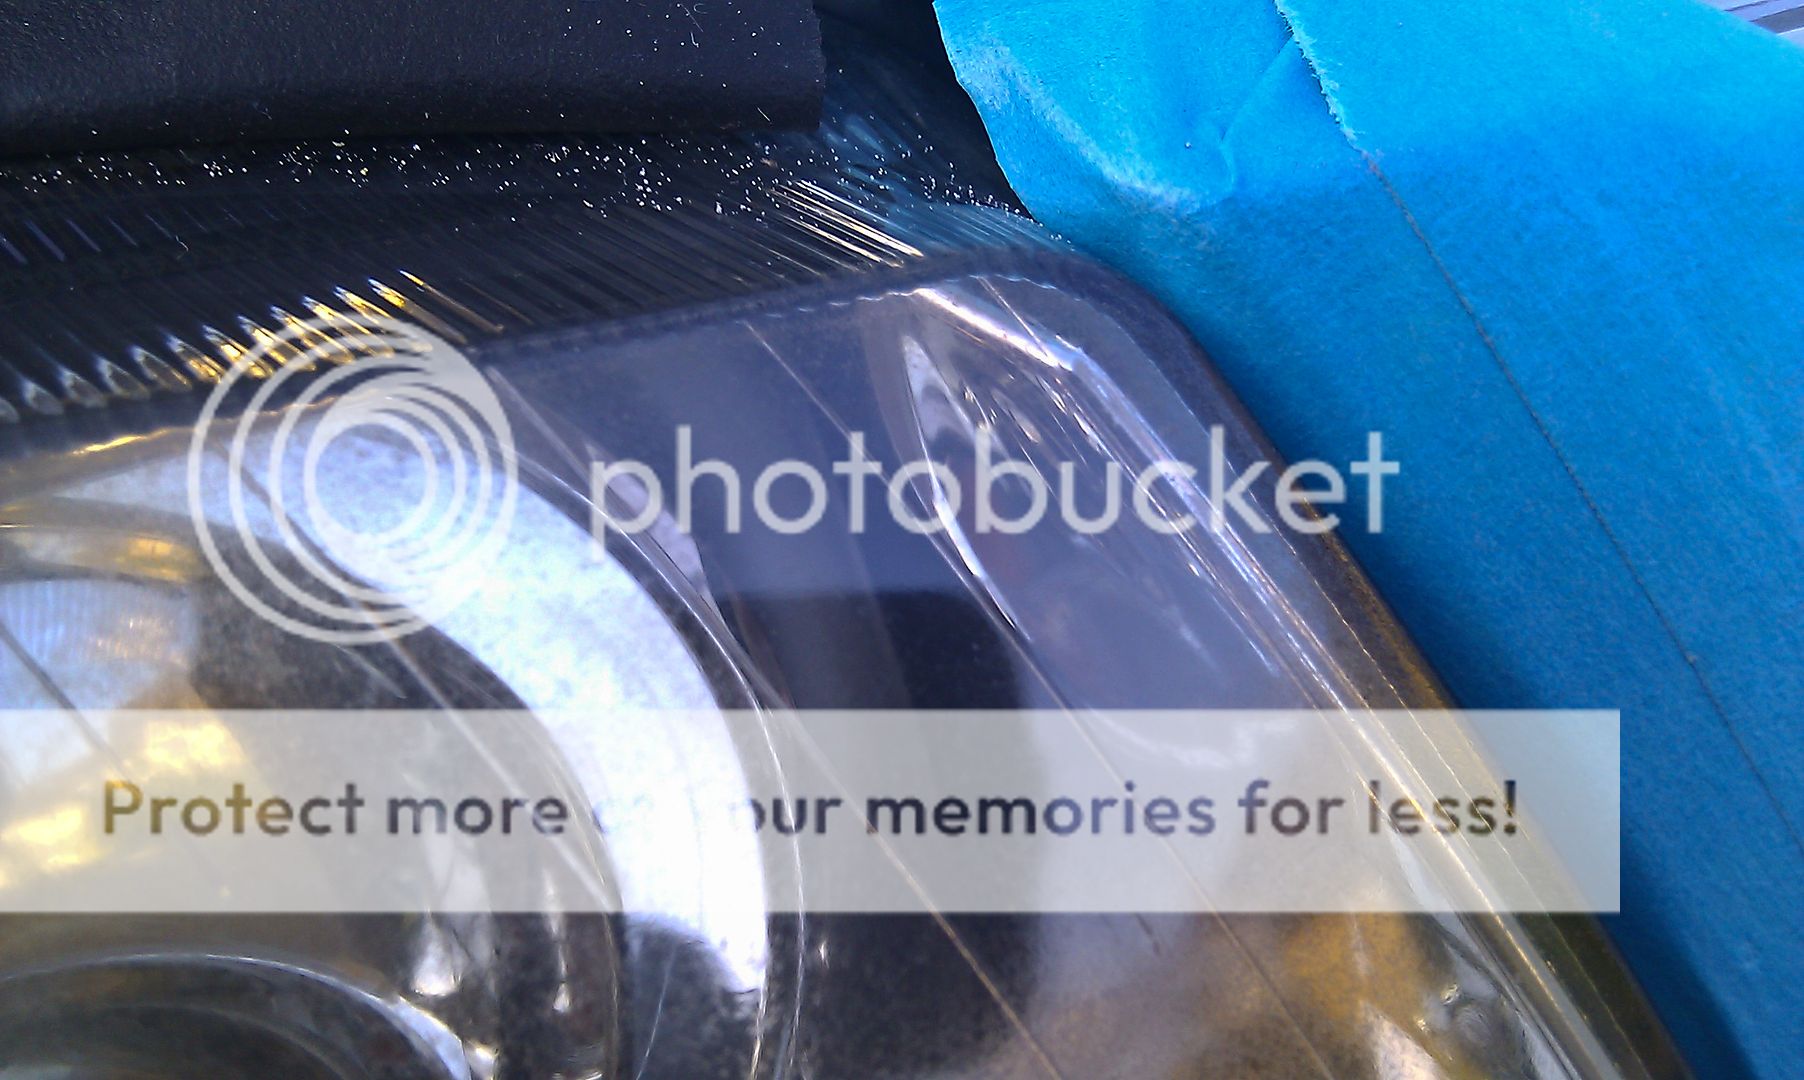
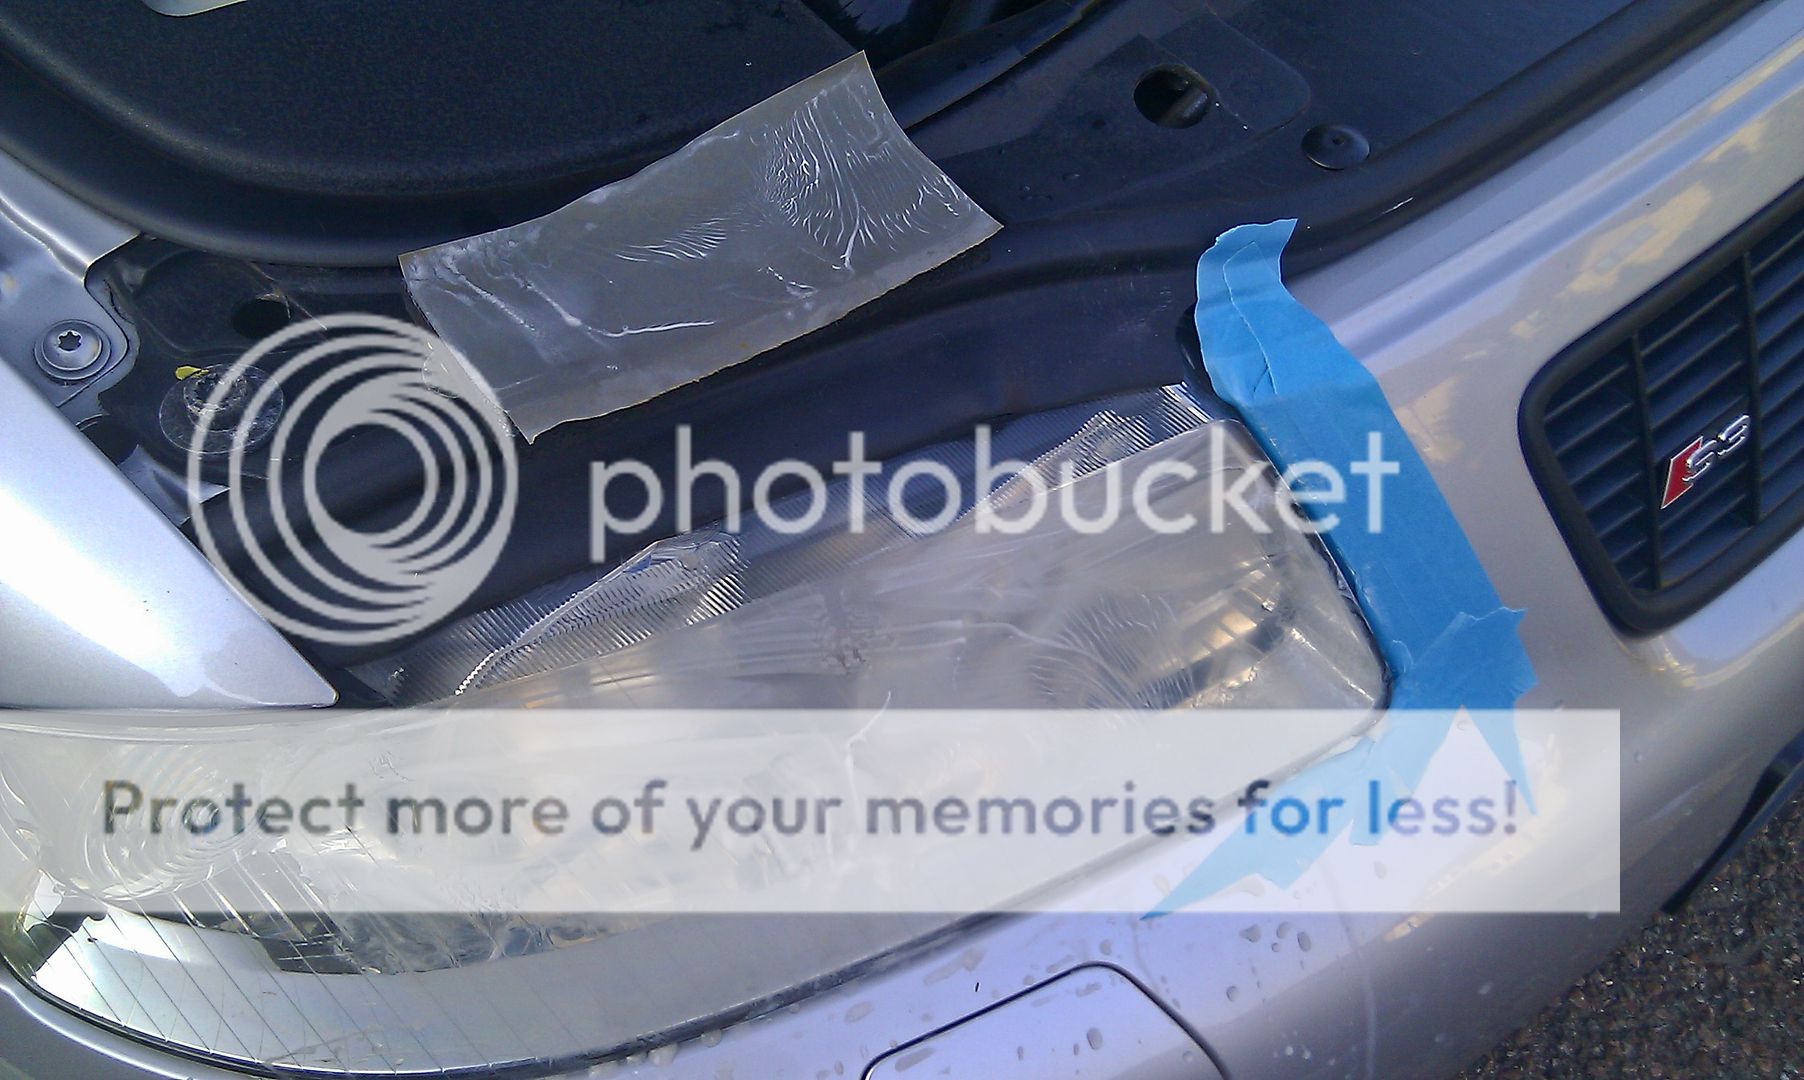
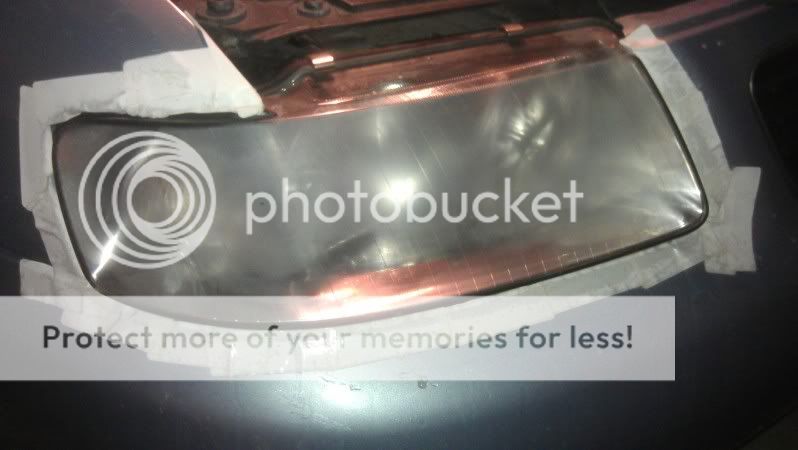
First job.. mask the area, I didnt have any masking tape and its too late and shops are shut! Improvise! low tack sticky lables!

IMAG0102.jpg


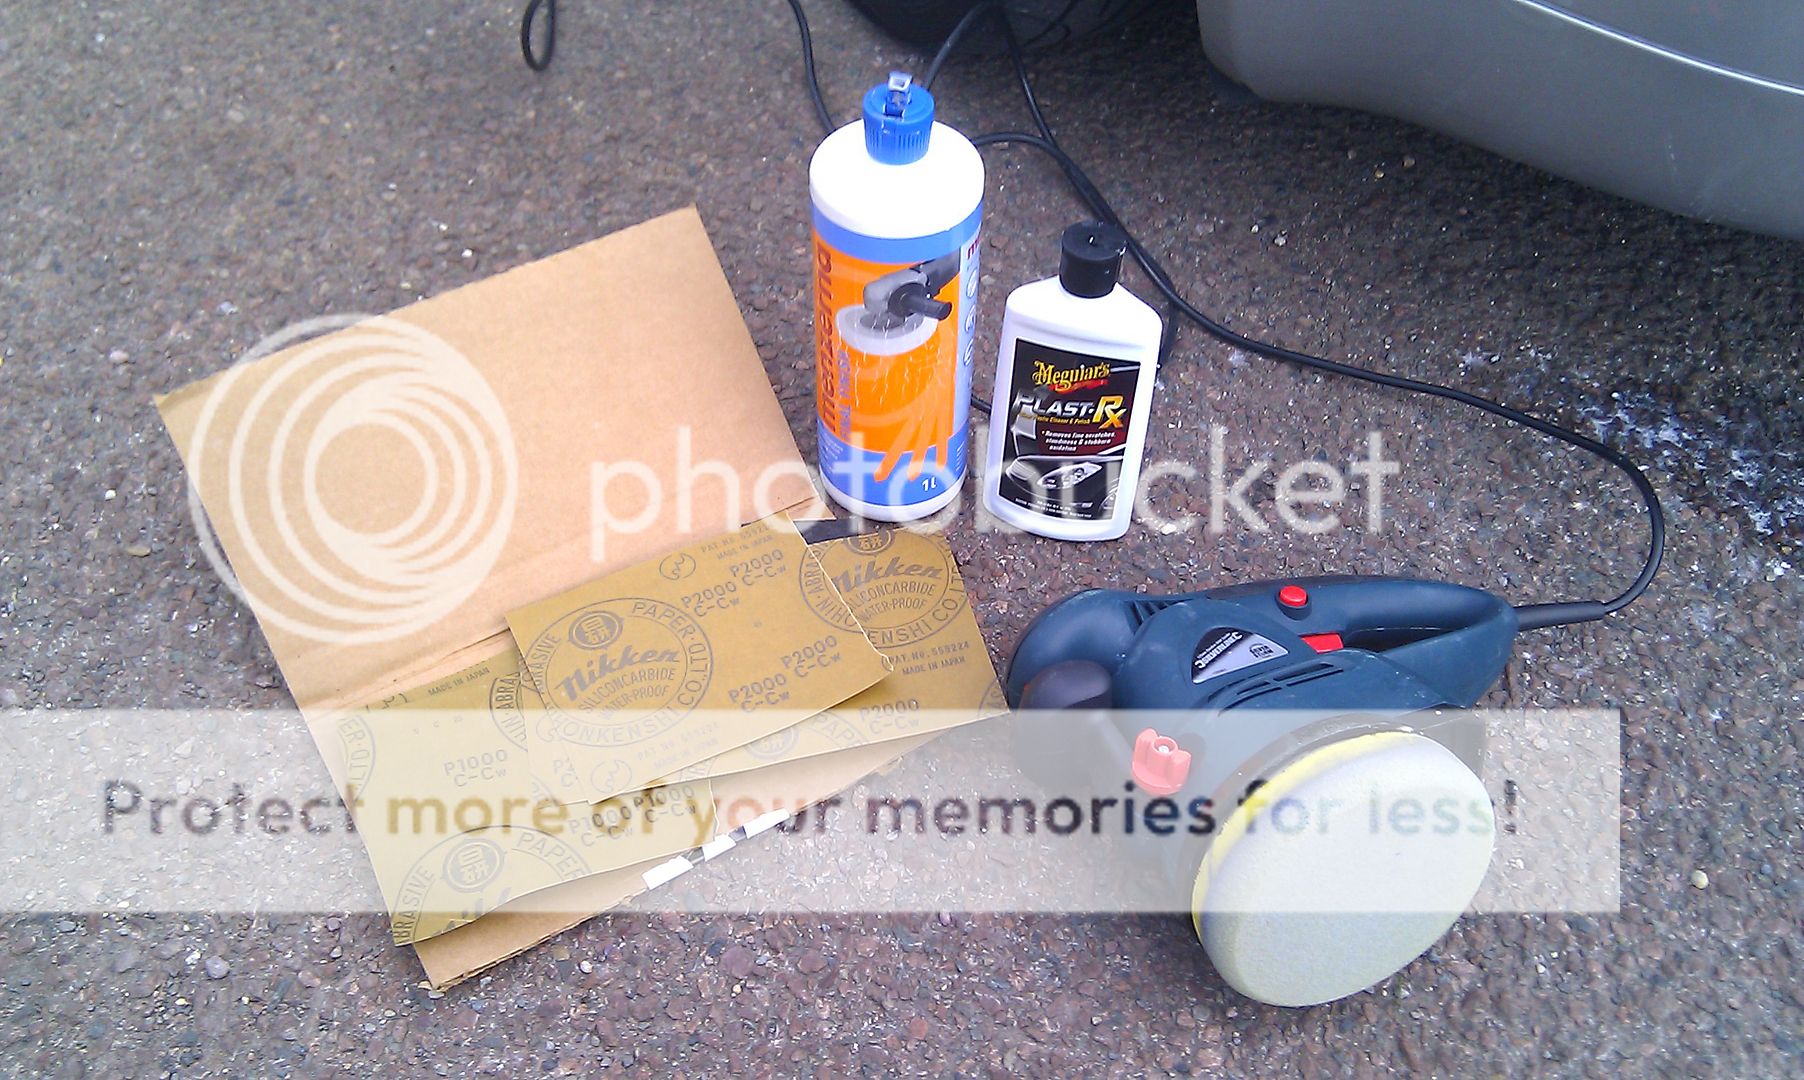
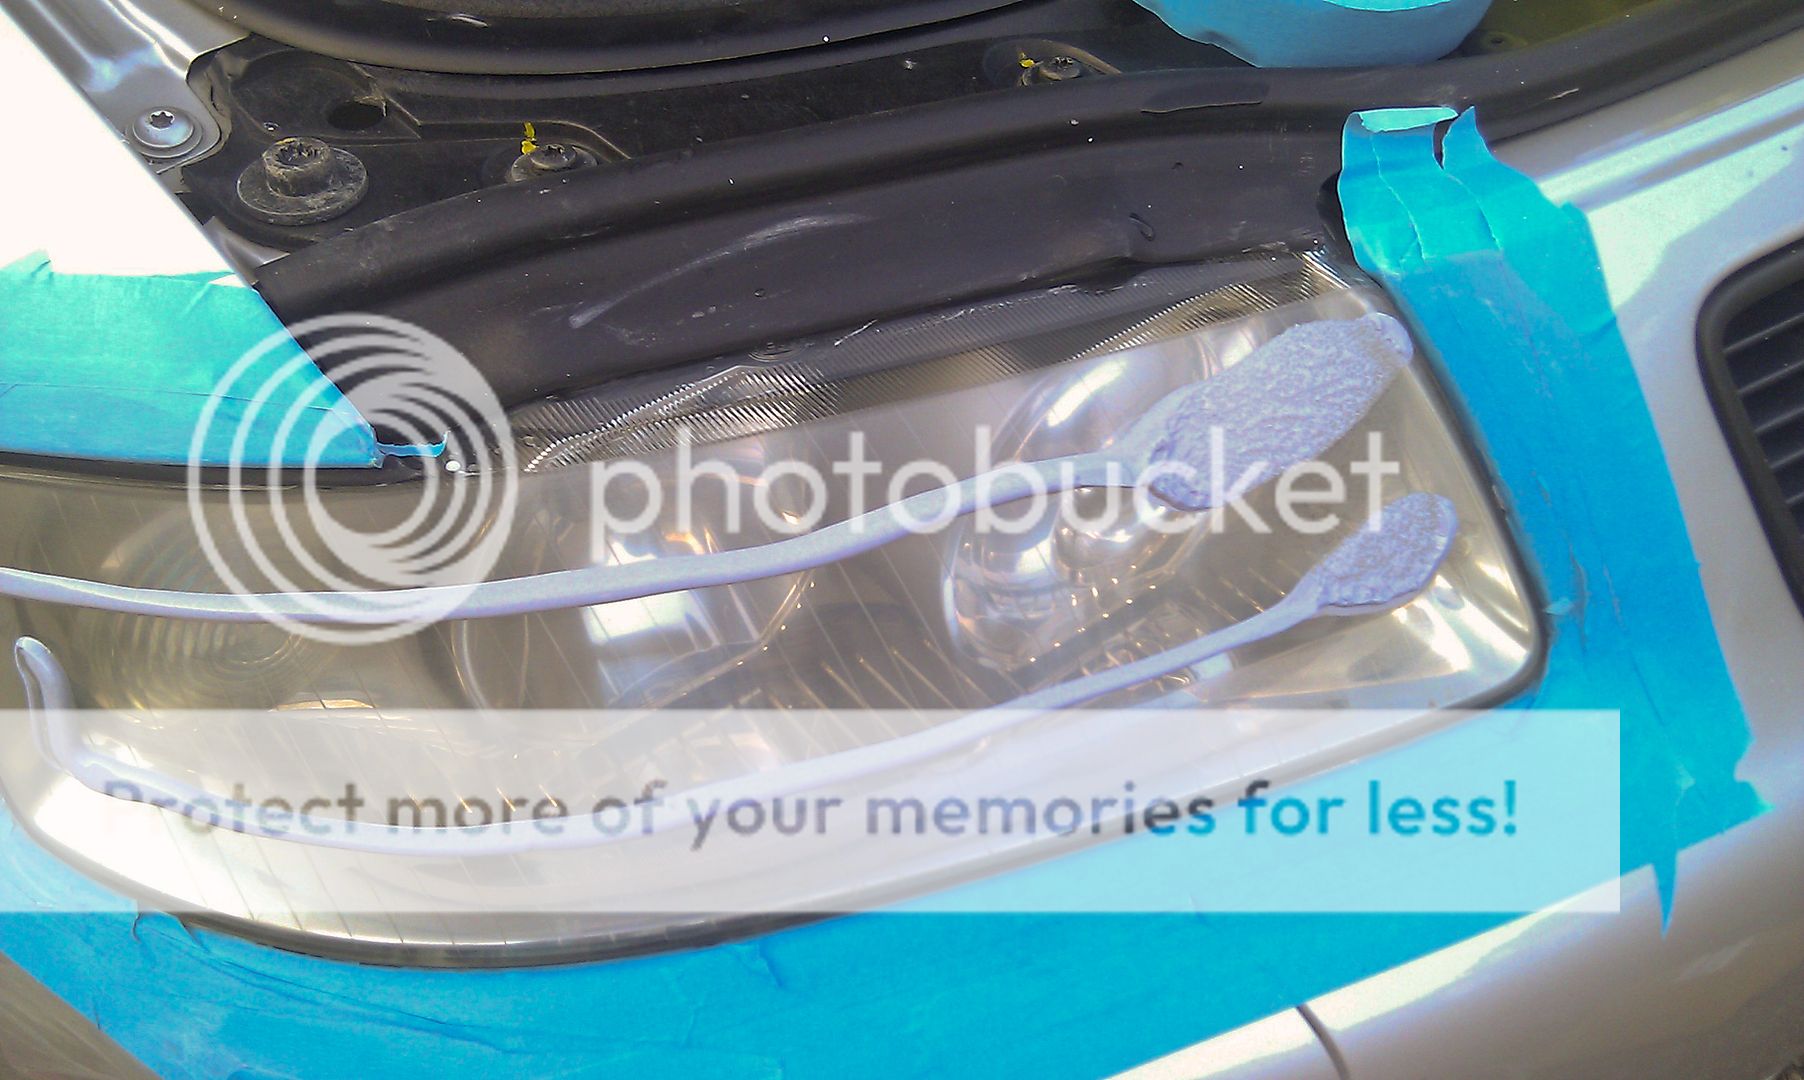
First pass with the sand paper 800grit through 2000 grit.

IMAG0103.jpg


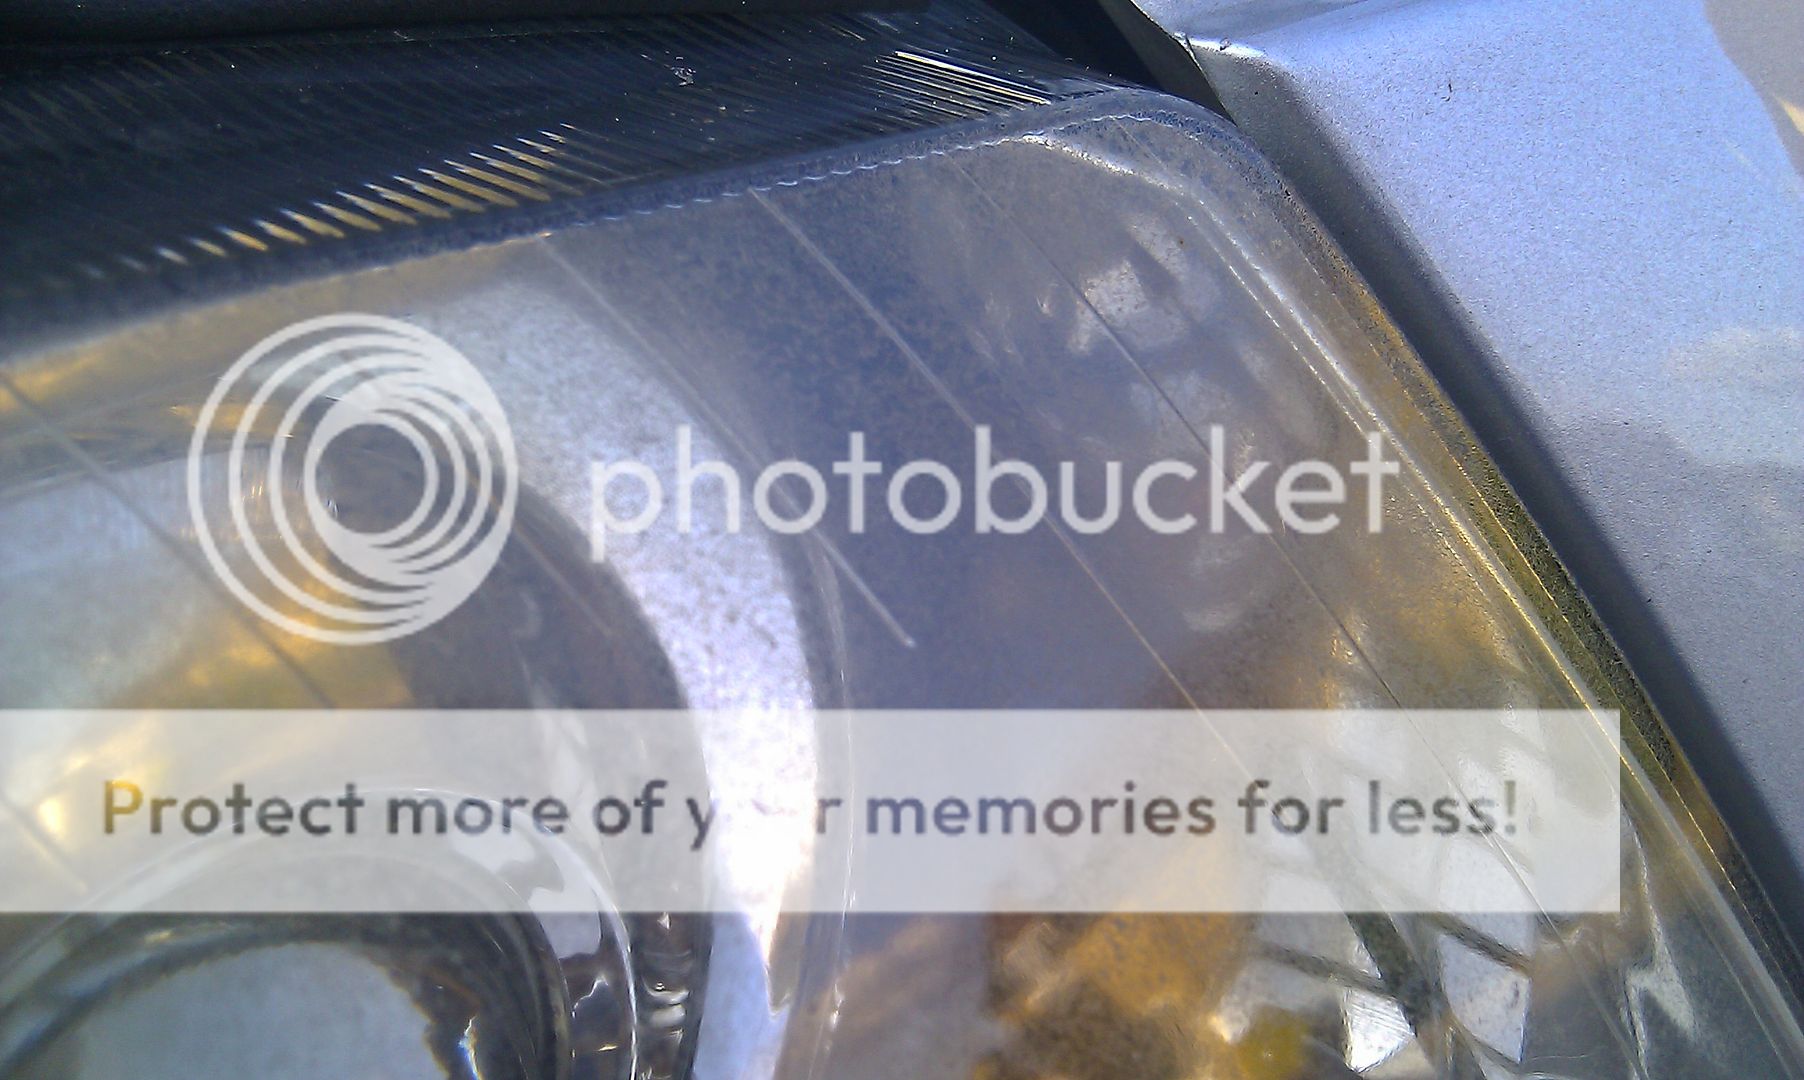
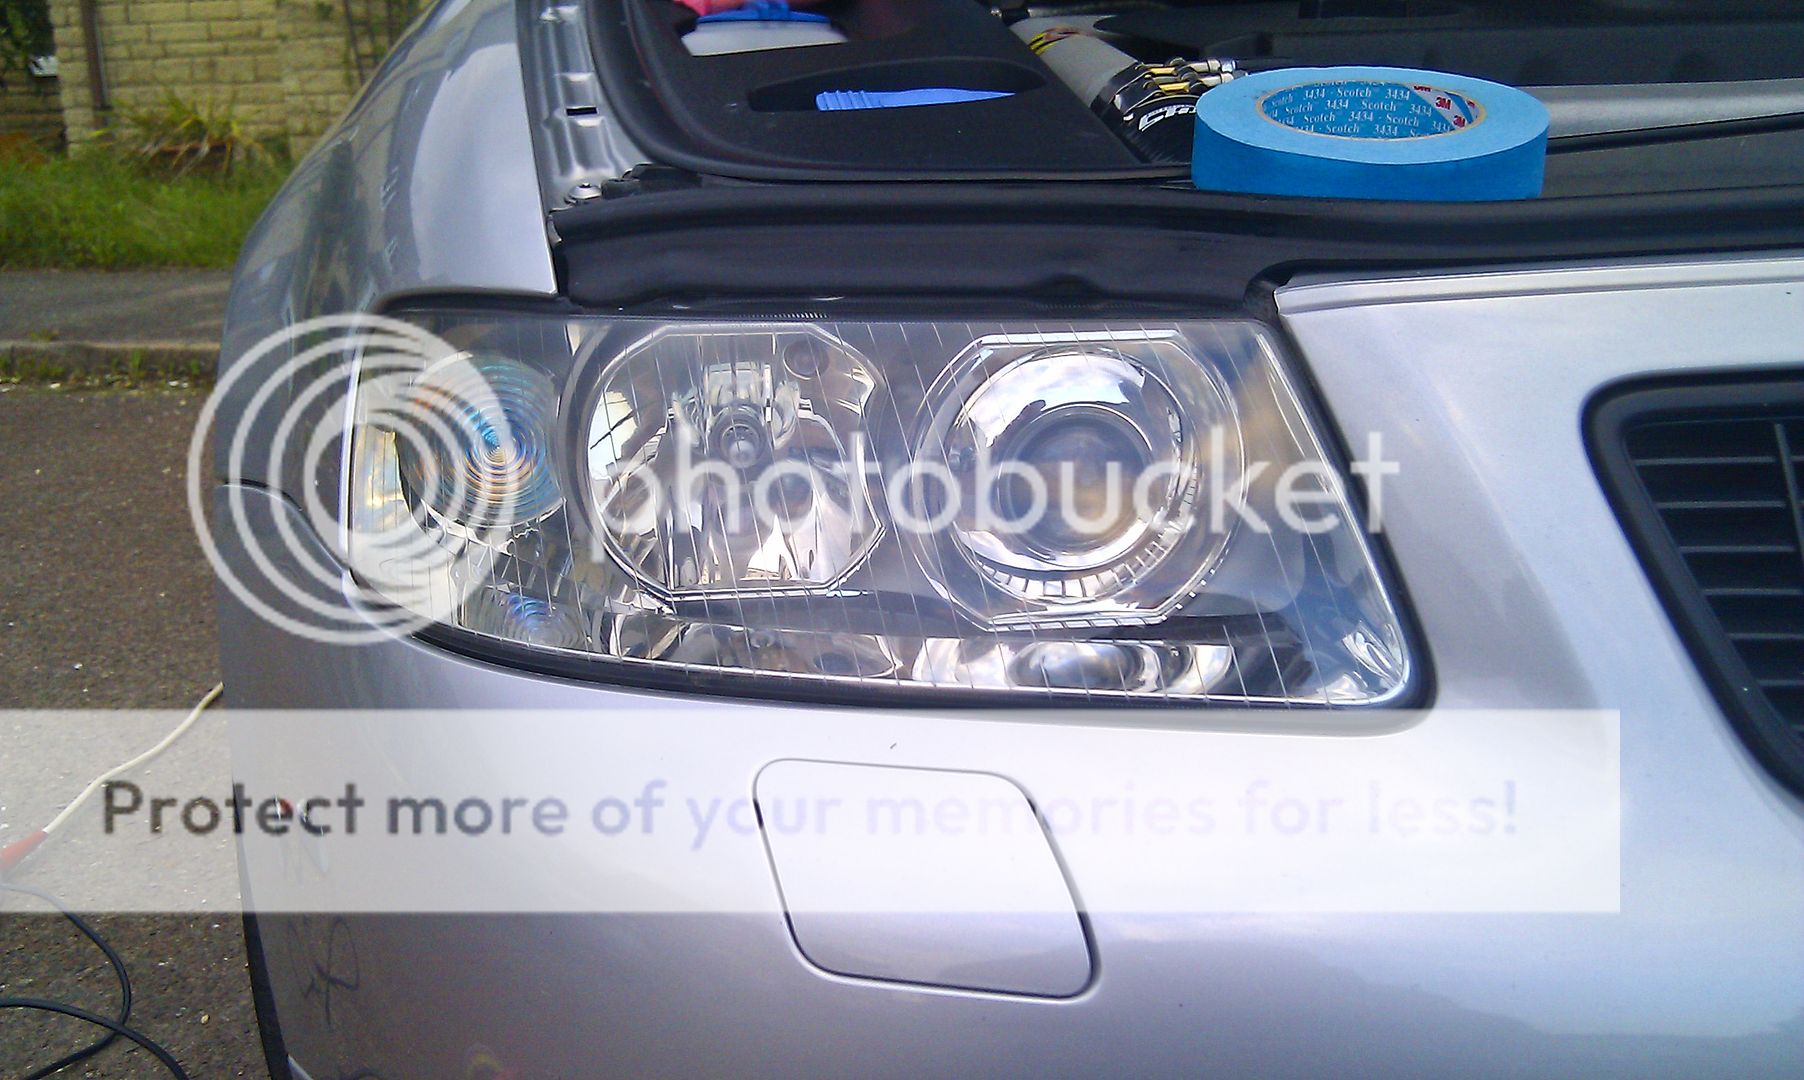
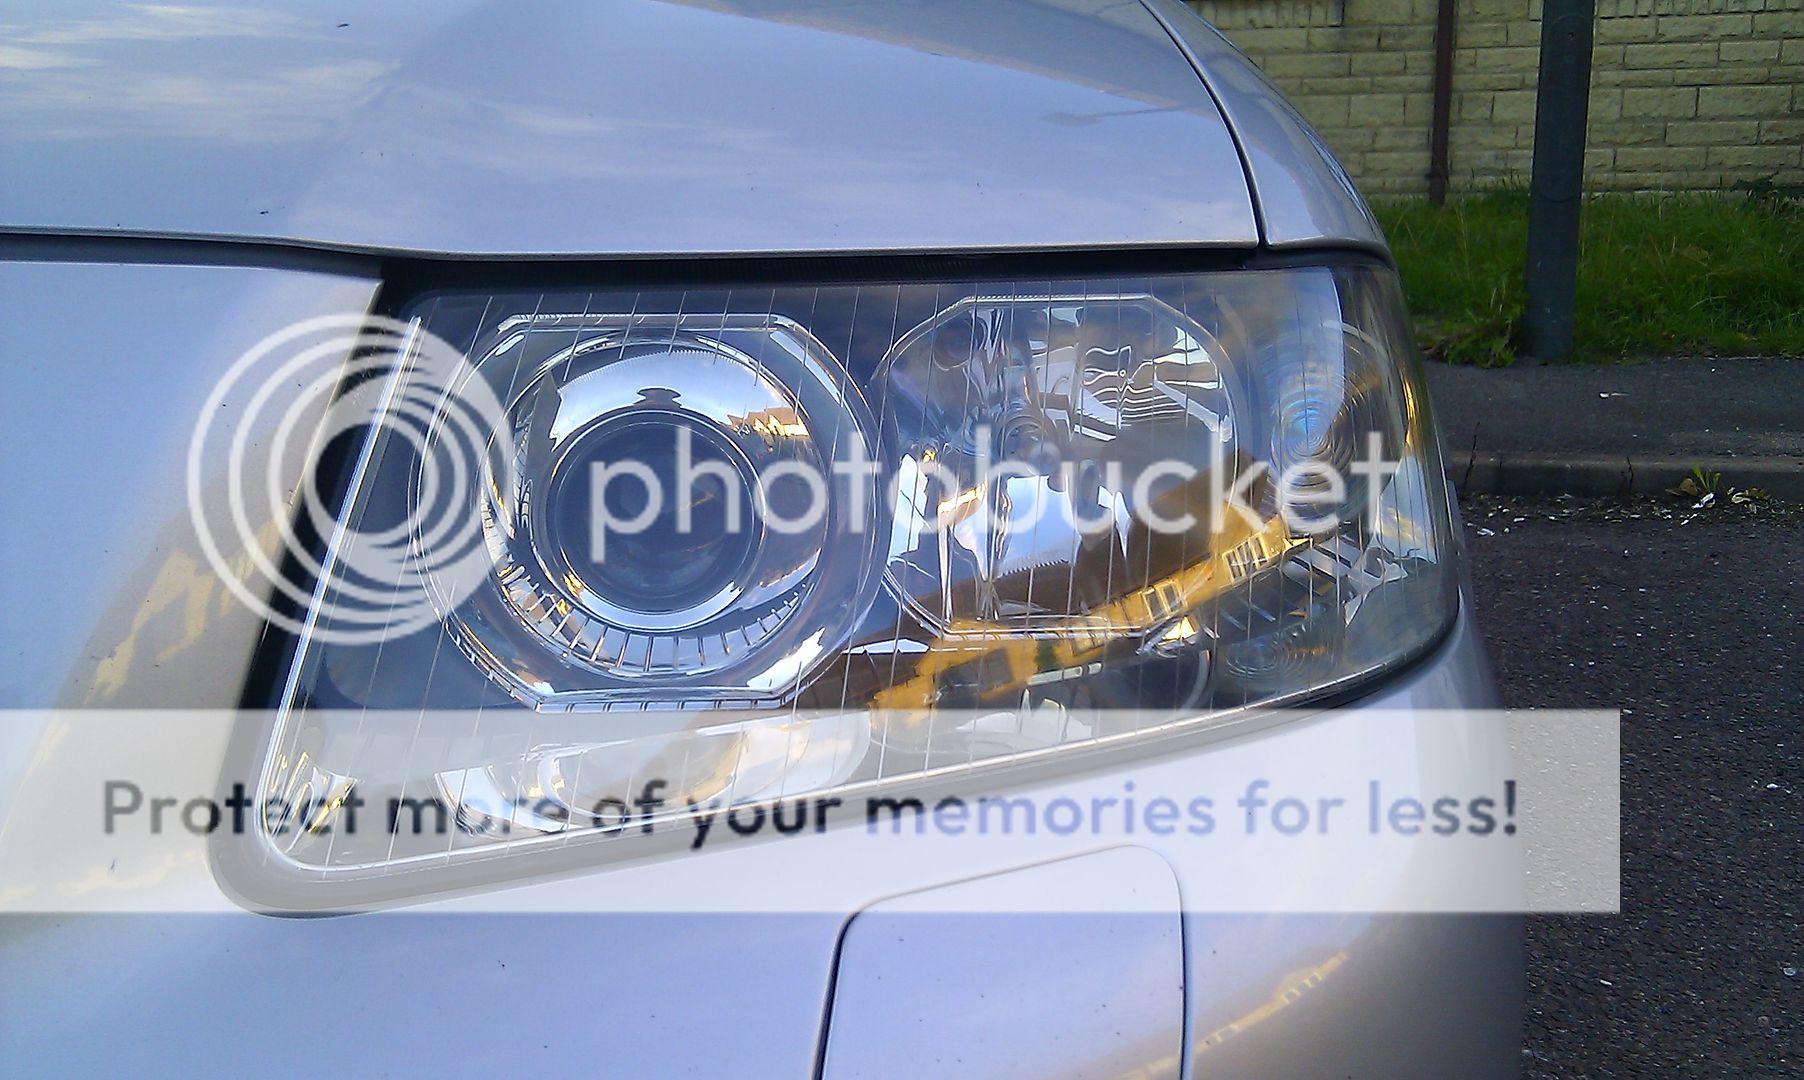
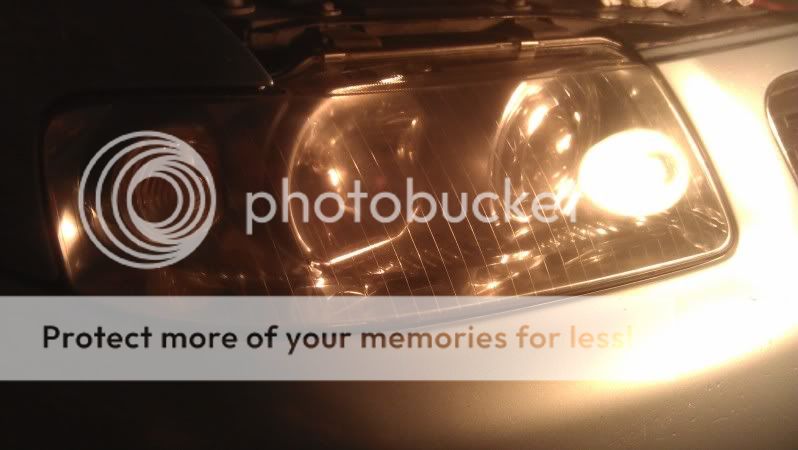
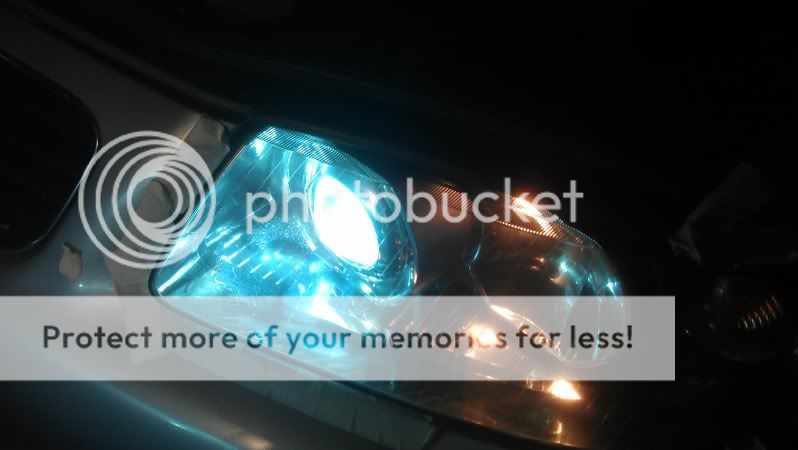
After the plast X compound and a bit of a buff:

IMAG0104.jpg


IMAG0106.jpg


IMAG0108.jpg


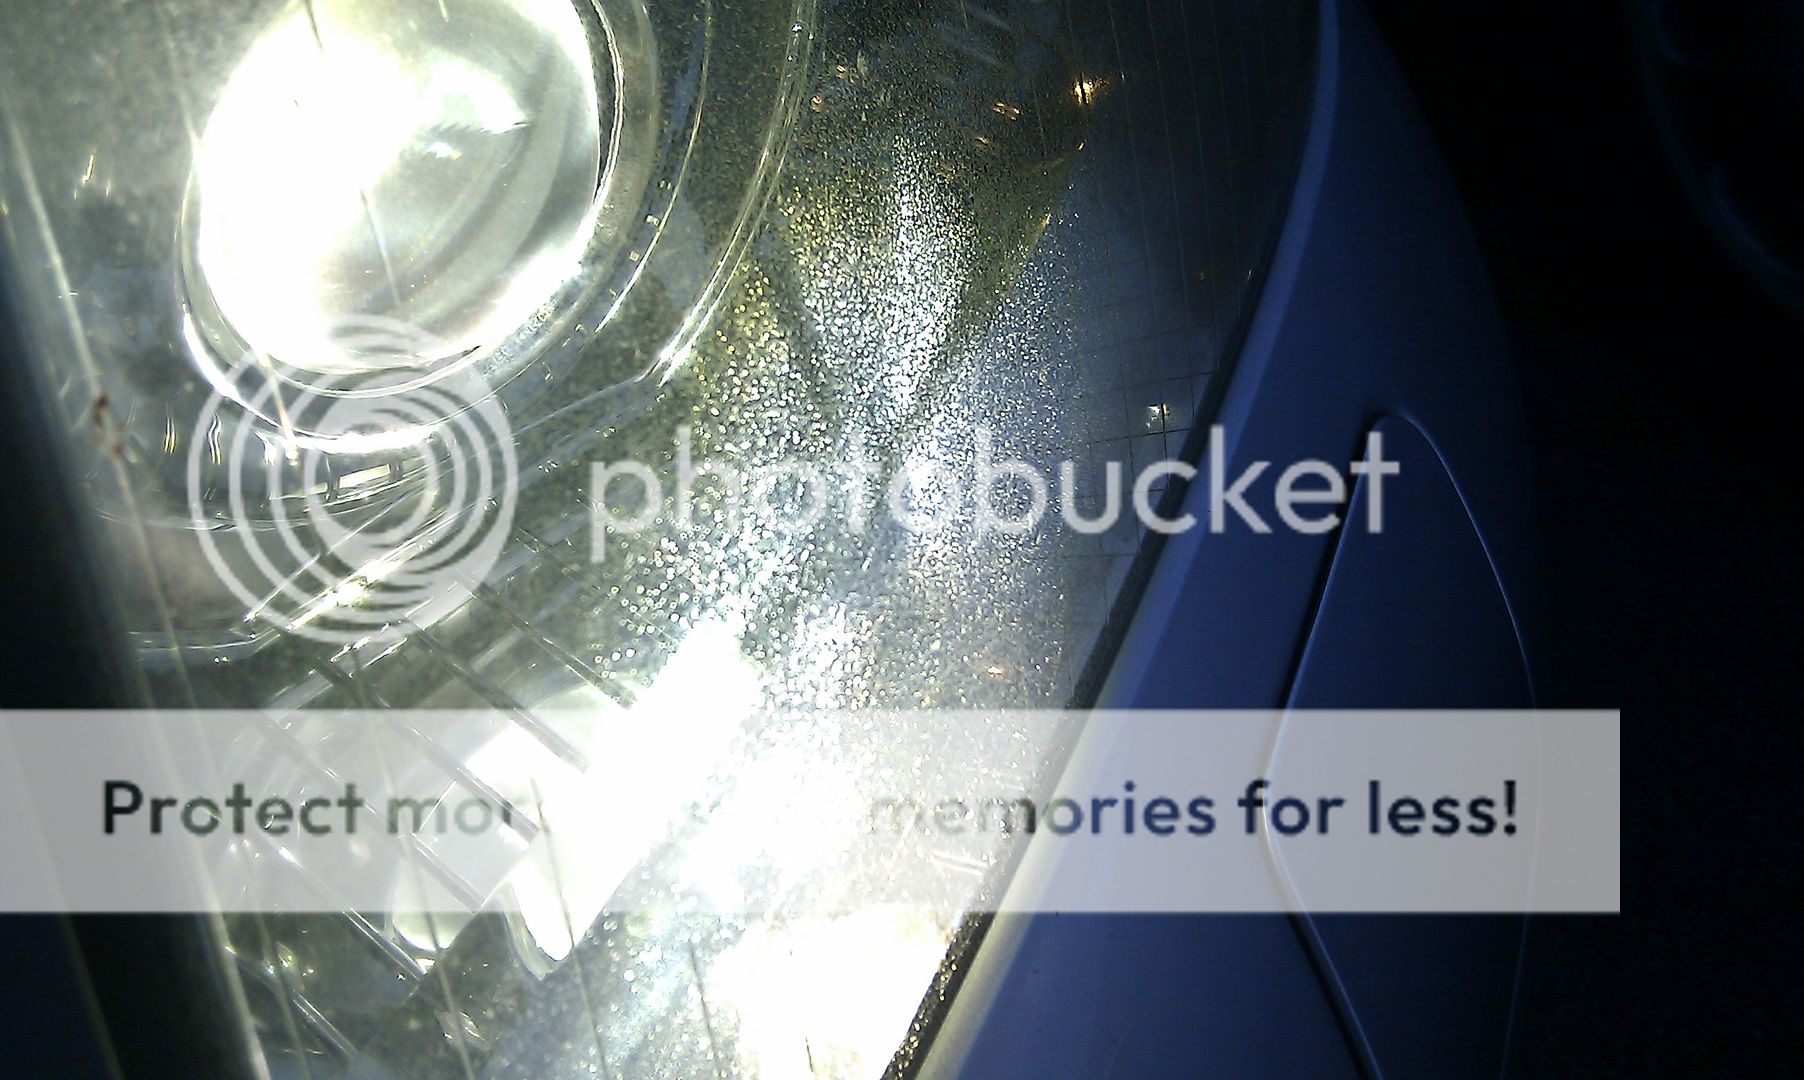
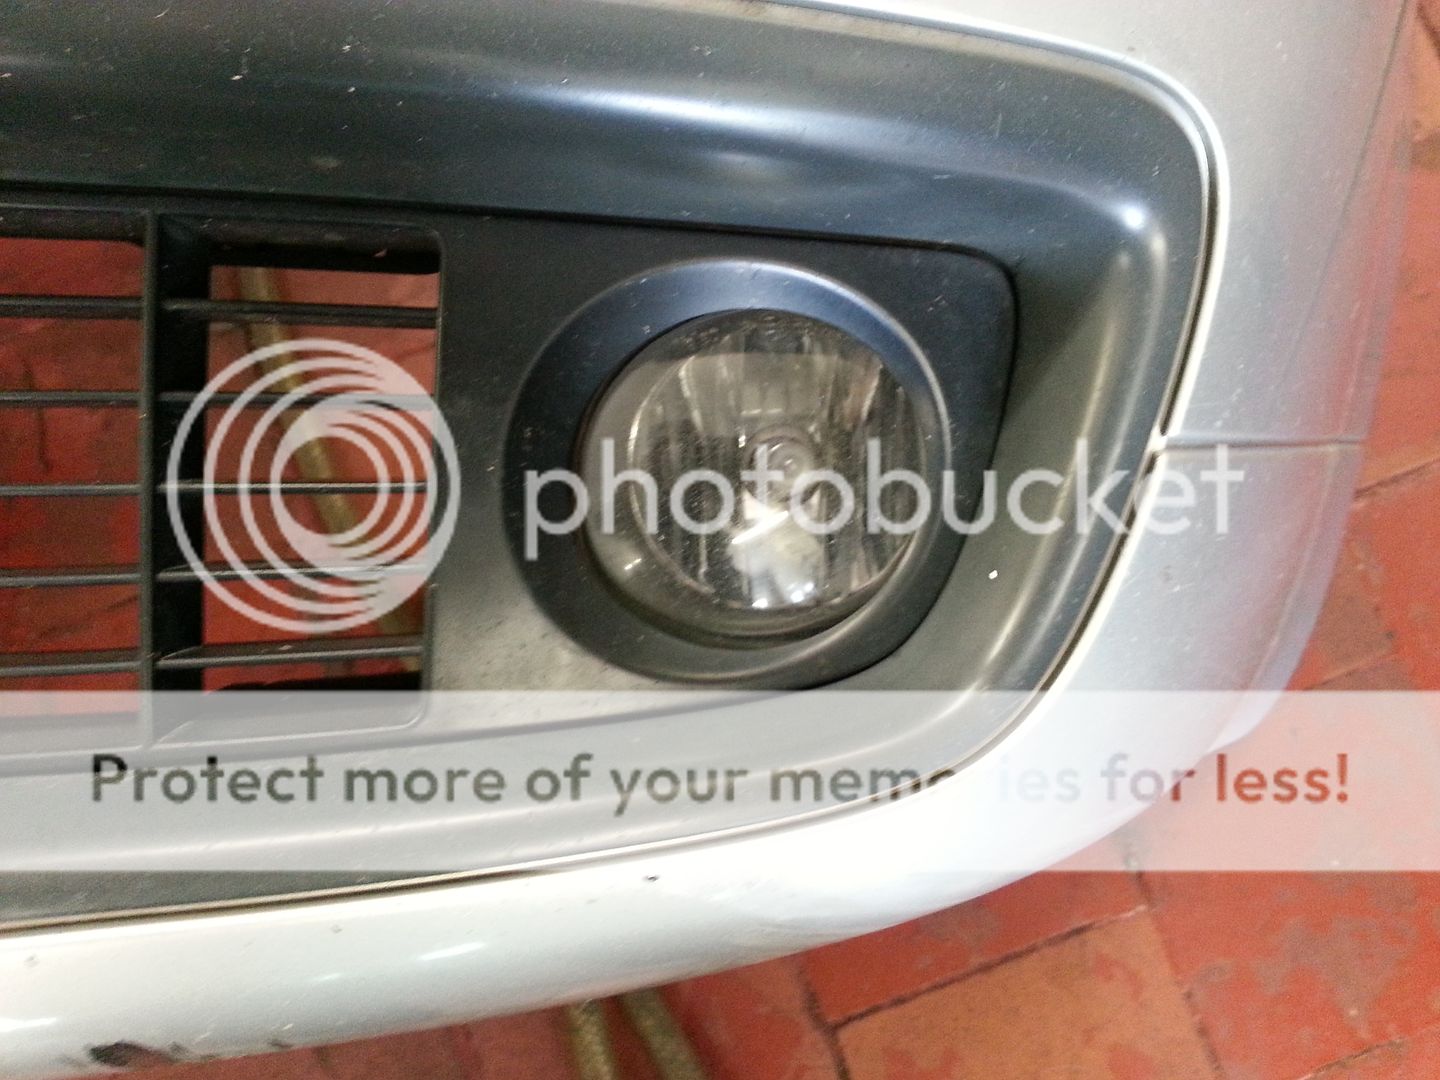
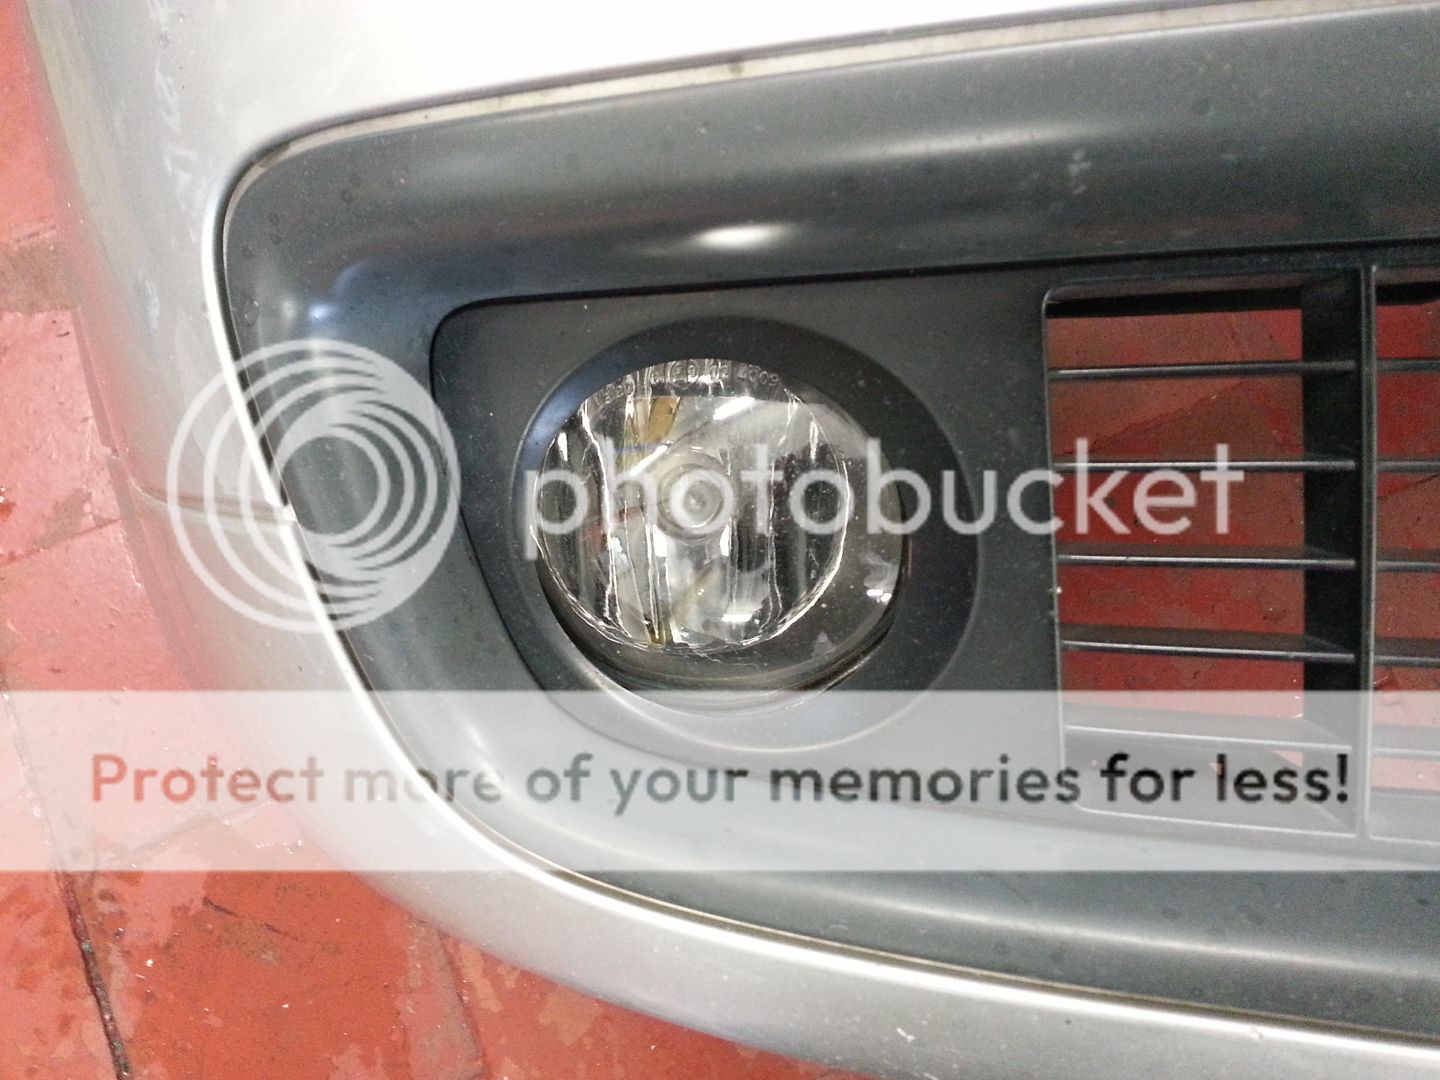
I didnt take a close before picture of here, but it was really badly damaged with deep scratches and what i can only discribe as a bubbling effect. But after the buff:

IMAG0105.jpg


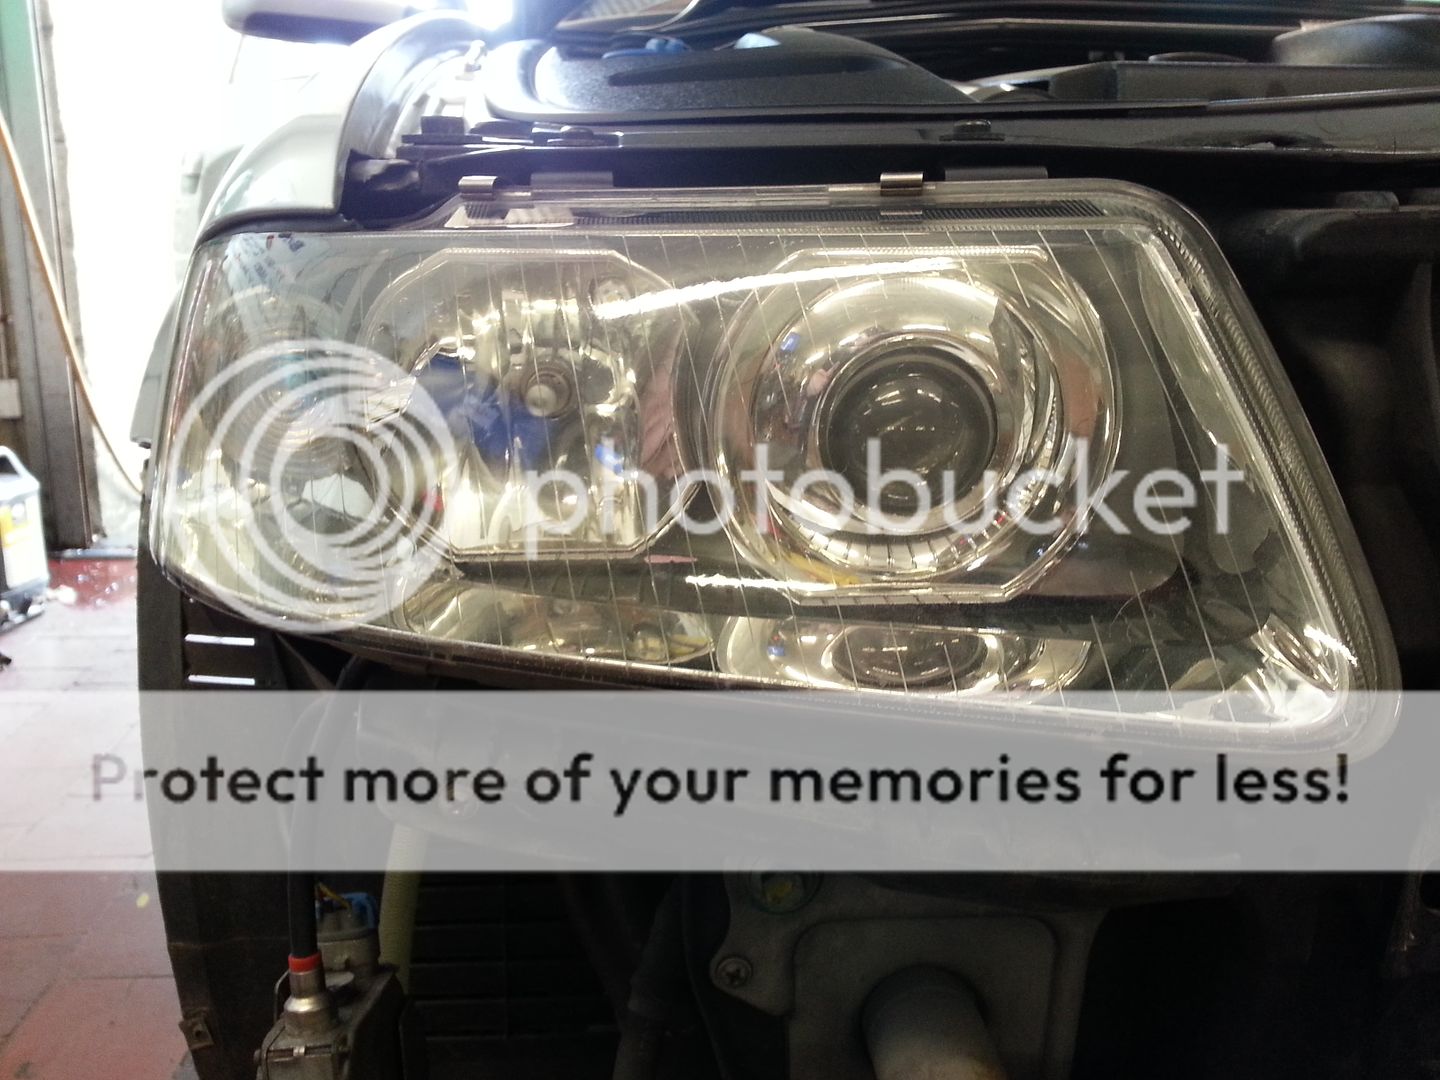
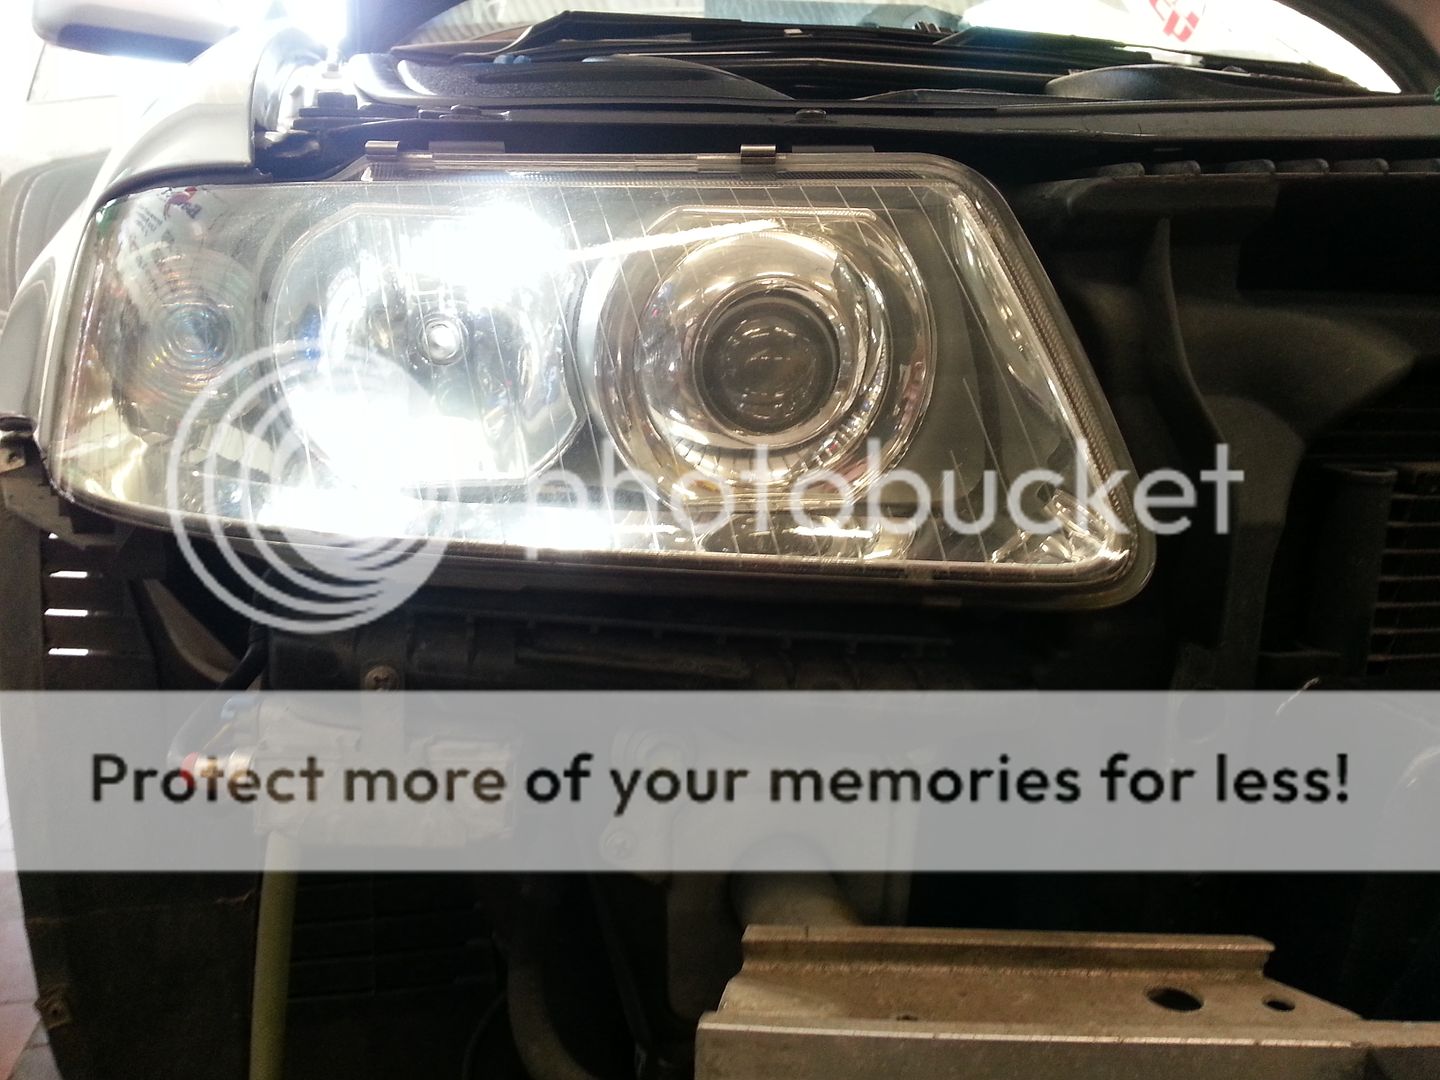
And finaly the passenger side light after (it was originaly just as bad as the drivers side):

IMAG0107.jpg


Thanks for looking. Ill update when i do a better job at the weekend.
 
  • Like
Reactions: hydro s3
You beat me to it. I have the Plast-RX stuff and it works well but my head lamps are in a really bad way. I bagged a brand new head lamp unit (minus the xenon wiring) off ebay for £100. So I will swap that out tomorrow.

For the other side I got a halogen one from a breakers and will do the old heat gun or baking trick to swap in the internals.

The problem I have is that the adjusters are knackered on my lamps as well as the lenses being shagged so I need new units :(

This is how bad mine are.
6986255285_a493e7c6e1.jpg
 
looks good already. mine are dirty on the inside? will tek a pic tomorrow and amaze the world.
 
I did this a while back and been meaning to do a seperate thread and bung t in the stikies so seeing as this has been started I may as well do it here...

After reading several tutorials and write ups on refurbishing plastic headlights most of which involve using wet and dry sandpaper first followed by a machine polish... sounded easy enough but sanding the headlight with wet and dry scares the life out of me but tonight I decided to give it a go...

Here's the kit I used...
20100827_IMAG0065.jpg


As you can see from this pic the headlight is fairly rough...
20100827_IMAG0050.jpg


...still a bit worried about sanding the whole light so tried it on a small patch in the corner... used 2000 w&d with water of course then went over twice with Menz final finish which resulted in...
20100827_IMAG0053.jpg


...happy with that I proceeded to mask up around the light and sanded the whole light face with 2000 w&d...
20100827_IMAG0054.jpg


...ended up looking like this...
20100827_IMAG0058.jpg


...dried off the water and finished up doing 3 passes with a soft pad an Menz final finish..
20100827_IMAG0059.jpg


...the result of the first pass...
20100827_IMAG0061.jpg


...and the final result...
20100827_IMAG0062.jpg


...compared to the passenger side that I haven't done yet...
20100827_IMAG0063.jpg


...and finally a comparison with the headlights on...

Before....
20100827_IMAG0069.jpg


After...
20100827_IMAG0070.jpg


The result of 3 more passes over with Menz final finish and a spot pad on a Kestral DA...
IMAG0073.jpg


Looking at this one compared to the passenger side one I decided I couldn't wait and cracked on with sorting that one out too... feeling more confident of my abilities now I went straight in with 1000 grit wet and dry which took a bit of work to get an even finish then worked the light over with 2000 grit wet and dry as before....

This is the point where you would justifiably feel sick as a pig looking at the very opaque headlight.... Just to reassure you I taped up half the light and did a single pass with the DA...
IMAG0074.jpg


...as you can see its pretty easy to get the finish back but use a hardish pad as my medium pad had got saturated and ended up using a soft pad which took god knows how many passes until I was happy...

Reminder of the light before..
20100827_IMAG0063.jpg


..and after...
IMAG0075.jpg


Next thing to do is to get some the Lamin-x film to protect the headlights now the UV layer has been removed and to help protect against stone chips...

A worth while job to do considering these headlamps are something close to £500 each from a dealer to replace..

<tuffty/>
 
  • Like
Reactions: S3 Rav
I've been wanting to do it since I read your build thread to be honest but just didn't get around to it till now. Cheers tuffty.

And thanks for the the comments guys.
 
I've been wanting to do it since I read your build thread to be honest but just didn't get around to it till now. Cheers tuffty.

And thanks for the the comments guys.

Only thing I still need to do is recoat them either with lacquer or lamin-x film... this process removes the protective UV coating and makes it easier to scratch the headlights etc... mine have gone a little dull since doing it I think but I do go over them again when I do my winter and spring detail... it works on the rear light too by the way :thumbsup:

<tuffty/>
 
Looking good mate, nice and clear... Weird, I was going to update my thread with this exact procedure last night to but ended up ******* about trying to get my sig pic up lol. I did it before i put the lamin-x on as mine where rank and yellowed. Took a good hour and about 6 passes on each lense. I used the 3m kit wich comes with cutting paste, drill attachment and 3 different grades of pads. Good for the money the kit came in at £23

Like tufty said, scared the bejesus out of me, after the first pass a actually thought if killed em. Major *** clench lol
 
Haha, I would have been worried at first but tufftys thread got rid of that worry! I'm going to do another 5 or 6 passes on each lens this weekend as there are still some noticeable scratches in the corners. Bit or advice xD do it in the day light, halogen lights in the garage doesn't let you see the things that day light does!
 
can anyone tell me were i can buy the products from.... as a while back some scumbag poured paint stripper on my bonnet and rest of the car managed to get it off before to much damage happened but couldnt save passenger light so i think this method would bring it back and be cheaper than a replacement and also may try it on my back light that took the stripper as well
brilliant job guys :D
 
The amount of compound you get in the bottle would last to do about 10 sets of head lights to be honest, the sanding paper wouldnt last that long though tbh! Im itching to do another few passes now, just got to wait for the morning I guess!
 
Done this today to my lights using the Meguiar's kit the result is good but could be better can I start again and sand them again or not?
I was using a rubbish cordless drill I'm not sure if that's the cause or not enough sanding the light felt nice and smooth after sanding.
 
Great improvement and a cracking job,i did my brother transit with various grades of wet and dry then buffed with G10 compound.Didn't look as good as those though.
well done and thanks for sharing.:salute:
 
Further to this, I recently redid mine as obviously I had rubbed off the UV protection and the lights had started to go a little yellow again...

...this time however I bought some Lamin-x to act as a UV shield... also had some LED sidelights from Trups to fit...
20130507_153817.jpg


...after a couple of passes with the DA...
20130507_160058.jpg


Applying the Lamin-x..
20130507_160619.jpg


...and done ready for trimming...
20130507_161021.jpg


Refitted..
20130507_171449.jpg


...and next the passenger side :)
20130507_171455.jpg


LED sidelights...
20130507_171826.jpg


...old 'blue' bulbs...
20130507_171832.jpg


After the success with the headlights I had a go at the foglights too... I have read up on some techniques for this as they are glass but I don't have a coarse enough cutting compound to give it a go at the moment so decided just to do a few passes with the coarsest compound I had and while still showing signs of pitting they were a lot clearer so applied a little lamin-x over them too...

Before...
20130510_141818.jpg


...after...
20130510_141826.jpg


<tuffty/>
 
This is a really useful thread & should be made a sticky where did you get the lamin- x from? Silly question are the fog lights glass?
 
:Flush: I'm off now!!! Soz was not reading properly too bust looking at the pics, lol
 
I keep meaning to brave this but... worried i will make it worse rather than better.
To be honest mine are marked on the inside a little too so never going to be A1 as im guessing splitting the light isnt a goer?
The outside of mine became damaged when i went on a track day about 4 years back... the marshal said i have to put tape on my lights... i told him they were plastic not glass but... he insisted, when i came home i noticed that there was a noticable mark on the lense where this tape had been. It wouldnt come off with polish alone so... will probably need wet and dry .

1000 grit then 2000 grit with a circular motion using warm soapy water does the job... I used Menzerna RD 3.02 to get rid of the haze with a medium pad then used 3M ultrafina with a finishing pad to get the gloss back... needed several passes but use a da as a rotary may well generate too much heat and burn the plastic... Lamin-x has UV protection built in so will prevent them discolouring and obvs give stone chip protection...

<tuffty/>
 
Only got my S3 last weekend but the cloudy lights were bugging me, so I restored them. Here are my results. I got some Megs sandpaper and finished off the process using the 3M system. It's not far off perfect. Perhaps some more sanding would've done well but it's a hell of a lot better than before. Let me know what you think! Also reading the comments above it appears I should fit some laminex to protect them from the current bun!

Essential items that I had to buy:


Before:


Masked off ready for sanding:


Sanded Down:


Polished and complete:


Much better!
 
I only picked up my S3 last weekend but the cloudy lights were bugging me so I restored them. Here are my results. I got some Megs sandpaper and finished off the process using the 3M system. It's not far off perfect. Perhaps some more sanding would've done well but it's a hell of a lot better than before. Let me know what you think! Also it appears from reading comments above I should get some laminex to protect them from the current bun!

Essential items that I had to buy:


Before:


Masked off ready for sanding:


Sanded Down:


Polished and complete:


Much better!
 
Hi Lads, strange how I havnt stumbled accross this thread before and yet ive been having exactly this problem with my S3 headlight lens, and have a thread (well kind of taken over an old one :/ ) on another part of ASN.

Now save save repeating threads and posting things twice on different parts, which I know ****** people off, here is the link to the thread that ive been posting my troubles: http://www.audi-sport.net/vb/a3-s3-forum-8l-chassis/93450-audi-s3-headlight-lens.html

Unlike you guys who seem to have achieved a very good end result, I went through the process and it didnt really come out much different.

Now im not asking you to take hours out of your day to trawl through someone elses problem, but perhaps you could drop me a PM with your email on or something and ill send you a revised extract out of the link (above) which I will sum up my problem and the advice I need.

Your help and guidance would be greatly appreciated

Anton
 
Has anyone used a sealer / polish to seal the headlights after the frosty UV protection layer has been removed?
 
Getting it sprayed with decent UV protective clear coat is what I'd recommend or you could try Lamin-x, I think some others have used that.
 
Having used 1500 and 2000wet and dry mine now look like the sanded down photo posted earlier, when washed they look like they sort of mist up. What sort of polish can be used to finish them off, whatever I'm using doesn't work?
I didn't buy a kit as didn't see the point for the prices at Halfrauds.
 
if the weather is ok tomorrow i will be having a go at sorting mine, seems simple enought and i have all the stuff :)
 
Having used 1500 and 2000wet and dry mine now look like the sanded down photo posted earlier, when washed they look like they sort of mist up. What sort of polish can be used to finish them off, whatever I'm using doesn't work?
I didn't buy a kit as didn't see the point for the prices at Halfrauds.

I used rubbing compound after the wet and dry stage, couple of quid a big tube from halfords then polished with autoglym super resin as that's what I had on the shelf, but any polish should be fine.
 
Going to revive my headlights at the weekend.

thoughts on using this to protect them after polishing?

Amazon product


Thats more just a dressing for engine bays tbh... has very little durability... show it a bit of rain and it washes off... Lamin-X works very well..

http://www.lamin-x.co.uk/

The 303 is awesome under the bonnet but is very expensive for what it is... I use Autoglym Vinyl and Rubber care instead now... same results, third of the price..

<tuffty/>
 
yea, just been giving this a bash, 1 hours on 1 headlight and its considerably better than it was before buffed it by hand, just need to find a 15m extension lead so i can get my DA onto it, think i will leave my other headlight for another day as its just nearly killed me :(
 
before


after


would of been better if i could of used my DA but can do that another time when i can get an extension lead
 
Stupid question: what's a DA?
Do you mean an electric buffer, what make & where to get one?