Got a few videos yea, but Big Bad Al forgot to empty the memory cards before the day, so not got any decent footage from later in the afternoon when I was really getting the tricky section dialled.
I followed a mk2 golf race car through the tight technical section at the back of the circuit, and realised that I, and every other car I'd seen go through there had the wrong idea, After seeing that and replicating it I was gaining on others by about 2 seconds per lap just through that section! Felt amazing.
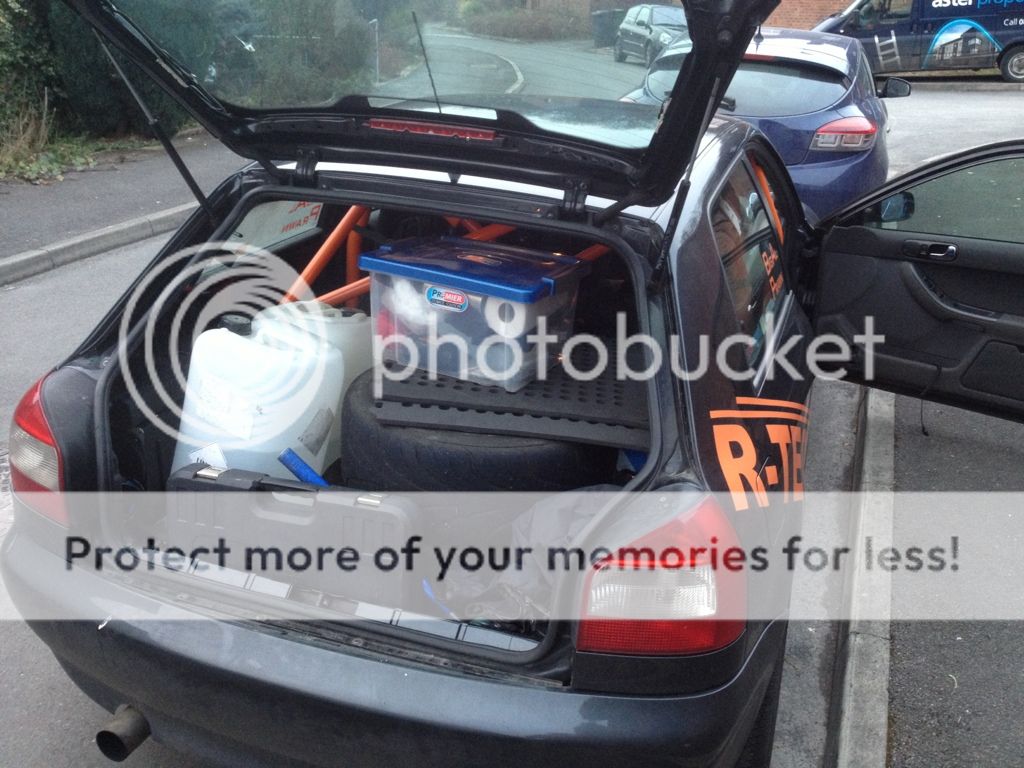
We loaded up at 7am this morning, car filled to the roof as is standard practise for those of you who've ever been anywhere with BigAl:
Car sitting pretty low after 54 litres of Shells finest!
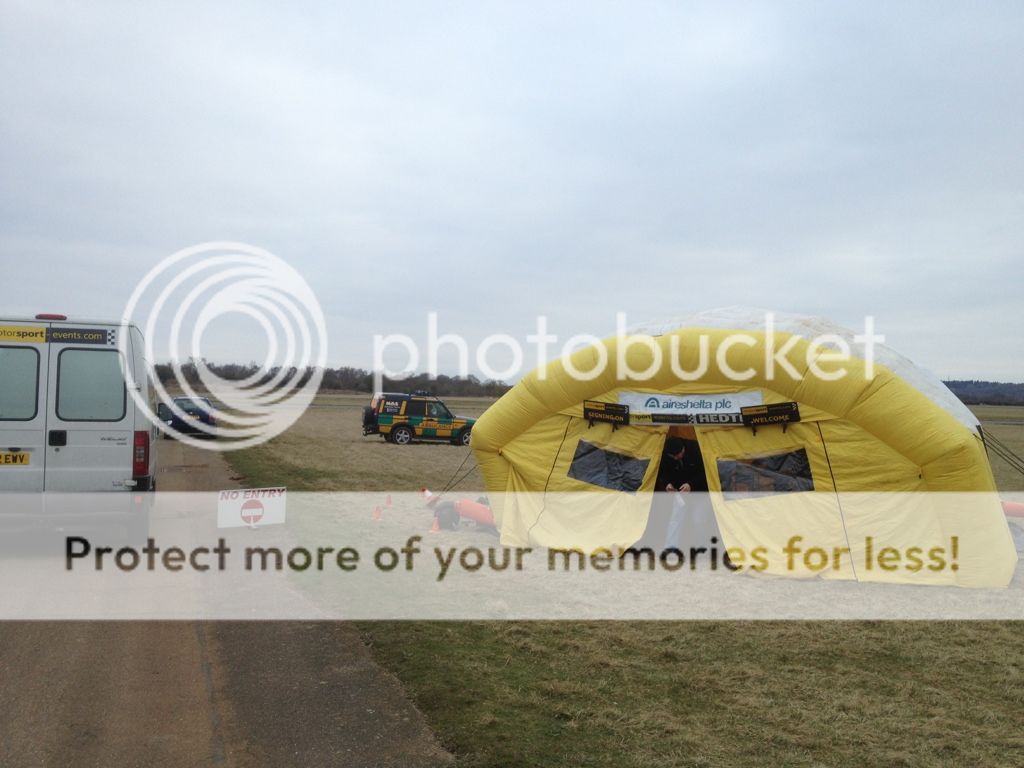
We arrived, and as is typical with airfield days you think you might be in the wrong place at first:
As we got closer it seemed like it might be the right place!
One for Jardo, we know how much you love these:
As well as the competitzione jobby, he also had another red abart with 6 pot brembos and a small garret BB turbo putting out well over 200bhp. Pretty cool, if a little different!
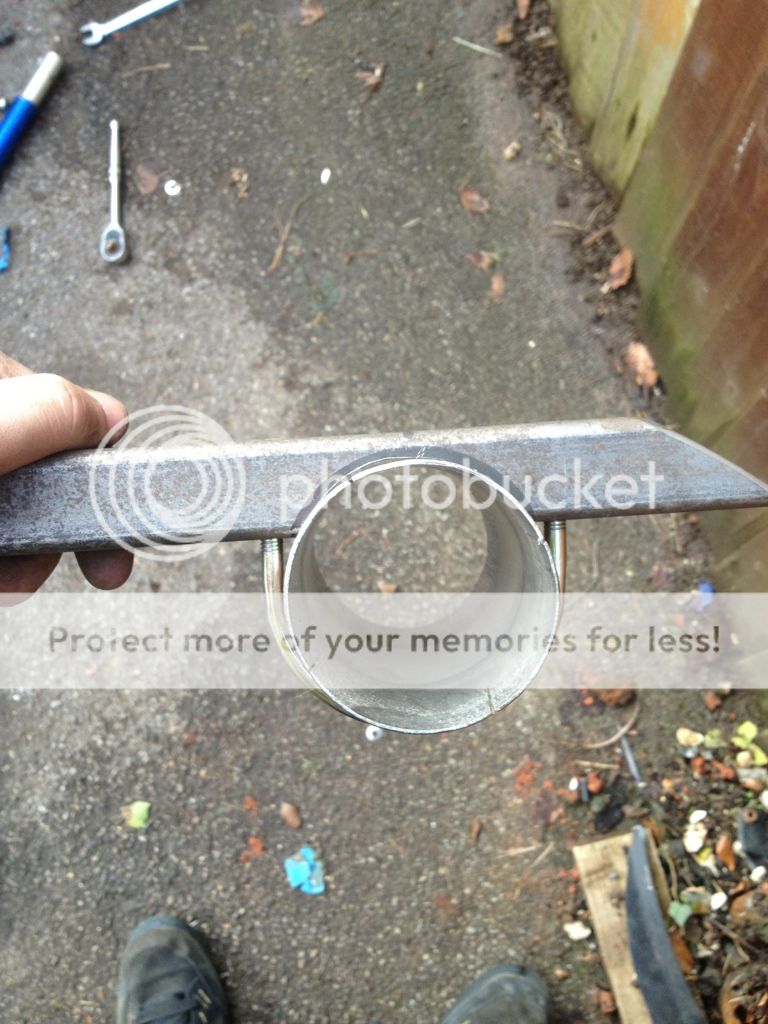
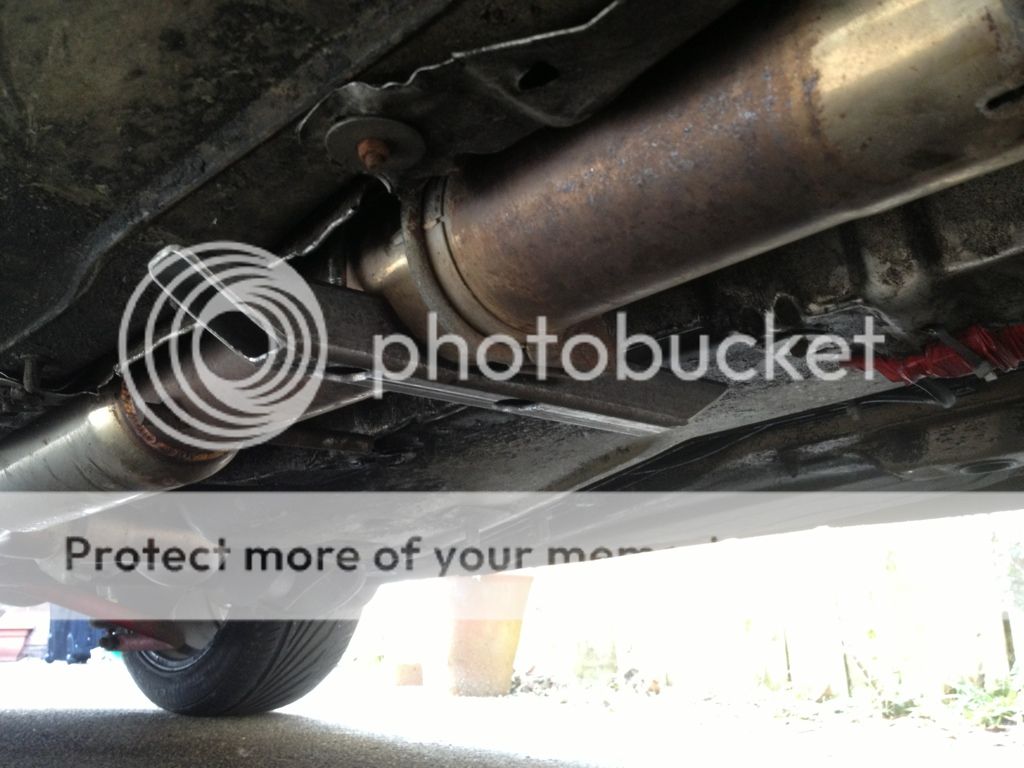
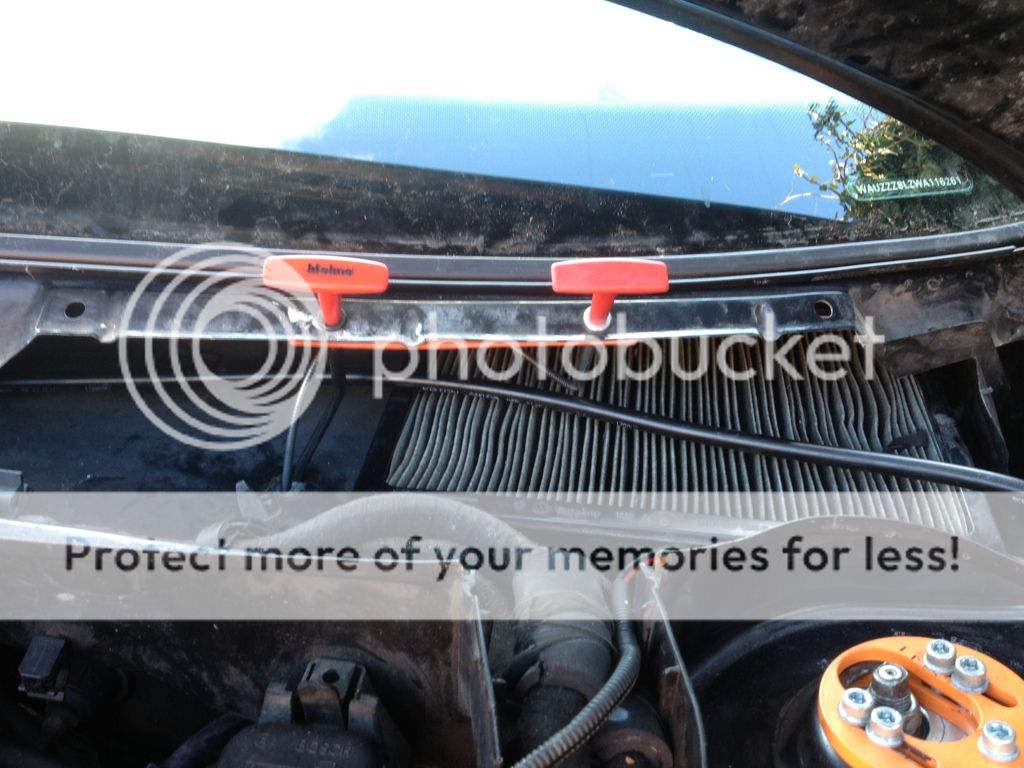
Track time was going very well indeed, although near lunch with Dad driving I started to notice a rough sound from the engine at times, inspection before lunch and I decided it was probably the manifold that had cracked underneath, but I couldn't find anything.
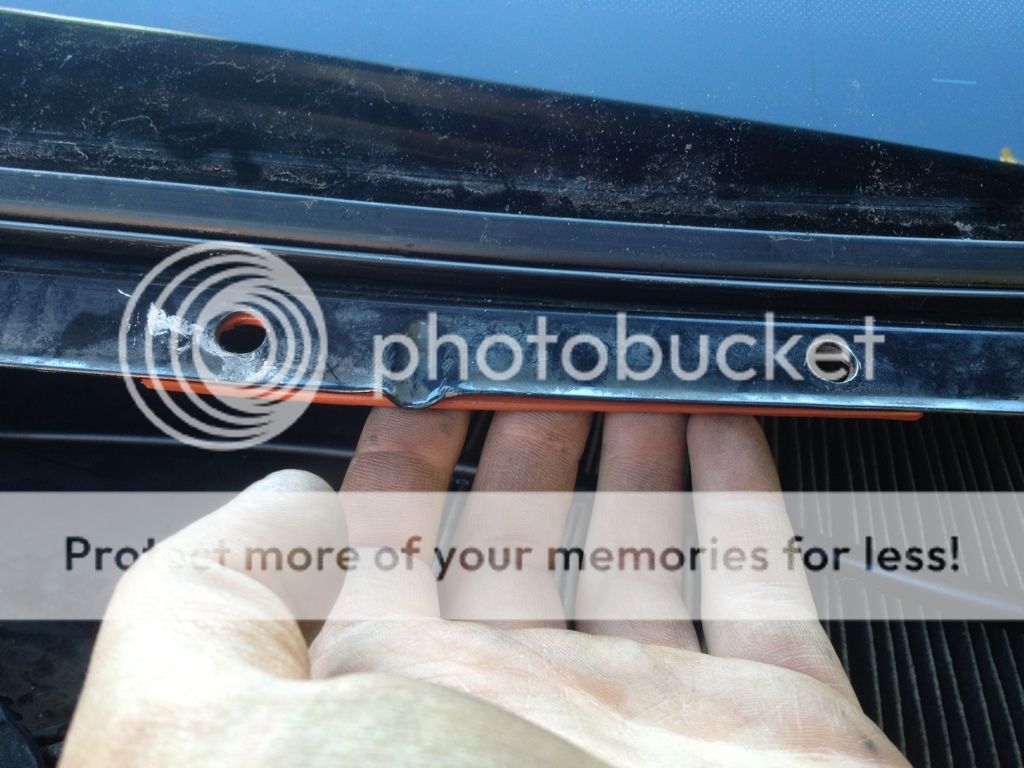
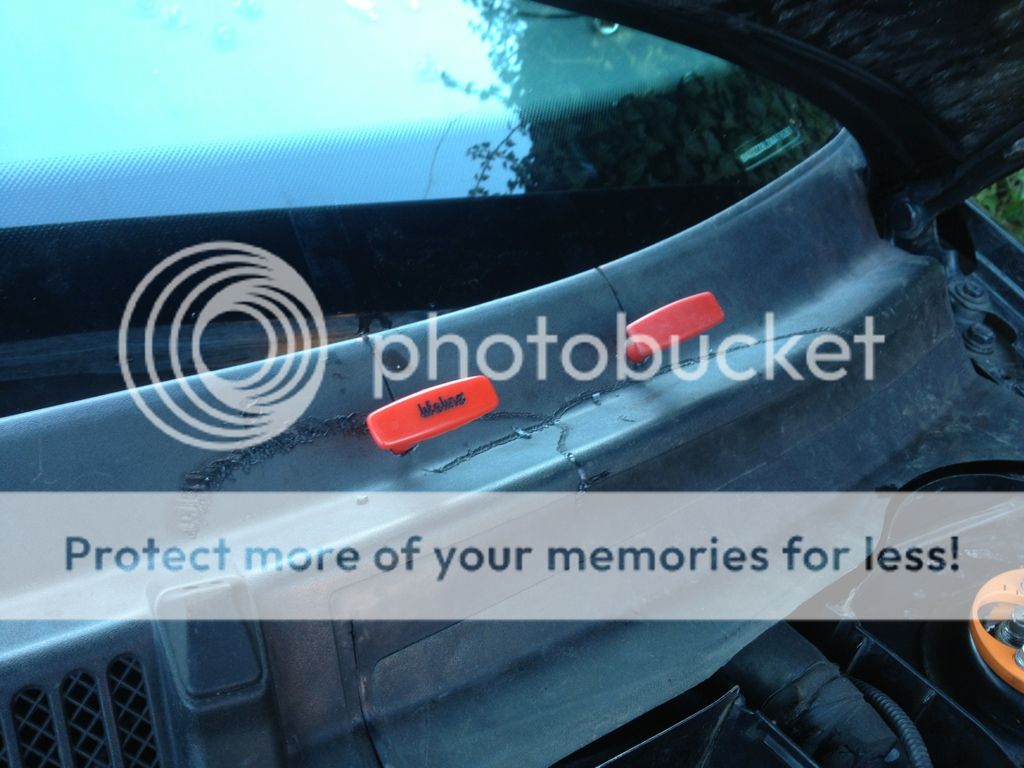
Once it cooled down it became pretty apparent:
Ohps.


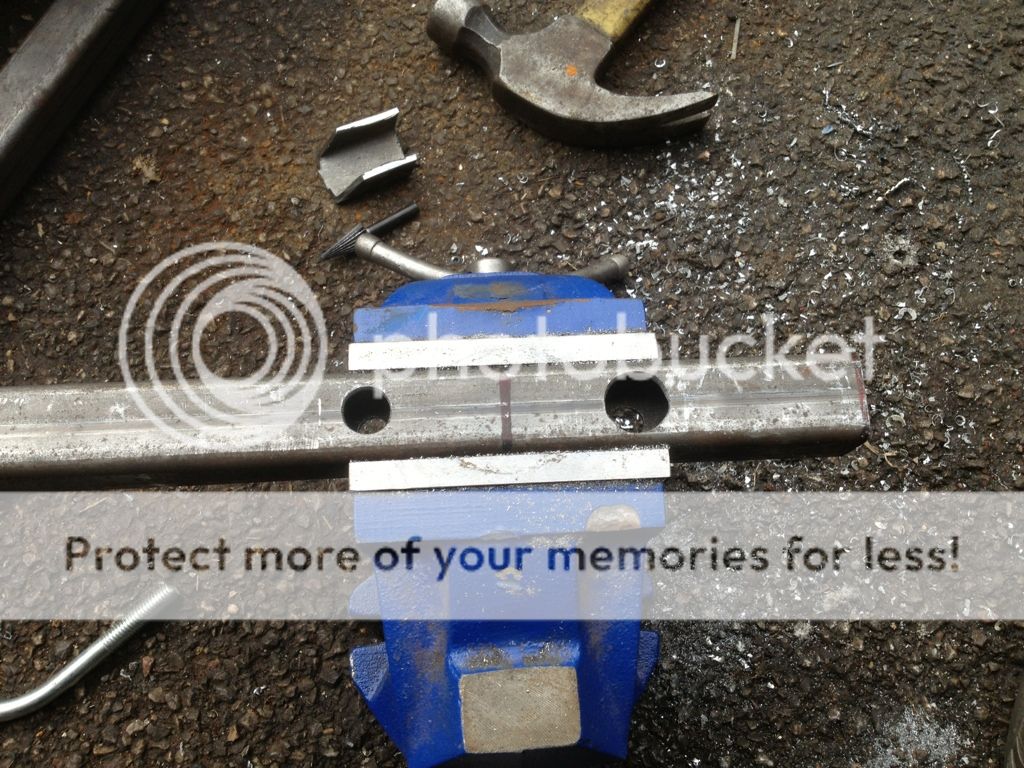
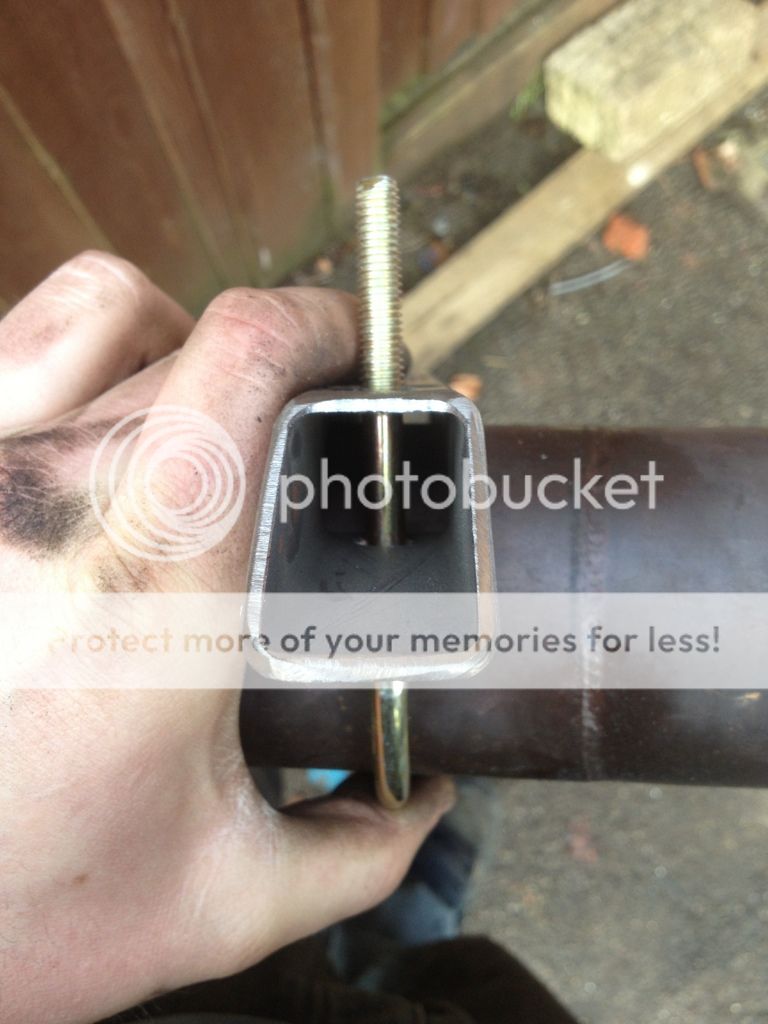
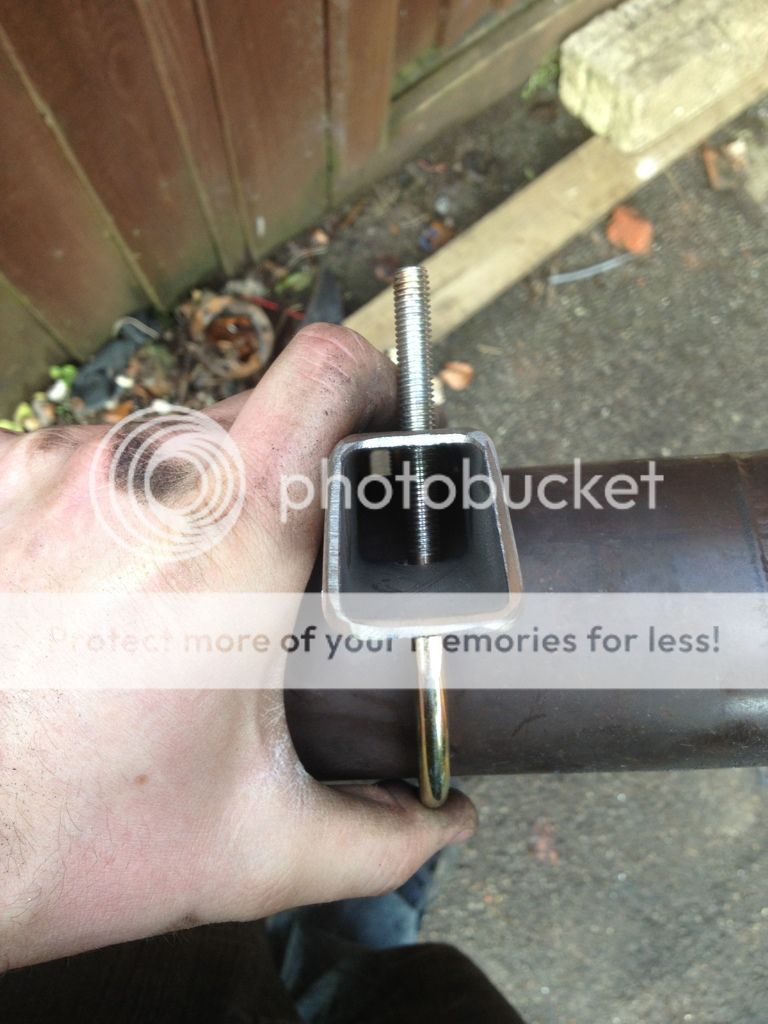
 sometimes the panel can be so tight it doesnt like letting go