Sootpig's A3 track/drag car

This has just filled my morning in work!i will definitely be seeing how this goes
 
  • Like
Reactions: Sootpig
Just curious but what quarter mile time are you shooting for.

Nick from rtech ran 12.6s in an a3 8l stock suspension, street tyres, stock diff with 370hp and WMI (299hp made on the motor with hybrid ko3, 370hp with nitrous), before the WMI failed and it melted a piston.
 
On the k03 i dont expect to do anything under a 13. You have to run 12.99 (roll cage required) and under to run in vwpro, but my plan is to go T3 turbo next year, which should plant me nicely in the 300hp range +100shot and it should be a 12 second car easily :)
 
Just read through this lot - great thread! Kudos for getting stuck in and having a good crack at things, even more so with no previous!
 
  • Like
Reactions: Sootpig
Packages! We like packages :)


They're a bit tatty/used but they're not bad for £160.

Drilled some holes n stuff


Tac'd on the stem and then welded all the way around (first without filler, then a second pass adding filler rod to fatten it up a bit


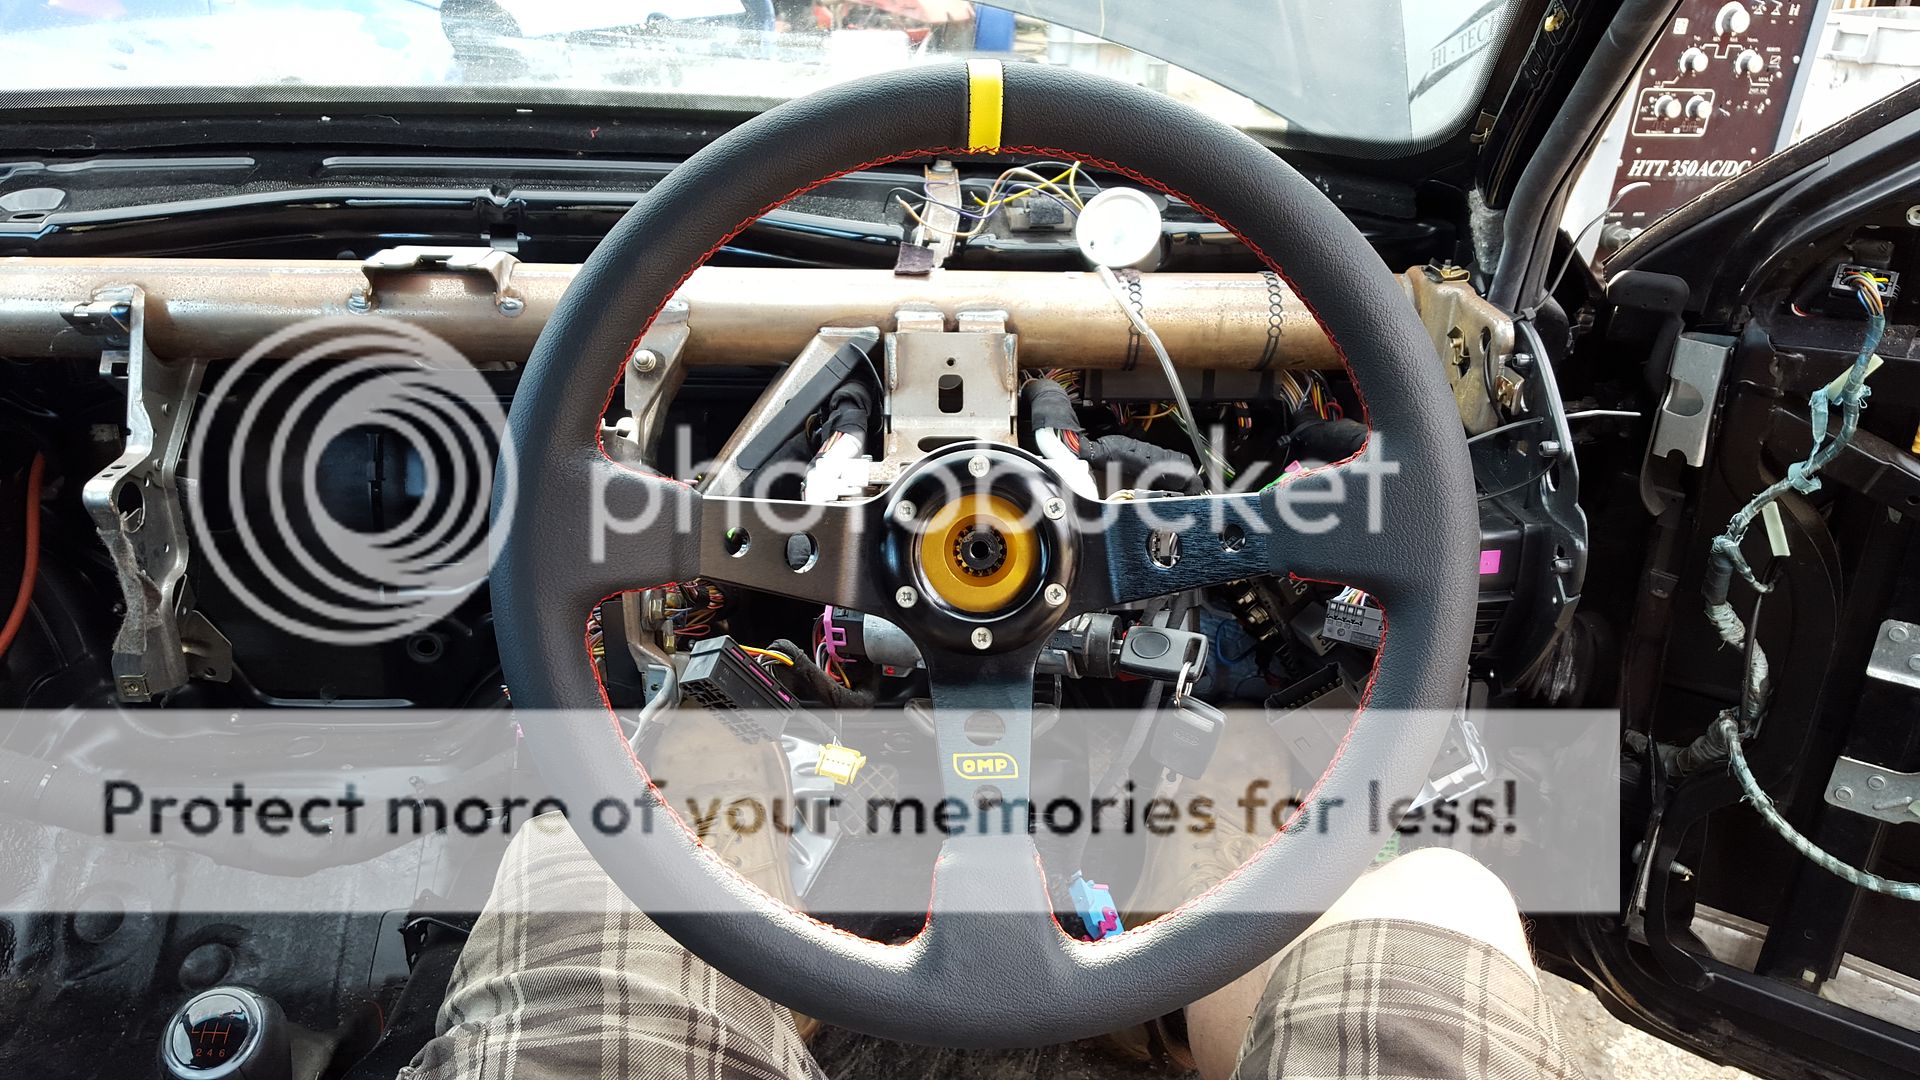
Its a 350mm deep dish opm wheel, ever so slightly smaller than the standard wheel.


Hopefully tomorrow I will start wiring in the 'squirt...
 
Last edited:
  • Like
Reactions: VAG-Slag and Cambaines
So I got up bright and early sunday morining, ready for a busy day...


Grabbed an old VW T4 engine loom, and started de-plugging it


I dont have the 'proper' pin extractor tool, so i hammered the tip of some welding wire slighlty flat and extracted the pics by inserting and twisting the wire to flatted the tabs on the pins.


After removing the plugs i needed I started removing my engine loom


engine loom out


Lots of space in there now...!


Then I started removing the interor loom too...


Removing the entire interior loom meant pulling the whole loom through the gap above the steering colum.


and finally it was out


I then fitted the wideband and ran the cable into the cabin

 
By this point it was getting late, so I rolled the car into the workshop and carried on for a few hours.

Racecar central!


Drilled holes in the bulkhead and fitted stand-offs to mount the coil


wrapped the HT leads in some loom tape. Really happy with how it turned out.


Then i spent the last hour or so mounting the drivers central locking actuator (by now i was getting tired, and started making silly mistakes, so I decided to call it a night shortly after this.


The plan for the next few weeks is re-wire the car with a custom switch plate, all new fuse/relay box, new engine loom and interior loom. If it has wires going to it, it's being re-done.
 
  • Like
Reactions: superkarl
Oh, I forgot to add, my N/S coilover is ballsed. Lesson learnt, Don't buy second hand coilovers. Ever.

Even if they are shiny stainless steel and made by Eibach (KW, actually), they're knackered and you're wasting your money.


Thanks man, i'll look into that. I messaged Eibach technical support and they were less that useless. Told me that they're non rebuild-able, and tried to sell me a new set. I told them they ARE rebuild-able and at which point he just said "We don’t build our damper units and have always been told that they can’t be rebuilt. The dampers are built by KW to our specification."

I'll message KW and see if I can get a couple of replacement dampers. The strut tube nuts are stuck solid though, so even if I can get the dampers, getting them swapped over would be a mission. I have done this before though, on a MK4 golf I had. I took the good dampers from some FK Konigsport coil-overs i had, and put them into stainless KW bodies I brought for cheap, pretty much exactly what i'd be doing here.
 
I Just realised this thread is void of any pictures of the car actually working.

Here are some than my friend took during my 4 sessions at lydden Hill (with the turbo making nastier noises with every lap! :D)


I'm ready to begin the re-wire tomorrow. I've collected a 'few' bits together this evening...


Including these little bad boys, which will be going in the bulkhead as a main loom pass-through.


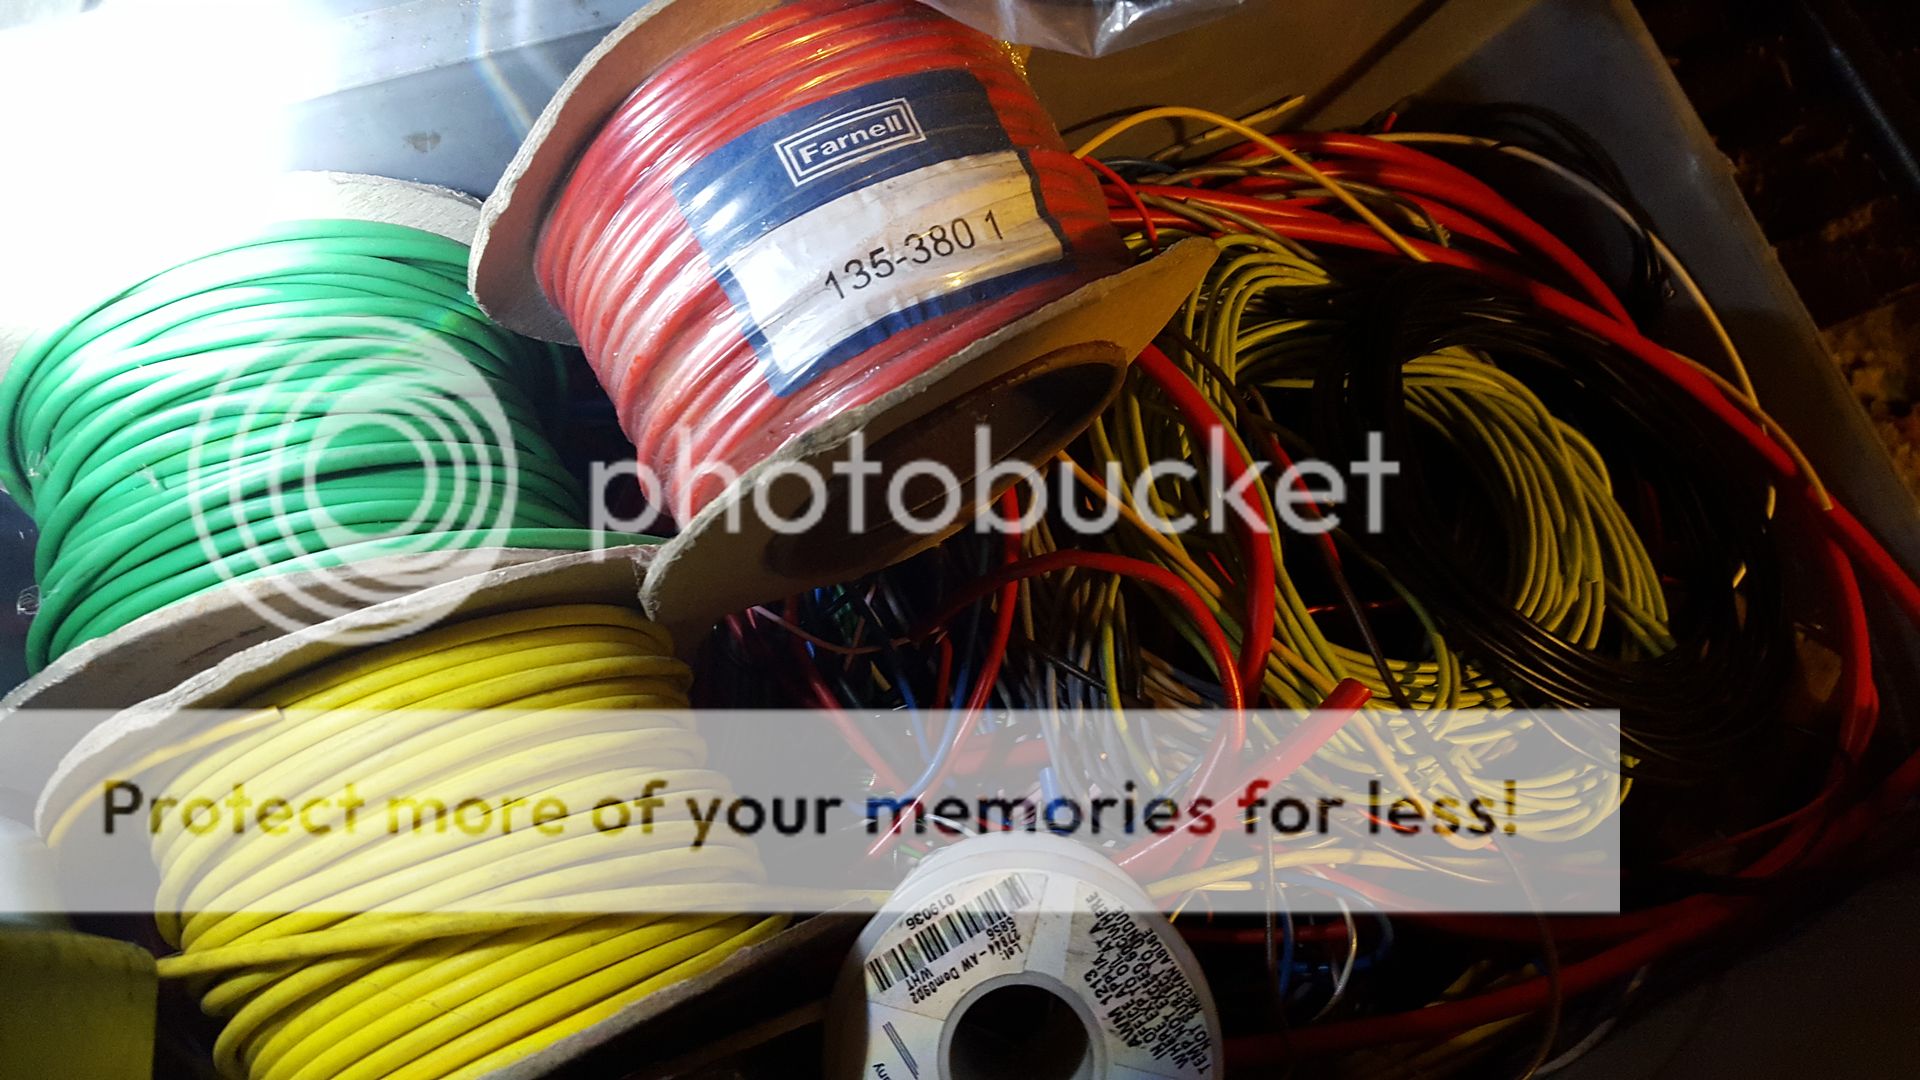
Fully weather sealed Deutsch, gold plated, mil spec connectors. They are stupid expensive to buy, totally over-engineered, but I acquired them for free, so... Why not!? :D ( I have new pins and sockets, and the official Deutsch crimp tool) The wire in the pictures is mostly PTE/PTFE insulation, though I will be using PVC insulation in places. Like the cabin for example, just when I need variations in wire colour/size.

For anyone interested I made a video about the difference between them. I'd like to think it's educational, but it's just me setting fire to s***t. :tearsofjoy:


Forgive my fuzzyness, still getting over a cold :sweat: But yeah, that's the reason I'm using PTE and PTFE where I can.

It is REALLY expensive doing it this way, but it'll end up being the most reliable wiring/loom/insulation I can get. (Incase you're wondering, I worked in aviation industry for 8 years and assembling wiring harnesses was part of my job, so i'm pretty anal about this stuff).
 
  • Like
Reactions: Gops and Rainbird
I'll do a little bit of an update before i go to bed, lots of pictures to come...

New ground cable made


Made an ally plate to mount the ECU


Then mounted the ECU which looked something like this:


Made a plate to mount the harness plugs to


Punched some holes in the ECU plate (hole punches are awesome!)


Fitted the fuse/relay box, and passed the main loom through the hole (with a grommet fitted to protect the wires)


More to follow tomorrow
 
Power wires fitted (orange is batt feed 125A fused, red feeds to the cabin battery isolator, which cuts everything. (Rear mounted battery isolator to be fitted at some point)


Armoured the power cables for piece of mind


Began wiring up the fuse/relay box


Then figured out the ignition barrel pinouts with my trusty Fluke multimeter


Fitted main and fuel pump relays and fuses


Spaghetti


And the battery isolator, safely mounted on the floor...

 
Fully weather sealed Deutsch, gold plated, mil spec connectors.
Ha! another aviation-wiring person :)
I was thinking of doing this too, can probably grab some connectors and plenty of wire/cable from the scrap bins at work...
 
  • Like
Reactions: Sootpig
Thats where most of my bits came from haha. What company do you work for, if you dont mind me asking?
 
Fokker Elmo
Nice! Just had a look of the website, that's some beasty wiring harnesses you guys make! I used to work for Houchin Aerospace before they shut down the factory. I was mostly in PCB assembly, but i tried my hand at everything, wiring looms, transformer/alternator winding, general assembly, testing... learnt most of my skills there tbh haha
 
I bet that experience comes in real handy now ;) I am doing design verification work, so no real hands-on experience...
 
  • Like
Reactions: Sootpig
And some more from last night;

Coil pack wiring done, complete with noise supression capacitor mod


more crimping


ran the wires from the ECU up to the bulkhead socket. I cut them one by one, and put the off-cut wire straight into the engine loom plug, to avoid making mistakes either end.


So now i hav the tails in the engine bay read to be sent to the appropriate locations.

Did battle with the crank position sesor pins (it took me a while to realise there's a pin lock at the base of the plug stopping the pins from coming out. so one of them go a bit mashed up where i was wiggling and tugging on the damn thing. it's allright though.


New wires fitted with new connections


And this is where I got to last night, Engine-ECU grounds fitted, and crank position sensor fitted. So i plugged in the laptop, set the configuation on the ECU, and turned it over.


With the laptop plugged in the ECU reports a nice steady 150RPM while cranking. So I know that's working :)

Just got to fit the rest of the sensors, injectors and whatever, and it should be ready to start :)
 
  • Like
Reactions: superkarl
Watching with interest as I'll be doing something similair over the winter.
Are you keeping any working lights?
 
Watching with interest as I'll be doing something similair over the winter.
Are you keeping any working lights?
Yes mate, I will be keeping the car road legal, so hazards, brake lights, headlight etc will all be wired in, but via a switch board, not using the oem switch/relay arrangement (high current switches). The hazards i will keep oem switch gear, and the mainbeams will be done off the stalk. I need to look into how i'm going to wire in the electric windows, mirrors, sunroof and wipers, but its only wires, how hard can it be? :D
 
  • Like
Reactions: sparrow
Howdy folk, I'm back from a long weekend in germany. I went to mannheim, for the biggest autojumble in europe, and came away with a few bits for the A3, a VDO fuel gauge and some plain back on/off rocker switches. Also got some winter tyres/steels for my A4, at a bargain price. Great weekend, but now it's back to business.

The afternoon before I left for the ferry on Wednesday night, I spent a few hours on the car, sorting out a few wiring gremlins, which I think are mostly solved now.

Ran a manifold pressure feed into the cabin for the ECU. I used one of the hardlines salvaged from the OEM vac cenral locking, because ya know, why not. Ran it along side the bonnet release cable, and taped them together, because OCD neat.


Drilled a hole in the bulkhead (made it quite a bot bigger than this in the end, so I could fit the grommet in without tearing it.


Taped more wires together


Injector wiring done (or so i thought, I actually got the pairs mixed up, but that issue is now solved)


And this is what the engine loom currently looks like, all the groups taped together, and the whole loom will now be run in conduit, towards the engine to keep everything protected.


Then with the brother out-law, who has a similar setup to me, so he helped me configure the ECU and get it running. After the first few 'starts' the engine was coughing, and farting around, refused to idle very well, the fuel pump relay was bouncing on/off and the lost sync counter was going crazy. After some trouble shooting Carl identified an issue with the crank sensor noise filter, or lack there of. After a quick setup, and swapping R45 and R46 for lower value resistors we had it running, but after re-reading the manual, I think I might have the wrong value capacitor in C31, which is a 0.1uF as default, I think I need to substitute that for a 0.001uF which is required for the higher crank frequency generated by the 60-2 crank wheel. (That's what you get for just building the kit, and not following the instructions one by one)

But anyway, here is a video of the engine running. Running rough as, and refusing to rev, but running.

 
Last edited:
  • Like
Reactions: superkarl
got a little bit more done yeserday,

Neatened up the injector wiring, went from this:


To this:


Also wired in the radiator fans, put the ecu/engine wiring into conduit and spent some hours genrally tidying up wires, some or which i had bodged just to see if the ECU was working properly. Like the wideband controller wiring.

I taped up the interior loom stems, mounted the lambda controller securely, and added a configurable fan output from the ecu.


I used the 'fast idle' output from the MS to switch a relay on, which turns the radiator fans on at 'low speed'. I configured it to turn the fans on when coolant temperature >85°c and it worked really well at maintaining opperating temperature while i was tuning the ECU. My only fear is switching such a heavy inductive load is going to kill the 40A relay very quickly. It does get a bit warm, so i might have to revise this method later on, might look at a solid state relay, or using a couple of big FETs to switch the load.
 
Excellent work , very impressive... is it all people in the aviation industry are very frugal with their money ? or do we just hate thinking we couldn't do a better job ourselves..... I resprayed the full front end of my wifes A3 at home last month just to prove i could.... keep the updates coming :)
 
  • Like
Reactions: Sootpig and A3-Lee
Excellent work , very impressive... is it all people in the aviation industry are very frugal with their money ? or do we just hate thinking we couldn't do a better job ourselves..... I resprayed the full front end of my wifes A3 at home last month just to prove i could.... keep the updates coming :)
Haha I guess it's a bit of both, i just want to build the car myself as much as I can because I enjoy the challenge. I will have to begrudgingly hand the car over to a professional to have the roll cage fitted however, because an un-certified roll cage would be useless to me.

Everything else, like ecu tuning, wheel allignment, bodywork etc etc will be DIY. I'm not the best at any of these things, but that's not the point :)

Oh and I forgot to add in my last update I got the engine running better with the megasquirt on sunday night. I had forgot to configure the VE table, so the ecu was calculating the air mass incorrectly (it thought the car was N/A and didnt know the displacement or hp figures). So the engine now actually revs, but stalls afterwards, which I guess is an issue with accel enrichment/timing.

I also fettled with the noise filter for the crank position sensor, which is has stopped the lost sync issue, touch wood.
 
Last edited:
  • Like
Reactions: Jenno007
It's that time of the week again! Update time...

Saturday i spent stripping a few more bits of the cupra, which is now pretty much picked clean ready for scrapping. Namely the rear beam, which i want for the extra camber, and the brakes.


A few weeks back after several attempts to get the engine to start after installing the mega squirt, the cranking current blew my main fuse.


125A was a bit conservative, so that has now been upped to 200A


I also fitted an additional fuse between the starter motor (where the main feed comes from for everything inside the cockpit) and the isolator. This is an 80A fuse, just for extra safety, as only having a 200A fuse would be rather dangerous in the event of a short in the car.


It's a bit 'wonky' because there was a stud and a pre-driller hole that lined up perfectly, so I took the lazy approach and used those. That was Saturday finished.

Sunday morning I started by breaking out my new grinder, and tidied up the bracket clutter on the main bar.


Then I decided to address the little problem;


Ever since fitting the ebay quick release it's had a shocking amount of play.

A bit wee weed off I contacted the ebay seller explaining to them it was not "zero play" like the ad said, and i was overall pretty disappointed (and annoyed because i had welded the damn thing on to the steering tube with no was of re-fitting the OEM wheel) Long story short the guy sends me a new one, so sunday morning I fitted it to the steering tube i removed for the Cupra on Saturday.

So this is that, I was much happier this time round, as I welded it on with the steering tube off the car, and in the bench vice, meaning I could get some pretty slick looking welds down.

First off I had to remove the ignition barrels form both cars, which meant removing the headless security bolts. TIG+13mm nut had that job jobbered in no time.


Removed my steering tube and did the same thing


Put the now bare LCR steering tube in the vice, drilled holes in the steering tube like I did before and TIG tac'd the stem in place


Then seamed it up


Finishing up with MIG welds in the holes I drilled. This in my mind will make it super strong, and very unlikely to fail, which is what you want from steering components, really.


painted the stem (quite badly)


and the result... NO PLAY! Very happy with how it turned out second time around


The only play now is coming from the OEM side of things, so i'm super happy with that.

Next up I started to tackle another proiblem any stripped out car will come up against... De-mister/heater. My solution comes from my PC geek background. I have a double 120mm radiator kicking around from one of my water-cooled PC builds, which makes an ideal heater matrix for the cabin.

fabri-cobbled some brackets together, and mounted it up;


Some more TIG welding.


I wont show you the state of the rear bracket, but safe to say it didn't weld as nicely as the front bracket (that's okay, because no one will ever see it) but it looks like it's been nibbled by a mouse. Really awkward position to weld up. Would have been easier with a MIG, but it wasn't available, at the time, so i made do. It's work, it just aint pretty.


So that will have some 120mm fans underneath the radiator blowing warm air on the windscreen to de-mist and will also provide heating.


I then spent a few hours trying to sort out piping, but I gave up when i couldn't find a solution in the scrap water hose I had collected, so I have now spent some more money and ordered some silicon water hose, rather than trying to use some scrap aircon pipe like i had looked at doing.....


The idea is the ball valve will be mounted through my centre switch plate and pride some degree of temperature control.

That's all for now, thanks for reading.
 
  • Like
Reactions: Gops and limbo118118
Plugged in my DIY CNC machine tonight. Its been moth balled for over 6 months, but now i have a use for it....

 
  • Like
Reactions: Jenno007
awesome thread, I'd love to see some of the stuff you make with your homemade CNC machine!
 
  • Like
Reactions: Sootpig
awesome thread, I'd love to see some of the stuff you make with your homemade CNC machine!

Thanks :)

I have used it in the past for engraving name plates, but that's about it. Its not very strong, and its not all that accurate, being made of MDF. But it's better than I could do by hand.

I'm planning to use it to mark out and engrave an aluminium plate to make my switch plate. I dont know how good it will be, but there's only one way to find out....
 
Love the home made router! We have a 3m one at work, makes far too much mess for my liking, get me a dxf/drawing and I could get one punched out on 0.7 mild steel for you, loving this thread! Brave *******
 
  • Like
Reactions: Sootpig
Love the home made router! We have a 3m one at work, makes far too much mess for my liking, get me a dxf/drawing and I could get one punched out on 0.7 mild steel for you, loving this thread! Brave *******
Thanks mate, I may take you up on that depending on how badly my attempt comes out :D

Can't wait to get back on the car and get some more work done. And it's payday, which means more irresponsible spending can/will occur :D
 
  • Like
Reactions: Lavis89
No worries mate, I don't mind sneaking something on the punch for you mate, it's a decent piece of kit! Also powder coat it white maybe? Is it just a face plate you want or you wanting a full box making? Could design something with some some lazy fold stitching on it and tab it together after paint
 
  • Like
Reactions: Sootpig
Really admire your skills here! Wires are my worst enemy but slowly I'm getting better.. (After wiring up my headlights completely the wrong way haha)
 
  • Like
Reactions: Sootpig

Similar threads

Replies
26
Views
8K
Replies
40
Views
4K
Replies
6
Views
4K
Replies
10
Views
4K