Sline / rs3 blade and valance

nally

MPG the new BPH
Joined
May 19, 2010
Messages
2,103
Reaction score
34
Points
48
Location
Liverpool
Hi guys
i have a smal chip in the rear of my 2009 A3 sline valance.
Its just paint so I am not too fussed but I got me tthinking I may remove them both and reprint in bright silver
rather than the matt grey colour that's on it now.
any ideation on how to remove ? Also and clour codes?
Rs
Audi_RS3_front.jpg

audi-quattro-24-12-10.asp

Rear
audi_rs3_sportback__2011

my sline
73ced456.jpg

DSC00147.jpg

Mira just the middle bit on the front I want too change
 
i think that silver looks nash! i saw a red RS3 today driving about and honestly i do not like that front bumper or the over done silver bits!


also you got something sticking out of your exhaust (in case you didnt notice :jester:)

73ced456.jpg
 
  • Like
Reactions: MartayMcFly
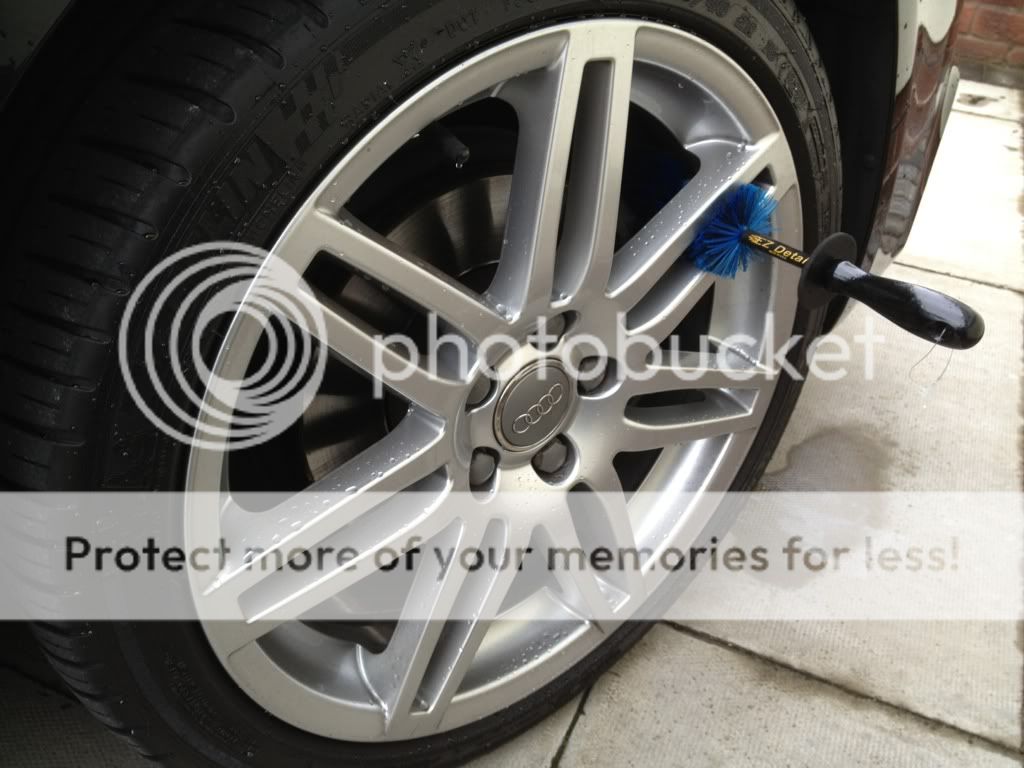
It's from a pic I took for clear your car. It got me £10 so well worth it it's my ez wheel brush I ****** love it
 
As for that front splitter, I think on the facelift models it just unscrews. have a looks underneath and you should see a couple of fixings.

i really want to spray mine gloss black as I have an ibis BE car.

Might do it today actually! hmmm
 
I need one of those in my life ..can't get my sponge\micro-fibers to the back of the narrow wheel slots. It took me 1 1\2 hours to clean mine last week.
This pics says it all it's perfect for my wheels I got the smaller one
eeb716a1.jpg
 
As for that front splitter, I think on the facelift models it just unscrews. have a looks underneath and you should see a couple of fixings.

i really want to spray mine gloss black as I have an ibis BE car.

Might do it today actually! hmmm

My thoughts exactly
on the be the darker would look bbetter
on the sline with crime grille silver would look better IMO
 
Nevermind the brushes guys, it's that Peugeot 207 that's caught my eye ;)
 
right, well my splitters off. 5 torx. start pulling from each end to start with. go easy. it's basically a cover for an existing cross piece. so you don't want to yank the whole lot. just the outer shell.

once each ends un clicked you just need a hard yank from the middle. then he's off. Just be careful with the thin down pieces, they're only crappy thin plastic.

im off to find me a rattle can.

Thats great thanks make sure to post up when your done . Is the front the same story ?
 
Thats great thanks make sure to post up when your done . Is the front the same story ?

Sorry, i should have been more specific, im doing the front, not the back.

Just sanded all stone chips out of it, done first layer of primer.

Then im gonna sand it again to make sure surface is mint, then one more primer, then a couple of coats of the shiny stuff.
 
Sorry, i should have been more specific, im doing the front, not the back.

Just sanded all stone chips out of it, done first layer of primer.

Then im gonna sand it again to make sure surface is mint, then one more primer, then a couple of coats of the shiny stuff.
Thanks I think I am gonna do a matt silver on mine
may paint same day I get the swirls out my paint just saves taping it up too
 
5566-img-2273.jpg


Half way through sanding it down....^^


5567-img-2274.jpg


What the car looks like without the front splitter....^^


5568-img-2280.jpg


Shiny glossy splitter....^^

5569-img-2282.jpg


Sorry about the crappy photos, but they'll do!

Looks loads better than it did to start with.

5256-front-shark.jpg


Old one ^^
 
  • Like
Reactions: nally and Artimus
Awesome your a Ledgend
what was your prep and what did you use may do monroe tomorrow the black really suits it with white bumper and be grille
thats why I want mine silver ( brushed alloy colour) do it stands out
 
firstly I used wet and dry sand paper.

I used a medium grade to start off with, just so I could get rid of some stone chips. Then after that I used a fine grade.

I then cleaned it all up, sprayed some grey primer on it (2 coats).

Then gloss black over the top (3/4 coats).

Takes ages to dry. best to leave it overnight really.

i used a brand called "plasti-kote" but any will do that suits exterior uses.
 
Spot on where did you get the platicoate halfrauds ?
I am looking for a mat silver colour
great work btw
 
Spot on where did you get the platicoate halfrauds ?
I am looking for a mat silver colour
great work btw

i got it from my local hardware store, not a big brand name place.try homebase or B&Q. I dont like to use Halfrauds.
 
  • Like
Reactions: nally
If you could photoshop me a gloss black one too that would be great :)
 
I'll post up my rear end if necessary? Don't read into that...!!
 
Lol my dads got it on his laptop I am gonna try and use it tonight
if I figure it out I'll be happy to help
 
Sorry got side tracked looking at polish and ccompounds
got my das pro today with meguires mf system and 3m untrafine polish and pad
 
******* update ********
i officially hate photoshop it's so damn hard to use I thought it wa just like paint took me almost 9 hours to make a shield shape ( over a few days) so for now I give up

Anyway here's what I've been up too hope you enjoy!
new toy !
69cca7d5.jpg

Clay underway
cec83b13.jpg

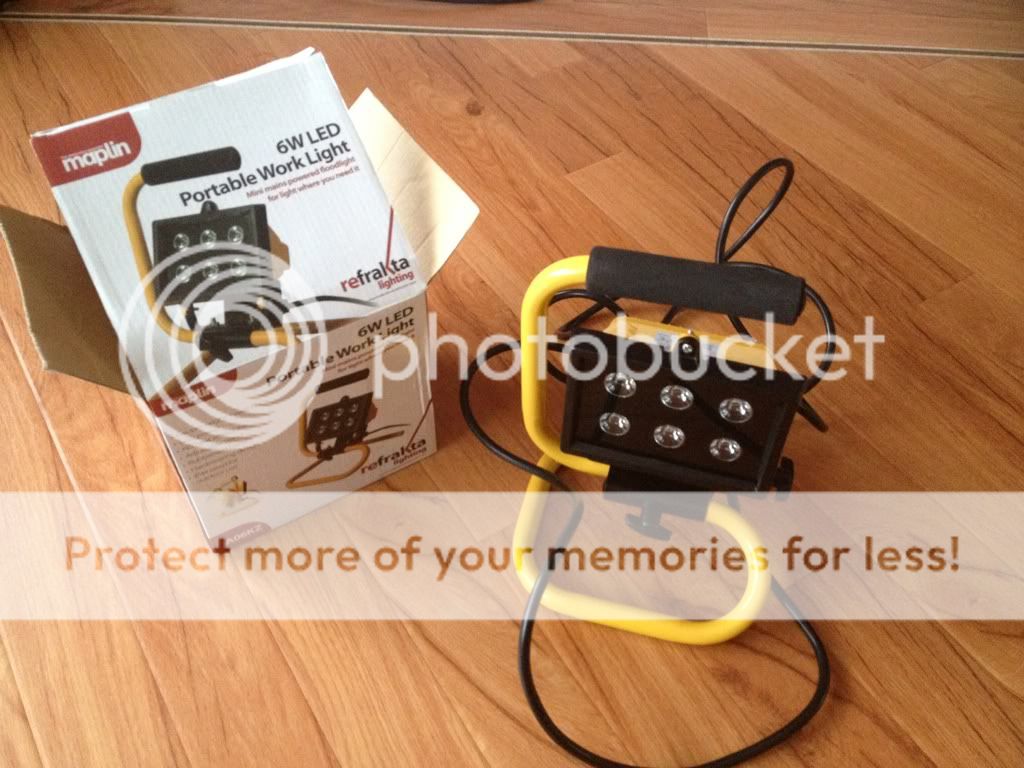
new worklight
fb5bb41a.jpg

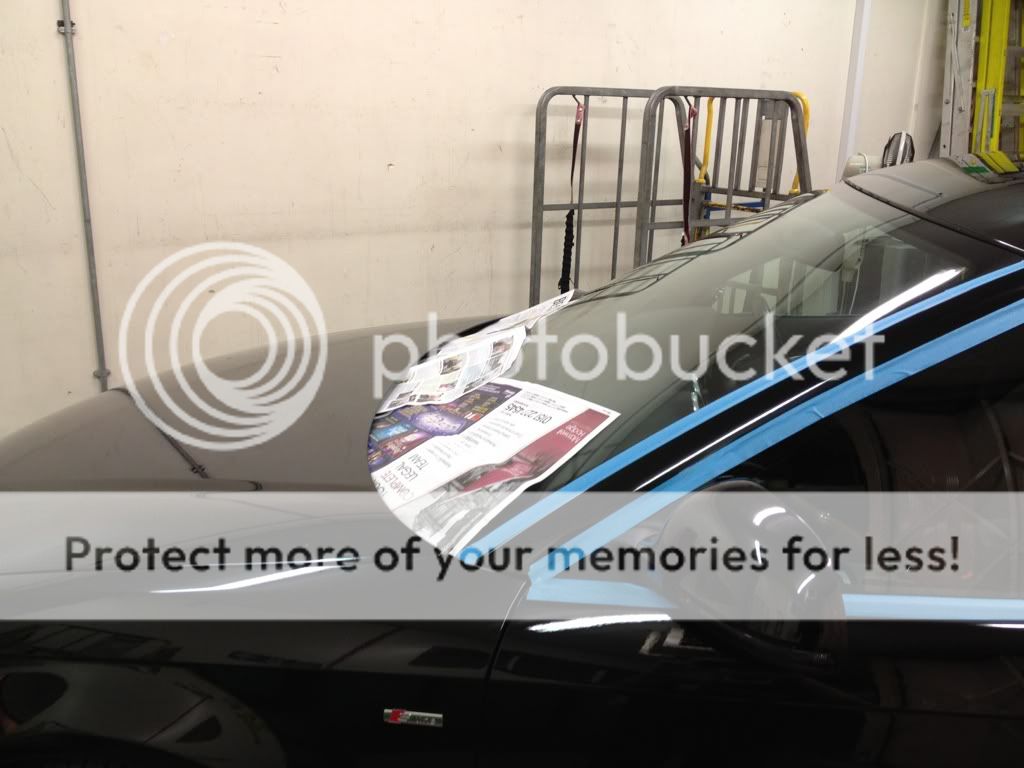
Take1
Security let me in at 12am stayed till 3am only corrected the bonnet and wings
30cdb931.jpg

e033721e.jpg

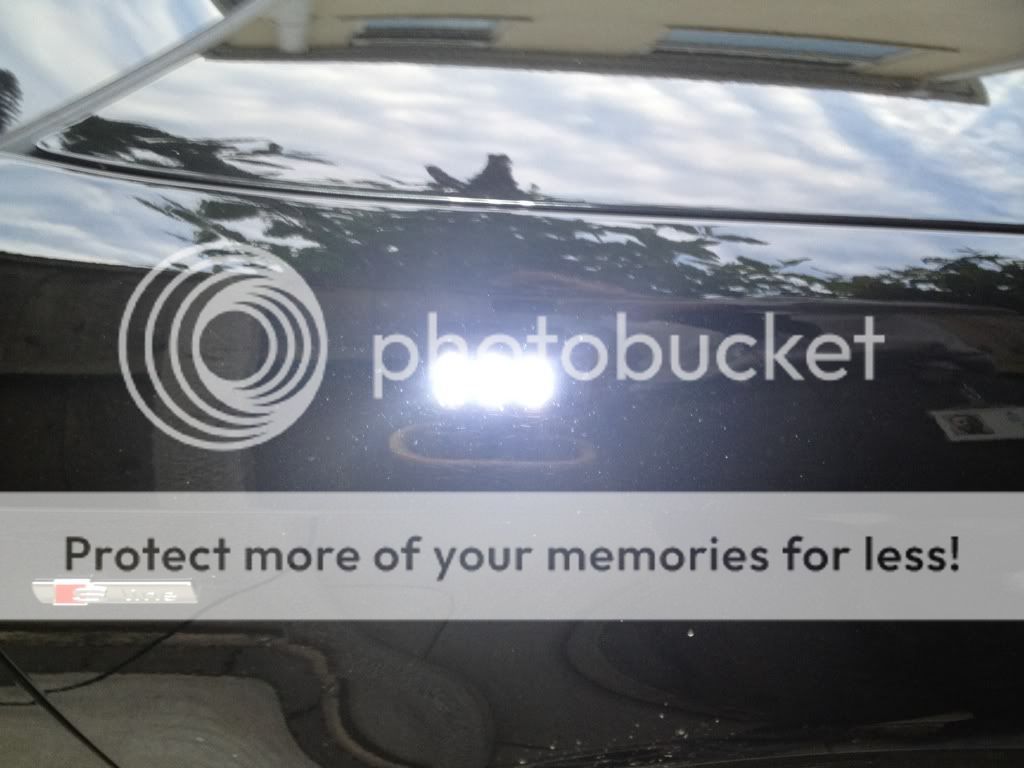
Day after I looked at my results
wing corrected ( I later refined this )
12072aea.jpg

Vs uncorrected door
6dfb3364.jpg

Take 2
bf54561f.jpg

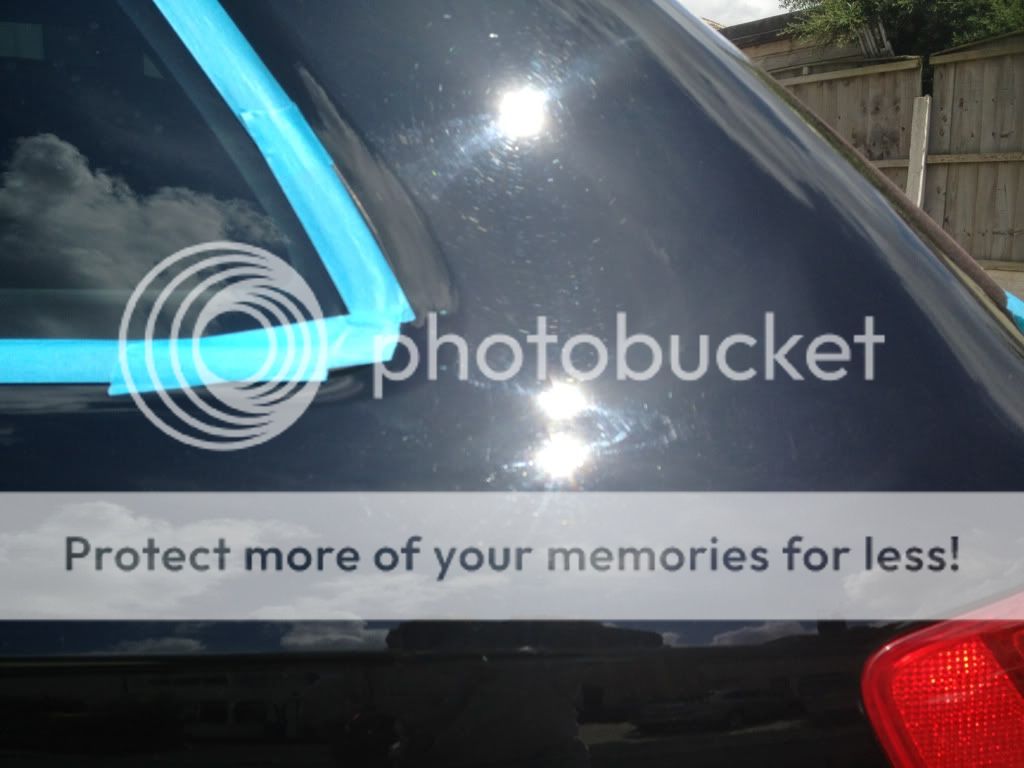
Rear quarter before
560ee77d.jpg

After
c469ff7f.jpg

Door before
2e275bd2.jpg

after
3cc97f81.jpg