

thank you... it's a long way off how I want her but small steps
It's the small details that count, keep up the good work!
thank you... it's a long way off how I want her but small steps


Very nice S5, please do not try to cure your OCD it is perfect. Your mods will be so useful to others !
May I ask how you find the sound of this V8 ? How does it compare against a RS4, S6 or S4 etc...
And did you have the chance to hear the V6 FSI version of the A5 ?

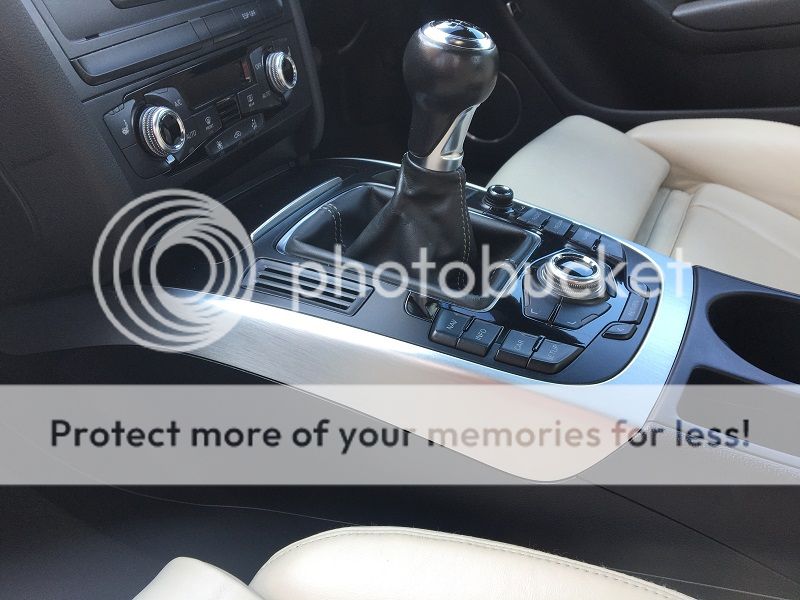
Just for future reference there is a battery terminal/jump post under the bonnet which you could have connected a charger/slave battery to so you could open the bootAs she's been laid up for winter there hasn't been much to report..... regularly cleaned and polished and ran up....
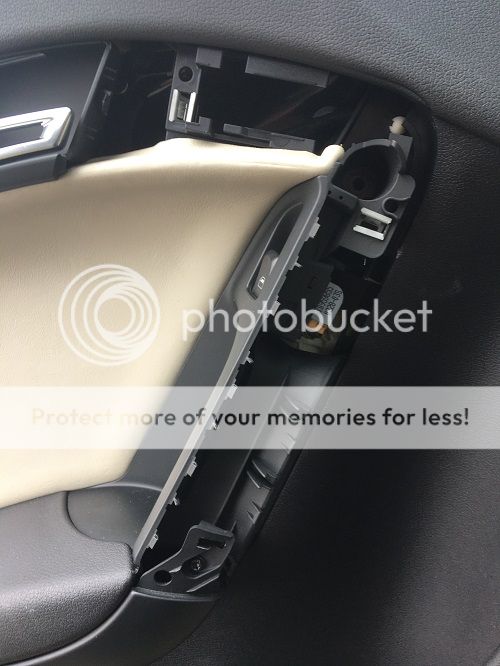
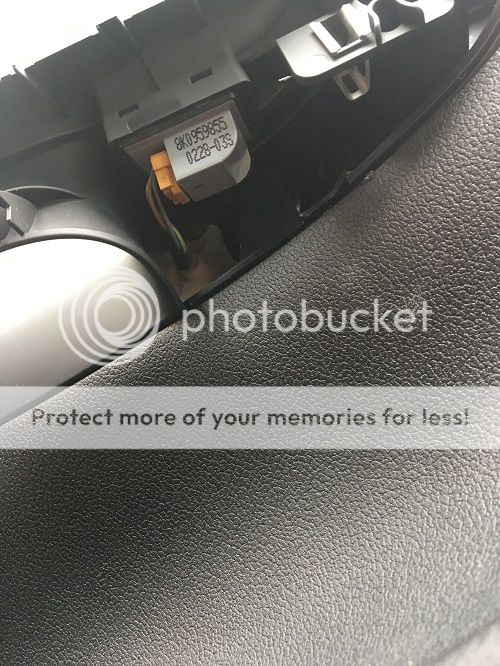
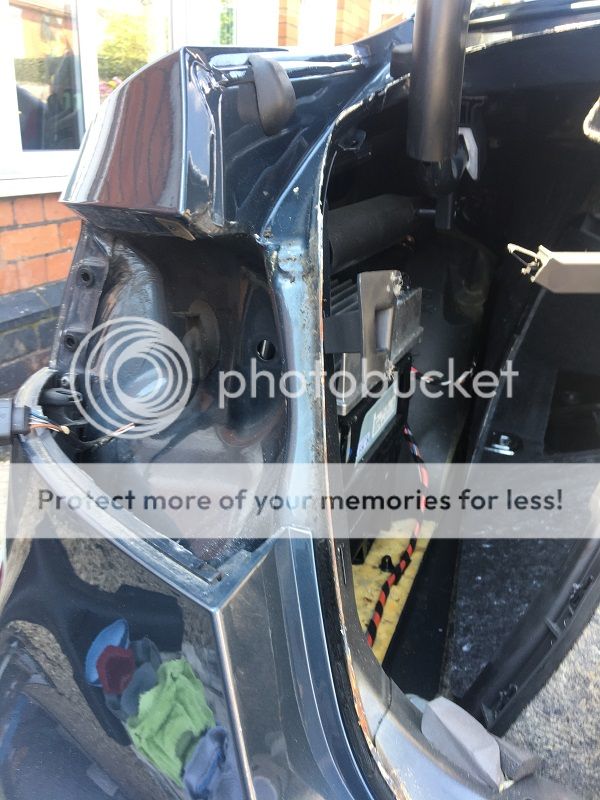
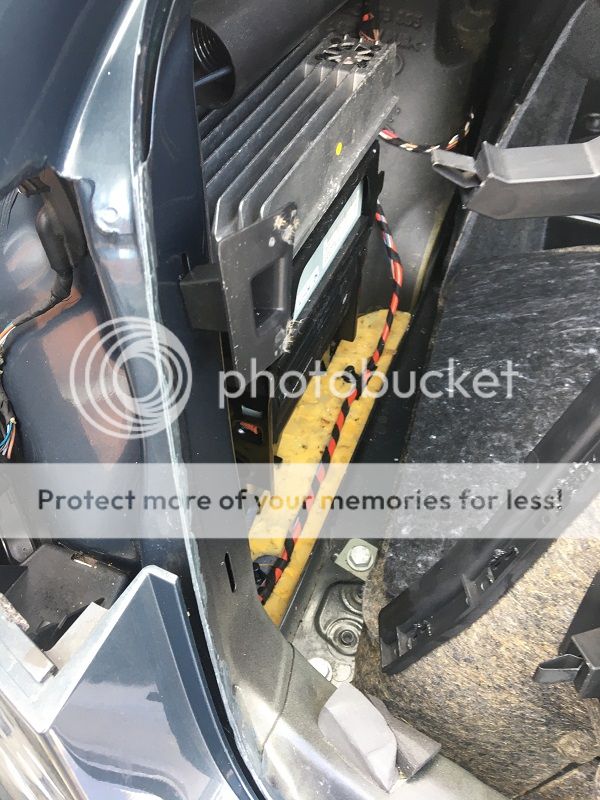
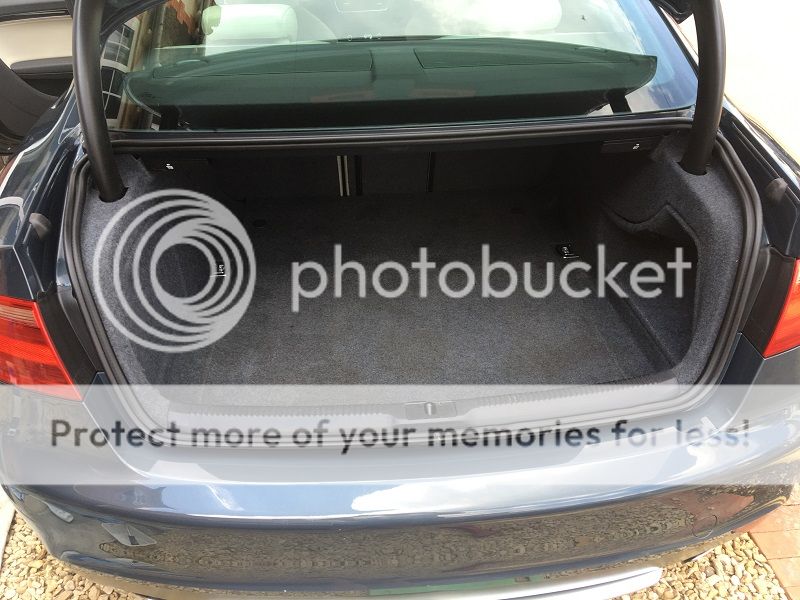
I always have the battery conditioner on to keep the battery in top form, however something went awry with the current battery, so a new one was sourced and as ever it's never just a simple job. As the car was dead electrically to get the boot open you have to go in through from the rear seats.... great, you can't move the front electric seats without electricity...!!!
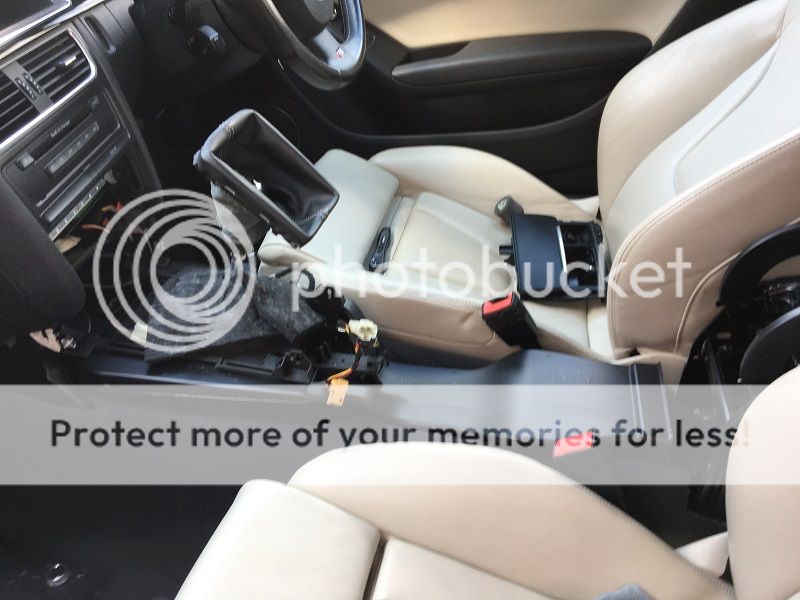
So having contorted myself into the back seat, then having got into the boot space..... ****** might have helped to remember the damn torch...!!!
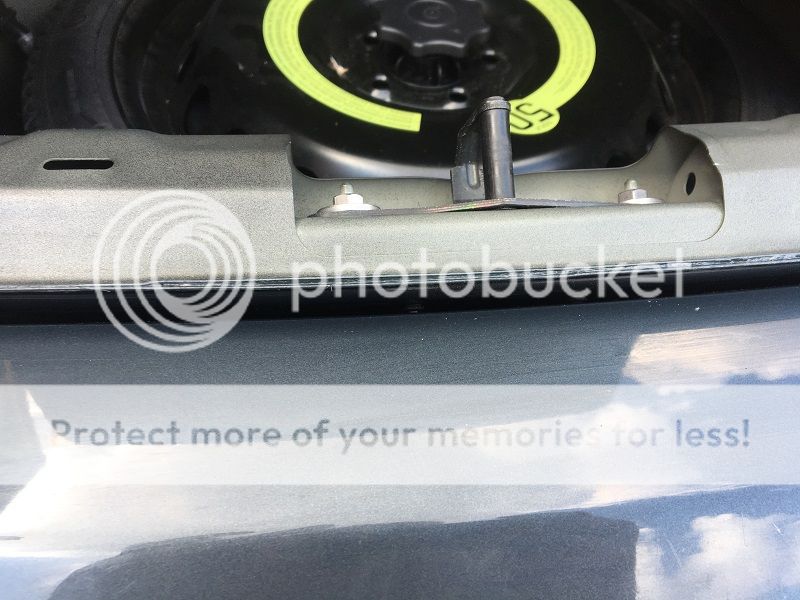
Now with torch at hand.... there is a plastic bung on the rear panel which once removed allows to mechanically pop open the boot.... so, old battery removed, new one plugged in....
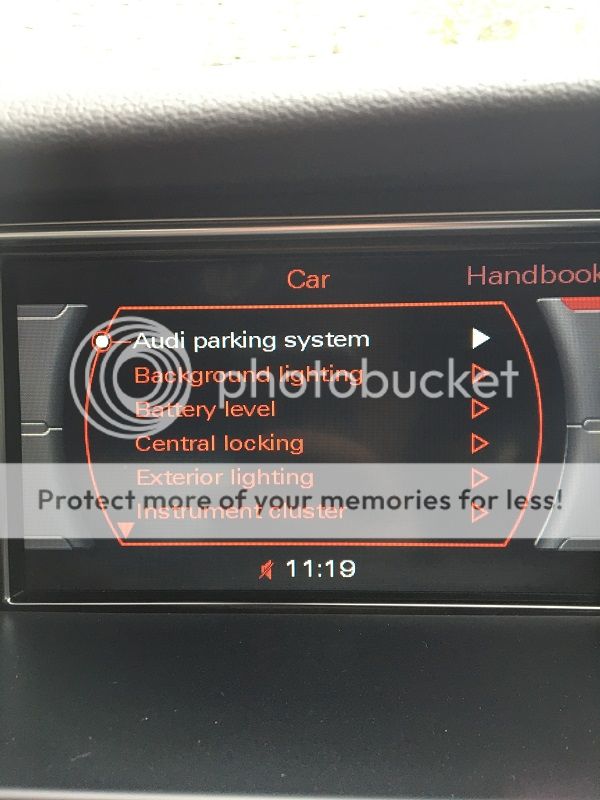
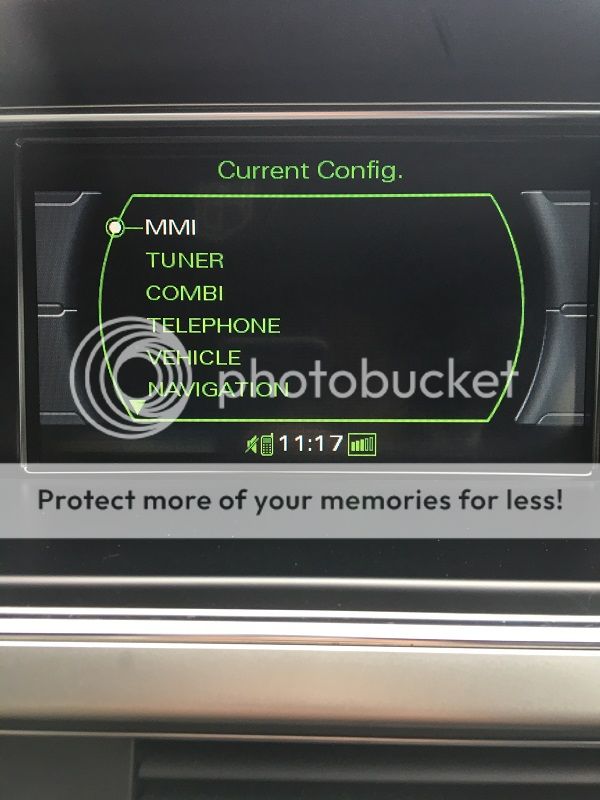
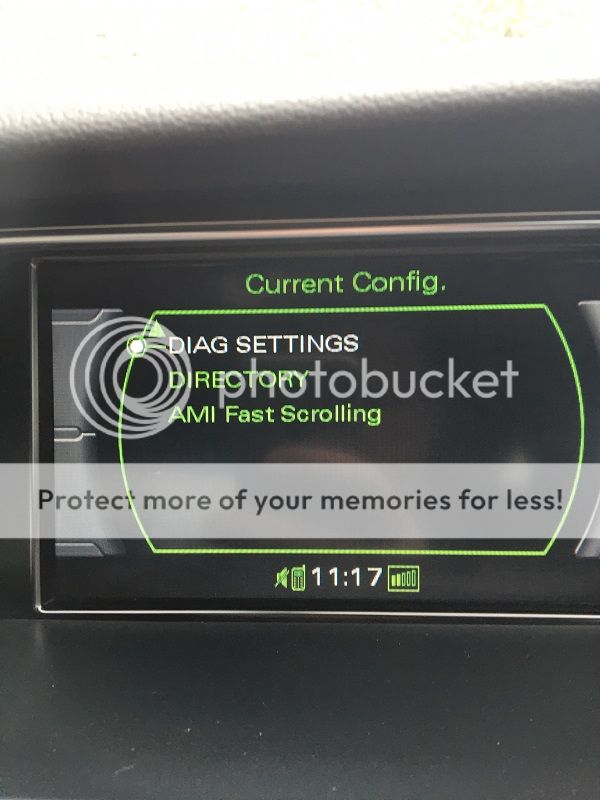
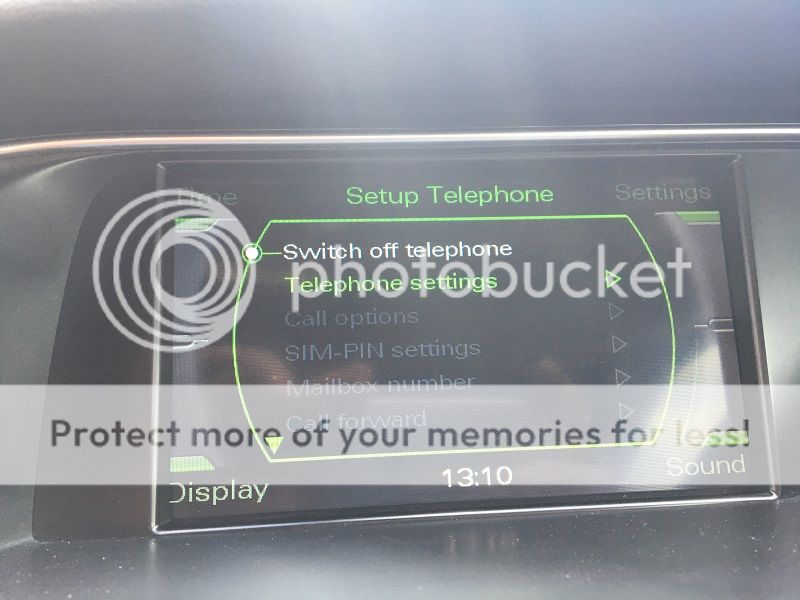
You have to tell the Central Electrics you have fitted a new battery, with the assistance of VCDS
19 - CAN-Gateway
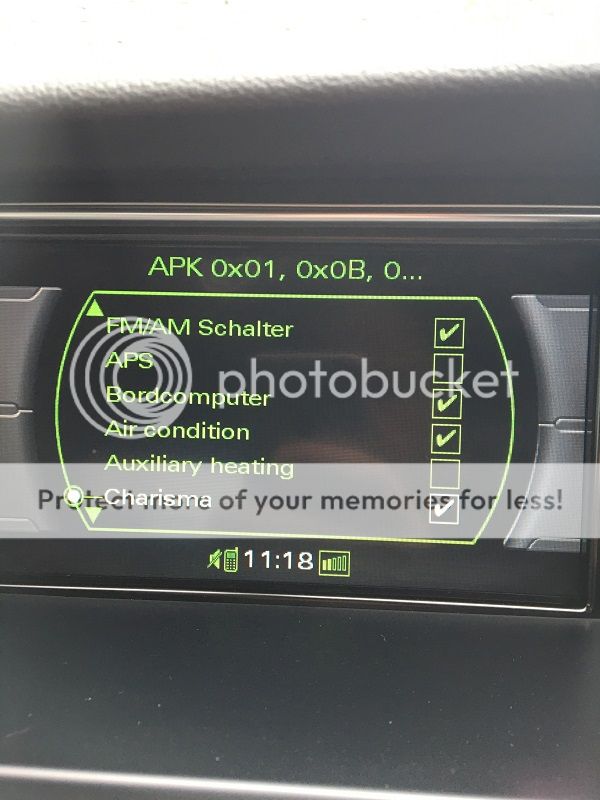
Long Adaptation-0A Channel 004
Now if you are fitting a genuine Audi battery it will have a new "BEM" number to input, what do you do if you don't have a battery with a "BEM", all I did was delete enough numbers from the original serial number as shown on VCDS and then input the new battery's serial number....
Now to get her off the SORN and use her in decent weather...!!!
Just for future reference there is a battery terminal/jump post under the bonnet which you could have connected a charger/slave battery to so you could open the boot
Regards


Very good stuff mate, those seats are looking fresh


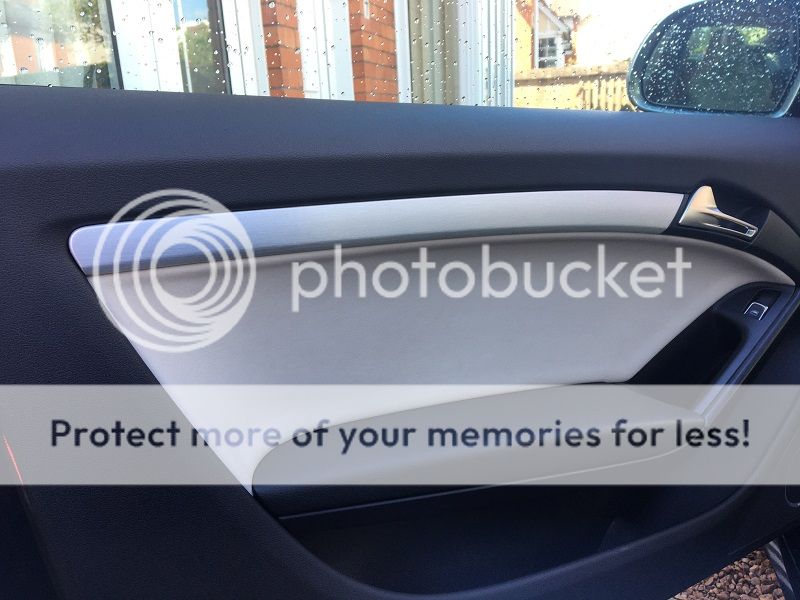

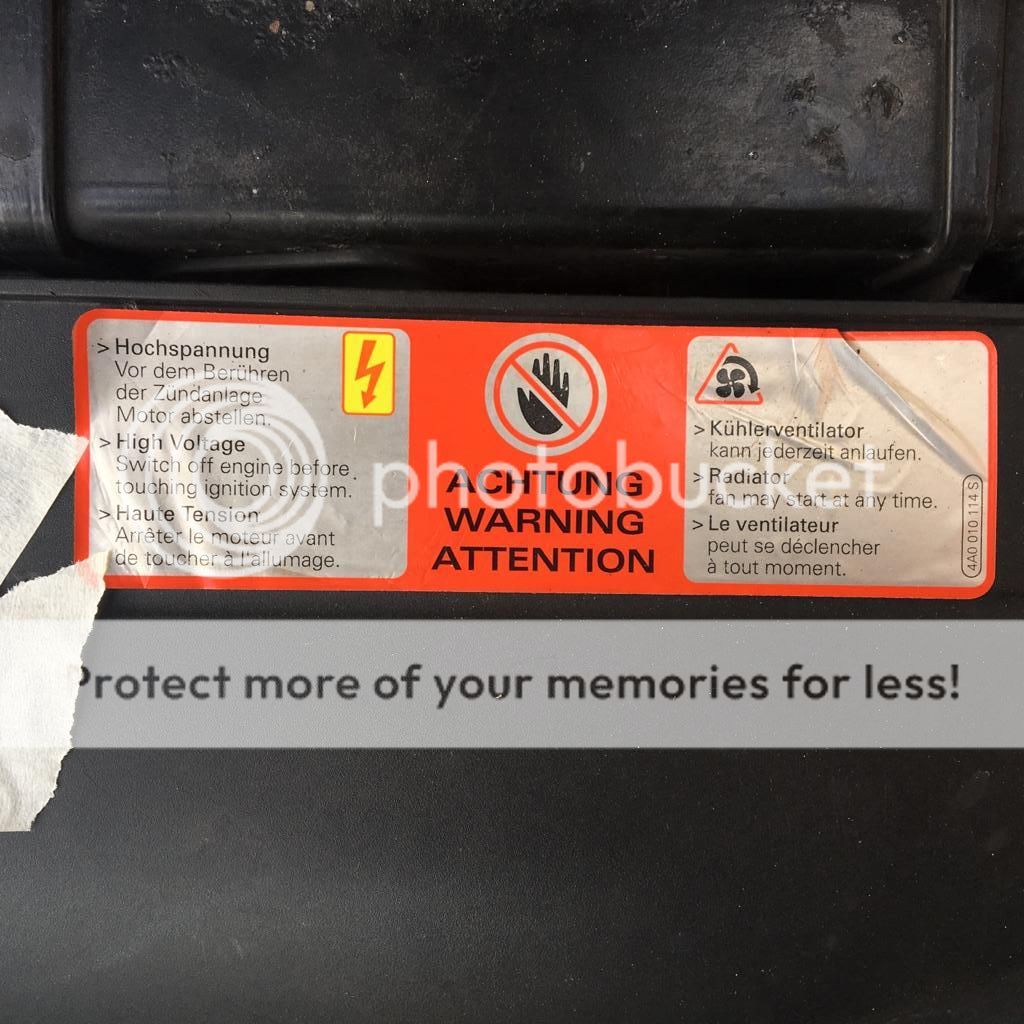
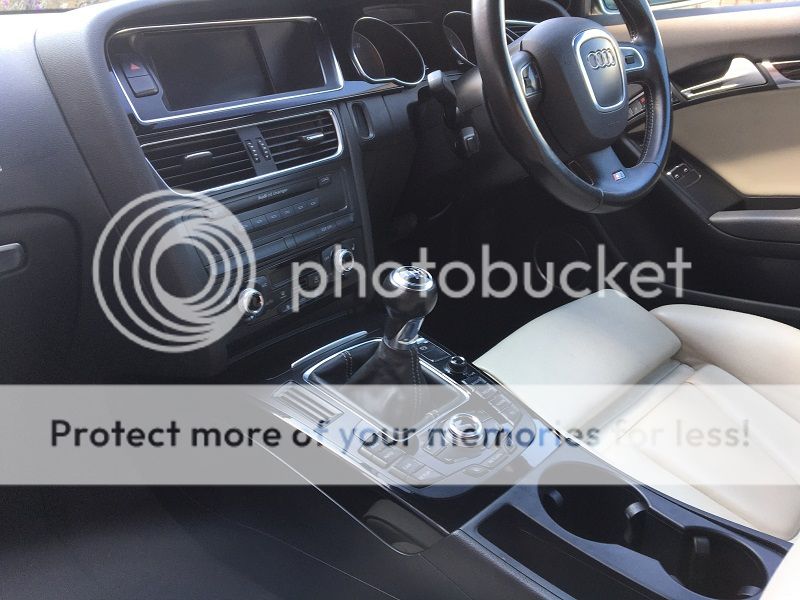
So the very nice mailman decided to deliver the first piece of the Piano Black trim, there were a few very light scratches on the black but nothing that didn't buff out... Can't wait for the remaining pieces...
Before
After
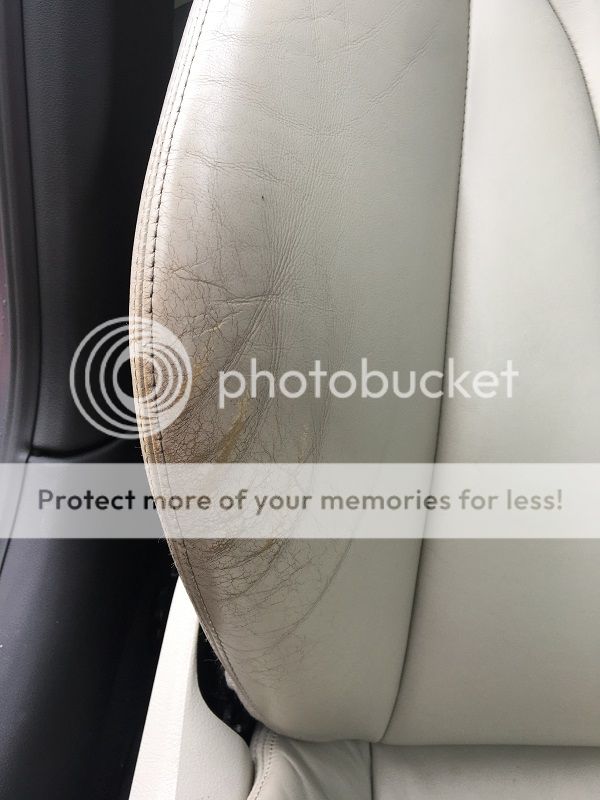
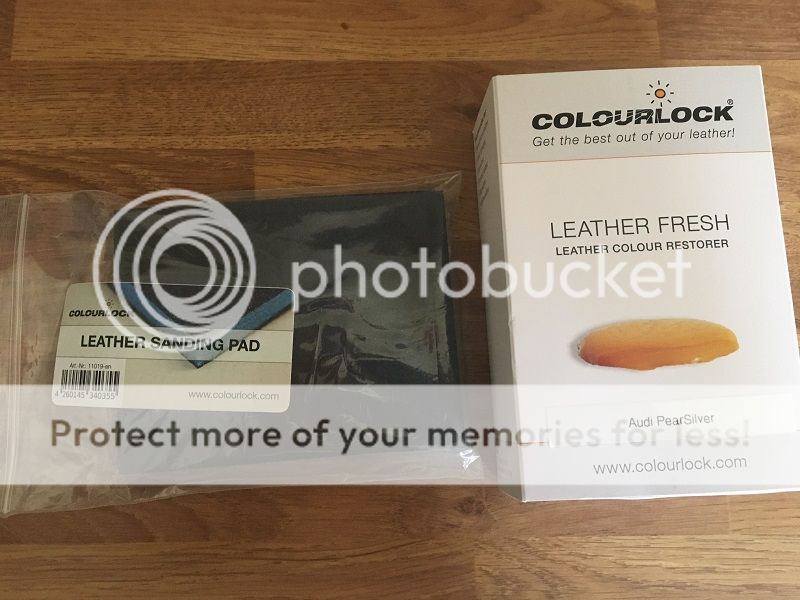
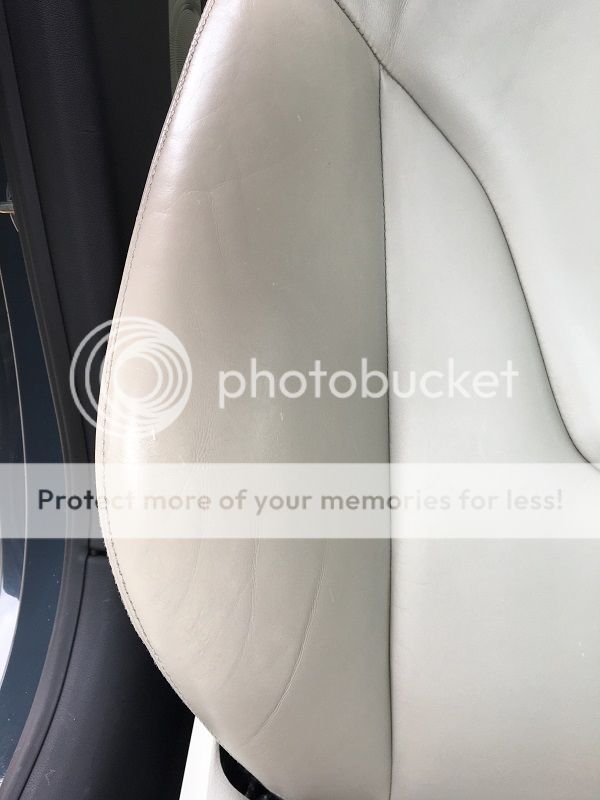
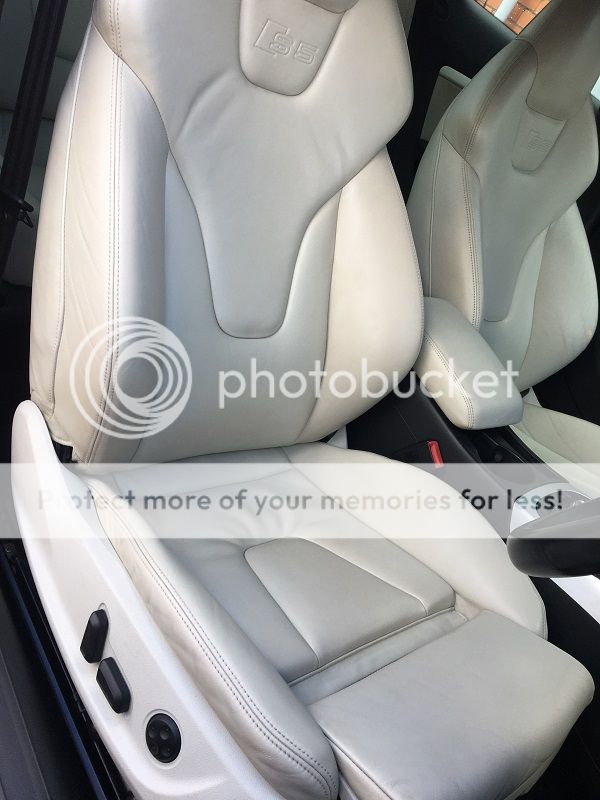
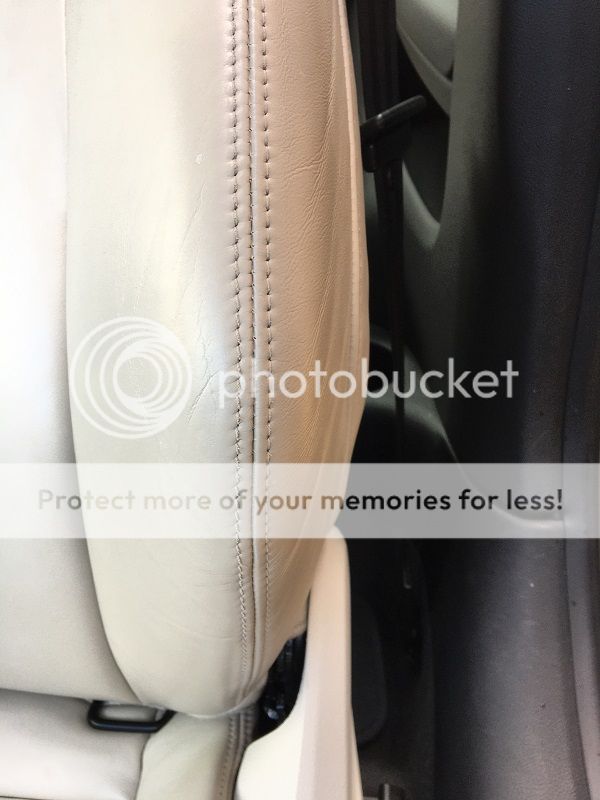
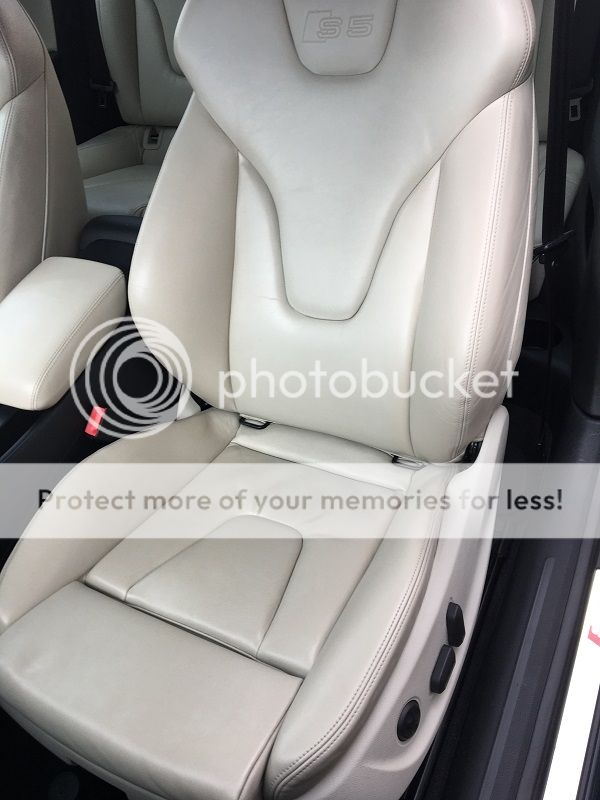
and despite the rain first thing this morning it dried up enough to finish the drivers seat with the Colourlock dye...
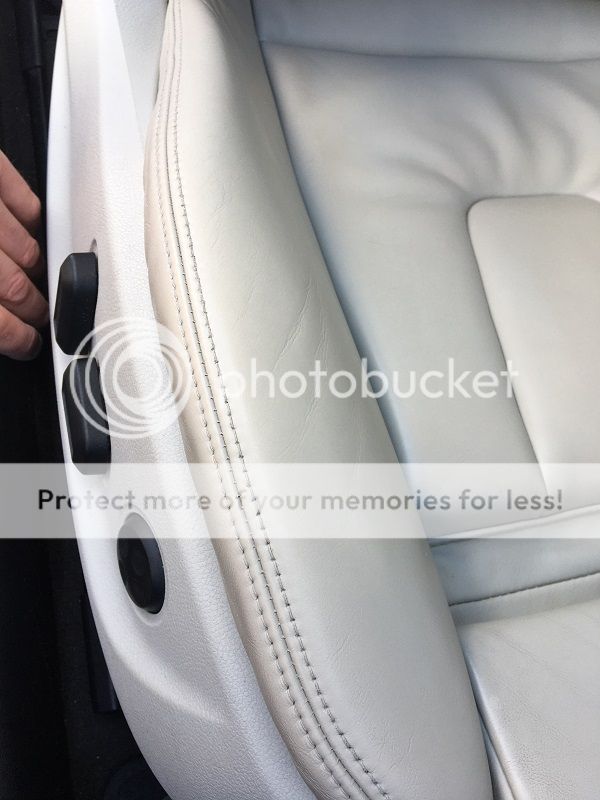
Now just need to wait 24 hours and can do a final buff. To say i am over the moon with the results is an understatement.... absolutely fantastic, the colour match is incredible and the product is so easy to use. Their website has numerous tutorials and the service was second to none.
I would advise that if you are getting the sanding pad that a lot of care is taken near any stitching as i'd imagine that it would be easy to muller that quite quickly.
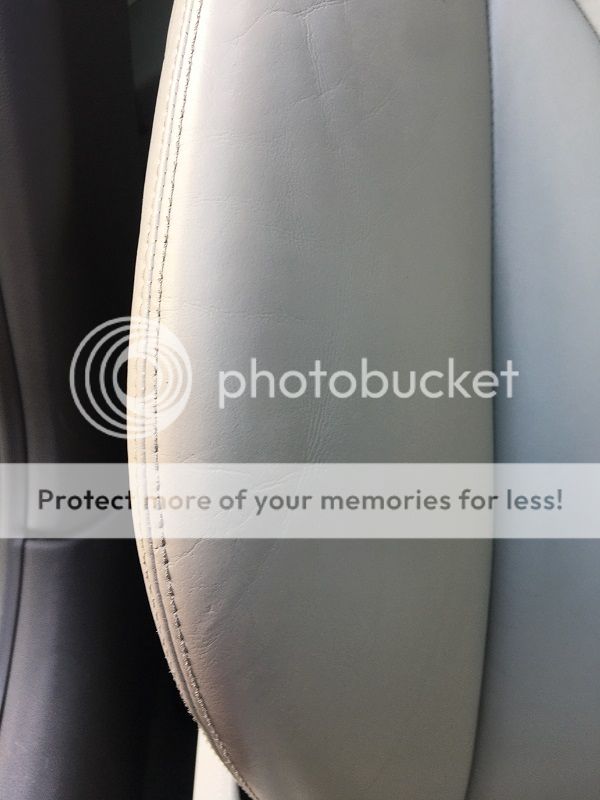
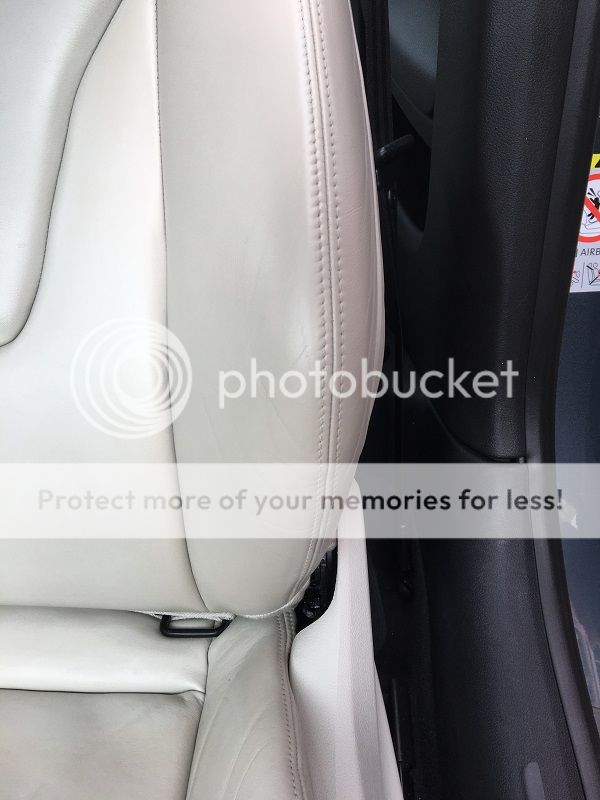
Just before it rained again i thought i'd start the passenger seat....
What i was starting with....
3 applications in and it started to spit, i noticed the water spots marking the dye so i stopped until no rain...
excellent product... 2 thumbs up from me....!!!
Excellent work, I may have to get myself some of that for my black leather

Looking at wrapping mine I think...where did you get the pieces from?

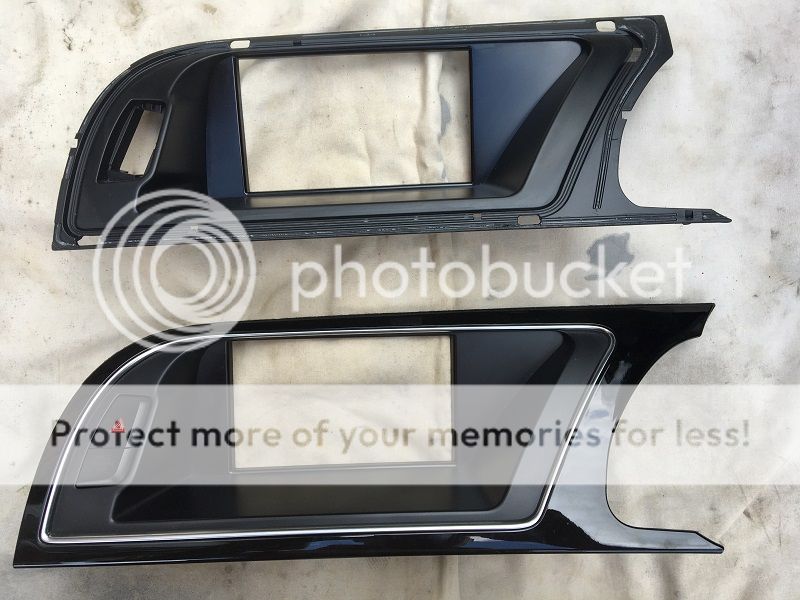
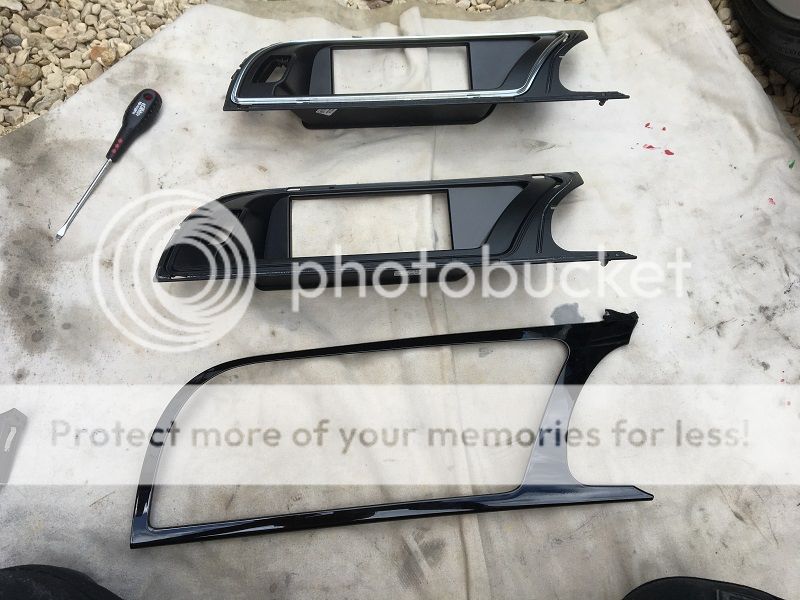
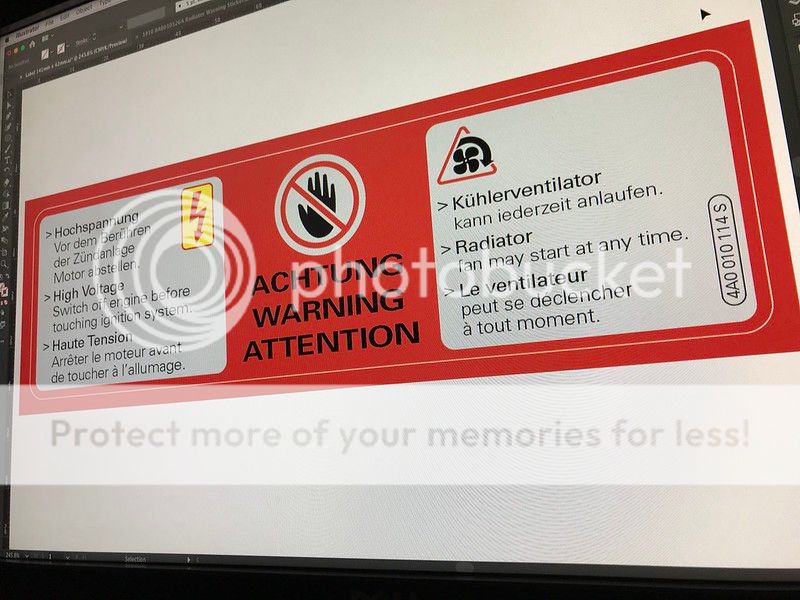
Every day's a school day, when i changed to the Piano Black trim, i had assumed the dash panels for the displays were all the same.... apparently not, the new black one had a slightly smaller opening for the MMI display, which meant that one edge was ever so slightly cut off....
so what should i do.... options were
1. look for the correct one in Piano Black (nope)
2. live with it.... (definitely not, nope, nada...)
3. butcher the two to make the correct one.... perfect plan
The black trim is bonded to the backing and rather than destroy the black trim i wanted to see how well the original aluminium trim was boned to the backing
It came off quite easily thankfully, so i attacked the Piano Black trim version
bizarrely this was boned on a little bit better and took a little bit more effort to separate. Both gluing faces were cleaned up and the trim was bonded back on to the backing....
Now just sat watching it dry so it can be put back into the car....
what sort of glue do you use pal? I'm thinking of replacing some trim in my MK6 but I have no idea what to securely bond it back with. Excellent work with the S5.


Looks lovely.......... even down to the exhaust tips