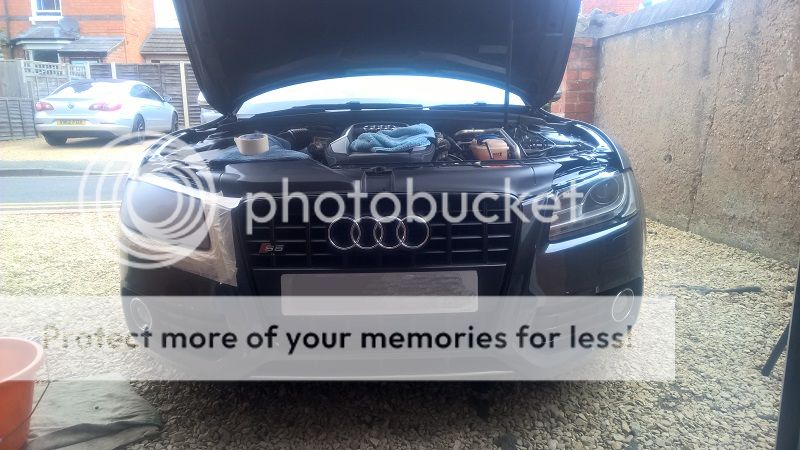
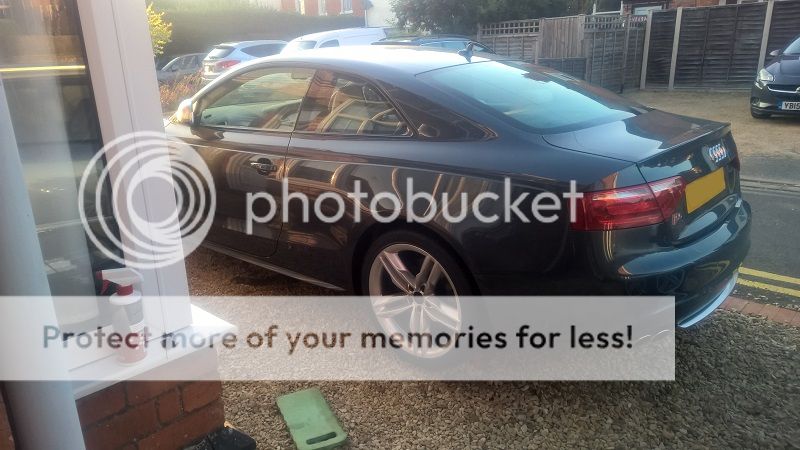
the day started wet and then by 10am the sun came out and 30 minutes later we had a dry day...… couldn't believe it!!!
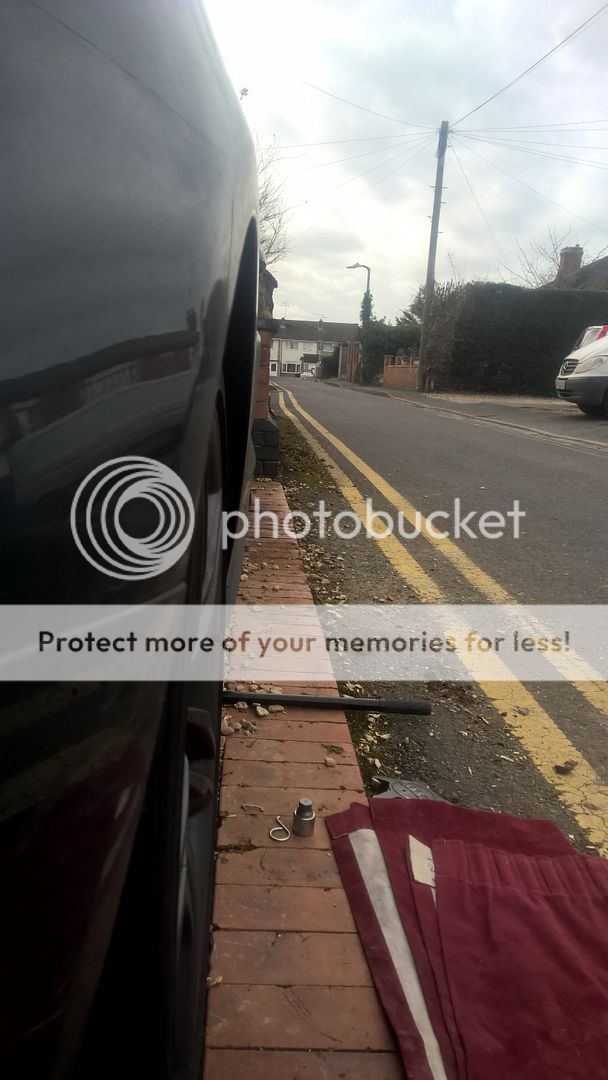
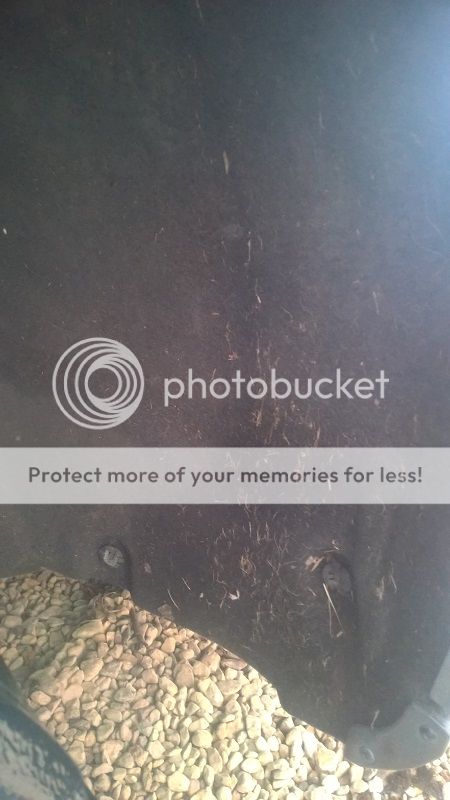
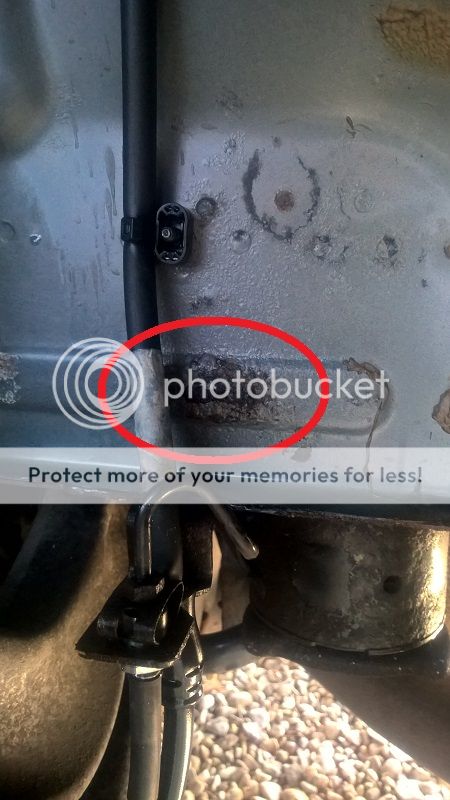
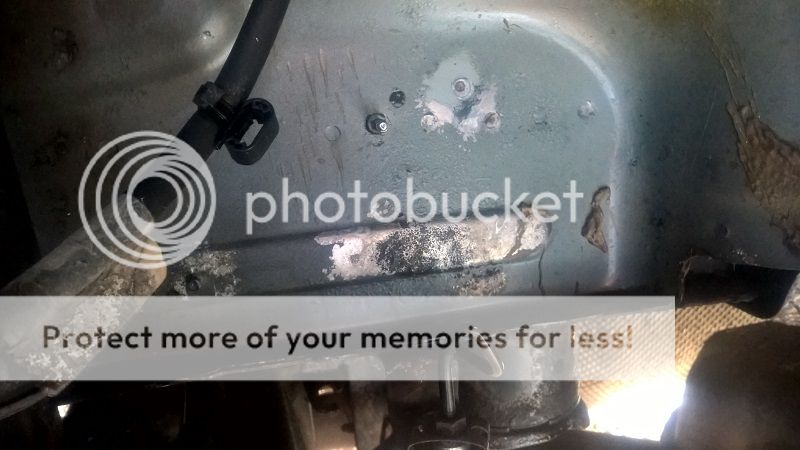
The first priority I wanted to address was the rust bubble underneath the NSR arch.
Attacked it with a wire brush on an angle grinder to remove the lose, luckily it was all surface rust, nothing serious.
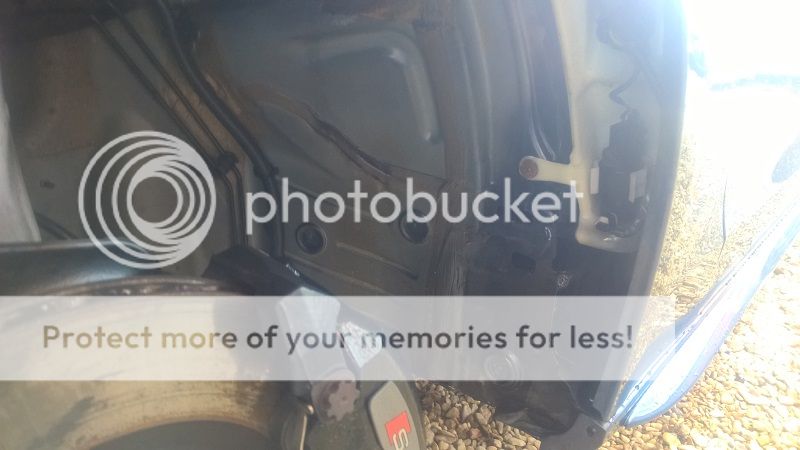
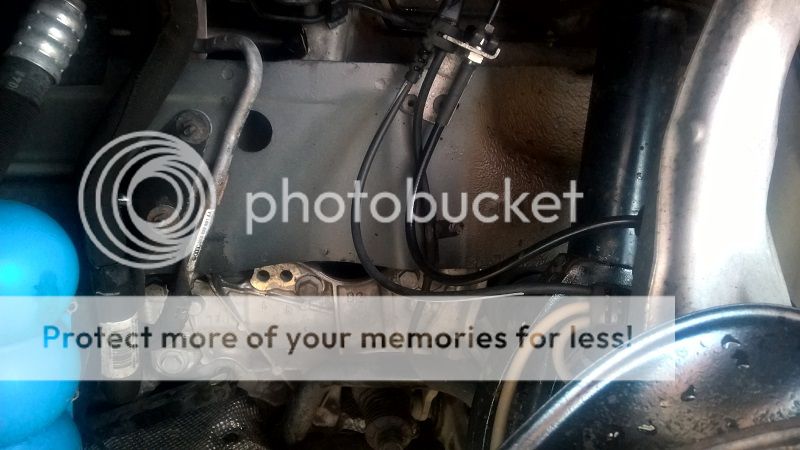
then I applied the Bilt Hamber Deox gel and left it wrapped it cling film whilst I got on with removing the final wheel arch liners and deep cleaned behind.
The clips which hold the liners on distort after removing, so new ones were bought.
and the 3 arch liners after having dried were reattached.
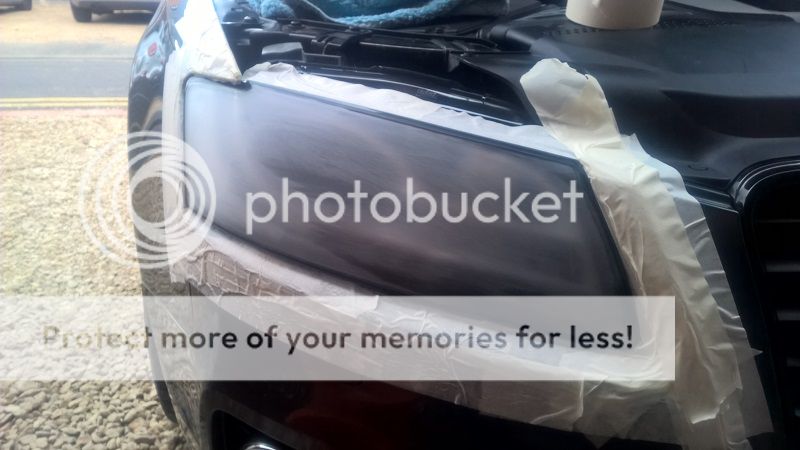
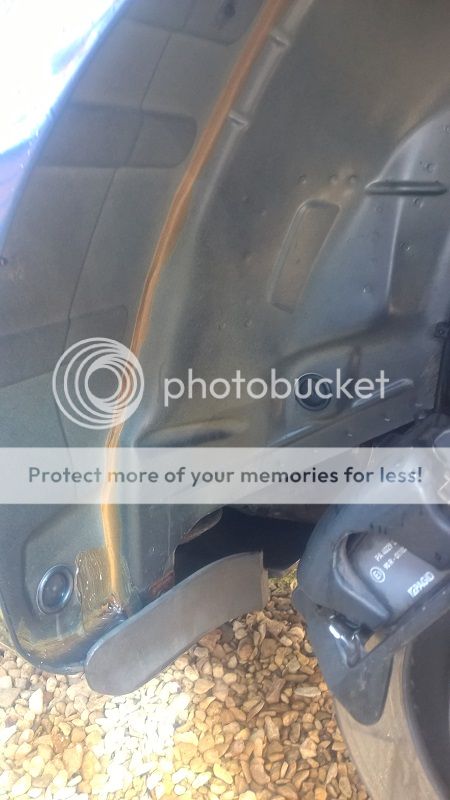
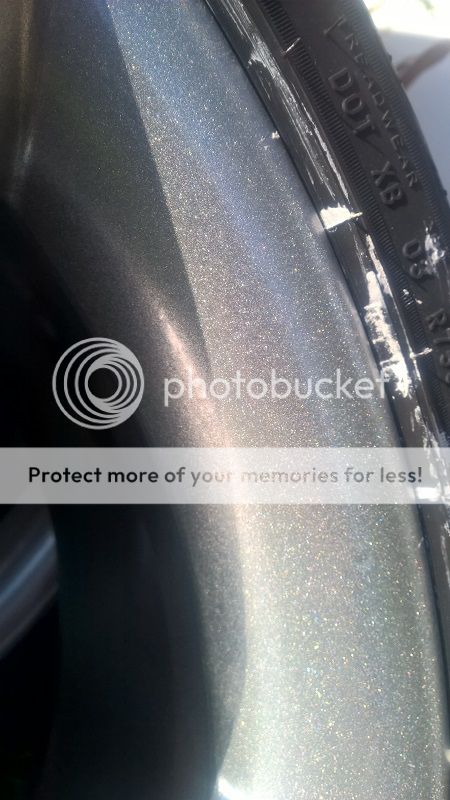
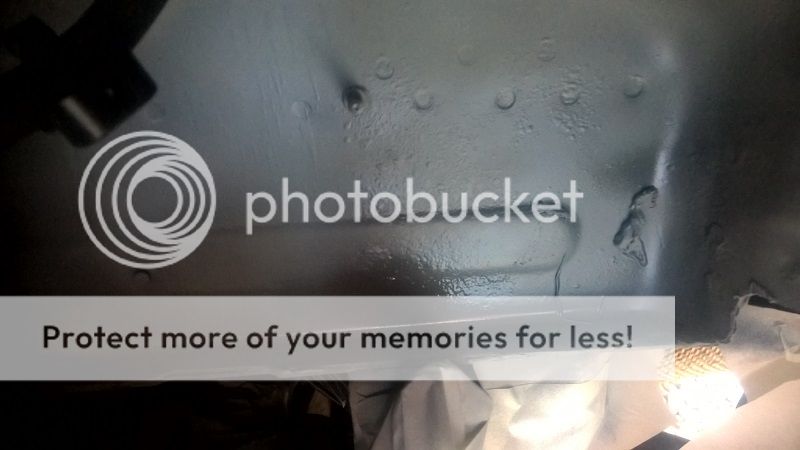
By that time the gel had worked it's magic and I could etch prime, high build prime and top coat, this area of the arch isn't actually body colour, so had a bit of a ball ache trying to match the colour...
matched quite well in my opinion....
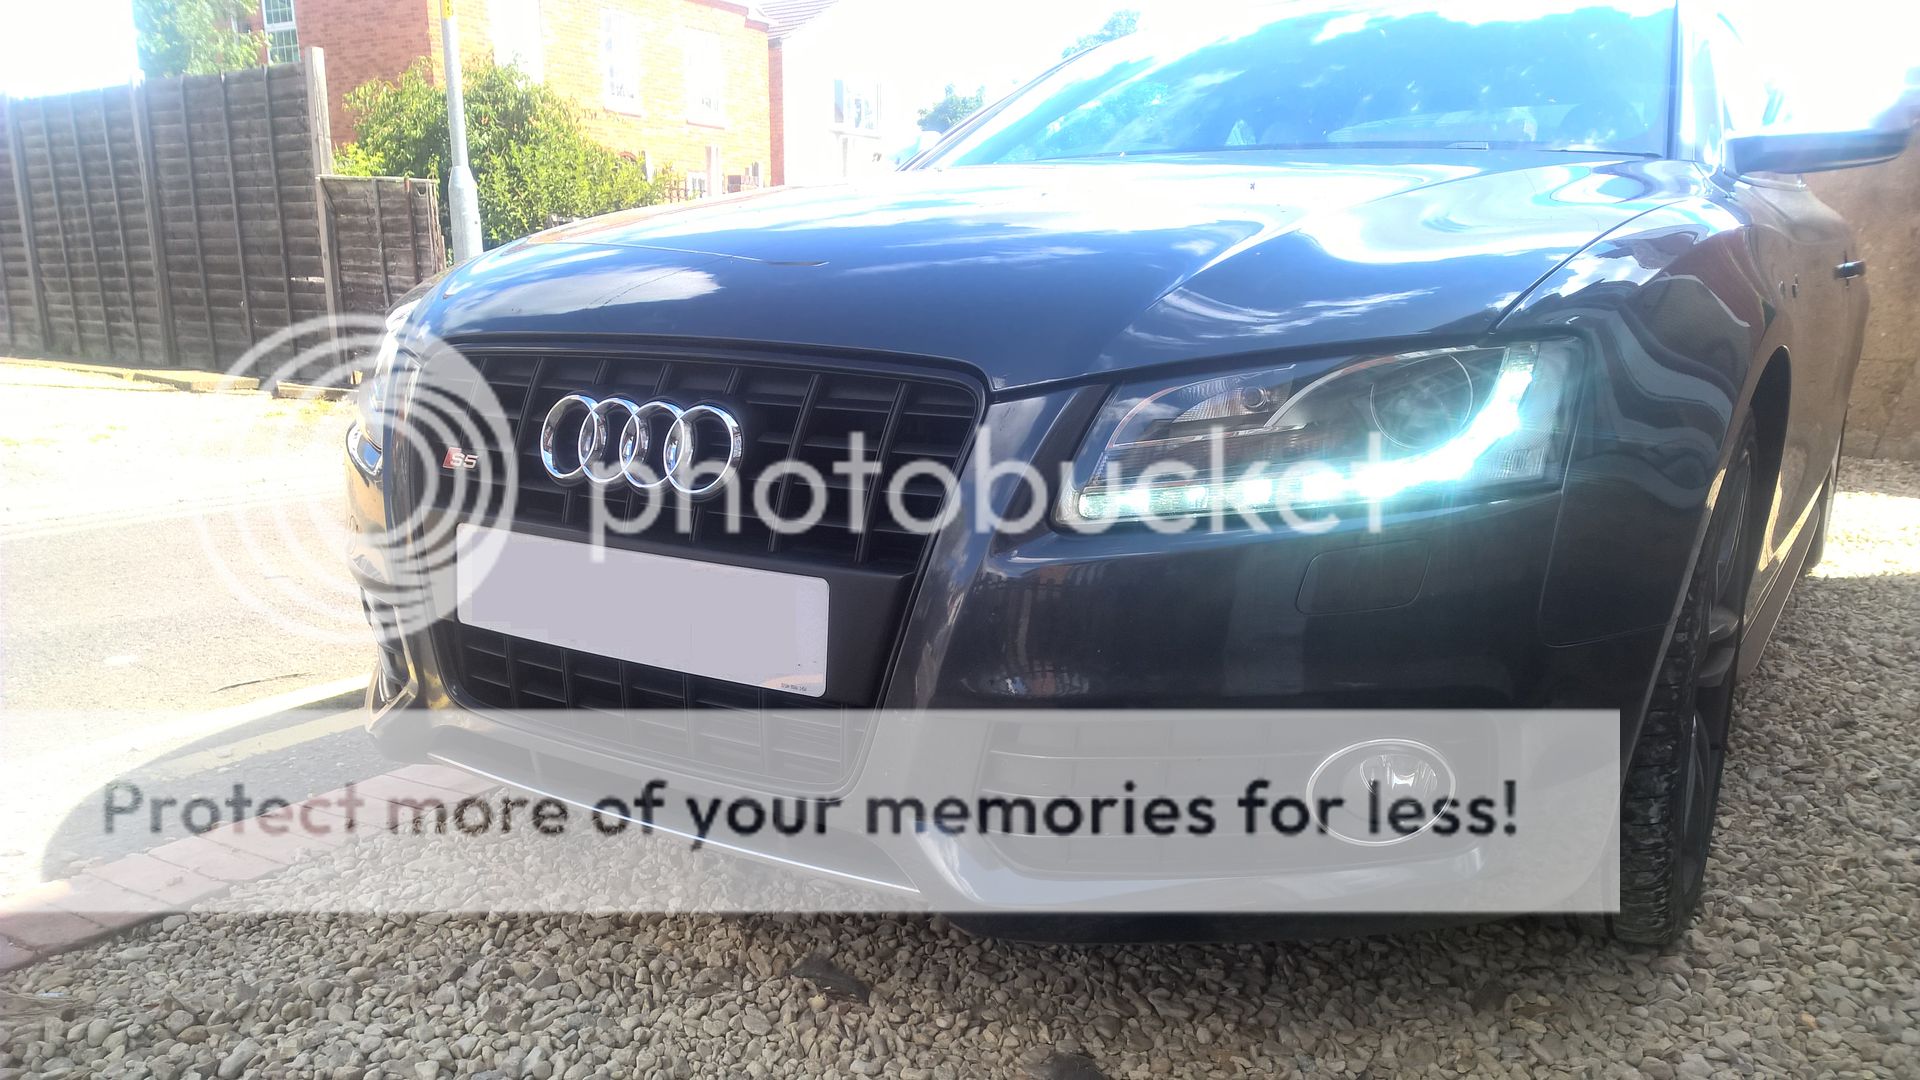
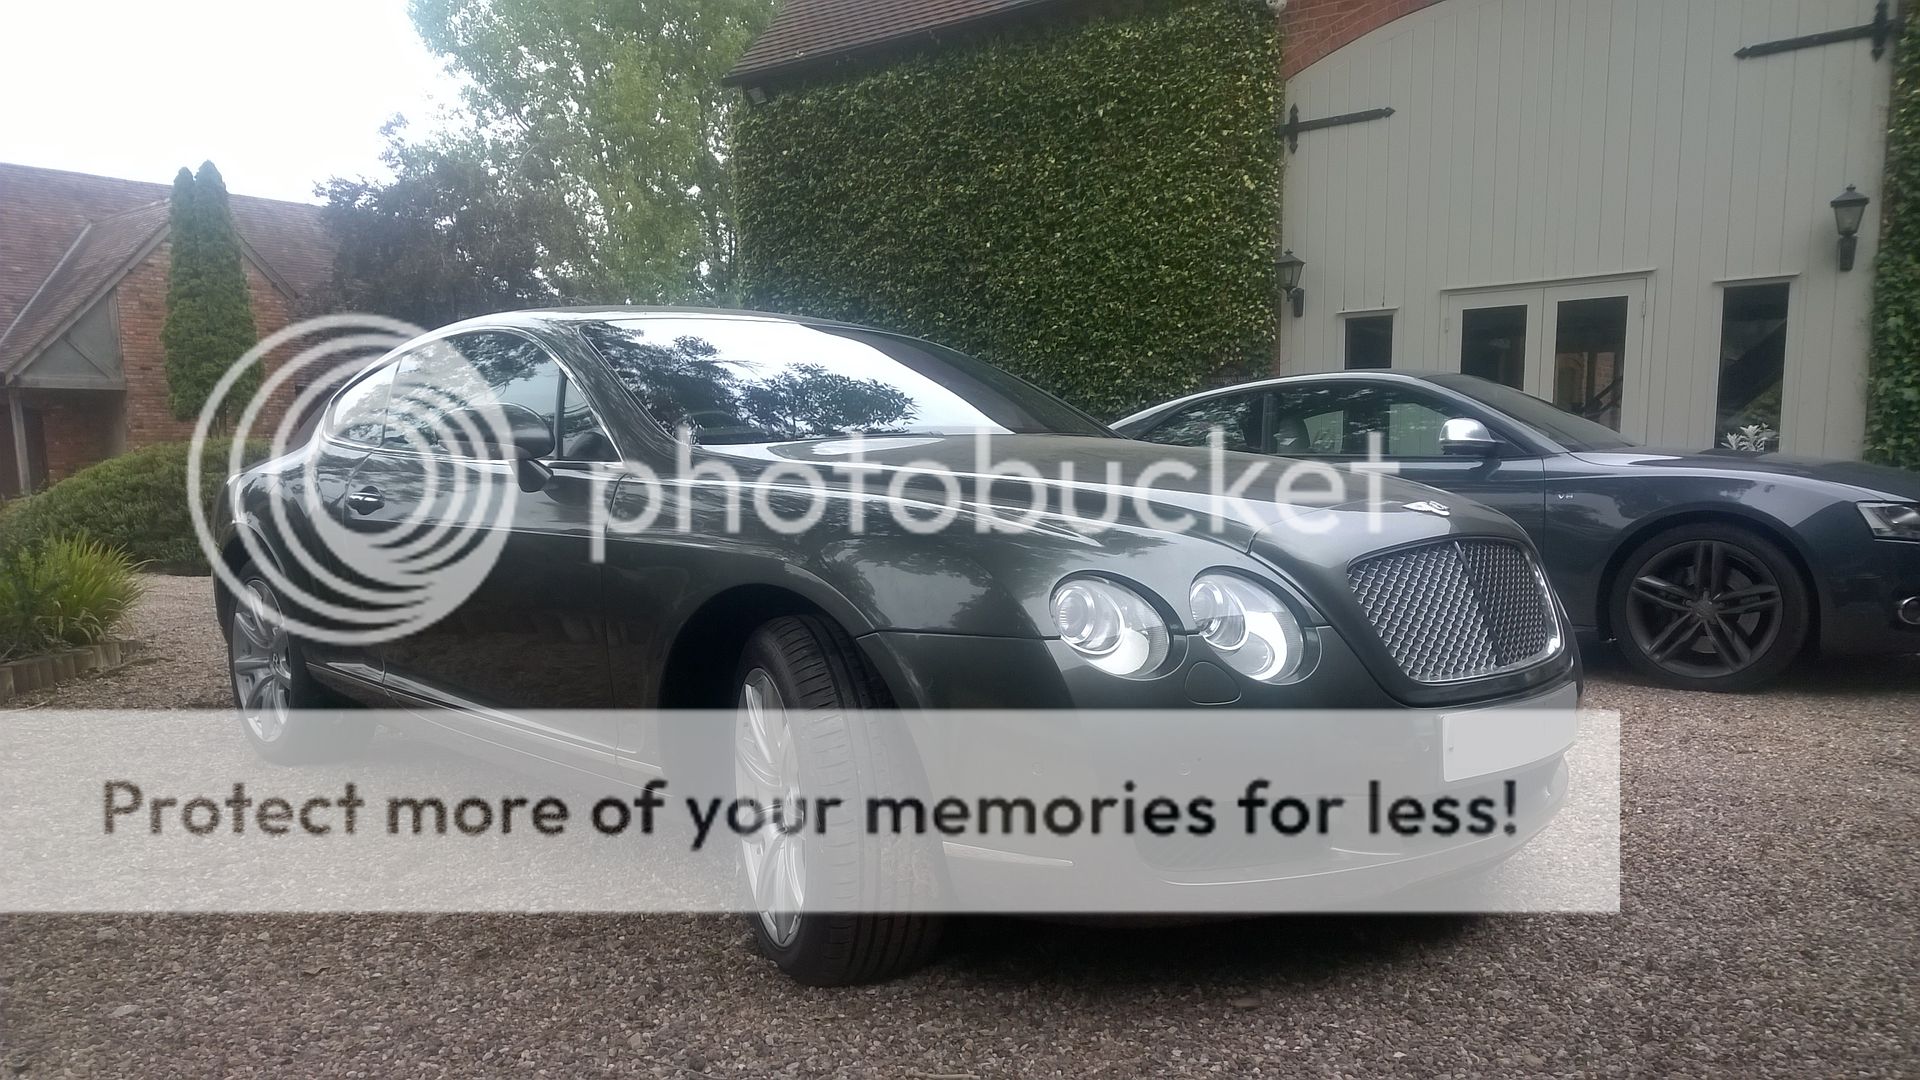
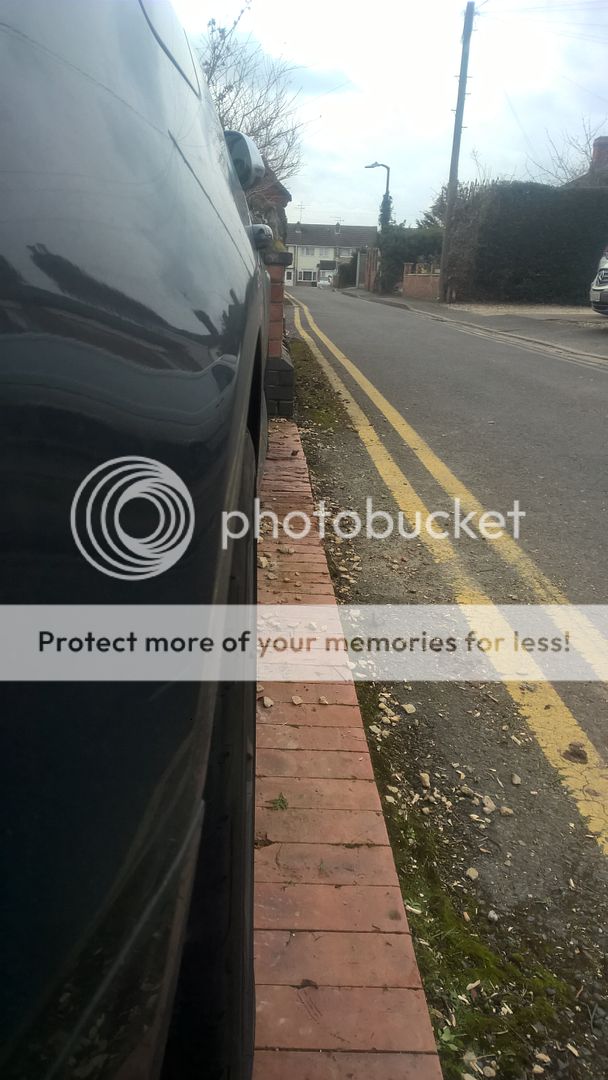
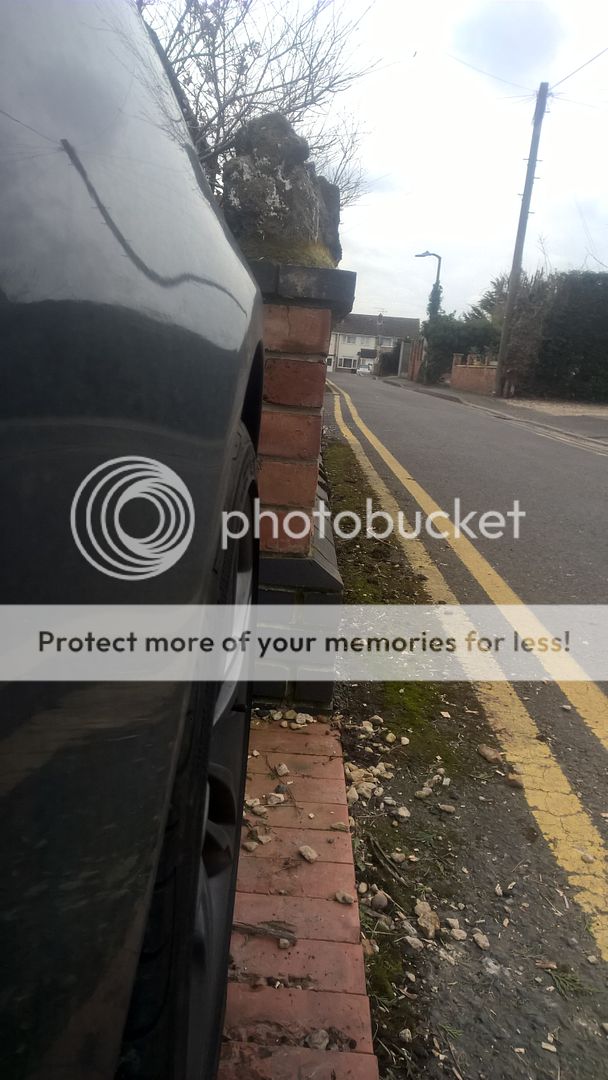
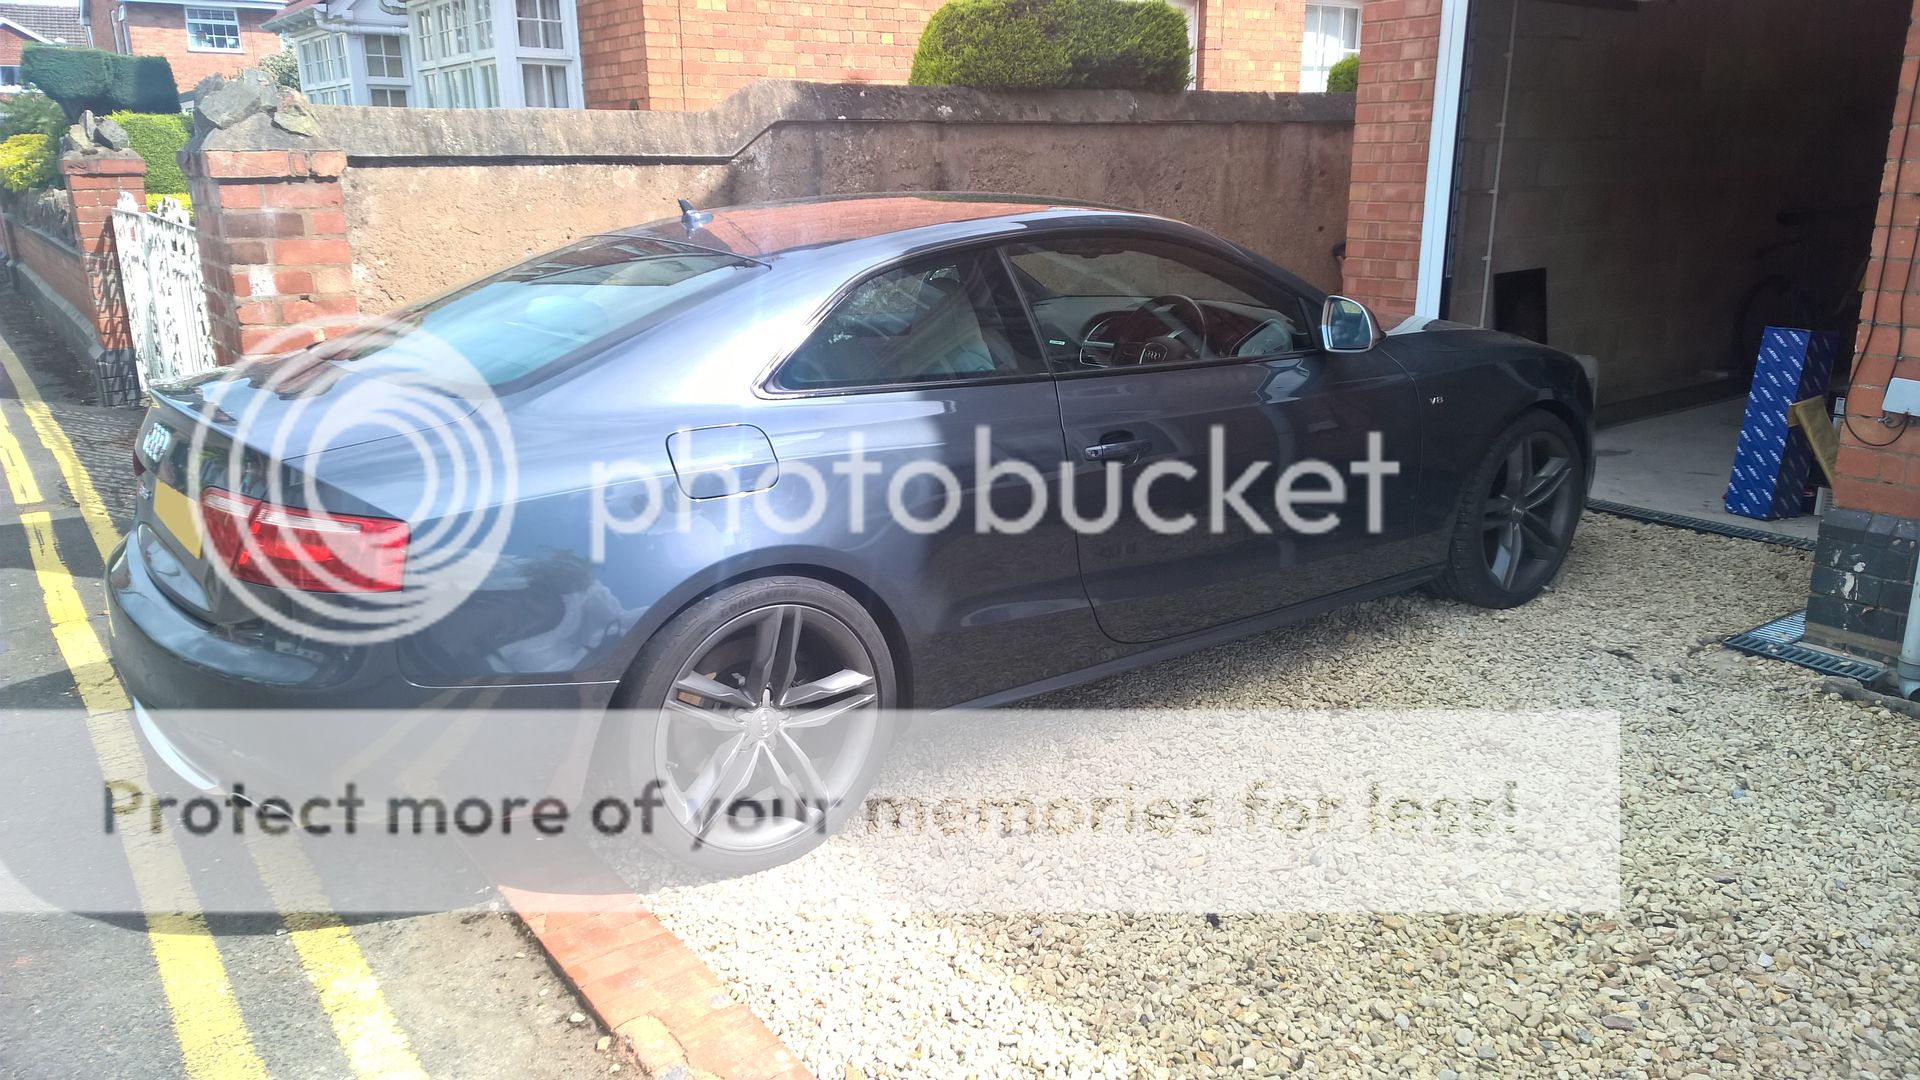
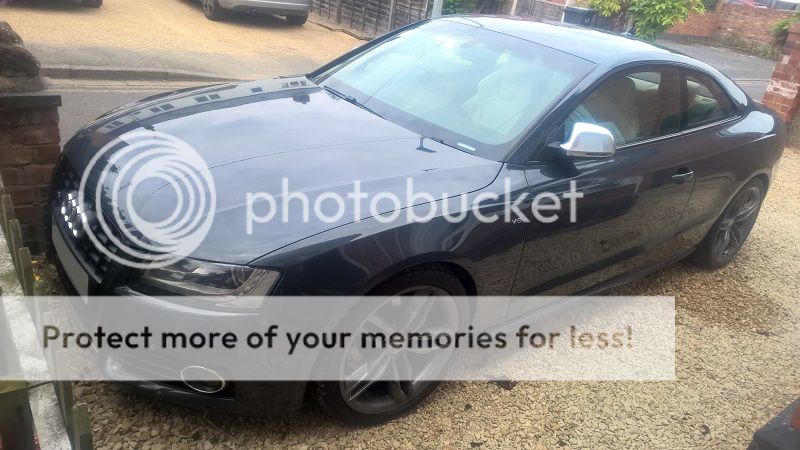
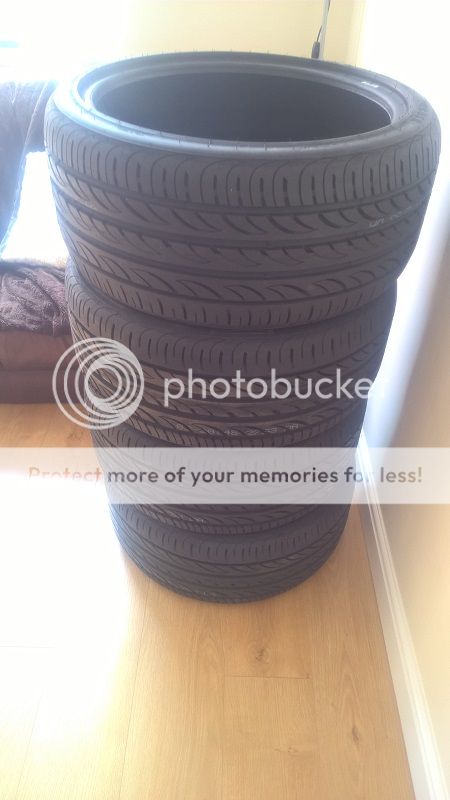
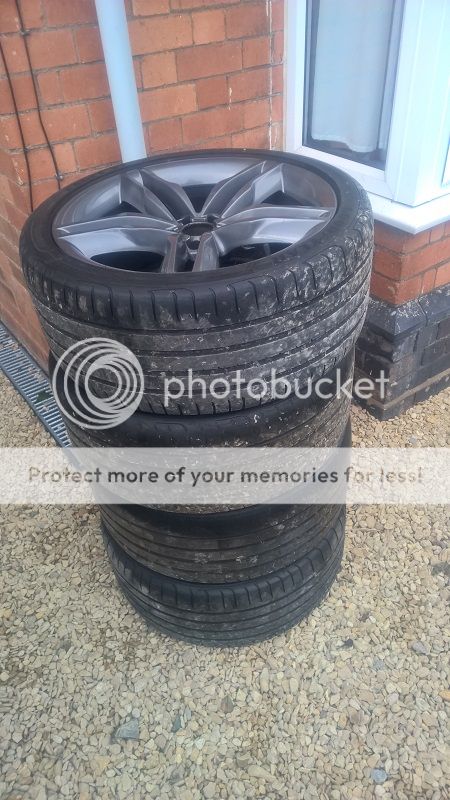
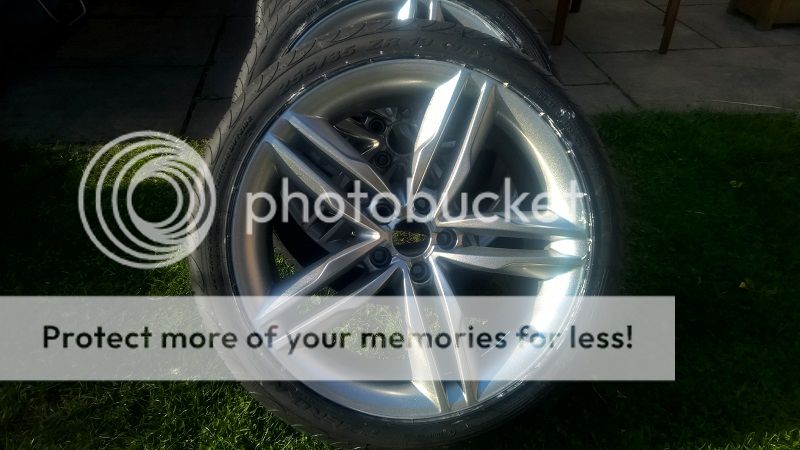
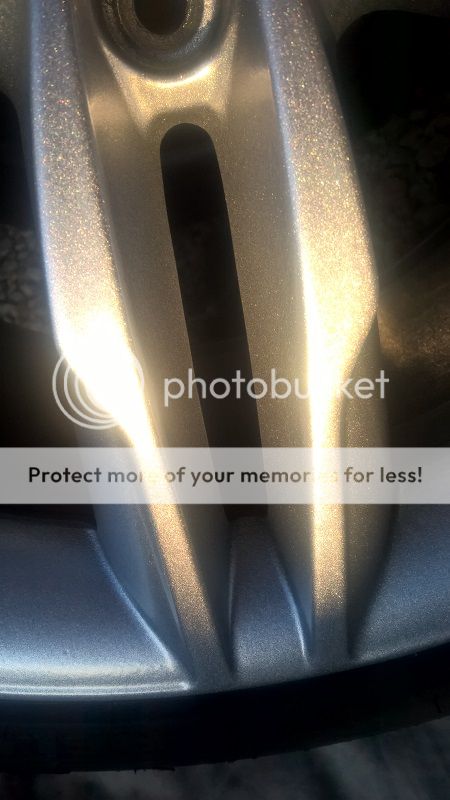
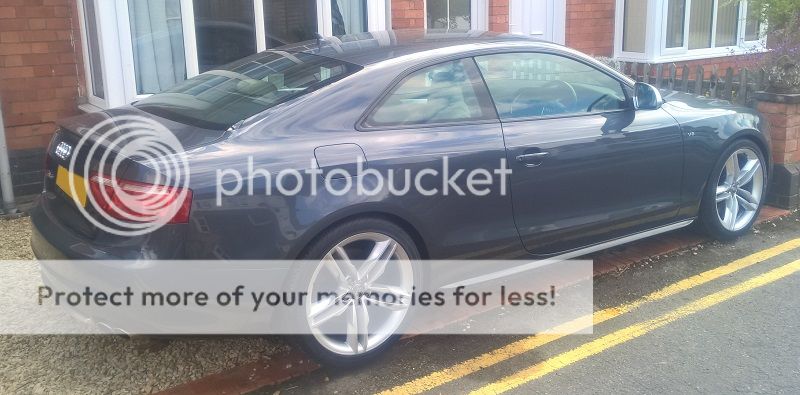
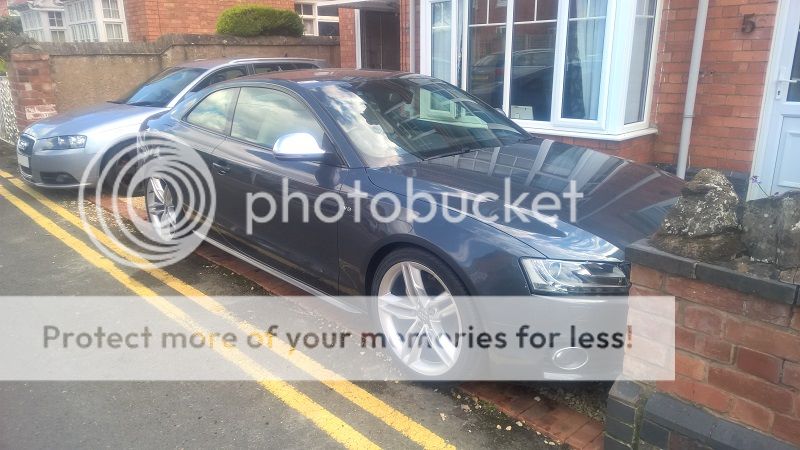
Once that was dry I rebuilt the arch liner back in and then the grand finale of actually getting the wheels back on...
Makes the car look totally different now... but am happy with how it looks