Update time:
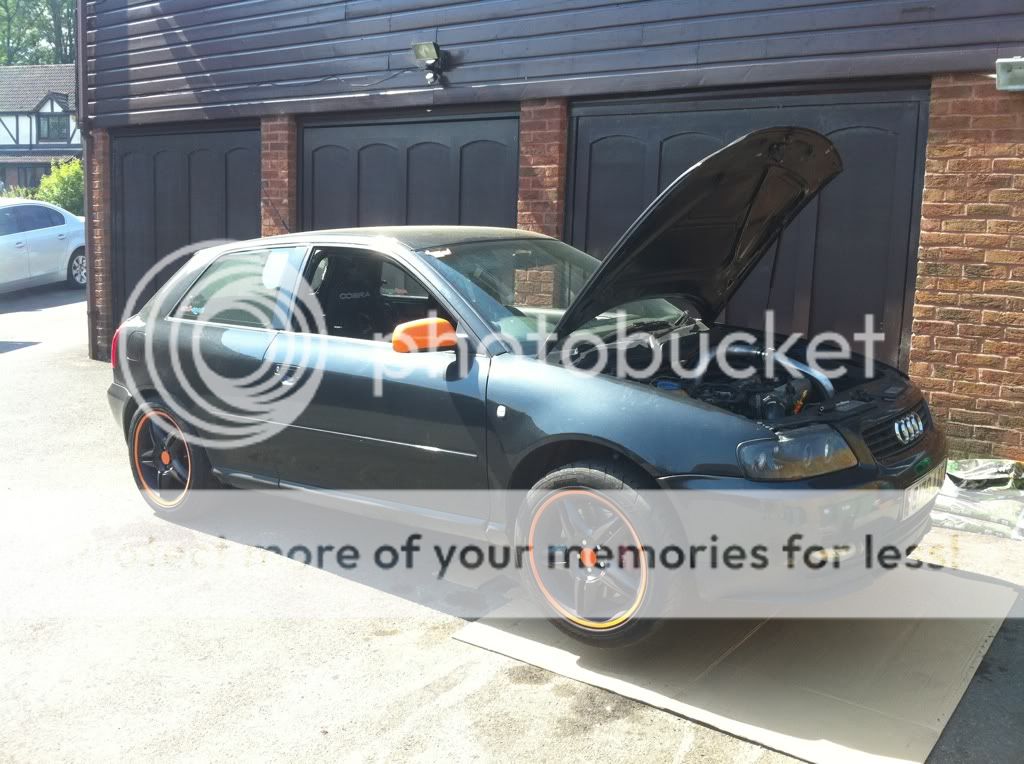
6 days to go until we leave for the Ring, and the car is almost ready
")
Suspension:
The standard setup at the front had no adjustment at all, and offered limited negative camber, and not too much castor.
We got hold of some LCR/TT cast lower wishbones, which as you can see in the pic below, move the wheel forwards a fair bit, increasing castor. They are also longer, with slotted ends, giving more neg camber:
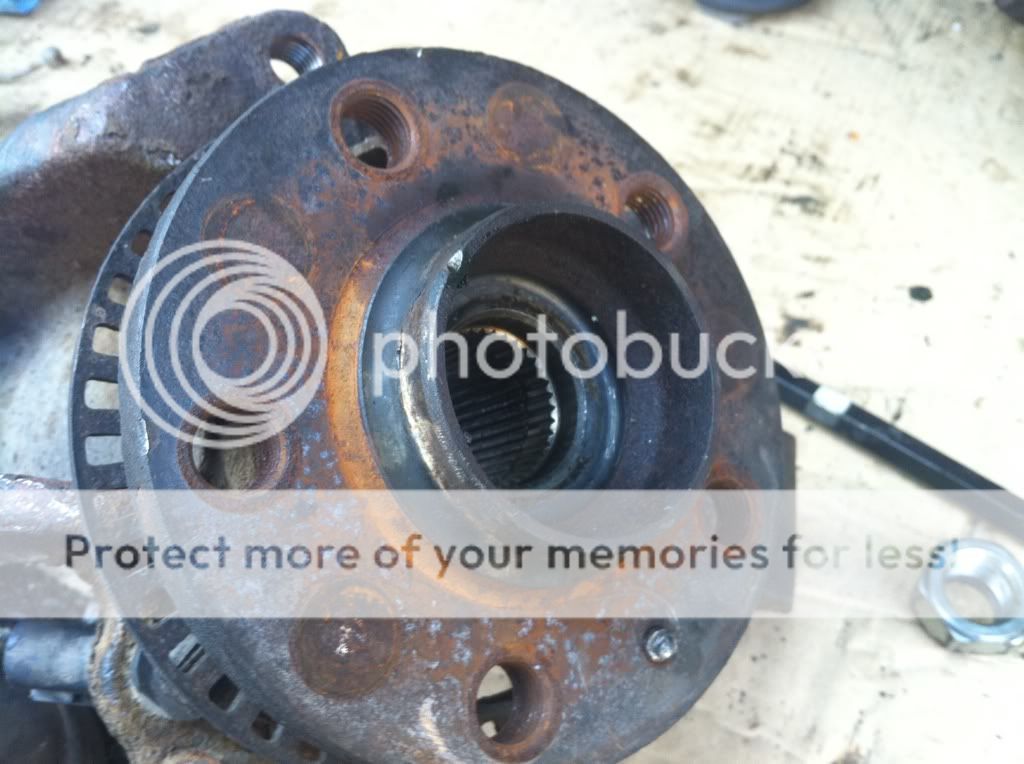
We also sourced some LCR hubs, which are longer in the lower section between the hub, and the lower ball joint
THis should correct the roll centre nicely, as it keeps the wishbones MUCH more level
Whilst it was out, I found a split CV boot on the nearside, and the joint itself had loads of play in it, from being run without grease for god knows how long, so I replaced the joint and boot with spares whilst I was there.
I had a bit of a nightmare when I first offered up the hubs onto my CV's, to find that the LCR uses bolt up CV joints, compared to the stud/nut type fixing of my 5 speed shafts. The LCR hubs had a strange steel extension piece inside, stopping me from getting my nut on to tighten it all up.
Thankfully, although these looked pretty permanent, they were no match for my chisel, and came out fairly easily in the end:
Leaving me with a hub centre identical to those I took off, and ready to bolt back together:
Another nice aspect of the LCR spec front end, is the steering arm mounting.
On the A3 setup, the track control arms mount above the hub steering arms, giving increased bump steer when the car is lowered.
On the LCR setup, the track rod ends fit underneath the steering arms, so reducing bump steer:
Just as well I changed it, as the bushes were completely shot!
This is probably in part, down to the severe coating of oil they've had, due to a leaky turbo oil feed, which brings me onto the next job!
TURBO:
The car has had a tiny oil leak for a while now, nothing that drops more than a drop or two over night, but enough to cover the engine bay on oil overtime, and it's slowly made its way down the bulkhead, and gotten onto the wishbone bushes and all sorts.
Obviously, I couldn't take it to the ring with a fluid leak, so over the easter weekend, I decided to tackle the job I'd been most avoiding.
Starting at 11am Saturday morning, after running a few errands, I got the car up on stands:
Horrible oily engine bay before starting:
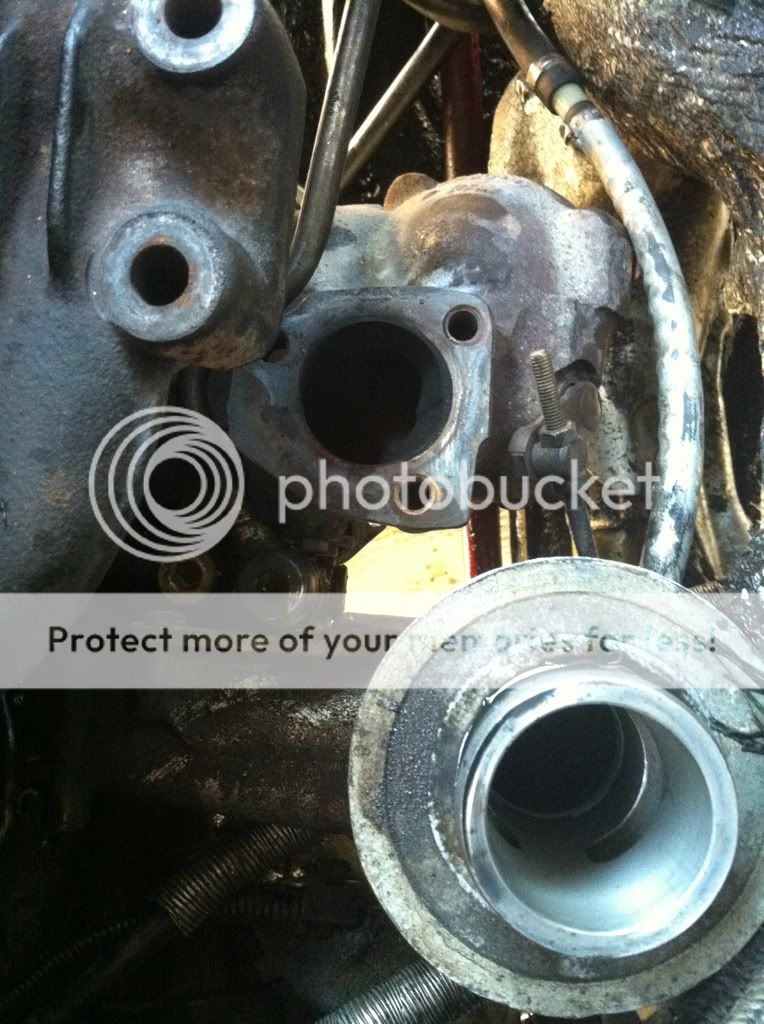
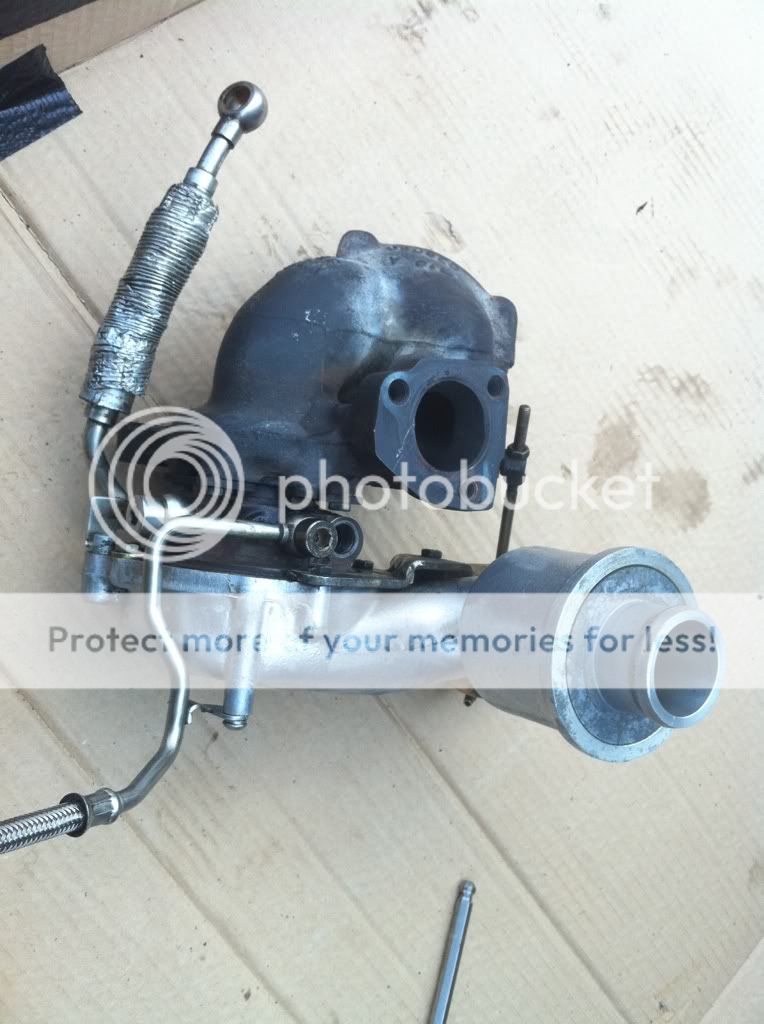
about 45 mins later, I'd dropped the downpipe and exhaust off, removed all the intake system, and unbolted the turbo from the manifold. This gave me access to the oil and water feed unions:
With those undone, I was able to tease the turbo out. It's pretty tight on space, but with some shuffling, it came out around the side of the block, from the top.
One VERY oily turbo:
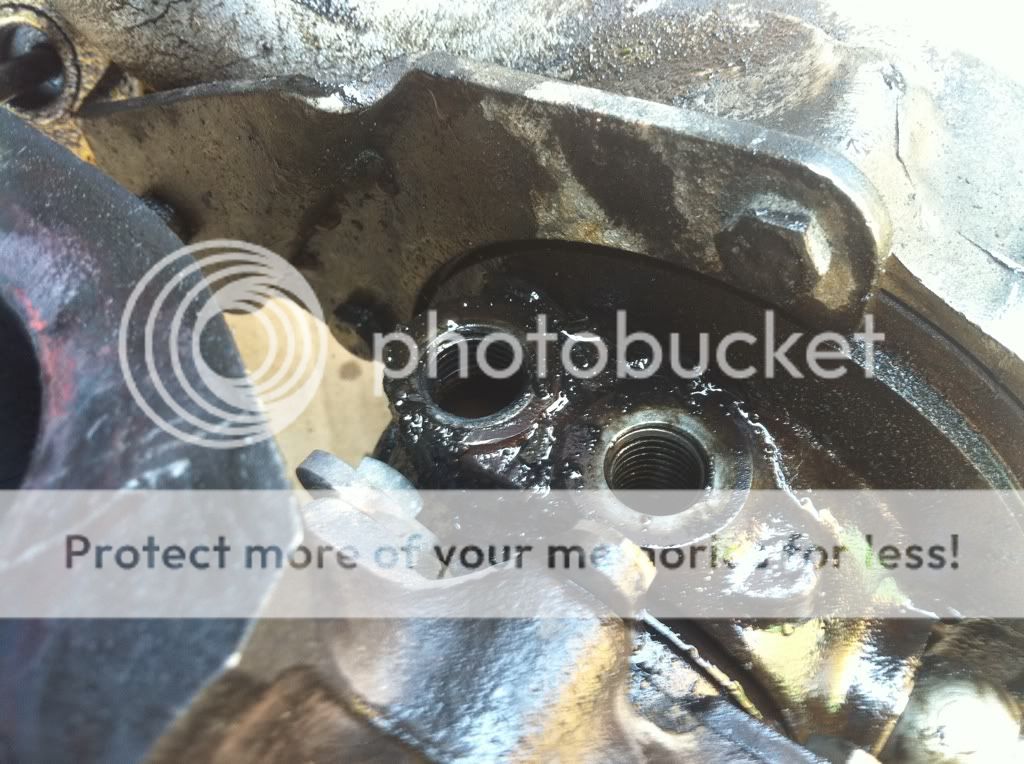
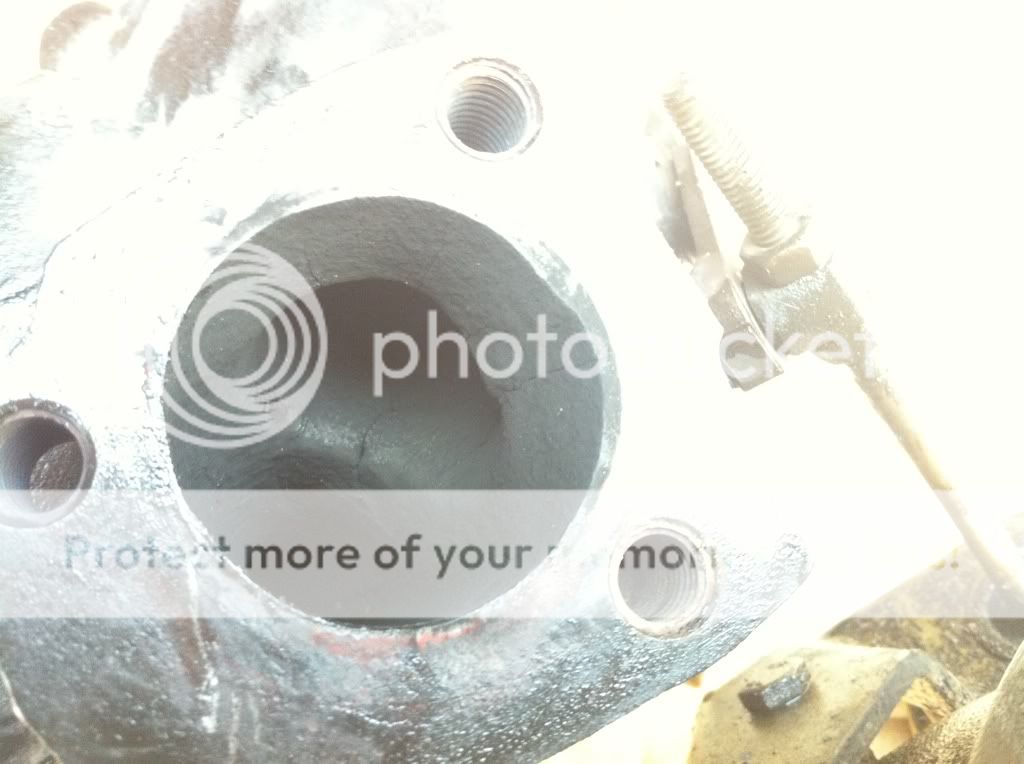
The offending area where the leak started:
And the reason why it's been leaking so bad:
As you can see, the crush washer on the oil feed was mangled! It wasn't me who fitted this turbo, but the bloke who did it clearly wrecked the washer when fitting it. odd how it hadnt leaked earlier really.
Few minutes work and the turbo was all cleaned up, ready for inspection:
Good news is, that the turbo has almost no play at all. No different to when it went on 40k miles ago, so that's OK.
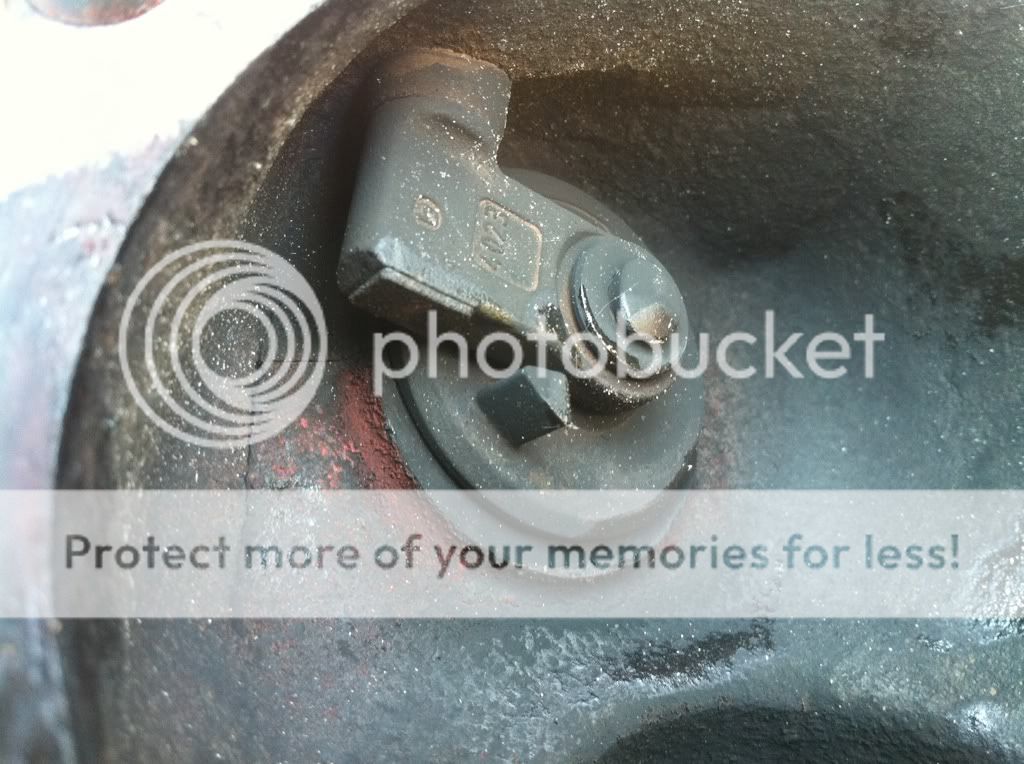
Bad news (sort of) is, that the good old ko3S is doing it's usual trick, and slowly cracking in just about every place possible on the hotside:
It seems like these turbos always crack, almost every one I've ever seen has had cracks in the exhaust housing. It's currently not seeming to effect it, but a new turbo will definitely be in order at the end of this year, regardless of these cracks.
For now though, it's still making 20+psi, and going well with no smoke, so I'll keep with it for now!
Exhaust manifold also has a typical ko3 crack in it, just for good measure!
New oil and washer feed crush washers to stop the leak returning:
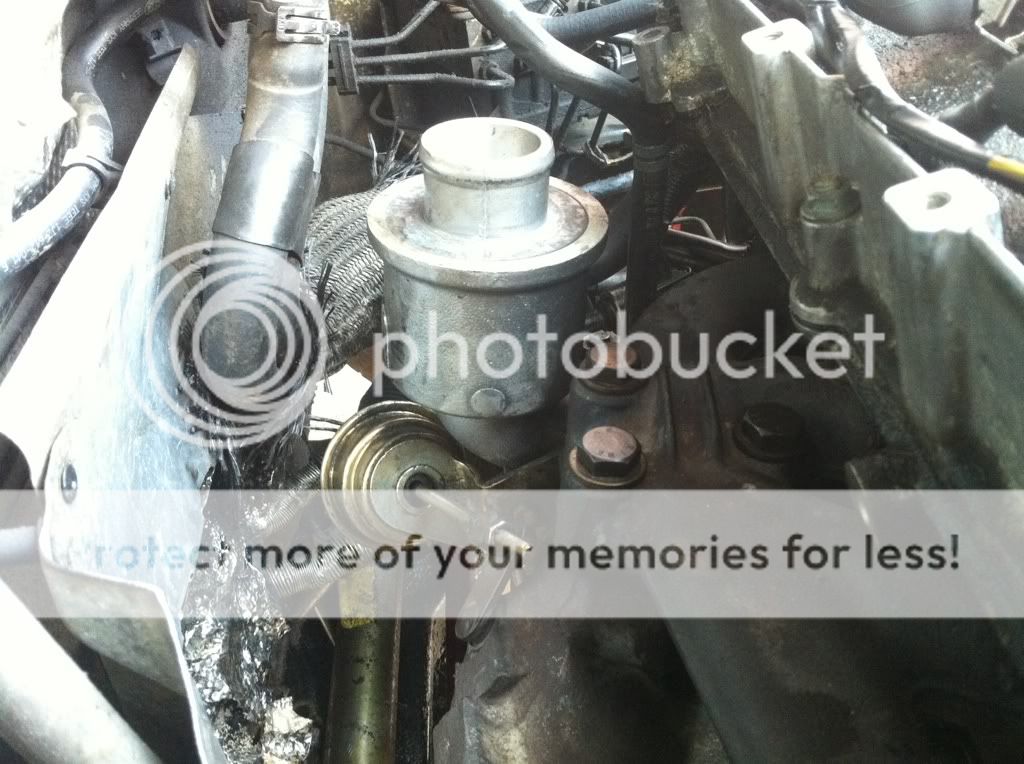
Turbo back in the bay, ready for the oil and water lines attaching:
Tricky water feed done, 3 crush washers and a spacer on this one, making it very fiddly to get back on. I took the pic to prove to myself that the lowest washer hadn't fallen away during assembly:
Turbo back in the bay, and all connected up bar the outlet to the IC.
Refilled with fluids, and turned the key, and it's sweet as a nut. No more leaks, and it's boosting fine, so happy days
Fast forward a week, and after a 4 day mini break with my Girlfriend, I did a bit more on this today:
After Castle combe, the tyres had worn very badly on the outer edges. annoyingly, to the point where we couldn't risk using them again, for fear of wearing them out on the one edge.
So, this morning, I headed over to my local pro tyre, who swapped the tyres round on the rims for me at an extortionate price:
This put the worn edge on the inside, giving me masses of wear on the outer edges, the tyres still have a good 3.5-4mm remaining, so hopefully they'll wear evenly now with the new sus.
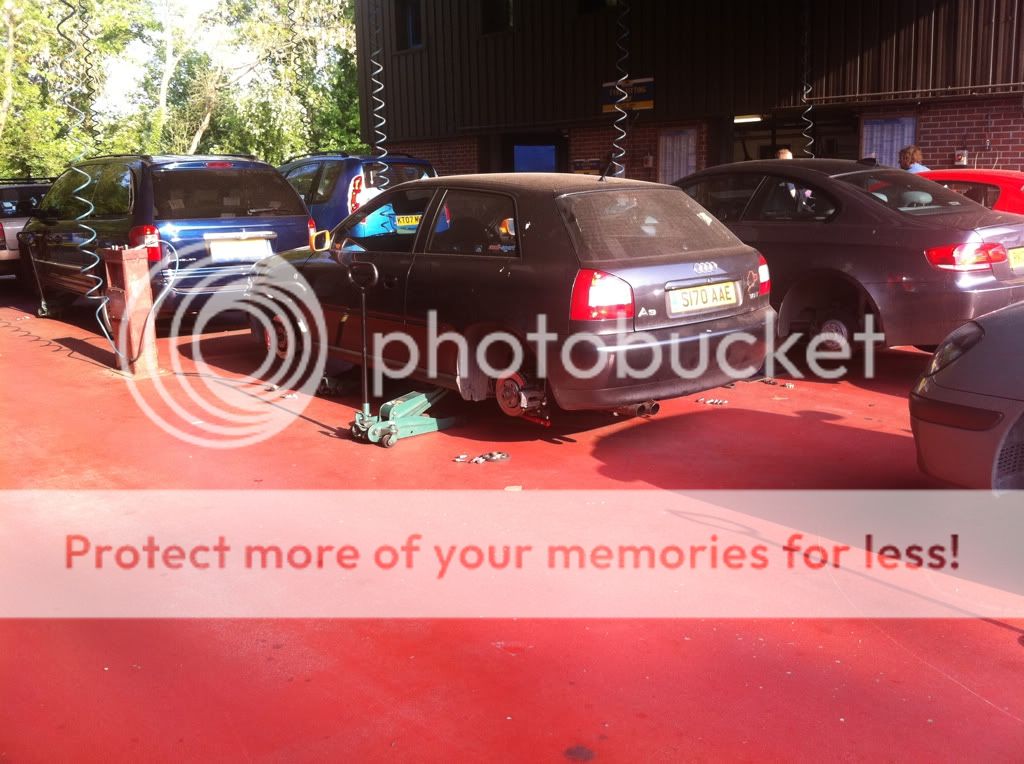
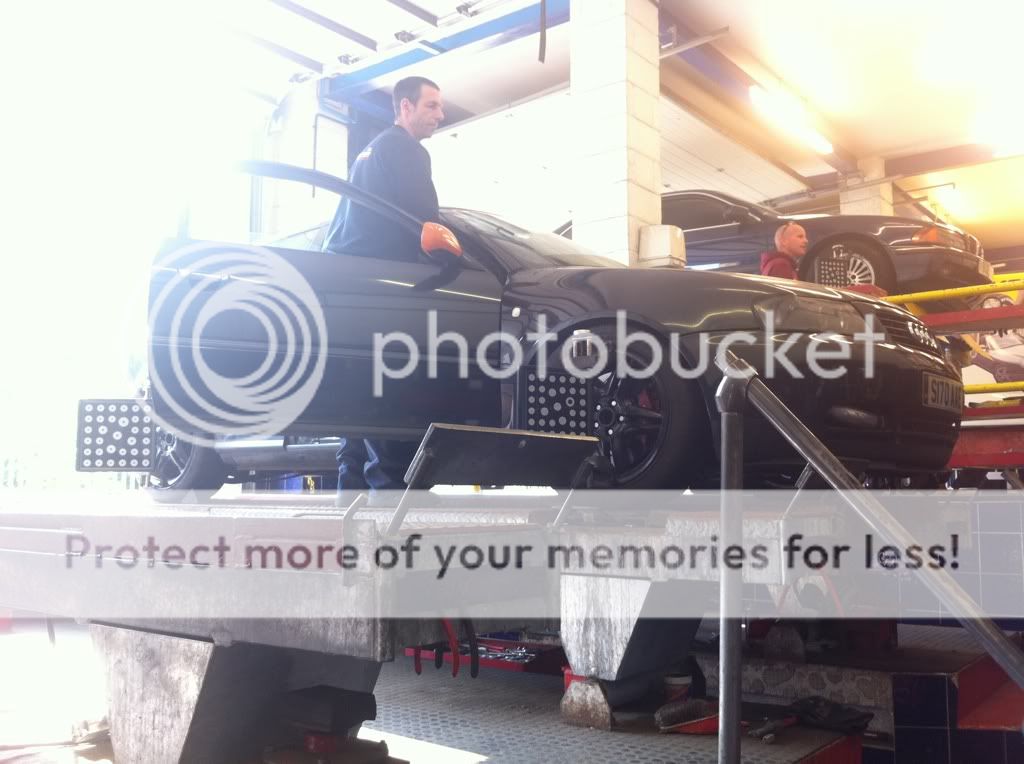
After the tyres were swapped, it was into the tracking bay, to have the new LCR spec front end setup:
Previously the A3 had 0.6 degrees neg camber on each side at the front, with around 6 degrees of castor.
With the camber adjustment on the wishbones at it's full extent, I've ended up with 1.75 degrees of neg camber at the front now, and 8.2 degrees castor, which feels MILES better.
The guy also centred the tracking to the rack, and NOT the steering wheel for a change, which was nice. The wheel was about 10 degrees out, so I whipped that off and centred it when I got home.
With that sorted, I decided it was about time I toned the colour scheme down a tad.
First up was to blend in the intercooler pipes a bit better, so they had to go black:
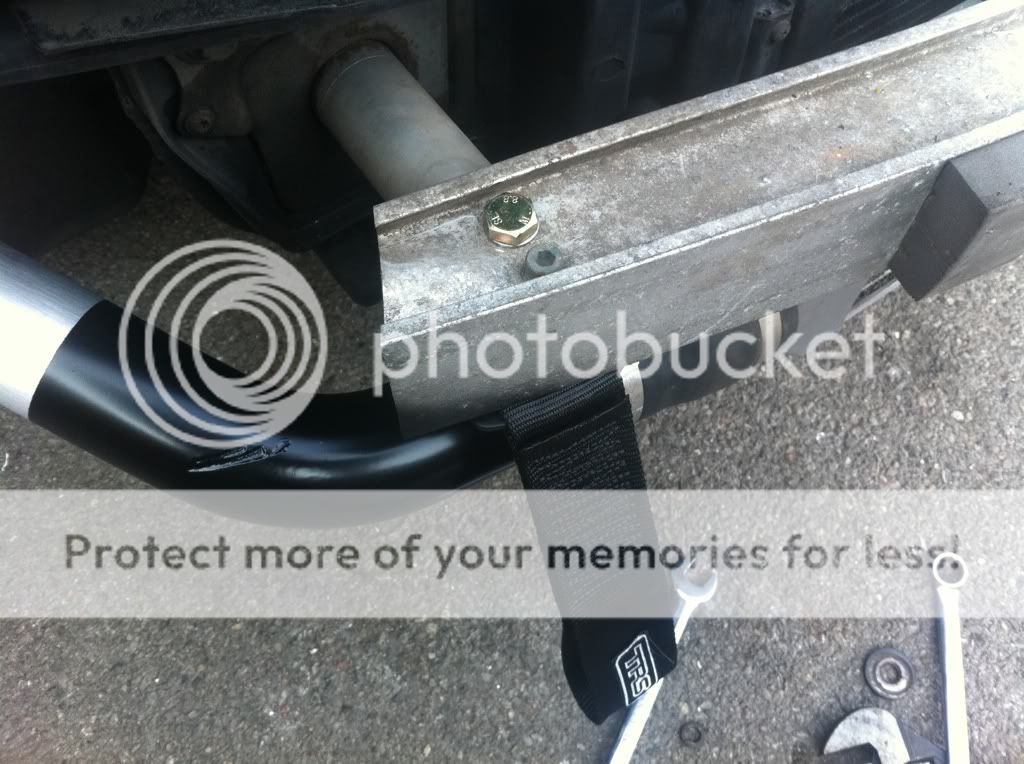
In my wisdome many years ago, I had decided that nothing was more important than getting an FMIC on the car. So much so, that I'd cut the towing eye off!
******.
a tow strap was required:
There seemed to be minimal mounting options for the tow strap that wouldn't involve cutting bodywork, so eventually, I decided to bolt it to the crash bar.
Rather than just bolt it through the ally crash bar, I decided to drill down through the runner onto which the crash bar mounts. This is bolted directly to the chassis rails, and also stops the crash bar crushing when it's bolted up:
I also took the time to relieve the bumper, where it's previously rubbed on the IC pipe quite badly.
Bumper back on with the IC pipes black, and the tow strap:
And finally,
I've decided the orange was a bit too OTT for me, so I've toned it down a load.
I had planned to paint the wheels silver, but I've run out of effort, so took the more easy option, of just removing the orange bits today:
The orange NorthLoop stickers are staying, as I'd like something to let people know I'm a member whilst out there, it's always nice to put faces to names
I think it definitely looks better without all the orange. They'll probably end up silver in the future, but for now, it's less chav, but still looks fairly purposeful.
Just got a new power steering pump to fit tomorrow, and it's ready!