WX51TXR
Polished Bliss
- Joined
- Mar 6, 2005
- Messages
- 1,452
- Reaction score
- 16
- Points
- 36
- Location
- AB51 0TH
- Website
- www.polishedbliss.co.uk
First car of the week, all done by Clark...
--
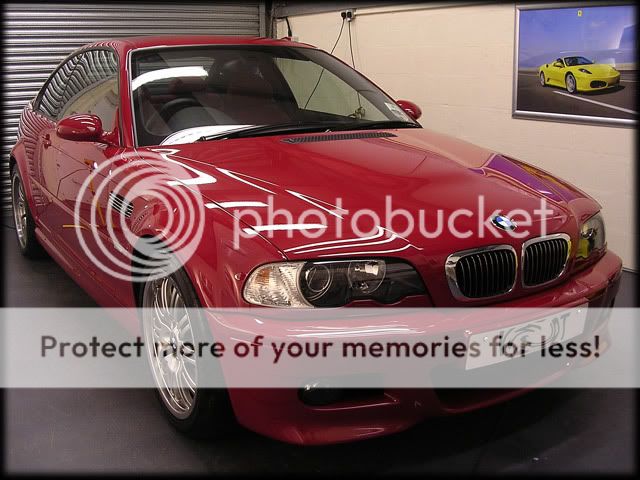
This was the latest detail, a full correction job on what was even admitted by the owner as a pretty neglected M3, here it is in the Unit yesterday morning looking pretty flat and dull, the paintwork was covered in swirls and RIDS:

The wheels were rather manky too....


Oh joy!
As i mentioned, the owner had amitted that he had got a bit lazy with the car and hadn't given it the attention it needed and deserved (the car has only done approx 30k but you wouldnt have guessed it to look at it), so this detail was hopefully to be what would give him a "kick up the ar$e" and make him look after it properly from now on
So, on with the detail:
9:30am:
A slight delayed start as i had to take the owner home after he dropped the car off, so once back i took the car outside ready to be washed:

This would be a good time to play with the new toy too, a nice new Karcher complete with hot water, ooooooooooh!

We've found that unless really dirty, most cars dont always need foamed as part of the pre-wash when rinsed at high pressure @ 35/40 degrees, and this was the case for the M3. So it was given a good rinse and i then set about cleaning the arches with Meguiars Super Degreaser cut 4:1 and door shuts etc cut 10:1.
Next up was the wheels, which were going to need a fair amount of work - just over 2 hours of work actually! this is what they looked like after a strong solution of Meguiars Wheel Brightener (menz 7.5 didnt do much, unsurprisingly):

I eventually got them as clean as possible with the use of Autosmarts Tardis and a clay bar, but obviously this took a while due to the design of the wheel!
At this point the heavens opened so i stopped taking pics and got on with the rest of the wash process, the car was washed with the 2BM before using nearly a litre of Tardis, as you can see below - the car was covered in tar spots:

The engine was soaked with Super Degreaser and rinsed @40 degrees after a few mins of dwelling time.
Last job was to clay the car, and i used Zymöl Lehm Clay for this as the paint was pretty rough. This was followed up with one last rinse @ 40 degrees and i then put the car inside to dry off as it was still pi$$ing down outside!
Total Wash time: 4.5 hours
14:00pm:
Once the car was dried off i taped up and took paint readings, which showed everything was nice and original at an average of 120 microns, although the lower parts and rear bumper were around the 85/90 mark.
I was going to need a fair bit of paint as the defects were bad, however due to the car being red (why do defects not show up that well on red?) they dont show that great on camera - yes they look bad enough but they were worse in the metal!

I did a test section with Menz IP 3.02 and a Meguiars Polishing Pad @1800rpm's. This did sweet f*ck all to be honest as what appeared to be swirls at first were in fact all random scratches (i'm sure there were some swirls under there too!), i'd have needed 2 or 3 hits per section to even achieve anything like an acceptable level of correction, this paint was pretty hard too as you would expect.
Luckily, we have just taken delivery of a bunch of new 3M stuff so i decided to try out the 3M Compounding Pad:

First impressions were "damn this thing is hard!", it makes the Megs Cutting Pad feel like a finishing pad!
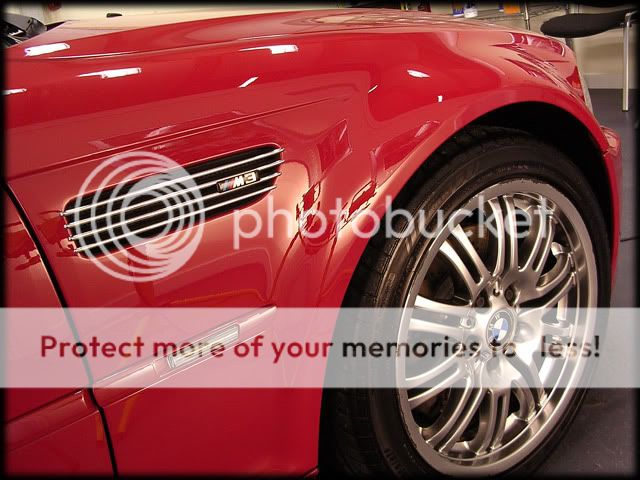
However, this is a good thing as this is what my new test section looked like after i'd worked the IP with the 3M pad@1800rpm's:

Result :thumb:
Combined with the 3M backing plate, i found the Compounding Pad a doddle to use, finding that it followed the contours of the panels with relative ease despite the firmness of its structure. A very high level of correction was achieved first time with several initial slow passes with firm pressure at the beginning of each set. The pad allowed for an LSP finish (although not as sharp as it could have been) but i wasnt paying too much attention in finishing down as i was going to go over the car again anyways
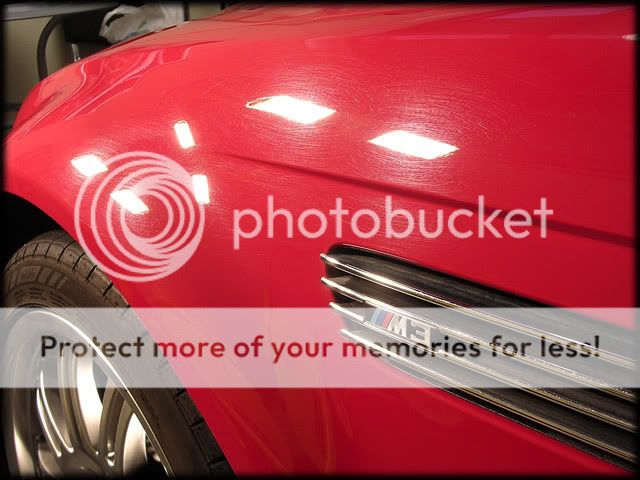
Here's a 50/50 on the door, you can see how much duller the un-polished side is:

And completed:

The side strips were also polished, with a Megs Polishing Pad & 3.02@1200rpm's, however i made very fast passes with minimul pressure to keep heat down:

Some people tend to leave these after they've removed the tape but i hate seeing them all swirly compared to the rest of the de-swirled paint
21:00pm -End of day 1:
--
This was the latest detail, a full correction job on what was even admitted by the owner as a pretty neglected M3, here it is in the Unit yesterday morning looking pretty flat and dull, the paintwork was covered in swirls and RIDS:
The wheels were rather manky too....
Oh joy!
As i mentioned, the owner had amitted that he had got a bit lazy with the car and hadn't given it the attention it needed and deserved (the car has only done approx 30k but you wouldnt have guessed it to look at it), so this detail was hopefully to be what would give him a "kick up the ar$e" and make him look after it properly from now on
So, on with the detail:
9:30am:
A slight delayed start as i had to take the owner home after he dropped the car off, so once back i took the car outside ready to be washed:
This would be a good time to play with the new toy too, a nice new Karcher complete with hot water, ooooooooooh!
We've found that unless really dirty, most cars dont always need foamed as part of the pre-wash when rinsed at high pressure @ 35/40 degrees, and this was the case for the M3. So it was given a good rinse and i then set about cleaning the arches with Meguiars Super Degreaser cut 4:1 and door shuts etc cut 10:1.
Next up was the wheels, which were going to need a fair amount of work - just over 2 hours of work actually! this is what they looked like after a strong solution of Meguiars Wheel Brightener (menz 7.5 didnt do much, unsurprisingly):
I eventually got them as clean as possible with the use of Autosmarts Tardis and a clay bar, but obviously this took a while due to the design of the wheel!
At this point the heavens opened so i stopped taking pics and got on with the rest of the wash process, the car was washed with the 2BM before using nearly a litre of Tardis, as you can see below - the car was covered in tar spots:
The engine was soaked with Super Degreaser and rinsed @40 degrees after a few mins of dwelling time.
Last job was to clay the car, and i used Zymöl Lehm Clay for this as the paint was pretty rough. This was followed up with one last rinse @ 40 degrees and i then put the car inside to dry off as it was still pi$$ing down outside!
Total Wash time: 4.5 hours
14:00pm:
Once the car was dried off i taped up and took paint readings, which showed everything was nice and original at an average of 120 microns, although the lower parts and rear bumper were around the 85/90 mark.
I was going to need a fair bit of paint as the defects were bad, however due to the car being red (why do defects not show up that well on red?) they dont show that great on camera - yes they look bad enough but they were worse in the metal!
I did a test section with Menz IP 3.02 and a Meguiars Polishing Pad @1800rpm's. This did sweet f*ck all to be honest as what appeared to be swirls at first were in fact all random scratches (i'm sure there were some swirls under there too!), i'd have needed 2 or 3 hits per section to even achieve anything like an acceptable level of correction, this paint was pretty hard too as you would expect.
Luckily, we have just taken delivery of a bunch of new 3M stuff so i decided to try out the 3M Compounding Pad:
First impressions were "damn this thing is hard!", it makes the Megs Cutting Pad feel like a finishing pad!
However, this is a good thing as this is what my new test section looked like after i'd worked the IP with the 3M pad@1800rpm's:
Result :thumb:
Combined with the 3M backing plate, i found the Compounding Pad a doddle to use, finding that it followed the contours of the panels with relative ease despite the firmness of its structure. A very high level of correction was achieved first time with several initial slow passes with firm pressure at the beginning of each set. The pad allowed for an LSP finish (although not as sharp as it could have been) but i wasnt paying too much attention in finishing down as i was going to go over the car again anyways
Here's a 50/50 on the door, you can see how much duller the un-polished side is:
And completed:
The side strips were also polished, with a Megs Polishing Pad & 3.02@1200rpm's, however i made very fast passes with minimul pressure to keep heat down:
Some people tend to leave these after they've removed the tape but i hate seeing them all swirly compared to the rest of the de-swirled paint
21:00pm -End of day 1: