

Clark@Polishedbliss
Professional Detailer
- Joined
- Feb 4, 2007
- Messages
- 226
- Reaction score
- 0
- Points
- 16
- Location
- Aberdeen
- Website
- www.polishedbliss.co.uk
This was a detail done over Saturday and Sunday on my mates new car, and seeings as he was offshore i had the bad luck of having to collect it and drive it out to the unit, i hate my job sometimes  it fairly shifts once up over 140mph+ (only kidding steve :wave: )
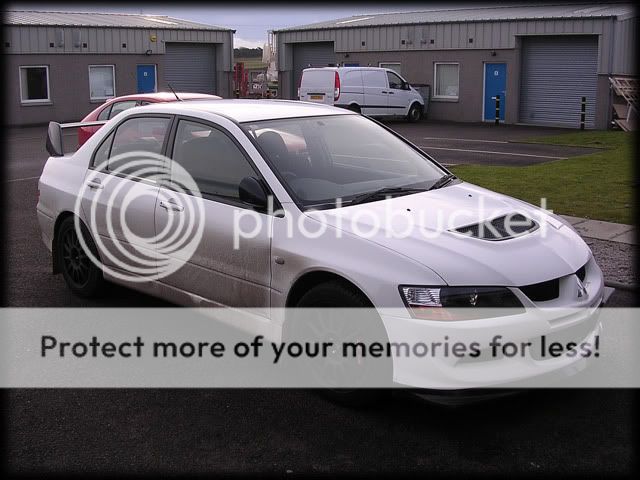
Apparantly there was only ever 2 white FQ400's made and this one was a bit dirty when i got to the unit as the roads were wet:

So, onto the wash stage:
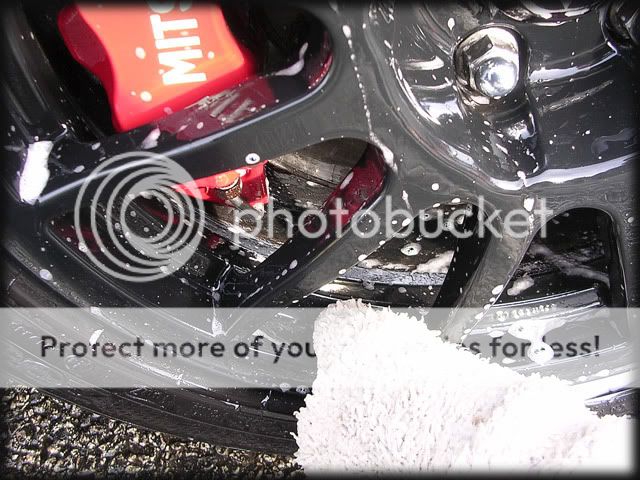
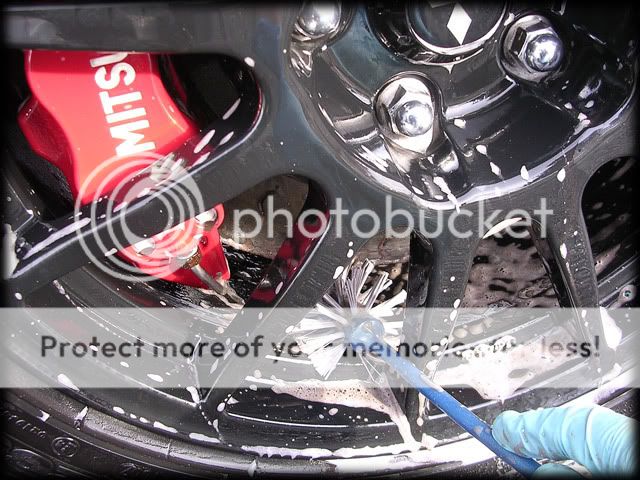
The car was firstly pre rinsed at high pressure with hot water (60 degrees) and i then cleaned the arches with Meguiars Superdegreaser and a brush.
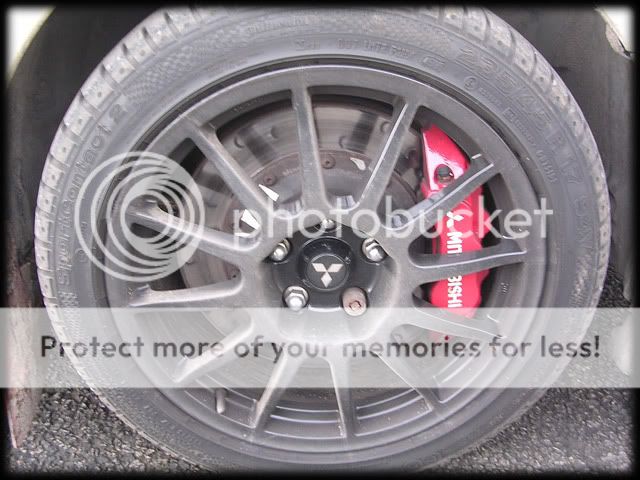
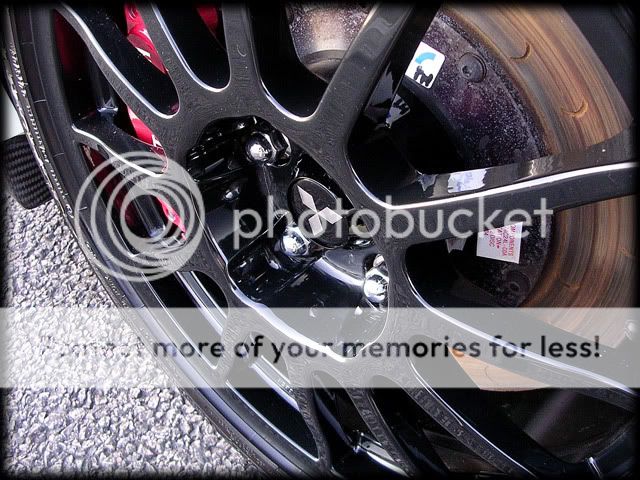
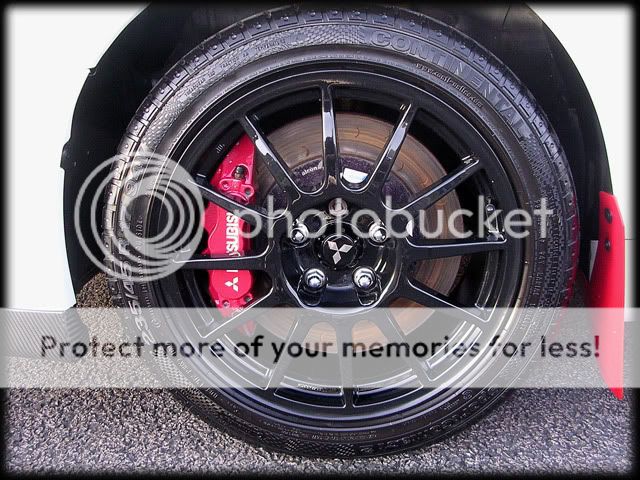
The wheels were then cleaned with Meguiars Wheel Brightner (10:1), using a MF mitt for the faces...
And a new wheel brush Rich gave me to test for the inner rims...
This brush is a good bit better than the ones off e-bay as its slightly firmer so gives better cleaning ability :thumb:
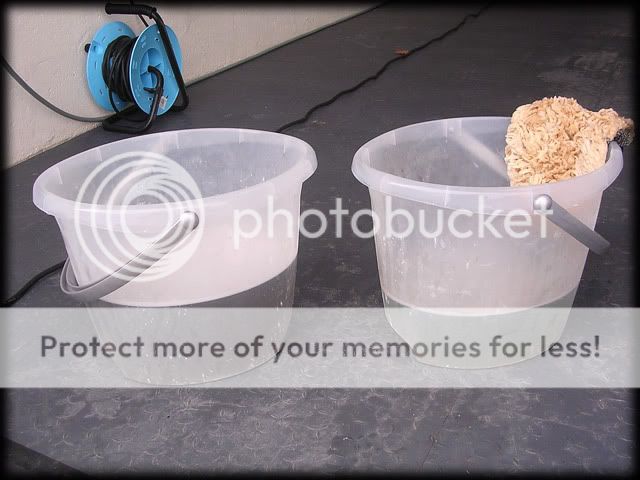
I then washed the car with the 2 bucket method and Meguiars Shampoo Plus:
Door shuts/petrol cap were pressure washed as this is quicker than agitating them with a mitt or brush, and once you get the hang of it you dont get any splash back into the interior (Still have some of my old Valeting skills :lol: )
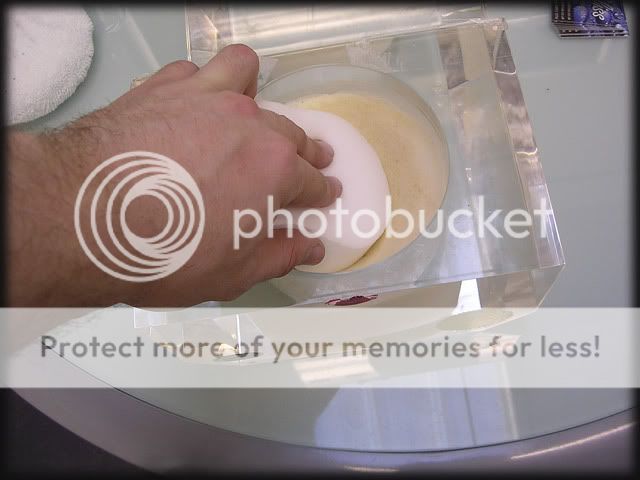
I then rinsed it off and took any small tar spots off with Autosmarts Tardis before putting it inside to clay, and for this i used Meguiars Aggressive Detailing Clay just to make sure it pulled all the dirt off the paint:
I then gave the car one final rinse at high pressure before sheeting the water off with an open ended hose, and used the leaf blower and waffle weave to dry it off.
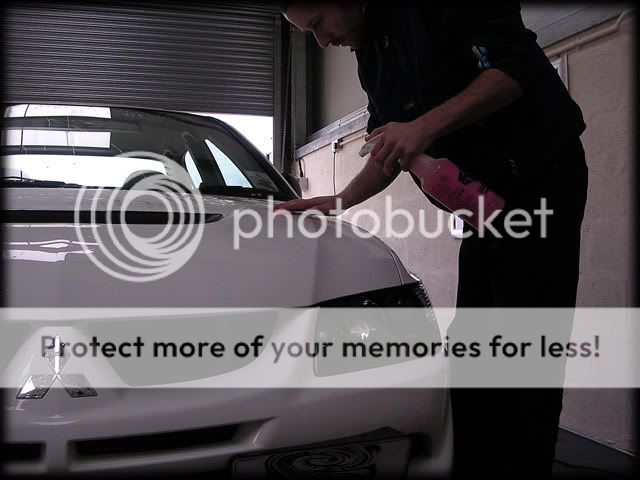
Now back inside, i taped the car up ready for polishing and then set about taking paint readings.
This is where i ran into trouble, as it was a wee bitty thin to say the least...

Very rarely did i get readings above 80/85 microns! Part of the reason the readings were so low were due to the fact the car was only single stage paint, but after spending ages with the composite gauge it revealed that there were only around 15-20 microns of pigment (white paint) in some areas
Steve had just told me to do what i felt was needed on the car, and i had initially wanted to fully correct the paint, but i knew this wasnt going to be possible as the car was sporting some pretty hefty nicks and scratches:

Even if the paint had been around the 120 mark alot of these still couldnt be fully removed by polishing/sanding, so this was some what of a consolation i guess...
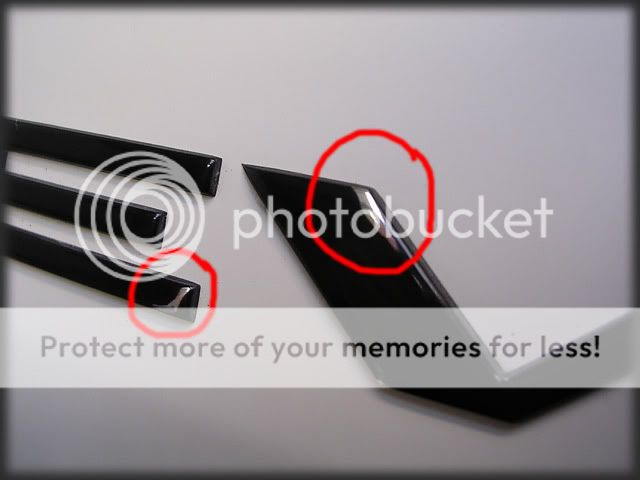
There were feint buffer trails in the paint too, which could possibly explain some of the low readings, its a pitty they didnt tape the badges up when whoever it was polished the car previously though:
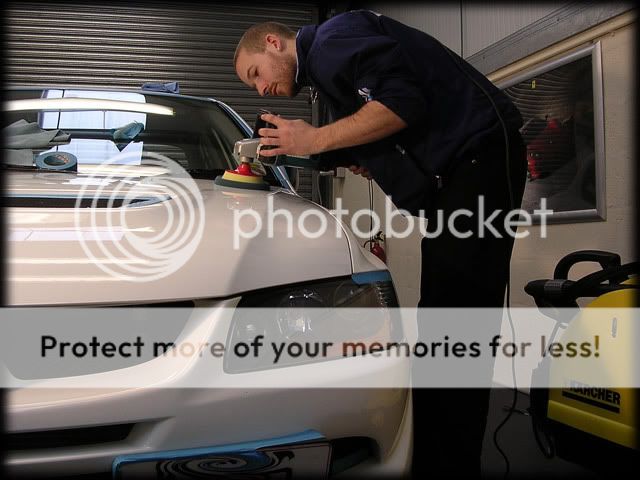
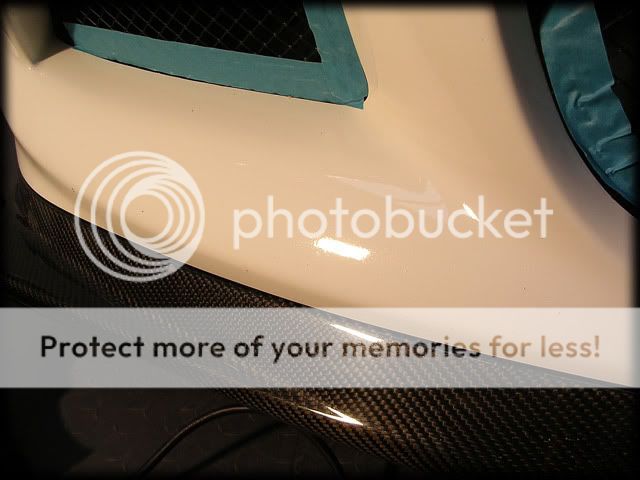
The paintwork was pretty flat and faded in places (quite surprising as there isnt alot of miles on the clock) so i was hopefull that a fairly light approach with the machine would be able to lift the dead paint and give a decent level of correction, luckily this was the case - using a 3M Finishing Pad & 106FF @1800rpm's:
Not 100% correction due to the RIDS but pretty good considering, at least with it being white they aren't too noticeable and the clarity of the paintwork returned:


Paint transfer:
Some panels were really dull:

Left side polished, right side not touched:

There was a funny mark on the rear quarters, where there was a perfect square shaped area of nice shiny paintwork:

My only guess was that this was possibly from the protective wrappings that were on the car when new?
They polished up easily though

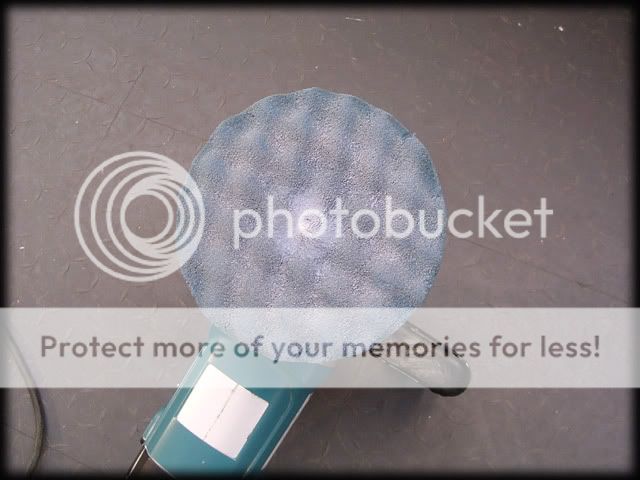
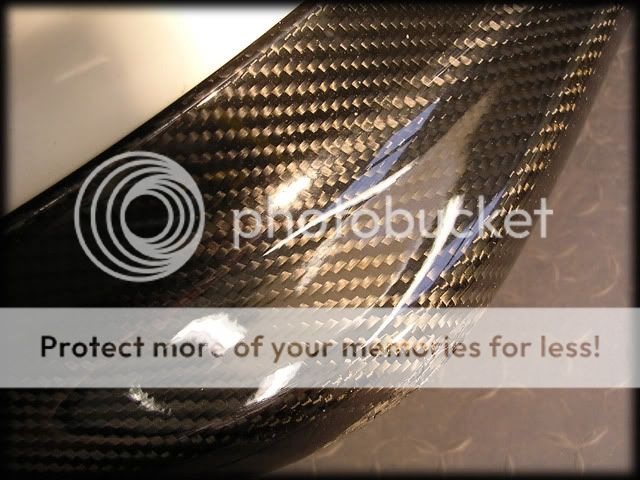
Luckily there was a bit more to play with when it came to polishing the carbon fibre rear wing, so i used 3.02 with a 4" polishing pad:


I used a 4" pad (@1200rpm's) for the front bumper and lights too:
Headlights before:

During:

After:

it fairly shifts once up over 140mph+ (only kidding steve :wave: )Apparantly there was only ever 2 white FQ400's made and this one was a bit dirty when i got to the unit as the roads were wet:
So, onto the wash stage:
The car was firstly pre rinsed at high pressure with hot water (60 degrees) and i then cleaned the arches with Meguiars Superdegreaser and a brush.
The wheels were then cleaned with Meguiars Wheel Brightner (10:1), using a MF mitt for the faces...
And a new wheel brush Rich gave me to test for the inner rims...
This brush is a good bit better than the ones off e-bay as its slightly firmer so gives better cleaning ability :thumb:
I then washed the car with the 2 bucket method and Meguiars Shampoo Plus:
Door shuts/petrol cap were pressure washed as this is quicker than agitating them with a mitt or brush, and once you get the hang of it you dont get any splash back into the interior (Still have some of my old Valeting skills :lol: )
I then rinsed it off and took any small tar spots off with Autosmarts Tardis before putting it inside to clay, and for this i used Meguiars Aggressive Detailing Clay just to make sure it pulled all the dirt off the paint:
I then gave the car one final rinse at high pressure before sheeting the water off with an open ended hose, and used the leaf blower and waffle weave to dry it off.
Now back inside, i taped the car up ready for polishing and then set about taking paint readings.
This is where i ran into trouble, as it was a wee bitty thin to say the least...
Very rarely did i get readings above 80/85 microns! Part of the reason the readings were so low were due to the fact the car was only single stage paint, but after spending ages with the composite gauge it revealed that there were only around 15-20 microns of pigment (white paint) in some areas
Steve had just told me to do what i felt was needed on the car, and i had initially wanted to fully correct the paint, but i knew this wasnt going to be possible as the car was sporting some pretty hefty nicks and scratches:
Even if the paint had been around the 120 mark alot of these still couldnt be fully removed by polishing/sanding, so this was some what of a consolation i guess...
There were feint buffer trails in the paint too, which could possibly explain some of the low readings, its a pitty they didnt tape the badges up when whoever it was polished the car previously though:
The paintwork was pretty flat and faded in places (quite surprising as there isnt alot of miles on the clock) so i was hopefull that a fairly light approach with the machine would be able to lift the dead paint and give a decent level of correction, luckily this was the case - using a 3M Finishing Pad & 106FF @1800rpm's:
Not 100% correction due to the RIDS but pretty good considering, at least with it being white they aren't too noticeable and the clarity of the paintwork returned:
Paint transfer:
Some panels were really dull:
Left side polished, right side not touched:
There was a funny mark on the rear quarters, where there was a perfect square shaped area of nice shiny paintwork:
My only guess was that this was possibly from the protective wrappings that were on the car when new?
They polished up easily though
Luckily there was a bit more to play with when it came to polishing the carbon fibre rear wing, so i used 3.02 with a 4" polishing pad:
I used a 4" pad (@1200rpm's) for the front bumper and lights too:
Headlights before:
During:
After:


 Wow...I`d love one of those as a weekend toy-superb work as ever Rich.:thumbsup: