Clark@Polishedbliss
Professional Detailer
- Joined
- Feb 4, 2007
- Messages
- 226
- Reaction score
- 0
- Points
- 16
- Location
- Aberdeen
- Website
- www.polishedbliss.co.uk
Well this was my most enjoyable detail yet in the whole time Ive been a professional detailer. The owner has recently signed up for a maintenance contract with us and Rich had originally booked the car in for 3 days to allow for all the little details to be done to the standard we would like, but due to a couple of people re-arranging dates for their details I ended up getting the car for the whole week to play with!
Some of you may be thinking that a week on one car is a bit excessive and surely not needed but as you will see in the write up below, this isnt necessarily the case when were talking about the world of detailing! The owners last Ferrari had been detailed by a different company previously who didnt do a particularly good job so this made me even more determined to get his new pride and joy as spot on as possible... :thumb:
So, on with the detail:
Monday
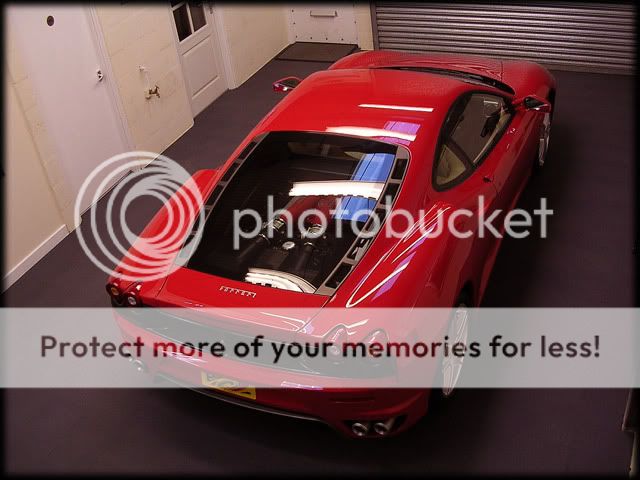
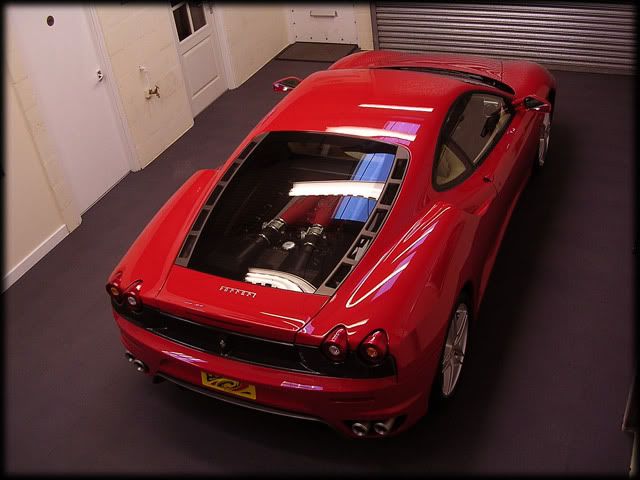
The car arrived at 9am sharp, not looking too bad it shouldnt really as theres only just under 800 miles on the clock so it was pretty clean to be fair:

Firstly, the car was pre-rinsed at high pressure @40 degrees:

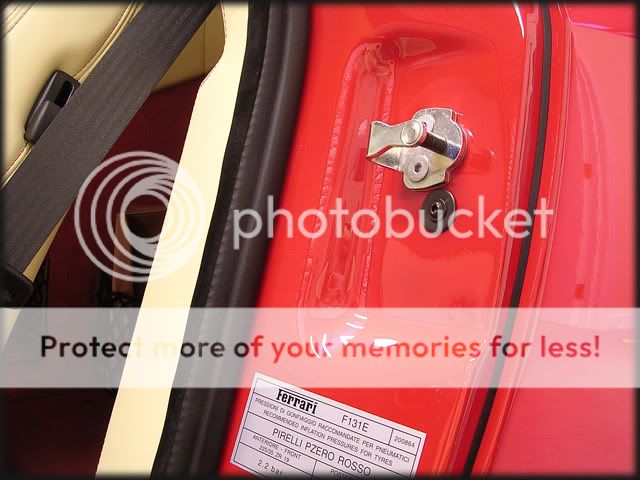
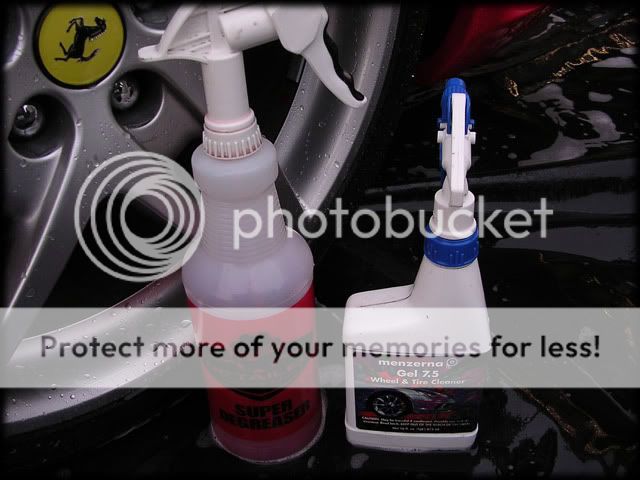
Meguiars Super Degreaser was used to clean the arches and tyres, with Menzerna 7.5 being the choice for the wheels and calipers:


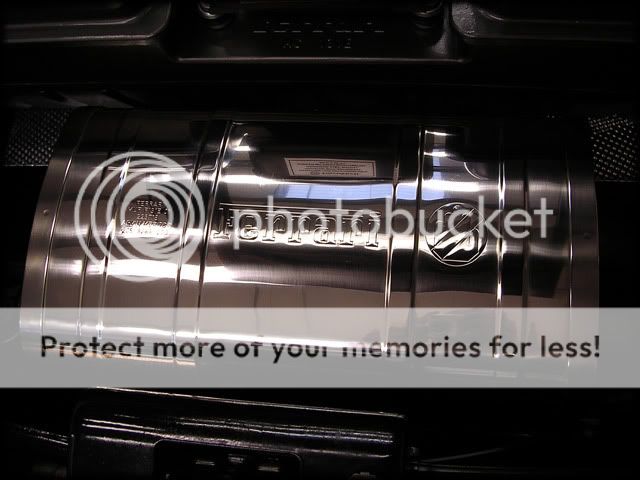
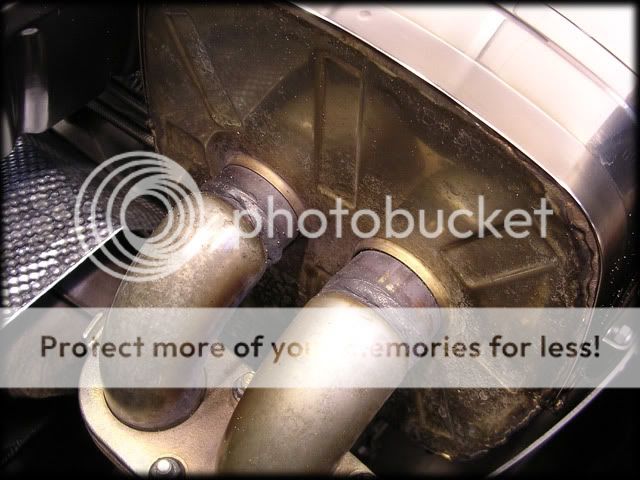
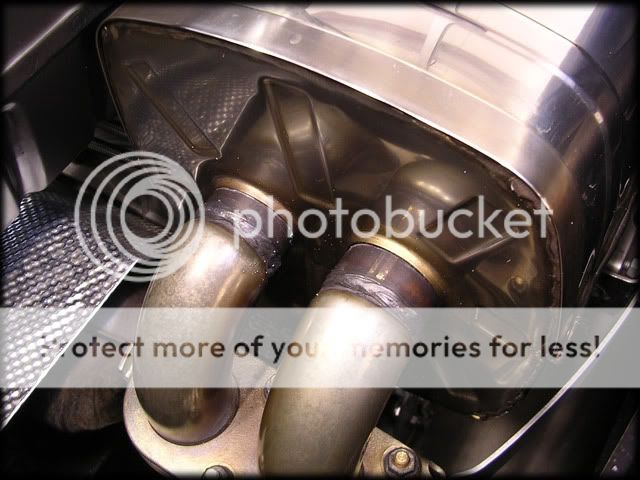
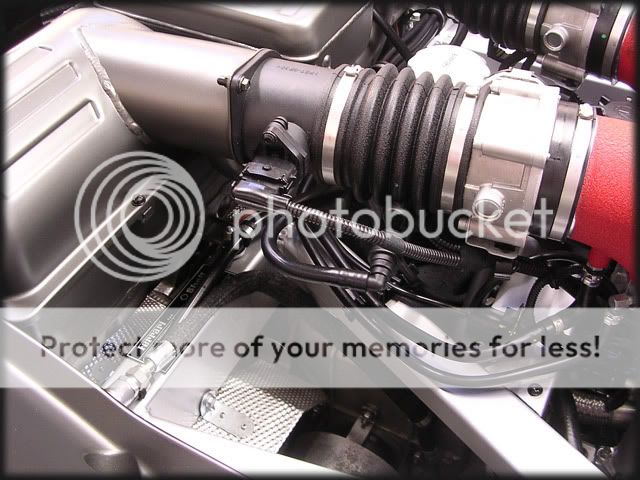
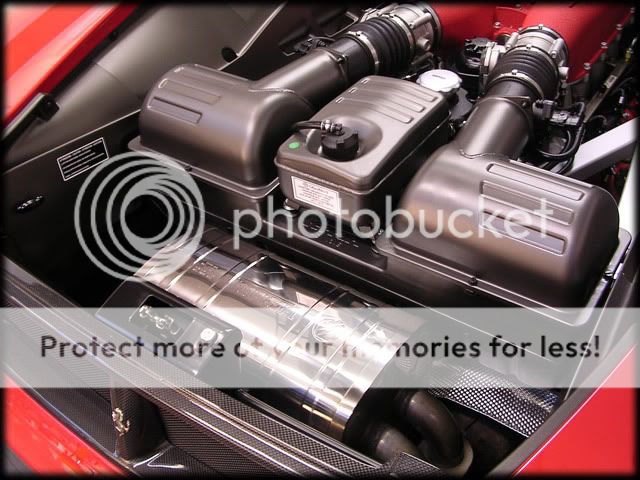
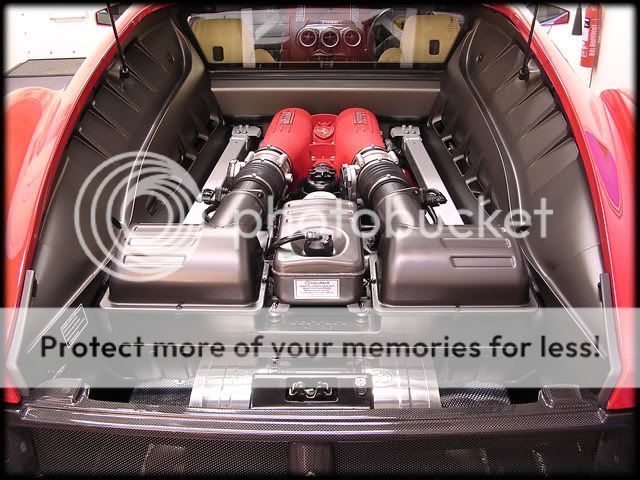
The car was then washed with the 2 bucket method and Meguiars Shampoo Plus, then clayed with Meguiars Mild Detailing Clay. No need for Tardis on this detail as there was very little in the way of tar stuck to the car at all. I then gave the engine a quick going over with a MF mitt as I didnt want to risk pressure washing this one (being rather expensive and Italian! ).
).
The car was then rinsed off:

I then dried it off with a waffle weave and the leaf blower.
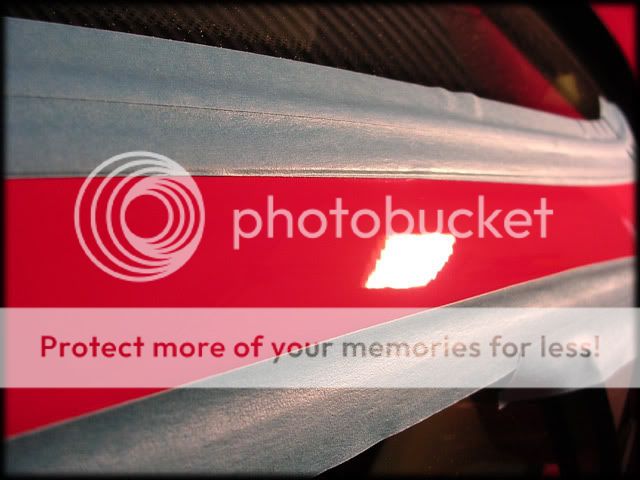
Next stage was to get the car inside and all taped up ready for polishing, then I took PTG readings:

The car was incredibly consistent throughout, reading from 180-210 microns so a nice healthy amount of paint all round.
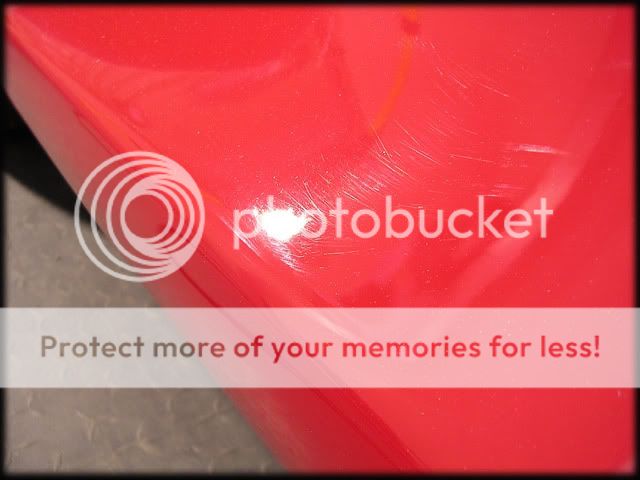
Defects werent too bad, swirls were at a minimum really:

Whilst the swirls were minimal, there were quite a lot of RIDS and random nicks in the paint, more than likely installed from the dealership as there was product residue on the trims and the car just had that washed with a sponge look about it.
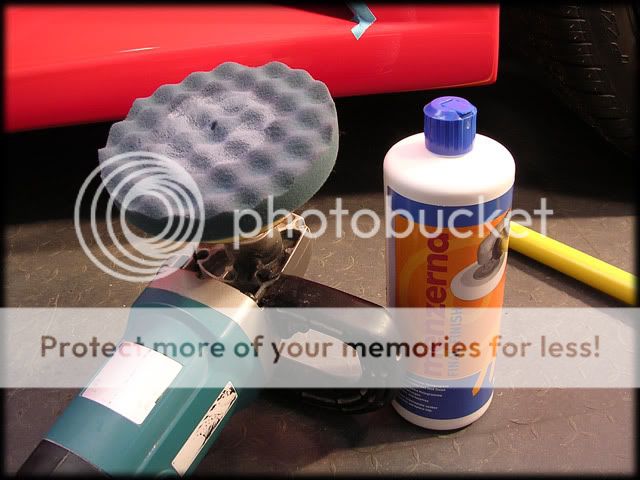
I initially started out with Menzerna 3.02 on a Meguiars Polishing Pad but the Menz was playing up a wee bit so I swapped to Meguiars 83:

This broke down perfectly

Leaving a perfect finish


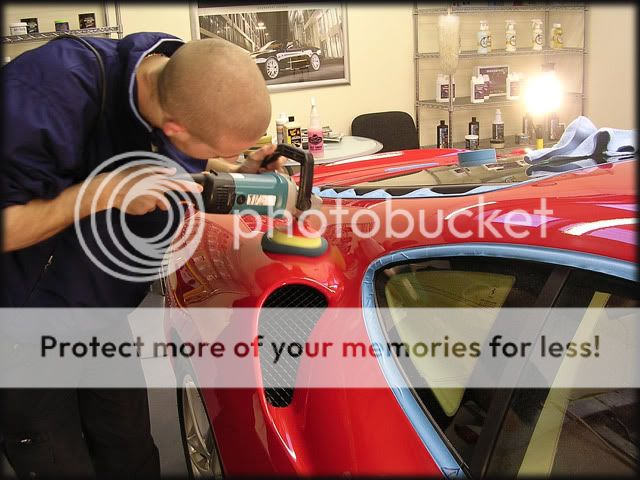
I completed the de-swirling of all the larger areas of bodywork with the rotary, leaving the smaller/tighter areas for the Megs machine the following day.
7pm and end of day 1
Tuesday
The start of day 2 began at 1 o clock (I was in court in the morning) and saw the new Meguiars Machine being brought out for its first outing to de-swirl the smaller areas. I used a 4 cutting pad with Menz 3.02:


First impressions of the machine were very good It feels a lot more refined than the PC and definitely produces a good bit more power but with less vibrations. I dont like using the PC as I get numb hands after ten or 15 minutes but I operated the Megs machine for a good few hours with no problems at all.
Downsides in my eyes are the large guard round the counter weight, which can make centering a spot pad when using a 3.5 backing plate rather difficult. I found it quicker to remove the backing plate, center the pad and then screw it back in. The other downside is again with the guard, due to its size I would have preferred it to have a rubber coating or something similar instead of metal, as the chances of possible damage to the paint when coming in contact with the guard are quite high due to its size (chances are increased further when working on a car such as the Ferrari with its different curves and angles). This is why you can see I have wrapped our one in masking tape in the pics above.
Other than that, I was quite impressed with the machine and I like the design of the wrap around handle.
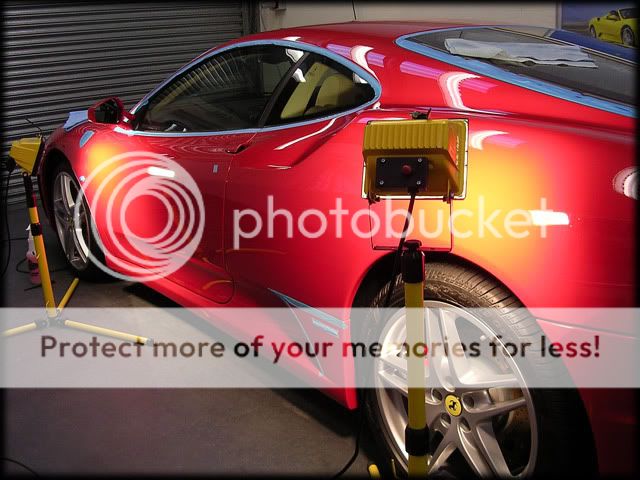
Below are a few pics of the correction work as I progressed around the car, using the machine at speed 5:

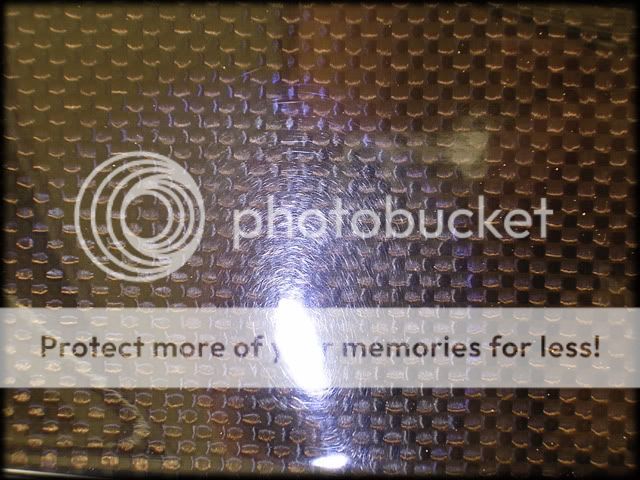
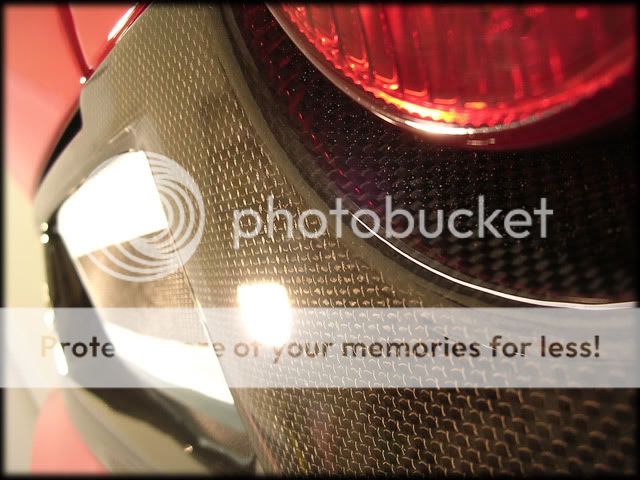
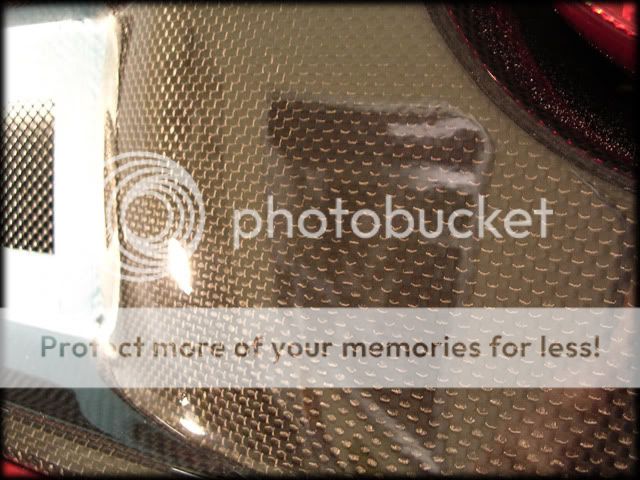
before:
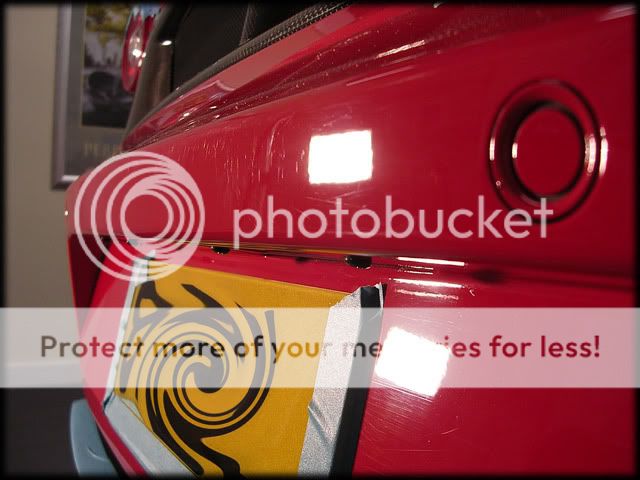
after (excuse the smears):

before:

after:

Some of you may be thinking that a week on one car is a bit excessive and surely not needed but as you will see in the write up below, this isnt necessarily the case when were talking about the world of detailing! The owners last Ferrari had been detailed by a different company previously who didnt do a particularly good job so this made me even more determined to get his new pride and joy as spot on as possible... :thumb:
So, on with the detail:
Monday
The car arrived at 9am sharp, not looking too bad it shouldnt really as theres only just under 800 miles on the clock so it was pretty clean to be fair:
Firstly, the car was pre-rinsed at high pressure @40 degrees:
Meguiars Super Degreaser was used to clean the arches and tyres, with Menzerna 7.5 being the choice for the wheels and calipers:
The car was then washed with the 2 bucket method and Meguiars Shampoo Plus, then clayed with Meguiars Mild Detailing Clay. No need for Tardis on this detail as there was very little in the way of tar stuck to the car at all. I then gave the engine a quick going over with a MF mitt as I didnt want to risk pressure washing this one (being rather expensive and Italian!
).The car was then rinsed off:
I then dried it off with a waffle weave and the leaf blower.
Next stage was to get the car inside and all taped up ready for polishing, then I took PTG readings:
The car was incredibly consistent throughout, reading from 180-210 microns so a nice healthy amount of paint all round.
Defects werent too bad, swirls were at a minimum really:
Whilst the swirls were minimal, there were quite a lot of RIDS and random nicks in the paint, more than likely installed from the dealership as there was product residue on the trims and the car just had that washed with a sponge look about it.
I initially started out with Menzerna 3.02 on a Meguiars Polishing Pad but the Menz was playing up a wee bit so I swapped to Meguiars 83:
This broke down perfectly
Leaving a perfect finish
I completed the de-swirling of all the larger areas of bodywork with the rotary, leaving the smaller/tighter areas for the Megs machine the following day.
7pm and end of day 1
Tuesday
The start of day 2 began at 1 o clock (I was in court in the morning) and saw the new Meguiars Machine being brought out for its first outing to de-swirl the smaller areas. I used a 4 cutting pad with Menz 3.02:
First impressions of the machine were very good It feels a lot more refined than the PC and definitely produces a good bit more power but with less vibrations. I dont like using the PC as I get numb hands after ten or 15 minutes but I operated the Megs machine for a good few hours with no problems at all.
Downsides in my eyes are the large guard round the counter weight, which can make centering a spot pad when using a 3.5 backing plate rather difficult. I found it quicker to remove the backing plate, center the pad and then screw it back in. The other downside is again with the guard, due to its size I would have preferred it to have a rubber coating or something similar instead of metal, as the chances of possible damage to the paint when coming in contact with the guard are quite high due to its size (chances are increased further when working on a car such as the Ferrari with its different curves and angles). This is why you can see I have wrapped our one in masking tape in the pics above.
Other than that, I was quite impressed with the machine and I like the design of the wrap around handle.
Below are a few pics of the correction work as I progressed around the car, using the machine at speed 5:
before:
after (excuse the smears):
before:
after: