WX51TXR
Polished Bliss
- Joined
- Mar 6, 2005
- Messages
- 1,452
- Reaction score
- 16
- Points
- 36
- Location
- AB51 0TH
- Website
- www.polishedbliss.co.uk
Another one written up by Clark for DW, copied here by me!
---
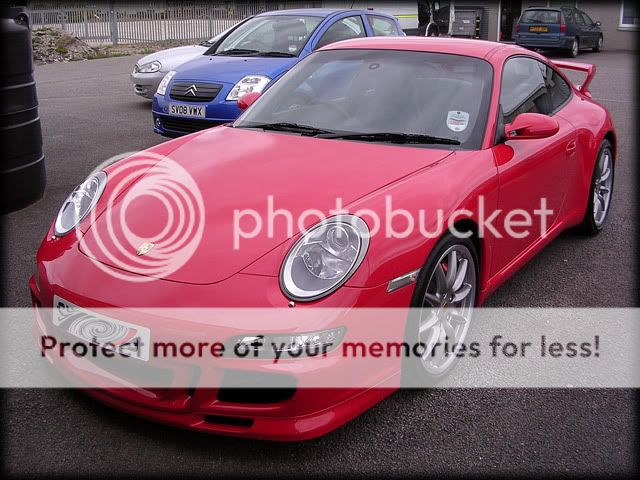
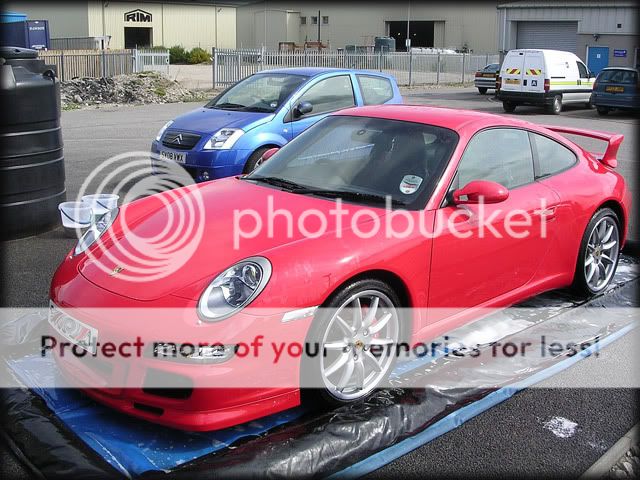
Some of you may recognise this car as i've posted it before when it first had a protection detail, but this time round it was in for 3 days for the start of a new Maintainance Plan and its first major correction detail")
As always, it turned up looking pretty clean already:

And as always, i started with the pre-foam:

This was left to dwell and then rinsed off before i then set about cleaning the wheels.
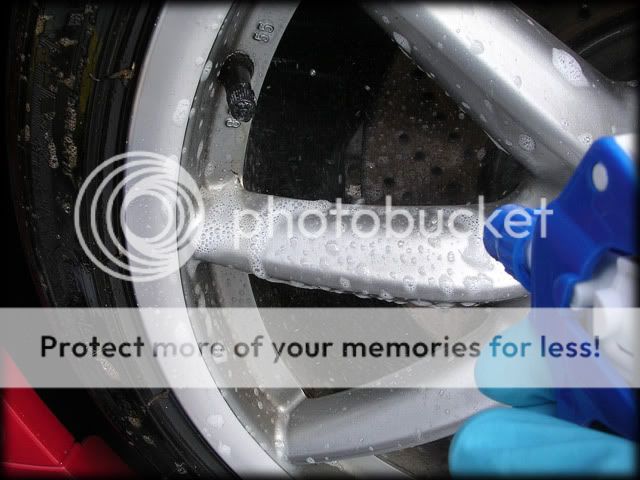
Menzerna 7.5 was applied and then agitated with a MF mitt:
The tyres were scrubbed too:

I then gave the arches a good clean with a long brush and Megs Superdegreaser.
The car was then washed with the 2BM method and rinsed off:
I applied Autosmart Tardis to the lower half of the car and wheels to remove any minor tar spots, gave the car a final rinse off and then put it inside ready for claying. I used Aggressive Detailing Clay as there was quite alot of contamination on the top half of the car including some stubborn bits of tree sap.
Once all dried off i taped up all the necessary bits:

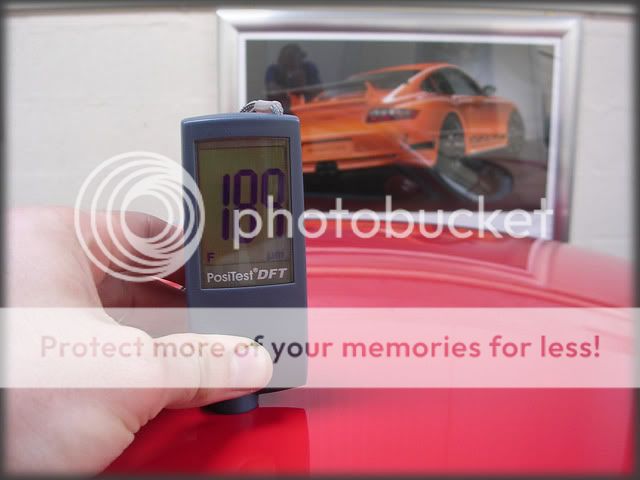
Then took paint readings. This particular car was pretty thick on all the metal panels, averaging on the 150-200 micron mark:
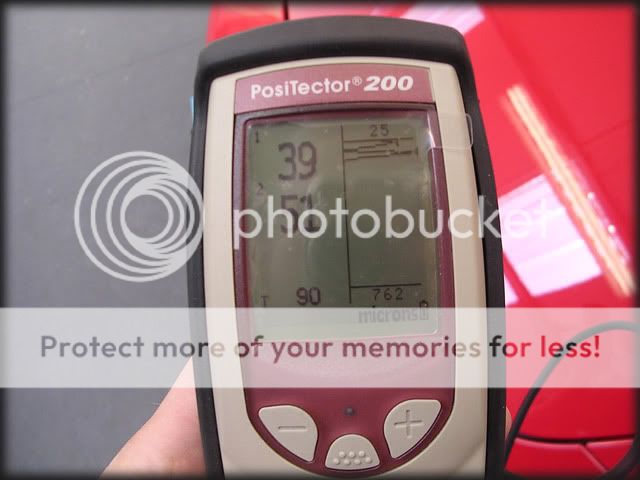
Plastics were lower but still fairly healthy:
The car was booked in for 3 days as the paint was pretty swirly and had a generous helping of RIDS which i didnt know if i was going to have to wetsand or not so we made sufficient time available incase this was needed.
Red isnt the greatest colours to capture defect pics but you get the idea:


If you're a regular reader of my write ups then you'll know that i've had my fair shair of Porsches with "sticky paint". Unfortunately this one was no different but as i had already prepared myself for it, it came as no surprise
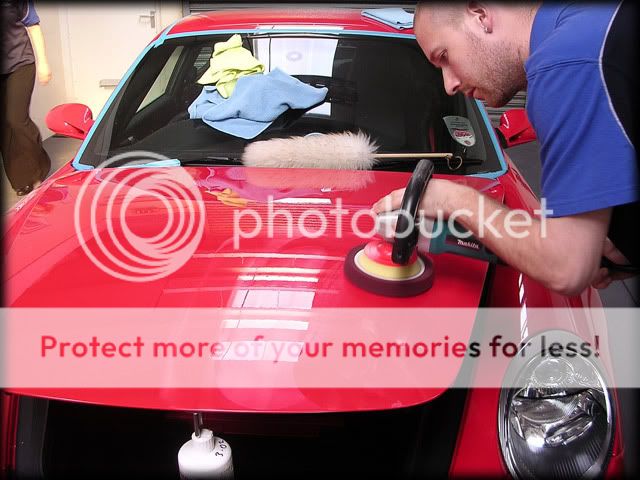
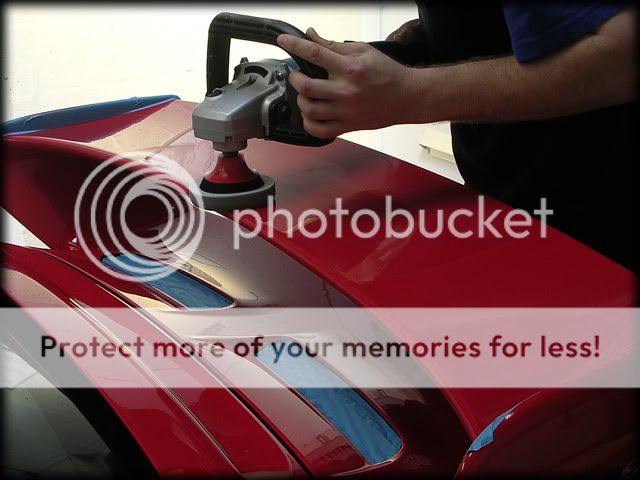
I played around with some polish and pad combinations that at least half worked on the sticky paint and eventually settled on Menzerna PO9L and a Megs Cutting Pad - this time using the slow cut method which at times worked pretty well and generated very little heat:
Luckily those cars with sticky paint tend to be on the softer side so defect correction was excellent after only 1 pass:

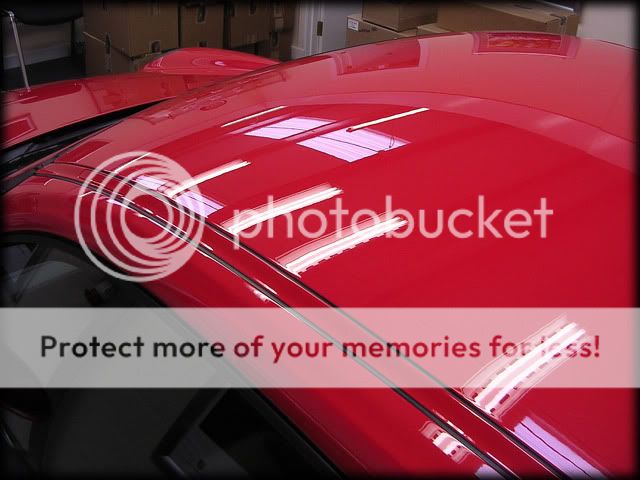
Back 1/4 before:

After:

For the spoiler and bumpers i used a 4" Compound Pad and 3M Fast Cut Plus. This allows for very good cutting power whilst being able to keep the rpm's (and therefore heat) down too:

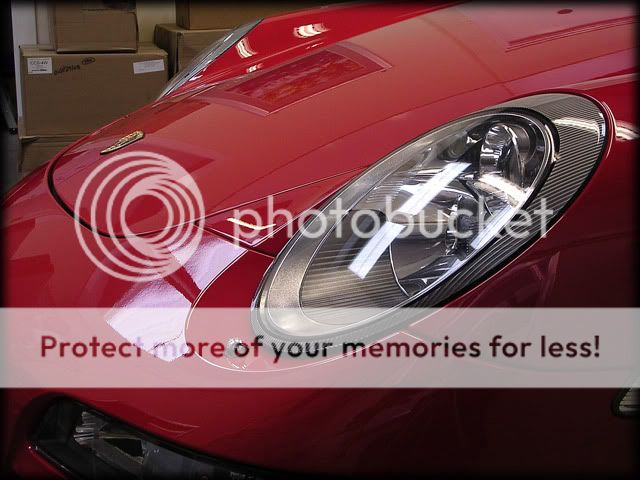
Front and rear lights were polished with the rotary and a 4" Polishing Pad with Menz 3.02.
Due to the sticky paint giving me problems with buffing off the polish at times, i inflicted a bit of marring here and there so i followed up with Menz PO85RD and a Megs Finishing Pad with the G220. Due to the soft paint i didnt want to waste time checking and double checking my work with the rotary to ensure i'd finished down completely buffer trail free, so this was why i chose the Megs Machine as in this case it was faster
---
Some of you may recognise this car as i've posted it before when it first had a protection detail, but this time round it was in for 3 days for the start of a new Maintainance Plan and its first major correction detail
As always, it turned up looking pretty clean already:
And as always, i started with the pre-foam:
This was left to dwell and then rinsed off before i then set about cleaning the wheels.
Menzerna 7.5 was applied and then agitated with a MF mitt:
The tyres were scrubbed too:
I then gave the arches a good clean with a long brush and Megs Superdegreaser.
The car was then washed with the 2BM method and rinsed off:
I applied Autosmart Tardis to the lower half of the car and wheels to remove any minor tar spots, gave the car a final rinse off and then put it inside ready for claying. I used Aggressive Detailing Clay as there was quite alot of contamination on the top half of the car including some stubborn bits of tree sap.
Once all dried off i taped up all the necessary bits:
Then took paint readings. This particular car was pretty thick on all the metal panels, averaging on the 150-200 micron mark:
Plastics were lower but still fairly healthy:
The car was booked in for 3 days as the paint was pretty swirly and had a generous helping of RIDS which i didnt know if i was going to have to wetsand or not so we made sufficient time available incase this was needed.
Red isnt the greatest colours to capture defect pics but you get the idea:
If you're a regular reader of my write ups then you'll know that i've had my fair shair of Porsches with "sticky paint". Unfortunately this one was no different but as i had already prepared myself for it, it came as no surprise
I played around with some polish and pad combinations that at least half worked on the sticky paint and eventually settled on Menzerna PO9L and a Megs Cutting Pad - this time using the slow cut method which at times worked pretty well and generated very little heat:
Luckily those cars with sticky paint tend to be on the softer side so defect correction was excellent after only 1 pass:
Back 1/4 before:
After:
For the spoiler and bumpers i used a 4" Compound Pad and 3M Fast Cut Plus. This allows for very good cutting power whilst being able to keep the rpm's (and therefore heat) down too:
Front and rear lights were polished with the rotary and a 4" Polishing Pad with Menz 3.02.
Due to the sticky paint giving me problems with buffing off the polish at times, i inflicted a bit of marring here and there so i followed up with Menz PO85RD and a Megs Finishing Pad with the G220. Due to the soft paint i didnt want to waste time checking and double checking my work with the rotary to ensure i'd finished down completely buffer trail free, so this was why i chose the Megs Machine as in this case it was faster