Polished Bliss®: RS6 MTM...

John @ PB

Registered User
Joined
Sep 15, 2010
Messages
360
Reaction score
7
Points
16
Location
NULL
This was the latest one in for a bit (ALOT!) of correction work and was carried out by myself (Clark) and Alan over the space of a week.


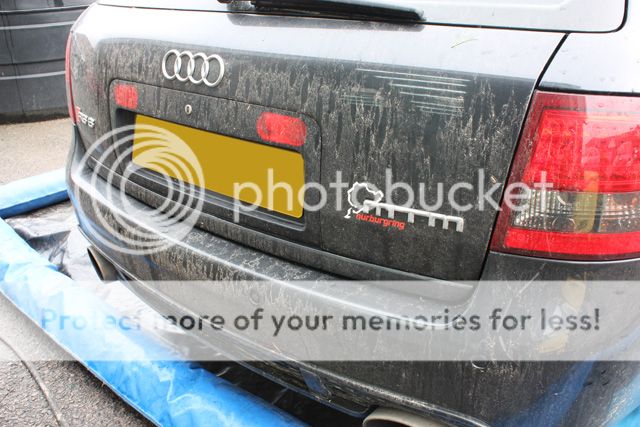
The car arrived looking pretty dull and a bit grubby - not surprising given the state of the roads lately:

MTM029.jpg


MTM030.jpg


MTM031.jpg


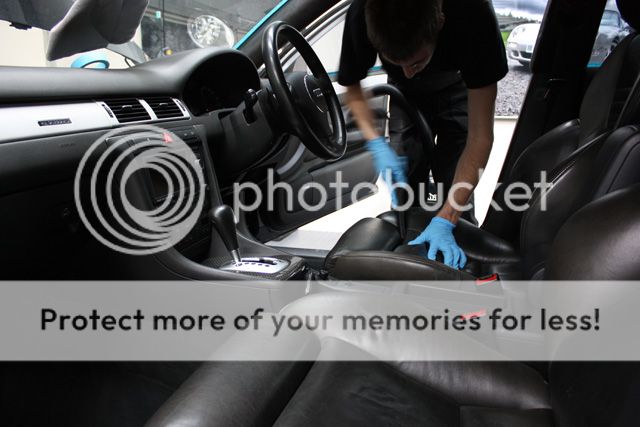
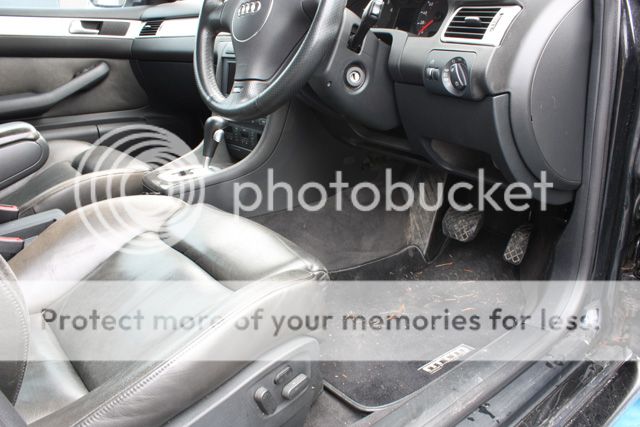
The leather was looking really sorry for itself due to ingrained dirt and poor dressings used by the previous owner:

MTM032.jpg


MTM033.jpg


MTM035.jpg


MTM034.jpg


MTM055.jpg


MTM056.jpg


MTM057.jpg


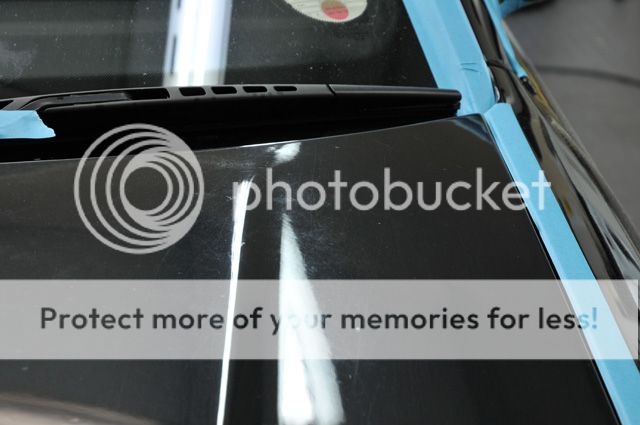
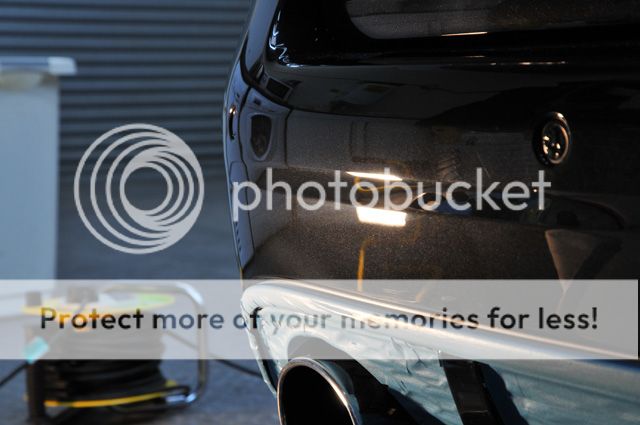
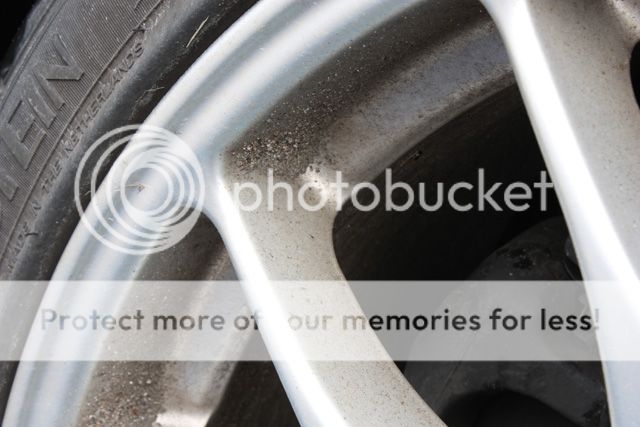
I think these 2 pictures help show the lack of shine in the paintwork:

MTM036.jpg


MTM037.jpg


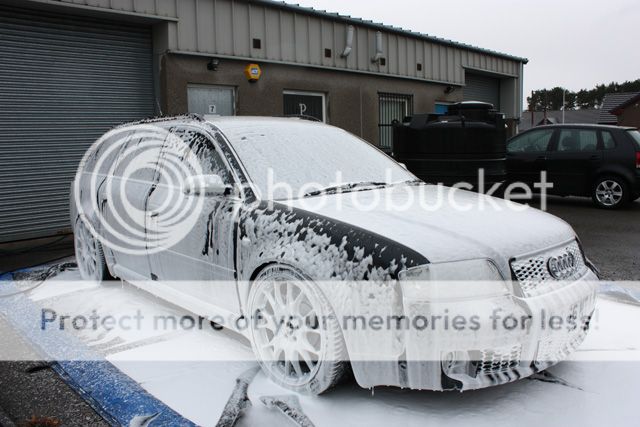
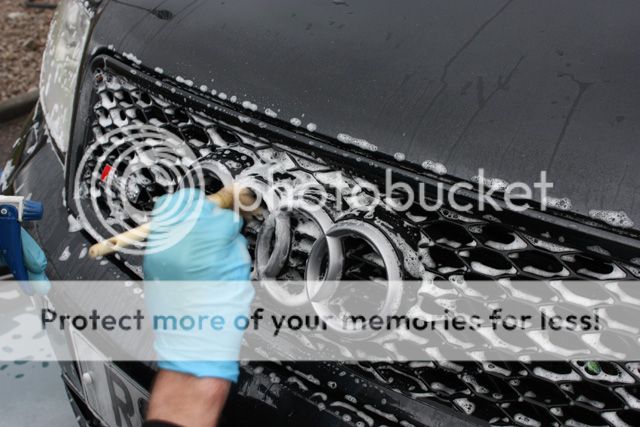
Alan carried out the wash process and as always, started with wheels:

MTM038.jpg


After a thorough pre rinse the wheels were sprayed with Meguiars Wheel Brightener (4:1)...

MTM039.jpg


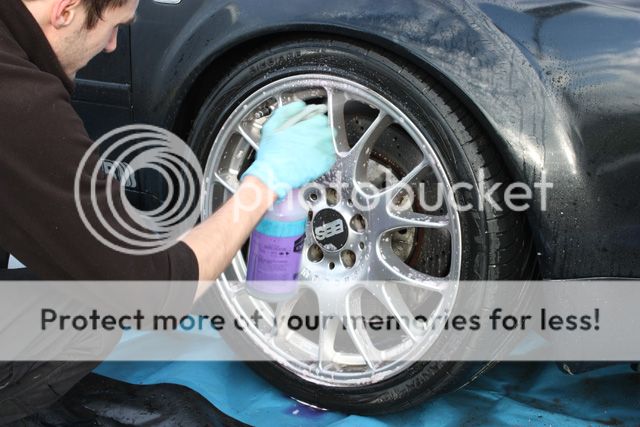
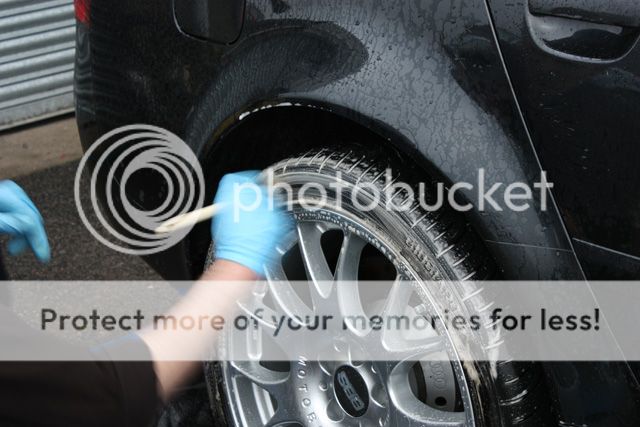
...agitated with Raceglaze brushes and Eimann Fabrik Wheel Woolies...

MTM040.jpg


MTM041.jpg


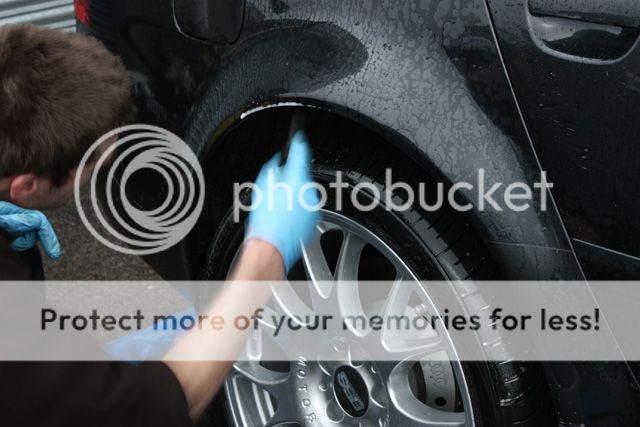
This was followed by a rinse and then an application of Autosmart Tardis:

MTM043.jpg


MTM044.jpg


Wiping any tar spots off with an old MF towel:

MTM045.jpg


Then another rinse:

MTM042.jpg


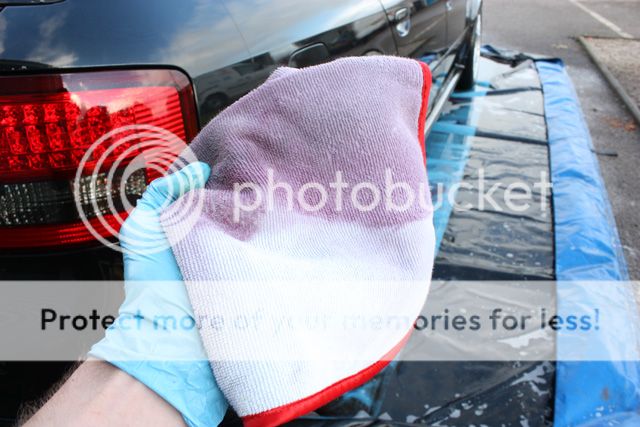
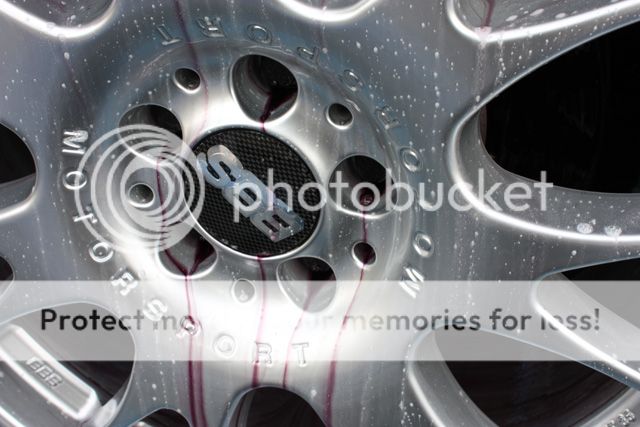
Then a new product was applied to the wheels to remove iron contamination - same idea as Iron-X and still turns purple when there's a reaction but a different product all together ;)

MTM046.jpg


MTM047.jpg


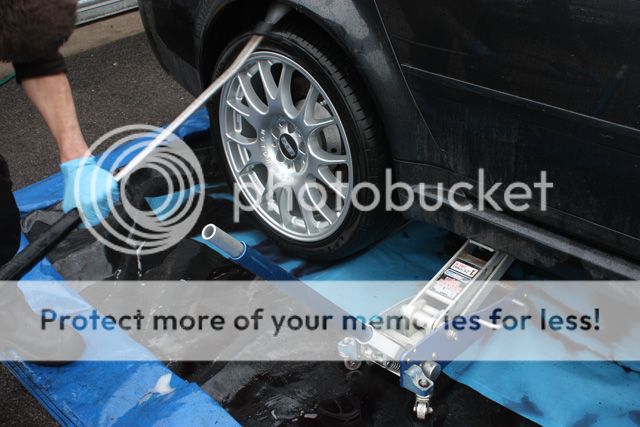
After a good agitation with the various brushes and then a final rinse the wheels were squeaky clean:

MTM048.jpg
 
Last edited:
Arches and Tyres next, sprayed with Meguiars Super Degreaser (4:1)...

MTM051.jpg


MTM052.jpg


MTM053.jpg


A trolley jack was used to gain access to the arches incase you wondered where that huge clearance suddenly appeared from:

MTM049.jpg


The car was then foamed with a strong APC solution and left for a few minutes:

MTM058.jpg


After a thorough rinse at high pressure at a temperature of approx 60 degrees all the door shuts, exterior trim etc were cleaned with APC:

MTM059.jpg


MTM060.jpg


The engine bay was then cleaned with Meguiars Super Degreaser and then the car was washed with Meguiars Shampoo Plus but no pics of this as Alan's camera batteries were charging.


Once washed (and batteries charge a bit) Autosmart Tardis was applied to the entire car:

MTM061.jpg


Then wiped over with an old MF towel:

MTM062.jpg


This was rinsed again and then any iron contamination was then removed with the new product:

MTM064.jpg


Wiping it over with a MF towel:

MTM065.jpg


MTM066.jpg


As you can see, the car bled purple for a while :D

MTM067.jpg


After another rinse off with hot water the car was put inside and clayed with Meguiars Mild:

MTM068.jpg


MTM069.jpg


Very little contamination present after the chemical process carried out during the wash stage :)


The car was then wiped dry with a Poorboys Waffle Weave towel (usually we pat dry but the car is about to get machined anyway so any marring induced will be removed):

MTM070.jpg


Black Baron came out to play to get rid of any excess water hiding in the panel gaps, wheels etc:

MTM071.jpg


The engine bay was sprayed with 303 Protectant in a Swissvax Mixing Bottle:

MTM072.jpg


The tailpipes were polished with Raceglaze Alutech:

MTM073.jpg


MTM074.jpg


Alan decided to get the interior out the way first

MTM075.jpg


Making sure to pull the seams of the seats apart to get all the dirt out that builds up over the years:

MTM076.jpg


All interior surfaces were wiped down with APC before the attention was turned to the leather.

Swissvax Leather Cleaner Forte was used to thoroughly clean all that grime and old product residue and bring the leather back to life:

Before:

MTM078.jpg


After:

MTM079.jpg


And one of the best 50/50's I've seen on leather for a while!

MTM077.jpg


The leather was then fed with Raceglaze Leather Balm by bare hands to thoroughly work it in and interior glass was cleaned with Swissvax Crystal.


Now let’s turn our attention to the paintwork:

MTM103.jpg


MTM081.jpg


MTM080.jpg


The entire car was covered in etchings and deep scratches so the initial plan of Alan helping with the correction stage with the Dual Action machine was put on hold as the defects were just too deep to be fully removed after a bit of time playing with some of the most aggressive combinations - the results weren't bad but they weren't to a Polished Bliss standard :)


However, he managed to correct the tail and head lights (using Menzerna 3.02 & Menzerna Spot Pads as well as the pillars and roof rails so at least that saved me a bit of time on those parts.


So, with Alan having done his thing with the wash stage and interior it was now my time to flex the muscle of the Makita.


The paint on this car was rock hard, one of the hardest I've polished in a while so it needed a pretty aggressive combination even by rotary standards.
 
A 3 stage correction job was carried out using Lake Country Foamed Wool & Menzerna Fast Gloss (not yet in the store but will be very shortly) @ approx 2-2200rpm's then followed up with Lake Country Tangerine H-T pads and Menzerna 3.02 @ 1500rpm's with IPA wipe downs carried out in between.

The paint would then be further refined by Alan and the DA machine but this was left till the car had been rinsed off after the first 2 stages to get rid of all the dust.


I suppose I better show some correction shots, in no particular order :)

You can just make out a 50/50 line down the bonnet:

MTM082.jpg


After 3.02:

MTM083.jpg


The roof had loads of little scuffs and scratches:

MTM085.jpg


During:

MTM086.jpg


After:

MTM087.jpg


O/S front wing, showing the depth of the scratches pretty well:

MTM089.jpg


And then after the first 2 stages of correction:

MTM090.jpg


Driver’s door had some pretty obvious sanding marks:

MTM091.jpg


Under the 3M Sun Gun:

MTM092.jpg


After correction (3 hits with the wool needed):

MTM093.jpg
 
N/S rear door before:

MTM094.jpg


After:

MTM095.jpg


Under Halogen lighting:

MTM097.jpg


Under 3M Sun Gun lighting:

MTM096.jpg


N/S wing before:

MTM100.jpg


After:

MTM101.jpg


MTM102.jpg


Rear bumper before:

MTM104.jpg


After:

MTM105.jpg


Tailgate before:

MTM098.jpg


After:

MTM099.jpg


Side skirt before:

MTM106.jpg


After:

MTM107.jpg


Front bumper before:

MTM108.jpg


This had been resprayed and as a result wasn't so badly scratched so I only needed 3.02 to correct it.

After:

MTM109.jpg


Top of rear bumper before:

MTM112.jpg


After:

MTM113.jpg


50/50:

MTM114.jpg


MTM115.jpg


N/S front door before:

MTM116.jpg


After:

MTM117.jpg


(Couple of deeper marks left which didn't warrant further clear coat removal)

MTM118.jpg
 
The approximate level of clear coat removed during the first 2 stages of correction was around the 5-6 micron mark with some places slightly less where only one hit was needed.

The car was then rolled outside and given a thorough rinse to get rid of all the dust that had made its way into the panel gaps and then dried off again with the Black Baron.


Alan then got some more polishing practice by refining the finish further with the Das-6, Lake Country Finishing Pad & Menzerna 85RE.

I then finished off the car by prepping the paint for wax by applying Swissvax Cleaner Fluid a panel at a time before buffing off and then applied Crystal Rock to the entire car and left for 20 mins or so:

MTM121.jpg


(The carbon fibre parts in the engine bay were done with the same process)


The front grills were enhanced and protected with Swissvax Protecton:

Before:

MTM110.jpg


After:

MTM111.jpg
 
Swissvax Autobahn was applied by bare hand to the alloys:

MTM120.jpg


Then all the other minor details were done including polishing and protecting of the door shuts (Werkstat Prime Strong), dressing the tyres (Swissvax Pneu) and conditioning the interior and exterior rubbers with Swissvax Seal Feed:

MTM122.jpg


One last thing letting the car down were the rusty wheel bolts:

MTM123.jpg


So these were painted to greatly improve the overall appearance of the car:

MTM124.jpg
 
And I think that's about it! Here are the finished shots :thumb:....


MTM126.jpg


MTM125.jpg


MTM015.jpg


MTM012.jpg


MTM014.jpg


MTM009.jpg


MTM005.jpg


MTM004.jpg


MTM006.jpg


MTM003.jpg


MTM002.jpg


MTM017.jpg


MTM016.jpg


MTM010.jpg


MTM008.jpg


MTM007.jpg


MTM011.jpg


MTM018.jpg


MTM019.jpg


MTM020.jpg


MTM021.jpg


MTM022.jpg


MTM023.jpg


MTM024.jpg


MTM025.jpg


MTM026.jpg


MTM027.jpg


MTM028.jpg


Thank you for taking the time to read, if you made it to the end then well done! :D

Clark
 
Last edited:
Outstanding... as usual!
Painted wheel bolt heads - REAL attention to details!
Can I ask, the Swissvax protection, what did you use to work it into the spaces of the grille?
 
great job ,cant believe the difference :applaus:
 
fantastic cant wait to see mine in may once youve worked your magic on it
 
some of the best work ive seen, the 50/50 on the leather was unreal! i usually use gliptone but might have to change that lol
 
Outstanding... as usual!
Painted wheel bolt heads - REAL attention to details!
Can I ask, the Swissvax protection, what did you use to work it into the spaces of the grille?

I'll double check with Clark when he's free but I suspect it was a small microfibre pad. Will double check and let you know.
 
I can't believe people who own cars such as these let them get into such a poor state (not saying it's the current owner of course). If I owned that car I'd be loving it more often than I should...! Great job.