

Copied below is a write up Clark put on Detailing World today: thought it'd be of interest to the Audi guys..... :icon_thumright:
Thought I'd show you what I was up to this morning as it's a bit different to normal.
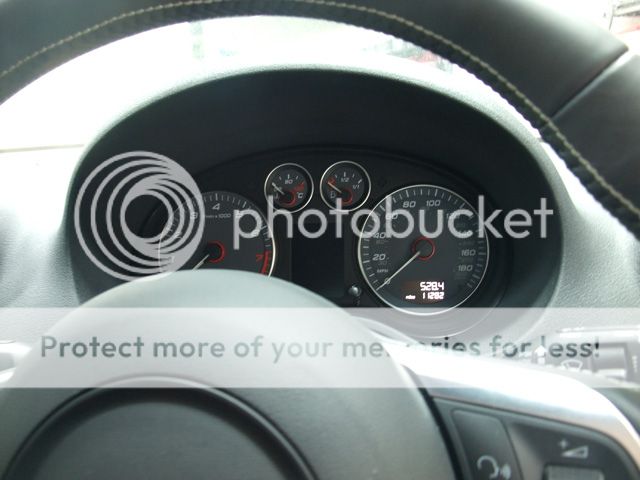
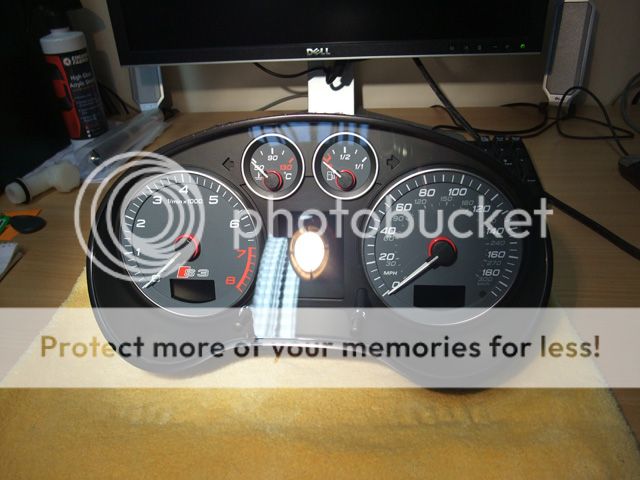
A regular customer of ours with a new S3 was irritated by some scratches on his instrument cluster so it was up to me to see what I could do with it")
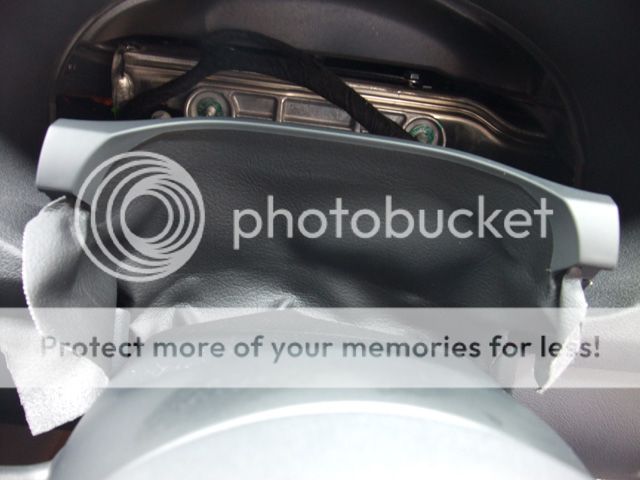
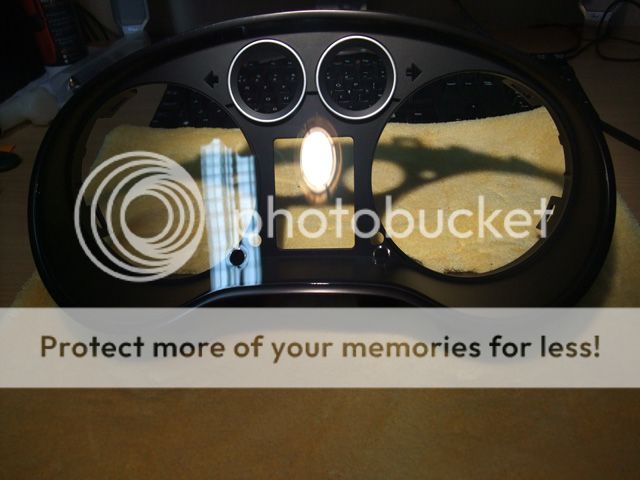
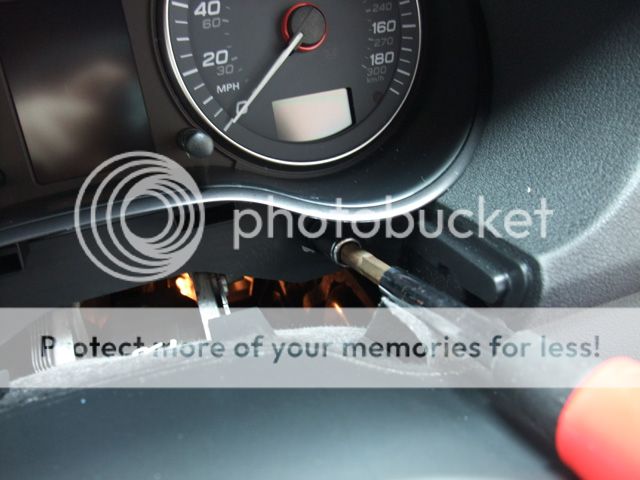
First of all this piece of plastic needs pulling towards you and then lifted up (I wasn't planning on doing any pics to begin with hence why the cluster is already removed in these pics)
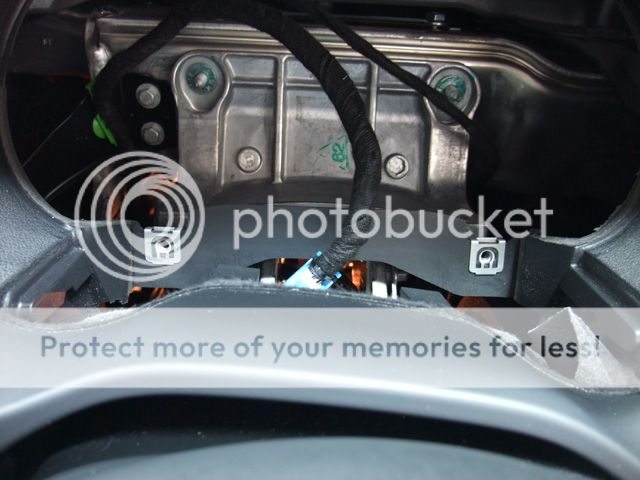
This then reveals a couple of bolts. Undo these and pull the cluster towards you, pull out the connecter at the back and it pops out quite easily, obviously you need to take care not to scratch the wheel etc:
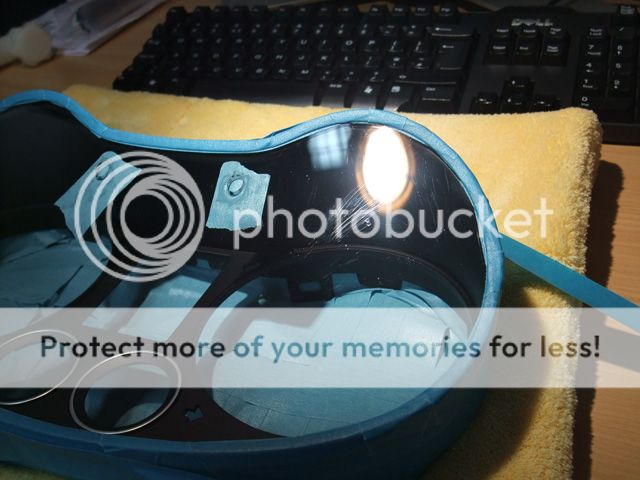
The screen was then seperated from the main unit:

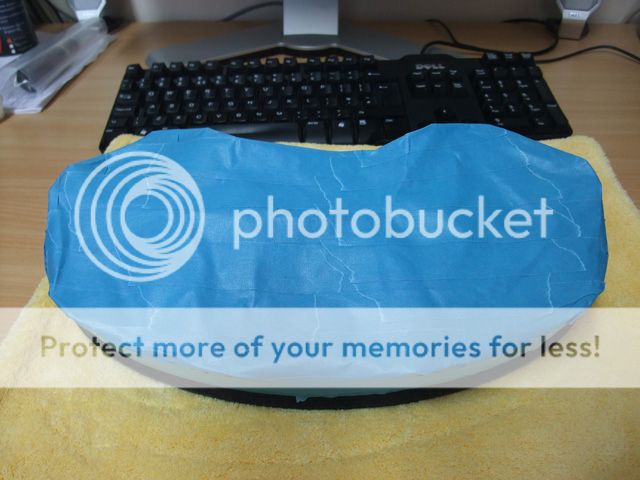
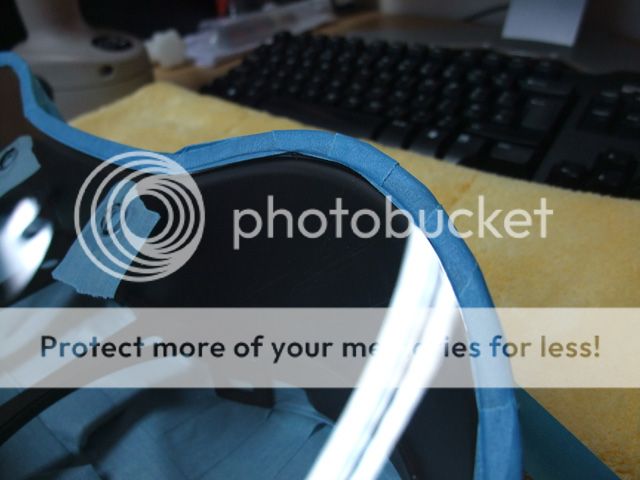
This was put in a bag to stop dust settling on it and I then taped up the screen to prevent any polishing dust getting inside:
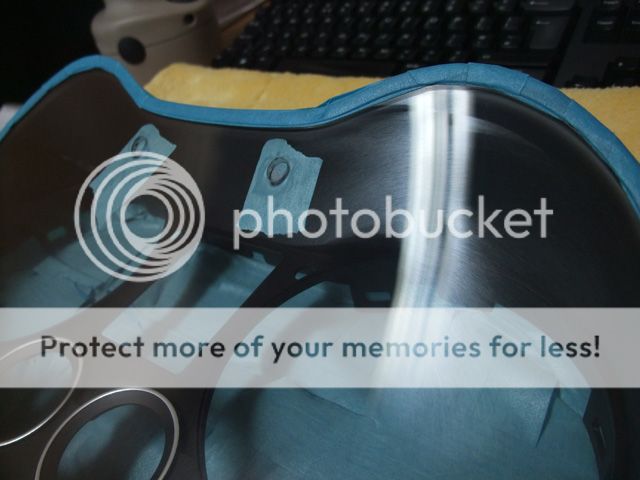
Outer edge masked too to prevent the polisher from burning it:
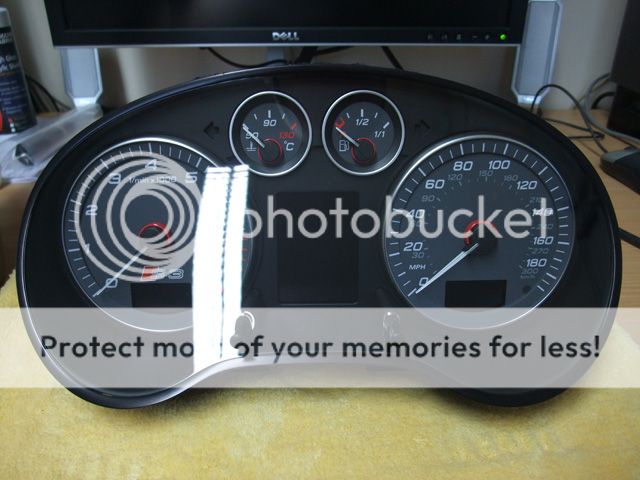
Here you can see the scratches in the screen:
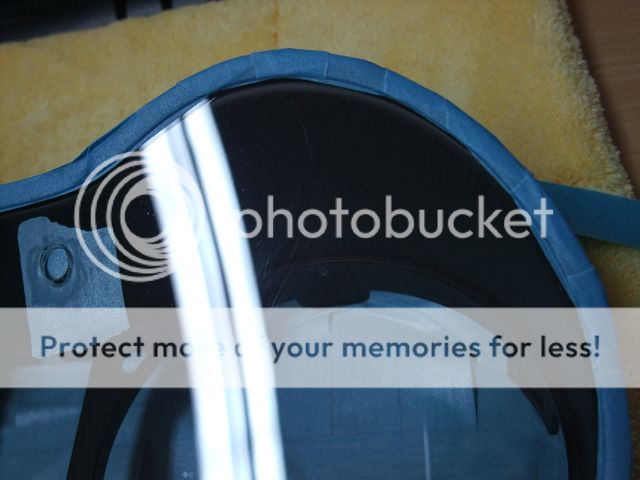
And with the 3M Sun Gun:
Knowing the plastic was super soft I started with a nice gentle approach - Menzerna 85RE and a Lake Country LSP Spot Pad with the Makita @900/1000rpm's:
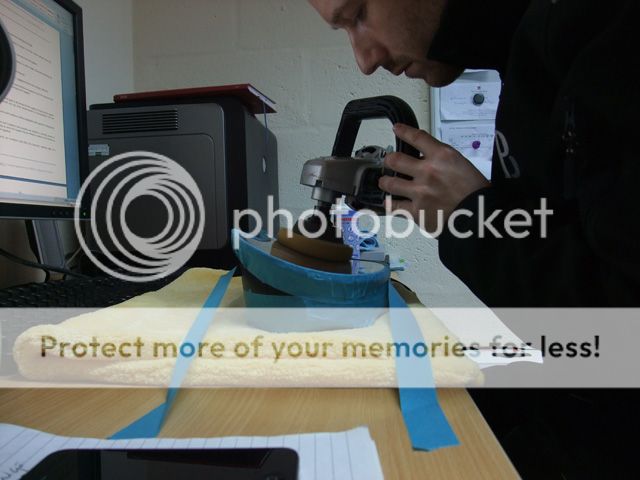
This was slowly worked for a good 3 or 4 minutes and it gave very good results:

Just a couple of tiny marks left which I gave a second hit, again with 3 or 4 minutes work time at least untill the polish was fully broken down:
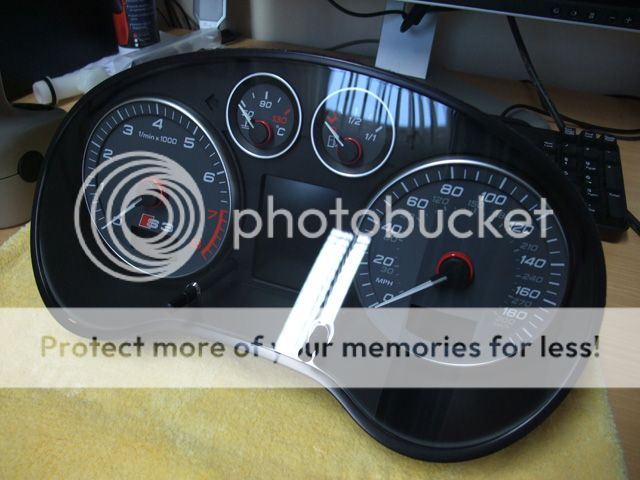
Scratches gone:

The screen was then carefully wiped clean with some IPA and a brand new Deluxe Mega Towel to remove all the polishing oils:

Static build up was a nightmare with this thing so I used the Black Baron to blow some light dust out the inside of the screen before putting it back together with the main unit again:

It was then time to put it back into the dash, starting with the connector at the back:

Followed by the 2 bolts:
A quick dust with a Swissvax Detailing Brush...

Before pushing the plastic trim back into place:

Quick check to make sure it all works again...

Total work time: Approx 1 Hour 45 minutes start to finish.
Thanks for looking!
Thought I'd show you what I was up to this morning as it's a bit different to normal.
A regular customer of ours with a new S3 was irritated by some scratches on his instrument cluster so it was up to me to see what I could do with it
First of all this piece of plastic needs pulling towards you and then lifted up (I wasn't planning on doing any pics to begin with hence why the cluster is already removed in these pics
)
This then reveals a couple of bolts. Undo these and pull the cluster towards you, pull out the connecter at the back and it pops out quite easily, obviously you need to take care not to scratch the wheel etc:
The screen was then seperated from the main unit:
This was put in a bag to stop dust settling on it and I then taped up the screen to prevent any polishing dust getting inside:
Outer edge masked too to prevent the polisher from burning it:
Here you can see the scratches in the screen:
And with the 3M Sun Gun:
Knowing the plastic was super soft I started with a nice gentle approach - Menzerna 85RE and a Lake Country LSP Spot Pad with the Makita @900/1000rpm's:
This was slowly worked for a good 3 or 4 minutes and it gave very good results:
Just a couple of tiny marks left which I gave a second hit, again with 3 or 4 minutes work time at least untill the polish was fully broken down:
Scratches gone:
The screen was then carefully wiped clean with some IPA and a brand new Deluxe Mega Towel to remove all the polishing oils:
Static build up was a nightmare with this thing so I used the Black Baron to blow some light dust out the inside of the screen before putting it back together with the main unit again:
It was then time to put it back into the dash, starting with the connector at the back:
Followed by the 2 bolts:
A quick dust with a Swissvax Detailing Brush...
Before pushing the plastic trim back into place:
Quick check to make sure it all works again...
Total work time: Approx 1 Hour 45 minutes start to finish.
Thanks for looking!

