Newbie A4 Cabrio thread, Pic Heavy

VagCabby

Registered User
Joined
Apr 15, 2012
Messages
540
Reaction score
80
Points
28
Location
Crawley, West Sussex
Hello, im jamie this is my first audi which I replaced my celica 190 with due to the celica having engine problems which is now on the bay.
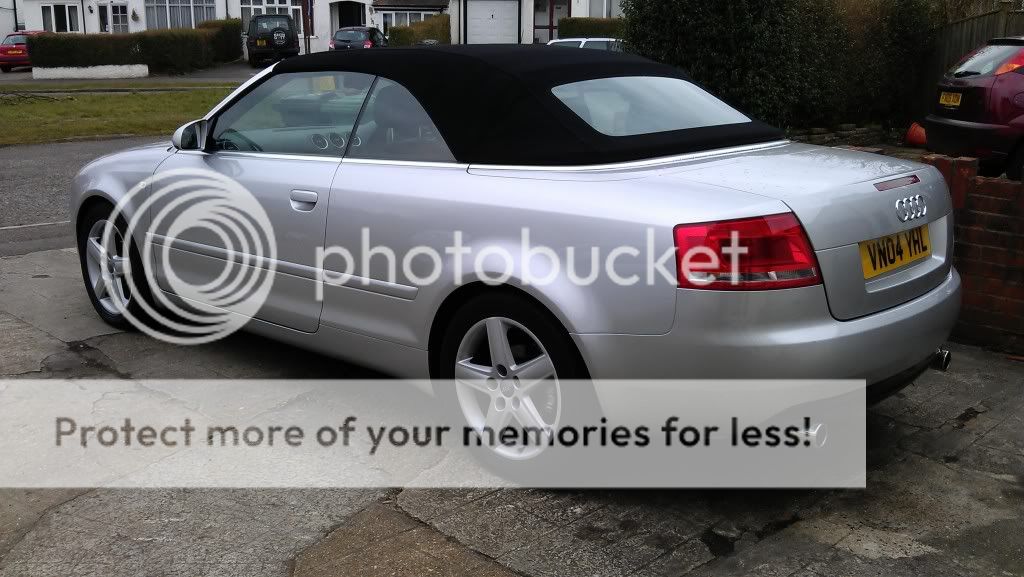
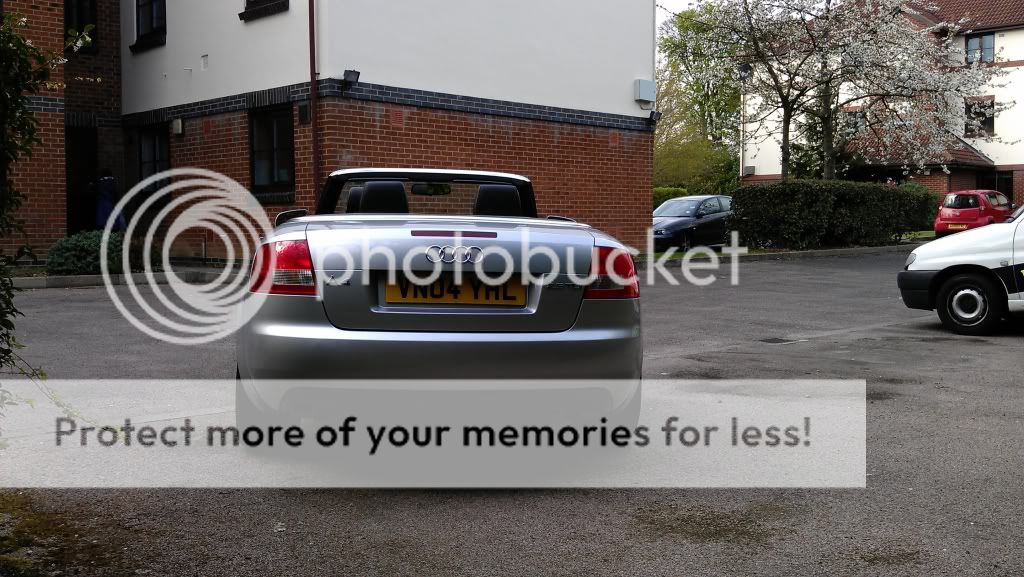
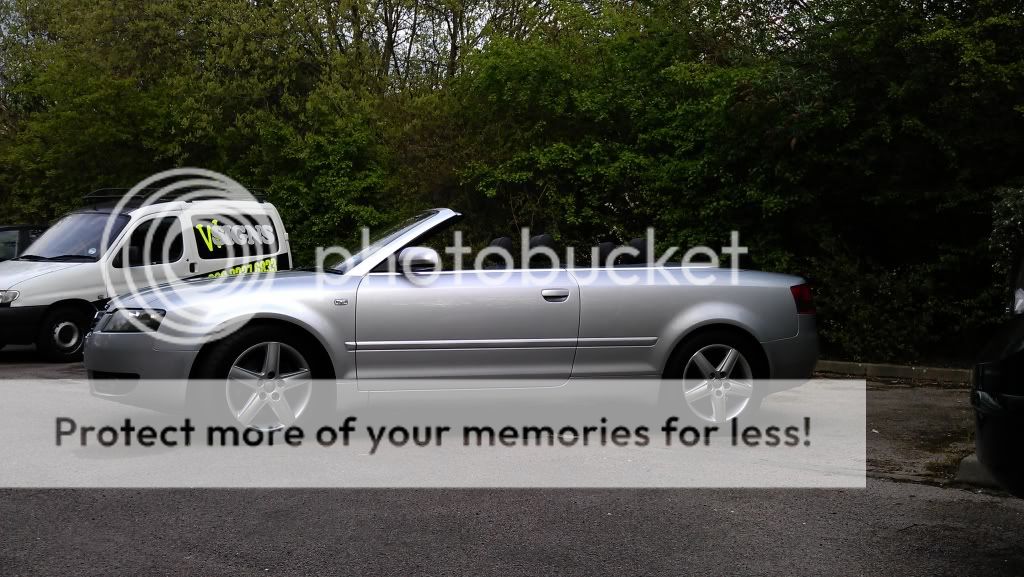
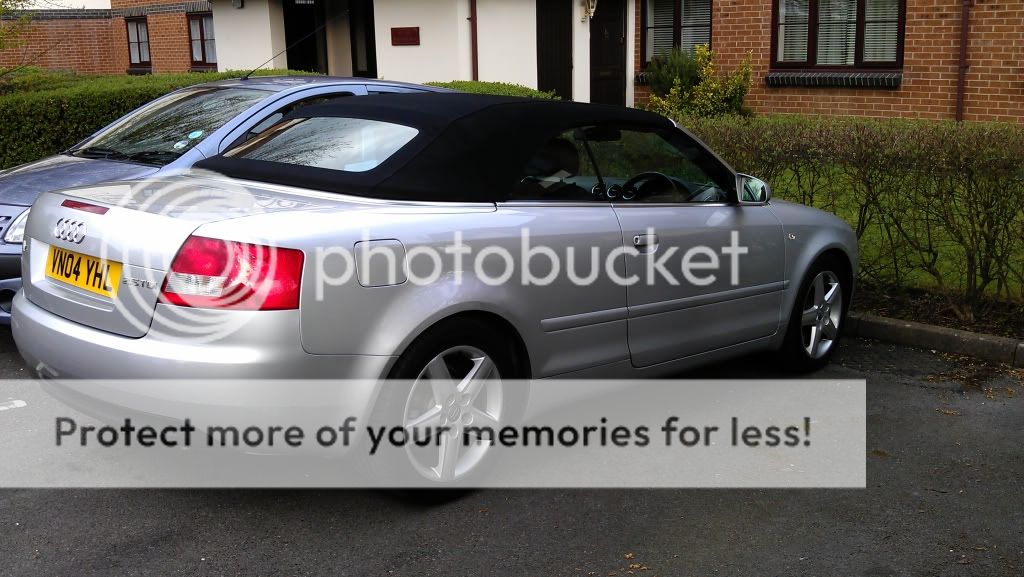
I have a A4 2.5TDI Cabrio sport on an 04 plate, owned for a month. Its had a new clutch new brakes all round and 4 new continentail tyres fitted just before I bought it! there were afew things I wanted to sort on the car which were

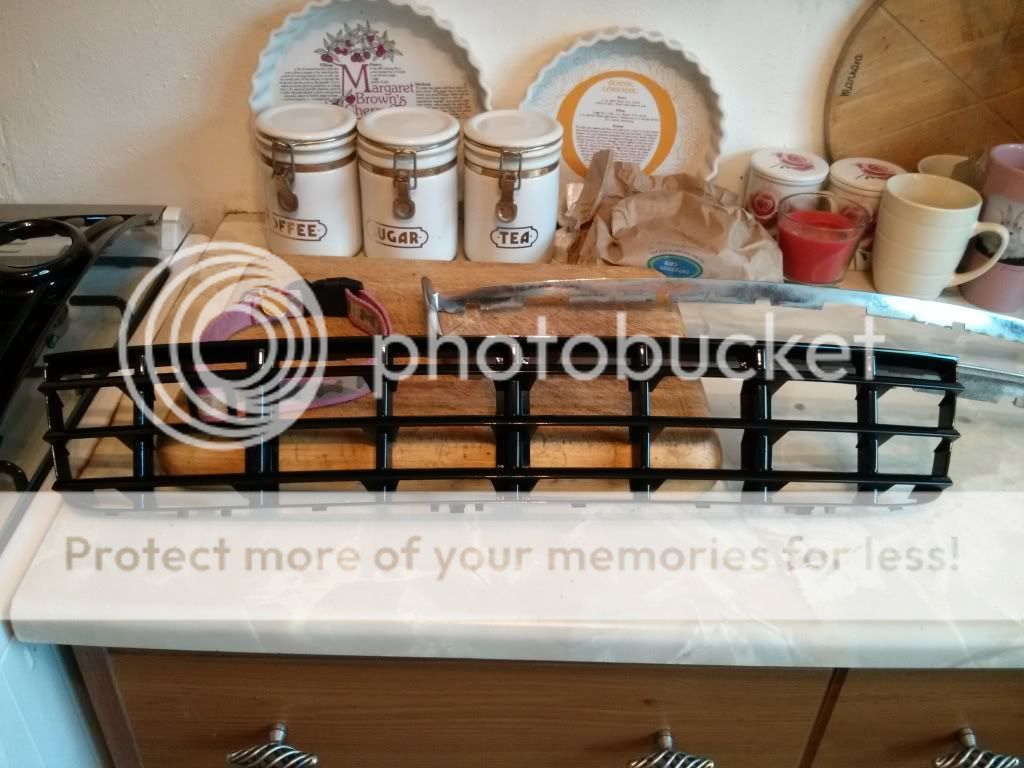
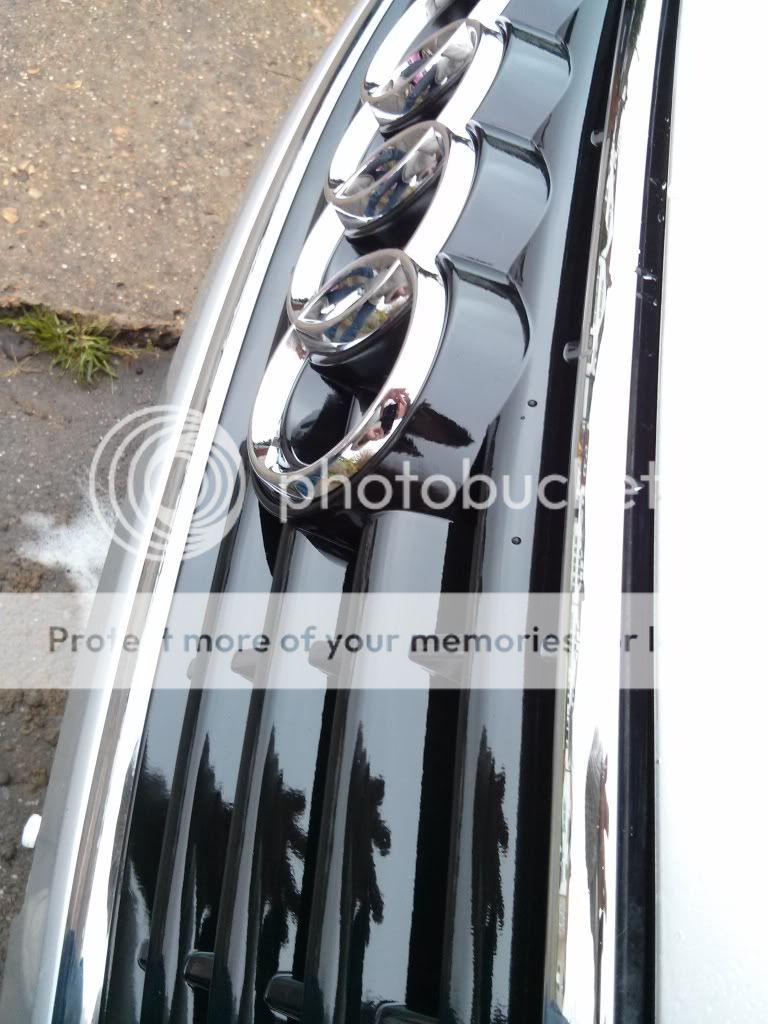
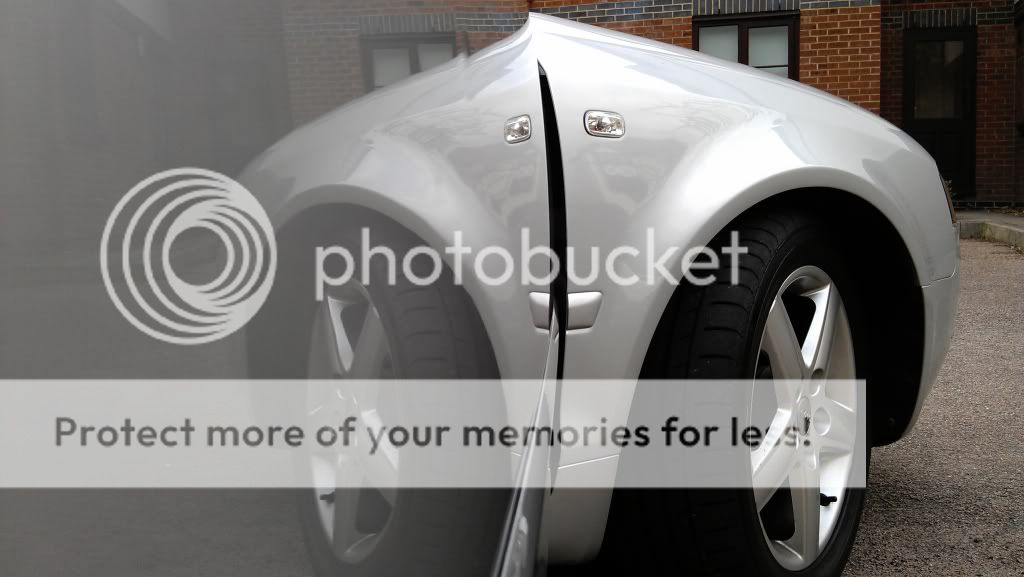
Paint work( im obsessed with car car being shiny and removing swirls) car paint was quite dull
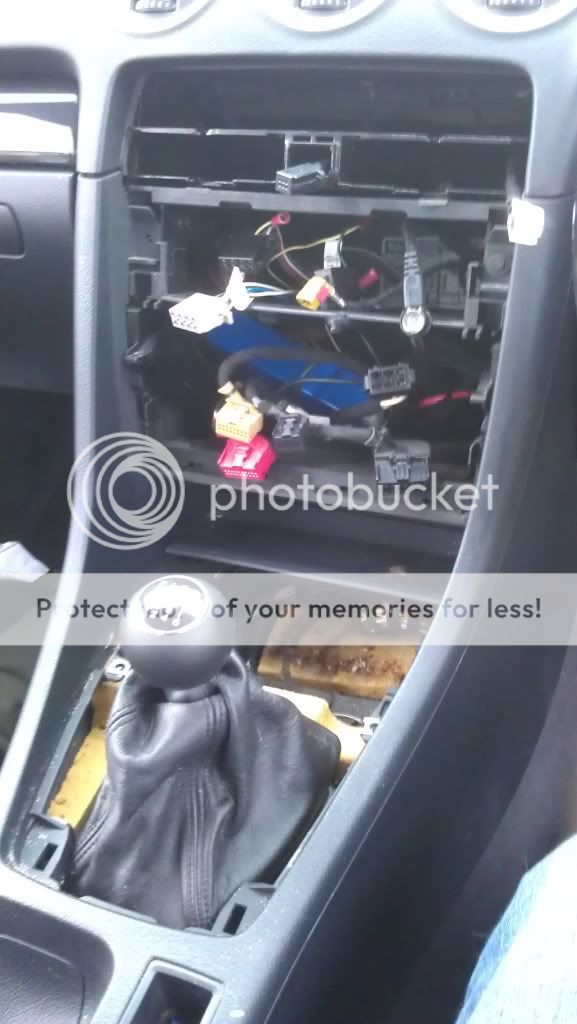
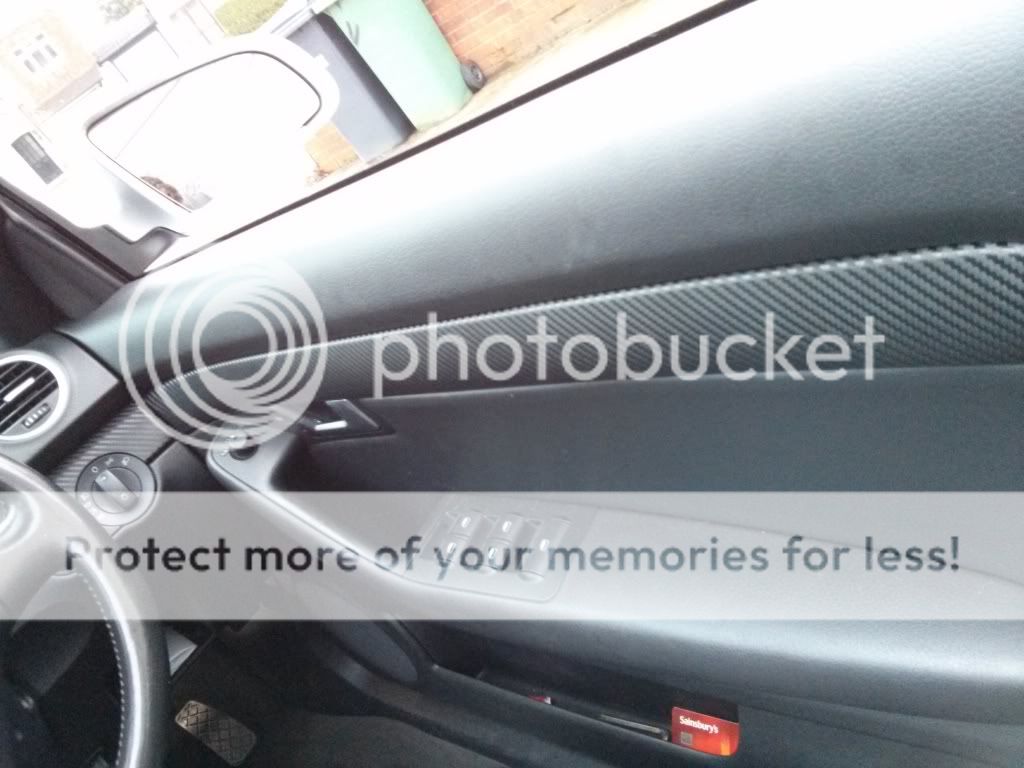
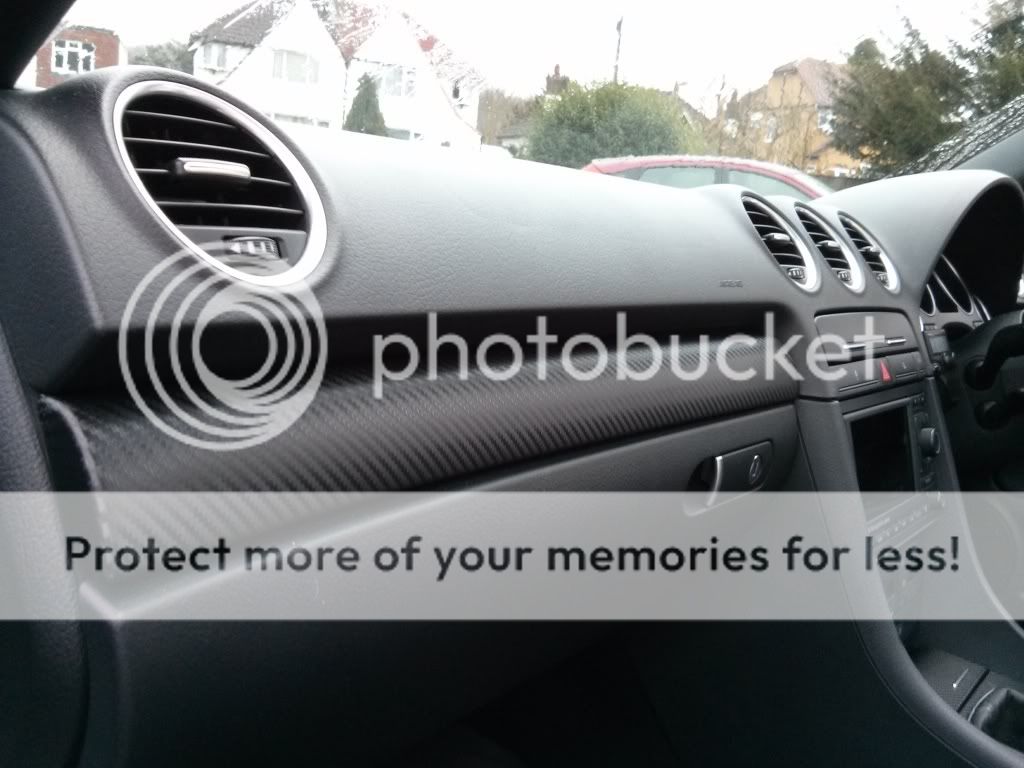
fix the broken glove box
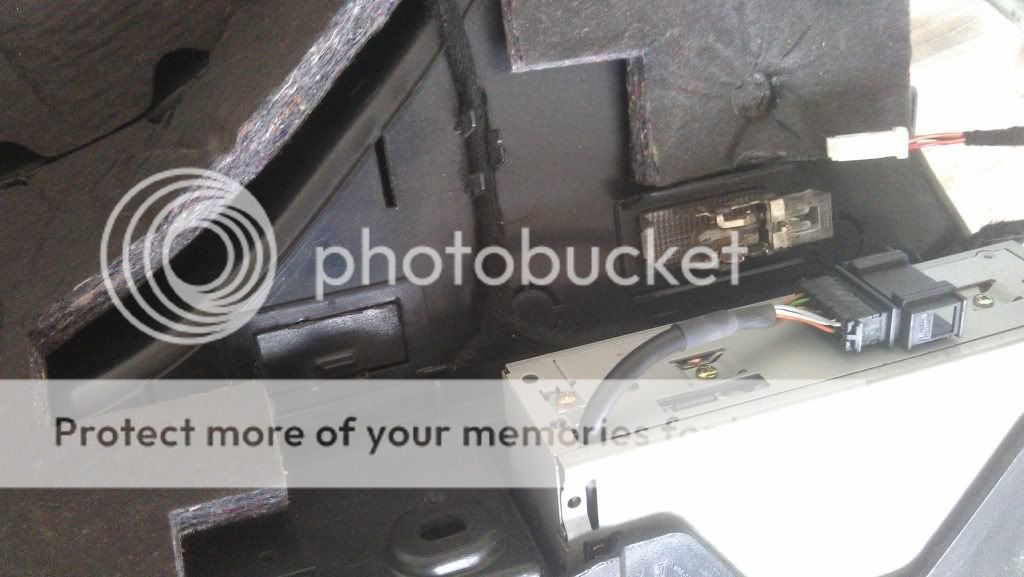
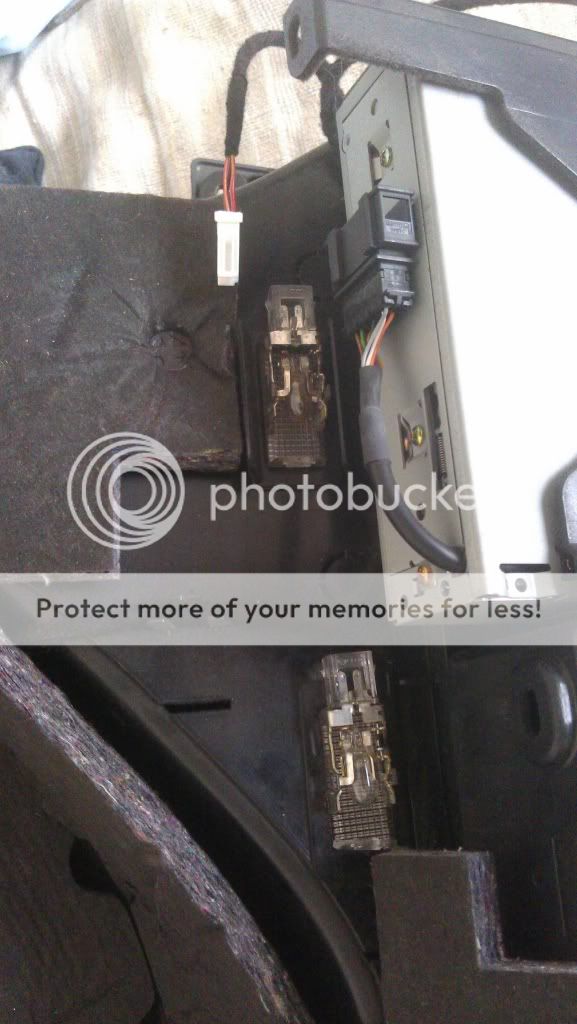
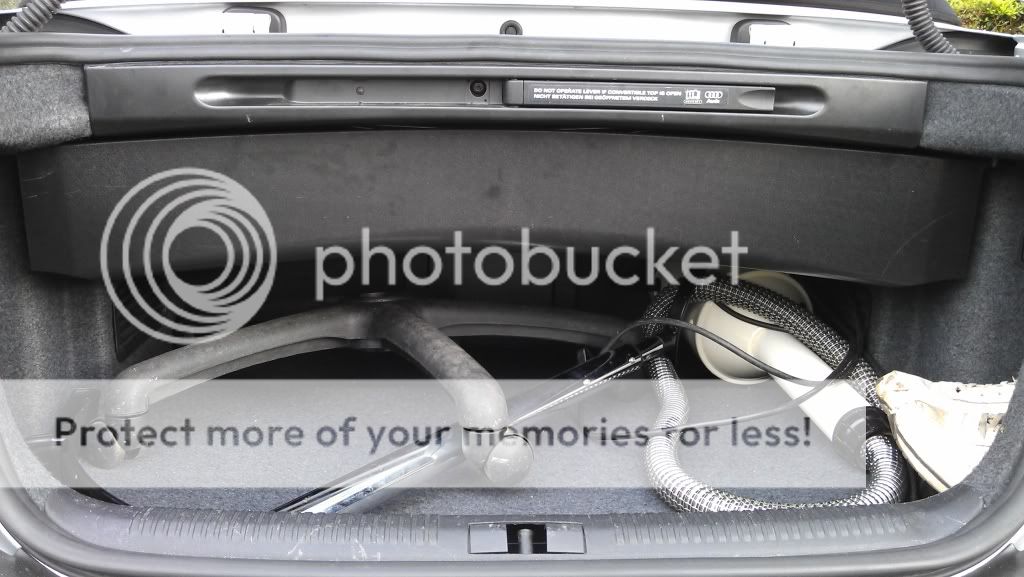
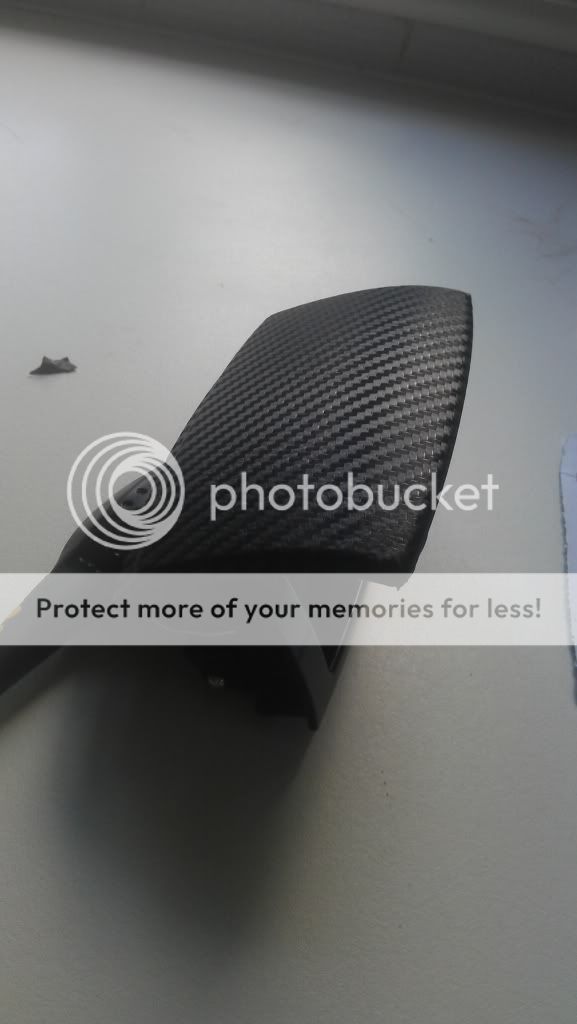
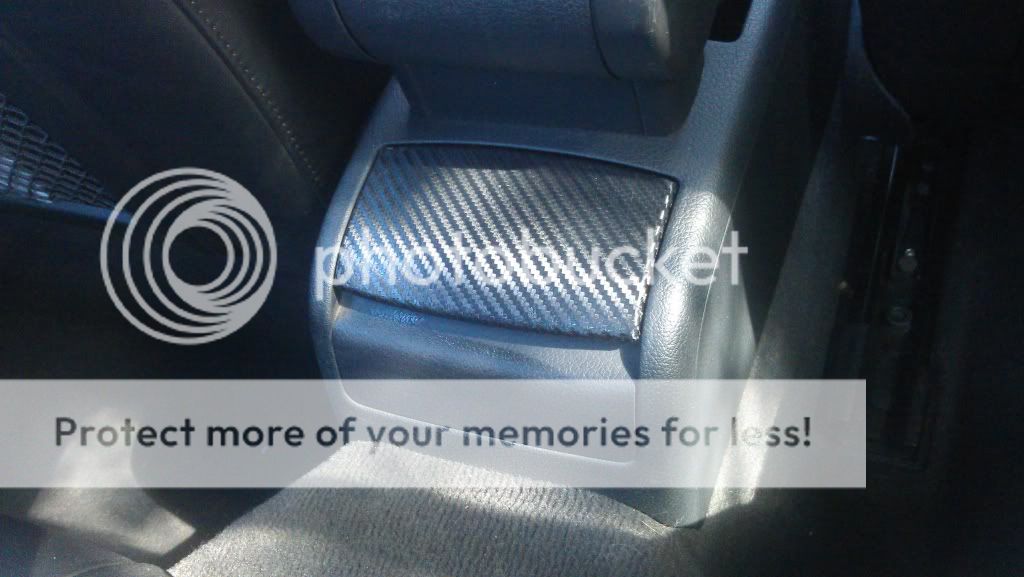
fix the boot storage box

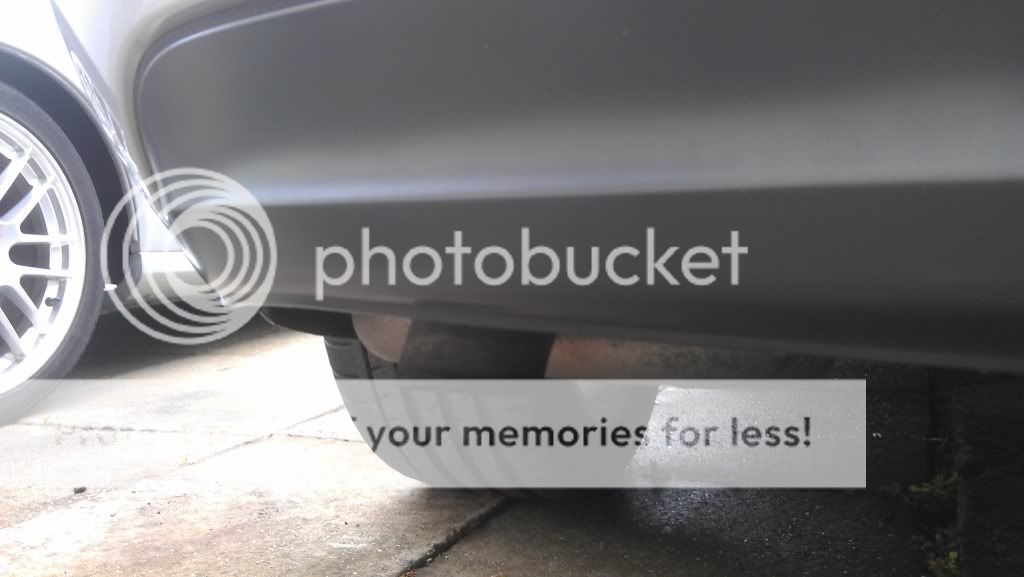
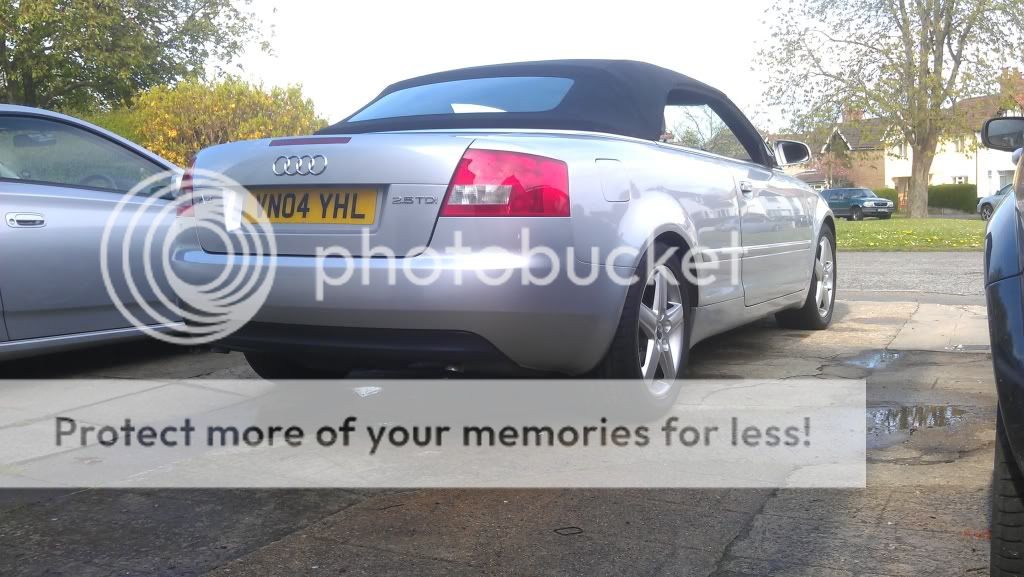
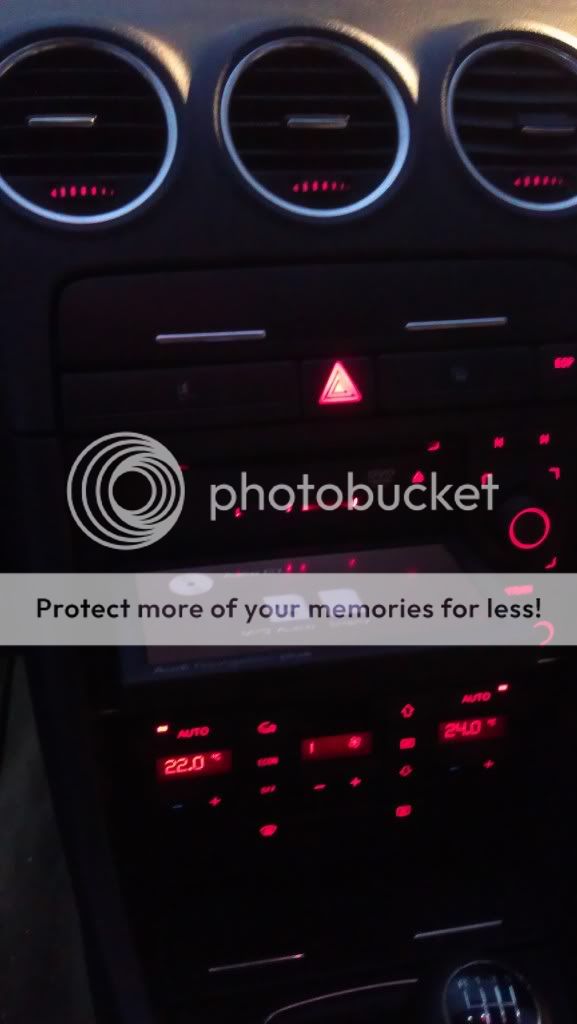
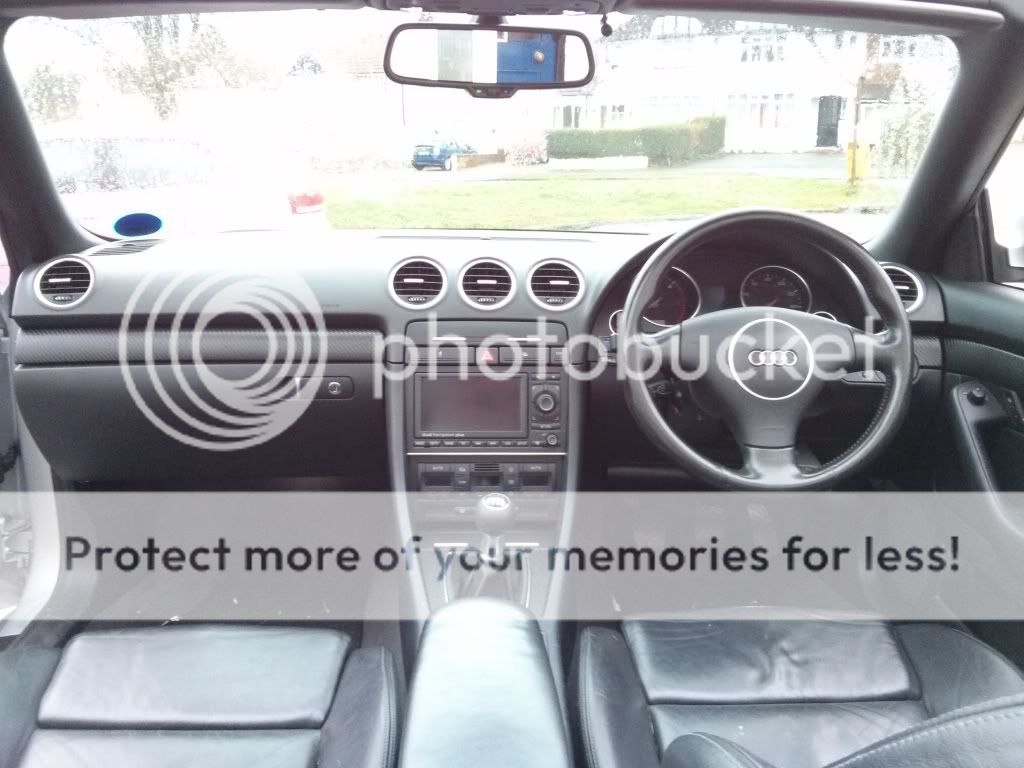
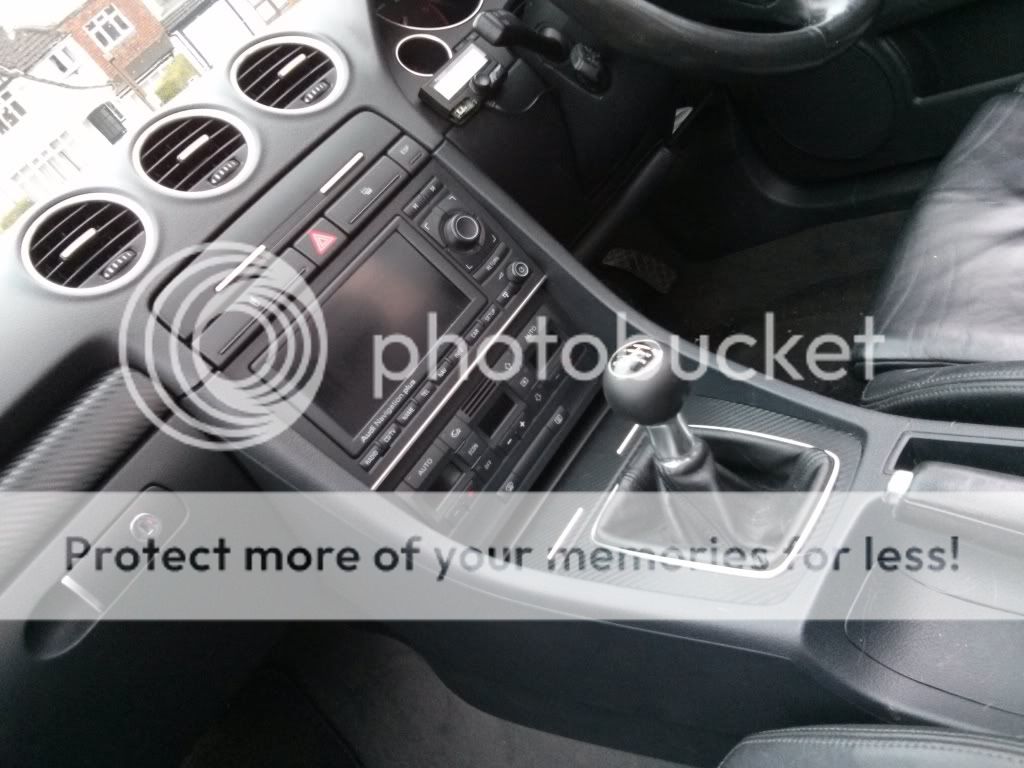
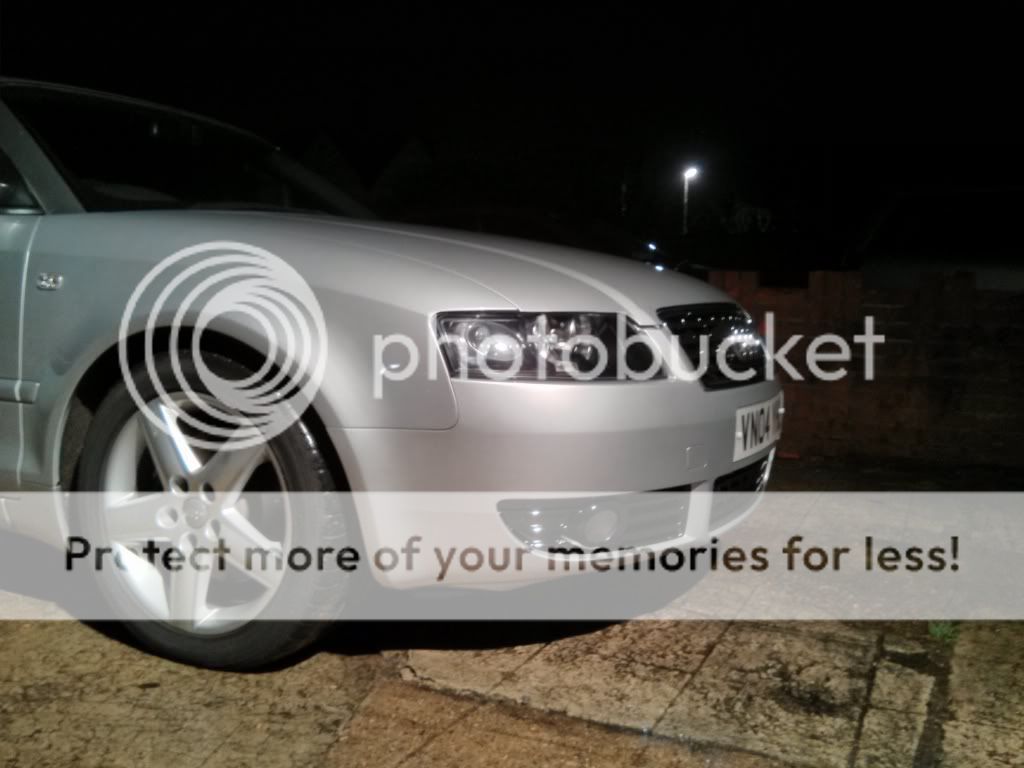
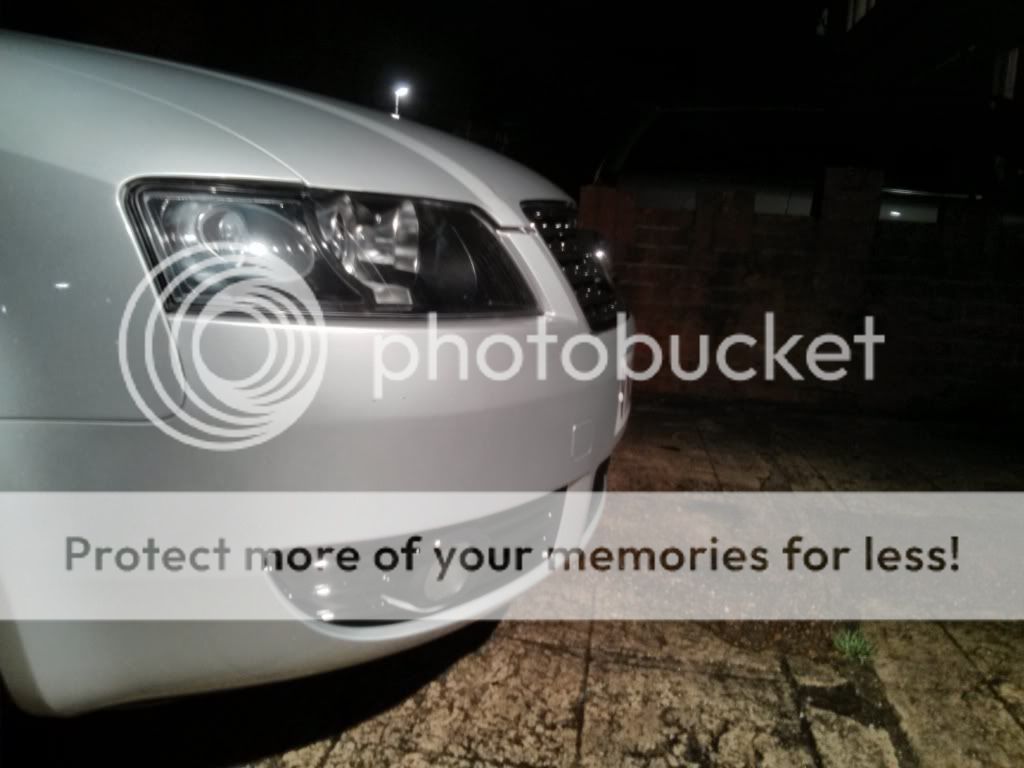
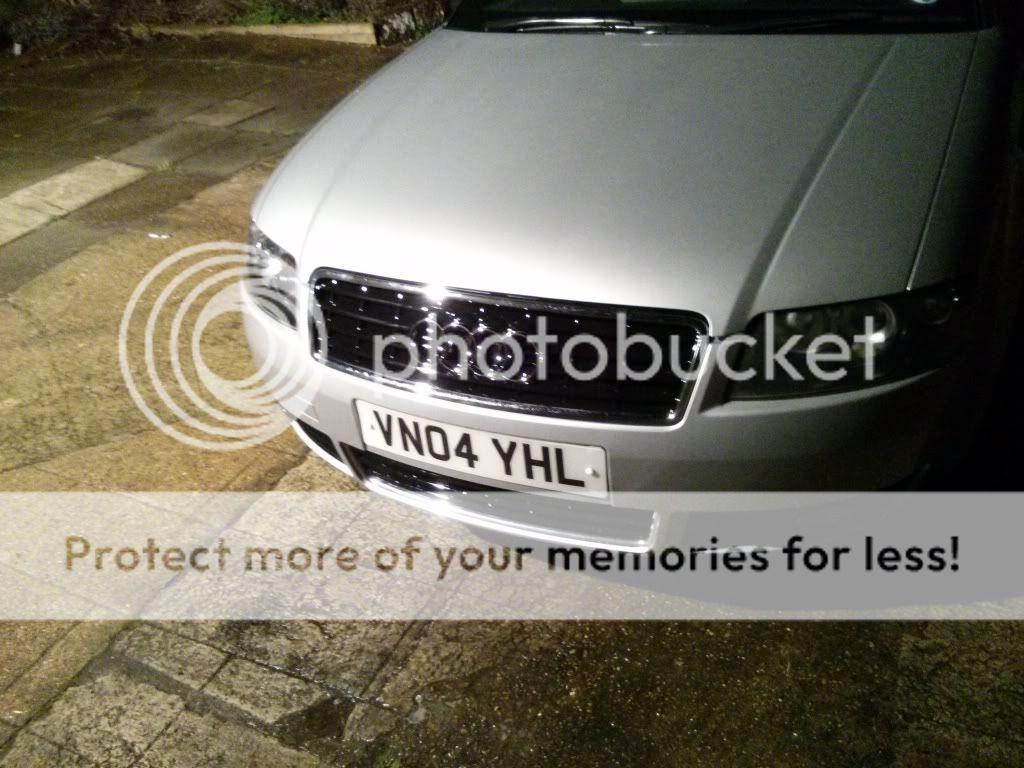
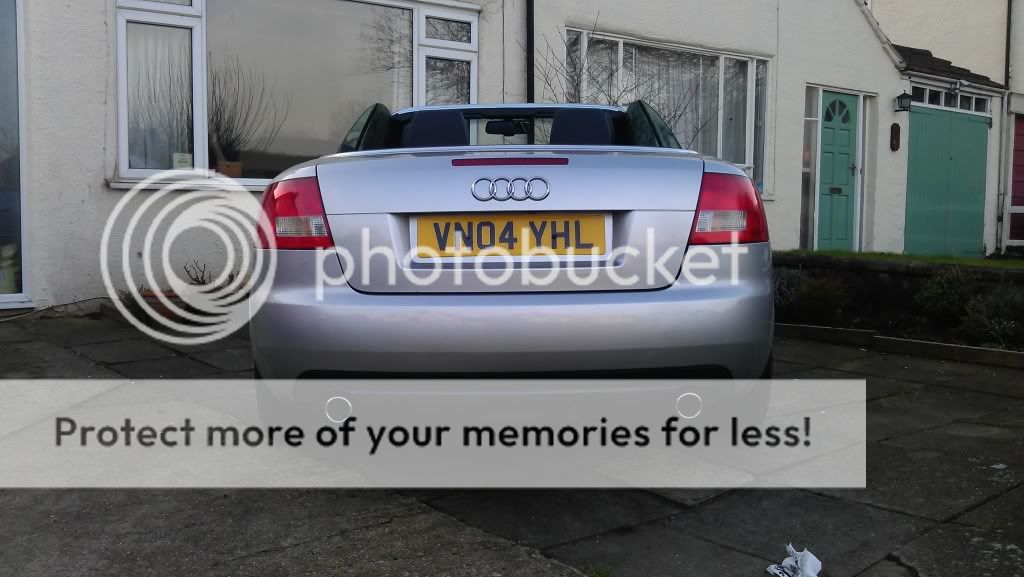
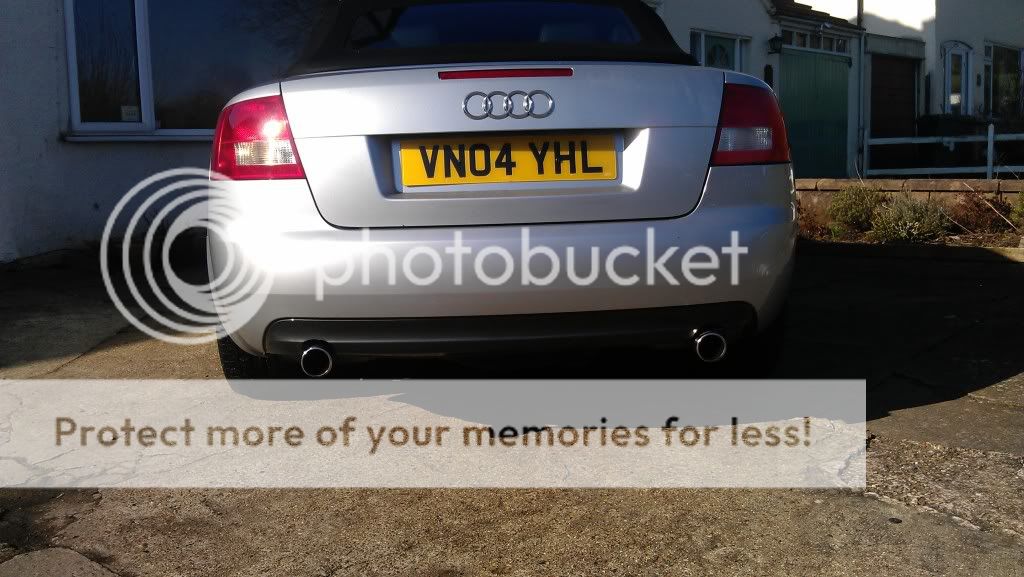
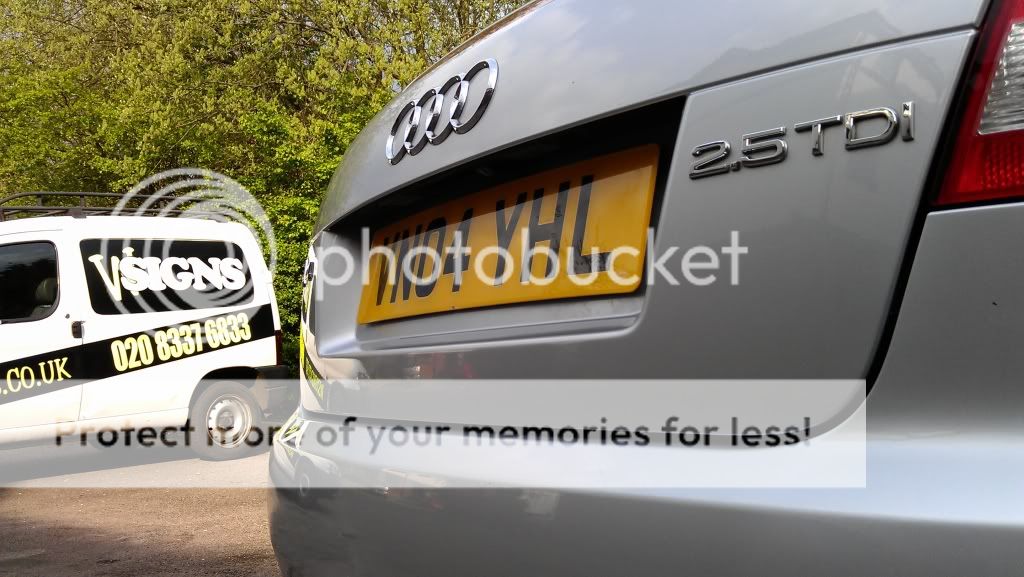
Pics of the car when I first bought it
IMAG0079.jpg

IMAG0080.jpg

IMAG0081.jpg


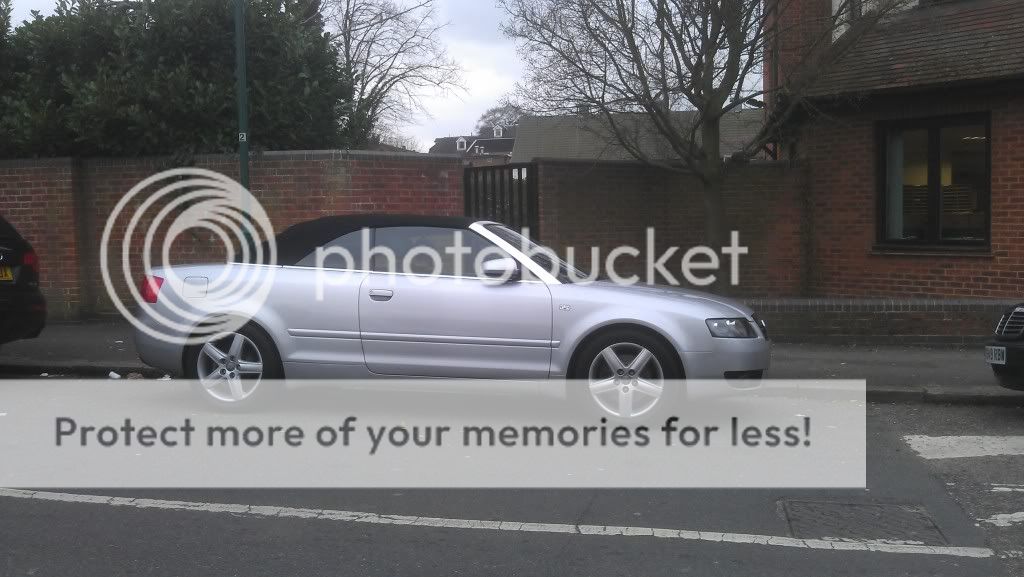
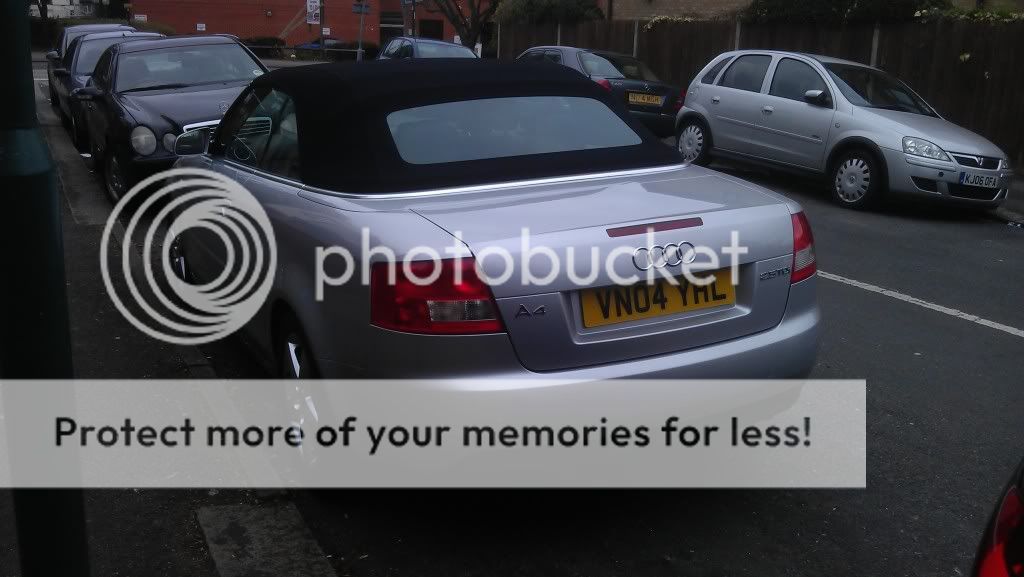
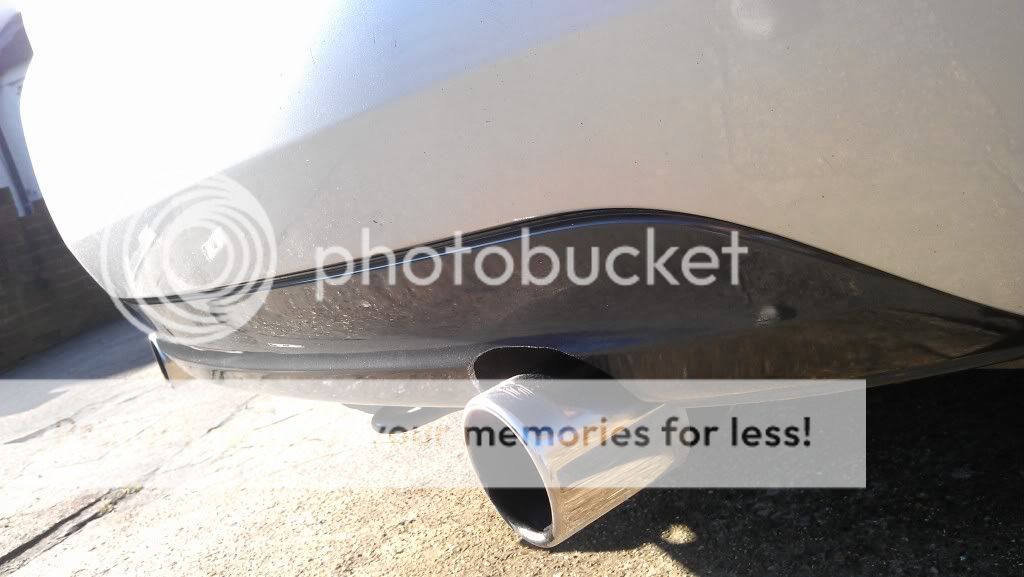
So first thing was to give it a detail, heres the photos
Sun went down so the photos dont do it justice and they were taken on my phone so quality isnt the best :(
IMAG0159.jpg

IMAG0156.jpg

IMAG0160.jpg

IMAG0158.jpg

IMAG0157.jpg

IMAG0155.jpg

IMAG0170.jpg

IMAG0161.jpg

IMAG0163.jpg

IMAG0162.jpg

IMAG0164.jpg

IMAG0165.jpg

IMAG0166.jpg


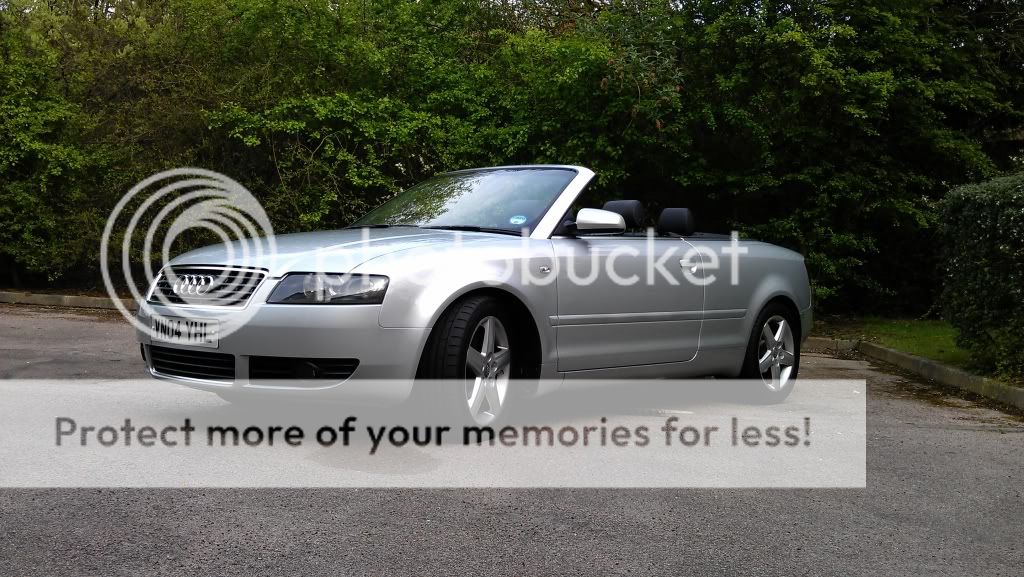
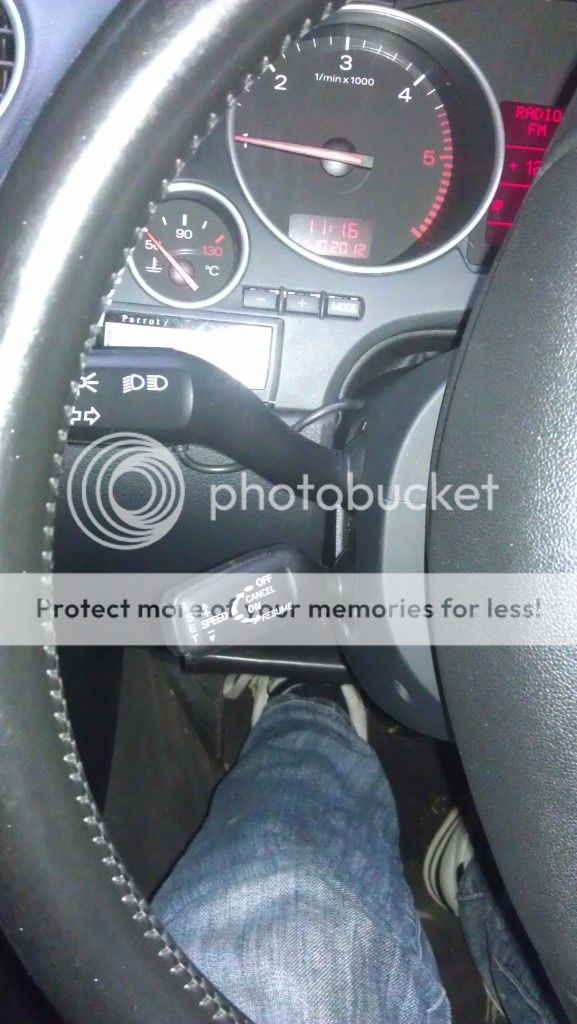
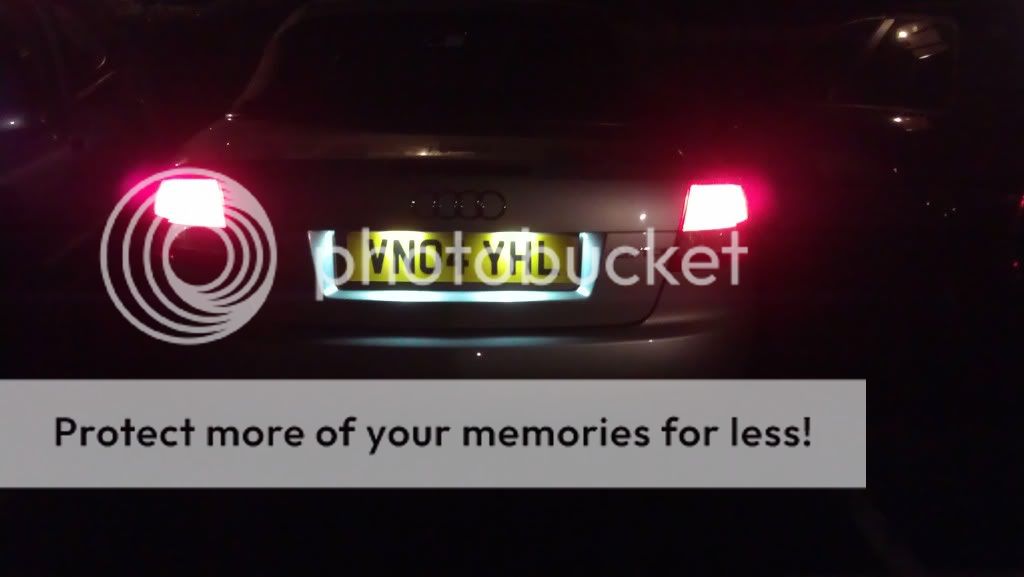
I then went and orderd some led numberplate bulbs and side lights to smarted it up abit, supprised they gave no bulb out warning on the dash!

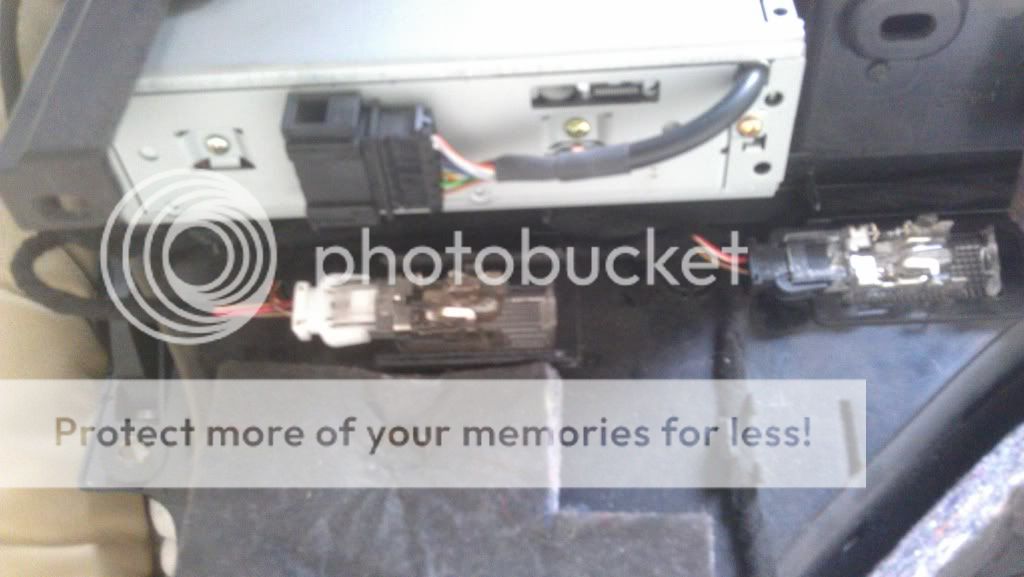
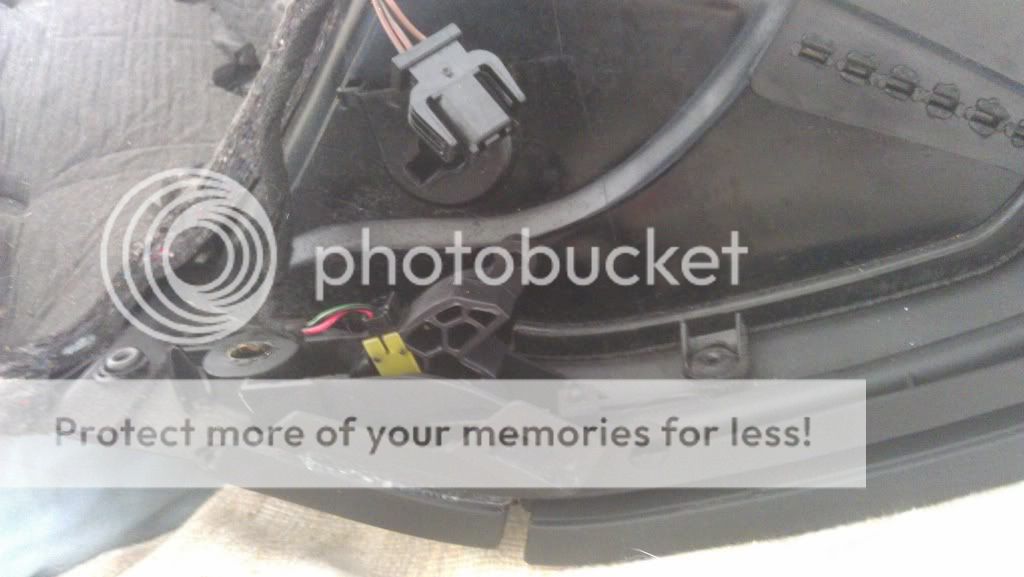
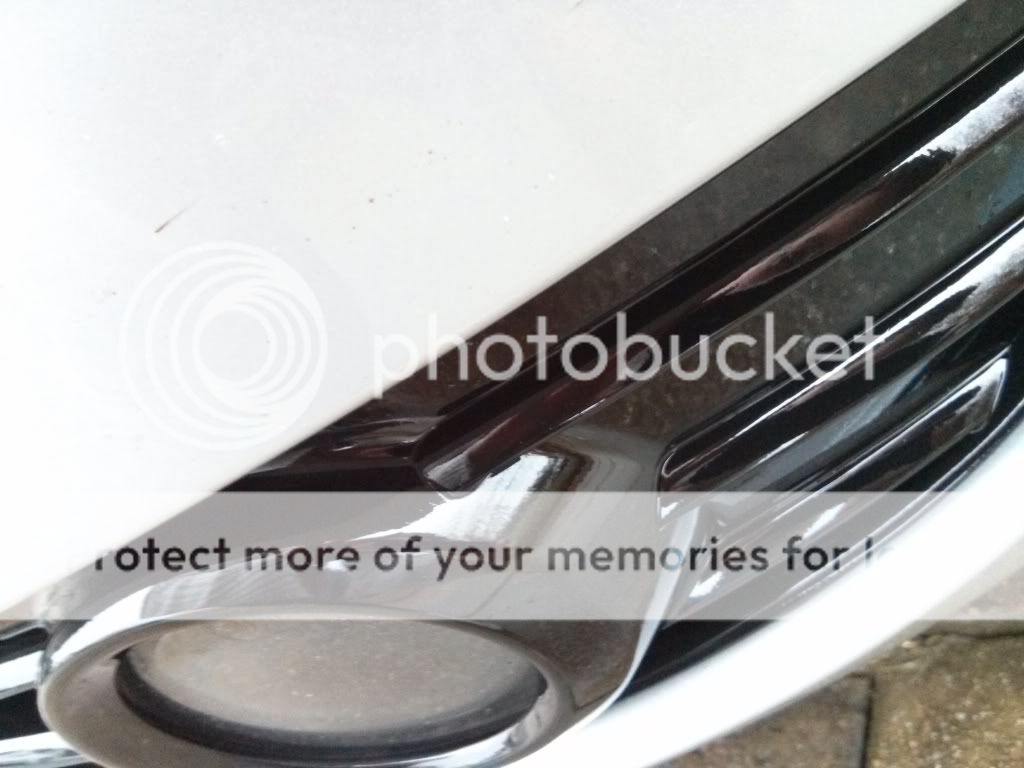
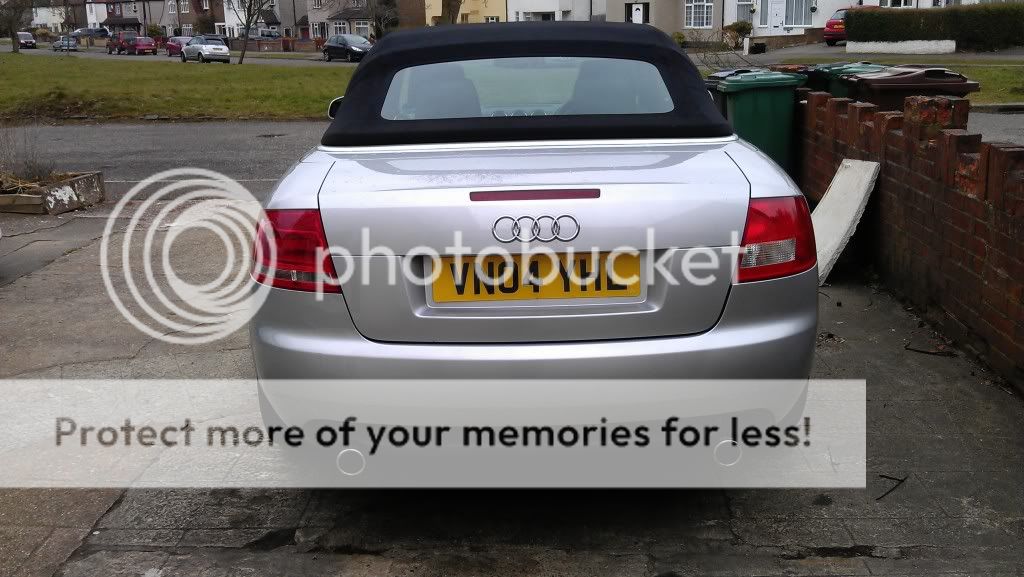
white LED numberplate lights
IMAG0098.jpg

SMD side lights, look very blue in the photo but their not that bad, about the same as 6000k hids
IMAG0099.jpg
 
Last edited:
Then was to fix my glove box
I set to repair it as cheap as possible as didnt want to buy a new gloe box from audi for £100+! so I drillied 3 holes through the two broken sections of the hinge and then cut the heads of some nails and then slid the nails through the two parts of the hinge and glued in place! and removed the piston from the hinge. Door opened fine but the glove box light did'nt come on as the swich for that was fitted into the piston :doh: so here is how I got around that...
I went to Maplin and bought a push to brake swich.
Then removed the entire glove box from the car, only 4 bolt held it in which I was pleased about! when I got the box out I noticed this..
IMAG0142.jpg

There was a blanking plate for another glove box light, so i though ah I have loads of Audi interior lights sitting in the garage waiting to be fitted for my lighting pack. so i popped the blanking plate out, so I was left with this.....
IMAG0141.jpg

I then checked to see if my spare light would fit, which it did!
IMAG0143.jpg

So I set about doing the wireing (turned from fitting a swich to addign a new light and fitting a swich :lol: )so I got a OEM plug a lead from my box of cables I have lying around :cool:
IMAG0144.jpg

I then opened up the connector for the origional light and solderd the new cable and plug into that and then wrapped the cable in loom tape to keep it looking factory(although you cant see it when fitted :lol: )
IMAG0147.jpg

Light all wired in
IMAG0148.jpg

After that I set about sorting the swich, here is the hinge where the piston was fitted and the cable for the swich
IMAG0150.jpg

And this is where I was relocating the swich to, its where their used to be a litted rubber stopper at the top of the glove box
IMAG0149.jpg

I drilled this out to the size of the swich and fitted the swich
IMAG0151.jpg

I then set to work on wireing it up, I moved the plug for the original swich the top of the box, I then solderd another OEM plug and cable onto the new swich and wrapped in loom tape and plugged into the origional swich plug
IMAG0153.jpg

and here is the finished result
IMAG0152.jpg

Although its only a standerd feature in a car im well chuffed with it, took me about an hour to do but its nice having a glove box that opens and closes properly

Then I wanted to sort out my gearstick surround, it had loads of scratches on it from where somebody was change sliding about on it, so i went onto ebay and bought some carbon vinyl and set to work,
IMAG0093.jpg

IMAG0096.jpg

im very happy with the results!
 
Last edited:
The the last thing I did was fix the boot compartment, the handle to raise the boot compartment did nothing so it was just left in the down position, so I stripped all the boot lining out and found that the cables were very slack, it looked like somebody had tried to raise to box with the roof down and snapped the cable holders/stopper which resulted in the who cabled being pulled through into the gearing! so what I did was pull the cable out so it was tight and then cable tied onto the chassis, suprisingly this worked and the box raises and lowers but the hadle as it should do now! well happy as it cost me nothing and its all hidden by the boot lining.

Close
IMAG0168.jpg

Pull the lever around at the top when the roof is up and gives you more boot space :cool:
IMAG0169.jpg
 
Last edited:
  • Like
Reactions: ROB A4 CAB and Sandra
​Car looks amazing, what a great write up. Thanks for sharing with us. :)
 
Thanks Sandra, it deffo doesnt show its 130k miles which made me belive that the previous owner wasnt lieing that it had only been used on motorways!

Anyway today had a little carbon wrap left over so I did my rear ash tray aswell, looks ok but the rear ashtray is textured so it doesnt give as smooth a finish, but looks alright :)
Before
IMAG0173-1.jpg


After
IMAG0174-1.jpg

IMAG0175-1.jpg
 
Been busy today, took a trip to the breakers again today to see what Audi's they had down their. I wanted to find an Audi with the lighting pack installed so I could get the genuine Audi door looms for the puddle lights and red door open warning light. After searching all the cars I had no joy untill I found a 2001 Audi A6 hidden away right at the back of the yard, pulled the door card off and hay presto, it had the full door lighting pack including inside soor handle ambient lighting!!!! so that behind the door handles glows Red at night when the lights are on. Unfortunatly I will have to cut a slit into the top of the inner door handle surround to fit these which I can't do untill I get my demel in 2 days. Anyway took the door cards off, fitted the lights (holes were already their so i just had to pop them in) wired them up to the door loom so its as it would have been from factory and they work as they should :cool:
When the door catch is in the closed position the lights are off
IMAG0187.jpg

When the door is opened they come on!
IMAG0186.jpg


Heres some bad photos of it tonight in the dark, really bad quality from my phone at night!
IMAG0191.jpg

IMAG0192.jpg

IMAG0193.jpg


I also changed the colour of my glove box lights to red which my brother in law suggested i did. Think it makes it look amazing! fits in well :)
IMAG0194.jpg


I began with the footwell lights after doing the puddle and warning lights, I dont have a VAG-COM so i couldnt do it the proper way by wiring them into the convenience module under the passenger seat and then reprogamming it with VAG-COM to work. Instead I wired them into the interior light and made up my own loom, I have no photos of the progress of it and it was ******* with rain while I was doing it so I was rushing :lol: But anyway they work as they should, fade on when the car is unlock and then fade off when you start the car, well happy with them although id like to fit some LED bulbs into them to give a brighter light but there ok for now. heres some photos, again they dont come out too well on my phone!
IMAG0204.jpg

IMAG0203.jpg

IMAG0200.jpg

IMAG0199.jpg

I also set to work on the internal door handle ambient lighting, again no progress of this as it was raining but theres some photos, again need some brigher LEDs as in my partners A3 they shine abit brighter than mine, just their only supposed to be suttle and not mega bright.
Drivers
IMAG0230-1.jpg

IMAG0229-1.jpg

Passenger
IMAG0231-1.jpg

IMAG0233-1.jpg

I also did abit more cleaning, The exhaust pipes were coverd in soot and rust so I cleaned these off
Before
IMAG0235-1.jpg

IMAG0234-1.jpg

After
IMAG0236-1.jpg

lastly I hated the fact my door hinges were coverd in 8 years of dirt and gime, I tried to clean them when washing the car but no joy, it was so ground in that it wouldnt come off easy so I bought some engine degreasent which did the job!
Before
IMAG0222.jpg

IMAG0221-1.jpg

after
IMAG0238-1.jpg
 
hello VAGCABBY nice car ive got the same problem with my rise and fall box in the boot. Is it a big job to repair as in time do i need a manual to consult as regards stripping out the boot and gaining access to the box workings thanx for any advice (rob) midlands.
 
Hi there, thanks

It's pretty simple to do, remove the handle which is held with 3 or 4 torque screws and the pull out the boot lining, I think its oly cipped in from memory, then find the slack cable and pull it tight and cable tie it benhind there the boot trim goes and it should work again, sometimes the problem is a broken clip on the actual handle so check that first.
 
Very tidy car, and nice mods done so far
 
This has changed quite a bit since I crated this thread so here it goes from another forum

After afew issues the cruise control is all fitted and working, I was getting all sorts of error after installing the new module, cleared all the codes and still got issues, managed to recode the whole thing and half my errors went but still had an abs warning, took it for a drive to see if it would out out but it didn't, all my warning popped back up on the bash and the car cut into limp mode over 20mph!!! Found out eventually I hadn't reset my steering angle sensor corrently which was causing all the problems, reset the steering angle sensor and all my error went and the cruise control worked!


IMAG0187-1.jpg


Well its fitted! was a pain in the **** but i got there in the end :lol: had to fabricate my own windscreen mount due to this being from a new shape A4, wiring was abit of a pig but it all works as it should now :D also fitted LEDs into my spot lights and sun visor lights to match with my footwell lighting will get a night photo soon.

Before
IMAG0096-1.jpg


After
IMAG0203-1.jpg

IMAG0204-1.jpg

IMAG0206-1.jpg


I tell you its a gods end at night, absolutely love it! no more getting blinded by fogs and Hids :lol:

Anyway completed it today and im am very happy with the outcome, has transformed the inside of the car completely and the sound quality is so much better than my concert radio. All went smoothly, needed to trim afew parts due to all my ceter consol being designed around a single din and also the climate unit needed 2 mm cut of both ends but it all fits together as it should :thumbsup:

anyway afew photos, not many as it was getting cold and wanted to finish it :lolz:

IMAG0221-2.jpg

IMAG0222-1.jpg

IMAG0223-2.jpg


Double din cage in.
IMAG0224-2.jpg

RNS-E in
IMAG0225-2.jpg

IMAG0226-3.jpg

IMAG0227-3.jpg


So happy with it :D cant use the sat nav unti i get a disc for it :doh:
 
Thanks mate.

Heres photos as promised
IMG_20130107_142207-1.jpg

IMG_20130107_142233-1.jpg

IMG_20130107_142219-1.jpg

IMG_20130107_142327-1.jpg


And the photos of the grills

After
IMG_20130107_121452-3.jpg

IMG_20130107_123649-3.jpg

IMG_20130107_125116-3.jpg

IMG_20130107_125147-3.jpg


Fitted to the car
IMG_20130107_142534-2.jpg

IMG_20130107_142542-2.jpg

IMG_20130107_142542-1.jpg

IMG_20130107_142534-1.jpg

IMG_20130107_182953-1.jpg

IMG_20130107_183026-1.jpg

IMG_20130107_183003-1.jpg

IMG_20130107_183035.jpg


Just a little update, been wanting to do this since i got the car, bought myself some exhaust tips cheap. Cut my pipes and cut the valance and the badly welded the tips on :lol: my welder is very old and doesnt give a good constant feed so its ****** hard to use! But there on there and there not going to fall off any time soon :D Im happy with the result, look very OEM and give the rear end abit of a boost in looks. Valance is going to be pained gloss grey tonight

Finished
IMAG0003_zps646fdc59.jpg


Well i painted up the rear diffuser thing last night and laqured it this morning and i am more than impressed with the outcome, pics don't really do it justice
Fitted
IMAG0008_zpsa2930682.jpg

IMAG0009_zpsf9a75c66.jpg

IMAG0010_zpsbbd5008b.jpg
 
hello, just a quick update. Been wanting to change my rear lights to the later b7 cabriolet lights for ages but they very rarely come up on eBay at a good price and if they do I always get outbid at the last min. This came up at £30 buy it now, so I grabbed it. Just need to wait for a driver's side one, I don't mind paying more for the second one as I got this one so cheap. Trial fitted it to see how it looks and to work out how I'm going to wiring them in. Here's some pics

New one on the left
IMAG0057_zps23cbd636.jpg

IMAG0058_zpsa5bf8c27.jpg


Managed to take a day time photo of the rear to show the lights! and also managed to fit the splitter in about 15 mins, was surprised how easy it was as I struggled when fitting the ménage splitter to my SI lol

Here's some pics


I well happy with it. I need to get hold of a RS4 rear diffuser thingy to replace my derv modified rear valance. The car is now begging to be lowered though, I think the splitter will look 10x better being closer to the ground so on the look out for some coilys or just some springs that will drop it a good amount.

oh an she hit 150k yesterday! :halo:

Hello, after a 300 mile round trip on saturday I now have my wheel and im sooo happy with them, look spot on onthe car and I dont even feel the car needs to be lowered (altho
ugh I proberly still will drop it another 20mm...) anyway short and sweet

Genuine 18" a4 sline wheels (rs6 style) 4x pirelli tyres at 245/40/18

Heres some quick pics after a quick wash, I have since waxed the car and polished and sealed the wheels, will get better pics soon


No updates im afraid, just afew pics of the car looking its best after a cleaning session outside the caterham dealer!


Hello, i have not put an update on here for ages and nothing has changed lol

Nothing exciting but i've done a complete front suspension refresh to the car. I half of this about a year ago with cheap arms and they gave up within a year so i have bought Meyle HD control arm which have a 4 year warranty and are highly recommended by all the Audi forums but they were not cheap! I have also bought A4 B5 suspension perches which the springs rest on which lowers the front another 10-15mm along with Gen Audi shocks and Lemforder inner track rods.

Piccies

Control arms and perches


Contol arms and perches unpacked, 4 upper suspension arms, 4 lower suspension arms, 2x track rod ends, 2x ARB drop links. New bolts for everything


New vs old shocks, old ones literally took 5 mins to rebound to upper most position


B5 perch on shock vs slandered B6 perch
http://s156.photobucket.com/user/ja... Uploads/20140411_114935_zpsepnarbfx.jpg.html

Car finished, happy now the front sits lower than the back unlike before (didn't get a before pic but got loads of photos on here of it before lol)


Car feels 100x better due to everything else being on there from new and the cars on 167k! hopefully wont need to change any of this again, took about 12 hours due to seized pinch bolts holding the top arms to the hub
 
All fitted. Had one issue with the loom being too short but managed to extend that to fit it. Modernises the interior and feels a lot nicer to hold.

Before


After
 
  • Like
Reactions: Brennan
Following your thread :)
Your doing all the bits I'm looking to do, as I also have a v6 tdi cab. I want to lower mine as I alredy have 18s, and twin tail pipes are comeing !!