Looking at different options for the future.. The saChs paddle clutch works absolutely fine. Takes a little getting used to but works perfect. Not heavy or anything!
 
  • Like
Reactions: Alex C
There is nothing wrong with the setup I have tbh... I have been looking at twin plate setups as an alternative for various reasons and mostly because they look cool lol... yeah I know you can't see them once fitted but you known its there ;P

The Sachs paddle plate + OE setup is as Bill says very road friendly... I drive an A2 all week and the clutch on that is a lot lighter and less 'grabby' than the S3 but I don't have any trouble swapping between them... I have launched the car a couple of times and it holds up fine although obviously all bets are off giving any clutch this kind of abuse as lifespan drops massively...

<tuffty/>
 
  • Like
Reactions: Alex C
Tuffty do you think the HPA controller was worth the investment? I nearly bought one last year but they were new and untested at the time on the 8L. I'm still considering buying one after my engine is rebuilt (next month) so I'm looking forward to see how you get on with it. You made it look very easy to fit (as usual, lol) how long did it take you?

Steve
 
Personally yes... I think there is a little more development that can be done to make the software a bit better but it seems to work well and ticks all the usual 'gadget' boxes..

I assume that as its listed on the HPA website that the Gen2 controllers (HPA black box not the actual haldex) are available now...

Took me around 30mins to fit including taking pics ;)

<tuffty/>
 
  • Like
Reactions: tomjol and S3 Hilife
Have some time off work so had a crack at the ABS sensor..

Removed the disc to gain a bit of access to the front of the sensor which is mostly masked by the reluctor ring...
IMAG1004.jpg


Removed the securing bolt and the funky cable guide jobber...
IMAG1007.jpg


I first knocked the securing tab round a bit and it moved so got a blunt instrument on the front visible edge of the sensor and amazingly drove it out more or less in one piece...

The sensor is in a fairly awkward place... I also ran a file and some emery cloth inside the sensor hole to clean off the rust..
IMAG1009.jpg


New sensor was from GSF and is made by Delphi...
IMAG1010.jpg


Cleared the code and went for a drive... ABS is now working so reconnected the HPA controller and all seems to be working as before so hopefully thats sorted the issues that I have been having out...

<tuffty/>
 
  • Like
Reactions: Gops, S3Alex, jitvv and 3 others
<tuffty/>, sorry for the slight topic change.

Did you use the conduit on the fuel lines for safety or for cosmetic purposes?


IMAG0856.jpg


Does the conduit touch the charge pipe?
 
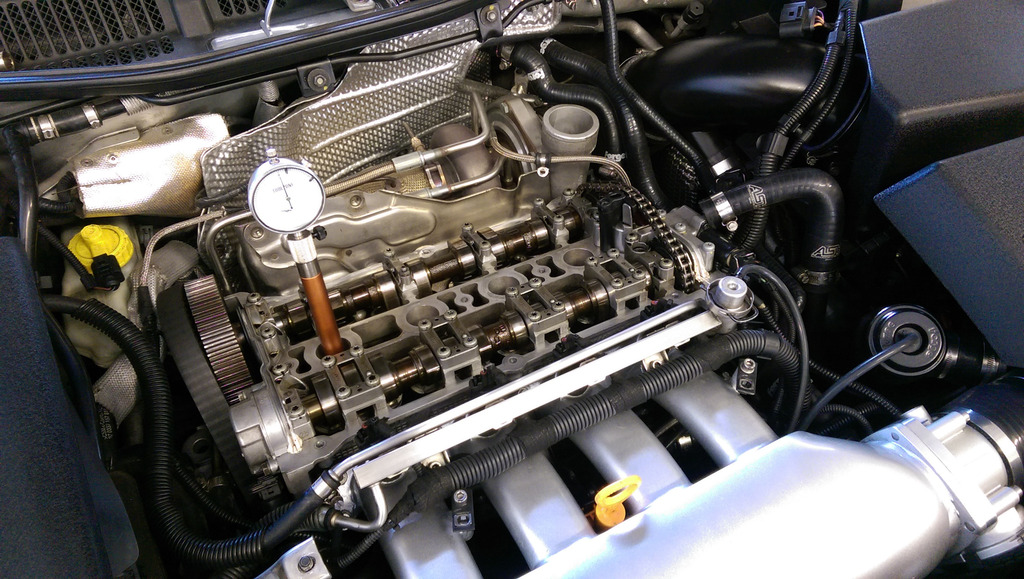
Got around to a couple of jobs I have been meaning to do for a while...

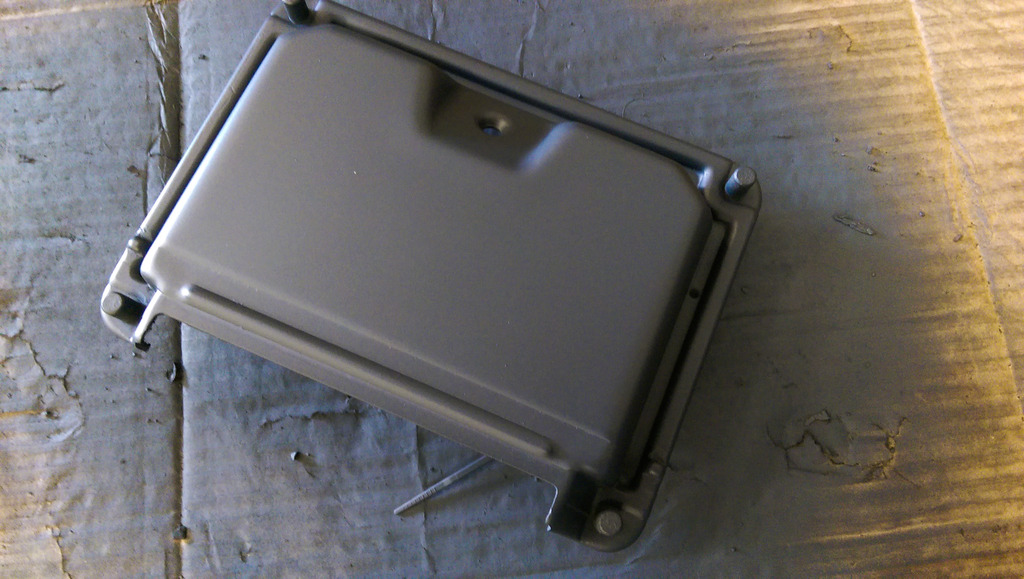
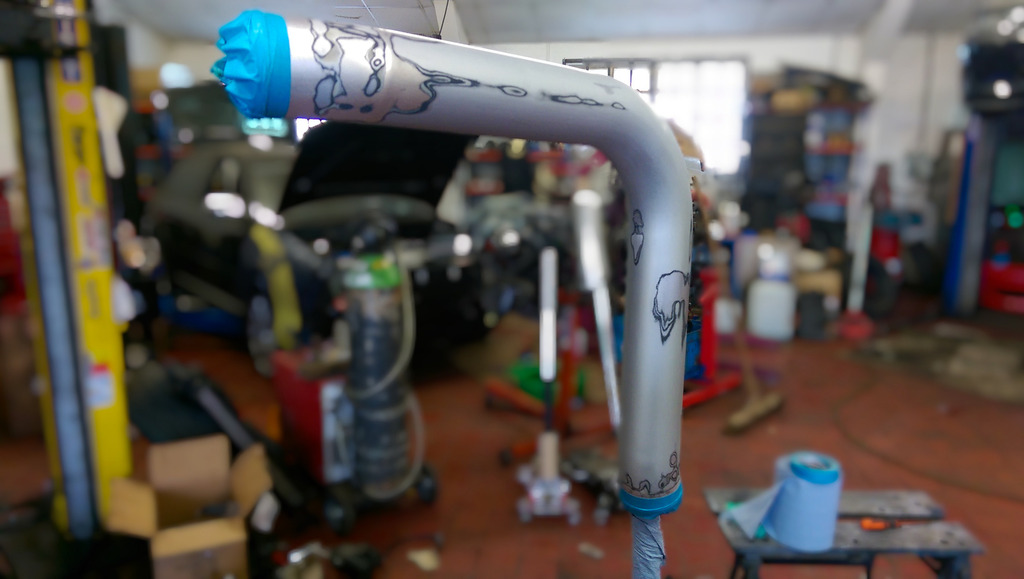
Sorted out my spare ECU with a little paint job...
IMAG1067.jpg


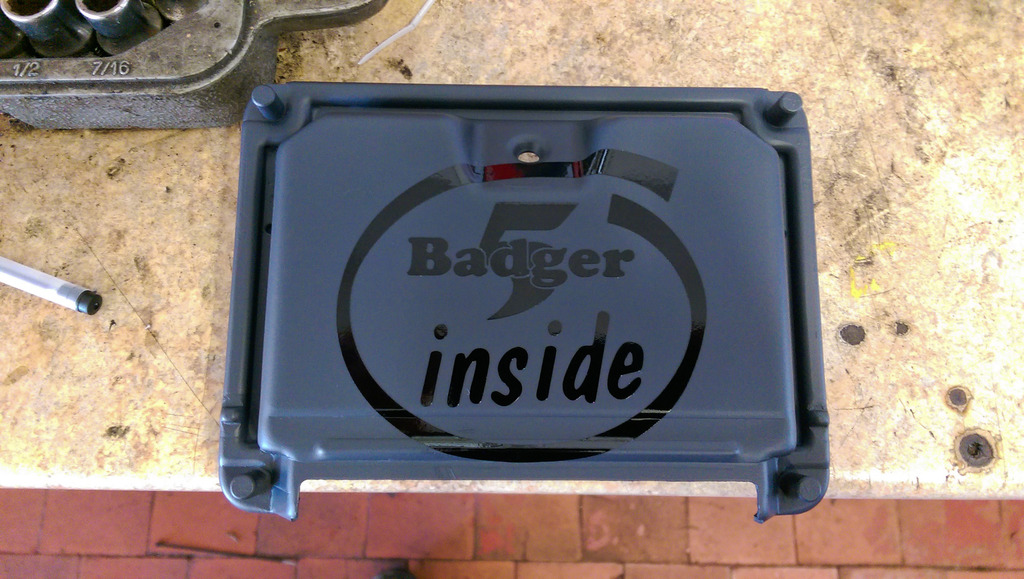
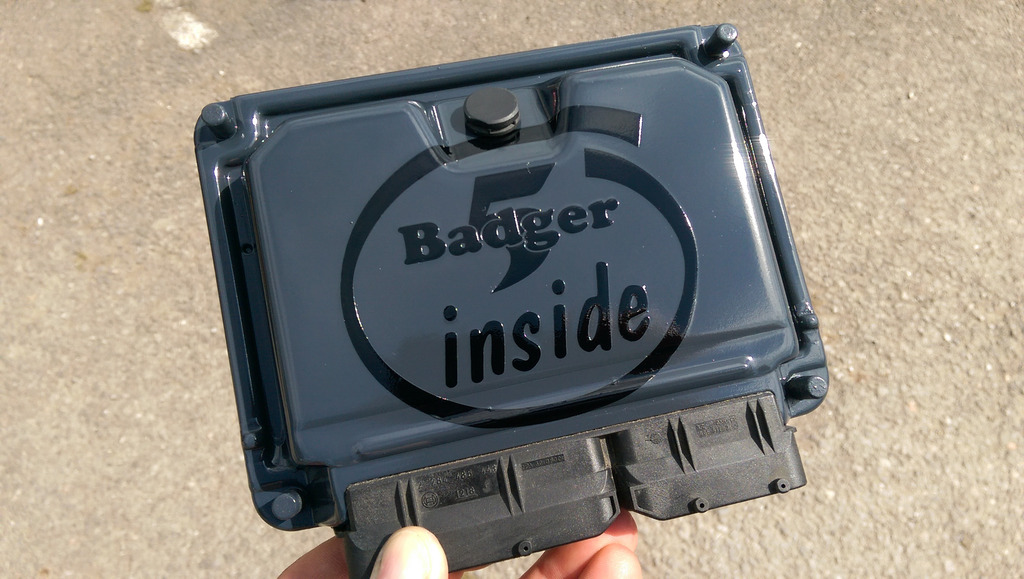
Always quite liked the colour of the UPOL etch primer I use so I thought I would just use this as a base colour for a change... stuck a Badger 5 Inside sticker on...
IMAG1069.jpg


...and lacquered over the top...
IMAG1073.jpg


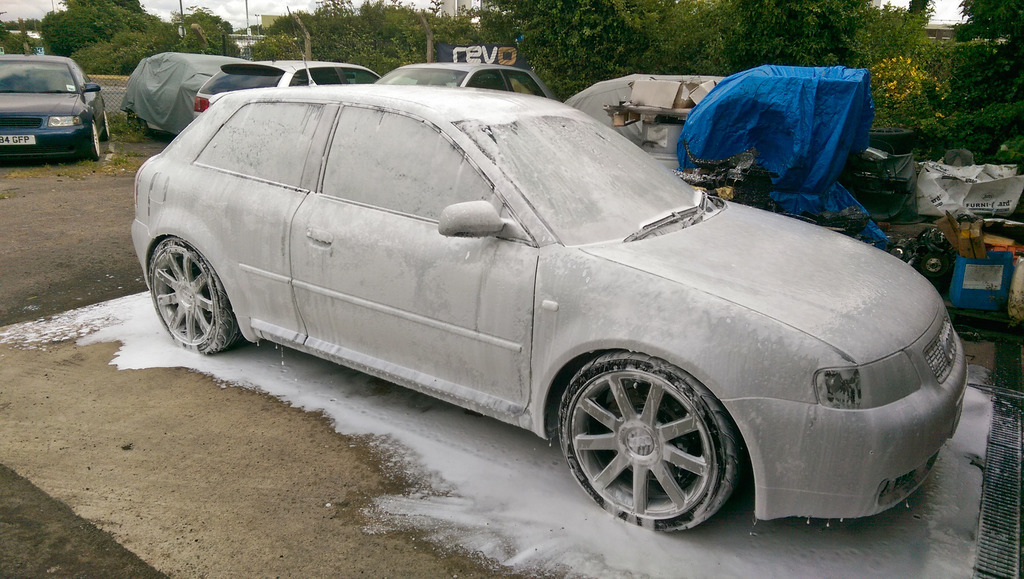
As some of you who have been to Bills will know there is a bit of seagull 'issue'... I hate to meet the ****** that did this to my car!!! :friendly wink:
IMAG1127.jpg


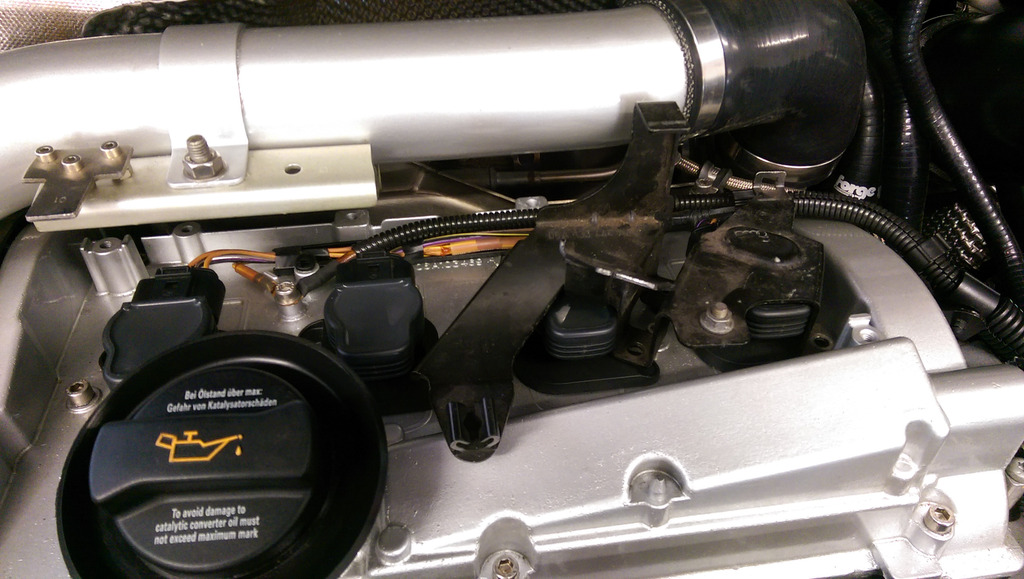
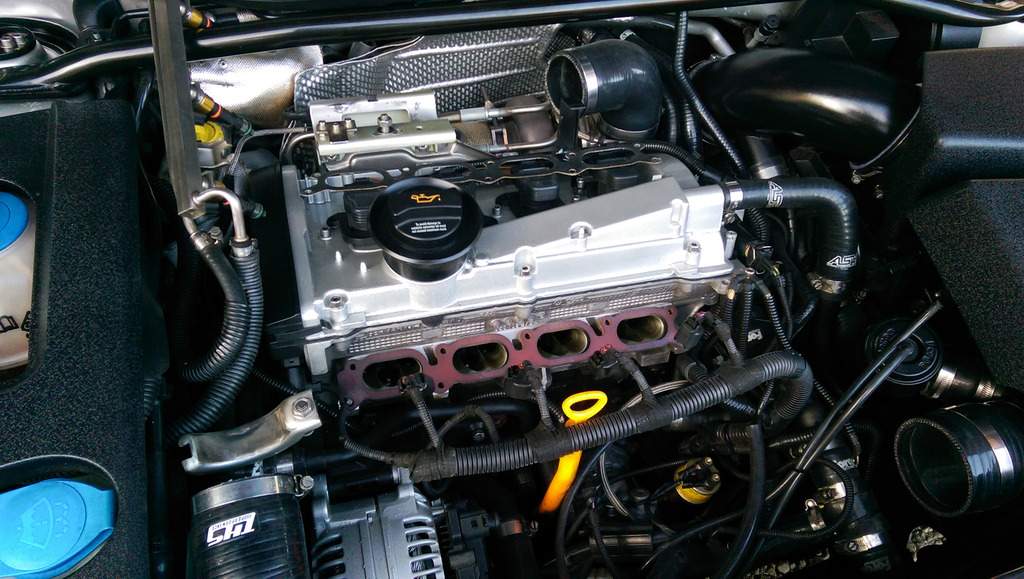
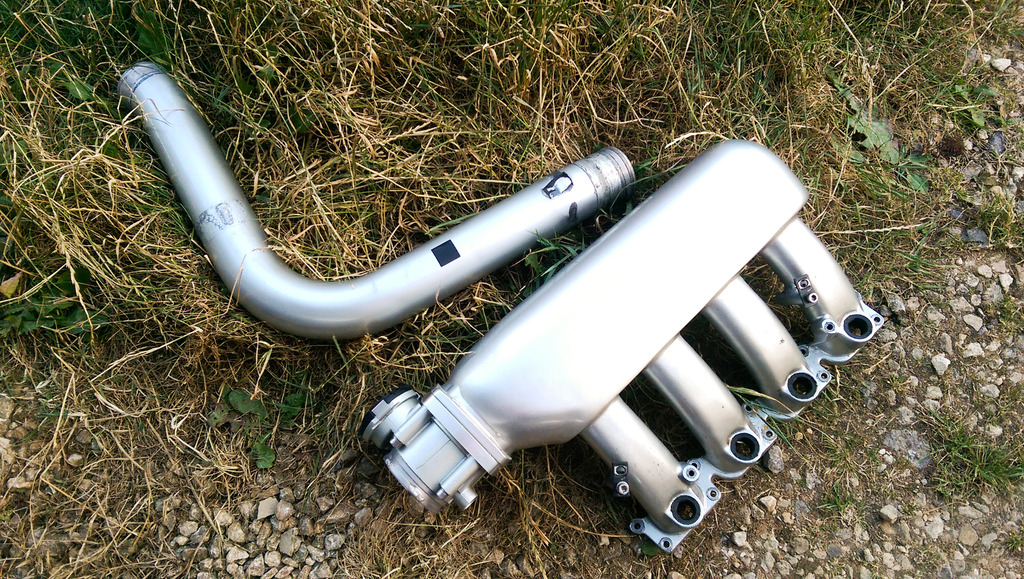
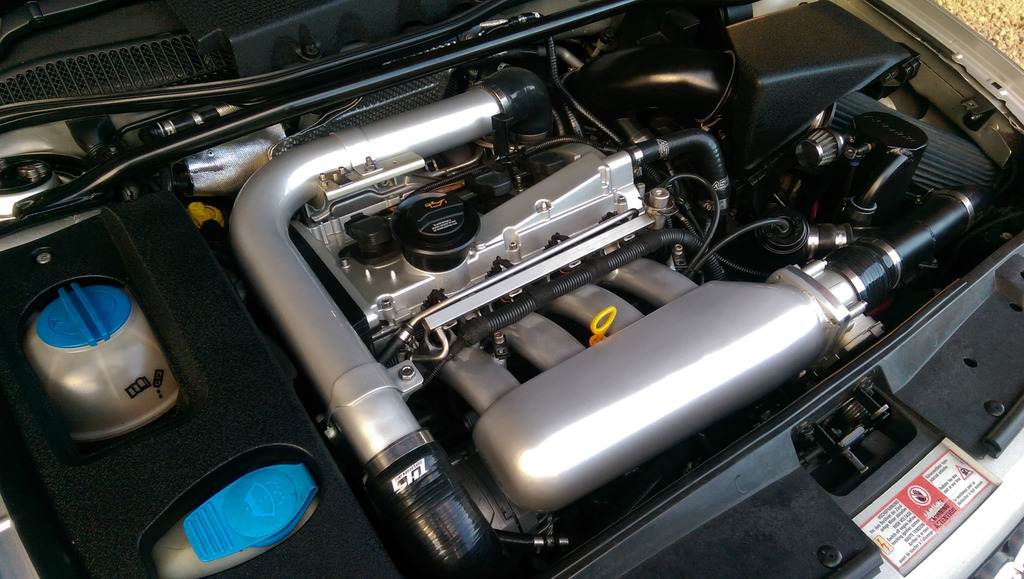
Next little job was to make some brackets for the engine cover and battery cover.. the OE bracket is the monsterous thing that covers coil packs 3 and 4... not much use anyway as I have TFSI coils but positionally it was a good start point..
IMAG1128.jpg


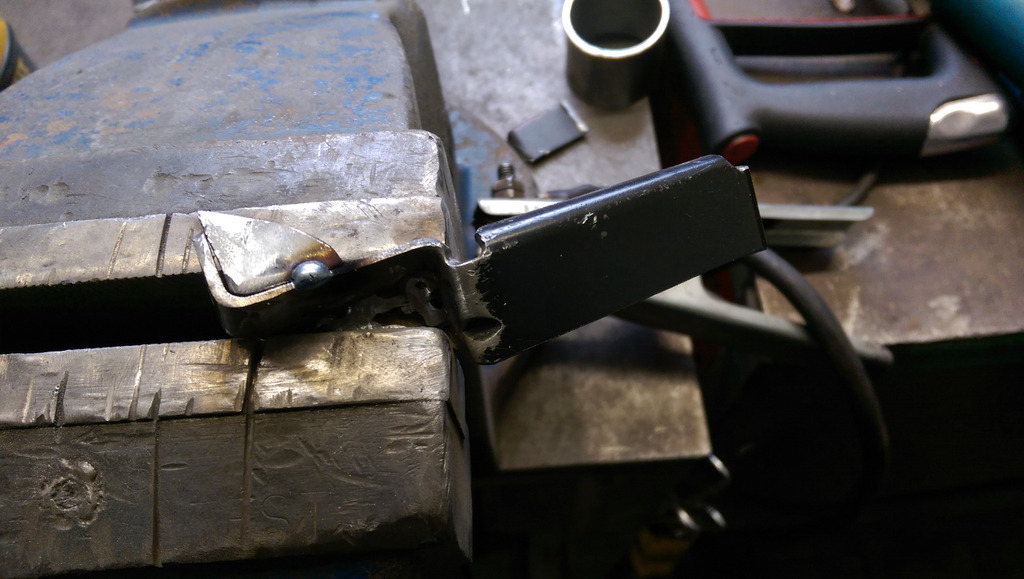
So I choppped it up a bit and strengthened it where it needed it...
IMAG1130.jpg


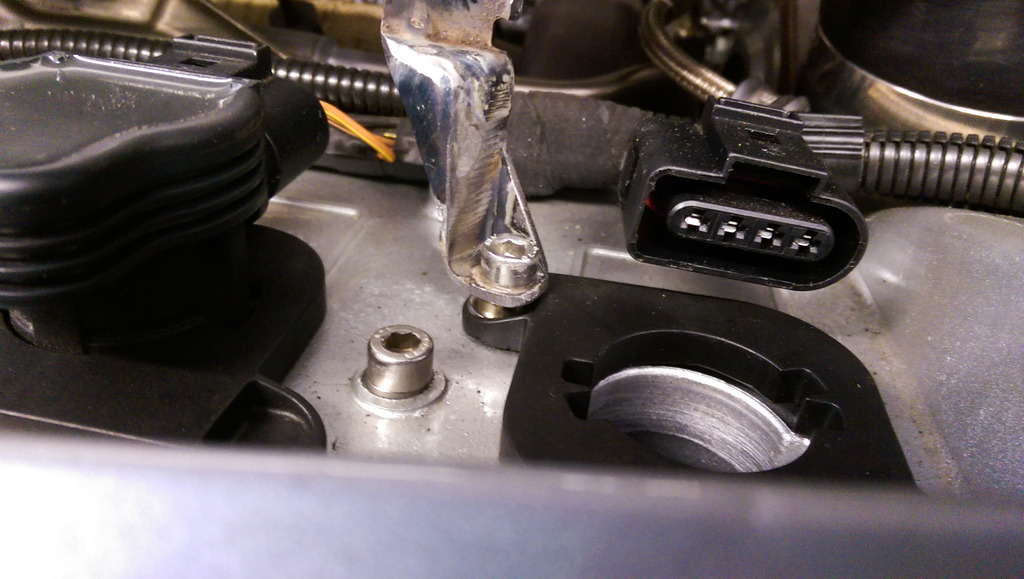
Looking good so far...
IMAG1131.jpg


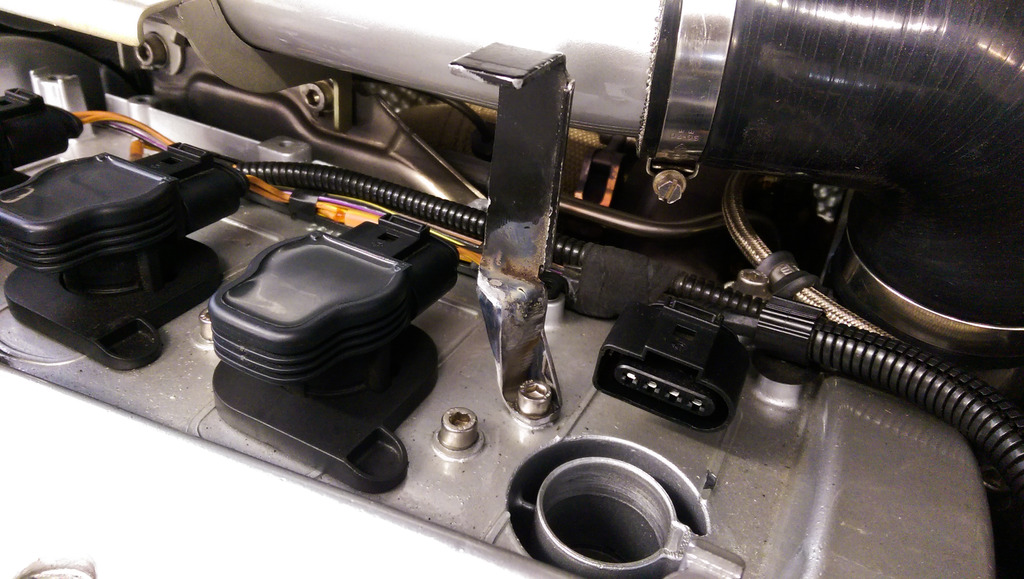
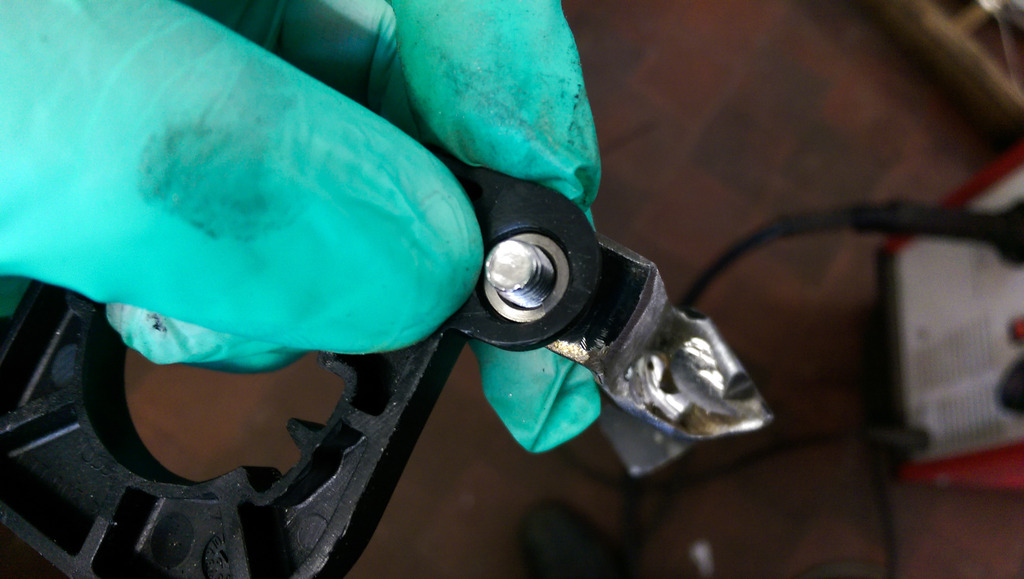
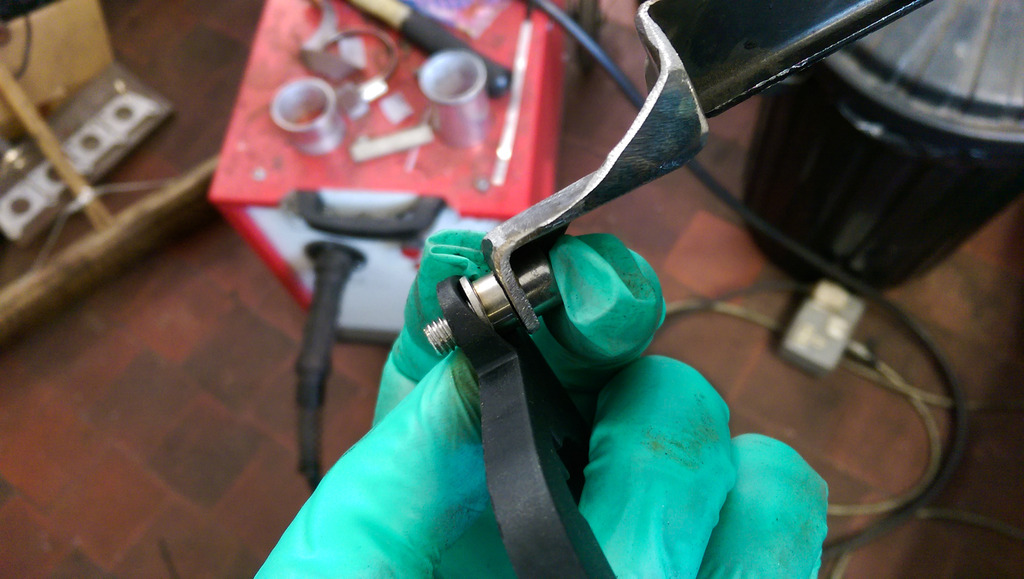
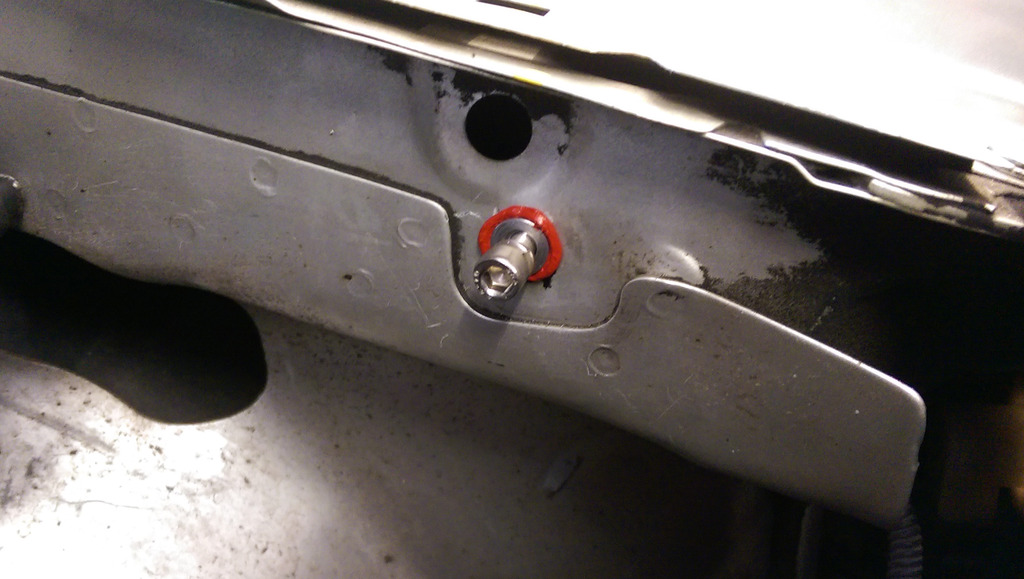
Obviously there was an issue with the coil pack adapters I am using... so I cut the push in 'barb' from the position the bracket needed to be, drilled out the 'tab' on the adaptor to house a washer that would allow the bracket to bolt down tightly without crushing the plastic and potentially allowing it to come loose as the plastic softens from heat
IMAG1133.jpg


Cut a stand off spacer to the height needed to get the bracket in the right place for the cover...
IMAG1134.jpg


...and job done...
IMAG1135.jpg


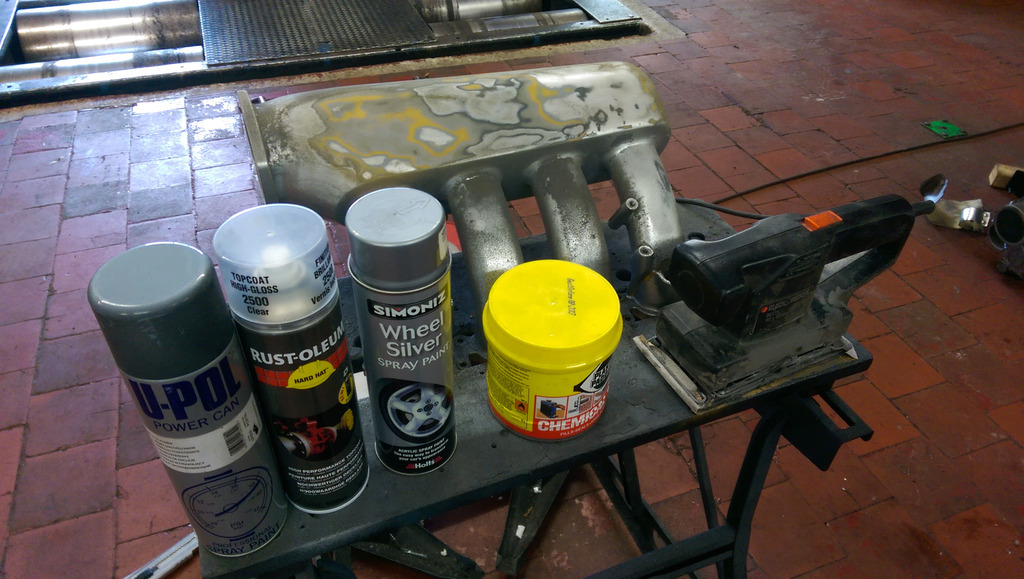
I painted it... of course :)
IMAG1138.jpg


Then moved onto the battery cover bracket... marked up an angled piece of aluminium strip and fitted a rivnut to allow the bracket to be fixed into place but also removable if need be...
IMAG1137.jpg


Painted it and fitted it...
IMAG1139.jpg


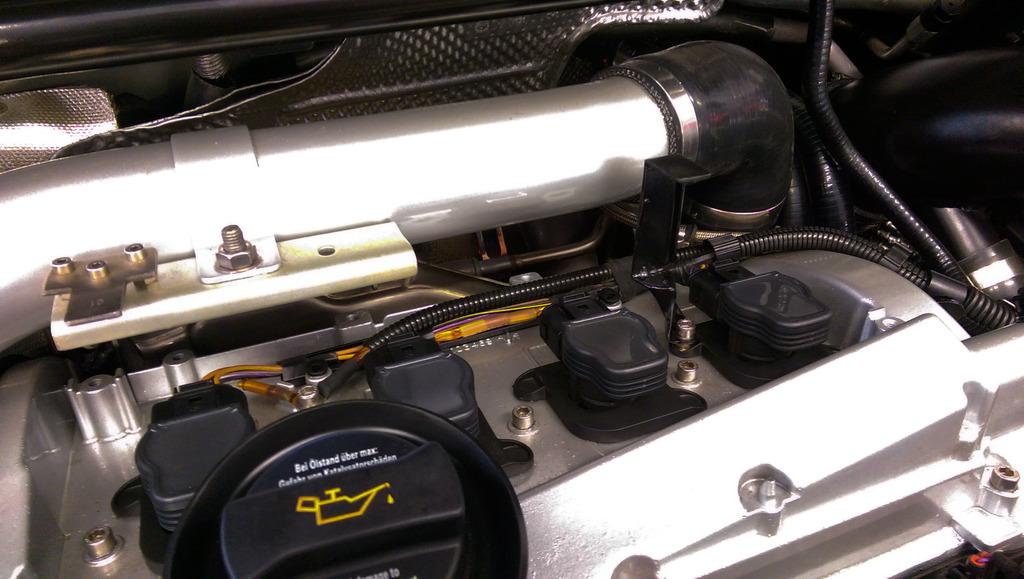
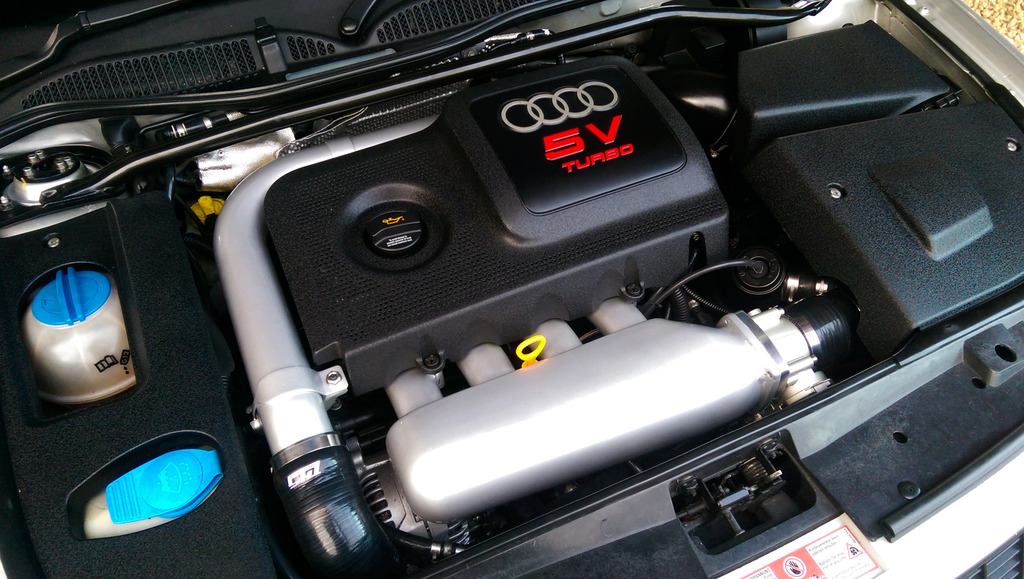
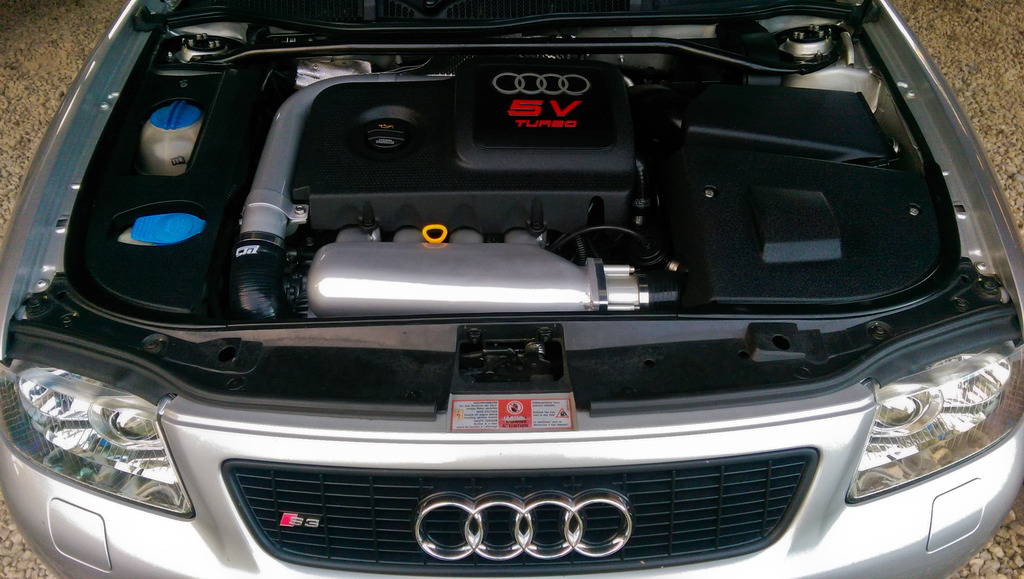
All covers back on and nice and secure...
IMAG1140.jpg


Couple of jobs off the list :D

<tuffty/>
 
  • Like
Reactions: Nilz, Gops, Scullies and 5 others
Beautiful as ever.....really neat.
 
  • Like
Reactions: <tuffty/>
Good to see someone else being as funny as me with modifying the engine cover bracket! Here's a scrappy picture form when I first cut the thing up on my LCR:

20150102_151240_zpsd7dfe8fe.jpg


Edit; On the subject of being anal and OEM+, how've you mounted your airbox cover, Paul? I've just picked one up to throw one after deciding that I can't really be bothered to widen the stock box and that the cover alone will do, but haven't yet looked at fitting the thing. Presumably just a chunk of the lower half of the airbox gives it enough to mount to and retain a stock location to cover a cone filter?
 
  • Like
Reactions: <tuffty/>
...Edit; On the subject of being anal and OEM+, how've you mounted your airbox cover, Paul? I've just picked one up to throw one after deciding that I can't really be bothered to widen the stock box and that the cover alone will do, but haven't yet looked at fitting the thing. Presumably just a chunk of the lower half of the airbox gives it enough to mount to and retain a stock location to cover a cone filter?

Here you go... pictures and everything :)
http://www.audi-sport.net/xf/threads/my-minor-modding-thread.76389/page-67#post-2134170

<tuffty/>
 
  • Like
Reactions: Rainbird
I have never seen someone paint an ECU before, you might need to see someone about this painting addiction :help:

It does look cool tho, I think you either need to make a window in the scuttle tray or rewire the ECU to sit by the airbox :glee:
 
  • Like
Reactions: <tuffty/>
Paint my ecu and I brings more food :)
 
  • Like
Reactions: Broken Byzan, jojo and Nilz
Every time I think my to do list is complete tuffty goes and adds something else todo! :) :)
 
  • Like
Reactions: A3-Lee
Todays task...
IMAG1147.jpg


...well... some of it at least... not doing the rear wheel bearings yet as they need a special tool to do on the car else it means removing them and I don't really want to do that right now...

So... needed to remove the uprights to press in the new bearings...
IMAG1148.jpg


IMAG1149.jpg


IMAG1151.jpg


Was just as well I did these now... they weren't massively noisy but they were a little loose...


First press out the flange
IMAG1152.jpg


This leaves part of the bearing on the flange...
IMAG1154.jpg


Which a bit of heat and pullers or leverage will remove...
IMAG1158.jpg


Passenger side put up a fight though so out came the power tools (pic courtesy of @Gops )
11748556_839974019417115_1113231961_n.jpg


Need to remove a circlip before pressing the rest of the bearing out...
IMAG1153.jpg


IMAG1155.jpg


Cleaned up the inside of the upright ready for the new bearing..
IMAG1156.jpg


ABS sensor was in a bit of a state which I anticipated and had bought two new sensors..
IMAG1157.jpg


Painted them of course after pressing in the new bearings...
tuffty001.jpg


Then pressed in the flange... remember to support the centre of the bearing from behind else you will damage the bearing and fitted the new ABS sensors
IMAG1162.jpg


Wanged them back on...
IMAG1163.jpg


IMAG1164.jpg


Job done... car seems quieter and smoother now... another job off the list :D

<tuffty/>
 
  • Like
Reactions: yoursixx, jojo and Gops
The state of my inlet manifold has been bugging me fr a while.....

IMAG1175.jpg


The charge pipe wasn't much better... this is what happens if you rush fitting before the paint has had a few days to harden...
IMAG1176.jpg


...so off they came...
IMAG1178.jpg


IMAG1179.jpg


...out with the paint :D
IMAG1183.jpg


...and off with the paint...
IMAG1187_1.jpg


Bit of etch primer...
IMAG1189.jpg


Started painting the charge pipe but I really should have used a bit of filler primer as the transitions where I rubbed down show through...
IMAG1190.jpg


Annoying so knowing this would happen to the inlet as well I used filler primer on it but... still not massively happy...
IMAG1192.jpg


Realistically they need sand blasting back to bare metal and redone properly... if i am going to have to do that then tbh I think I will get them powder coated as I am not feeling the love with painting this lot for the upteenth time

Need to let the filler primer go off before wet sanding it a bit to see if I can get rid of the blemishes... ah well :)

<tuffty/>
 
  • Like
Reactions: MIGGZ
Finished painting the inlet and charge pipe... tbh I am not massively happy... they have both had a few layers of paint since I made them and realistically they both need taking back to metal and starting again...

They will do for now though... next time I will just get them powder coated along with the cam cover..

IMAG1195.jpg


The joys of painting in the garden :)
IMAG1201.jpg


Wetsanded and machine polished the lacquer inbetween coats... lacquer came out nice but the finish of the silver and surface of the inlet has let me down sadly...
IMAG1205.jpg


IMAG1206.jpg


IMAG1208.jpg


Still... looks better than it did so it will have to do for now... just glad to have the car back together and drivable :)
IMAG1204.jpg


IMAG1211.jpg


IMAG1209.jpg


<tuffty/>
 
  • Like
Reactions: Scullies, S3Alex, S3AMJ and 1 other person
Your car always looks factory fresh,or rather better than that.

The fit and finish is superb.
 
  • Like
Reactions: <tuffty/>
Your car always looks factory fresh,or rather better than that.

The fit and finish is superb.

Thanks dude... I was once asked if my OEM obsession was hampering the potential for power from my setup... I think I have now answered that :D

<tuffty/>
 
  • Like
Reactions: derek84 and S3Alex
This car is actually amazing I would go as far as saying one of the best s3's I have seen I would love to see it in the flesh
 
  • Like
Reactions: <tuffty/>
Thanks dude... I was once asked if my OEM obsession was hampering the potential for power from my setup... I think I have now answered that :D

<tuffty/>

I think that one's been well and truly nailed.

Have you got over the "OMG it's quick" phase yet?

First few times out in mine felt like someone had fitted the flux capacitor to it,and now it's kind of feeling normal again!
 
It looked great when I seen it! Few niggles under the paint but tbh the factory finish on the standard inlet wasn't great. So infact it's better than OEM you ocd monster :)
 
  • Like
Reactions: <tuffty/>
I think that one's been well and truly nailed.

Have you got over the "OMG it's quick" phase yet?

First few times out in mine felt like someone had fitted the flux capacitor to it,and now it's kind of feeling normal again!

I have been driving on actuator pressure recently as I am making a few map tweaks to use the proper RS4 sensor... had my S3 one in before but obviously being the OCD freak I am I have been playing again...

Just faffing with fuelling atm and hope to get her back on the dyno for a proper mapping session once Bill has a slot...

...and no... she always finds a way of surprising me how quick she is, especially after driving a 75hp TDi as a daily ;)

<tuffty/>
 
  • Like
Reactions: A3-Lee and S3Alex
Paul, fancy letting me know when your going to bills next? I'd like to see the car in person if it's not to much trouble, be good to see bills establishment too as later on in the year I'll be bringing mine down hopefully for him to work his magic. I'm literally only a hop, skip and jump from Gloucester. Hereford based.
 

Similar threads

Replies
5
Views
1K
Replies
1
Views
1K
D
Replies
0
Views
702
Deleted member 65282
D