- Joined
- Sep 14, 2008
- Messages
- 24,836
- Reaction score
- 6,078
- Points
- 113
- Location
- Wibbleton
- Website
- www.tuffty.co.uk
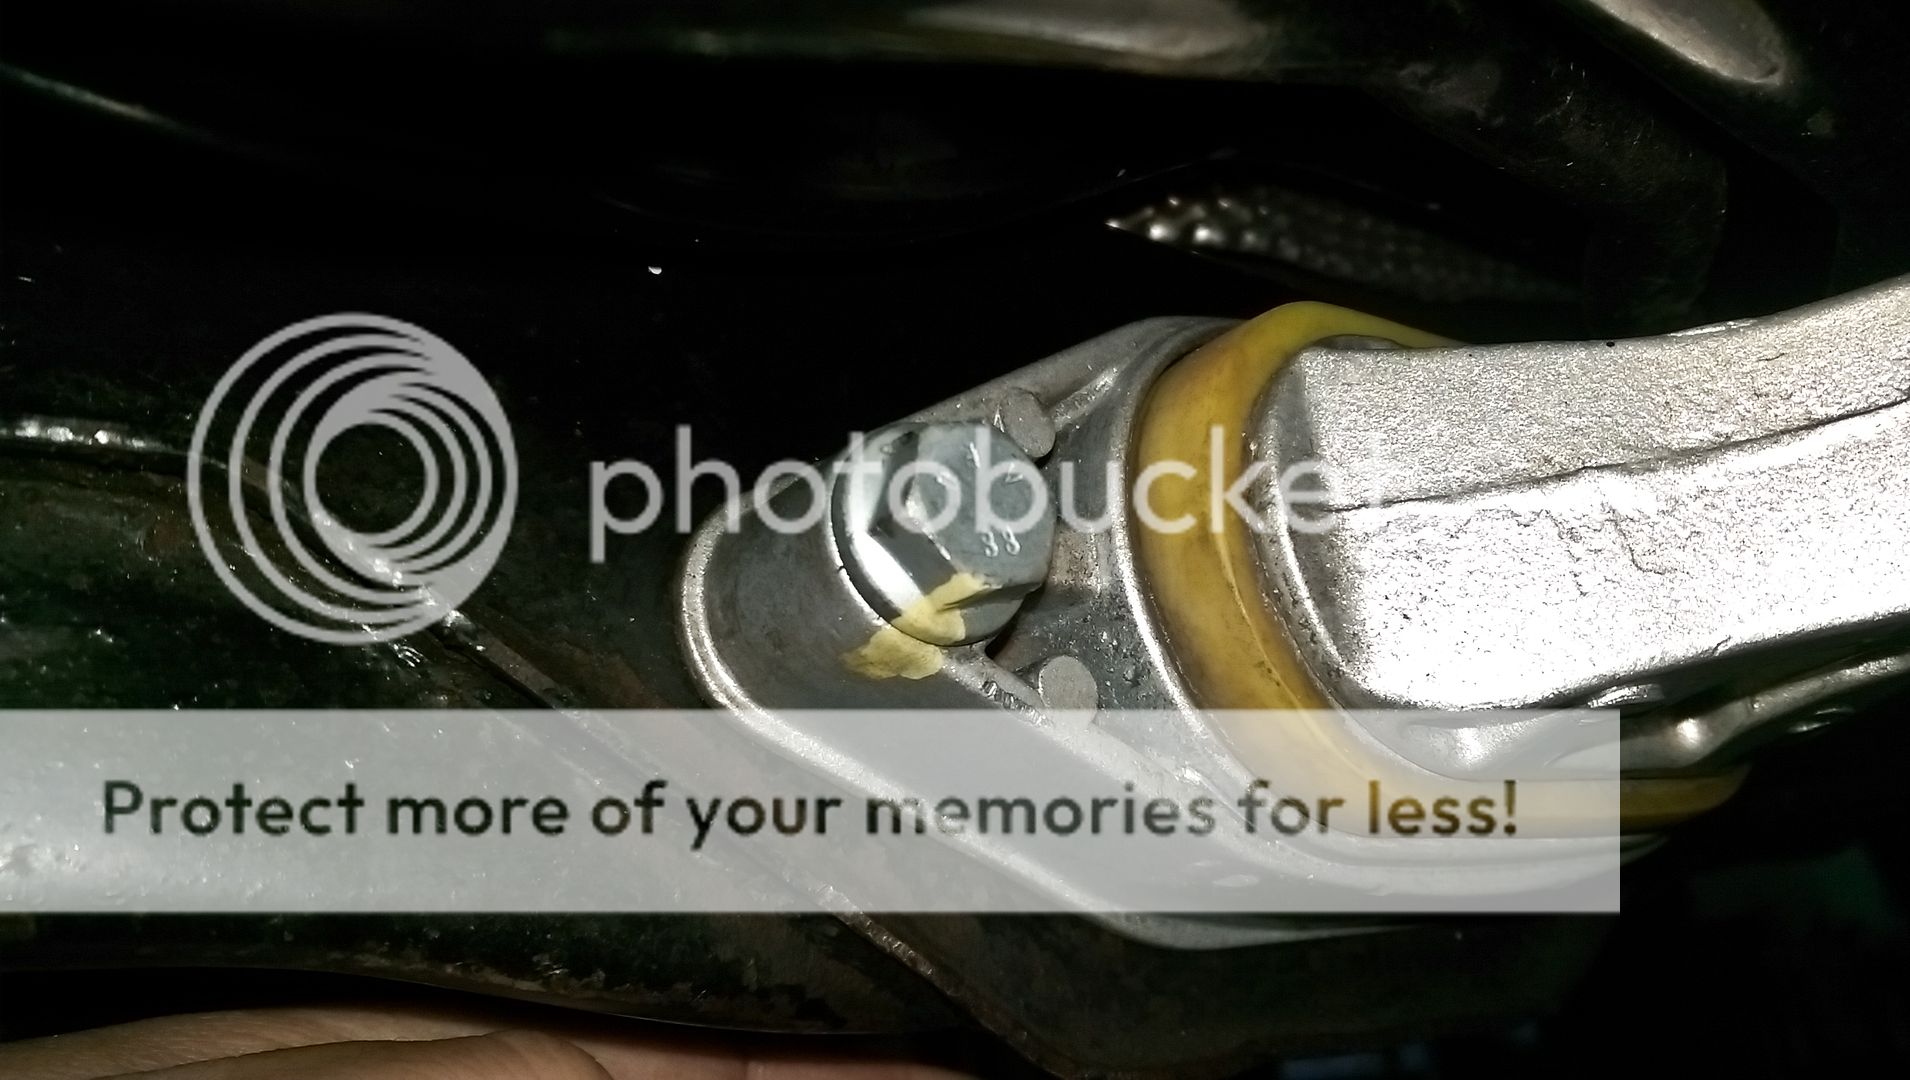
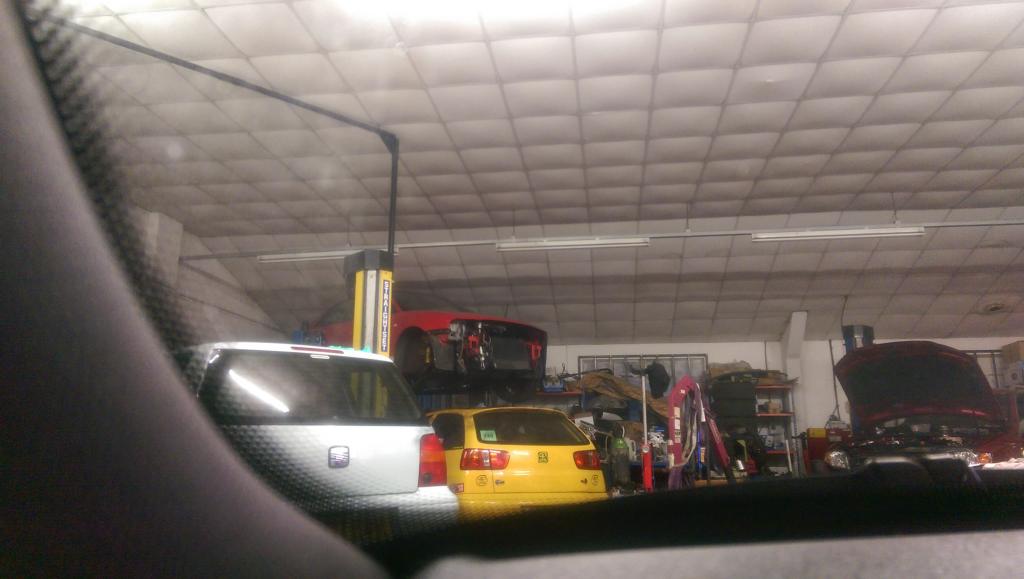
Had a call from the local Police today... they have spoken to the owner of the car that hit mine and turns out he is quite old... he apparently wants to settle outside of insurance which is fine be me so going to get some quotes for a smart repair...
In other news.... I fitted the freshly painted cam cover...

Sanded down the charge pipe...

Primed it....
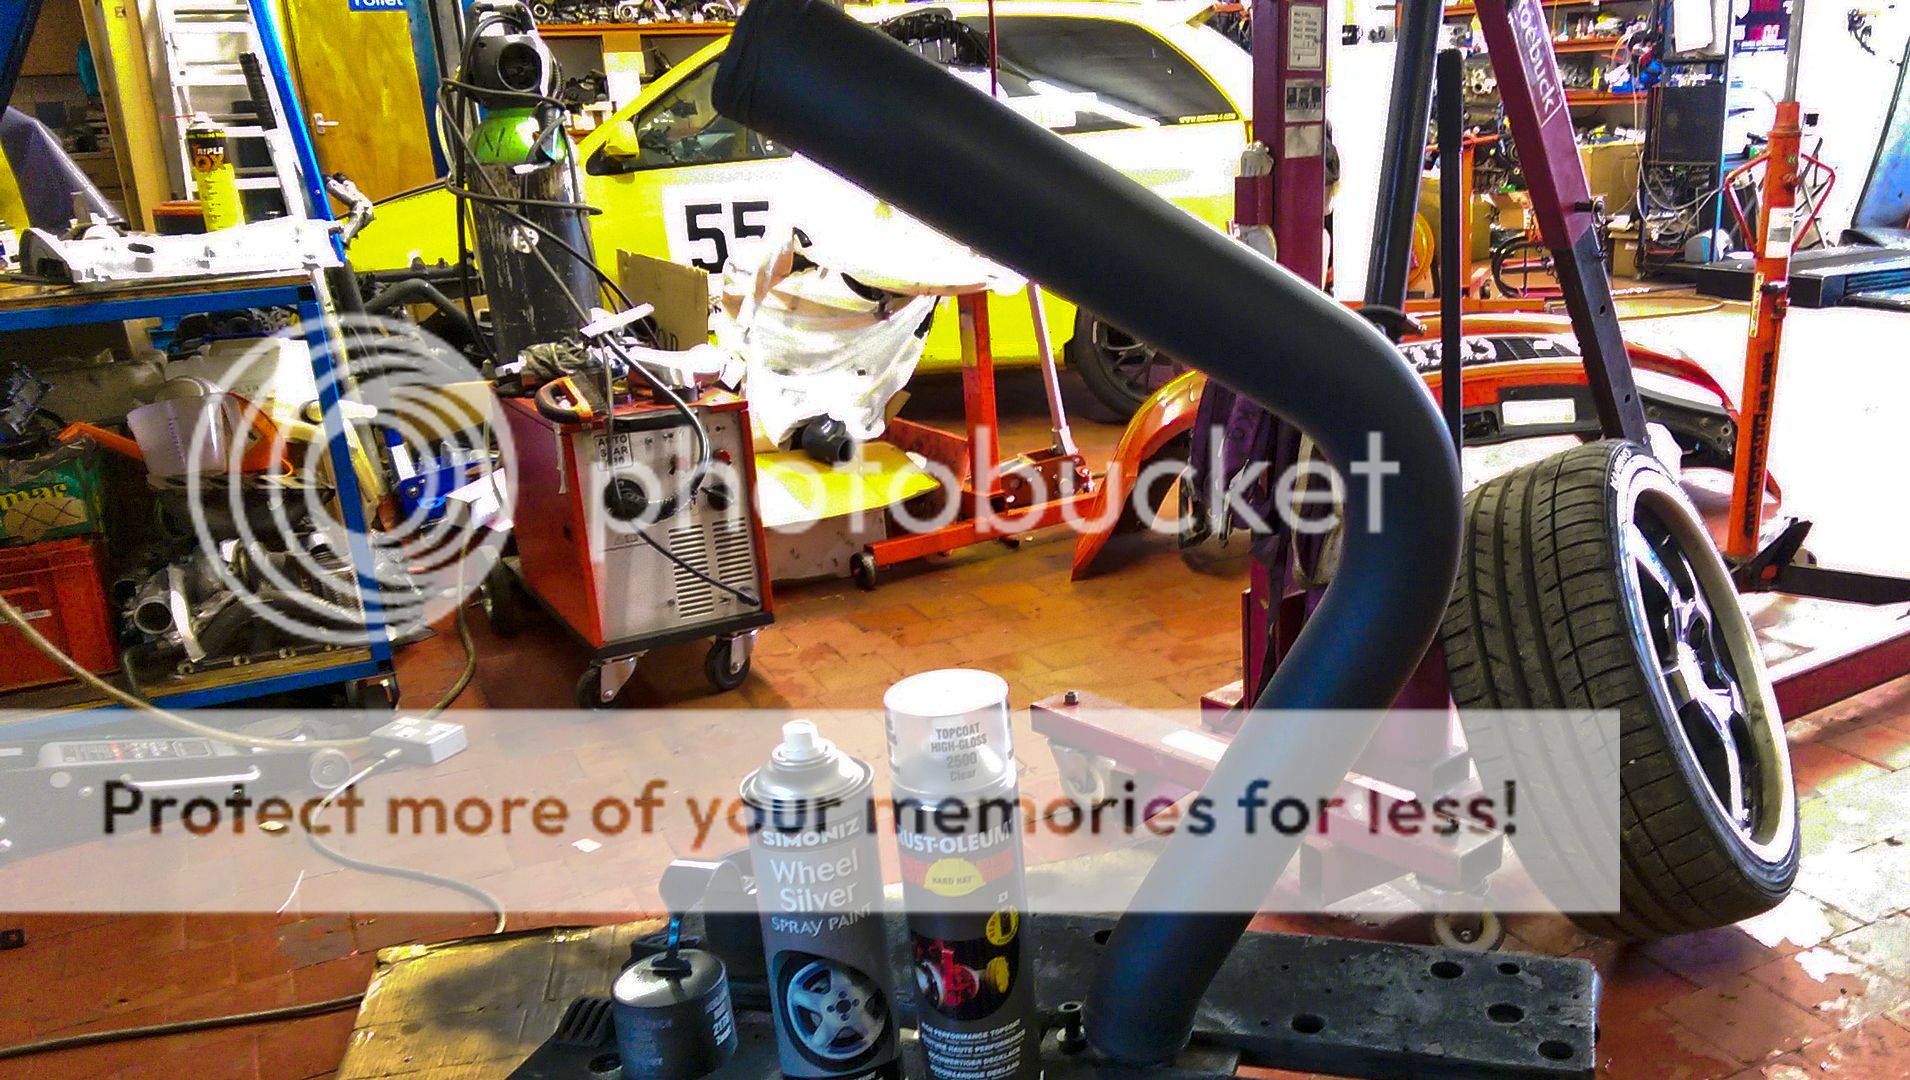
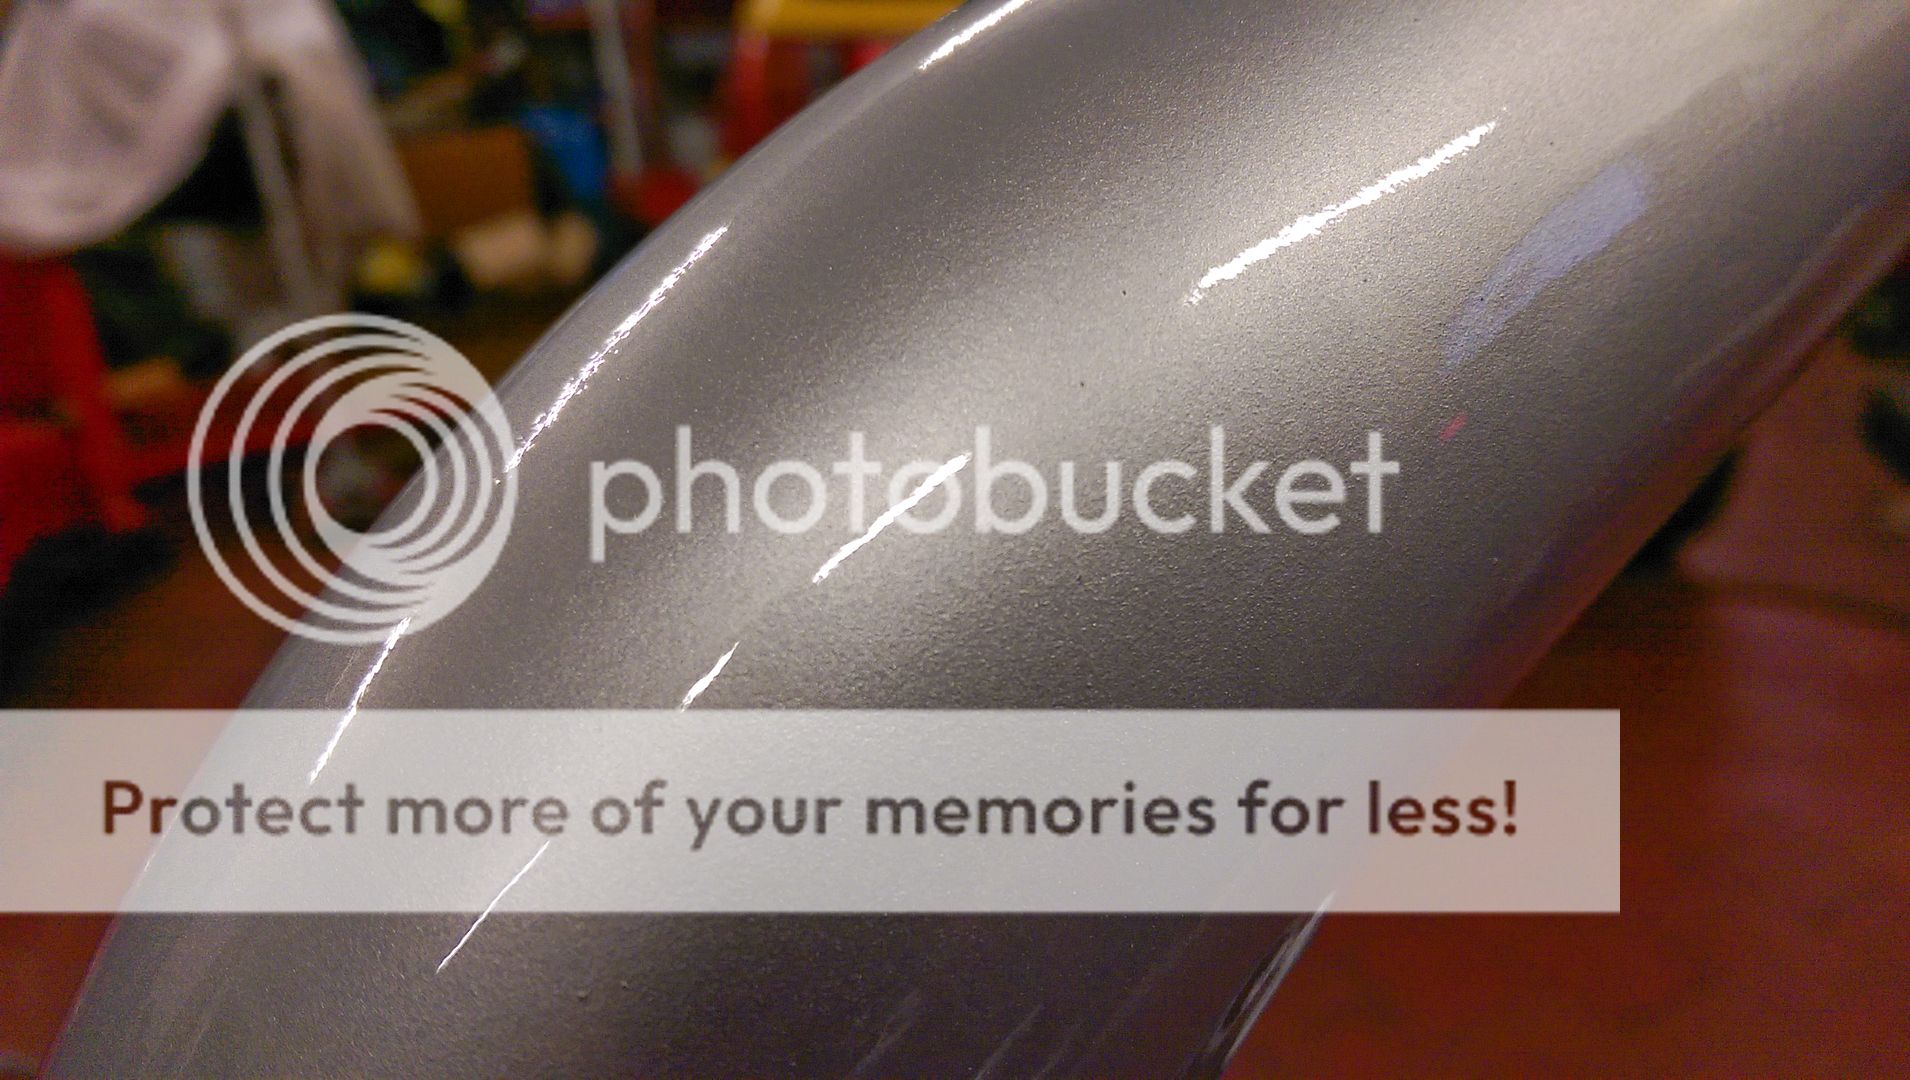
Painted it silver...

...and lacquered it
...and the clamps of course...
However in my haste there are a couple of runs so decided to leave it all over night to harden more then will attack it with some 2000 grit wet n dry and give it a go over with the DA...
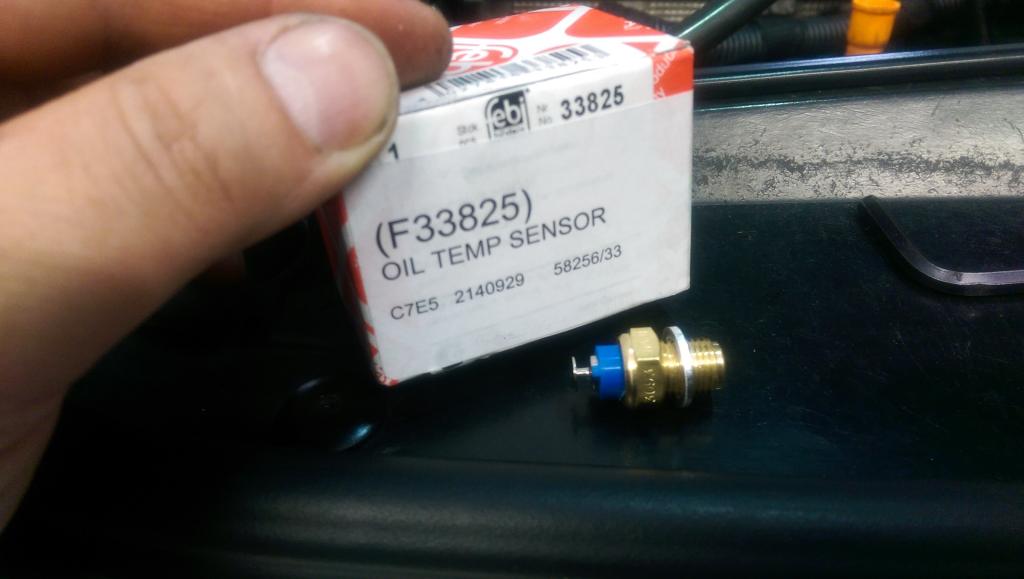
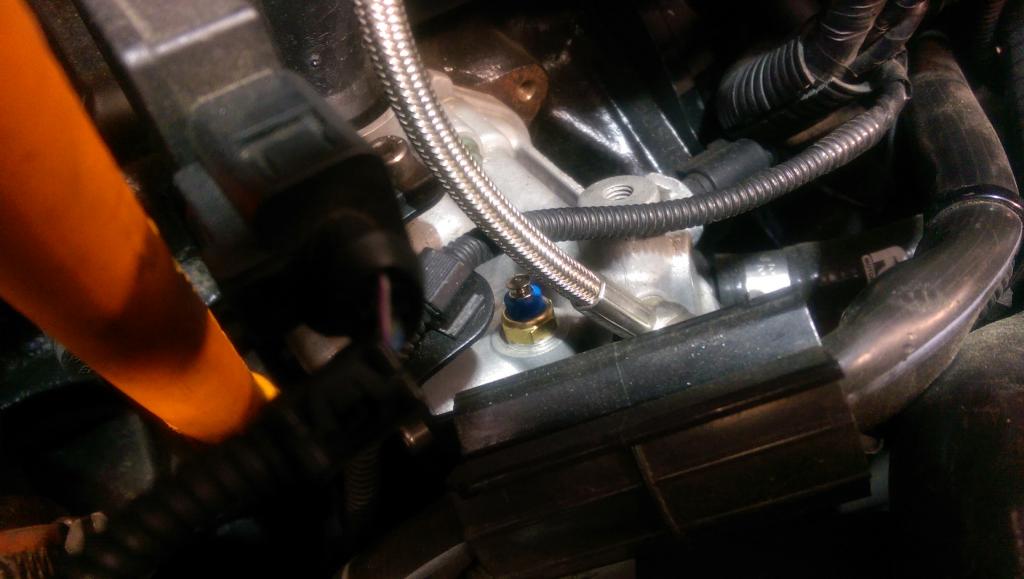
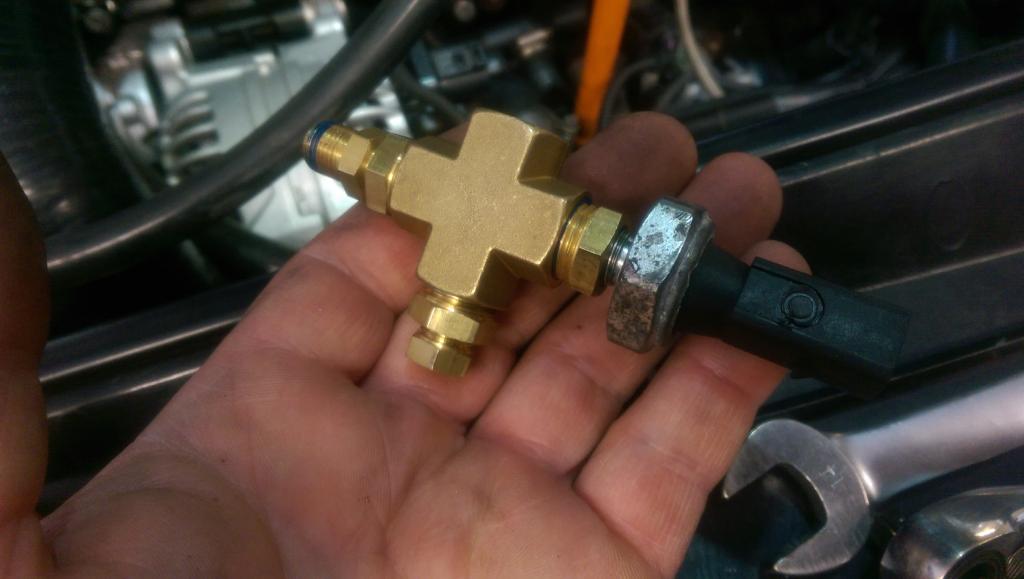
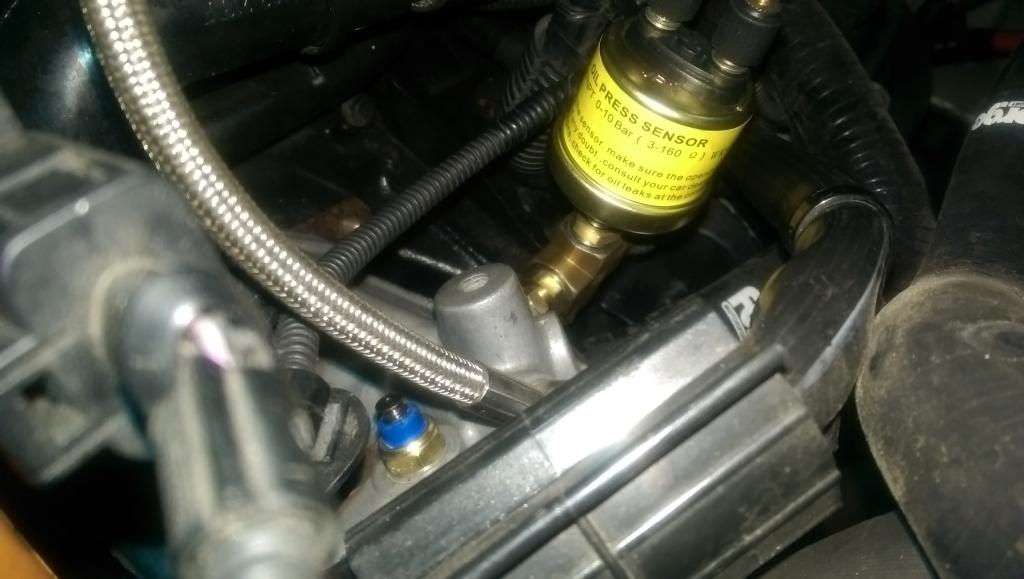
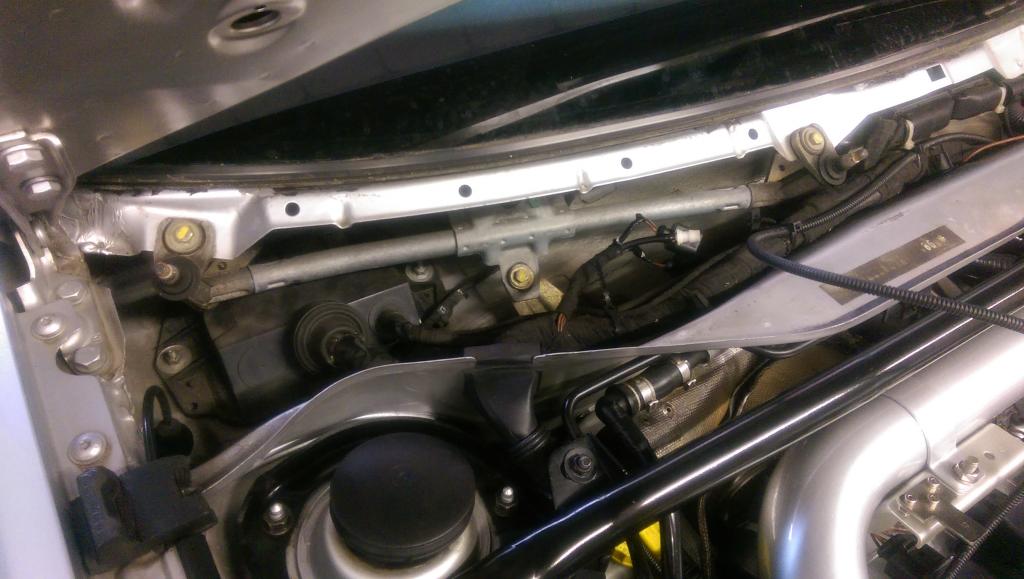
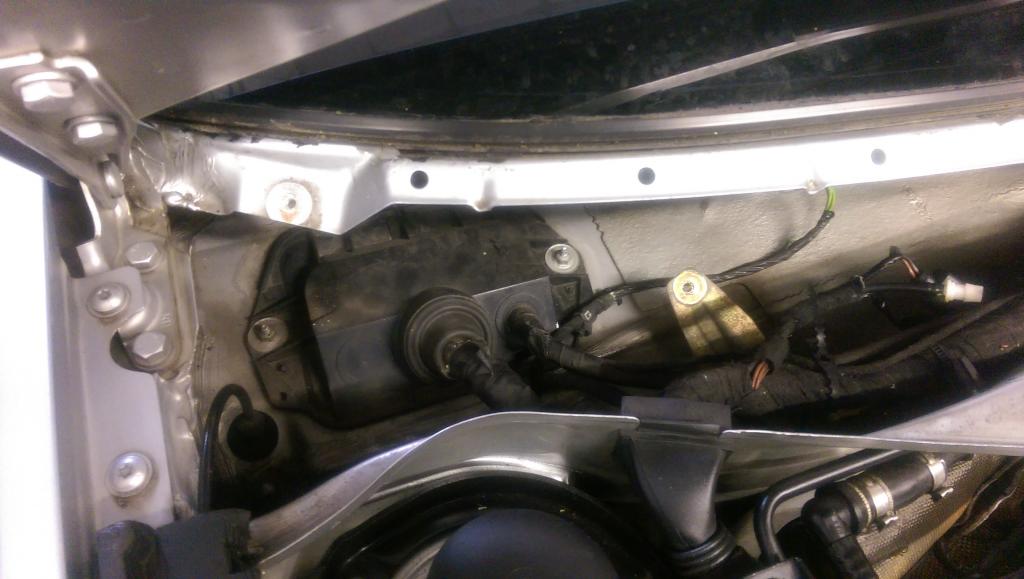
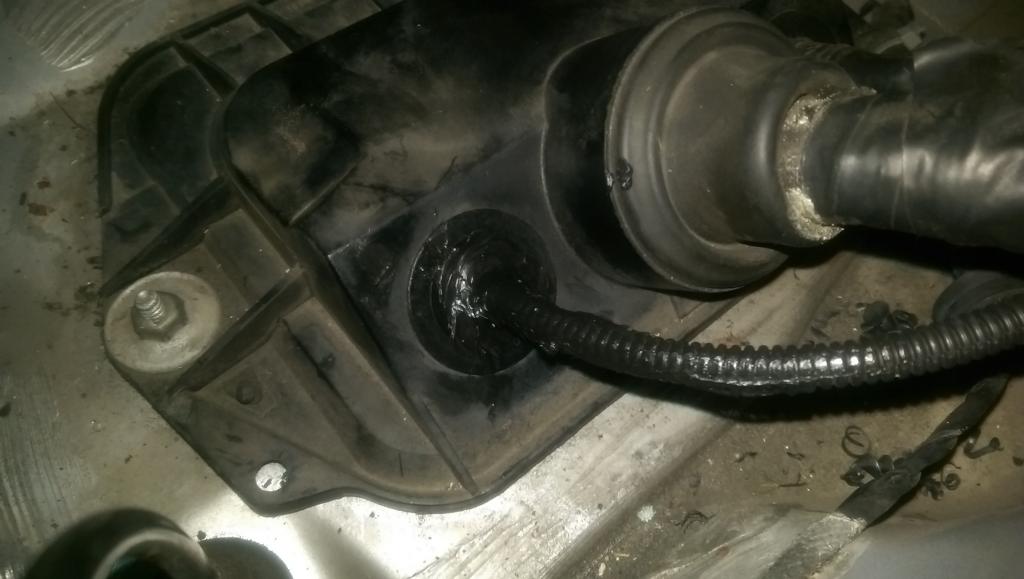
This of course left me with a bit of a problem... so applied a temporary fix
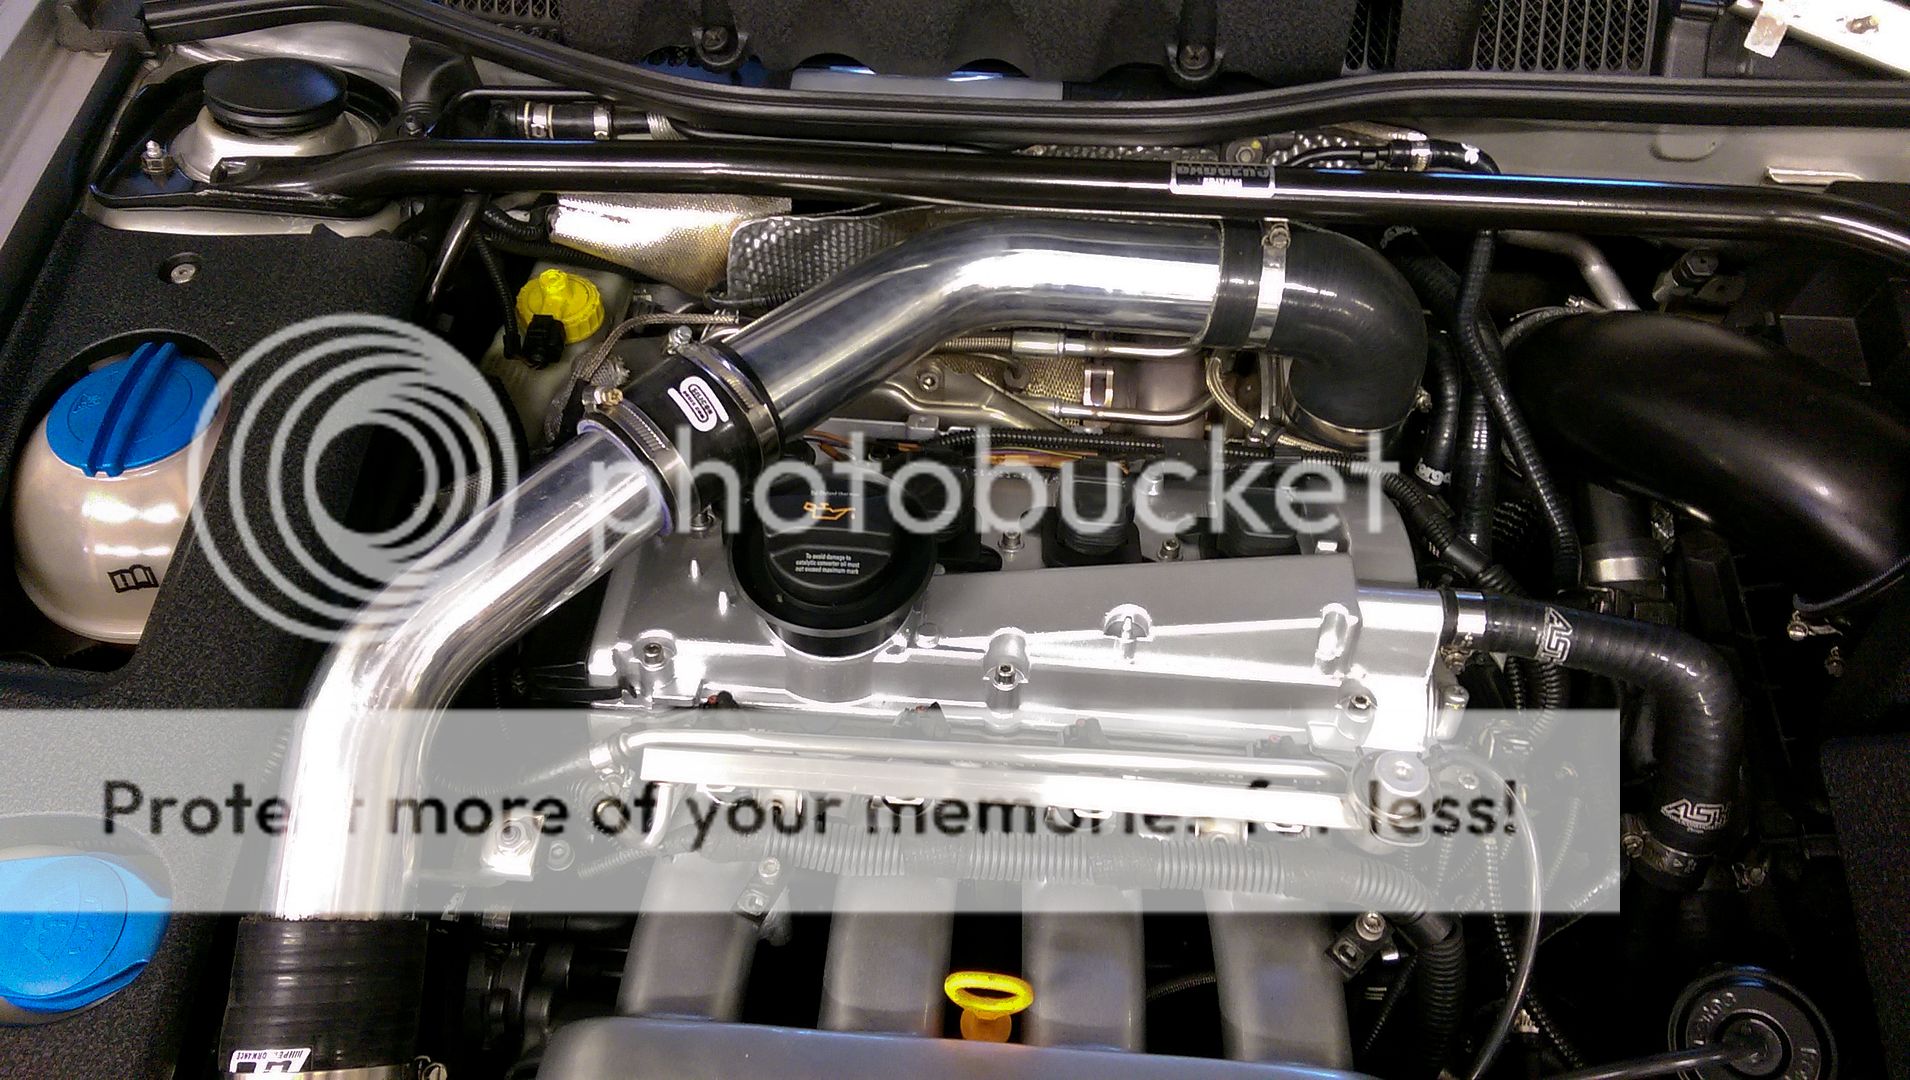
Not very OE I know but I want to make sure the charge pipe is right before I fit it...
Just the inlet to do
<tuffty/>
In other news.... I fitted the freshly painted cam cover...
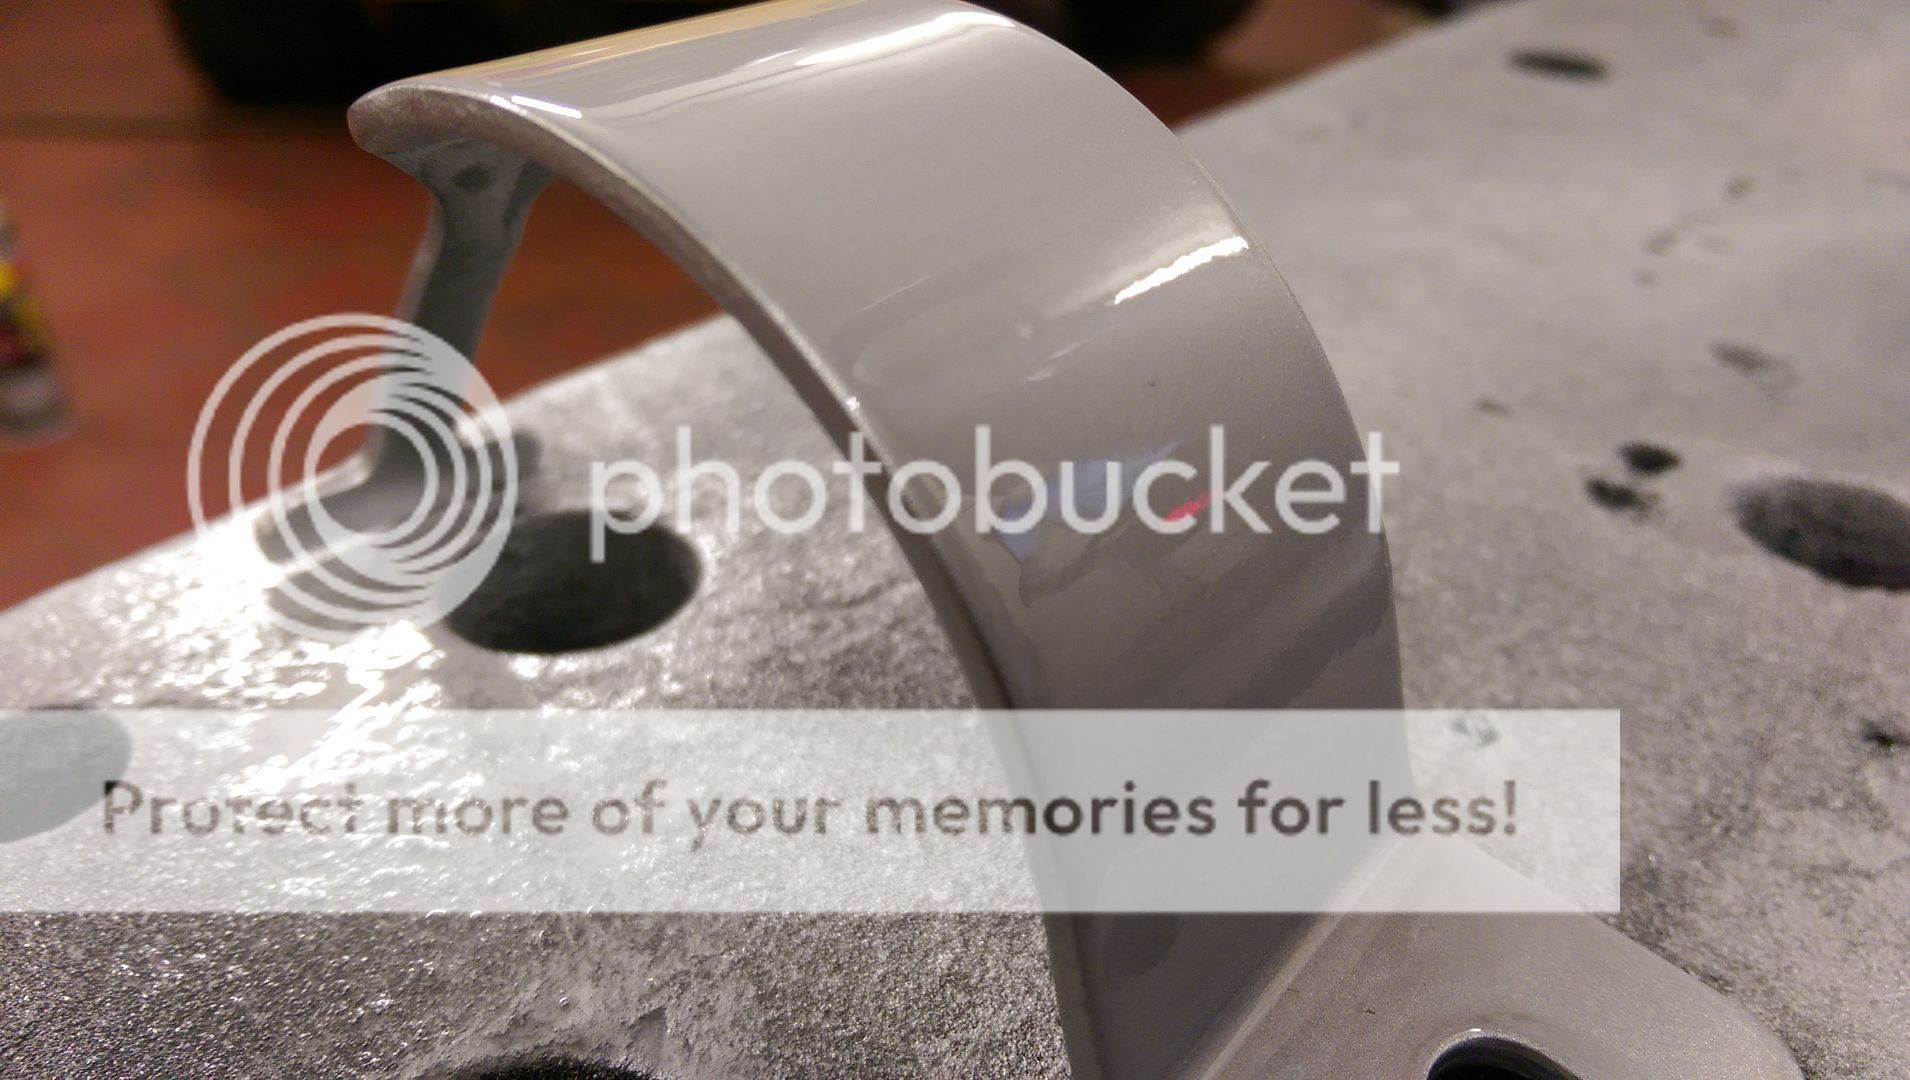
Sanded down the charge pipe...
Primed it....
Painted it silver...
...and lacquered it
...and the clamps of course...
However in my haste there are a couple of runs so decided to leave it all over night to harden more then will attack it with some 2000 grit wet n dry and give it a go over with the DA...
This of course left me with a bit of a problem... so applied a temporary fix
Not very OE I know but I want to make sure the charge pipe is right before I fit it...
Just the inlet to do
<tuffty/>