

- Joined
- Dec 30, 2007
- Messages
- 720
- Reaction score
- 190
- Points
- 43
I posted this detail a while back on Detailing World and forgot to post on here so better late than never!
~~~~~~~~~~~~~~~~~~~~~~
This is my first 'detail' of my Audi - there isn't any paint correction as I have yet to buy a DA polisher I have had my '03 Audi A4 Avant since new but with two young children and a job that means I work away a lot I'm a fully paid up member of the Time Poor club so the poor old Audi doesn't get the TLC it deserves.
Unwashed and unloved!


Recently I got interested in the detailing bug via this site and in particular, reading Polished Bliss' quality write-ups, site & in-depth guides and attending the North East Detailing meet with Paul at WonderDetail showing me and the guys how to use a machine to correct the paintwork - all this gave me the confidence and inspiration. I was determined to bring my car back to life!! Having researched the 'best' products to buy/use I made a few purchases, primarily from Rich and the team at Polished Bliss and Tim at CleanYourCar!

As mentioned, I have yet to buy a polisher but new I could make a real improvement to the car by giving it more than a quick wash (as it was used to getting!) I tackled the car in a few stages due to the time poor situation. First off was the engine bay which hadn't been cleaned since new!
Engine Bay
Following the guide on Polished Bliss I sprayed the bay/hinges and bonnet catch area with the P21S Total Auto Wash undiluted(Awesome product and a nice smell!) and agitated with a 2 inch paint brush that I'd trimmed the bristles down on to give it more stiffness/bite. This was left for a few minutes to work at over 5 years of grime before I rinsed off with a gentle spray from my hose and dried all using a MF towel. I then applied Aerospace 303 sealant using a MF applicator to all areas.
Before & Afters: -
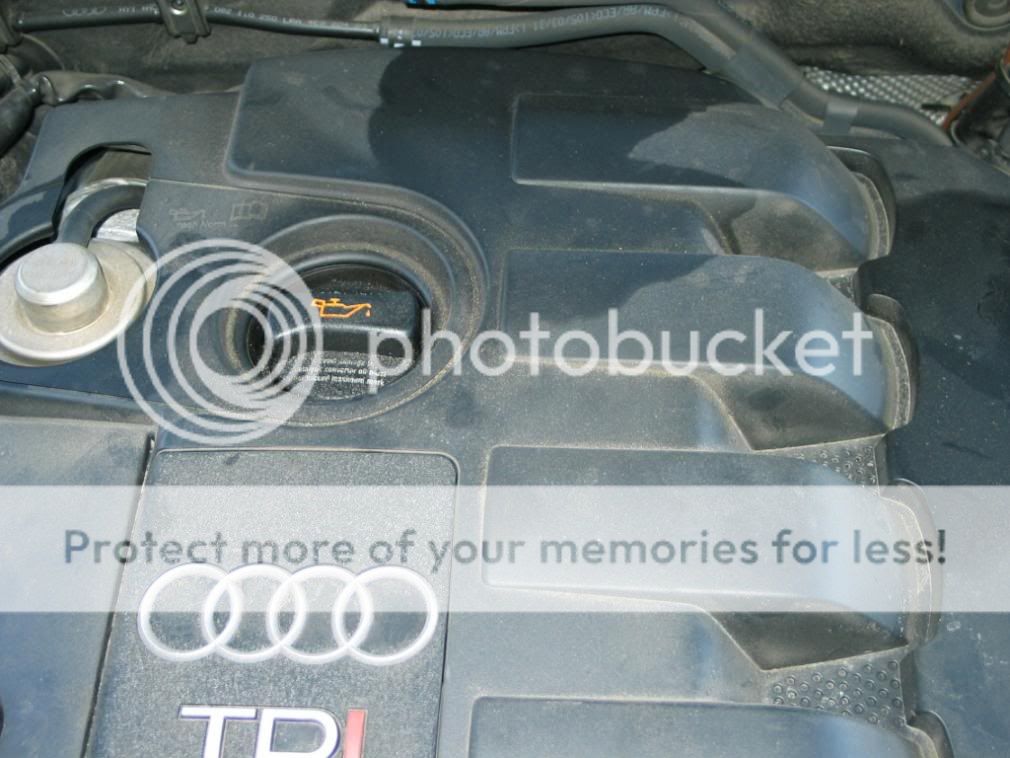


How bad was it?!

That's better
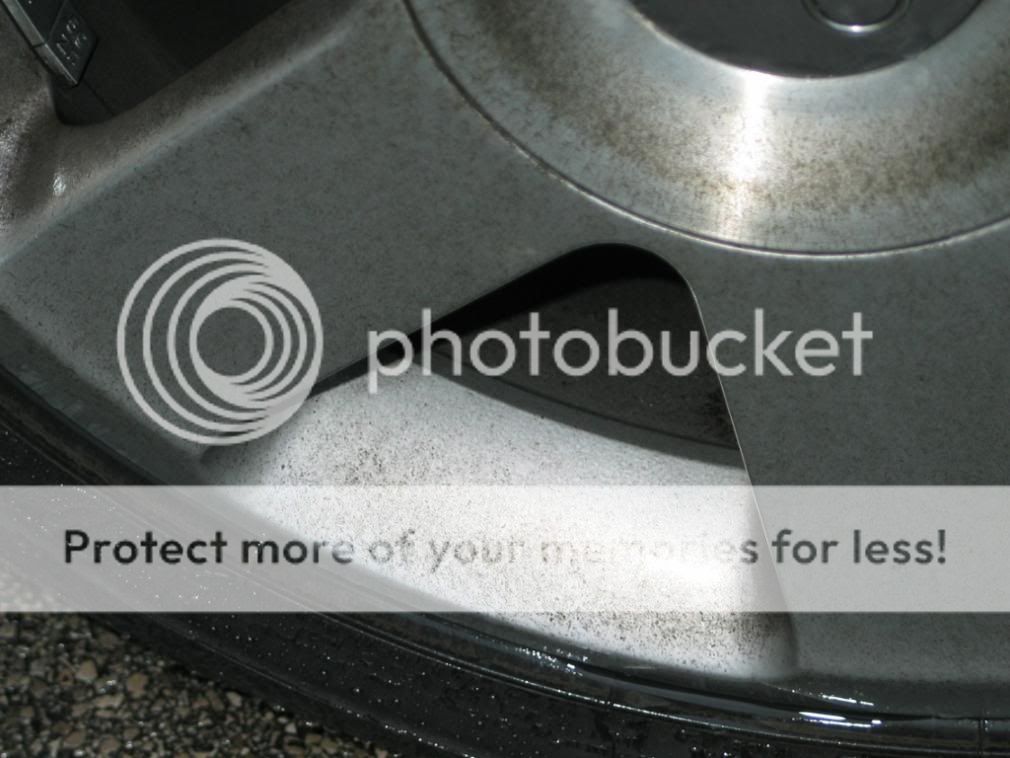
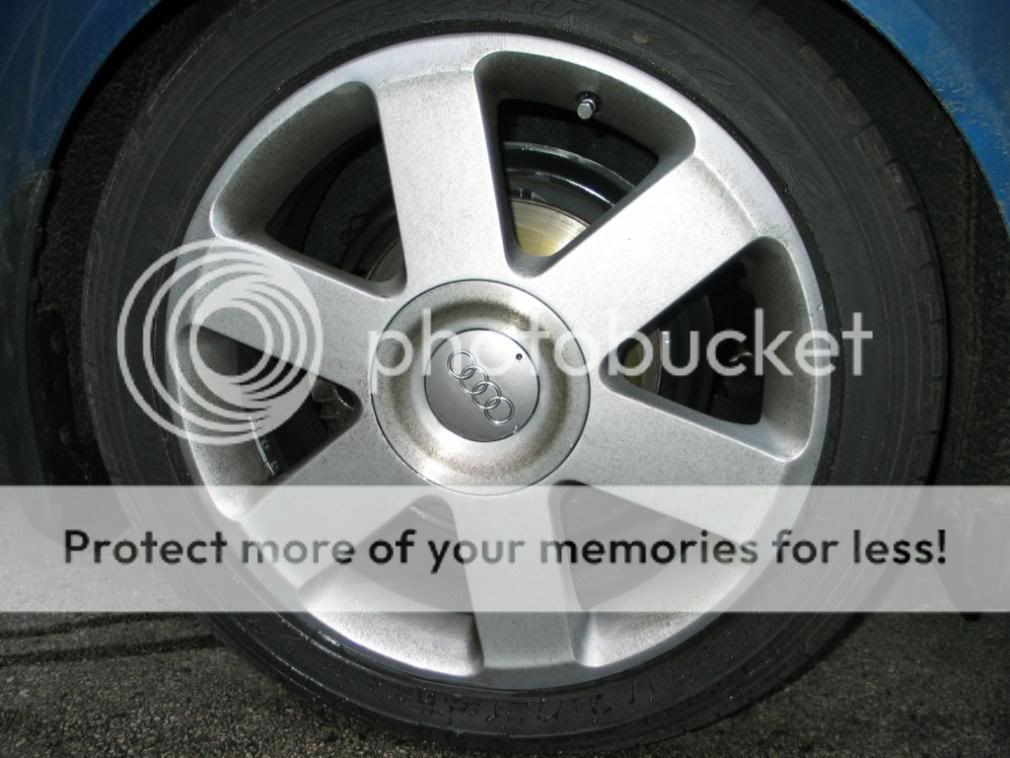
Wheels
The following weekend I tackled the wheels and arches. I removed the wheels from the car one by one - this was a slow job, not helped by the sub-zero temperatures. Each wheel face was in pretty good condition and not too dirty but they had brake dust baked on the rear. After a good wash then two (or three) applications of neat P21S TAW agitated by the EZ Detail brush (Group Buy from Ron @ Motorgeek) and the small Megs detailing brush, claying and finally using JEFFS Werkstatt Prime Strong on an MF cloth I managed to get the wheels to near perfect condition. A couple had some pitting on them but at least they were literally sparkling - I'd have been disappointed if they weren't as I spent around 2 hours on each wheel and had some numb/sore fingers as a result!!!
Each wheel was then given a good coat of Poorboys Wheel Sealant (another great smelling product!) front and back which was allowed to dry to a haze then buffed off with a clean MF cloth. The tyres were dressed with Blackfire Tyre Gel after the car was washed.


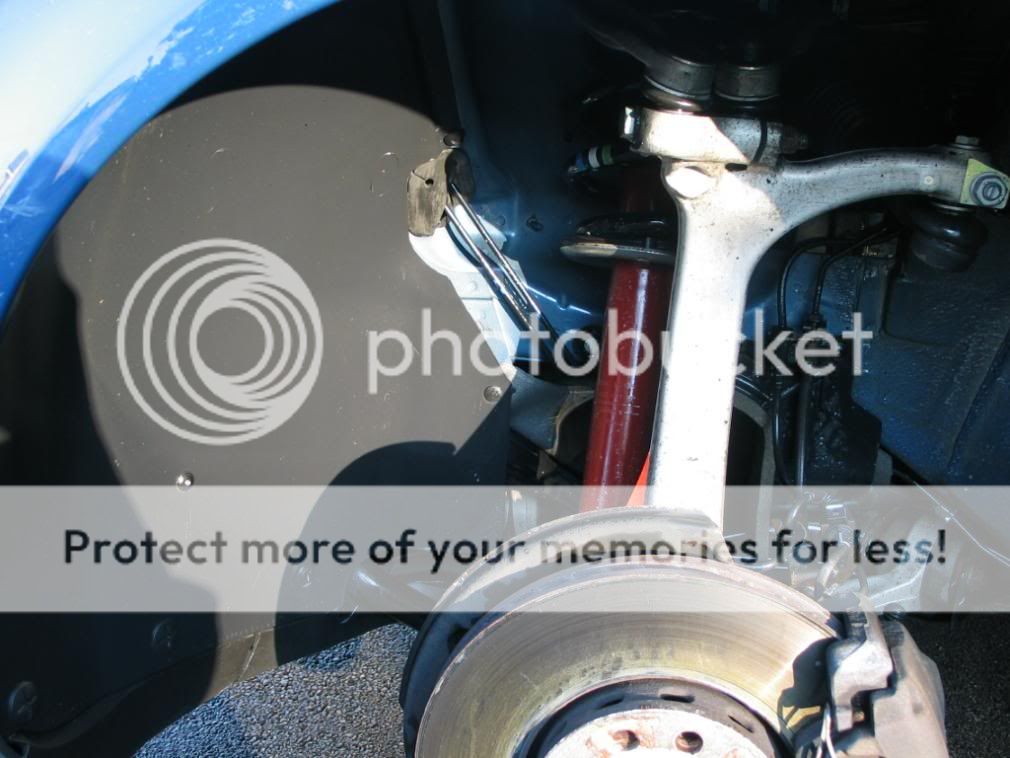
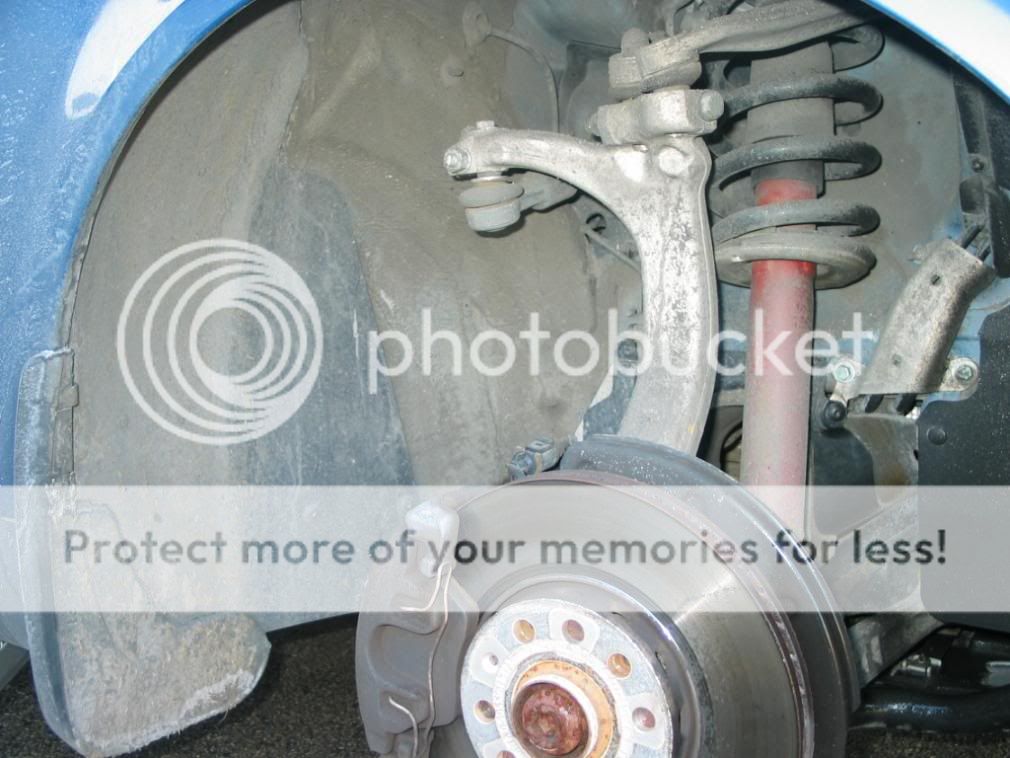
Arches
Whilst the wheels were off I cleaned the arches. After jetwashing out the worst of the muck the trusty P21S was put to good use again(by now I was addicted to the smell!). This was put on neat and let it work into the grime. After a few minutes I used the same 2 inch brush and an old microfibre mitt to remove the dirt. Finally, I rinsed off and dried the arches using a MF cloth. I then dressed the arches with AG Vinyl and Rubber care that I had in the garage using a Megs MF applicator.


I forgot to take a photo but the twin exhaust boxes are partially visible in the rear arches so these were sprayed with AS Tardis and then cleaned with Megs NXT Metal Polysh to bring the metal [aluminium?] to a shine!
I was then dogged throughout with rain showers but a couple of forced tea-breaks and perseverance paid off....
Bodywork
The following Sunday I was up and out washing the car at 7:30 in the morning! I cleaned all shuts and hinge areas with Megs Super Degreaser (4:1) agitated with a brush and left this to work whilst I foamed the car using my AB lance and AB Super Snow Foam and let this dwell for around 5 minutes whilst I filled my two buckets. After rinsing off I hand washed the car with my Lambs wool Mitt with the Megs Shampoo Plus
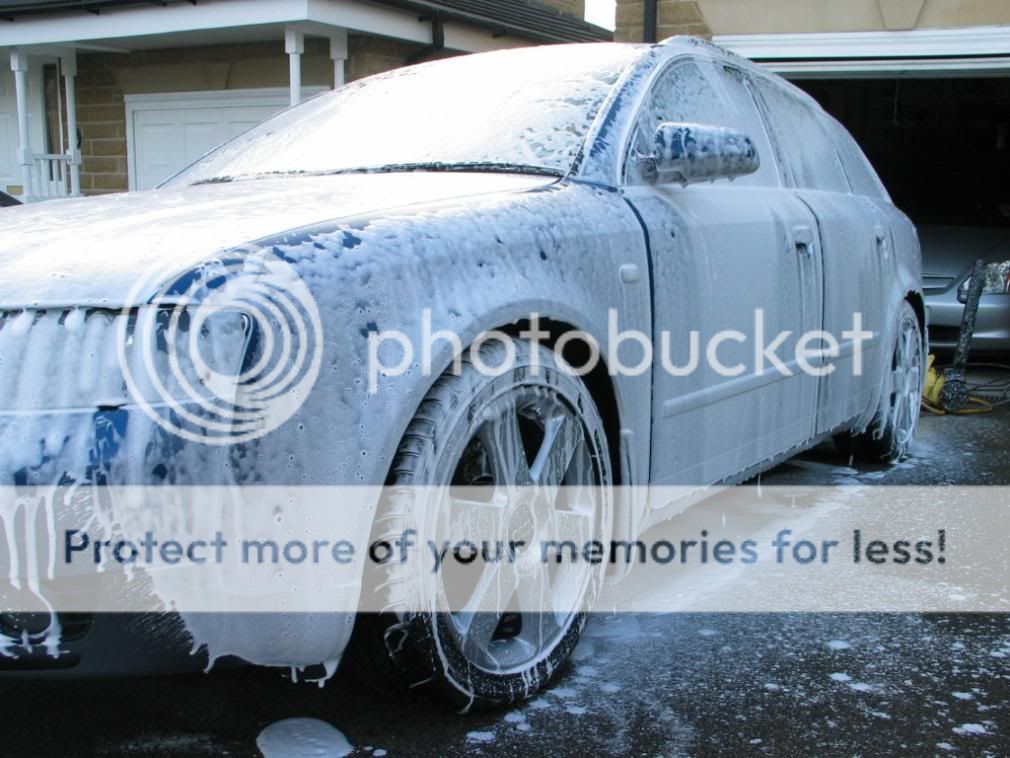
I then sprayed AS Tardis on the lower body panels and around the wheel arches - fantastic product - how I managed using cream based products before I'll never know! Once it had dissolved the tar I wiped this off with an old MF cloth
Clay
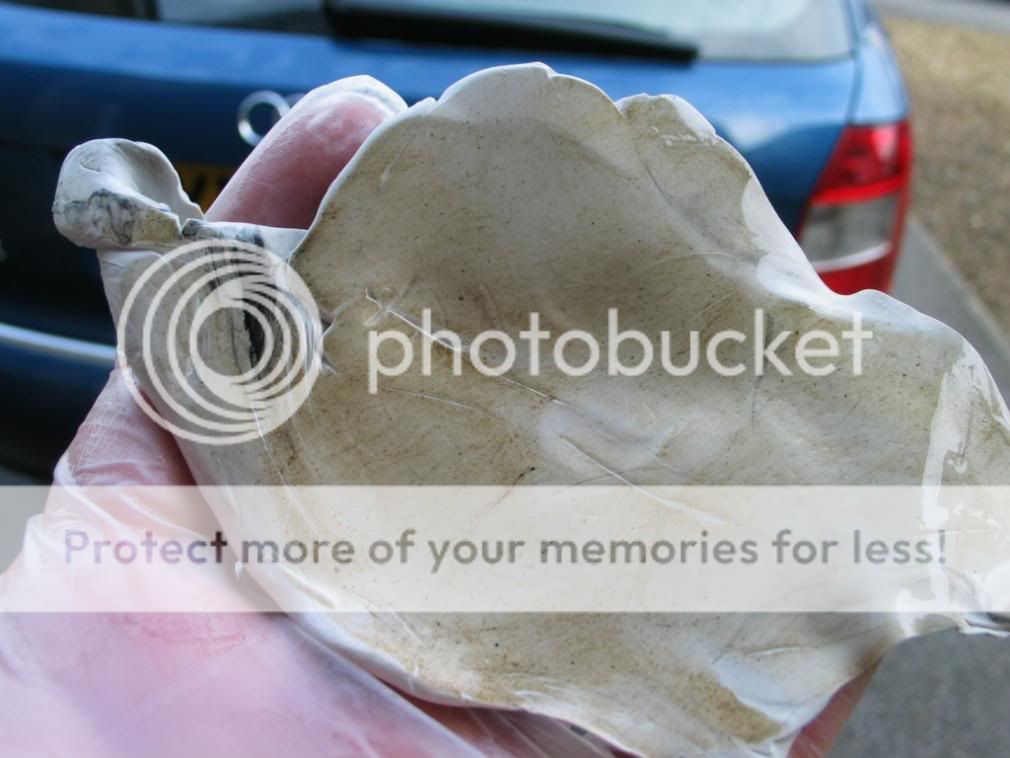
My first time claying a car - Using the Megs Quik Detailer kit I liberally lubed with the QD and started to use the clay. I used a whole bottle on the car and afterwards couldn't see any marring from my claying. (phew!)
I could really feel the transformation from 'sticky' paint to glass-like and none more so than on the roof. This is where the worst contamination was - I can only put this down to my car being parked in the main Leeds to London railway car park 2-3 days per week? As you can see from the photo it wasn't good!
Once the claying was complete, the car was washed again, rinsed and dried using the Poorboys Waffle Weave towels (why did I ever use a Chamois - these towels are first class!)
Protection
I'd bought the Jeffs Acrylic Kit from PB and had been dying to try this out for the last 3 weeks. Now was the time!
Once dry I used the German Applicator Pad to apply Jeffs Prime across the whole car. Once dried I then buffed off (I just needed the odd squirt of the Glos detailer spray to loosen the Prime here and there) I then sprayed a clean cloth with the Jeffs Jett Trigger and applied to all panels, allowing it to dry to a haze before buffing off with another clean Poorboys Deluxe Mega Towel (at this point I realised that you simply can't have enough good quality cloths and towels!)
Standing back from the car I was able to see the difference the claying and the JEFFS had made - the blue was richer, the shine had come back and the car looked years younger (must try this on me!!)
Interior
The next task was to hoover and wipe down the interior with a mild APC solution - there aren't any shots here as I do keep the interior tidy - I can't abide it being dirty or full of bits so no real transformation!
A quick spray of CG New Car Smell Air Freshener completed the interior.
Windows
Finally, I clayed all the windows on the outside then cleaned inside and out with Megs Glass Cleaner
By now it was mid afternoon and I guess all told I had spent 15 hours on the car getting it somewhere near the standard it deserves!
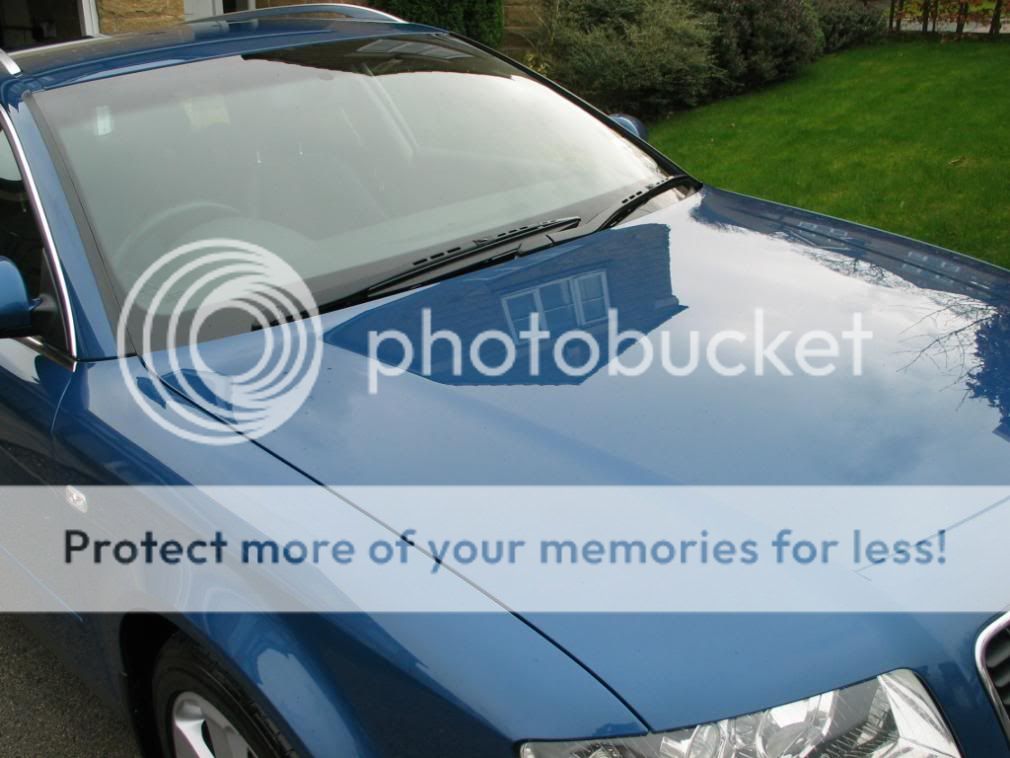
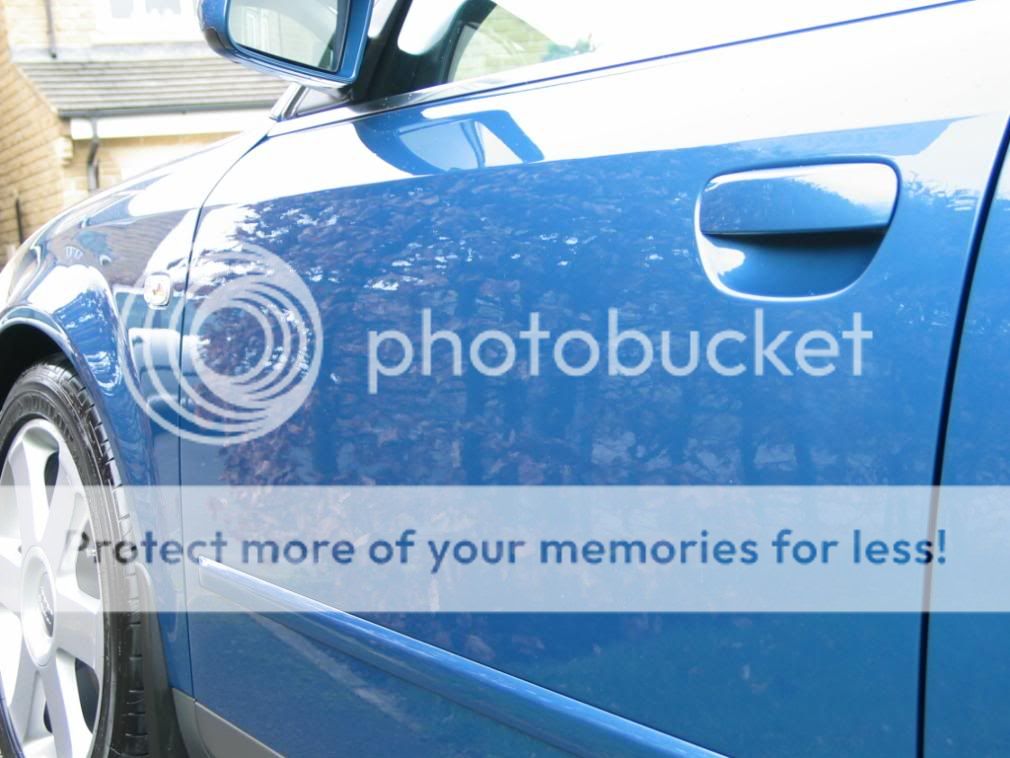
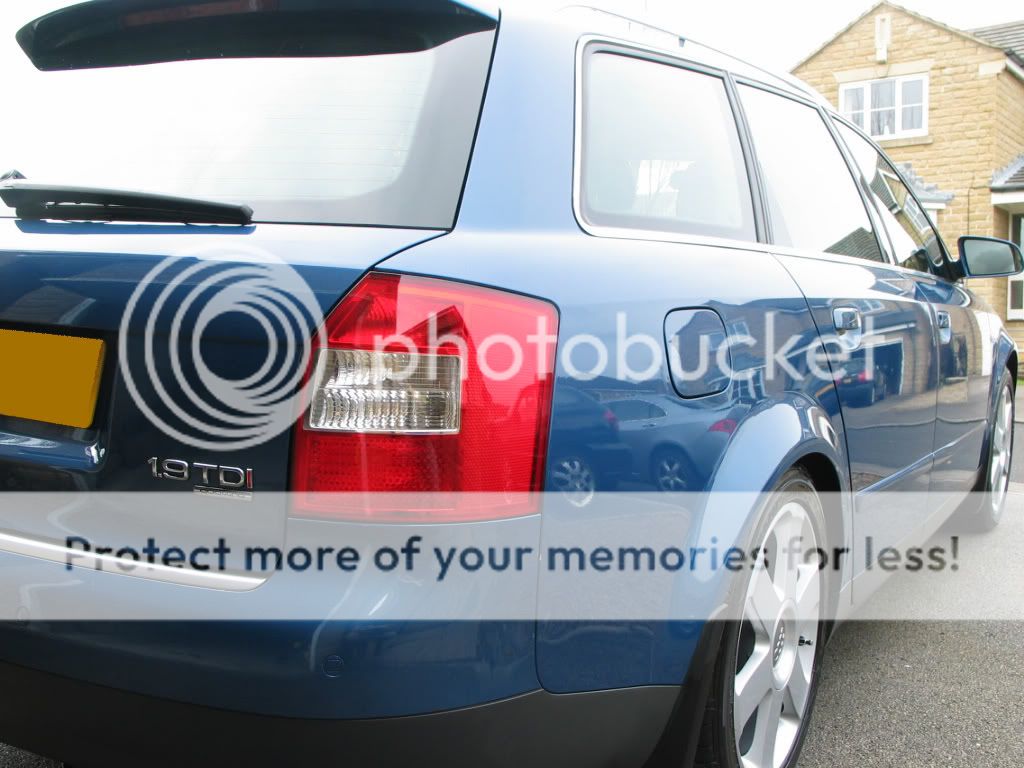
The Finished Result

The car now looks so much better, the flat dull look has gone and the paint seems to have a richer and deeper finish - I didn't see the true effect of the paintwork as we had rain clouds all day and the dull overcast weather literally took some of the shine off it but I am so pleased with the results so far. I was even chuffed to return to my car on Tuesday night to see it gleaming under the lighting in the car park
Some more 'after' shots. By now it had started to rain again so there are some rain spots on the car: -

Some kind soul took some paint off the bumper in B&Q the other weekend but I managed to get the majority of the marks off with the Prime and elbow grease the weeke before - some marks will require a quality touch up/respray

there is a slight blemish in the middle of the bonnet - some Jett that I buffed out after the photo


I know that I need to take it to the next level which will involve me buying a DA Polisher (Megs is favourite) to remove the paint defects and really get the paint looking at its best so that'll be my next project!
Thanks for staying to read this far!!
Any tips / feedback gratefully received
Adrian
~~~~~~~~~~~~~~~~~~~~~~
This is my first 'detail' of my Audi - there isn't any paint correction as I have yet to buy a DA polisher I have had my '03 Audi A4 Avant since new but with two young children and a job that means I work away a lot I'm a fully paid up member of the Time Poor club so the poor old Audi doesn't get the TLC it deserves.
Unwashed and unloved!
Recently I got interested in the detailing bug via this site and in particular, reading Polished Bliss' quality write-ups, site & in-depth guides and attending the North East Detailing meet with Paul at WonderDetail showing me and the guys how to use a machine to correct the paintwork - all this gave me the confidence and inspiration. I was determined to bring my car back to life!! Having researched the 'best' products to buy/use I made a few purchases, primarily from Rich and the team at Polished Bliss and Tim at CleanYourCar!
As mentioned, I have yet to buy a polisher but new I could make a real improvement to the car by giving it more than a quick wash (as it was used to getting!) I tackled the car in a few stages due to the time poor situation. First off was the engine bay which hadn't been cleaned since new!
Engine Bay
Following the guide on Polished Bliss I sprayed the bay/hinges and bonnet catch area with the P21S Total Auto Wash undiluted(Awesome product and a nice smell!) and agitated with a 2 inch paint brush that I'd trimmed the bristles down on to give it more stiffness/bite. This was left for a few minutes to work at over 5 years of grime before I rinsed off with a gentle spray from my hose and dried all using a MF towel. I then applied Aerospace 303 sealant using a MF applicator to all areas.
Before & Afters: -
How bad was it?!
That's better
Wheels
The following weekend I tackled the wheels and arches. I removed the wheels from the car one by one - this was a slow job, not helped by the sub-zero temperatures. Each wheel face was in pretty good condition and not too dirty but they had brake dust baked on the rear. After a good wash then two (or three) applications of neat P21S TAW agitated by the EZ Detail brush (Group Buy from Ron @ Motorgeek) and the small Megs detailing brush, claying and finally using JEFFS Werkstatt Prime Strong on an MF cloth I managed to get the wheels to near perfect condition. A couple had some pitting on them but at least they were literally sparkling - I'd have been disappointed if they weren't as I spent around 2 hours on each wheel and had some numb/sore fingers as a result!!!
Each wheel was then given a good coat of Poorboys Wheel Sealant (another great smelling product!) front and back which was allowed to dry to a haze then buffed off with a clean MF cloth. The tyres were dressed with Blackfire Tyre Gel after the car was washed.
Arches
Whilst the wheels were off I cleaned the arches. After jetwashing out the worst of the muck the trusty P21S was put to good use again(by now I was addicted to the smell!). This was put on neat and let it work into the grime. After a few minutes I used the same 2 inch brush and an old microfibre mitt to remove the dirt. Finally, I rinsed off and dried the arches using a MF cloth. I then dressed the arches with AG Vinyl and Rubber care that I had in the garage using a Megs MF applicator.
I forgot to take a photo but the twin exhaust boxes are partially visible in the rear arches so these were sprayed with AS Tardis and then cleaned with Megs NXT Metal Polysh to bring the metal [aluminium?] to a shine!
I was then dogged throughout with rain showers but a couple of forced tea-breaks and perseverance paid off....
Bodywork
The following Sunday I was up and out washing the car at 7:30 in the morning! I cleaned all shuts and hinge areas with Megs Super Degreaser (4:1) agitated with a brush and left this to work whilst I foamed the car using my AB lance and AB Super Snow Foam and let this dwell for around 5 minutes whilst I filled my two buckets. After rinsing off I hand washed the car with my Lambs wool Mitt with the Megs Shampoo Plus
I then sprayed AS Tardis on the lower body panels and around the wheel arches - fantastic product - how I managed using cream based products before I'll never know! Once it had dissolved the tar I wiped this off with an old MF cloth
Clay
My first time claying a car - Using the Megs Quik Detailer kit I liberally lubed with the QD and started to use the clay. I used a whole bottle on the car and afterwards couldn't see any marring from my claying. (phew!)
I could really feel the transformation from 'sticky' paint to glass-like and none more so than on the roof. This is where the worst contamination was - I can only put this down to my car being parked in the main Leeds to London railway car park 2-3 days per week? As you can see from the photo it wasn't good!
Once the claying was complete, the car was washed again, rinsed and dried using the Poorboys Waffle Weave towels (why did I ever use a Chamois - these towels are first class!)
Protection
I'd bought the Jeffs Acrylic Kit from PB and had been dying to try this out for the last 3 weeks. Now was the time!
Once dry I used the German Applicator Pad to apply Jeffs Prime across the whole car. Once dried I then buffed off (I just needed the odd squirt of the Glos detailer spray to loosen the Prime here and there) I then sprayed a clean cloth with the Jeffs Jett Trigger and applied to all panels, allowing it to dry to a haze before buffing off with another clean Poorboys Deluxe Mega Towel (at this point I realised that you simply can't have enough good quality cloths and towels!)
Standing back from the car I was able to see the difference the claying and the JEFFS had made - the blue was richer, the shine had come back and the car looked years younger (must try this on me!!)
Interior
The next task was to hoover and wipe down the interior with a mild APC solution - there aren't any shots here as I do keep the interior tidy - I can't abide it being dirty or full of bits so no real transformation!
A quick spray of CG New Car Smell Air Freshener completed the interior.
Windows
Finally, I clayed all the windows on the outside then cleaned inside and out with Megs Glass Cleaner
By now it was mid afternoon and I guess all told I had spent 15 hours on the car getting it somewhere near the standard it deserves!
The Finished Result
The car now looks so much better, the flat dull look has gone and the paint seems to have a richer and deeper finish - I didn't see the true effect of the paintwork as we had rain clouds all day and the dull overcast weather literally took some of the shine off it but I am so pleased with the results so far. I was even chuffed to return to my car on Tuesday night to see it gleaming under the lighting in the car park
Some more 'after' shots. By now it had started to rain again so there are some rain spots on the car: -
Some kind soul took some paint off the bumper in B&Q the other weekend but I managed to get the majority of the marks off with the Prime and elbow grease the weeke before - some marks will require a quality touch up/respray
there is a slight blemish in the middle of the bonnet - some Jett that I buffed out after the photo
I know that I need to take it to the next level which will involve me buying a DA Polisher (Megs is favourite) to remove the paint defects and really get the paint looking at its best so that'll be my next project!
Thanks for staying to read this far!!
Any tips / feedback gratefully received
Adrian
