The End (again)
Only a few small jobs left to get it roadworthy.
Rear Brakes were fully fitted ready for bleeding.
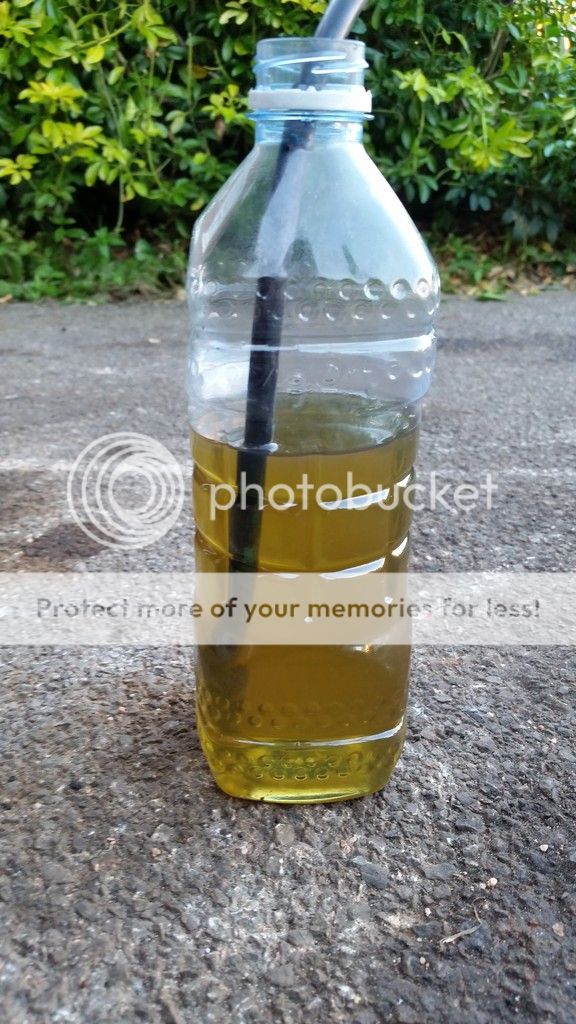
Bleeding was a real pain due to the system having been emptied out completely. I ended up putting two litres in to try and get rid of all the air, but I still had virtually no pedal. Jimbo came to the rescue, suggesting it was probably air trapped in the ABS pump. Sure enough, connected up my pressure bleeder at about 12psi, cracked open the first union on the top of the ABS pump and there was plenty of air released. Ran the ABS bleed cycle through Vagcom after that as well and ended up with working brakes!
Seemed a waste of clean fluid, although it's looking much nicer than the gravy that came out!
Before putting the front bumper on, I somehow managed to snap the ambient temp sensor clean off! Thankfully I had one from the old car.
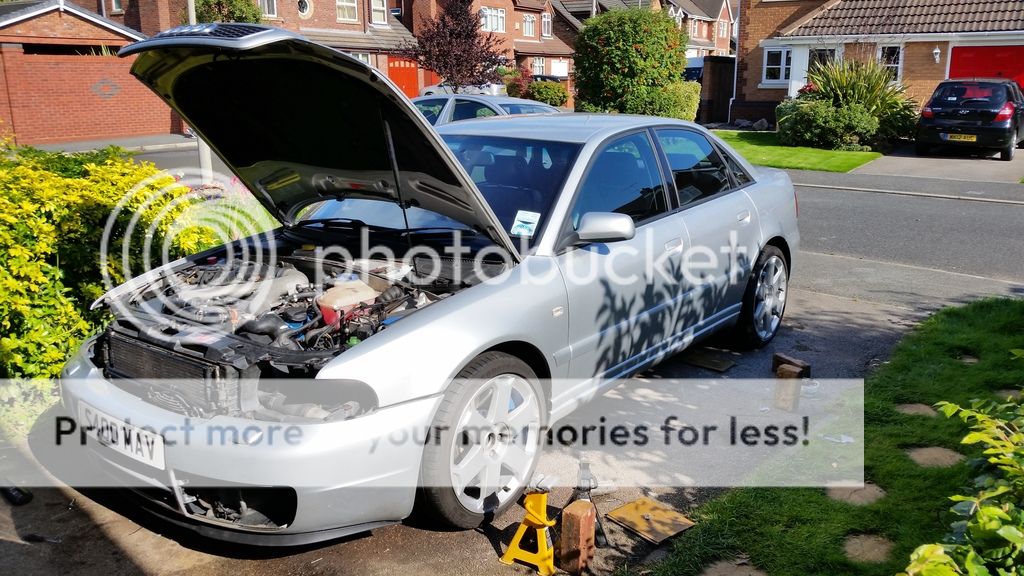
Dropping the car back onto 4 wheels after all this time was exceptionally satisfying.
And I was quite happy with the first glimpse of the front splitter fitted.
I even quite liked the look with no headlights, and have at times toyed with the idea of getting some Lamin-x tints, but to this day have never got around to it.
Took the car for a cheeky spin around the block looking like this. :twisted:
Well, I had to make sure I wasn't leaving fluids behind again like the first shakedown! :lol:
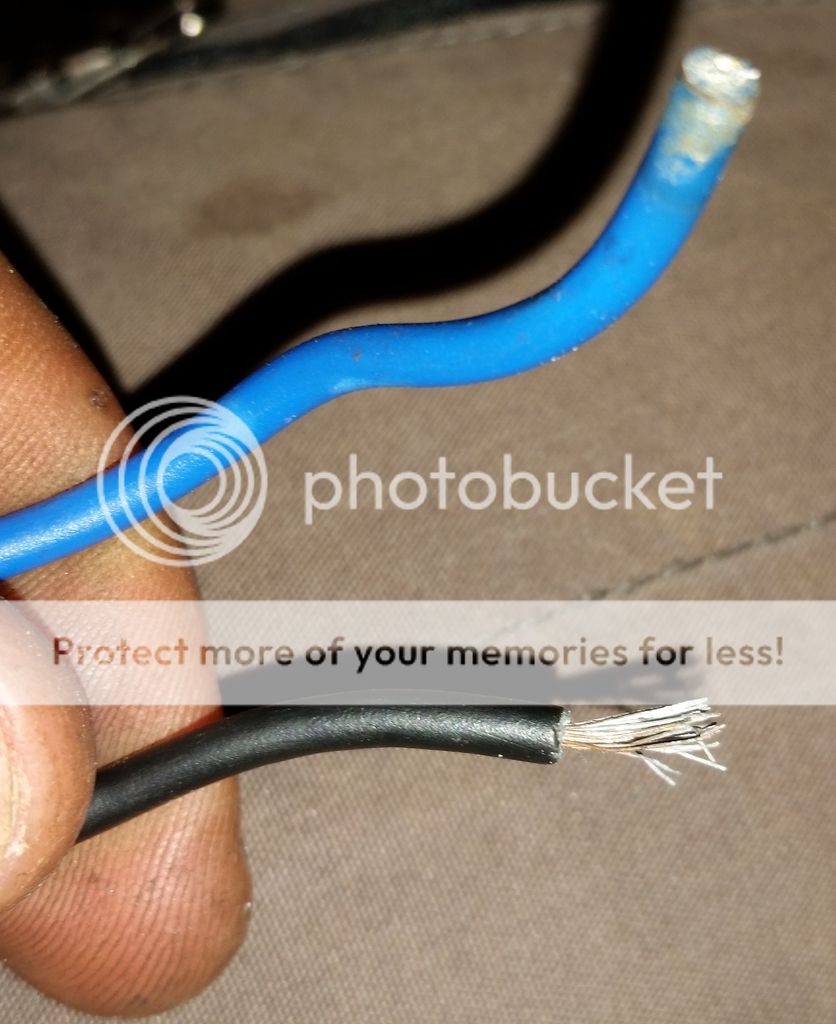
Remembered at this point that one of my headlights had stopped working before the teardown began, so thought i'd sort that before heading over to Awesome for the alignment. Turns out the wiring for the cheap Chinese HID kit i'd been using for years had finally given up the ghost. Looks like they had used tin foil instead of copper in their wires! Had a few replacements knocking about, so that was a nice easy fix (fast forward another few months and I ended up fitting OEM again).
That first decent drive after a build like this is always a nervous one for the DIY'er. :-D
But I enjoyed every minute of it. The car was running very nicely indeed. It went well, it stopped well, it changed gear very well. After the first 30 mins of driving along in paranoid silence, listening out for anything untoward, I even tested the stereo still worked. It was a great success.
Got to Awesome for the alignment and asked them to check over all the bolts, as I had been getting a clunk from the front end when turning over a bump. They found more than one bolt not torqued up correctly.

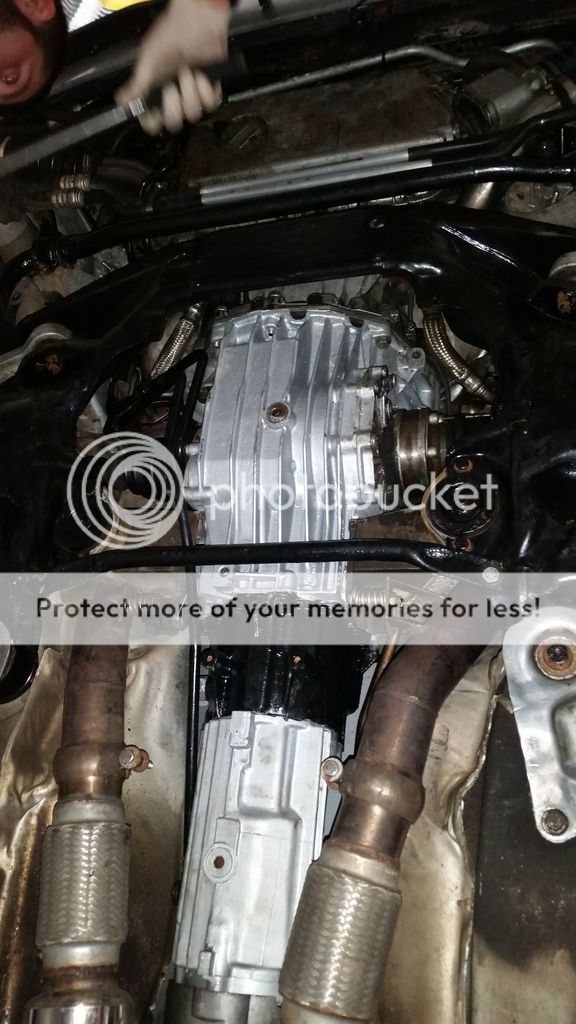
Still, when they took me over to the car to show me which ones, it gave me the opportunity to check for leaks (none! :-D) and take some pics... All my graft was worth it!
One thing I did notice was the underside of the pass intercooler pressing against the bottom of the (not yet aligned) front bumper. I was going to have to address the IC mounting again at some point.
Alignment was done, bolts were torqued and clunk was now gone!
Leaving Awesome, I headed over to see Rick @ Unicorn. Up until now I had been driving on the map from Blue Thunder, which had been fitted with an RS4 MAF and Y-pipe, APR Bipipe and Water/Meth Injection. I wanted the map tweaked to ensure it was running safe on the lesser spec of New Thunder. We spent a good couple of hours tweaking, and it was safe to say that the car got a proper post-build shakedown, I can tell thee! :lol:
I left Rick's very happy with the smooth power delivery. Sadly not as much punch as the old car, but I had specifically asked for an 'all out' map on that one, so to be expected. Very satisfied indeed.
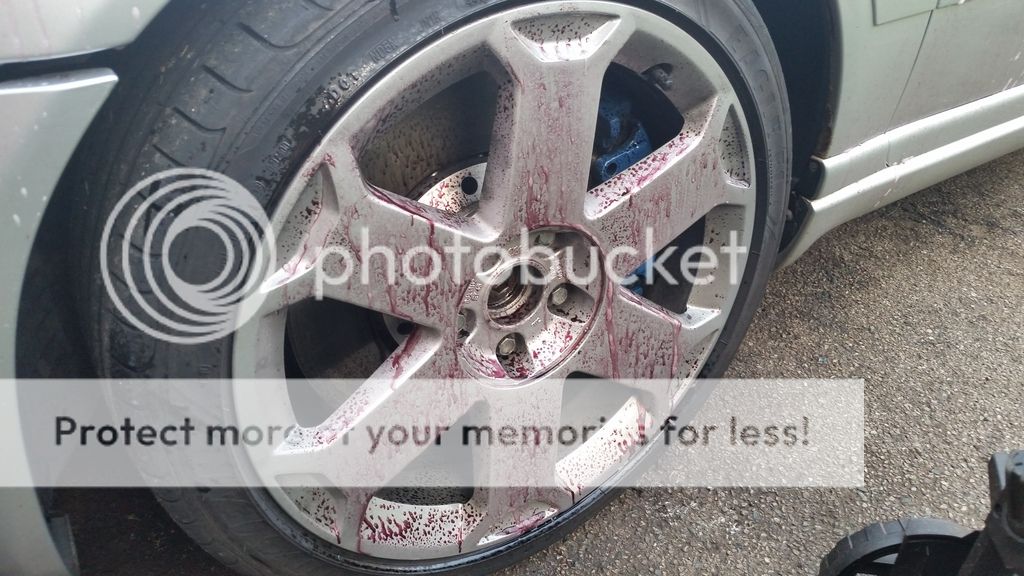
The following night I was able to give the car a good clean. It had to look presentable turning up to a wedding. Given there had been a little bit of angle grinding and some dremmel cutting action in the vicinity, and I could see a few small tears of rusty water marks on the bonnet as a result, I turned to a new product in my cleaning arsenal - Iron max. This stuff is supposed to dissolve small iron particles such as brake dust and 'fallout'. Turns purple when it reacts with the stuff it's dissolving. It had a lot to clean...
A little cheeky pic of the rear wheels/brakes once cleaned
And in conclusion to the 2nd leg of this epic project, one very satisfying shot taken on the way to the wedding. I really like this photo.
As with any SMART project, one needs to assess the outcome against the requirements. Let's see how I got on with that list from Page 1 - the list I had originally intended to COMPLETE in
10 days...
Project Requirements said:
· Engine Pull
Done... and Double Done!!!! Never to be repeated again. (although I Never say Never now! :lol
· Fit K04's and pipework
Done
· Fit RS4 Intercoolers
Done - tweaking needed to pass side fitment for bumper to fit flush
· Fit Injectors
Done - Took far too long due to torn injector seals - Mikey-S to the rescue!
· Fit Bosch 044 fuel pump
Done
· Fit lovely new 'Liquorice Allsorts' Gearbox (beats the chocolate gearboxes in most S4's!
)
Done - Stupid aftermarket clutch meant this needed to be done twice!
· Fit Downpipes
Done
· F-Hose and N249 delete
Done - still not sure if I will reinstate the N249 though...
· Fit new Rocker Cover Gaskets
Done - twice due to using wrong sealant the first time!
· Spark Plugs
Done
· Replace front subframe
Done
· Replace rear arms
Done
· Fit B5 RS4 brakes up front
Done
· Fit Trig's B6 setup to the rear
Done
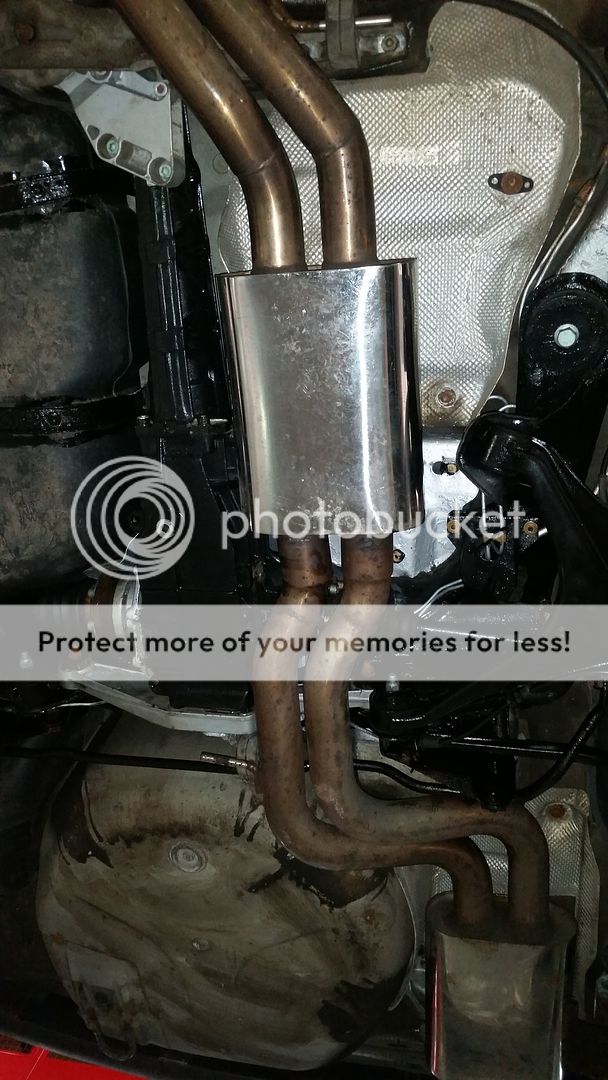
· Fit Exhaust
Done
· Fit RS4 Oil Cooler
Done
· Fit RS4 engine mounts + 034 Tranny mounts + 034 Snub Mount
Done
· Replace front wings (orginals bubbling to hell)
Not started
· Replace steering wheel
Done
· Fit cluster with repaired DIS
Done
And on top of that list, I had also managed to:
Other stuff I ended up doing which I wasn't expecting said:
· Replace Spider Hose with DIY job
· Refurb Rear Subframe + Bushes
· Remove Refurbed Front Subframe and fit with new bushes
· Clean up (+ paint if necessary) loads of various bits
· Fit Short Shifter
· A lot of pipework faffing for Oil Cooler
· Fix Headlight
So aside from the front wings, looks like I was done. Although it had taken me nearly
5 months to get that far. And what had been planned as a virtually zero budget build, became a rather expensive 'modstoration'.
Overall, i'd say a big success. I hope you've enjoyed the journey with me.
But it wasn't quite over yet...