My Audi Project

enc

Registered User
Joined
Jan 25, 2014
Messages
492
Reaction score
114
Points
43
Location
NULL
Had the car a couple of weeks now, its currently SORN until i sell on my present car which i plan to do within the next couple of weeks once i have a fresh MOT on it.

The Audi's a 55 plate 2.0 TDI sport, one previous owner, FSH, half leather, parking sensors etc etc.
Its tidy enough but i plan to mint it up over the next few months and add some subtle OEM quality mods.

Not due a service for another 2K miles but im going to do oil, air and fuel filter changes before that.

Two of the rims desperately required refurbishing and i had a couple of quotes (to do all four) one at £260 and one at nearly £400 :eek: so decided to do the two worst ones myself. The other two arne't too bad and can wait until spring 2015.

Got a touch up stick to sort the stone chips, new mats and a Haynes workshop manual :)

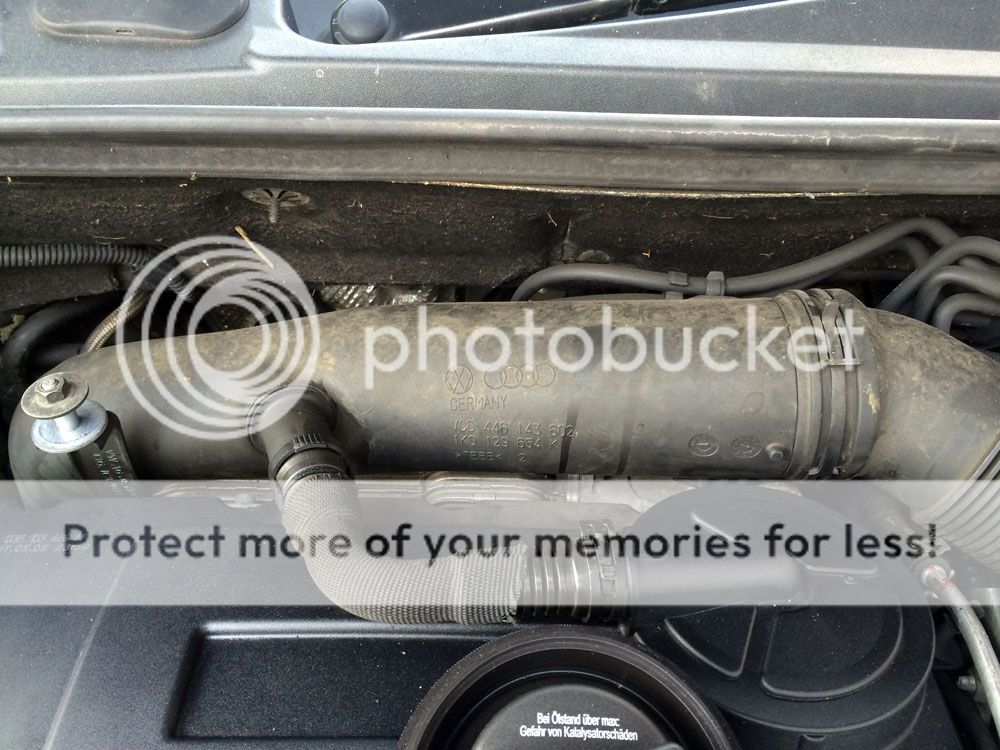
With the dark nights drawing in i can only steal a few hours at weekends but im itching to get stuck in to a full machine polish to correct the paint and full interior/engine detail.


Last edited:
Service kit ...


Clips for fuel filter ...


Touch in paint ....


Last edited:
Had a PDR guy sort a couple of parking dents ....


Before ...


After ....

 
  • Like
Reactions: antowens
Tidy looking car, nice jobs on the dents. Look forward to your progress. :) x
 
  • Like
Reactions: enc
On another note great car mate love these progress threads some awesome work that goes on keep it up look forward to seeing more
 
Each ? Or is that for two i have one exactly like the one you have there and it annoys the hell out of me chips away wanted 90 to do it

No that's for both. Was quoted £70 but charged me £60. The first and smaller dent is completely removed.
The second was quite a bit deeper with a horizontal groove at the bottom. Simon, the pdr guy said because of the shape and location probably the result of shopping trolly contact. the dent was quite pronounced and could be seen from any angle. Now you have to look very hard to see it. Not 100 percent but quite close. Because of this Simon charged £60 not £70.

Hardly noticeable from the pictures were are you located wouldn't mind having the one i have done
 
Hardly noticeable from the pictures were are you located wouldn't mind having the one i have done

Where you based ?

My car is near Preston.... PDR guy is from (i think) Stretford near Manchester....
He's fully mobile so can work on your car at your work place or at home. Best thing to do is send him a couple of pics tell him where you are and he'll quote you.

Two of my work colleagues had dents sorted by him... one on the front wing of an MX5 i didn't see the before but you coudnt tell afterwards.
the other guy a Peugeot 207 rear quarter panel. .... TBH, i didnt think it would be doable but he sorted it. ill try and get a pic of the before and after.
 
In Liverpool but i don't mind travelling or meeting him there's a fella at work wants a few doing so may tie it in with him
Have you got a dents guys number ?
 
Long story short, 2 rims in need of refurb... scuffage that had been left untended causing corrosion ...


W01
L


W02


W06


W03


W04


W05


W08
 
Had a bit of a set back with the colour coat. The paint appeared "dry" when spraying resulting in a dry, rough finish ...


I flatted the colour coat with p1500 used with soapy water ....nice n smooth :)

panel wipe and clear coat....


with the chrome wheel bolt covers...


might have to look at loosing a bit of that gap between wheel and arch :eek:


.Near side door jamb clean up ...

To begin with not a pretty sight. the jams have been covered in some kind of greasy substance which whilst keeping the rust at bay, aint looking to good....


My Weapons of choice, applied with a paint brush, carefully jet washed and wiped dry with a microfibre towel


Meguires 3 stage coat and gthecniq C2V3 ....Better now ...


  • Like
Reactions: dave55
Usually the hardest but arguably the most rewarding in respect of turn around is the engine bay. My Audi being previously owned by a lady the engine bay probably not high on her list of priorities ;) TBH, I'd be surprised if it had ever been cleaned :doublesho

Valet Pro APC, Auto Valet engine degreaser, WD40, wire brushes, Pan scrubs and a tooth brush were my weapons of choice. As you can see today's work was literately just scratching the surface... Parts will require removal to dig deeper and my priorities are elsewhere at the moment. that said, this was a good 3 hours work :doublesho


What lies beneath :confused:


Yuck :( ...


eng05_zpsb5303881.jpg
[/URL]


Still lots to do but heading in the right direction :D
 
  • Like
Reactions: DJ_26 and dave55
Nice motor mate and love the dent removal, hinge and engine bay clean.Makes the car look clean and tidy all over

Looking forward to more progress :thumbs up:
 
  • Like
Reactions: enc
Great work on the engine bay that has come up a treat.
 
  • Like
Reactions: enc
Finally got around to a proper sesh with the DAS 6 pro. Cant deny i was bricking it... with not having a paint depth gauge its kinda like playing Russian roulette isn't it :buffer:

Pretty certain the cars paint is original apart from the front bumper.

Started with the nearside rear quarter onto passenger door nearside wing and bonnet.

The whole process took me most of the day and left me totally goosed. hadn't a clue it was gonna be such hard (but very rewarding) work.

What i did....

pre wash with valet pro APC
power wash
wash 2 bucket method
G3 clay mit
wash 2 bucket method
dry with drying towel and Metro vac n blo
Meguires 105 on hex logic orange pad
Meguires 205 on hex logic white pad
Auto finesse ultra glaze applied with meguires sponge applicator

Due to running out of time, light and energy that is where it stands.
hopefully ill get to wax it over the weekend if the weather plays ball.


  • Like
Reactions: Jake 61 and Omy193
After killing my suspension top mount decided to replace mounts, dampers and springs .....

Box of old bits ...


New OEM dampers and springs in place ...


Soon to be cleaned suspension components...


This just wont do ....


Brake caliper has more rust than a 70's Fiat :( and despite the garage having fitted new pads as a condition of sale.....just look at the lip on that disc :(


New discs to go on over xmas and a thorough de rust and paint of the calipers (weather permitting)


Nearside...

One thing leads to another....


So inspecting the suspension work carried out on the nearside.....


I noticed spots of grease around the inside of the wheel rim. On closer inspection the outer CV boot clip had come away from the boot.....


Clip was undamaged :confused:....


Difficult to say say whether the garage had disturbed it whilst fitting the suspension but does seem a bit of a coincidence :(

Anyways, i fitted a generic clip from the local motor factors. Pretty flimsy.... s'pose its all you can expect for £1.25.

Picked up an OEM replacement from Audi today..... £9.95 !!!!
Ill fit it ASAP. just keeping an eye on the cheapo for now.

The cheapo ...


Whilst i had the wheel off, thought id investigate this....


Water soon creeps once the protective coating is damaged.

Pulling back the plastic arch liner revealed this :doublesho


Some citrus APC and this bad boy soon had it sorted ...


Thankfully Audis crevice protection is up to scratch, inside is like new :thumb:


Sill leading edge taken back to bare metal. need to find a coating for a factory finish before repainting.... any ideas ?

 
Great car and great thread mate, enjoyed reading through. Will be keeping an eye on this now and I need to see how you get on with those sills as mine look exactly the same and I had planned on tackling them soon.
 
  • Like
Reactions: enc
Great attention to detail mate. Really want to get cracking on mine but waiting for some warmer weather!
 
  • Like
Reactions: simboti19 and enc
great job will look sweet when finished :kissmyrings: keep the pics coming
 
  • Like
Reactions: enc
Nice job on tackling all those common wee problems that we all see from time to time on our cars.
Your A3 is looking sweet and is a credit to you.
:)
 
  • Like
Reactions: simboti19 and enc
Love watching the cleaning progress. Sometimes, it's not the big mods you do to car to make it seem impressive, its the time, effort and attention to detail that make it an impressive car. I've read countless long threads about BT's, engine swaps and other crazy mods but a lot of the time, a thread like this is all you need to keep you happy.

I'll be following the progress...
 
  • Like
Reactions: batch, DJ_26, enc and 3 others
Love watching the cleaning progress. Sometimes, it's not the big mods you do to car to make it seem impressive, its the time, effort and attention to detail that make it an impressive car. I've read countless long threads about BT's, engine swaps and other crazy mods but a lot of the time, a thread like this is all you need to keep you happy.

I'll be following the progress...

Thanks very much :icon thumright:
 
So with Xmas over its back to normality....

Besides filling my stomach with mince pies and turkey i managed to do a bit on the Audi. Not as much as i would have liked due to crappy weather and family commitments...but progress is progress however small....

So i finally got around to fitting the MY11 rear lights.... things weren't run smoothly. After stripping the originals from the car i found the new nearside lens to be cracked...


So back to Euro car parts who didn't have a replacement in stock and took a couple of days to get one. Incidentally these are manufactured by magneti marelli who are the OEM supplier to Audi and so quality is spot on.


Halfway through, new on left original to the right ...


All done ....


Also started to prep the drilled disk ready for fitting next week. All drill holes and grooves have been painted in an attempt to stop these areas rusting as they tend to do.


The CV boot clip did not hold out nor did the OEM clip from Audi....


Apparently, the original boots are now made from thermoplastic instead of rubber and harden with time making re securing a nightmare. easier to fit a new boot which i have done.

lots of pics to come of the work carried out... once i've sorted through the pics.
 
Love this, great work on all fronts your car looks awesome :) wish I had your patience for detailing!!
 
Project Audi was booked in at Volksmaster, Bury for a suspension alignment check on their recently installed Hunter system....


Good job this is done with wheels in situ as it turns out the clowns who replaced my CV boot last week have lost the key for the locking wheel bolt :mad:

Anyway, after replacing front dampers, springs top mount and CV boot i thought it was a good time to get the alignment checked...


Ryan doing his stuff darn in't pit ...


Car feels much better
 
Finished preparing the drilled and grooved MTEC discs. Unfortunately these will have to wait until the garage decides what its going to do about the missing wheel bolt key :(


Anyone who has fitted drilled and grooved disc will know that the holes and grooves start rusting as soon as the disc gets wet. As an experiment ive painted the holes, grooves and outer edge in an attempt to stop them rusting. I dont know if it'll work... ill report back in due coarse.


As supplied the discs are coated in oil to stop them from rusting so brake cleaner to break down the oil ...


Then panel wipe before painting commences.....


The original plan was to mask off the disc while the centres were sprayed with colour coat...


I soon realized it would be easier to flat back later. Using a hair dryer to Speed up the drying process in the near freezing temperature (in the garage) :-(


Face flatted back ready for Finnigans smoothrite in the holes and grooves....


Not pretty ....


But hopefully functional :D

Smoothrite flatted back and ready for fitting...


Outer edge coating.