Lamin-X Request

smudge_don

Registered User
Joined
Dec 28, 2008
Messages
2,944
Reaction score
14
Points
38
Location
Sutton, Surrey
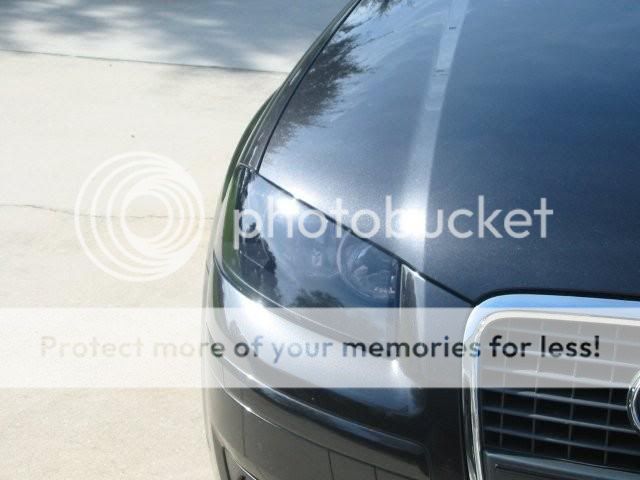
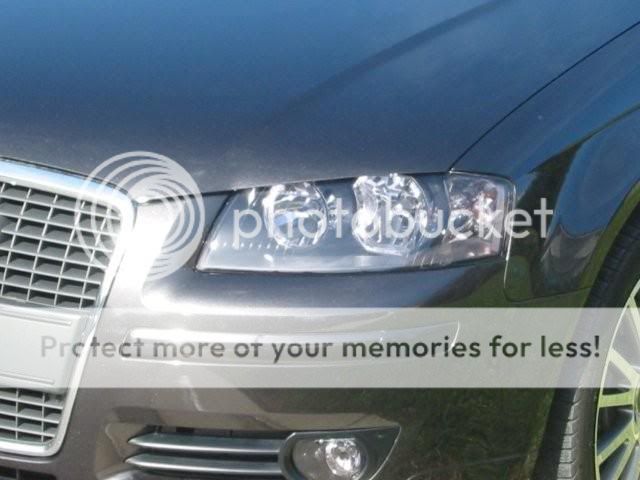
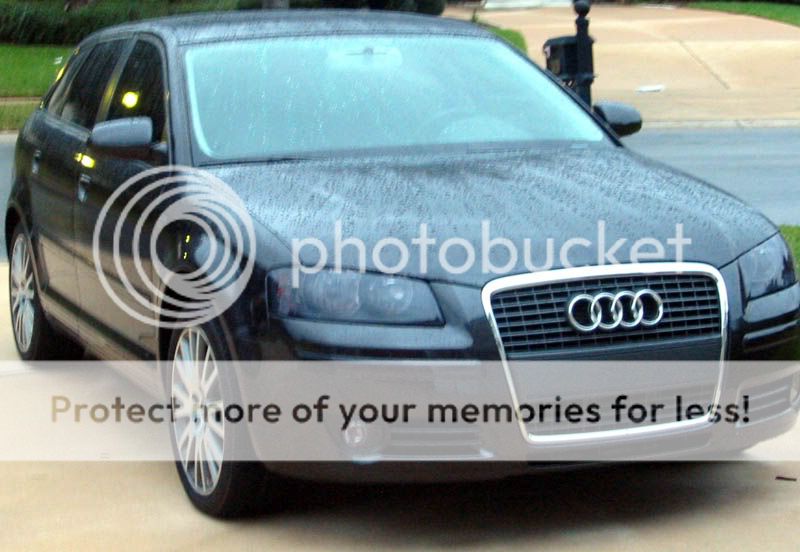
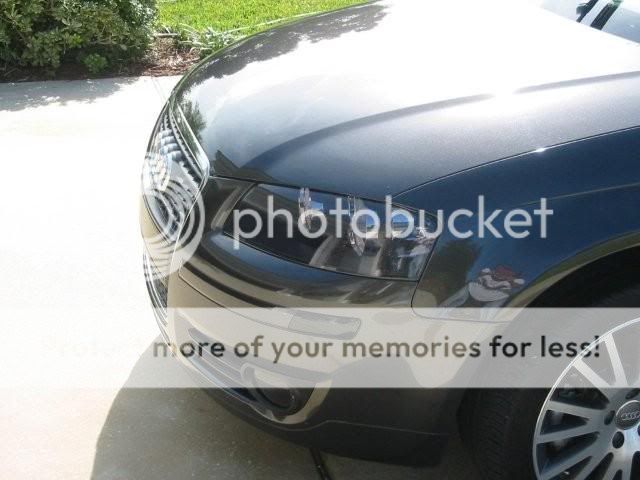
Right, i've just had a go at fitting the lamin-x tint to one of my bi xenon headlights, and it didn't go well :laugh:

Gonna buy another set for the headlights as one of the films now has marks on it that i can't remove, and i want it done perfectly :)

Anyone who's done lamin-x before, fancy putting mine on my headlights for me? Obviously i'll throw some cash your way as well :)

Let me know :icon_thumright:
 
Have you removed the laminX,if so how easy is it to remove.
I would possibly like to remove mine and maybe refit some more
 
if it is adhesive this can be removed using acetone but be careful if the headlight is polycarbonate, if its glass it will be fine. Nail varnish remover contains acetone so you could try this, be careful not to get it on the paintwork.
 
I reckon acetone would obliterate the lamin-x!

Shrivel up quicker than a todger when skinny dipping in January!
 
Its not difficult if you do it in stages, peel off the backing in one corner and apply it to a spotless headlight, and smooth it down with a lint-free cloth and keep smoothing across the headlight following yourself as you peel off the backing.
If you see a bubble appear then peel it back off to where the bubble is and reapply.

Sometimes a hairdryer can make it more pliable and easy to apply, also if you heat it, when it goes cold it will shrink and the little bubbles will disappear.


Trust me, i've tried and it wasn't perfect, so i kept doing what you said

In the end, i just got marks on the adhesive side of the film, so now it looks ****

Gonna get a second set and ask someone who knows what the **** their doing to do it :)
 
Trust me, i've tried and it wasn't perfect, so i kept doing what you said

In the end, i just got marks on the adhesive side of the film, so now it looks ****

Gonna get a second set and ask someone who knows what the **** their doing to do it :)

Have a little more faith in yourself mate...I did mine a week ago and the film was FULL of marks (at first I thought they were fingerprints)....after 2 days in the sunshine the marks were ALL gone....there are a few bubbles though that i may need to *****, but im giving it time...afterall the instructions do say that the bubbles may take a few weeks to disappear....20 minutes is hardly long enough to asses your skill ;)
 
Have a little more faith in yourself mate...I did mine a week ago and the film was FULL of marks (at first I thought they were fingerprints)....after 2 days in the sunshine the marks were ALL gone....there are a few bubbles though that i may need to *****, but im giving it time...afterall the instructions do say that the bubbles may take a few weeks to disappear....20 minutes is hardly long enough to asses your skill ;)

Did you have marks on the adhesive side though?
 
This stuff is a PITA to apply, but keep going at it and it will be well worth it. As above, have a little more faith and don't just loose your cool with it. Waste lots of time, effort and money if you do. Be patient, make sure you have lots of time to apply it in.
 
I was doing 1 headlight for about an hour.......

I'd rather pay someone who's done it before to do em for me :laugh:
 
I'll come give you a hand if you like.

Done mine in the freezing cold, but the do look the dogs !
Im around Slutton and New Maldon alot, so give me a shout if you still need help
 
Mine came with a spray applicator... -didn't yours?

I just got the headlights almost surgically clean, then misted a little water on the glass.

Next I loosely centred the Lamin-X on the glass and un-peeled it (one half at a time) until it was well centered.

Finally I coaxed the bubbles out to the edge, smoothing as I went with a cloth and a credit card wrapped in a paper kitchen towel.

On one headlight (the second one which I did) it looked horrible. -Bubbles and crap everywhere.

I was going to buy a second set, but I noticed that the intsructions said that some small bubbles and 'fogging' would clear up by itself... so I thought i'd give ti a couple of days.

I waited and =lo and behold= the fogging disappeared completely... but the bubbles were still there.

So I waited a couple more days, and then as if by magic, everything was perfect apart from one single bubble. -By then, I was pretty confident that it was going to be fine, so I felt happier about giving it a couple more days.

Within a week, they looked FACTORY-done, mate.

Here's a few pics... -the first one is the one that looked terrible at first:
2009-November303.jpg

2009-November304.jpg

2009-November311.jpg

After-shower.jpg

2009-November308.jpg


Keith
 
Cheers Keith, i know how to do it, but i got marks on the ADHESIVE side of the film, ruining them

I'd just prefer someone else to do them that has done em before :)
 

Similar threads

Replies
27
Views
4K
Replies
9
Views
2K
Replies
8
Views
1K
Replies
49
Views
5K
Replies
10
Views
1K