OK then , a bit further down the long term test of my setup has revealed a few items that are going to be changed or modified asap.
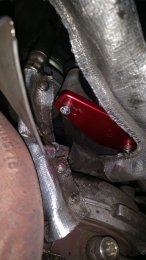
First off is that the r-tech plate I bought is useless and I'm not recommending it now, wether because its poorly machined or just not quite right is debateable , either way the plate I was supplied is just not fit for the purpose. the plate does not fit flat and you cannot afford to overtighten it either, leaks appeared along the front top edge and prettywell along most of the bottom edge.
I have a custom plate design ready to go for batch machining shortly so one will go straight onto my valve cover and the r-tech plate will be binned.
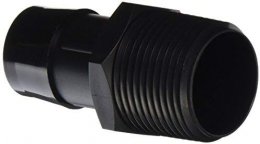
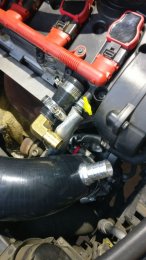
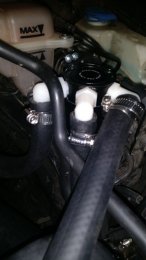
Next is the catch tank hose barbs, they need to be tapered thread or they leak , tape can be used on parallel fittings but has to be safe on oil/petrol etc, ordinary PTFE just falls apart and oil seeps out of the threaded socket, its only a minor thing but still needs modification, it applies to the drain aswell if you use a remote drain with tap.
Also on the catch tank front, if you are using a screw on tank, make sure you lubricate the o-ring with a long life grease or similar , just a bit of oil wont work , trust me , you will struggle to get the cannister apart by hand unless you get a decent lube on the o-ring.
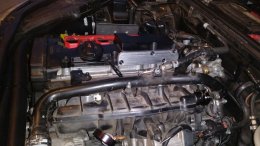
Other than these the setup is fine , no more oil in my IC's either.
I'm pretty sure that with these issued dealt with the setup is 100% ready for small orders, I've held back until now to make sure any issues that have occurred get resolved before I take small orders for kits.
i'll update the kit format in due corse so any interested parties can see what they are getting etc.
rob
First off is that the r-tech plate I bought is useless and I'm not recommending it now, wether because its poorly machined or just not quite right is debateable , either way the plate I was supplied is just not fit for the purpose. the plate does not fit flat and you cannot afford to overtighten it either, leaks appeared along the front top edge and prettywell along most of the bottom edge.
I have a custom plate design ready to go for batch machining shortly so one will go straight onto my valve cover and the r-tech plate will be binned.
Next is the catch tank hose barbs, they need to be tapered thread or they leak , tape can be used on parallel fittings but has to be safe on oil/petrol etc, ordinary PTFE just falls apart and oil seeps out of the threaded socket, its only a minor thing but still needs modification, it applies to the drain aswell if you use a remote drain with tap.
Also on the catch tank front, if you are using a screw on tank, make sure you lubricate the o-ring with a long life grease or similar , just a bit of oil wont work , trust me , you will struggle to get the cannister apart by hand unless you get a decent lube on the o-ring.
Other than these the setup is fine , no more oil in my IC's either.
I'm pretty sure that with these issued dealt with the setup is 100% ready for small orders, I've held back until now to make sure any issues that have occurred get resolved before I take small orders for kits.
i'll update the kit format in due corse so any interested parties can see what they are getting etc.
rob