

Jimmeh
Registered User
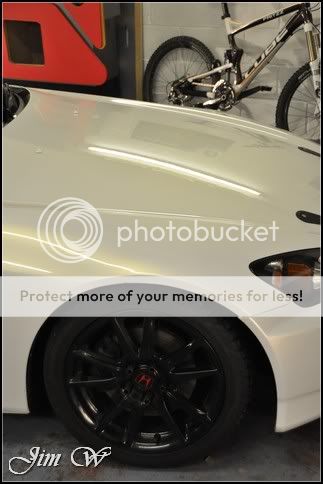
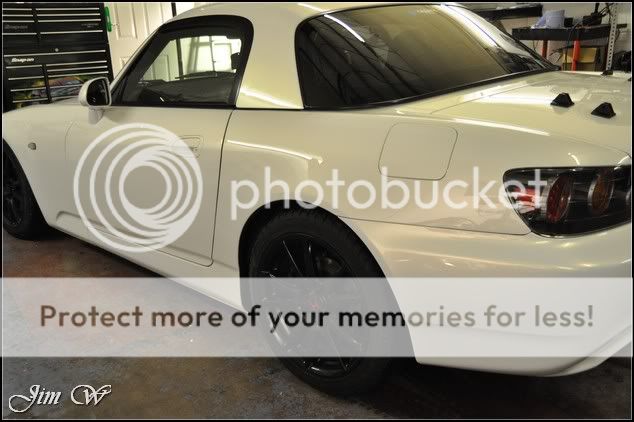
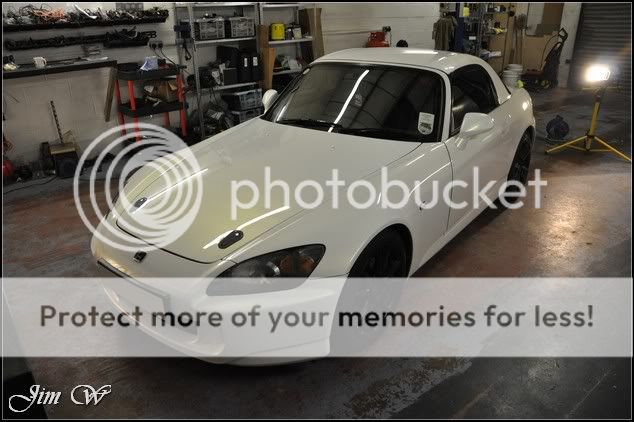
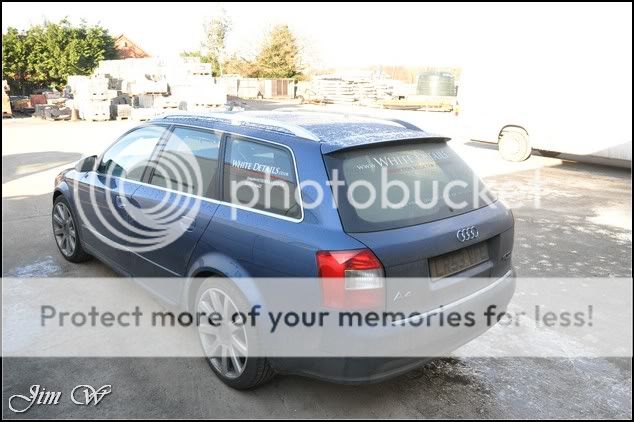
Honda S2000 finished in a pearl white
Having spent three days with Jonny from PureDetail a month or two back down in Sevenoaks, Kent, it was time we caught up again. I was invited to the PureDetail HQ in the North West, the plan was to help out on a correctional detail he had on the go and also to try my hand at wet-flatting using the DA.
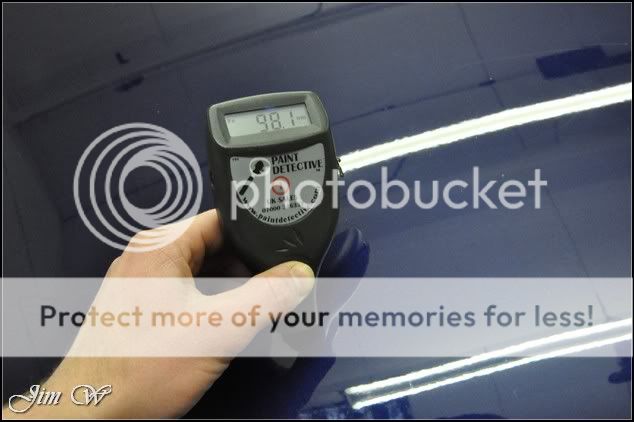
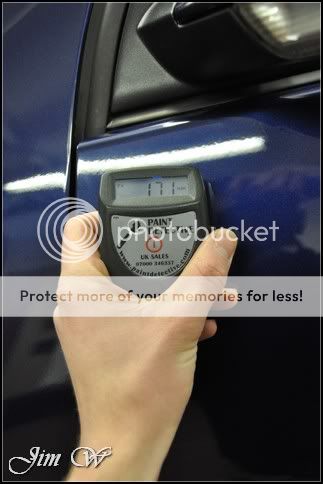
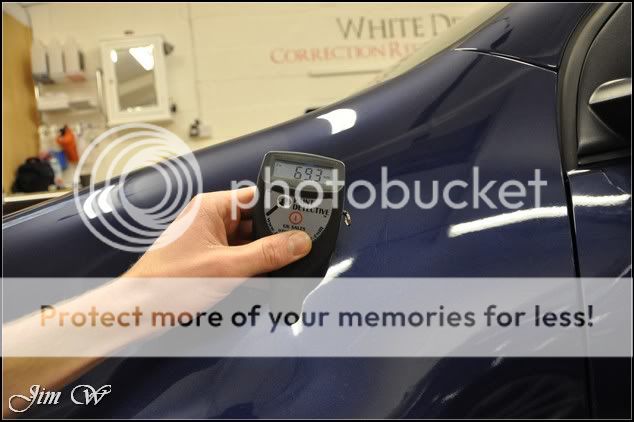
The car in question was a recently resprayed track-spec Honda S2000. If I am honest, the finish was dreadful. Probably the worst respray I have seen to date. With this in mind, only so much could be done with the flatting; sanding scores, paint runs, hundreds of fish-eyes and deeper dimples were dotted around on every panel.
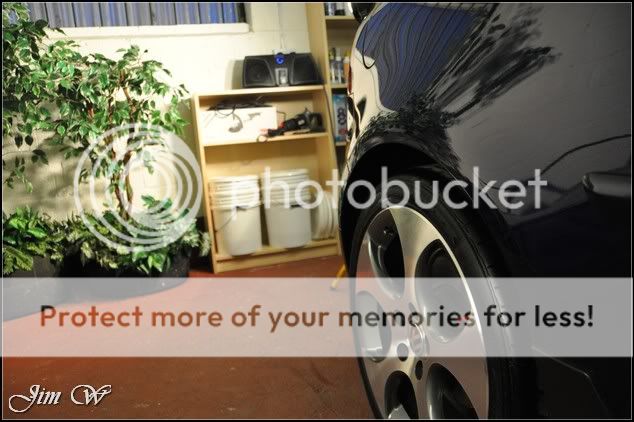
On my arrival, Jonny had already put the Honda through the full wash stage including clay and tar removal. The wheels hadnt been touched as they would be coming off the following day for a full cleanse and wheel-nuts to be painted.
The tailgate was suffering the worst Mirka Abralon 2000 sanding discs used on the DA to give a consistent smooth finish.


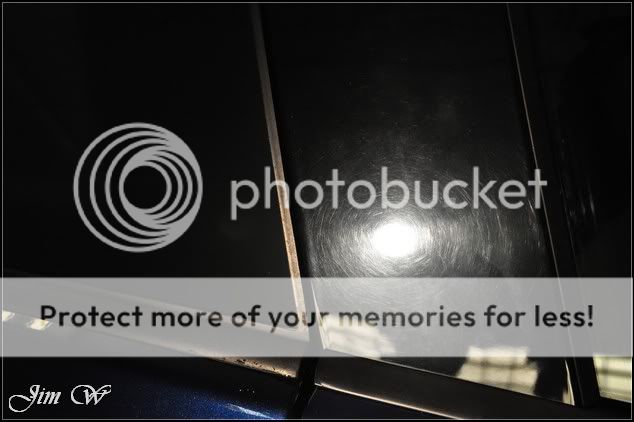
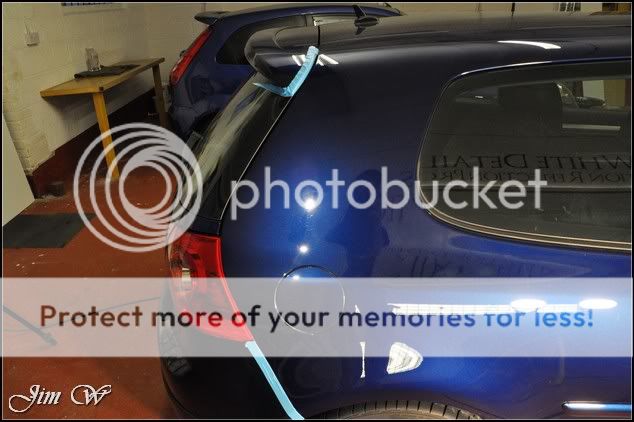
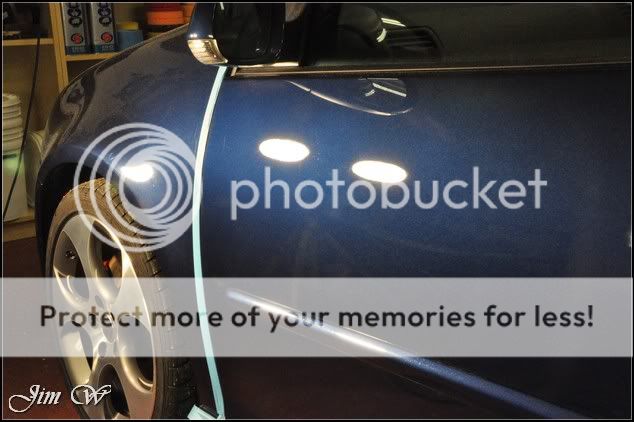
Here, you can see what we were up against: (Note the dimples)

As we were working with UK paint and not the usual butter-soft Jap stuff, we were able to go quite heavy with defect removal. Multiple hits of 3M/Menzerna polishes given to chase our sanding marks and swirling.

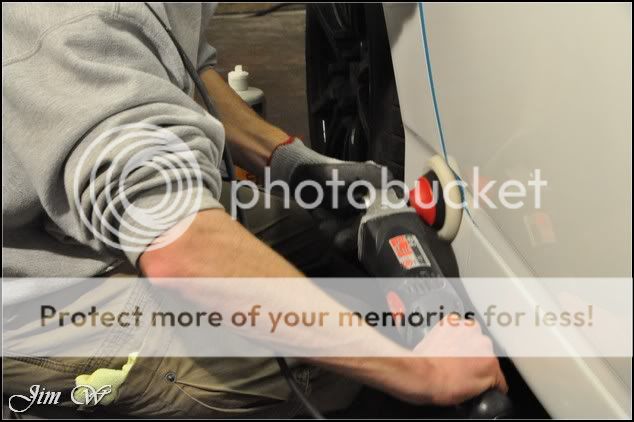
Whilst Jonny battled with the best part of the tailgate, I got stuck in with Menzerna polishes to correct both the near and offside of the Honda.
Buffer-trails spotted before:

Clear and crisp after:

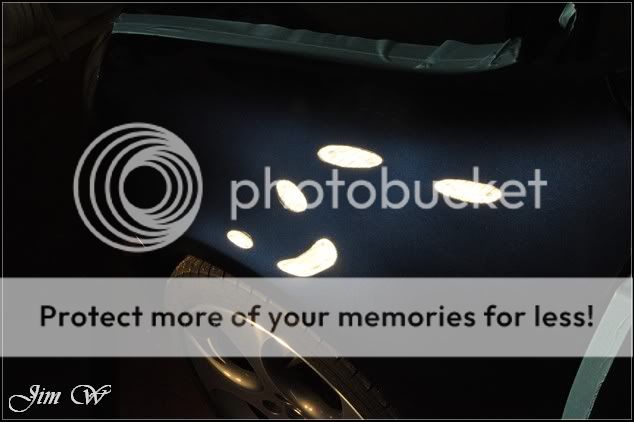
More machine holograms:

Removed via correct rotary polishing and product choice:

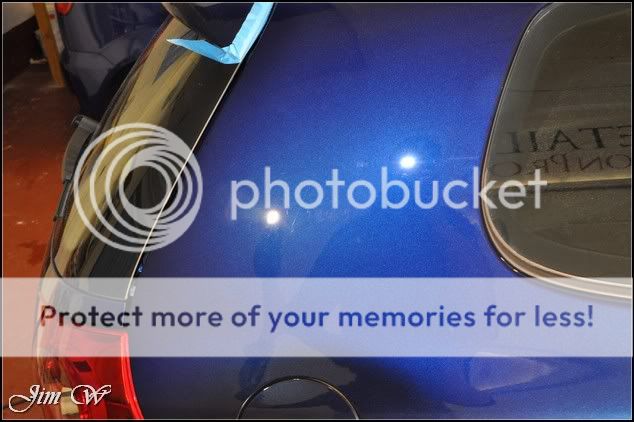
Although not badly swirled, the N/S front wing was covered in a haze:

A single stage machine correction pass was able to remove the holograms and restore the high gloss:


Check out the paint run on the front bumper:
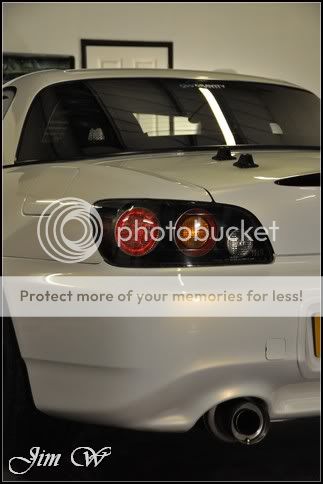
Jonny refining his work on the rear end:
My before/after on the N/S rear quarter:


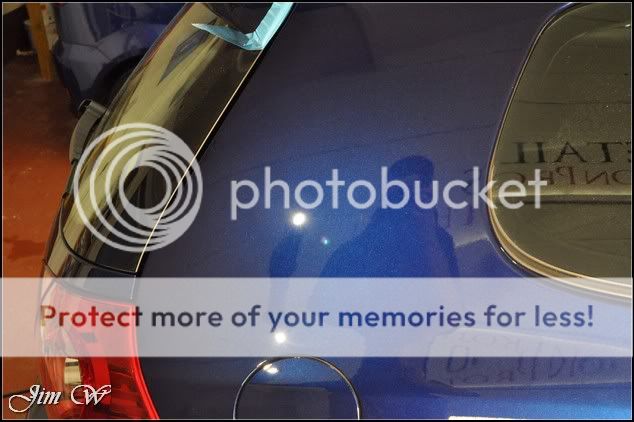
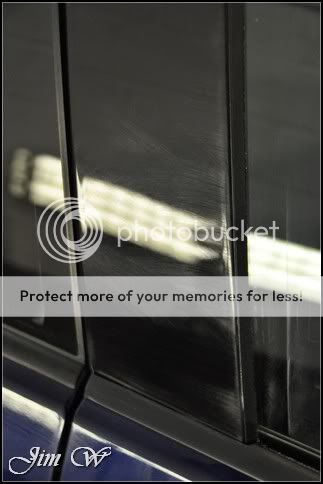
And a nice shot of the pearl flake popping now its correctly finished:

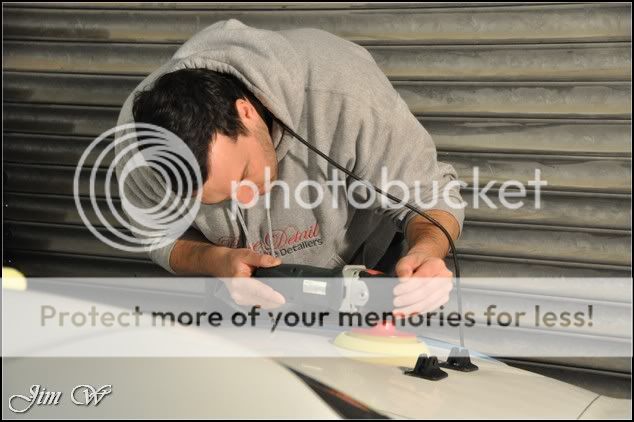
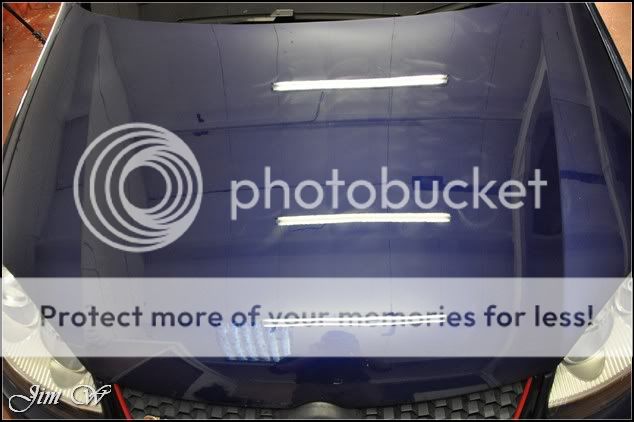
Switching sides, I took control of the DA for a bit of wet-flatting and Jonny corrected the bonnet:

The far left hand side of the tailgate was left for me A 2000 sanding disc to remove the nastier scratches and to lessen the fish-eyes, then following with a finer 4000 grade disc before compounding and polishing to a near on perfect finish.


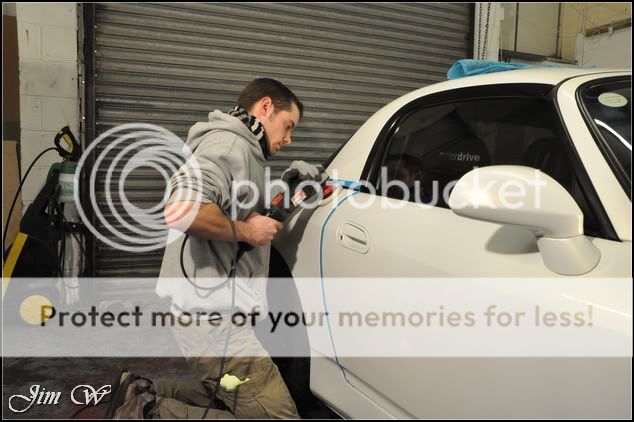
Whilst Jonny finished his work on the bonnet, I rejoined him on the rotary and started to work down the O/S hoping to meet him half way.


Paintwork was wiped down with an IPA to remove polishing oils.
Paintwork protected with Jeffs Werkstat Jett Trigger We used Jeffs Trigger to highlight the flake pop and clarity offered by a sealant as opposed to the warm glossy results that a carnauba wax gives.
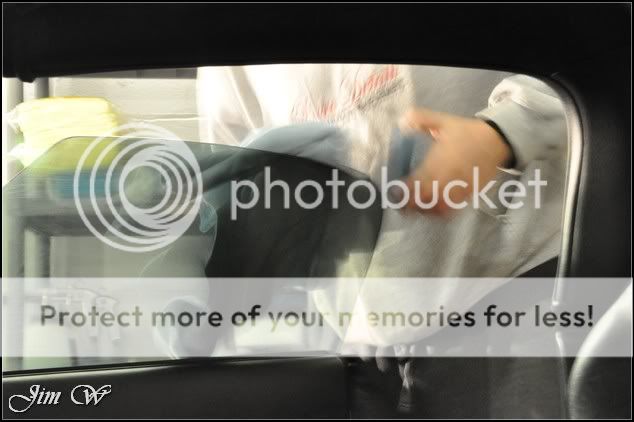
Glass was cleaned inside and out with 3Ms Glass Cleaner (on my recommendation)
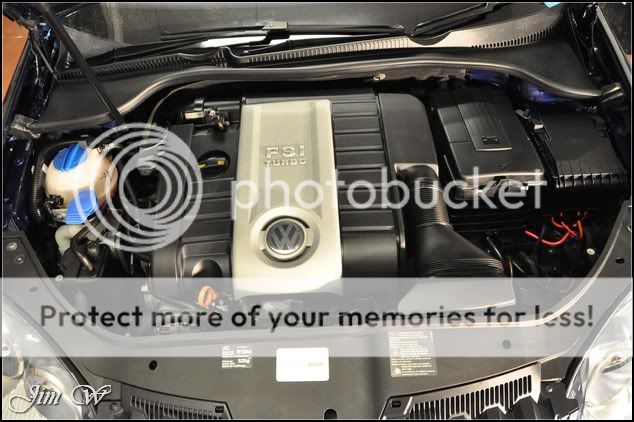
Metalwork cleaned and protected.
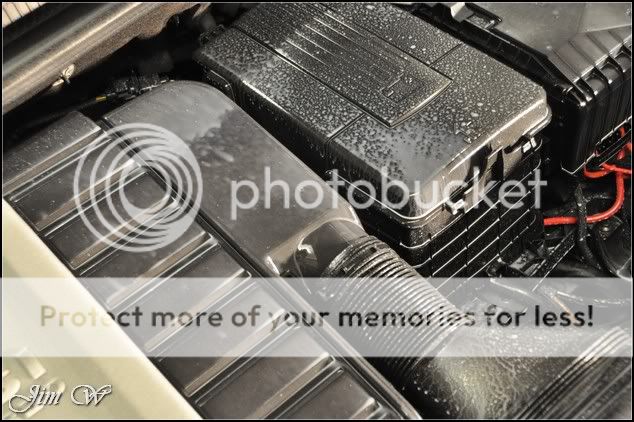
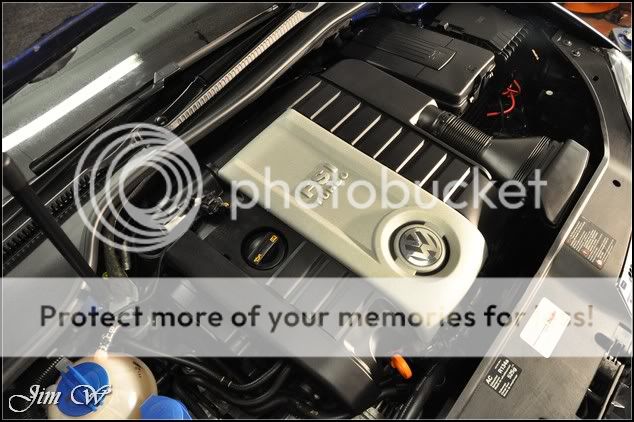
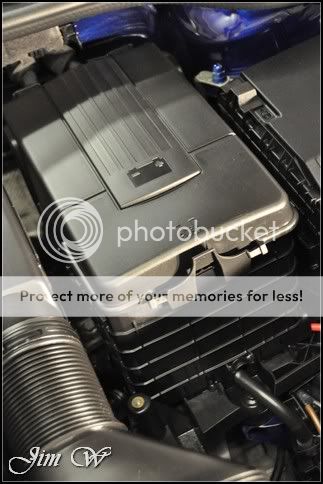
The engine bay had previously been tidied before I arrived but was then dressed with AutoGlyms Vinyl and Rubber Care (I didnt capture any photos on this; I hope to steal some of Jonnys images later!)
A final wipe down of the paint and were finished. Not a bad afternoons work!


Having spent three days with Jonny from PureDetail a month or two back down in Sevenoaks, Kent, it was time we caught up again. I was invited to the PureDetail HQ in the North West, the plan was to help out on a correctional detail he had on the go and also to try my hand at wet-flatting using the DA.
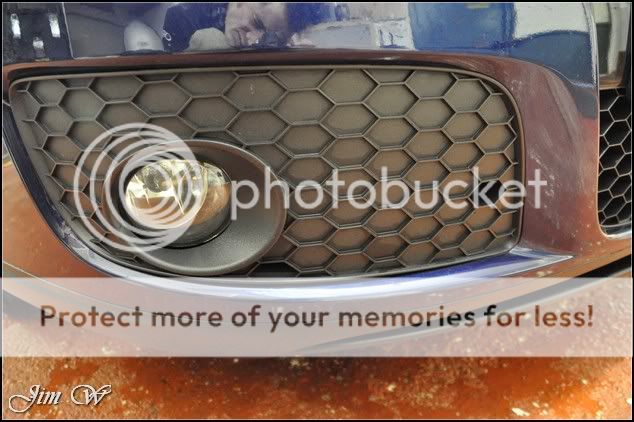
The car in question was a recently resprayed track-spec Honda S2000. If I am honest, the finish was dreadful. Probably the worst respray I have seen to date. With this in mind, only so much could be done with the flatting; sanding scores, paint runs, hundreds of fish-eyes and deeper dimples were dotted around on every panel.
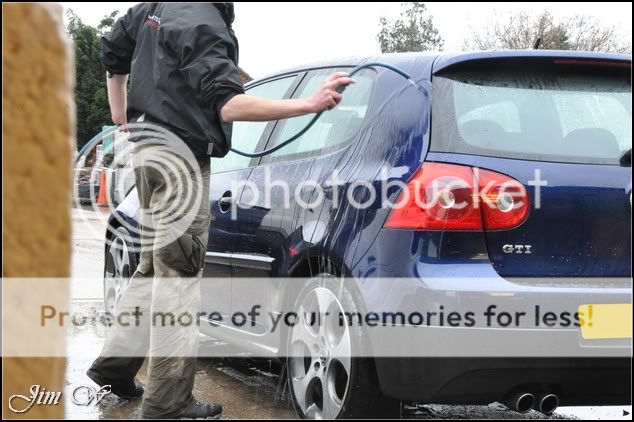
On my arrival, Jonny had already put the Honda through the full wash stage including clay and tar removal. The wheels hadnt been touched as they would be coming off the following day for a full cleanse and wheel-nuts to be painted.
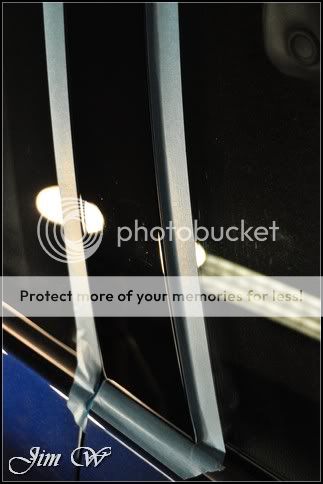
The tailgate was suffering the worst Mirka Abralon 2000 sanding discs used on the DA to give a consistent smooth finish.
Here, you can see what we were up against: (Note the dimples)
As we were working with UK paint and not the usual butter-soft Jap stuff, we were able to go quite heavy with defect removal. Multiple hits of 3M/Menzerna polishes given to chase our sanding marks and swirling.
Whilst Jonny battled with the best part of the tailgate, I got stuck in with Menzerna polishes to correct both the near and offside of the Honda.
Buffer-trails spotted before:
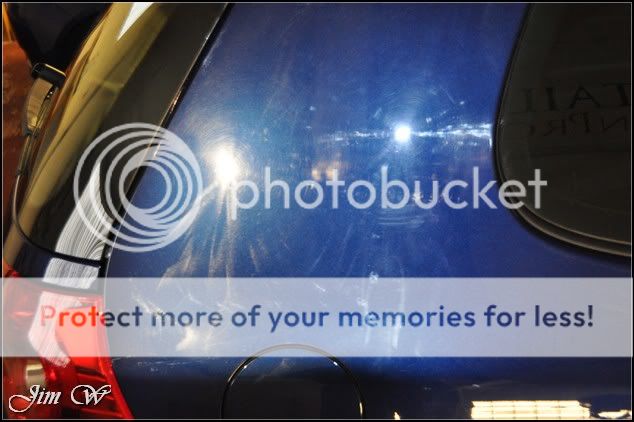
Clear and crisp after:
More machine holograms:
Removed via correct rotary polishing and product choice:
Although not badly swirled, the N/S front wing was covered in a haze:
A single stage machine correction pass was able to remove the holograms and restore the high gloss:
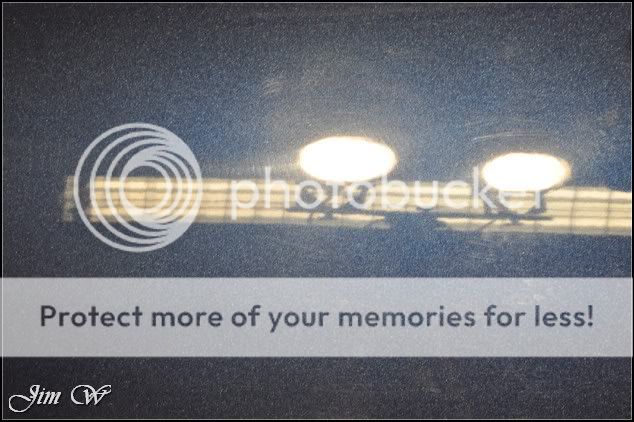
Check out the paint run on the front bumper:
Jonny refining his work on the rear end:
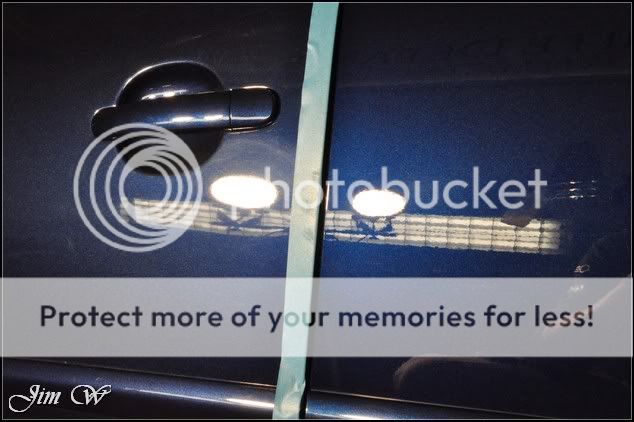
My before/after on the N/S rear quarter:
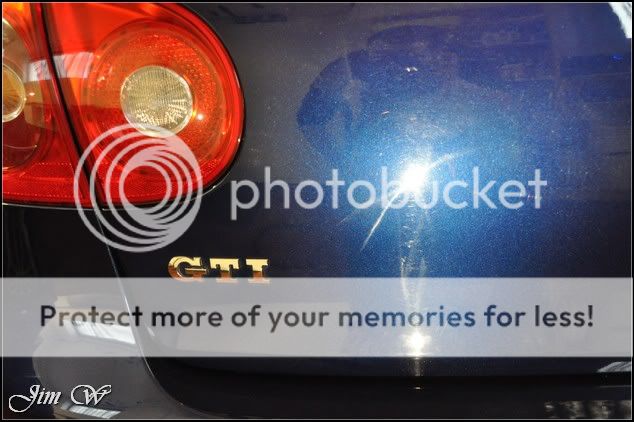
And a nice shot of the pearl flake popping now its correctly finished:
Switching sides, I took control of the DA for a bit of wet-flatting and Jonny corrected the bonnet:
The far left hand side of the tailgate was left for me A 2000 sanding disc to remove the nastier scratches and to lessen the fish-eyes, then following with a finer 4000 grade disc before compounding and polishing to a near on perfect finish.
Whilst Jonny finished his work on the bonnet, I rejoined him on the rotary and started to work down the O/S hoping to meet him half way.
Paintwork was wiped down with an IPA to remove polishing oils.
Paintwork protected with Jeffs Werkstat Jett Trigger We used Jeffs Trigger to highlight the flake pop and clarity offered by a sealant as opposed to the warm glossy results that a carnauba wax gives.
Glass was cleaned inside and out with 3Ms Glass Cleaner (on my recommendation)
Metalwork cleaned and protected.
The engine bay had previously been tidied before I arrived but was then dressed with AutoGlyms Vinyl and Rubber Care (I didnt capture any photos on this; I hope to steal some of Jonnys images later!)
A final wipe down of the paint and were finished. Not a bad afternoons work!


")
