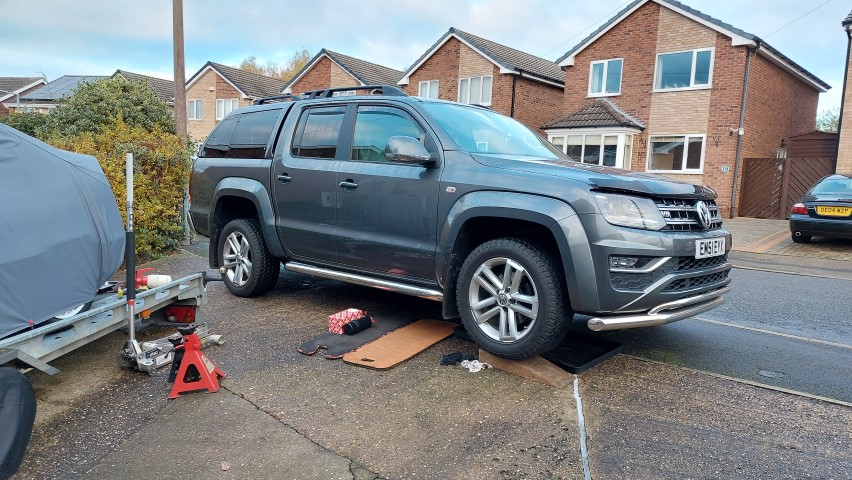
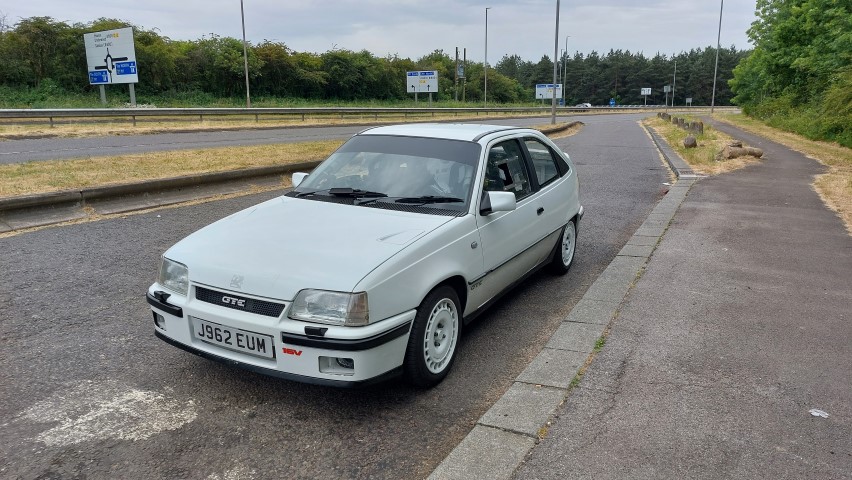
It’s that time of year again, no not Christmas, MOT time. The S3 went in earlier this month and all was good thankfully.

To celebrate the S3 pass, 6th birthday and having now covered 24k it had its annual festive service under the flashing lights.
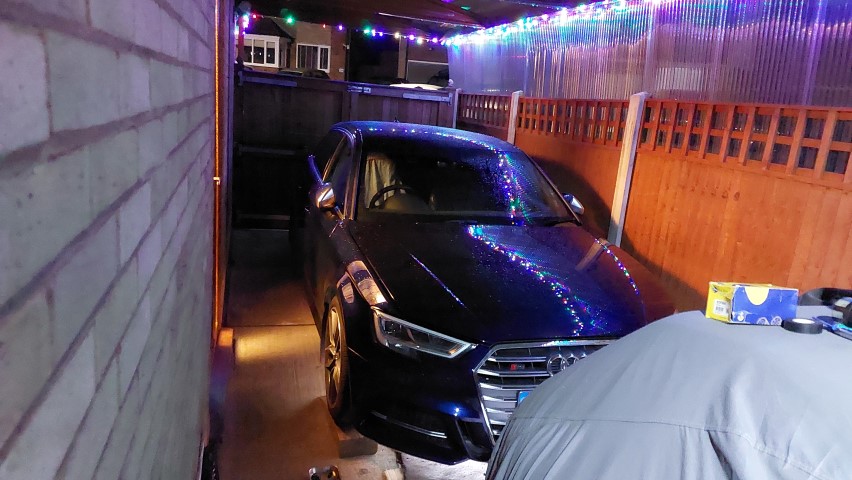
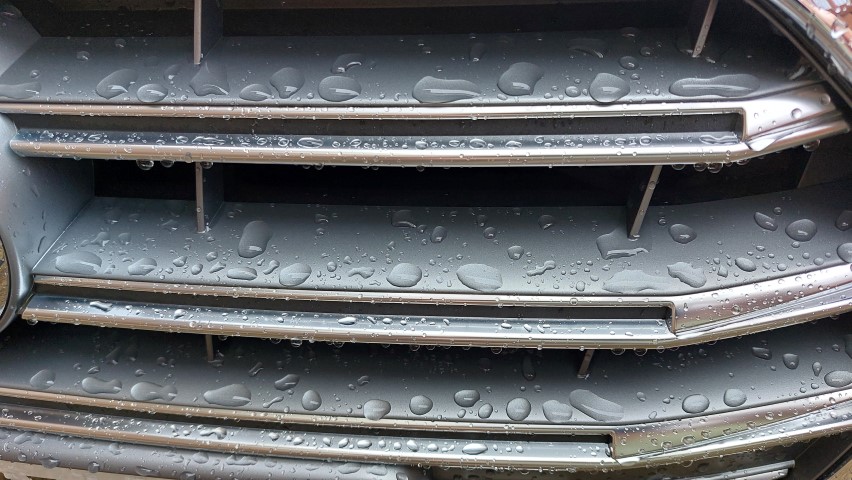
The puddle lights are still doing their thing and look splendid.

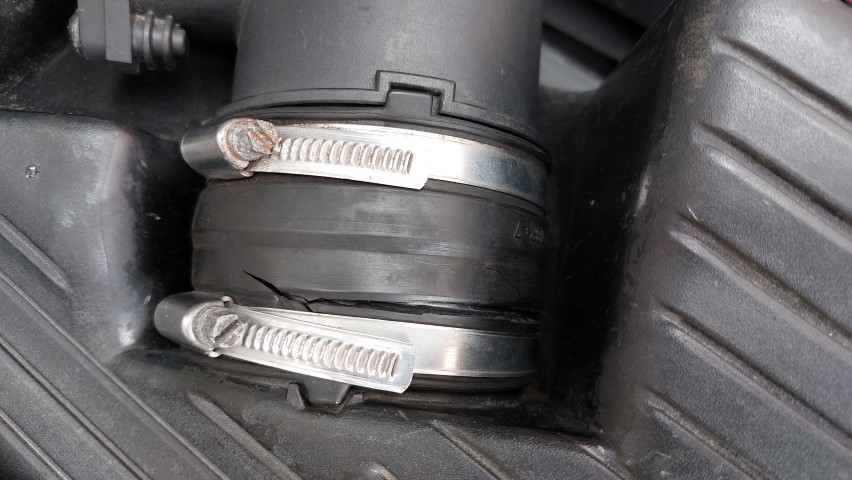
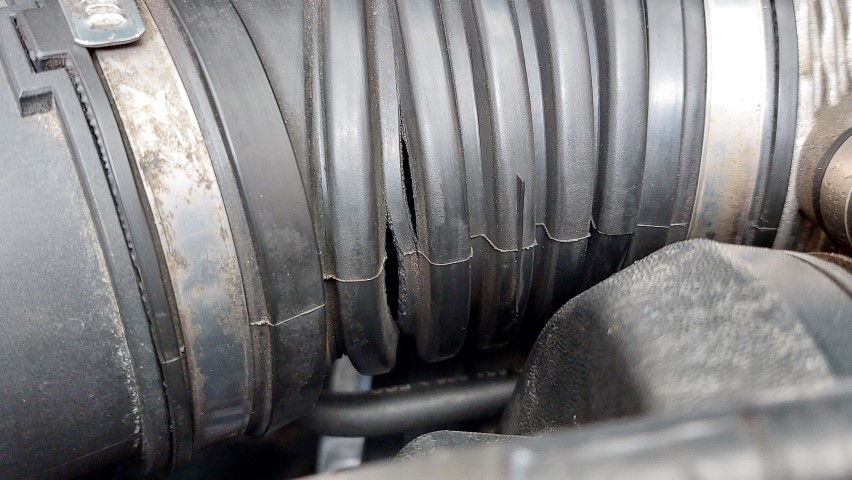
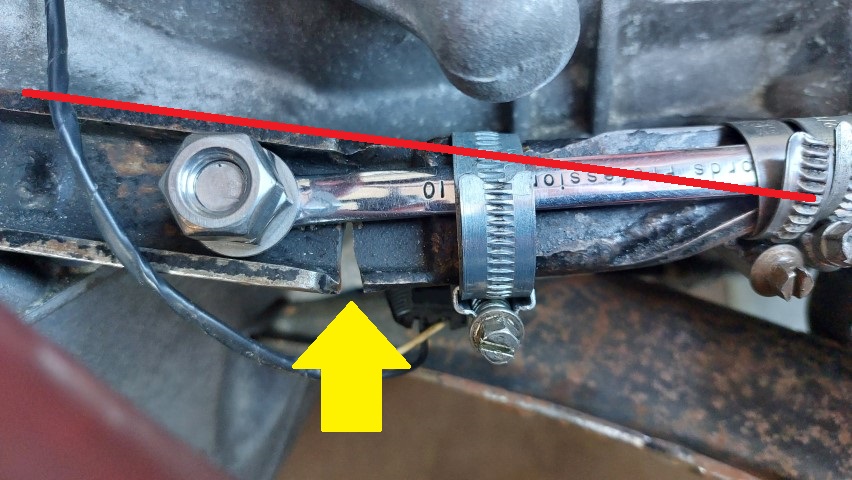
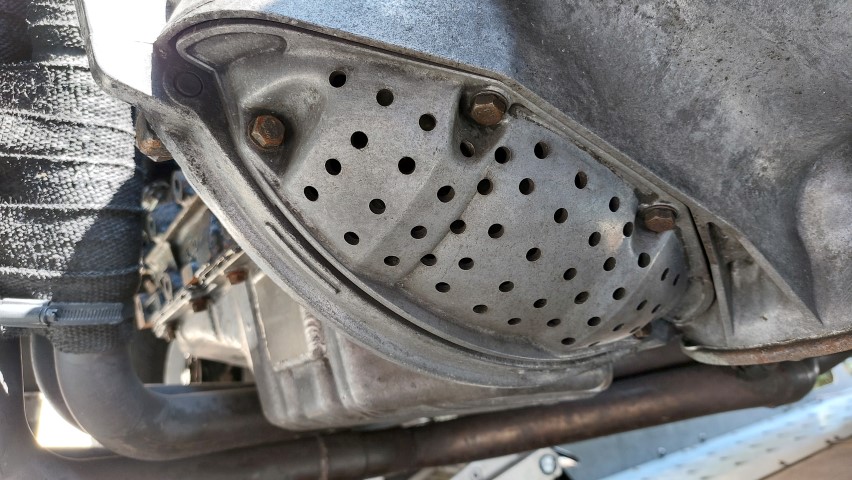
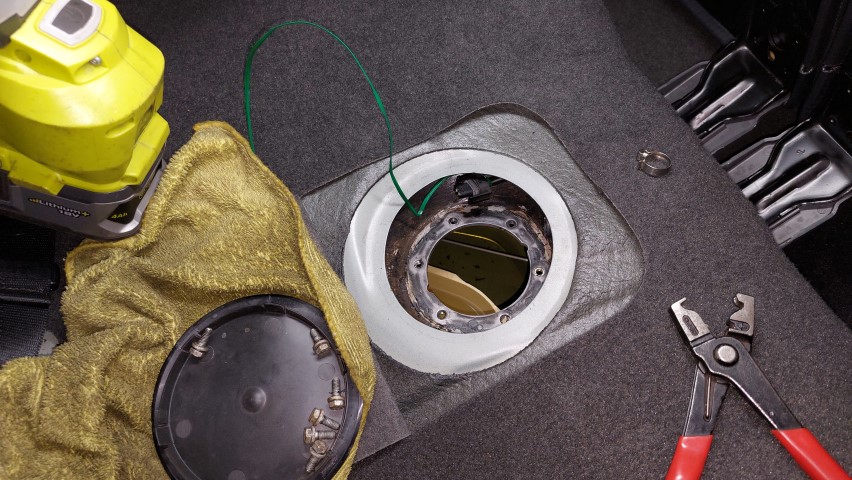
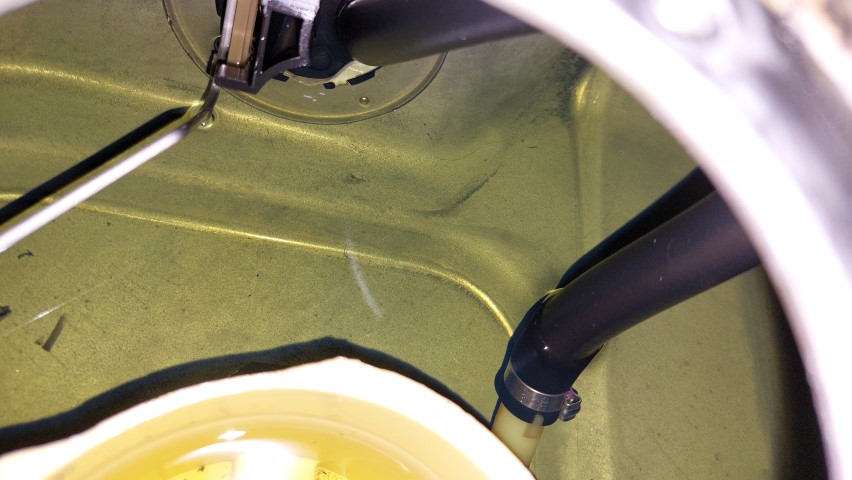
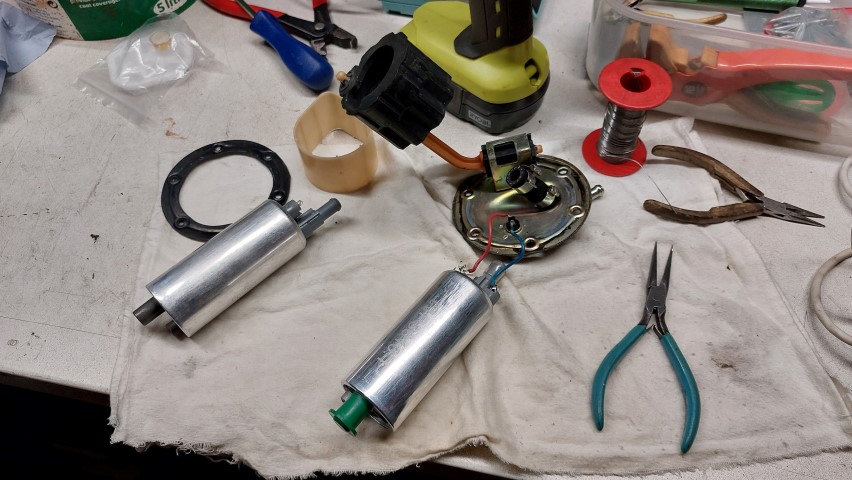
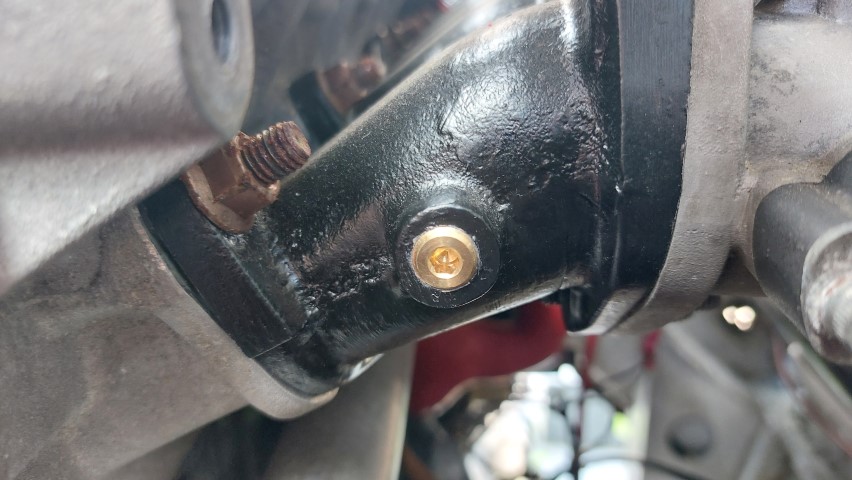
Off came its under crackers and out came the lotion motion juice.
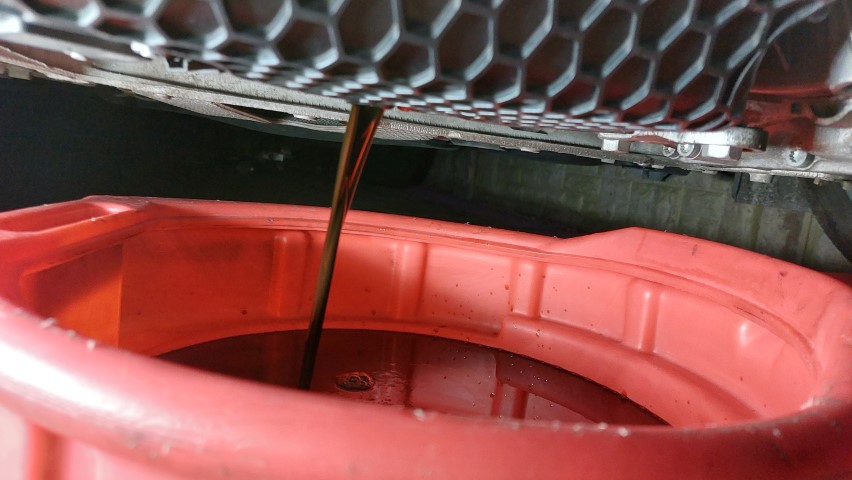
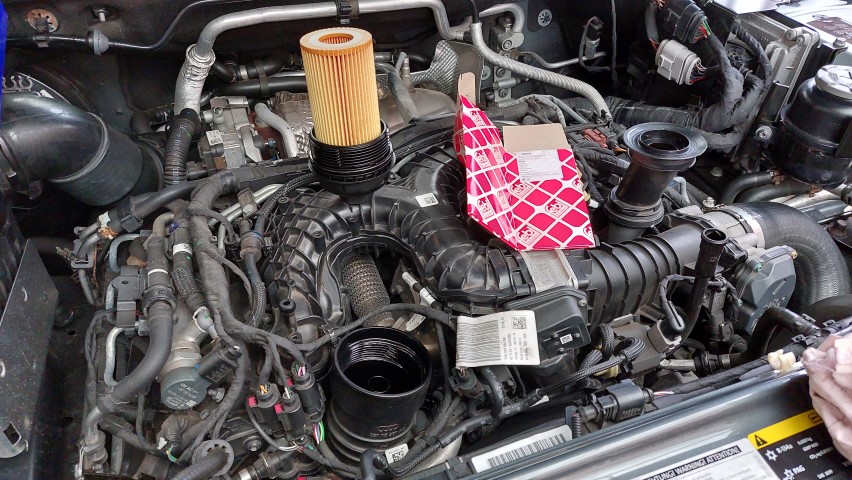
The usual filters were changed in addition to a fresh oil filter.

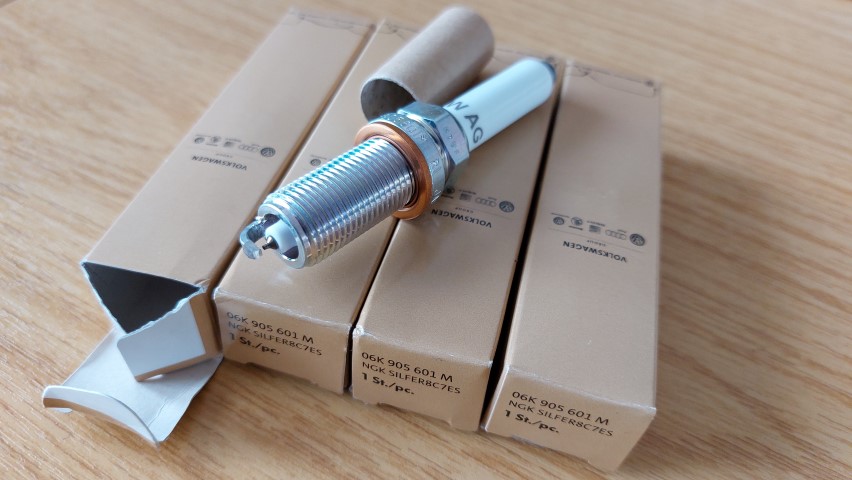
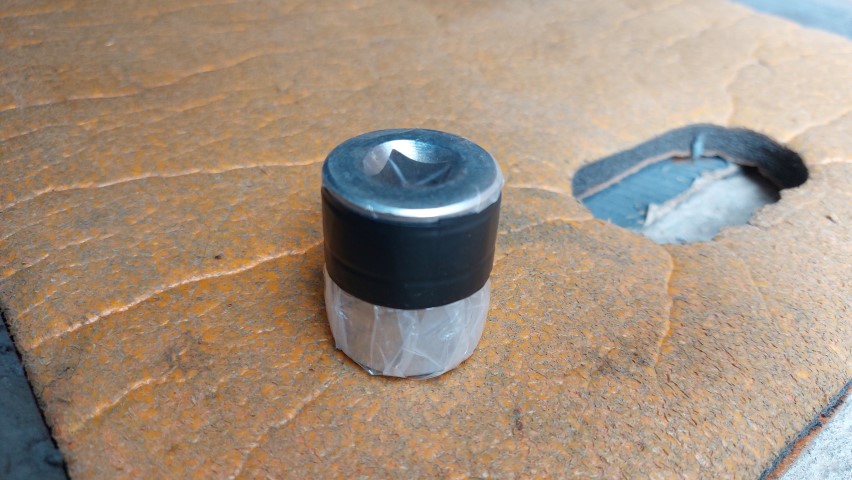
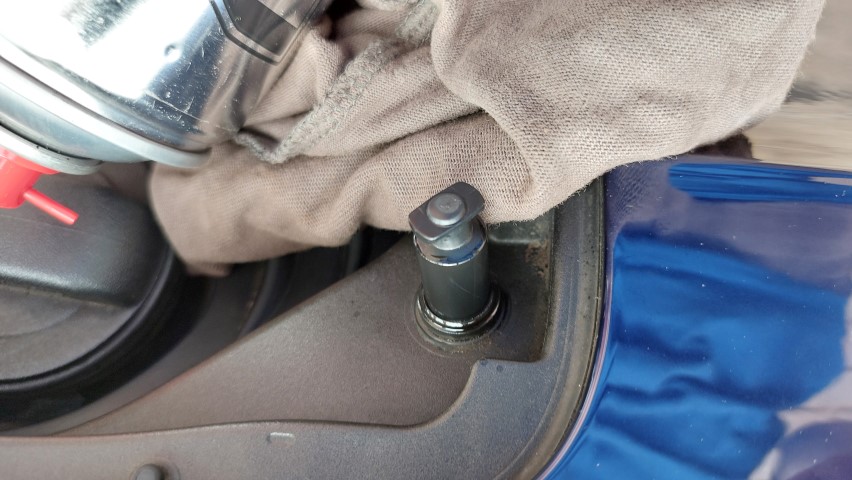
As the S3 is now of age I thought it only fitting to pop a set of fresh sparklers in the Gen3 EA888 lump with mine being a DJHA. Helpful hint as they are buried deep inside make sure you pop some tape on your socket and extension to stop the socket getting stuck.
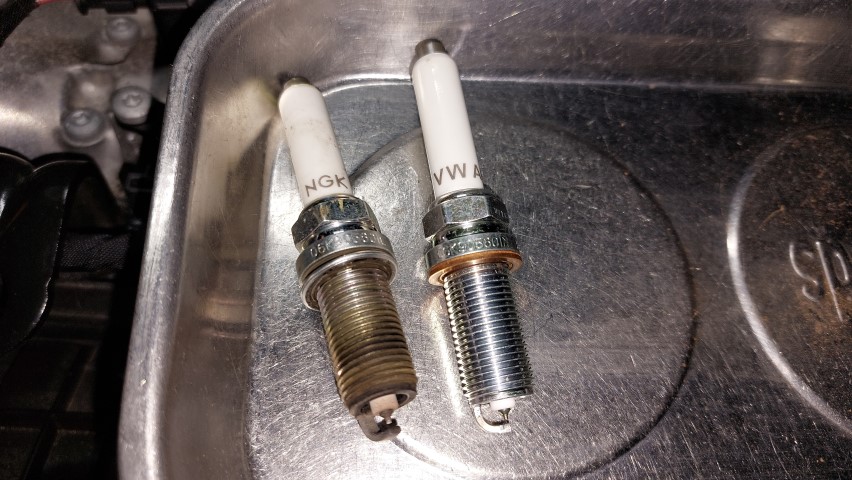

The original spark plugs are 06K905601L but I opted to replace these with the RS3 FL plugs being 06K905601M. Only reason I sourced a set cheaper than the originals and they run a step cooler but otherwise identical with a posh copper crush washer.

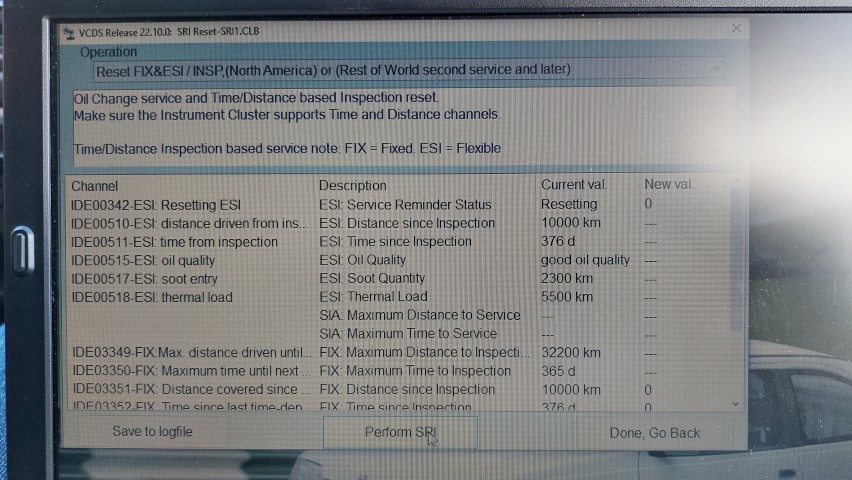
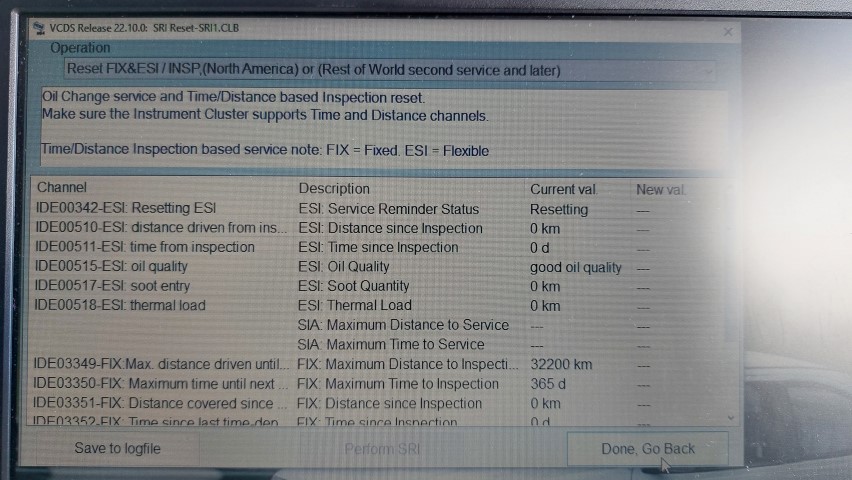
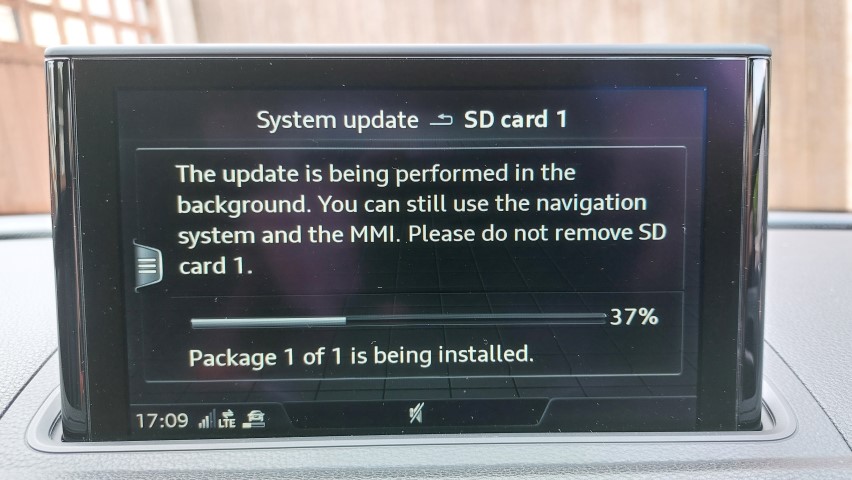
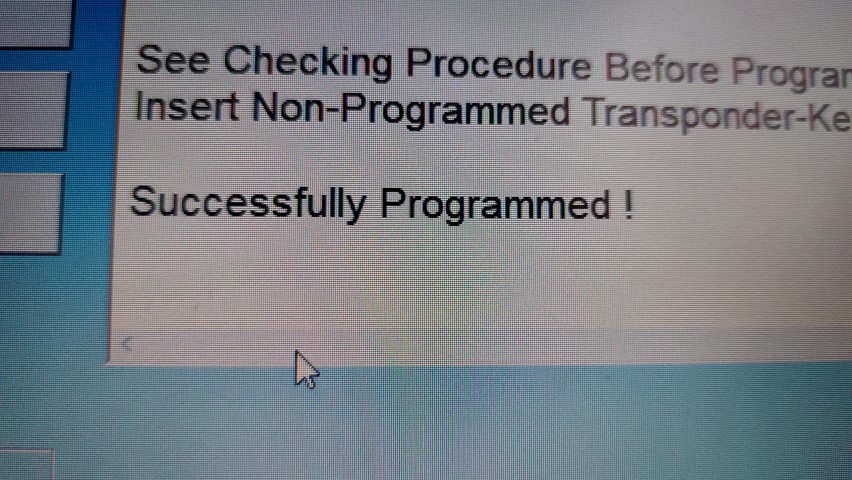
After all my S3 loving was completed, I performed a VCDS service reset (SRI) and all was happy in S3 land.


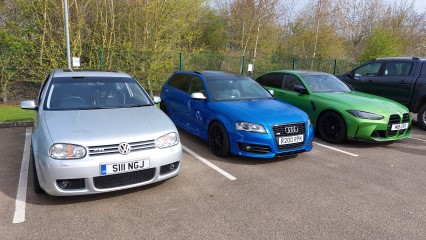
To celebrate the S3 pass, 6th birthday and having now covered 24k it had its annual festive service under the flashing lights.
The puddle lights are still doing their thing and look splendid.
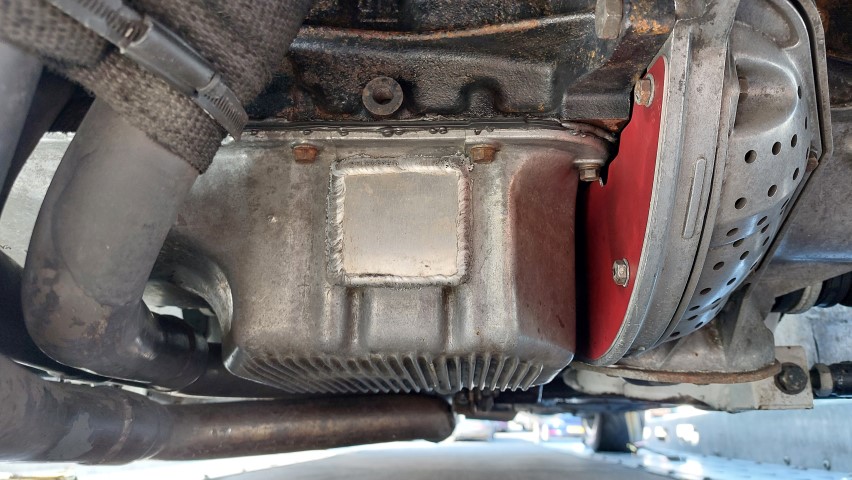
Off came its under crackers and out came the lotion motion juice.
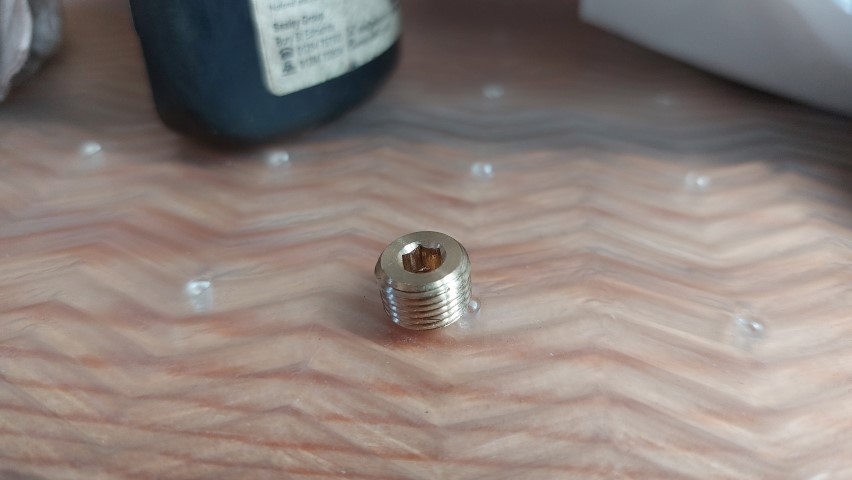
The usual filters were changed in addition to a fresh oil filter.
As the S3 is now of age I thought it only fitting to pop a set of fresh sparklers in the Gen3 EA888 lump with mine being a DJHA. Helpful hint as they are buried deep inside make sure you pop some tape on your socket and extension to stop the socket getting stuck.
The original spark plugs are 06K905601L but I opted to replace these with the RS3 FL plugs being 06K905601M. Only reason I sourced a set cheaper than the originals and they run a step cooler but otherwise identical with a posh copper crush washer.
After all my S3 loving was completed, I performed a VCDS service reset (SRI) and all was happy in S3 land.