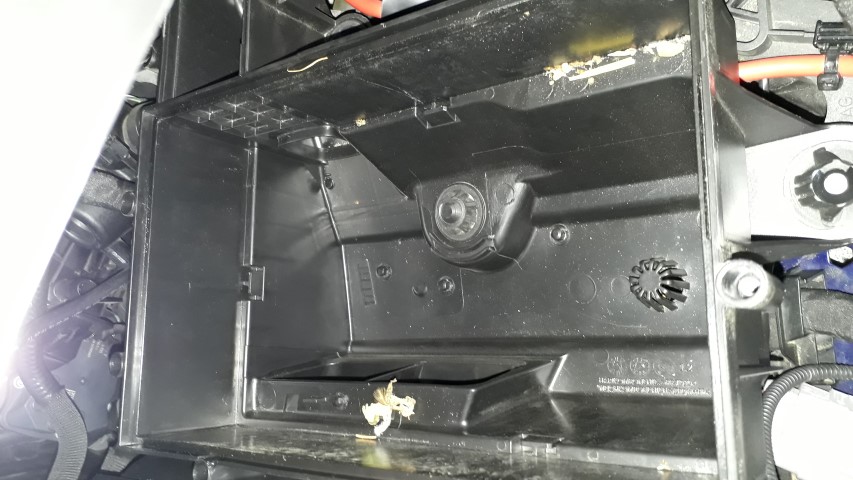
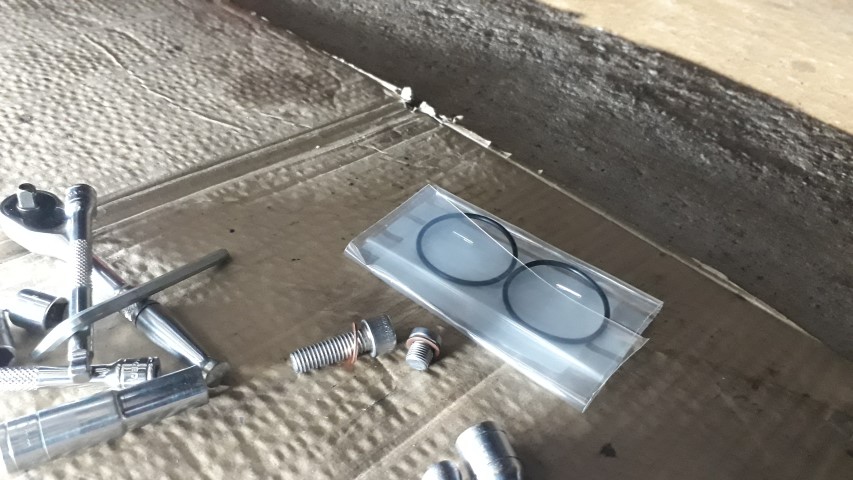
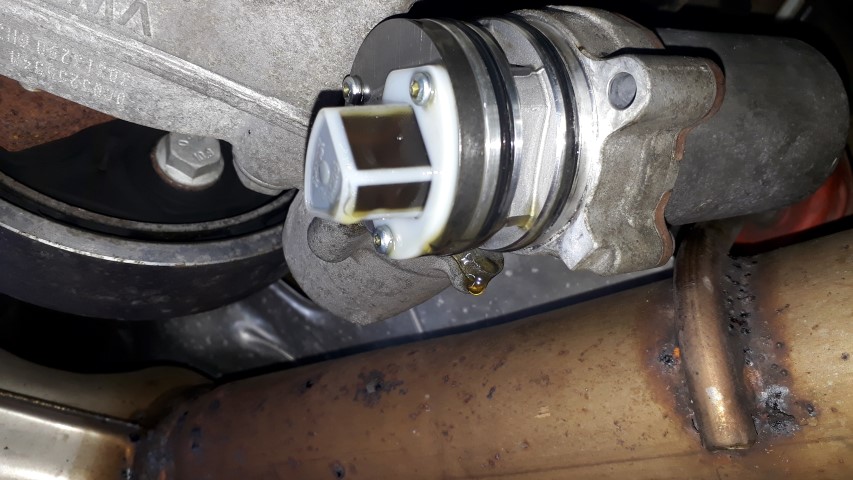
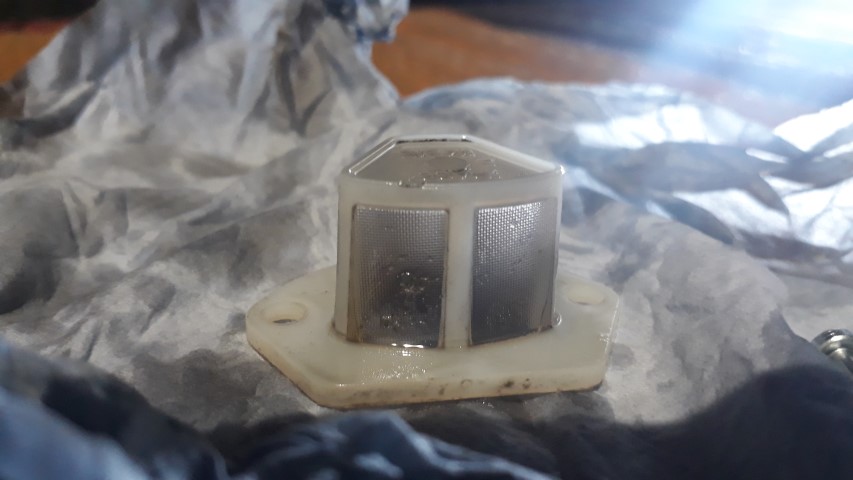
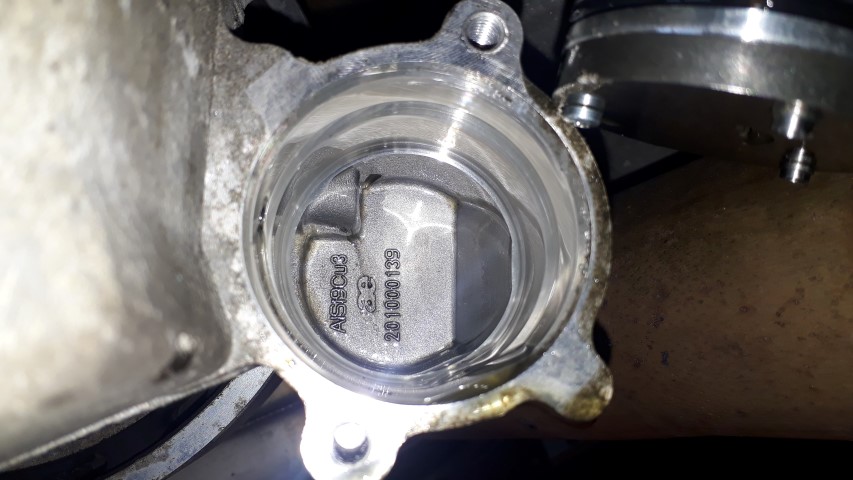
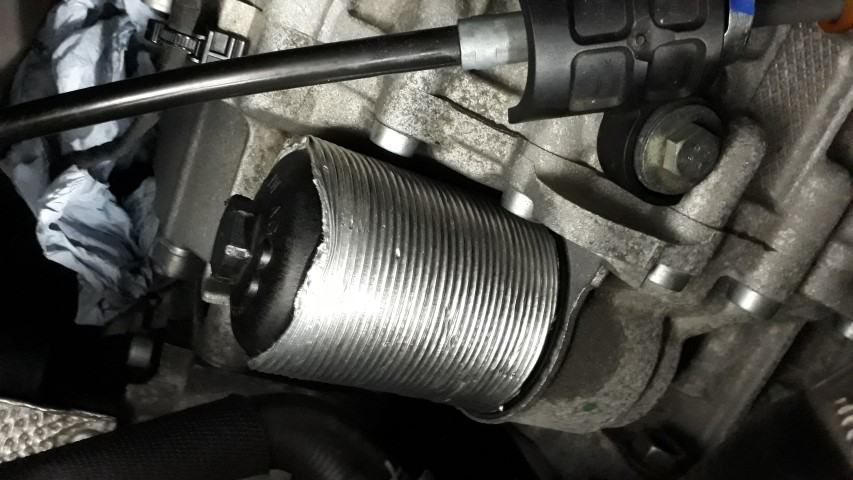
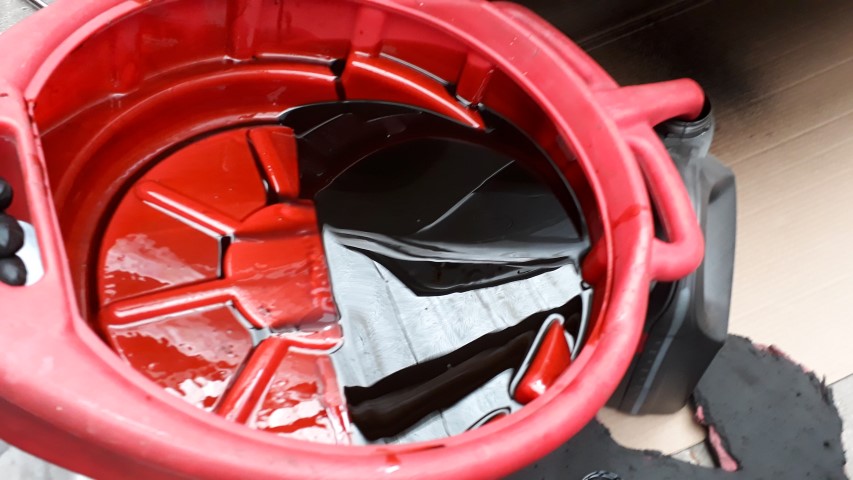
The final fluid job I’ve not been looking forward to as it’s a faffy jobbie but the DSG box was still calling my name as my final fluid swap victim. The Mechatronic, main drain bung & overflow pipe were removed along with the (Audi say non serviceable) filter.
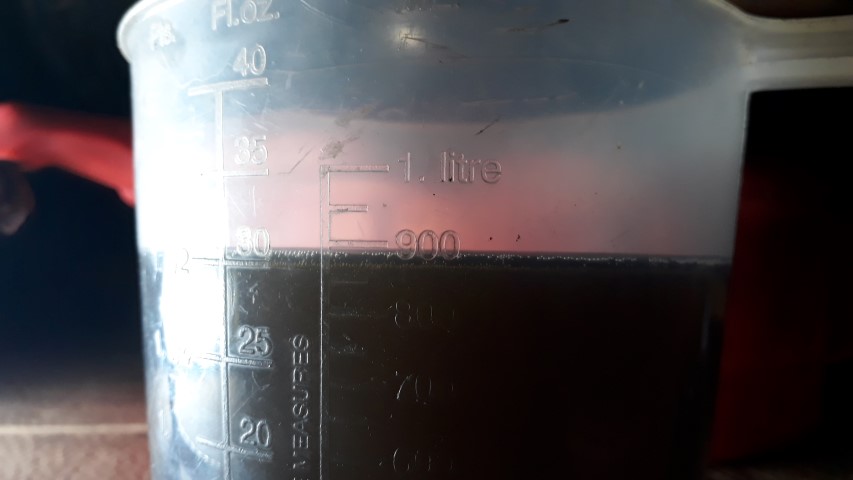
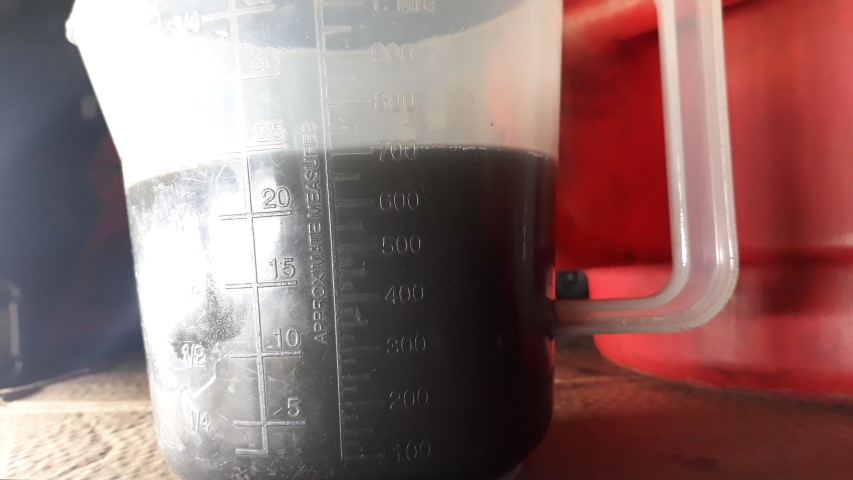
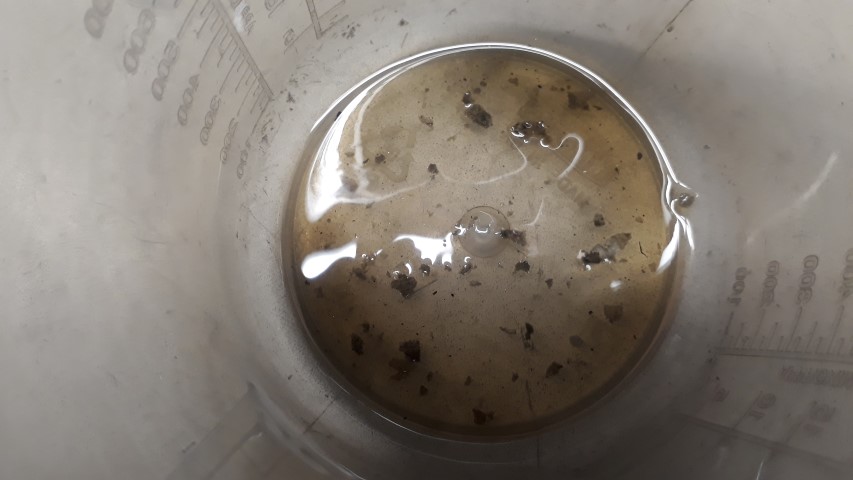
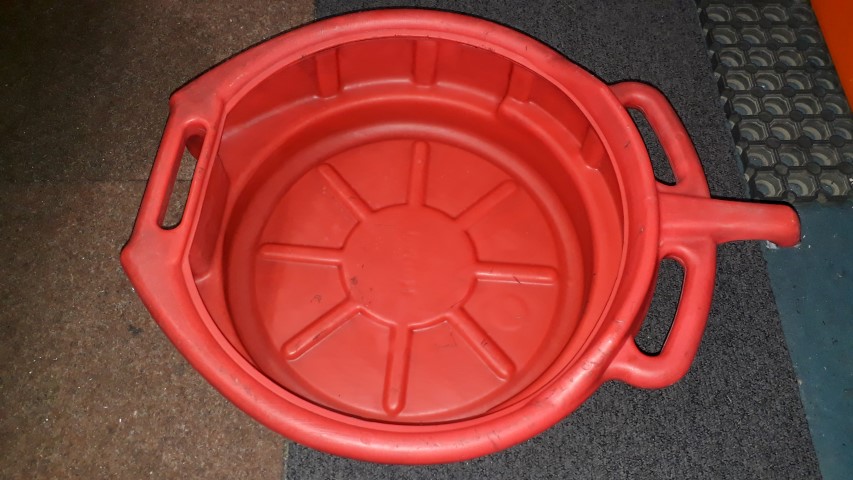
I drained out 4.7L not including what was soaked into the filter & the spillage when the Mechatronic oil exited at a higher rate than anticipated which resulted in some liquid escaping the clutches of the oil drain tub.
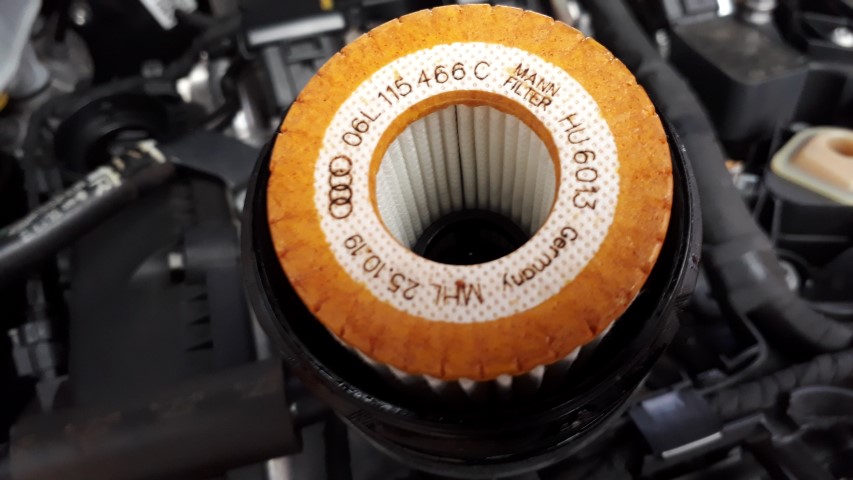
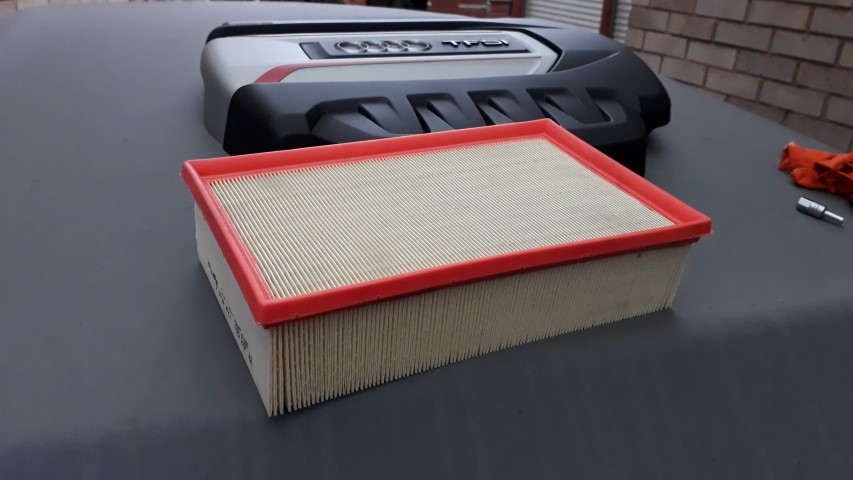
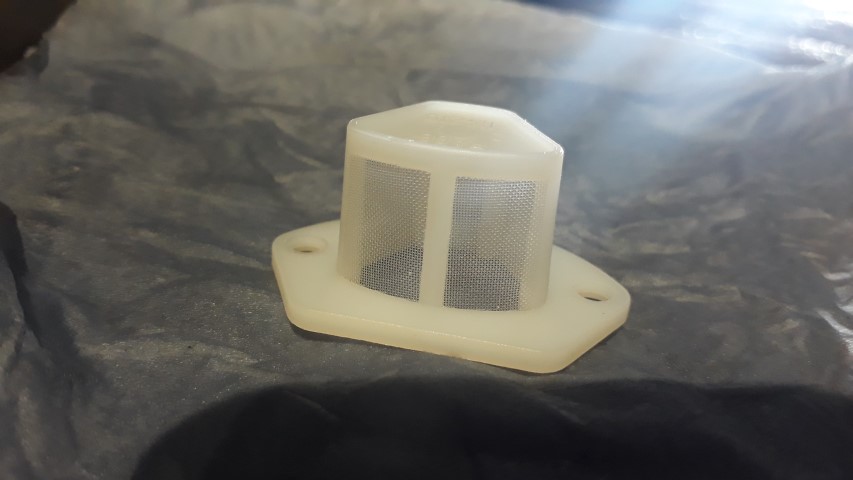
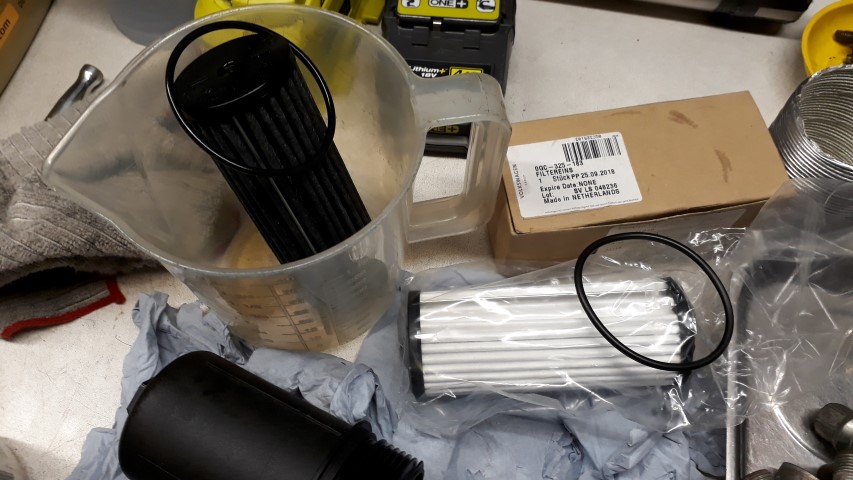
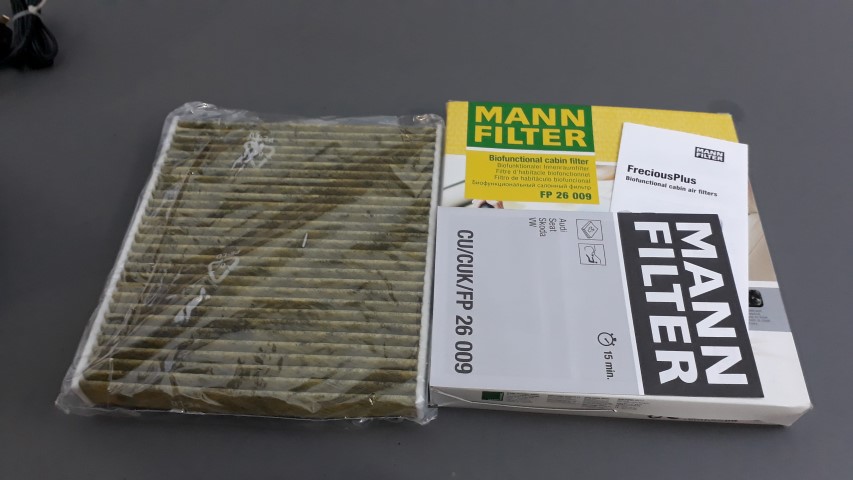
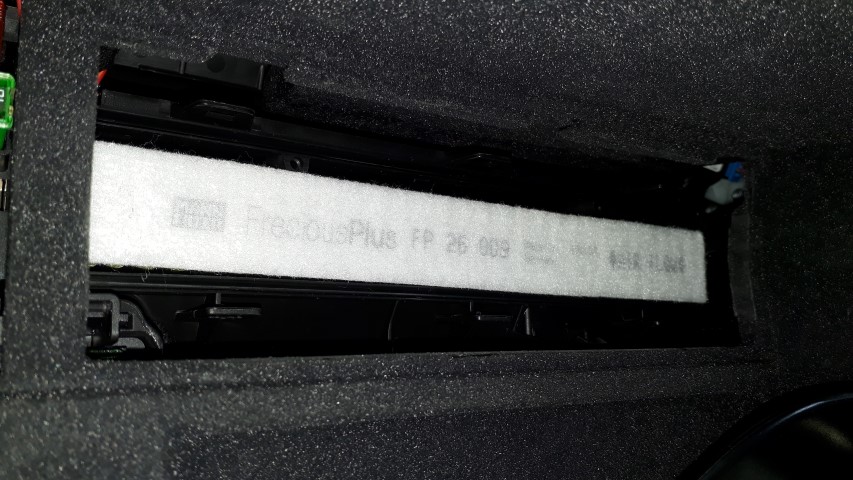
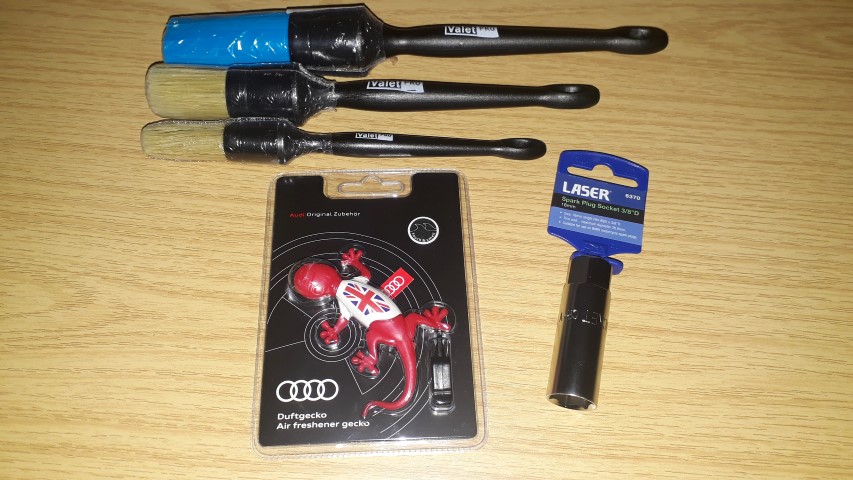
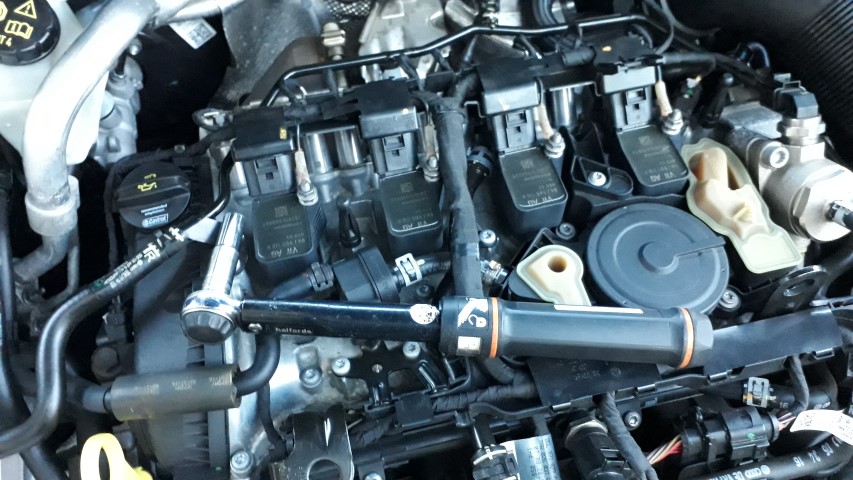
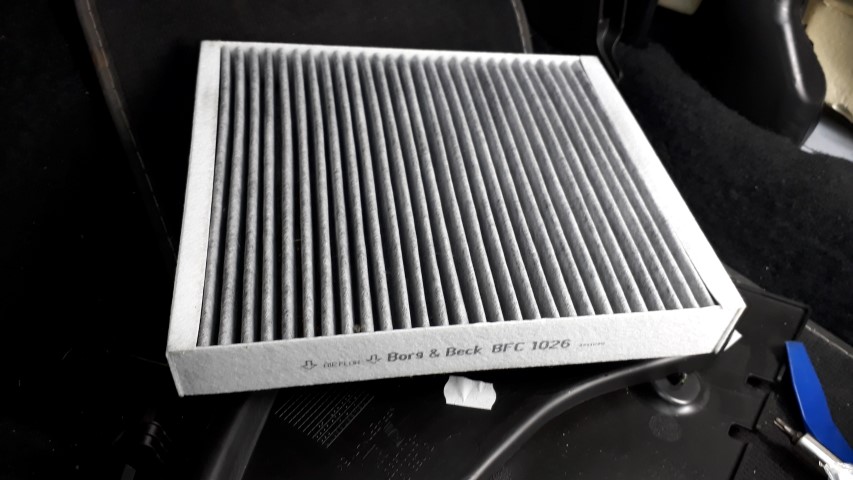
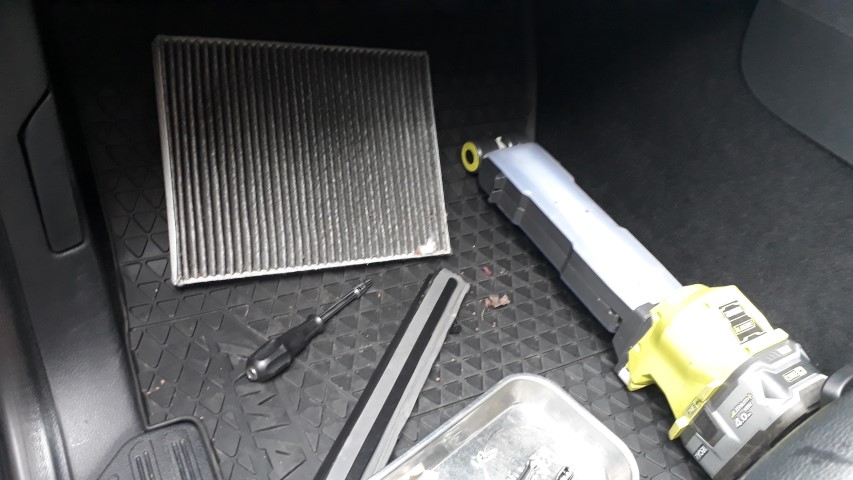
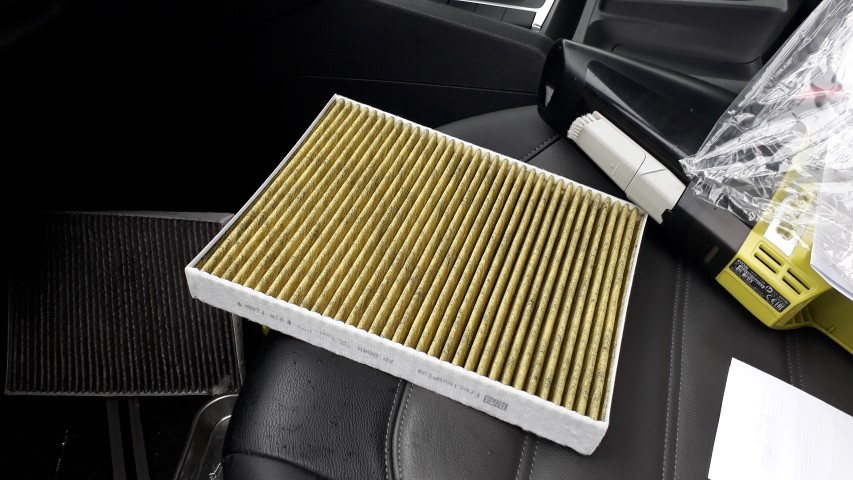
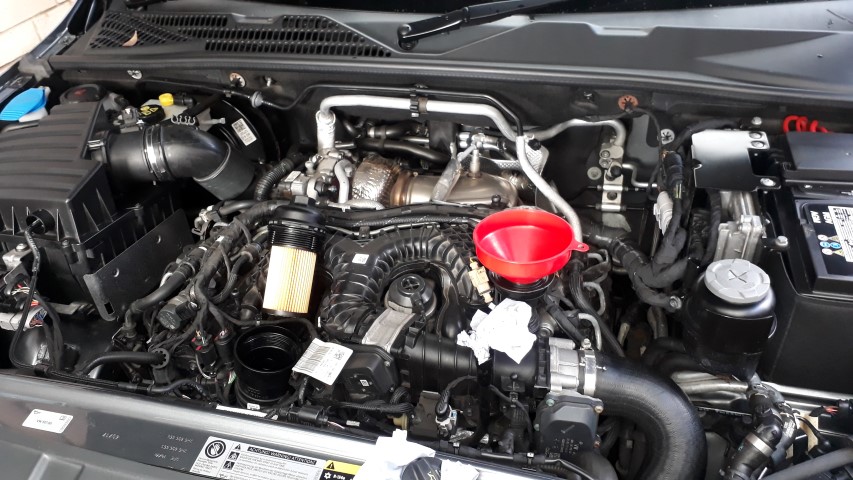
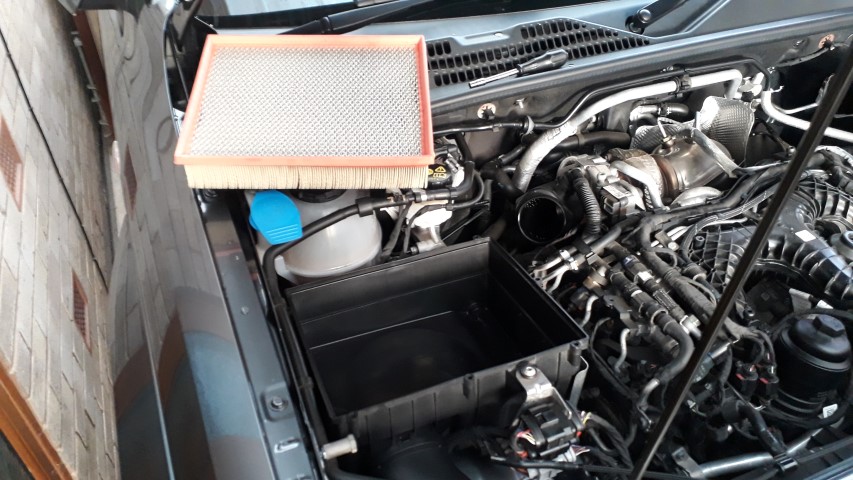
I’m pleased to say you can get to the DSG filter & swap it without the need to remove the battery, airbox or intake pipework. I must have baby sized medium hands as I didn’t at all struggle. New filter vs oil & in it goes. Spec states a torque of 50Nm for the filter but it’s plastic so I did the same as the engine oil filter at 25Nm as it undid with ease.
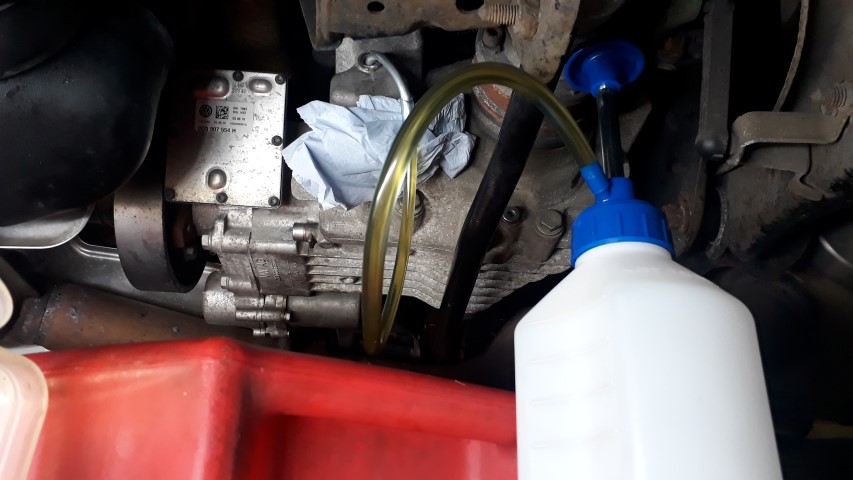
Now the faffy fun begins as the DSG it bottom filled using gravity so I bought a very cheap copy but excellent quality VAS6262-1 tool & made my own pipework for filling.
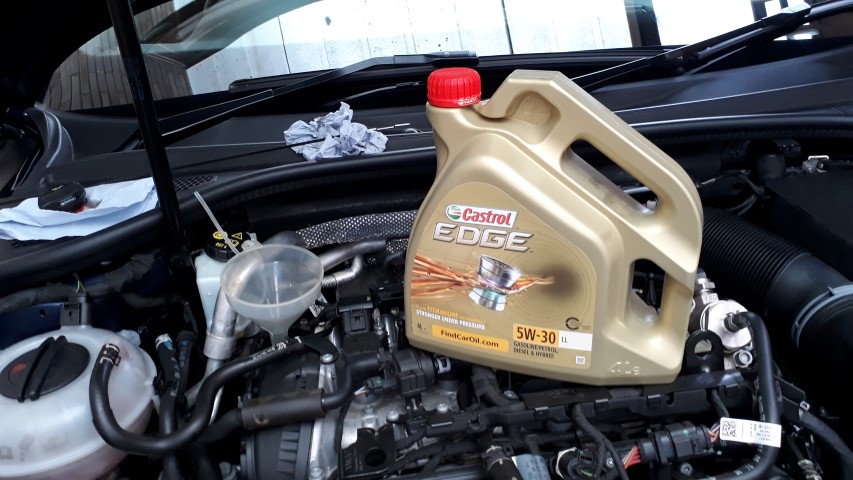
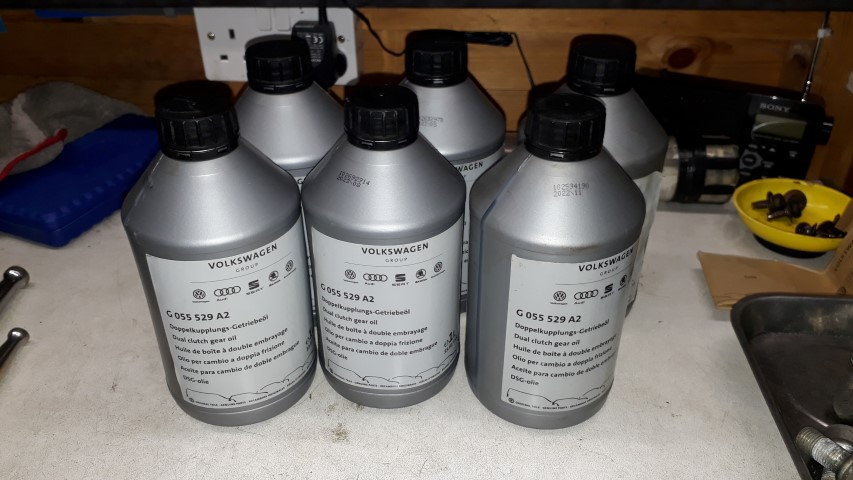
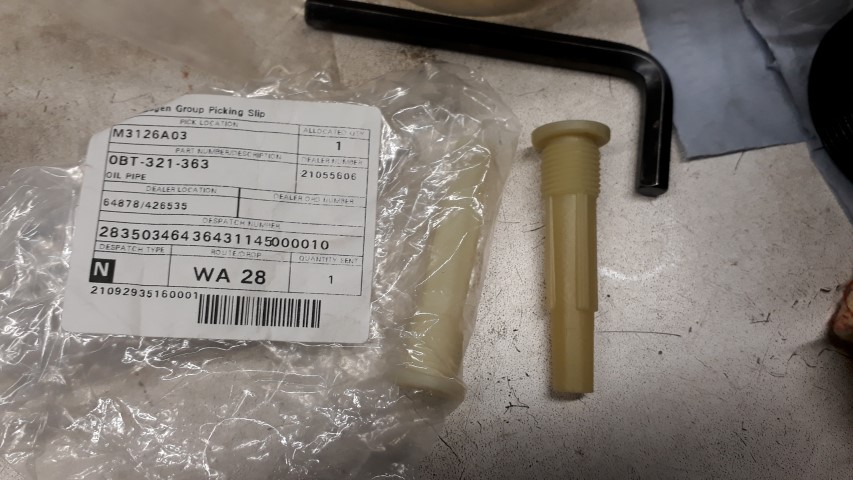
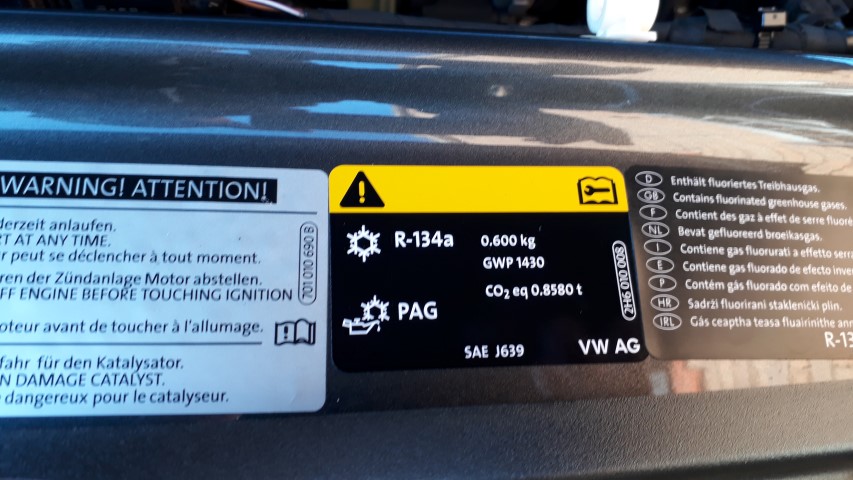
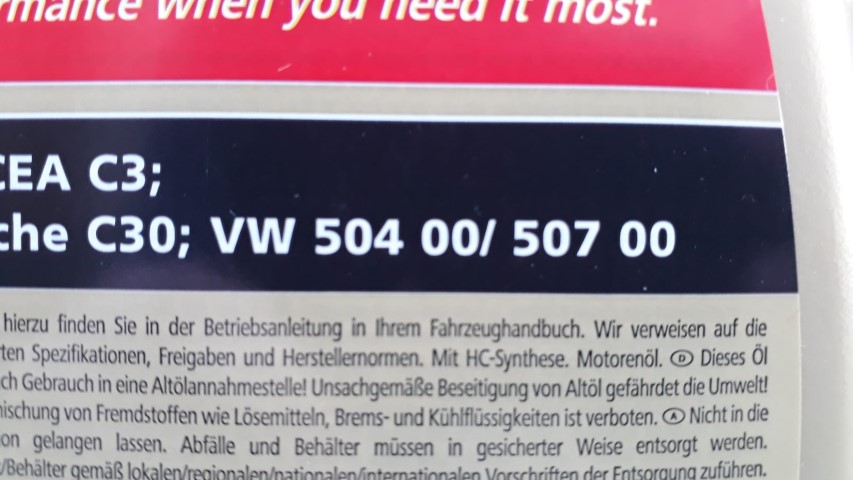
I’d already purchased the required 6L of DQ381 (OGC) spec oil so already had it in stock along with a new overflow pipe.
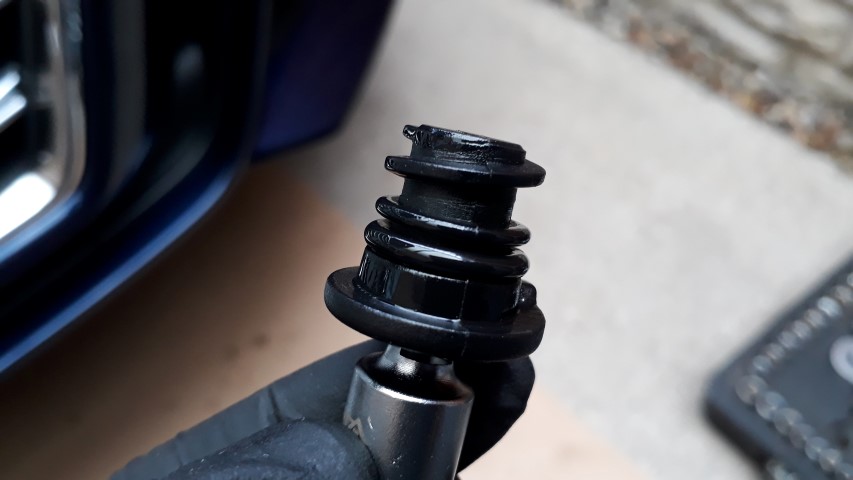
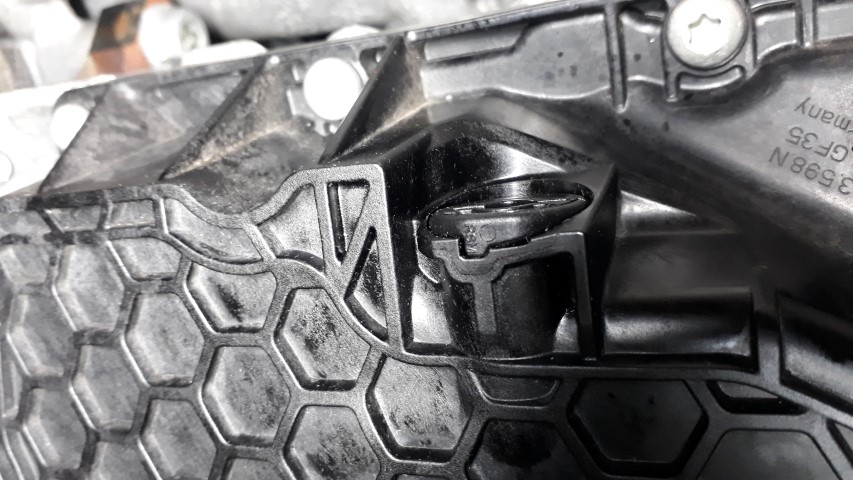
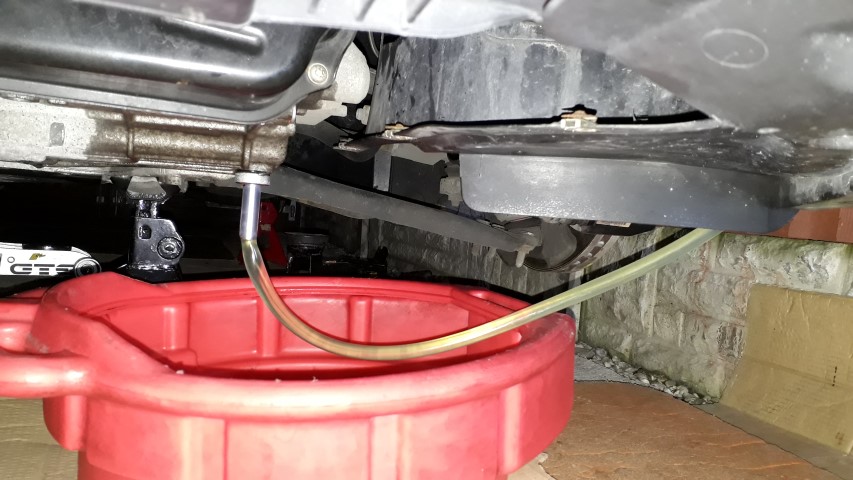
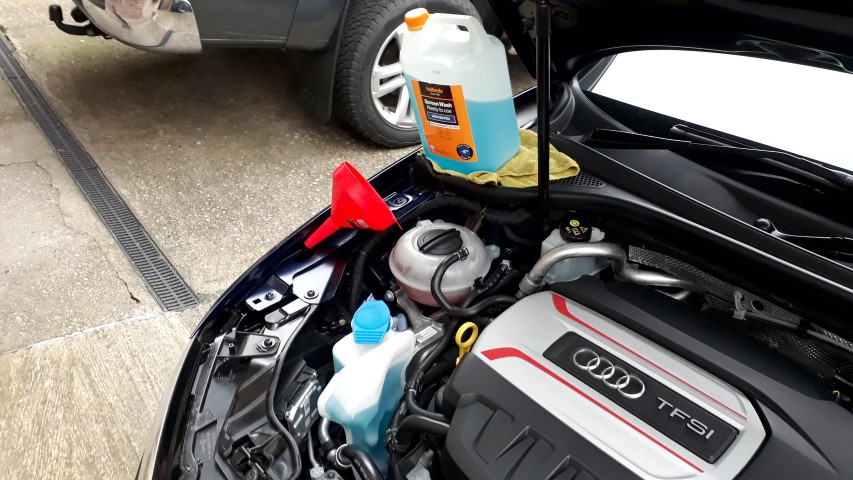
I popped in the Mechatronic drain bung & torqued to spec at 10Nm+45degrees. The overflow pipe was fully installed to the stop but not over tightened at 3Nm so next to nothing, it should screw in easily. Then rigged up my DSG oil insertion tool which resulted in me screwing a funnel to my fencing & away I went pouring in 1L at a time at a steady pace.
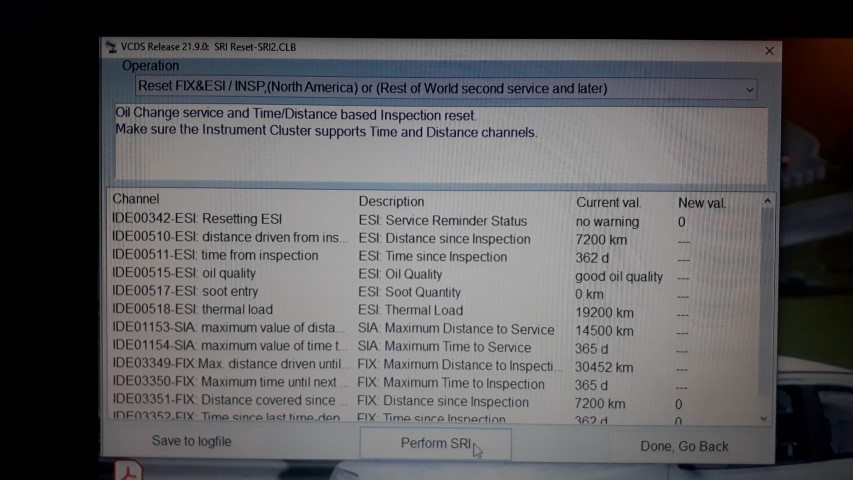
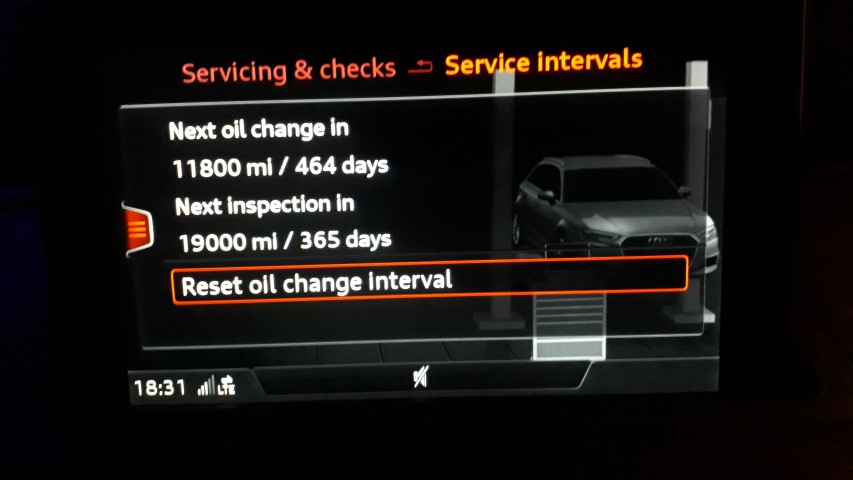
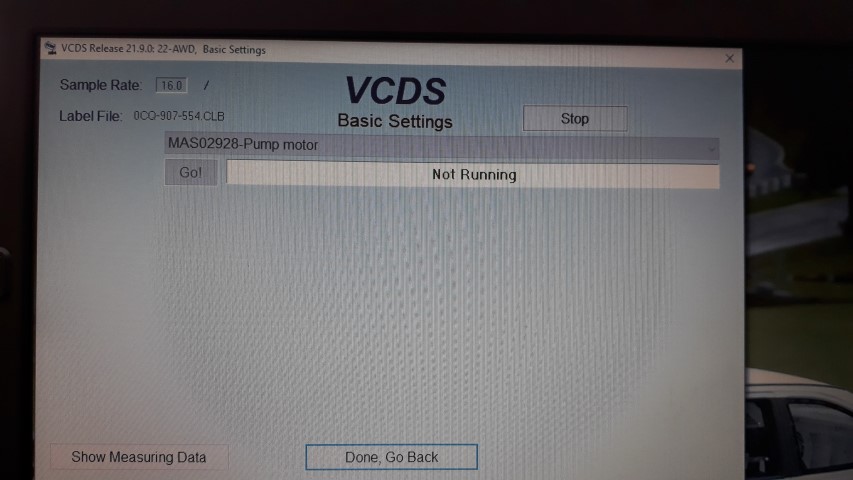
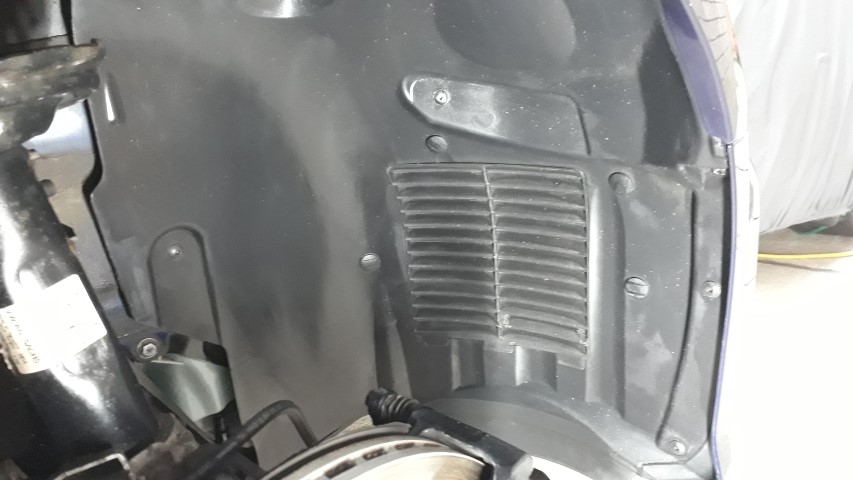
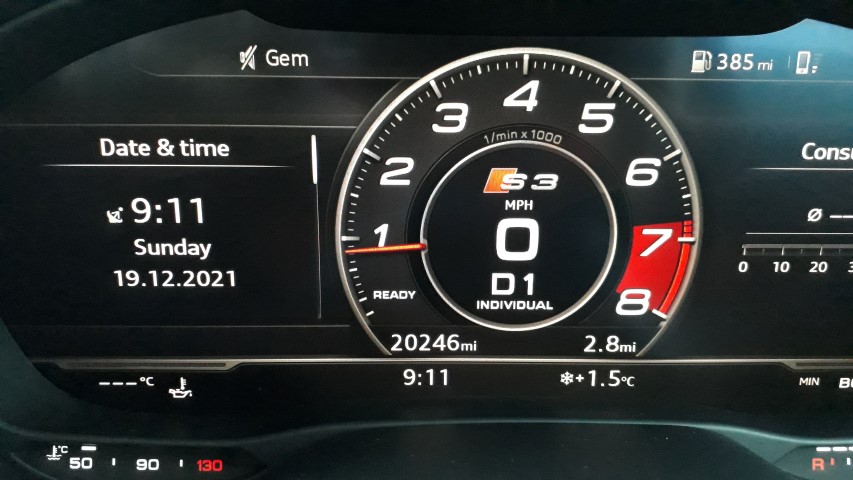
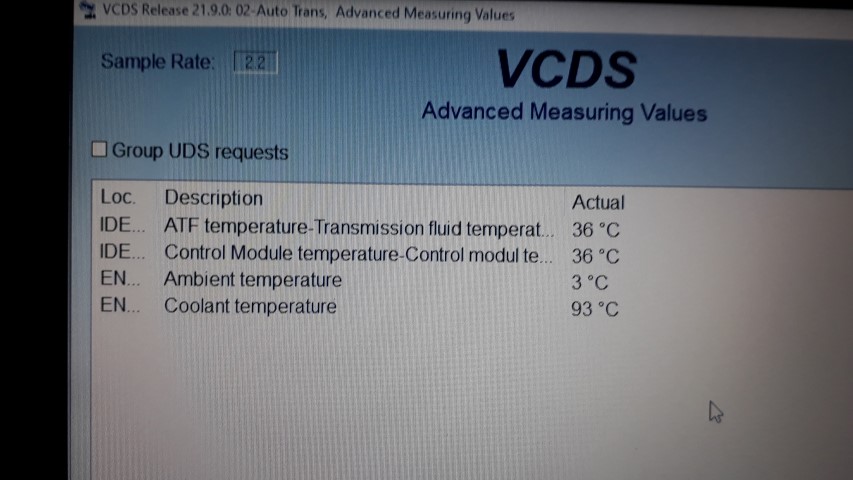
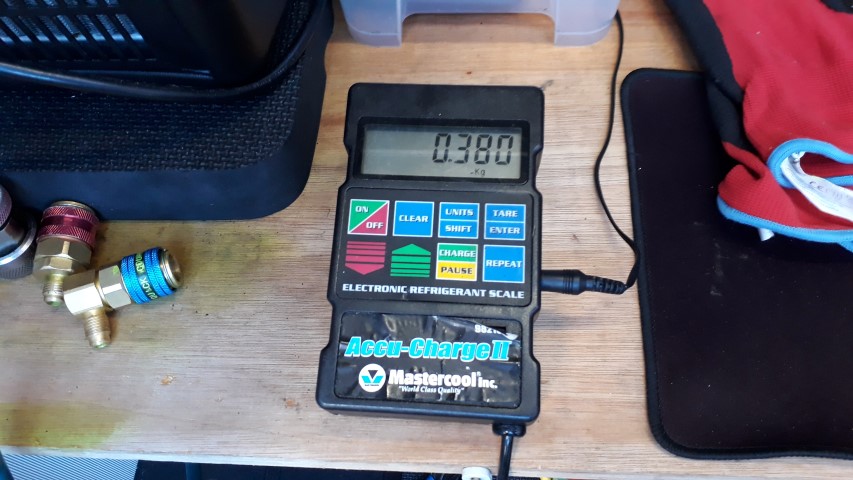
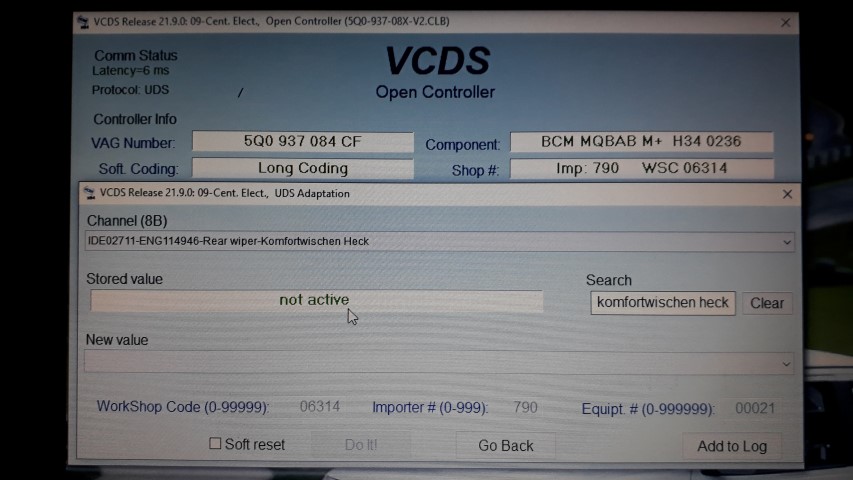
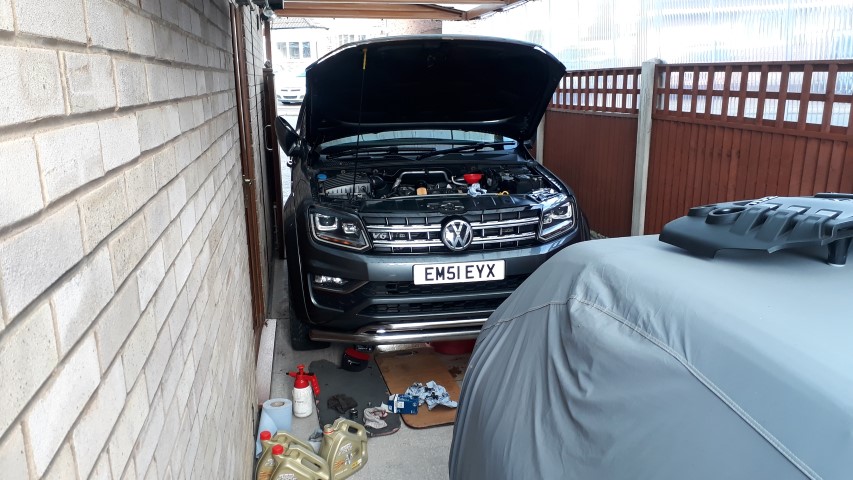
I then started the car & let it idle & as per the procedure with foot on brake went through P>R>N>D/S counting to 3 in each before going back to P. Next was a long wait to reach 35C to 45C which are the DSG oil temps to set the level. It was cold under my car port, check the ambient temp in the pic, so it took ages to reach 35C but the hotter it got the quicker it went up. It took over 30mins so I had time to contemplate if I had bought all required Christmas presents & wondering which flavour Haribos I hasn’t yet tried.

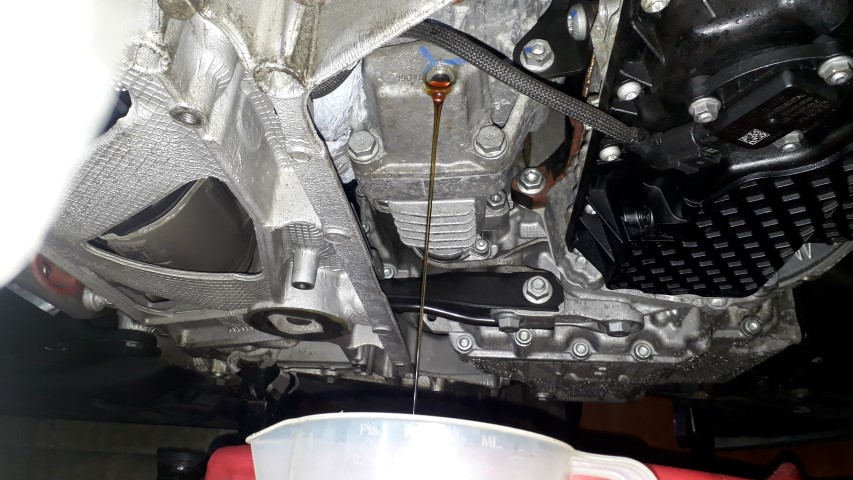
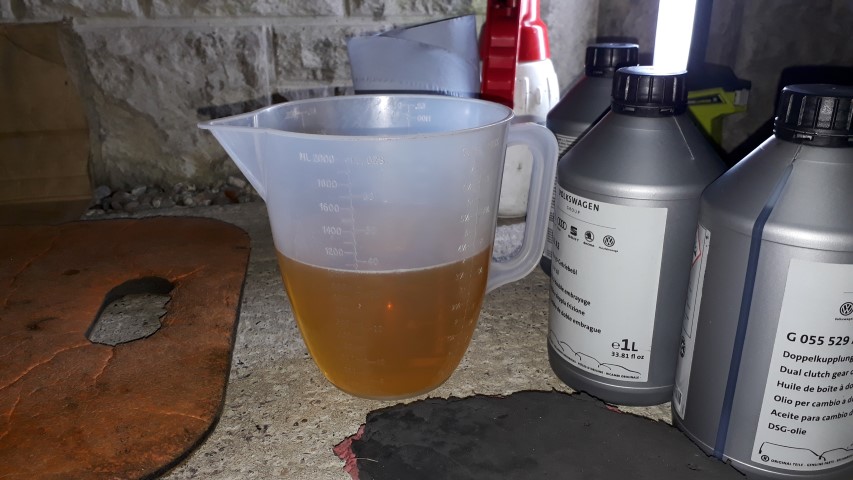
As soon as it reached the minimum temp I whipped off the VAS6262-1 tool expecting to have oil drip but having only added 5L at this point nothing came out, nothing at all. Reason was I had only added 5L on purpose as I’d read it only took 4.6L to fill but this would have been for the older 6 speed DSG. At this point I turned off the car, reattached the VAS6262-1 & topped up to the required 6L. Then started the car again & went through the prescribed procedure of foot brake, shifter, checked the temp & this time when I remove the VAS6262-1 & unscrewed the overflow pipe two turns to set the exact level it dribbled out 650ml so the total DSG oil fill for my DQ381 (0GC) 7 speed wet clutch box with a filter change was 5.35L. To complet eht oil change after setting the fluid level the overflow pipe was fully seated and hand tight to 3Nm before the main DSG drain bung was installed with a new seal and tightened to 45Nm.

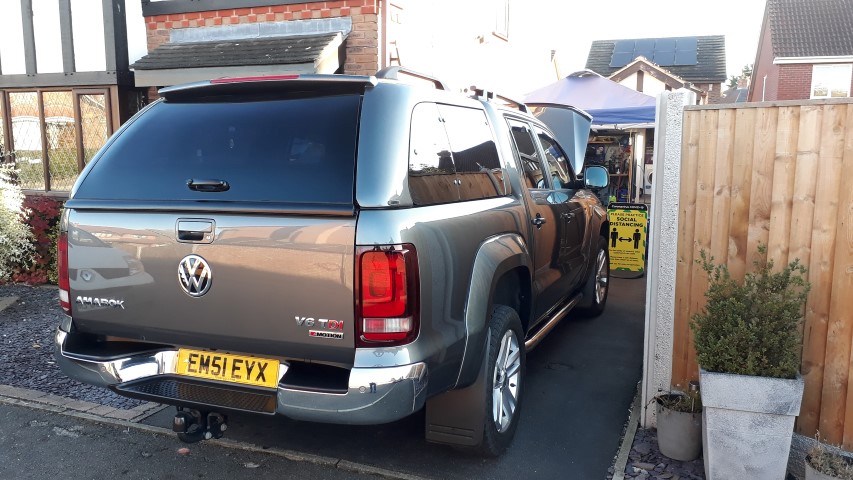
I’ve still got a few jobs left on the S3 so there's more the follow soon as it’s still in hover mode but really happy with what I’ve achieved so far as I’m now getting to know it intimately.
After all my oil changing of late I popped to my local tip today to recycle 25L of used premium oil which must have a retail value of £350+ when new, eek


")


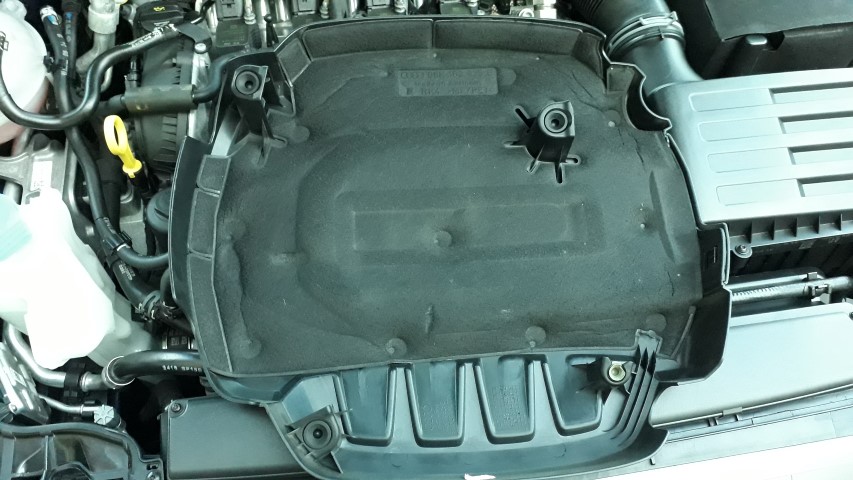


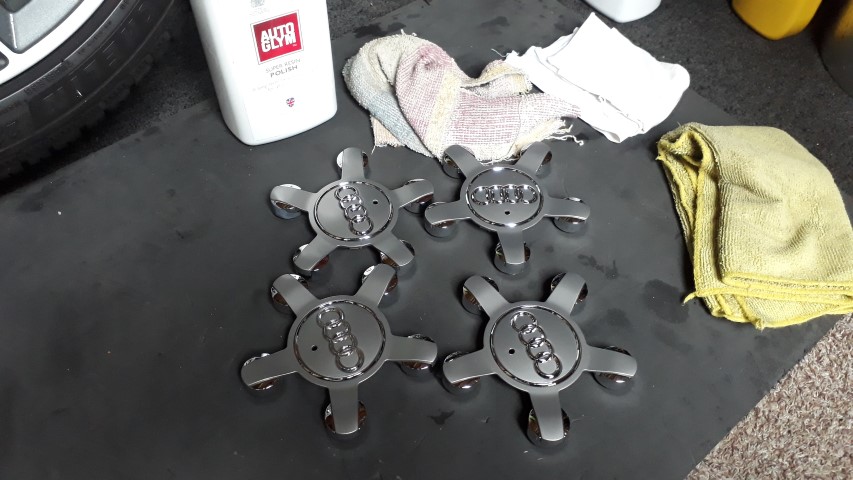
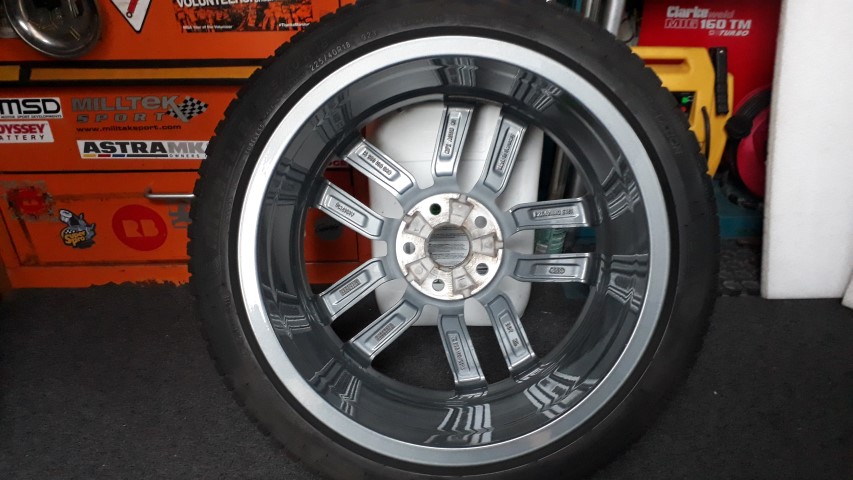
 and yes I know it needs dusting!


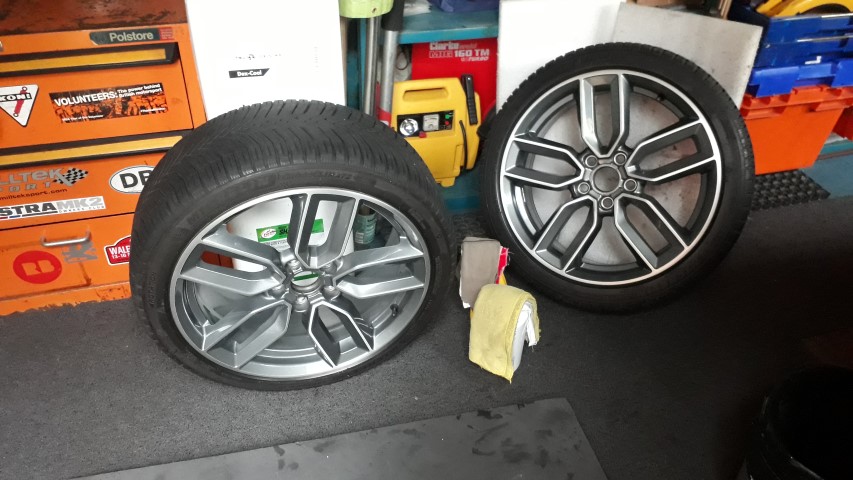
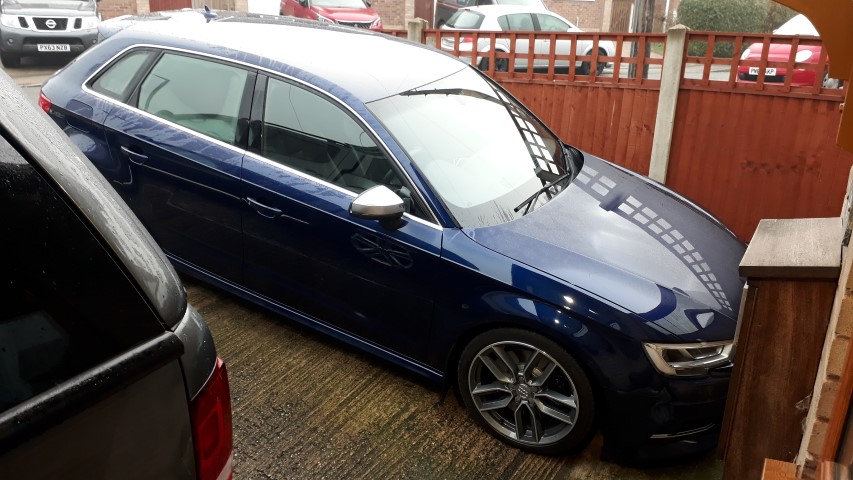
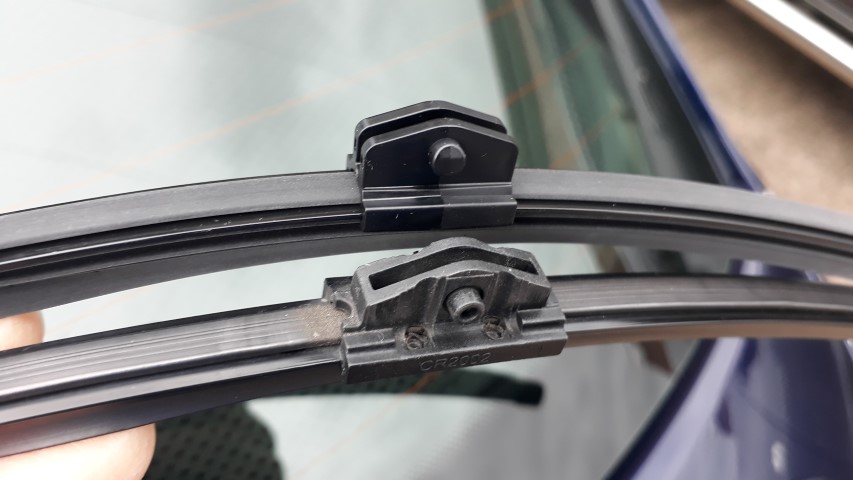
 best of both worlds!