Morning All,
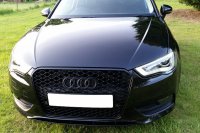
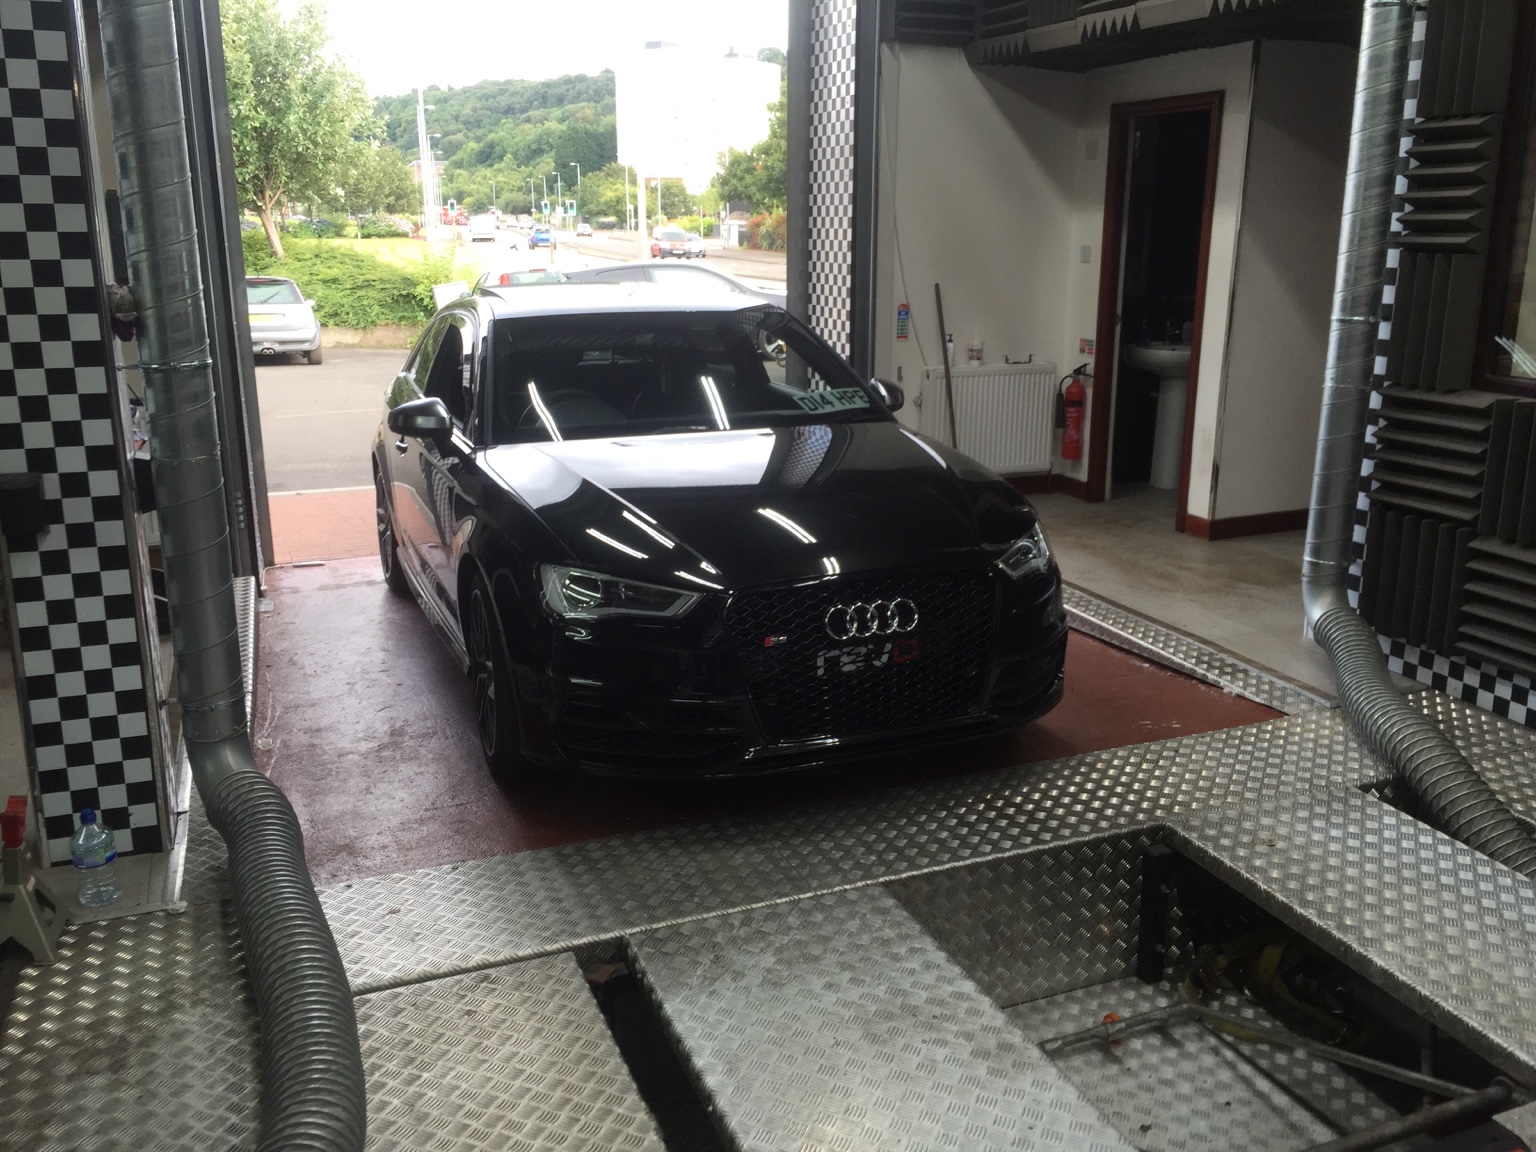
A few of you will be aware that I fitted the RS3 grill from Xenonz UK to my S3 last night. I have decided to detail the fitting process (to the best of my abilities) below for your info should you be interested in fitting one.
Essential Requirements:
Jacks / Ramp / Lift
Prying tools
Torx screwdrivers
Cover sheet
Lights
Black hammerite (at your discretion)
2-3 people
A LOT OF PATIENCE!!!
Removal of the Original Grill:
I was extremely lucky to obtain the use of my mate's garage, meaning I had all the tools, etc. needed for the job. We had an issue getting the lift arms to the jacking points due to the lowering of my car so we had to jack the rear up to allow for sufficient clearance to position the arms.

STEP 1
Once at a suitable height, you need to remove the front wheels. When these are off you need to locate and remove the torx screws on the undertray and then it just slides off. After removing the undertray you need to remove the three screws securing the top of the grill/bumper to the front of the car. Once completed, locate and remove all the torx screws on the arch linings. Peel back the arch liners and there are then three screws (two vertical w/ washers and one horizontal) securing the bumper at the sides of the car. These are really wedged away in the side of the bumper and it is a pain in the *** to remove two of them. With all of the above taken care of, you literally just prize the bumper away from the front/side of the car after removing the final screw sitting just ahead of the undertray under the bumper.


STEP 2
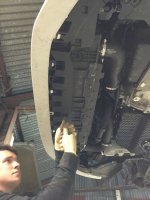
I advise you to remove the bumper slowly as there is a connection point for something you need to disconnect as shown below. When removed you can lay the bumper face down on a cover and focus on removing the washer fluid hose, etc. from their secured points around the bottom of the grill. Note that your temperature sensor (?) is secured in the middle so be sure to remove its housing and put it aside. For those of you with parking sensors, they just clip out and then the housings need to be removed for fitting in the new grill.


STEP 3
Now that you have attended to the numerous electrics, you need to remove 6 screws (three either side) on the grill. With these off I recommend you try pry the middle sections either side of the grill so it is loose in that area. Now for the fun part! This is undoubtedly the biggest PITA job involved here... you need one friend to grab two prying tools and pry the bumper clips away from the securing points in the top corners. Meanwhile, you have to attempt to pull the grill away from the fittings with brute force. Be mindful that you don't want to apply any excessive force to the bumper as a means of leverage; the last thing you want to do here is warp the bumper - it really takes perseverance to unclip the grill in these two securing points! With both corners free from the bumper you then take a prying tool and wedge the plastic strip running along the bottom of the grill near the splitter down and out. This is slightly troublesome but shouldn't be too much of a bother. You really have to wedge it away from the grill to free the grill's final securing points/clips along the bottom. If you've managed this you are now officially half way there as that's the original grill free from the bumper!


Fitting the New Grill:
STEP 4
Before you focus on installing the new grill, be sure to fit the parking sensor housings in the new grill. When done you then install the grill in the reverse of the removal process. Basic procedure being: line up the grill and try secure the middle and lower clips. Focus on the two top corners (yes, those, badboys from earlier) and push down to secure those clips. The last step from the removal is also the last step for the new fitment! It's a harder job ensuring the plastic surround is secured on the new grill and the clips are in, but it is achievable. Don't forget to run round the grill and ensure all the clips are secured. With that out the way you can install the 6 screws you removed from the grill to begin with. From here you can reinsert the parking sensors and run the hose line along the bottom of the grill in its holding clips. We cable tied the temperature housing and sensor to the hose as it's the only real place to tuck it away out of sight. Double check you have everything back where it should be. Lift the bumper up and remember to reconnect that port from the grill to the bumper. Have your mate line the grill up and you can then insert the top 3 screws. Now you can clip the sides back into place and get cracking with the undertray and all that jazz.


With everything in its original place you can now step back and admire your new grill .
.

As a passing note, the crash bar is SILVER and should you want it black to negate any clash with the new grill I recommend you grab some matte black hammerite and paint it whilst you change the grill. It is a really quick job and I totally forgot to do it - oops! Furthermore, I opted to remove the plate holder as I will hook the plate on to the grill near the bottom section.
I hope my guide was concise and provides you with the help needed should you fit the RS3 grill. Please feel free to ask me any questions!
Cheers!
Connor
A few of you will be aware that I fitted the RS3 grill from Xenonz UK to my S3 last night. I have decided to detail the fitting process (to the best of my abilities) below for your info should you be interested in fitting one.
Essential Requirements:
Jacks / Ramp / Lift
Prying tools
Torx screwdrivers
Cover sheet
Lights
Black hammerite (at your discretion)
2-3 people
A LOT OF PATIENCE!!!
Removal of the Original Grill:
I was extremely lucky to obtain the use of my mate's garage, meaning I had all the tools, etc. needed for the job. We had an issue getting the lift arms to the jacking points due to the lowering of my car so we had to jack the rear up to allow for sufficient clearance to position the arms.
STEP 1
Once at a suitable height, you need to remove the front wheels. When these are off you need to locate and remove the torx screws on the undertray and then it just slides off. After removing the undertray you need to remove the three screws securing the top of the grill/bumper to the front of the car. Once completed, locate and remove all the torx screws on the arch linings. Peel back the arch liners and there are then three screws (two vertical w/ washers and one horizontal) securing the bumper at the sides of the car. These are really wedged away in the side of the bumper and it is a pain in the *** to remove two of them. With all of the above taken care of, you literally just prize the bumper away from the front/side of the car after removing the final screw sitting just ahead of the undertray under the bumper.
STEP 2
I advise you to remove the bumper slowly as there is a connection point for something you need to disconnect as shown below. When removed you can lay the bumper face down on a cover and focus on removing the washer fluid hose, etc. from their secured points around the bottom of the grill. Note that your temperature sensor (?) is secured in the middle so be sure to remove its housing and put it aside. For those of you with parking sensors, they just clip out and then the housings need to be removed for fitting in the new grill.
STEP 3
Now that you have attended to the numerous electrics, you need to remove 6 screws (three either side) on the grill. With these off I recommend you try pry the middle sections either side of the grill so it is loose in that area. Now for the fun part! This is undoubtedly the biggest PITA job involved here... you need one friend to grab two prying tools and pry the bumper clips away from the securing points in the top corners. Meanwhile, you have to attempt to pull the grill away from the fittings with brute force. Be mindful that you don't want to apply any excessive force to the bumper as a means of leverage; the last thing you want to do here is warp the bumper - it really takes perseverance to unclip the grill in these two securing points! With both corners free from the bumper you then take a prying tool and wedge the plastic strip running along the bottom of the grill near the splitter down and out. This is slightly troublesome but shouldn't be too much of a bother. You really have to wedge it away from the grill to free the grill's final securing points/clips along the bottom. If you've managed this you are now officially half way there as that's the original grill free from the bumper!
Fitting the New Grill:
STEP 4
Before you focus on installing the new grill, be sure to fit the parking sensor housings in the new grill. When done you then install the grill in the reverse of the removal process. Basic procedure being: line up the grill and try secure the middle and lower clips. Focus on the two top corners (yes, those, badboys from earlier) and push down to secure those clips. The last step from the removal is also the last step for the new fitment! It's a harder job ensuring the plastic surround is secured on the new grill and the clips are in, but it is achievable. Don't forget to run round the grill and ensure all the clips are secured. With that out the way you can install the 6 screws you removed from the grill to begin with. From here you can reinsert the parking sensors and run the hose line along the bottom of the grill in its holding clips. We cable tied the temperature housing and sensor to the hose as it's the only real place to tuck it away out of sight. Double check you have everything back where it should be. Lift the bumper up and remember to reconnect that port from the grill to the bumper. Have your mate line the grill up and you can then insert the top 3 screws. Now you can clip the sides back into place and get cracking with the undertray and all that jazz.
With everything in its original place you can now step back and admire your new grill
As a passing note, the crash bar is SILVER and should you want it black to negate any clash with the new grill I recommend you grab some matte black hammerite and paint it whilst you change the grill. It is a really quick job and I totally forgot to do it - oops! Furthermore, I opted to remove the plate holder as I will hook the plate on to the grill near the bottom section.
I hope my guide was concise and provides you with the help needed should you fit the RS3 grill. Please feel free to ask me any questions!
Cheers!
Connor
Attachments
Last edited:


