Well this is my first detail in almost a year!
Iâve had the RS6 for a while now, but itâs been in and out of various garages getting work done, things fixed, and then more things fixed.. plus I decided to leave it until I could be bothered to detail it, and the easter break was the perfect time...
Lots to do this weekend, some polishing, wet sanding, painting and I decided to have a bit of fun with a few of my gadgets...
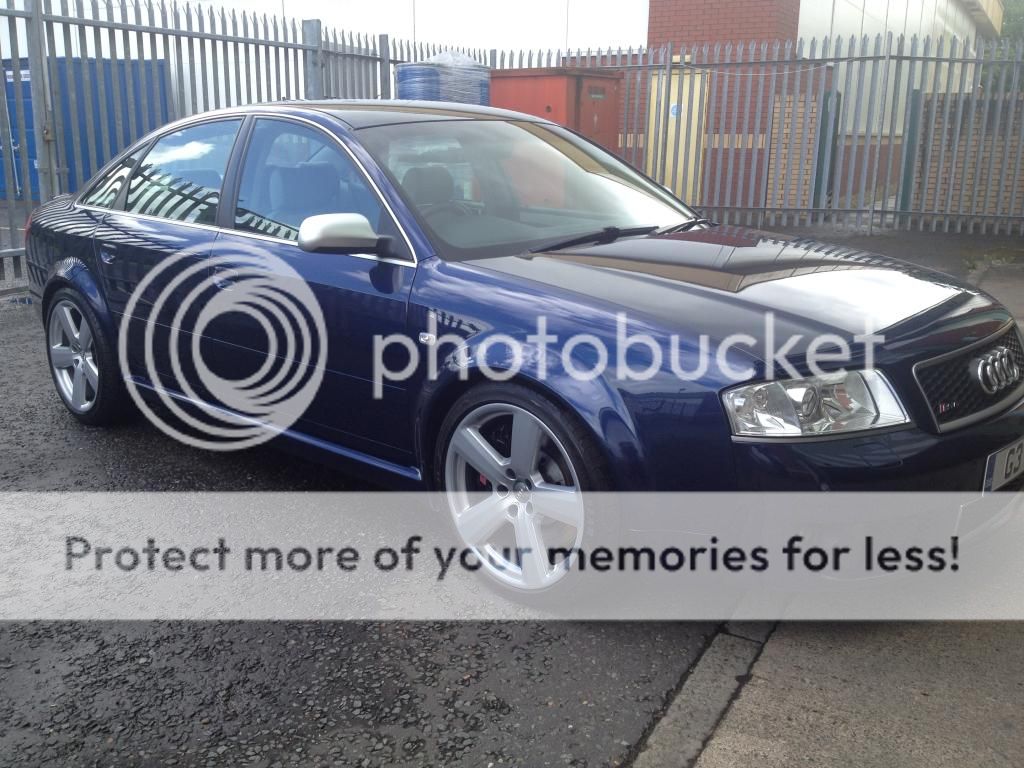
So, this is what I started with, a bit of dirt and dust, not been washed for a few weeks, probably since I got the wheels powercoated actually..


And this is one of the scratches on the car, and Iâm going to use this as a little âside projectâ to work through some wet sanding...

So, staying with the above for the time being... I got some toys out to try and understand the damage better...as things stand (all readings are average):
Paint readings - 195 um
Gloss readings â 89 GU
And this is how it looks under my electron microscope:


With that done, it was onto the snow foam, Chemical Guys No touch

The car was then washed with definitive shampoo, a few mitts and of course using 2 buckets, AS G101 was used with a small brush to clean all shuts, handles etc.
I then gave the car another snow foam and cleaned it again using my Chemical guys clay mitt.
This left the car nice and clean, and clear of all contaminants, and showed how much work I have to get done bringing the paint back to life:


So, back to the project scratch, it now looked nice and clean:

The paint readings were obviously the same, but the gloss meter showed a jump up to 96 GU, and the microscope was showing the scratch a little better too:


I pulled the car into the unit and got it all dried off, then started to work with paint, firstly using a small brush to touch up some stone chips, then dealt with some road rash on the arches as they sick out a lot with mixing the paint and clear, then wiping onto the car â once dry this will be machined off, leaving nice fixed paint.
I also had to door trims to paint, and even though I used my usual method, this turned out to be a major disaster, as you will unfortunately see later on in the finished pictures...:wall::wall::wall:
After that, I started to wet sand a few areas, I think there was 12 in all... including the bonnet project..

Once the sanding was done, the paint readings dropped down to 192 um, and the gloss was a way down at 2 GU, again the paint was looking better under the electron.


I then got comfy and started my machine polishing... 3 stages for this car, firstly I polished the paint with my 3M Rotary polisher using Scholl 17+ polish and a brand new 3M yellow pad...
Some areas needed a second hit with this combo and everything was wiped down with IPA afterwards to remove any oils.
The next stage was refining/jewelling, again with the rotary, but using Scholl S40 and a 3M blue pad.
After another IPA wipedown, the final stage was using definitive paint cleanser with a soft finishing pad and my DA machine.
I didnât get may pictures of all those stages as I was just focused on getting the work done! But to finish off the little project, this is how the bonnet looked close up:

And the final paint readings were 189 um, the gloss was up to 106 GU and the paint under the microscope looked like this:


All nice and flat looking.... I got another few pictures from another part of the car, just to check it out:


Once all the polishing was done, the interior was cleaned using my tornador gun, leather cleaned with Zaino cleaner, glass all cleaned with IPA and a quick blast of AS bubblegum air freshener.
I cleaned the engine with the tornador and gave it a wipe over with PERL, which I also used on the tyres.
To finish off, I put 4 layers of definitive wax on the paint, 2 of their Number One, and 2 of the show wax, and that was me.
As I said, some good bits about the detail, but I was left really annoyed at the painting, but just means I have to practice a bit more... for now, Iâll call them cool racing stripes... eh... for team Idiot... lol
Iâve had the RS6 for a while now, but itâs been in and out of various garages getting work done, things fixed, and then more things fixed.. plus I decided to leave it until I could be bothered to detail it, and the easter break was the perfect time...
Lots to do this weekend, some polishing, wet sanding, painting and I decided to have a bit of fun with a few of my gadgets...
So, this is what I started with, a bit of dirt and dust, not been washed for a few weeks, probably since I got the wheels powercoated actually..


And this is one of the scratches on the car, and Iâm going to use this as a little âside projectâ to work through some wet sanding...

So, staying with the above for the time being... I got some toys out to try and understand the damage better...as things stand (all readings are average):
Paint readings - 195 um
Gloss readings â 89 GU
And this is how it looks under my electron microscope:


With that done, it was onto the snow foam, Chemical Guys No touch


The car was then washed with definitive shampoo, a few mitts and of course using 2 buckets, AS G101 was used with a small brush to clean all shuts, handles etc.
I then gave the car another snow foam and cleaned it again using my Chemical guys clay mitt.
This left the car nice and clean, and clear of all contaminants, and showed how much work I have to get done bringing the paint back to life:


So, back to the project scratch, it now looked nice and clean:

The paint readings were obviously the same, but the gloss meter showed a jump up to 96 GU, and the microscope was showing the scratch a little better too:


I pulled the car into the unit and got it all dried off, then started to work with paint, firstly using a small brush to touch up some stone chips, then dealt with some road rash on the arches as they sick out a lot with mixing the paint and clear, then wiping onto the car â once dry this will be machined off, leaving nice fixed paint.
I also had to door trims to paint, and even though I used my usual method, this turned out to be a major disaster, as you will unfortunately see later on in the finished pictures...:wall::wall::wall:
After that, I started to wet sand a few areas, I think there was 12 in all... including the bonnet project..

Once the sanding was done, the paint readings dropped down to 192 um, and the gloss was a way down at 2 GU, again the paint was looking better under the electron.


I then got comfy and started my machine polishing... 3 stages for this car, firstly I polished the paint with my 3M Rotary polisher using Scholl 17+ polish and a brand new 3M yellow pad...
Some areas needed a second hit with this combo and everything was wiped down with IPA afterwards to remove any oils.
The next stage was refining/jewelling, again with the rotary, but using Scholl S40 and a 3M blue pad.
After another IPA wipedown, the final stage was using definitive paint cleanser with a soft finishing pad and my DA machine.
I didnât get may pictures of all those stages as I was just focused on getting the work done! But to finish off the little project, this is how the bonnet looked close up:

And the final paint readings were 189 um, the gloss was up to 106 GU and the paint under the microscope looked like this:


All nice and flat looking.... I got another few pictures from another part of the car, just to check it out:


Once all the polishing was done, the interior was cleaned using my tornador gun, leather cleaned with Zaino cleaner, glass all cleaned with IPA and a quick blast of AS bubblegum air freshener.
I cleaned the engine with the tornador and gave it a wipe over with PERL, which I also used on the tyres.
To finish off, I put 4 layers of definitive wax on the paint, 2 of their Number One, and 2 of the show wax, and that was me.
As I said, some good bits about the detail, but I was left really annoyed at the painting, but just means I have to practice a bit more... for now, Iâll call them cool racing stripes... eh... for team Idiot... lol


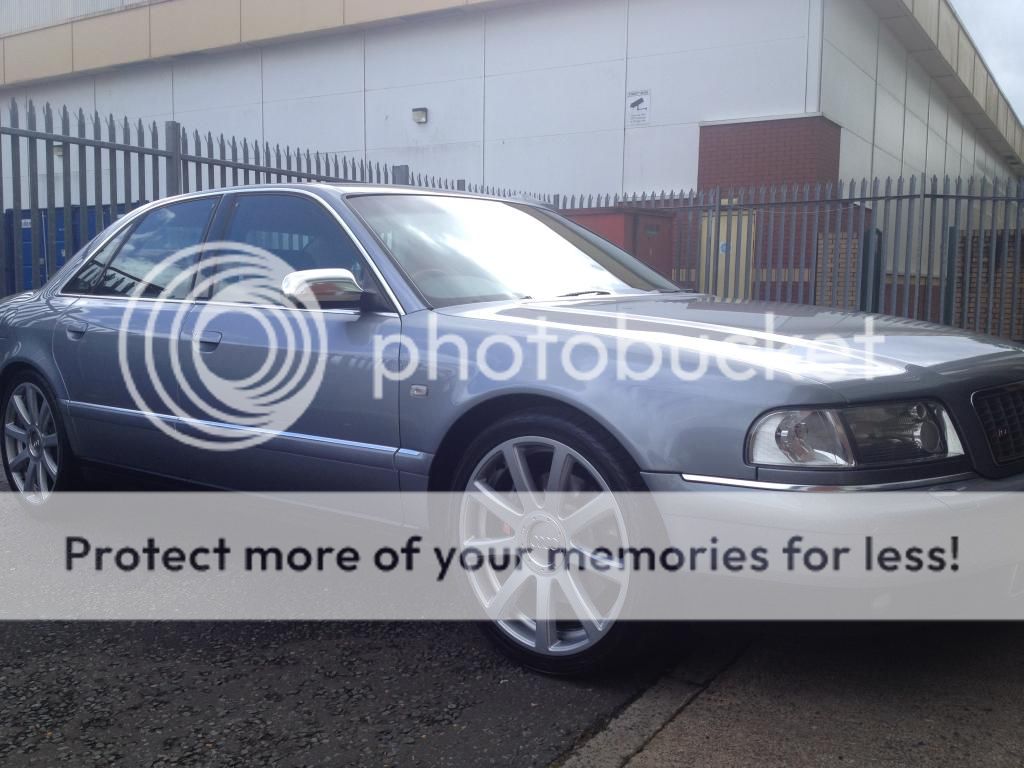
 and rather jealous of the beast of a motor