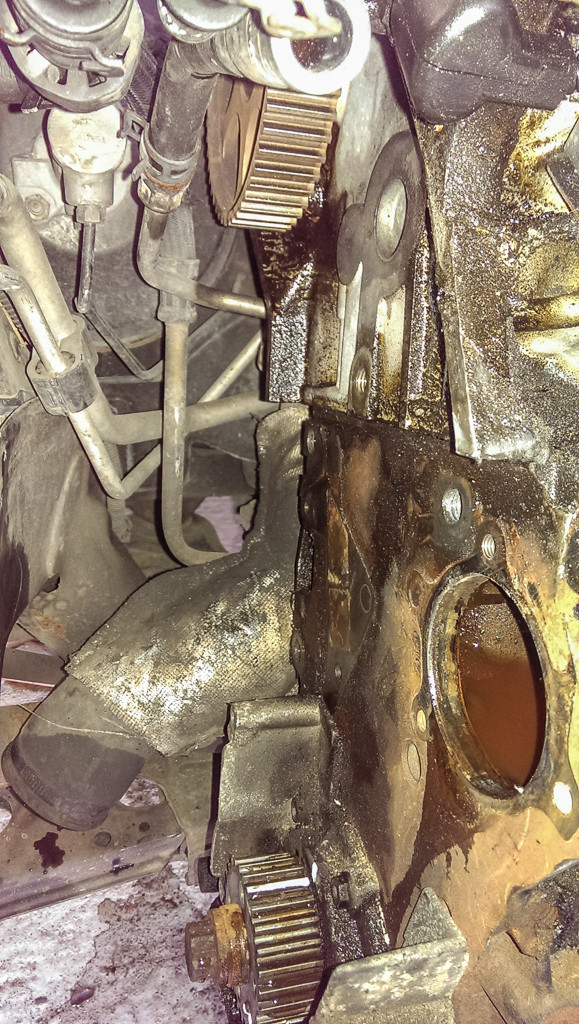
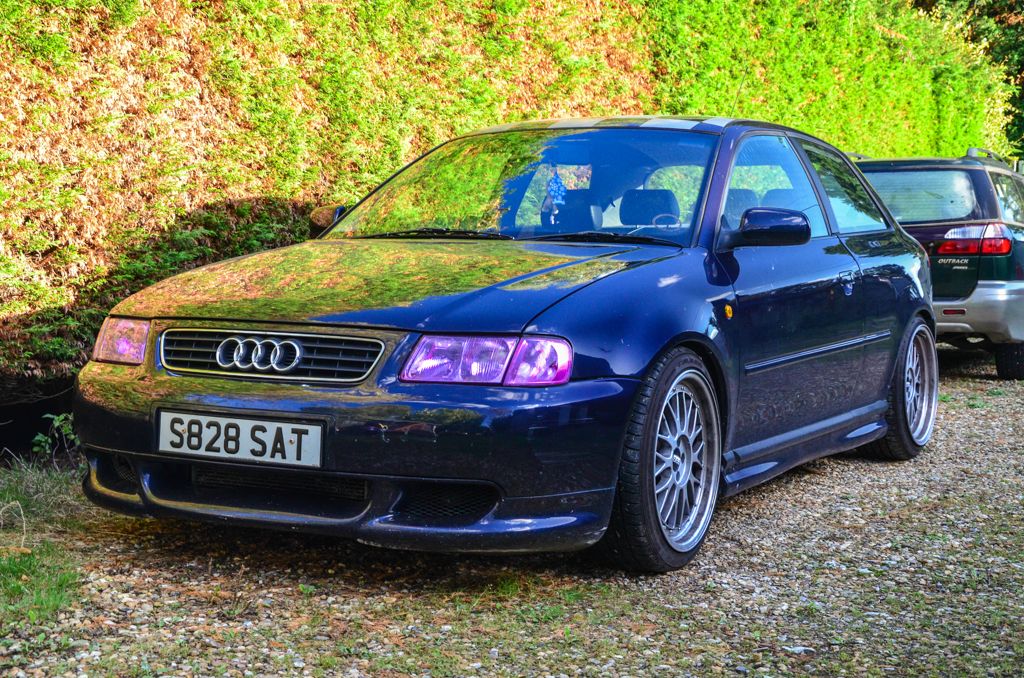
So it's been a while... Audi was off the road from February as it ran out of MOT and tax, and I couldn't afford to sort the issues I knew it had. So it sat in my workshop for a few months... Which made it nice and dusty:
After I sold my Celica I used the cash to get this up and running.
After ordering a plethora of parts I started on the first job, cambelt and water pump. Went with a gates kit as I know and trust them, got it fairly cheap too. This didn't go very well... No matter how much I soaked it in Plusgas and worked it back and forth, one of the bolts holding the aux tensioner on snapped:
Much fun. Access wasn't good and it wouldn't budge at all, so I conceded and removed the alternator, air con compressor and PAS pump from the bracket so I could replace it.
With that done there was quite a lot of space:
After that joy I cracked on and did the rest of the job, cambelt removed:
Put it all back together and started fitting the new bracket... Only to find it was slightly different where the A/C pump mounted

. As it didn't work anyway, I sacked the pump off and got a shorter aux belt from the motor factor.
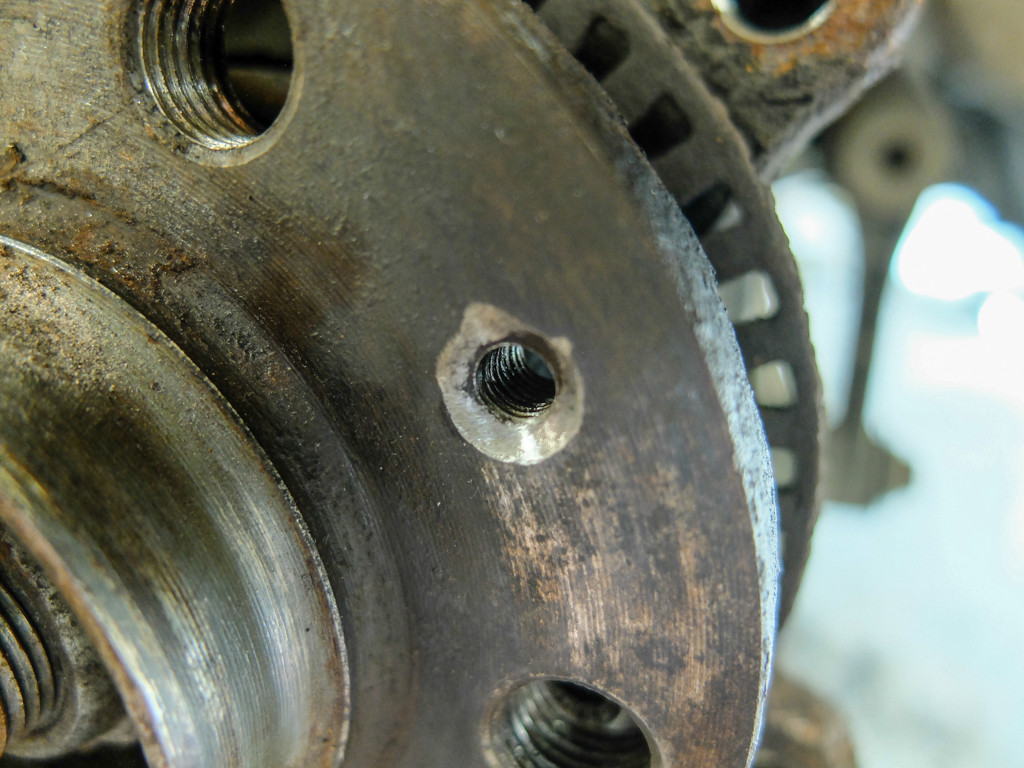
Next was the brakes, discs and pads all round. Whipped the front discs off and decided to drill out the grub screw which a previous owner had kindly snapped. This made aligning the discs, spacers and rather heavy wheels fun, so thought it made sense.
Drilled:
Tapping:
Tapped:
With the fronts done, I moved onto the back, which put up more of a fight... Both rear calipers and one slider was seized, which amazed me as I changed the rears not too long ago including a new carrier, because of sliders. But with plenty of penetrating fluid, a larger vice and plenty of hard work, got there eventually.
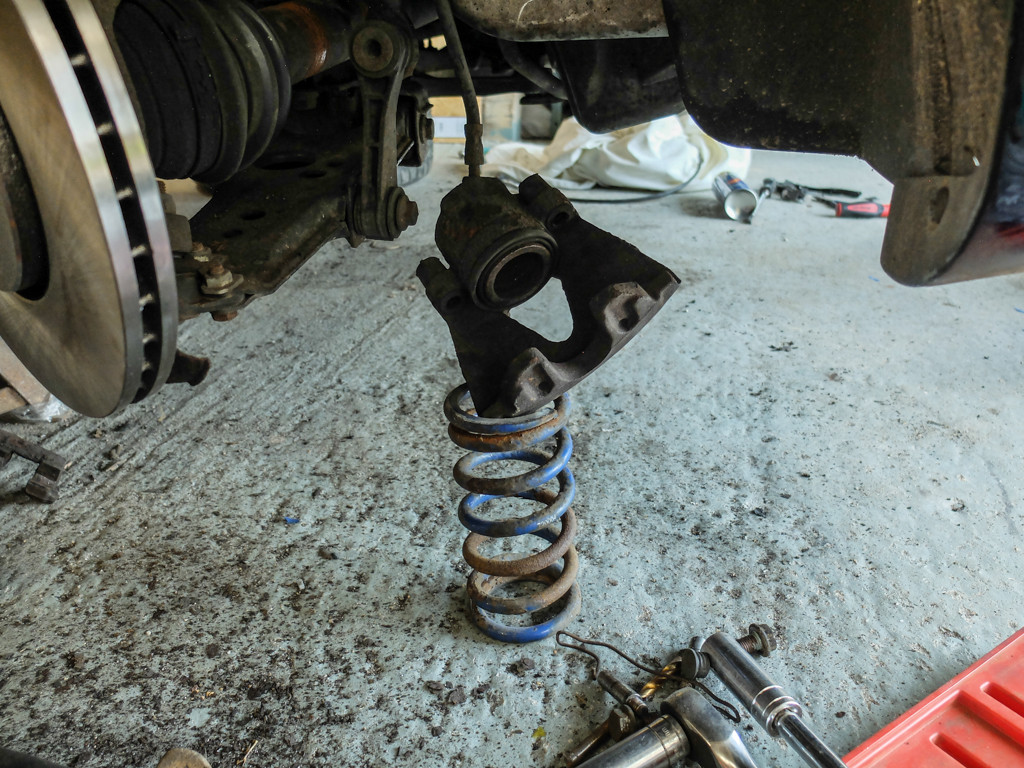
Then moved on to the suspension, as my coilovers were shot and there was all sorts of play. This went fine and without incident. Some before and afters:
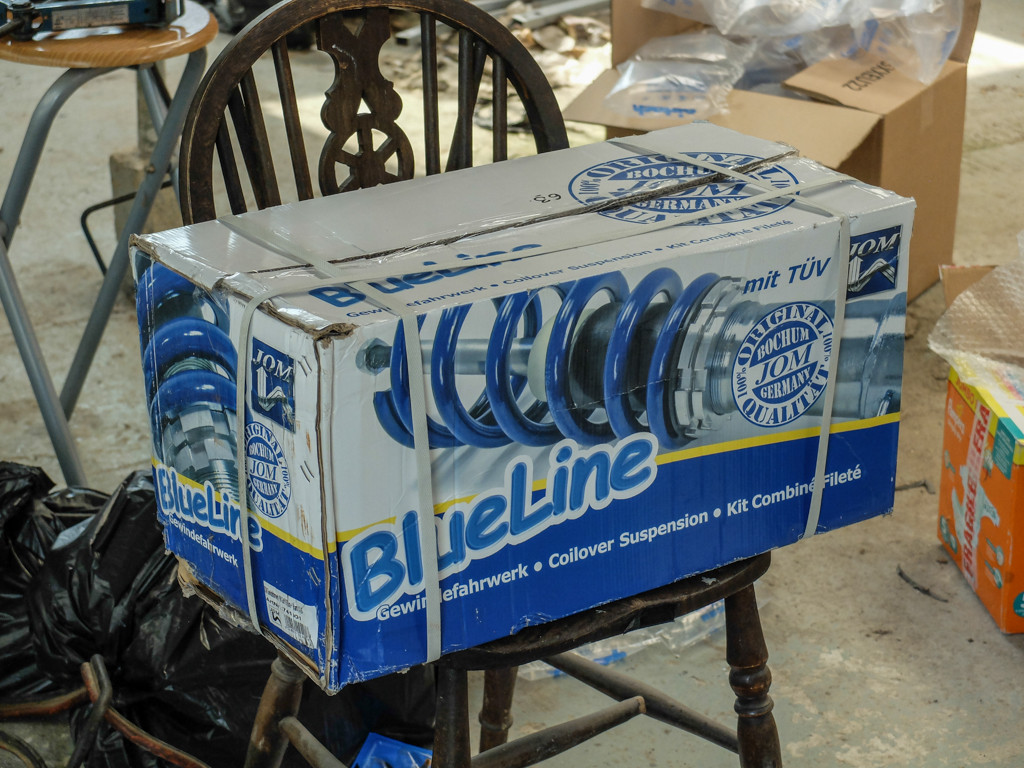
Could only afford JOMs again which were fitted with new Lemforder top mounts and bearings:
Old helper springs make handy caliper rests, BTW...
...and Basil made use of the old box:
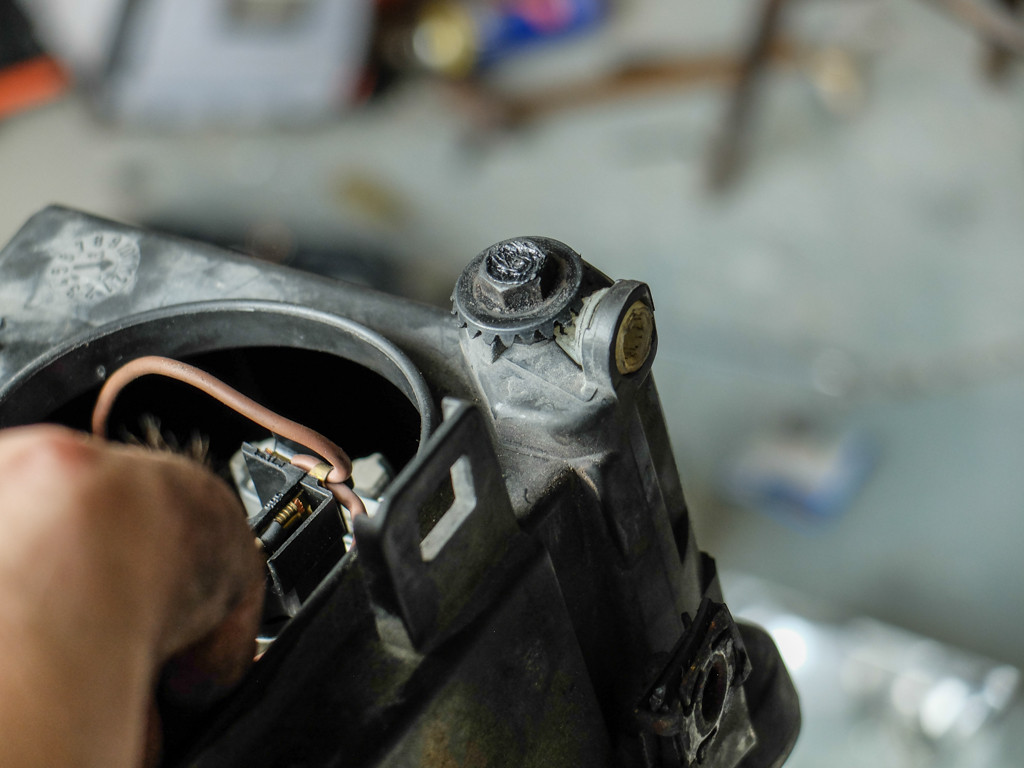
After that, I had to replace a broken headlight. This was more hassle than you'd expect, due to the mounts breaking off and then having no way of gripping the rusted bolts and stop them spinning. Out came the grinder. The other headlight was also not very well, an adjuster wheel had somehow come off and the whole reflector could move in and out :/. So with the help of melting the plastic on the other broken headlight, I used a soldering iron to swap it over and then plastic weld it back to the good headlight:
All off (bumper was removed to adjust):