Cuppa
Registered User
WELCOME TO MY BUILD THREAD
This has been posted on another site and then cross posted to other sites as I've joined more forums. As I've recently joined this one I thought I would share with you all. Some of the wording may sound a little weird as some of the text below will date back from 2012, I'll try to tidy up the wording after I post.
The source and original thread is here, but at 806 posts long as of now have condensed it down to the following.
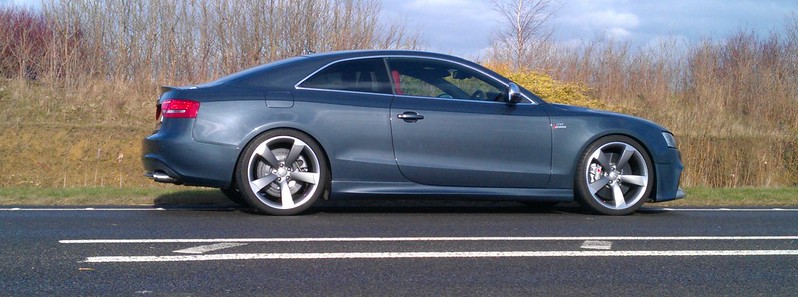
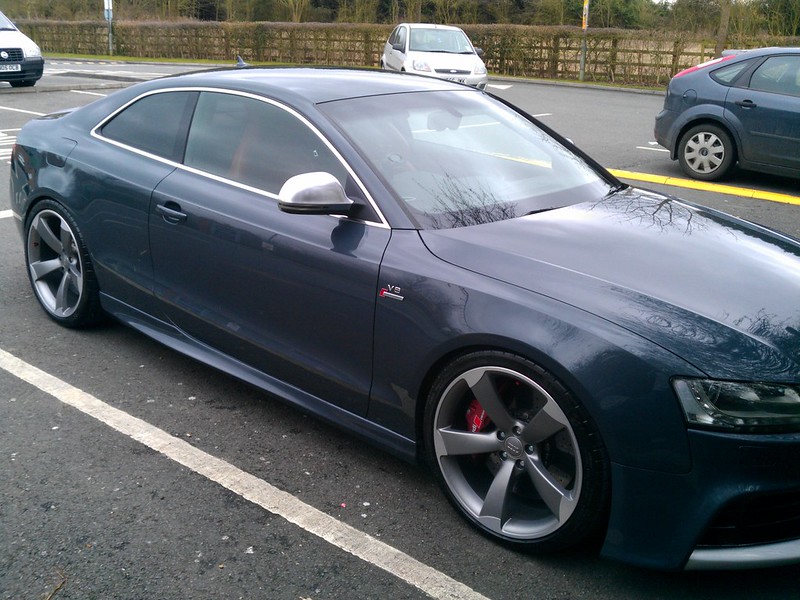
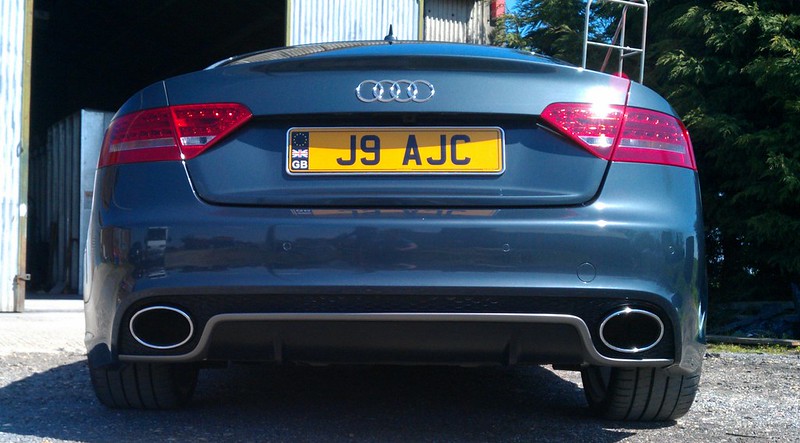
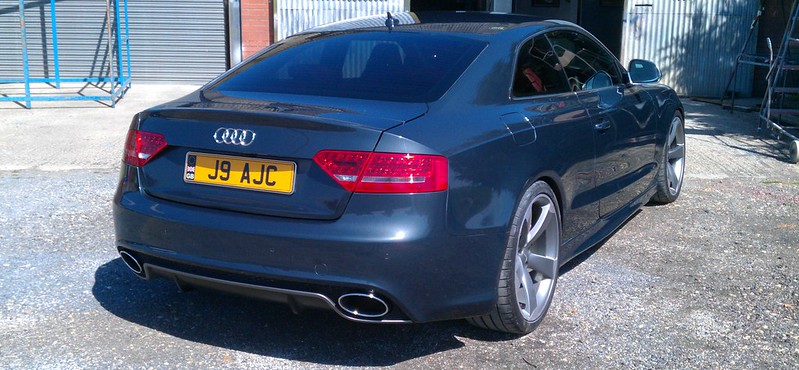
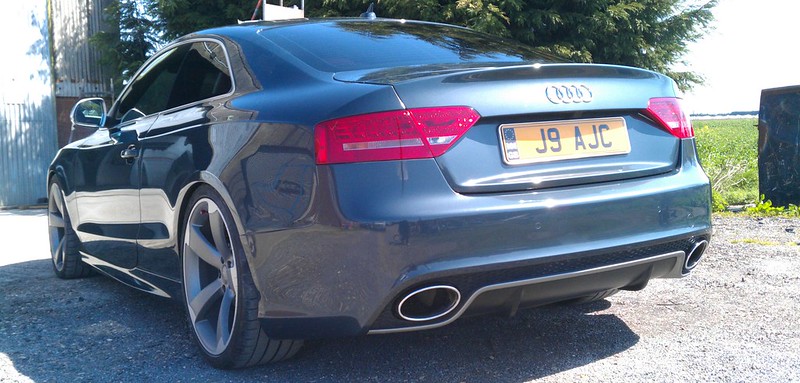
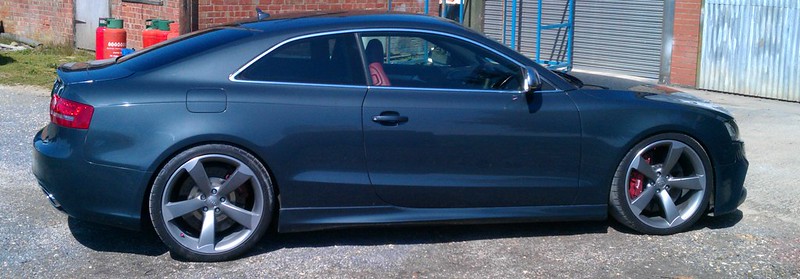
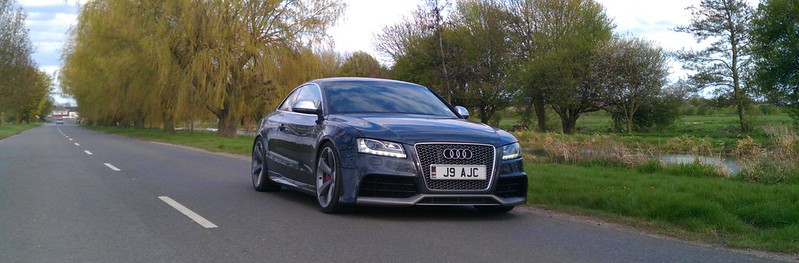
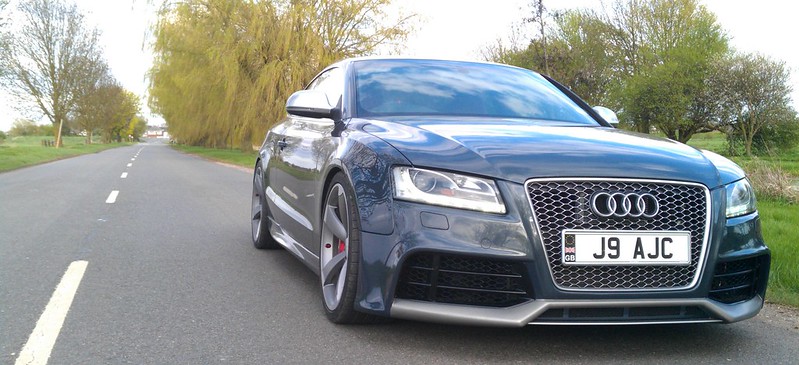
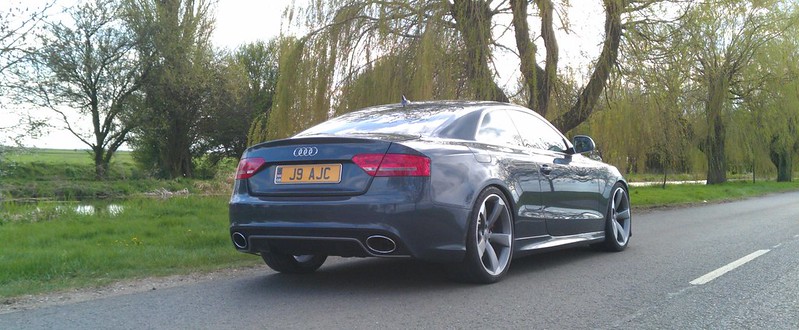
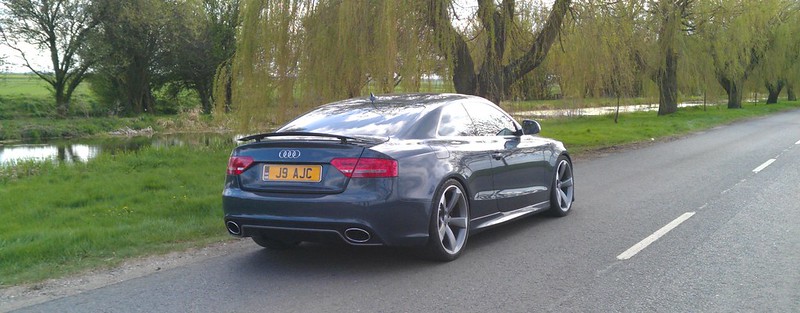
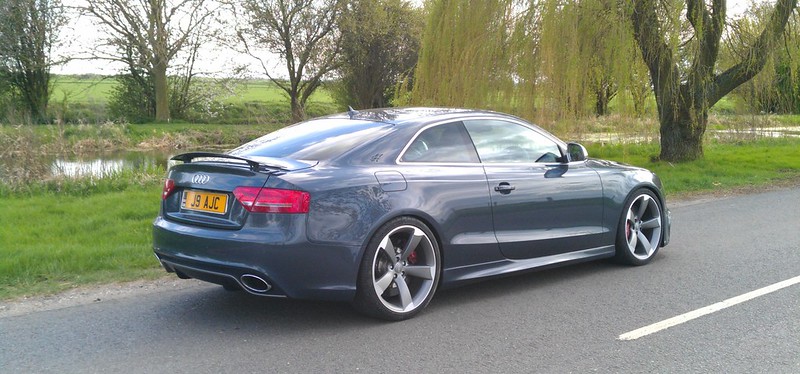
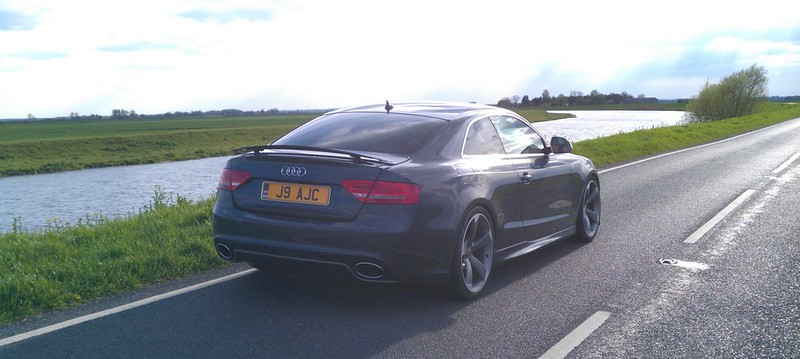
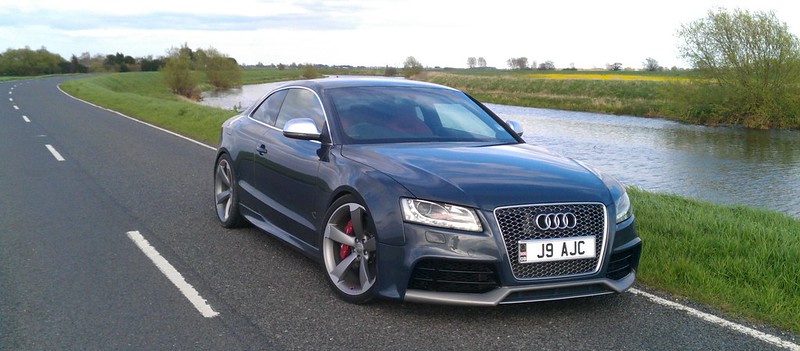
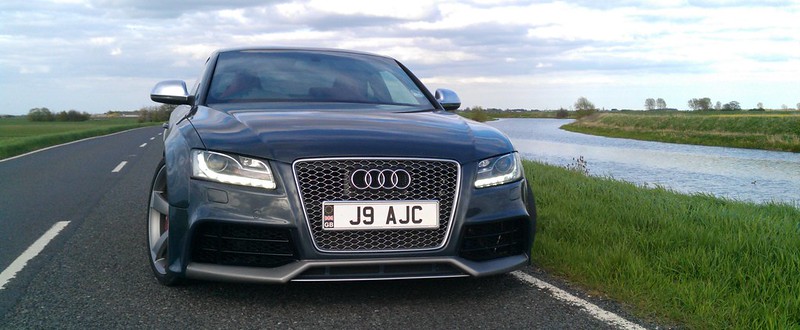
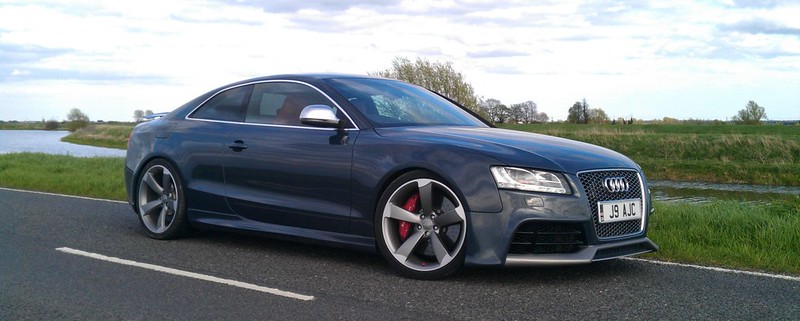
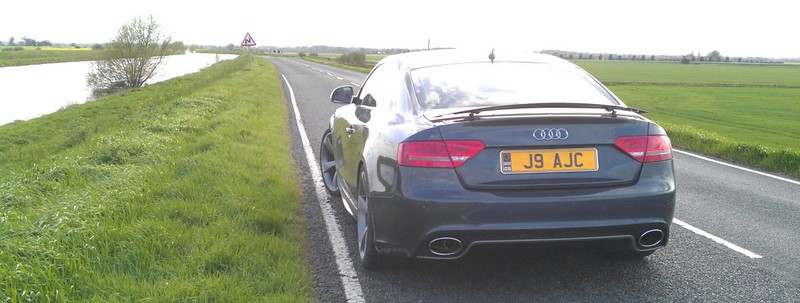
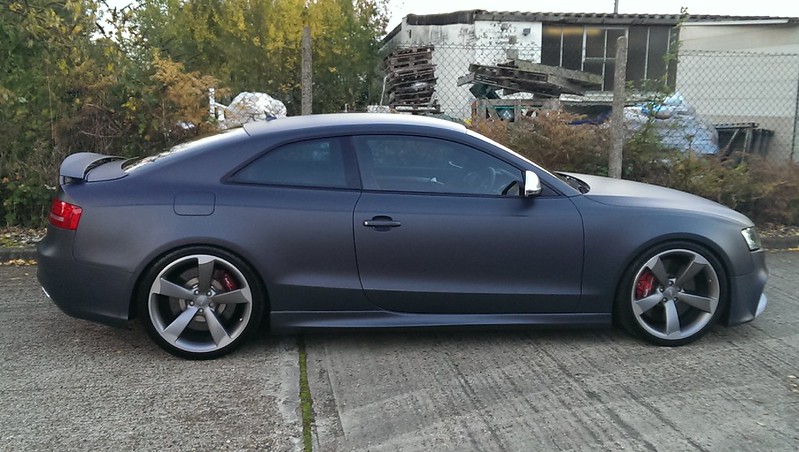
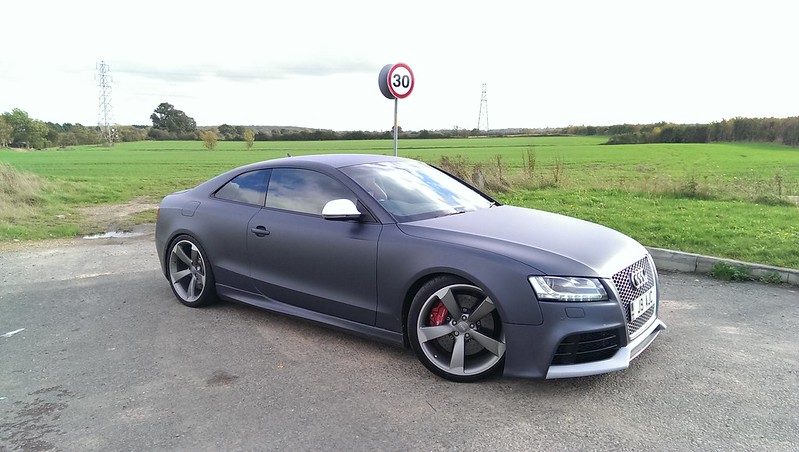
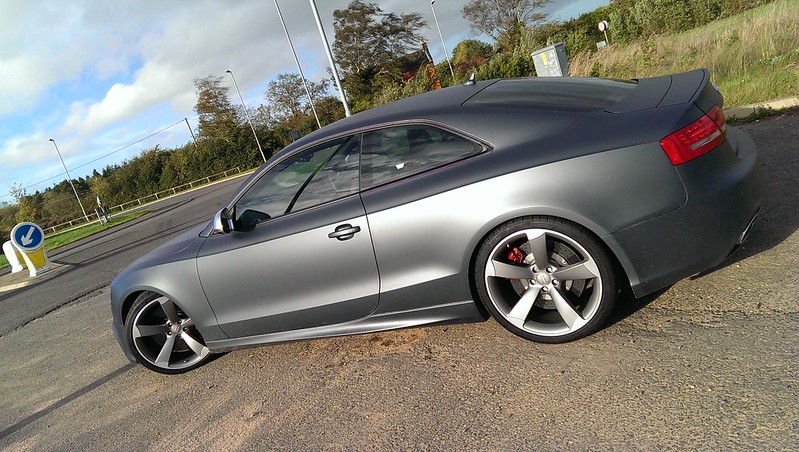
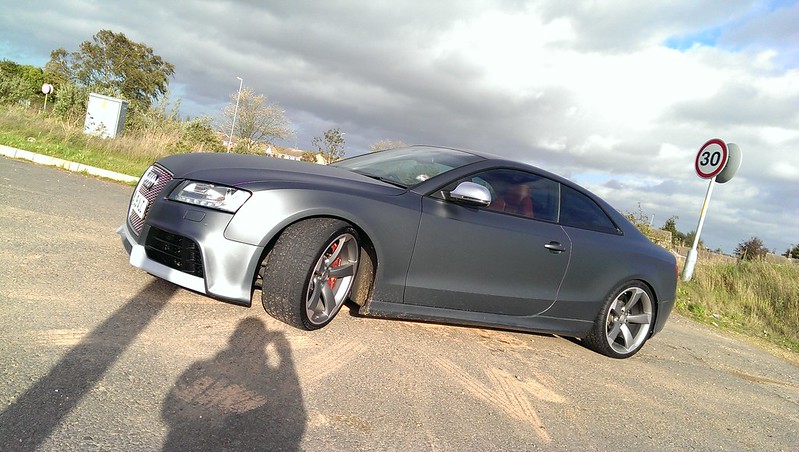
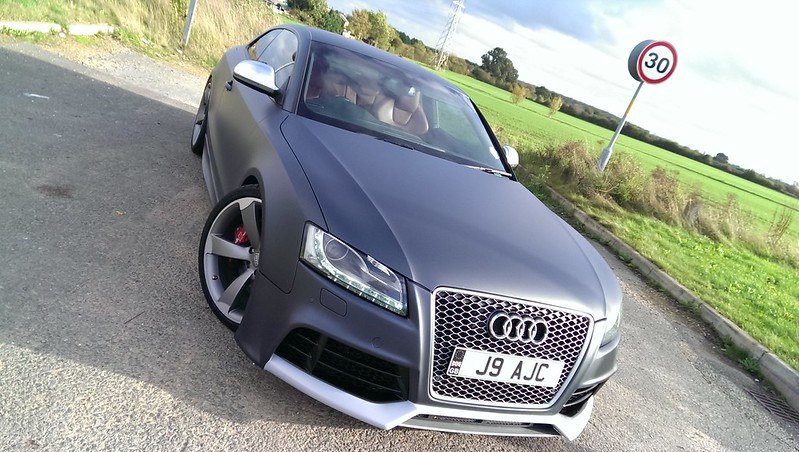
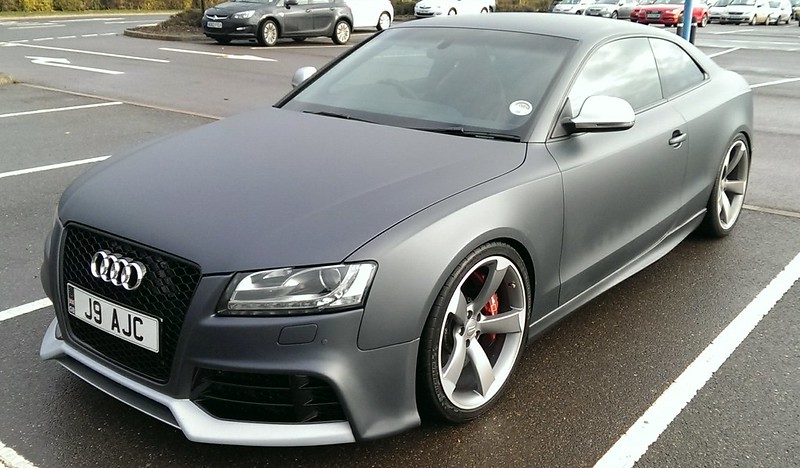
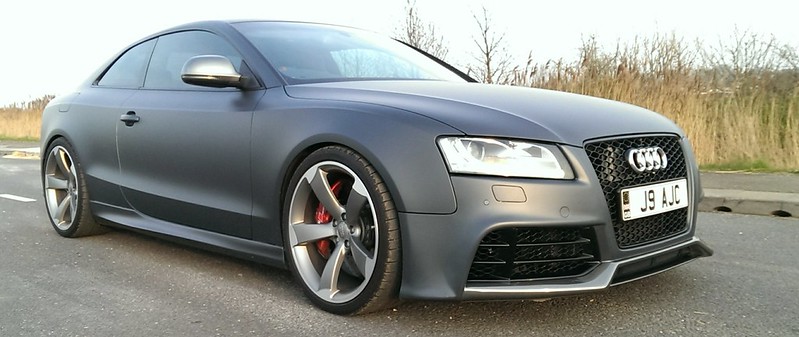
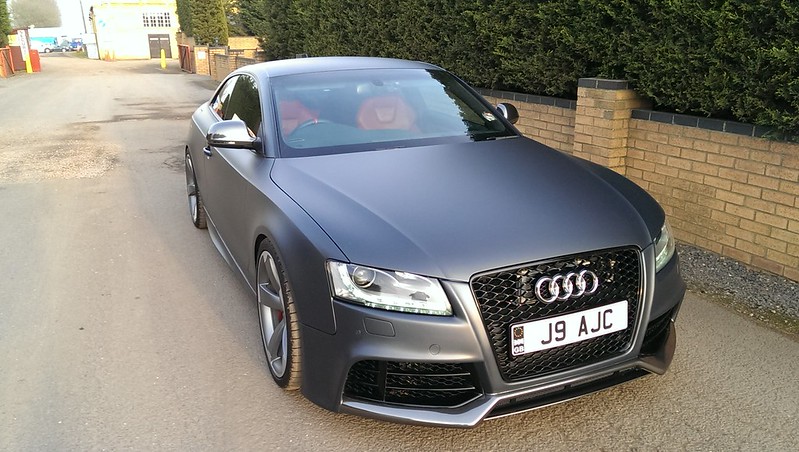
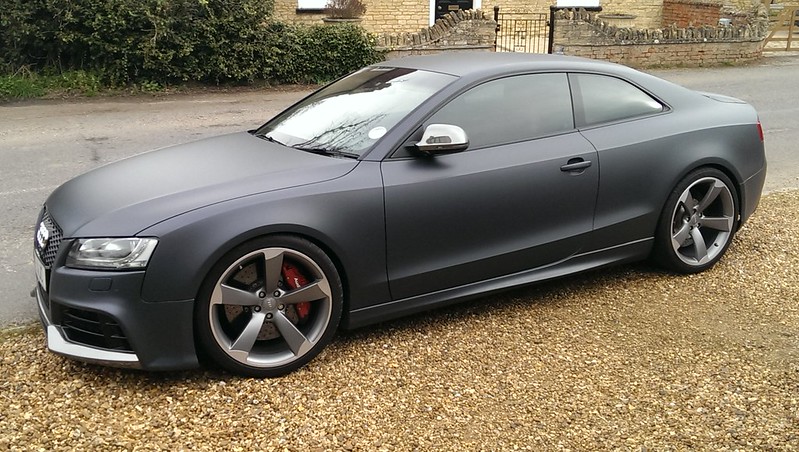
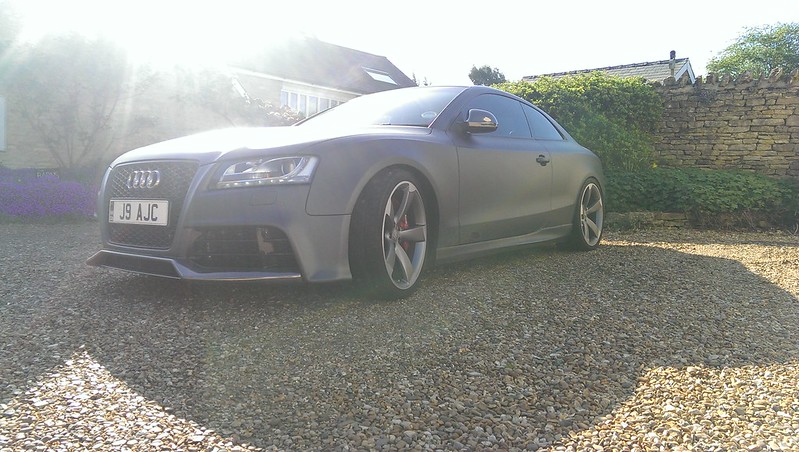
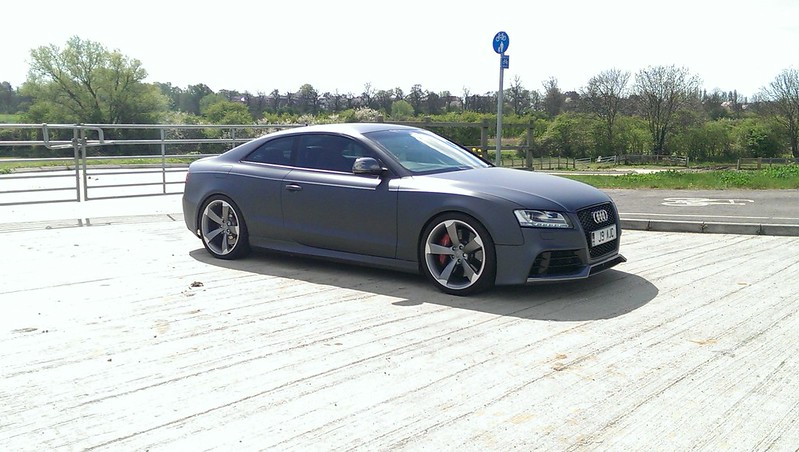
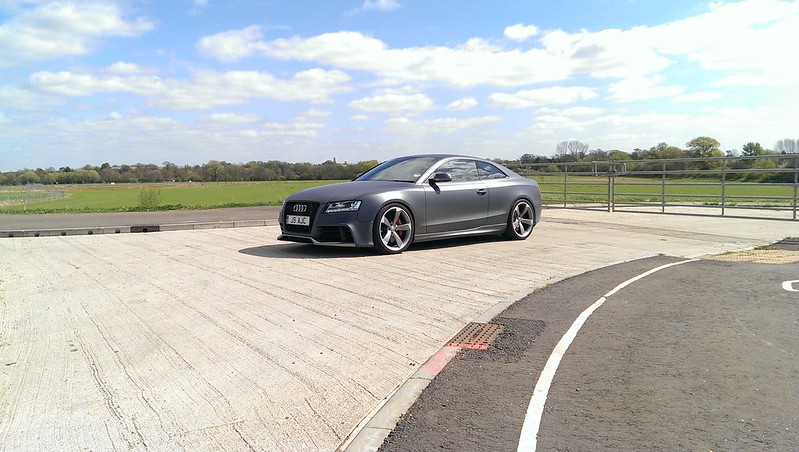
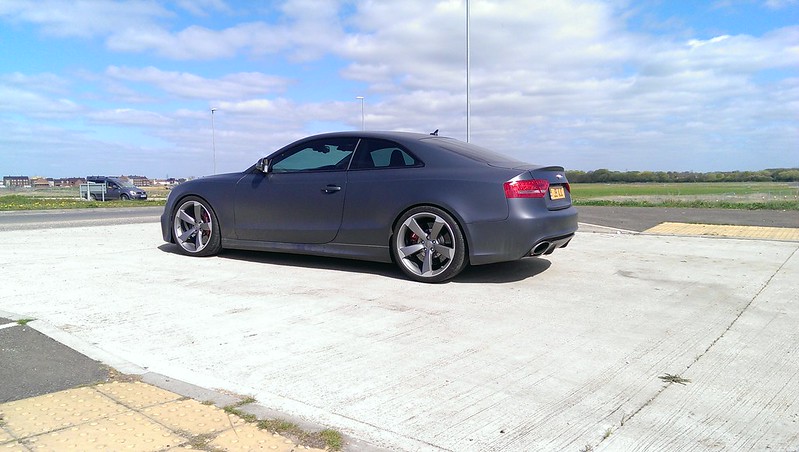
This first photo has been edited to show the original dealer photo and the latest photo to compare the build. Below it is a list of most modifications I have made including links to manufacturer website or place of purchase.

MODIFICATIONS
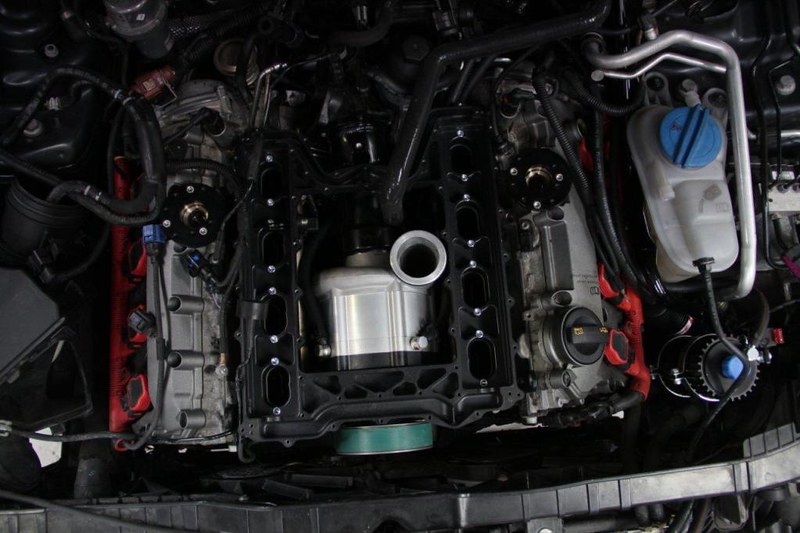
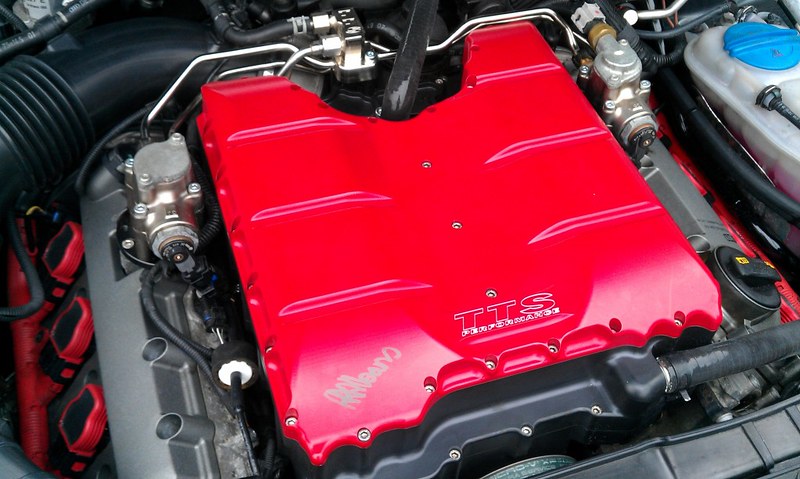
TTS Supercharger - fitted at MRC Tuning
Cold Air Intake - fitted at MRC Tuning
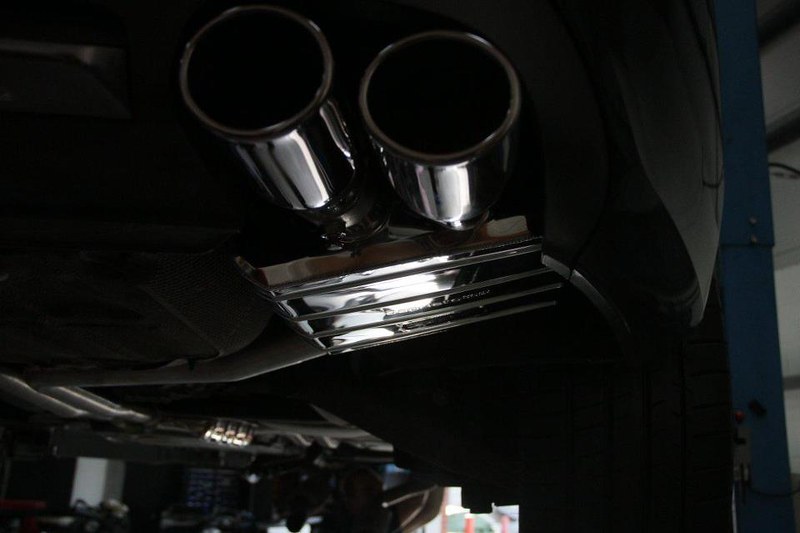
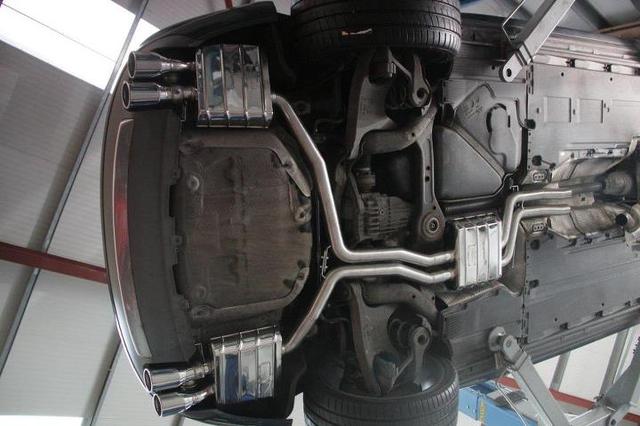
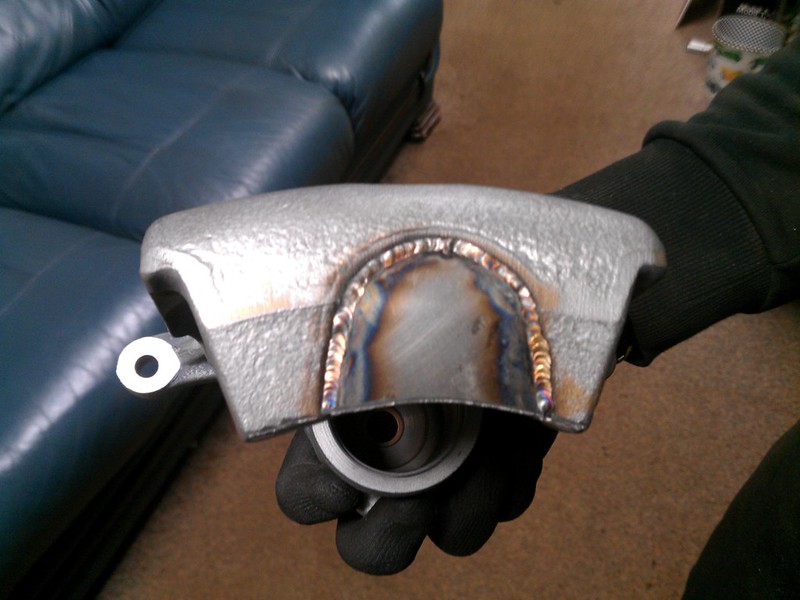
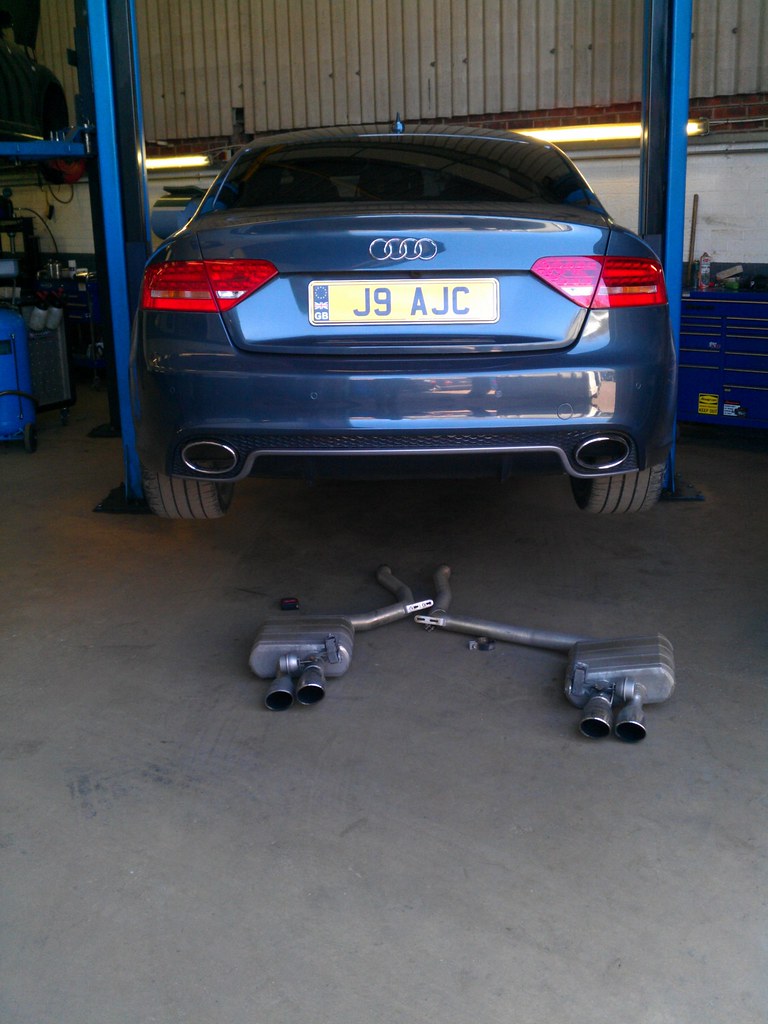
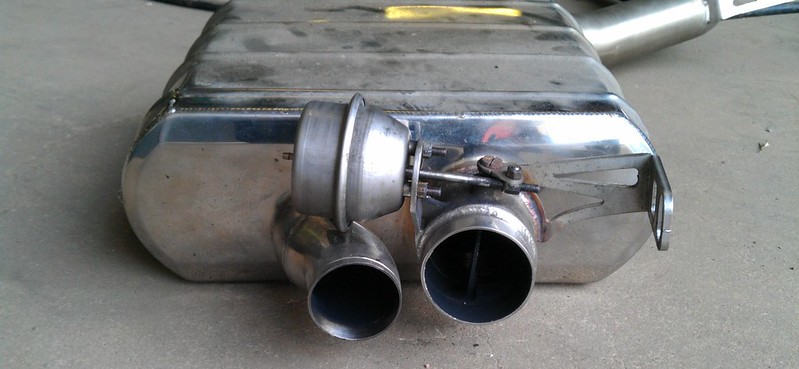
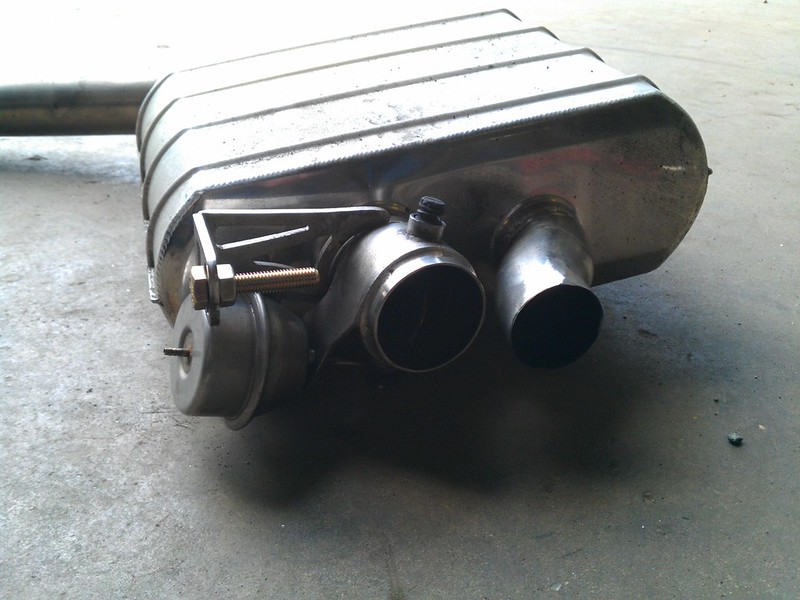
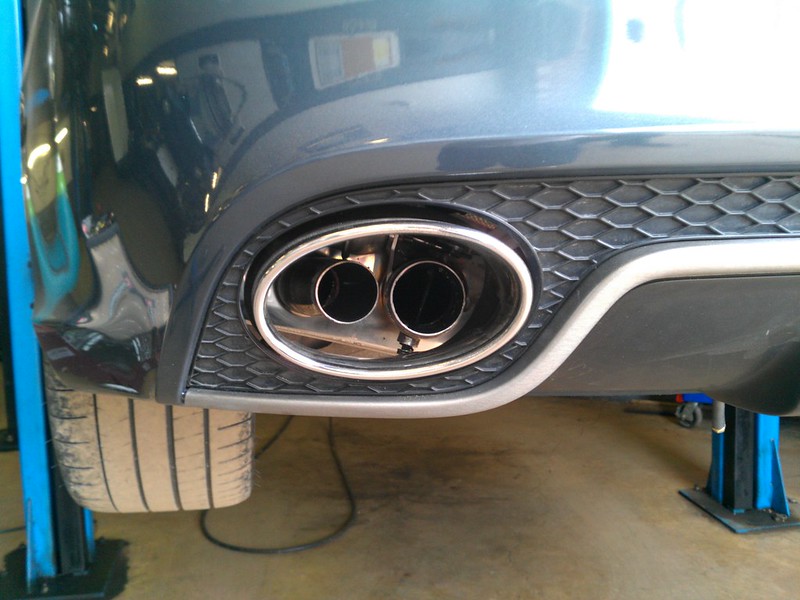
Capristo Exhaust (Remote Control Guide) - fitted at MRC Tuning - later customised at Jabbasport
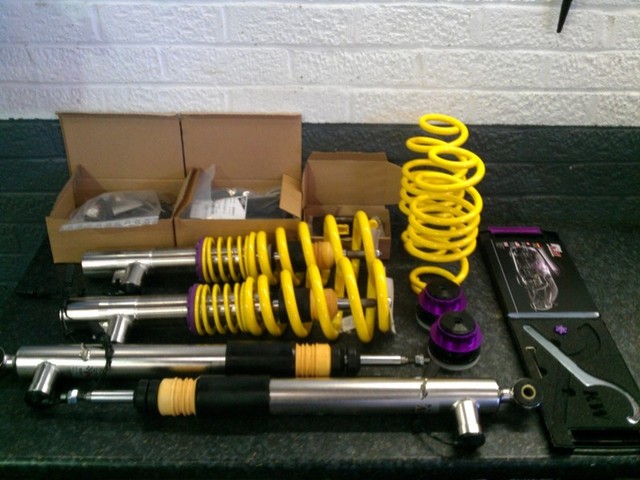
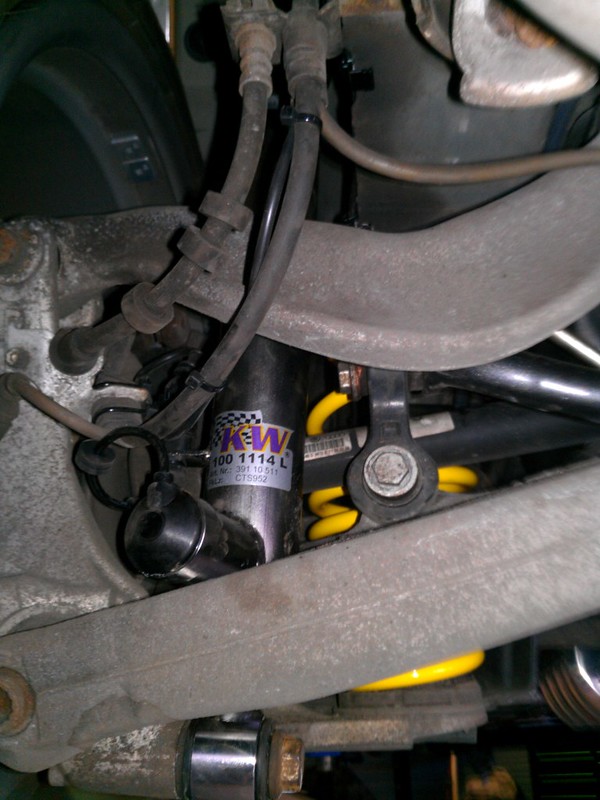
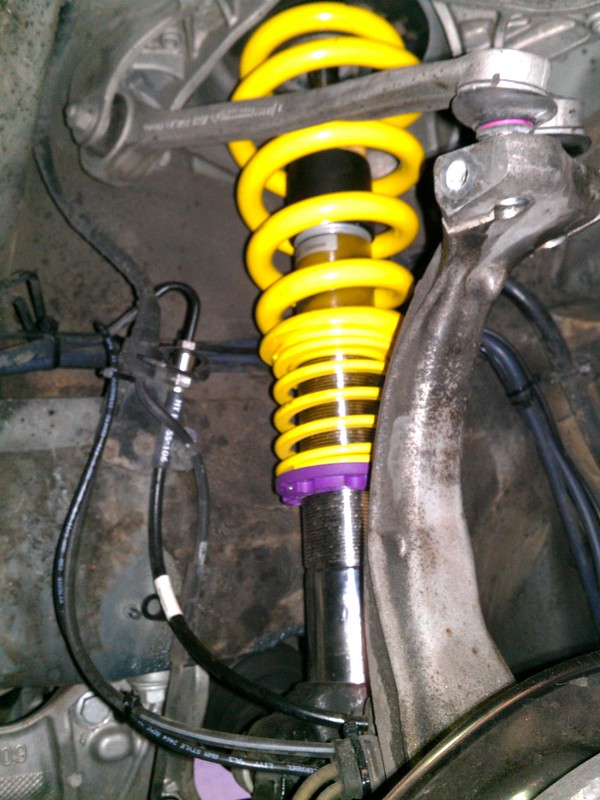
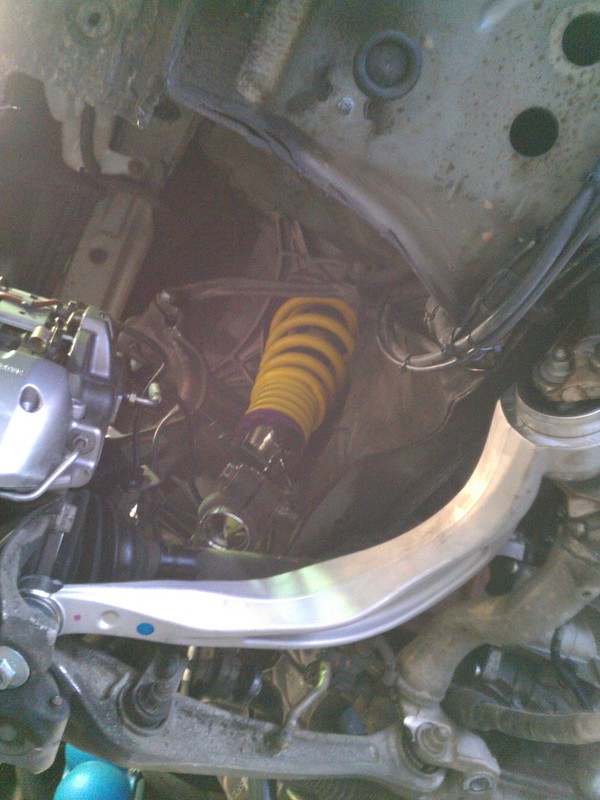
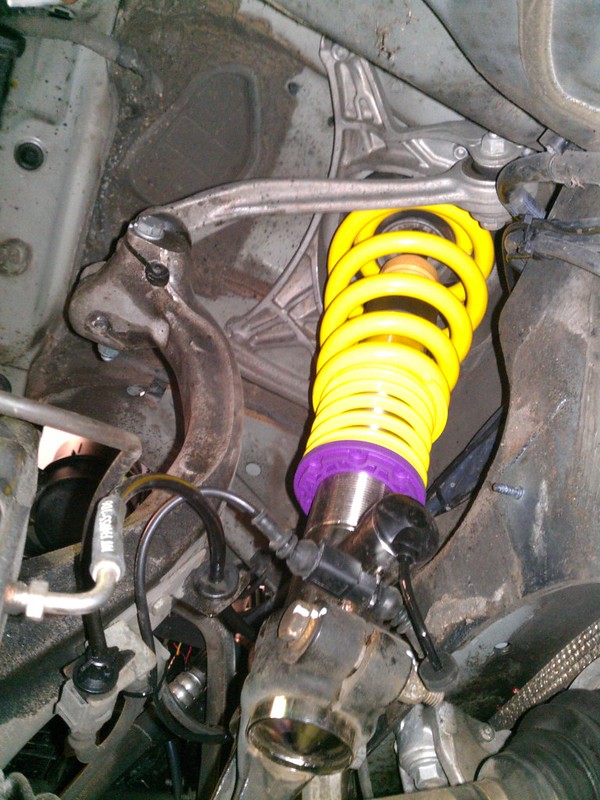
KW DDC ECU Coilovers (REVIEW / FITTING) - fitted at Jabbasport
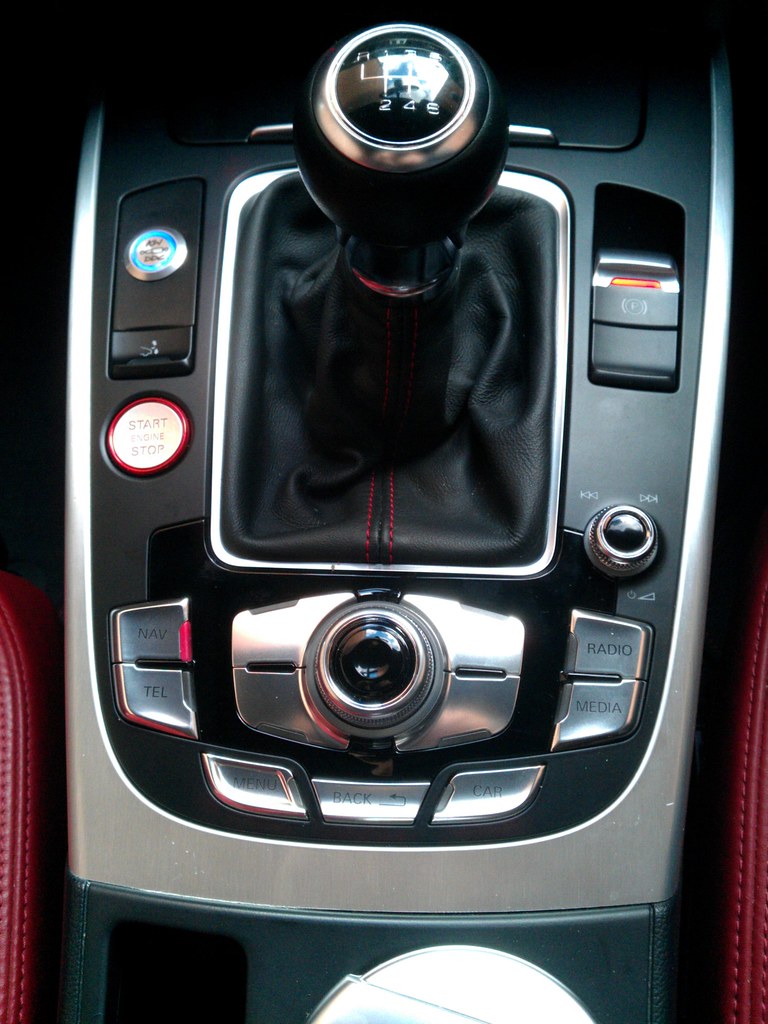
JHM Short-throw shifter (FITTING) - fitted at MRC Tuning
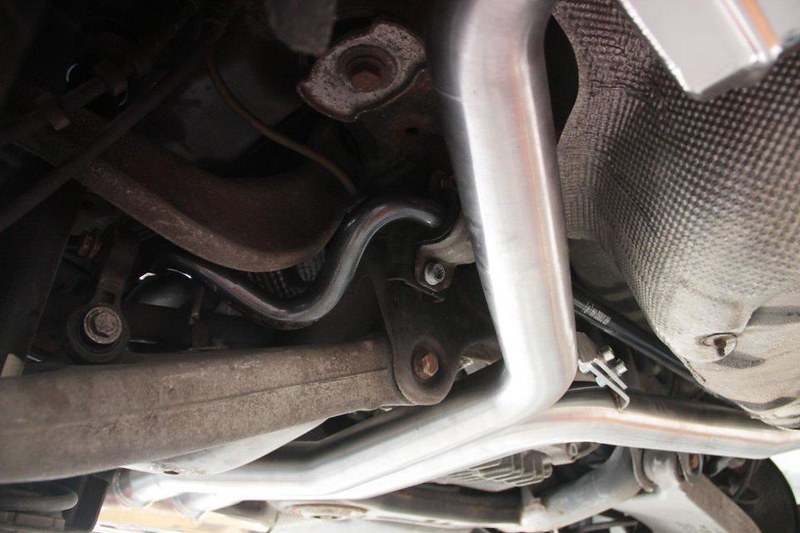
H&R Anti-roll bars - fitted at MRC Tuning
H&R 5mm spacers (front) - bought from DC Performance and fitted at Jabbasport
H&R 10mm spacers (rear) - supplied and fitted by MRC Tuning
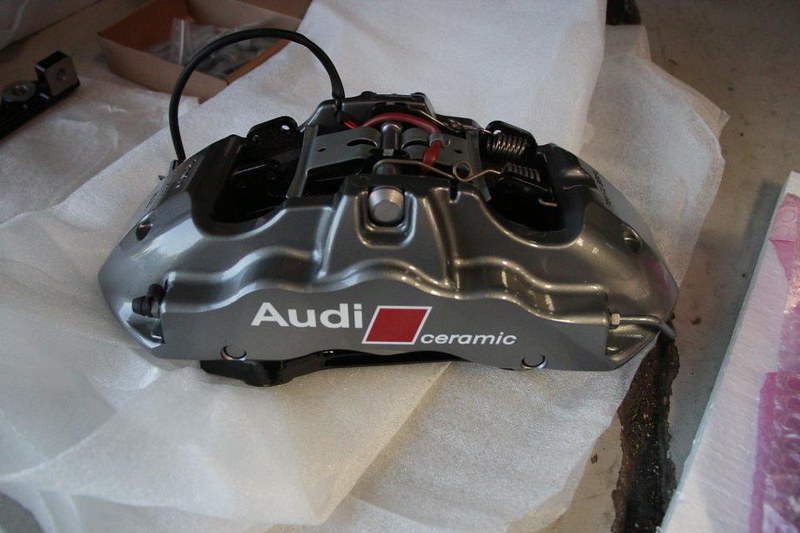
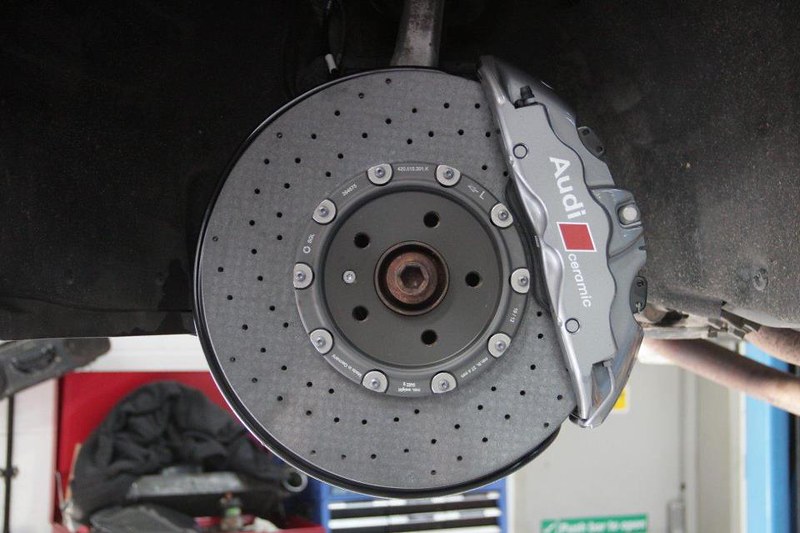
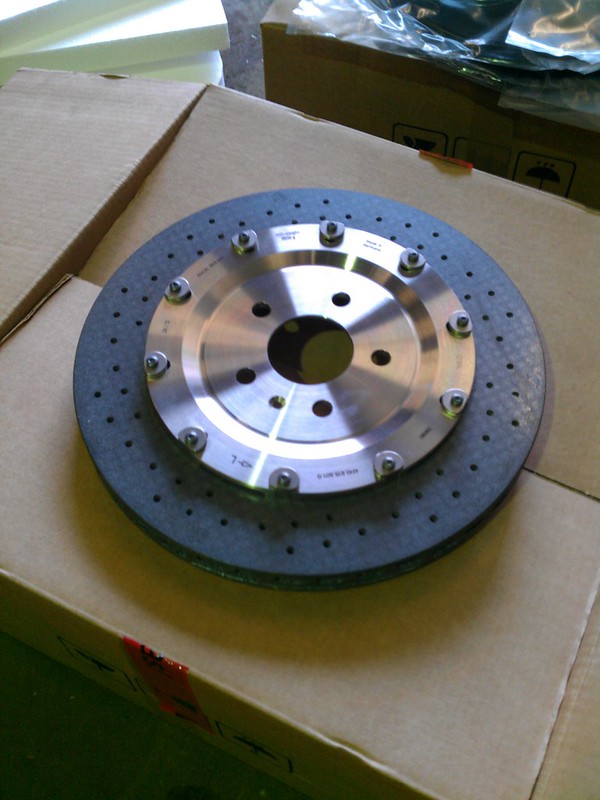
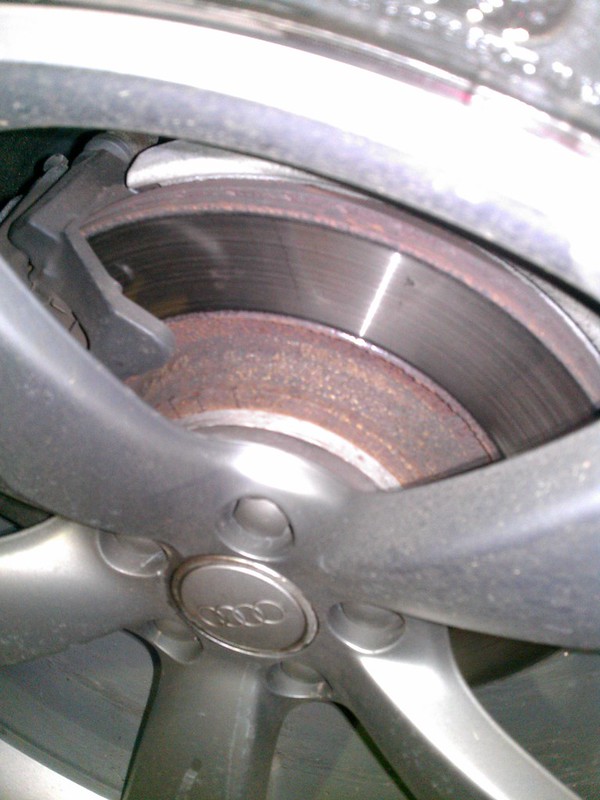
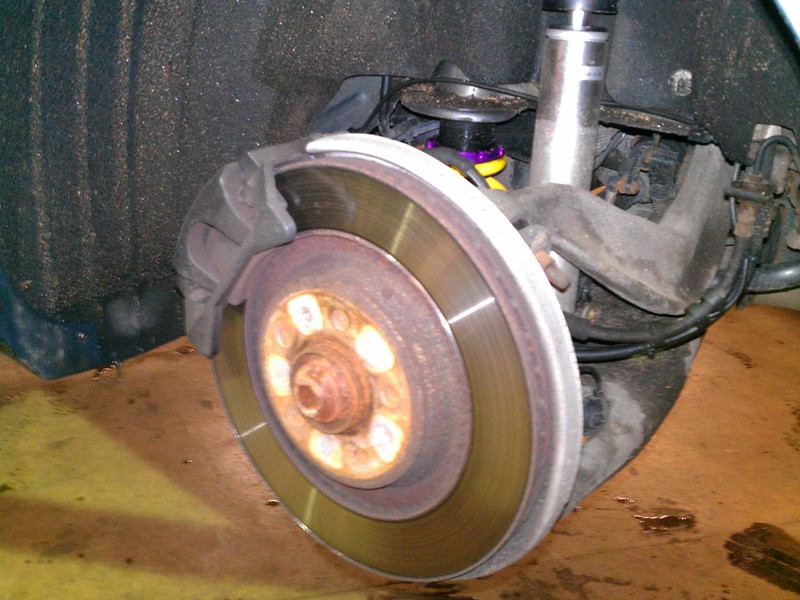
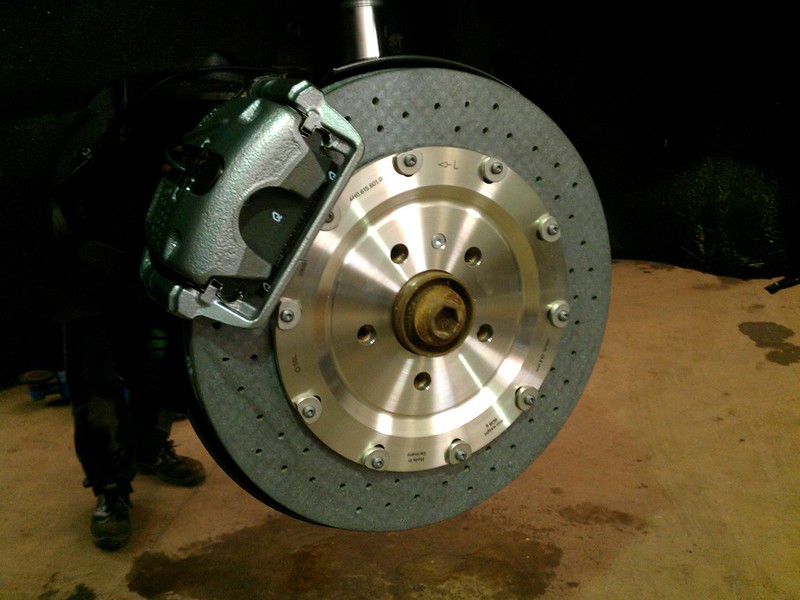
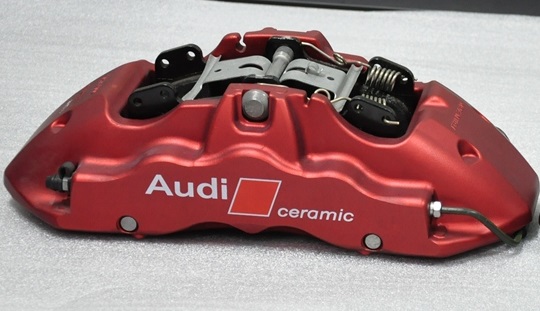
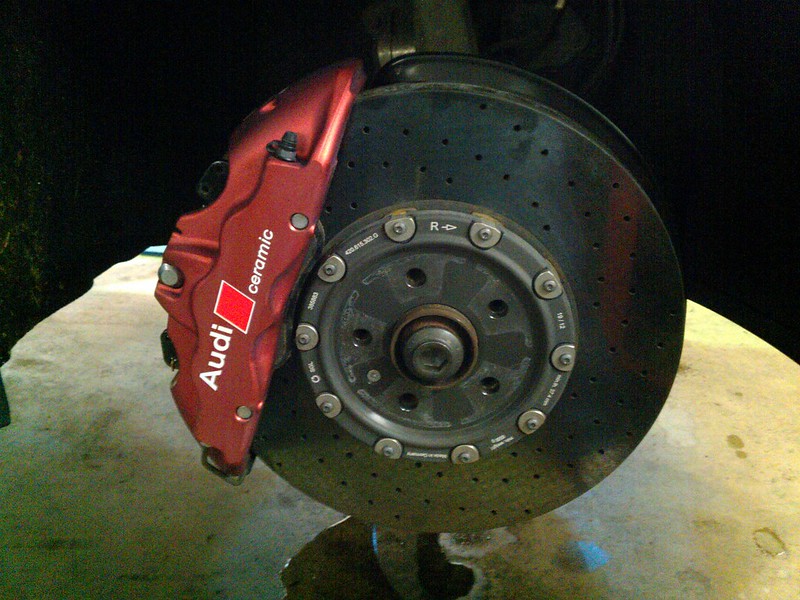
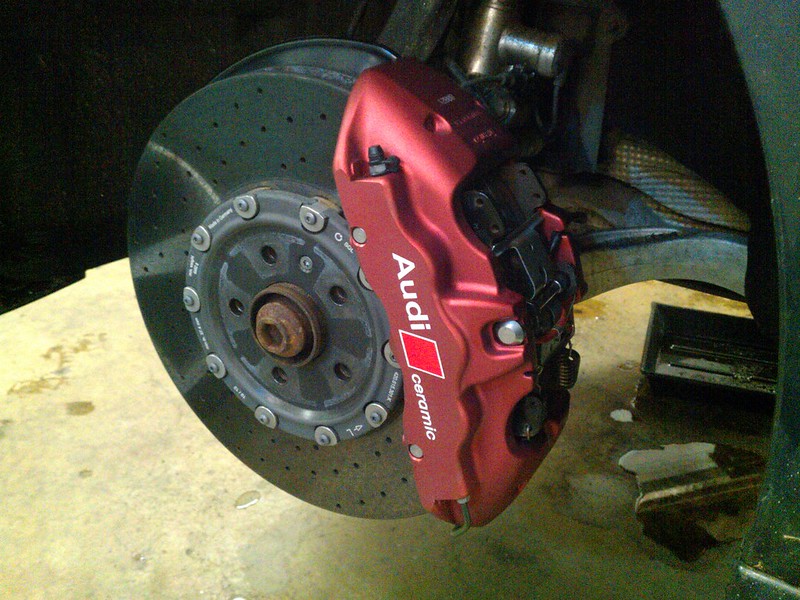
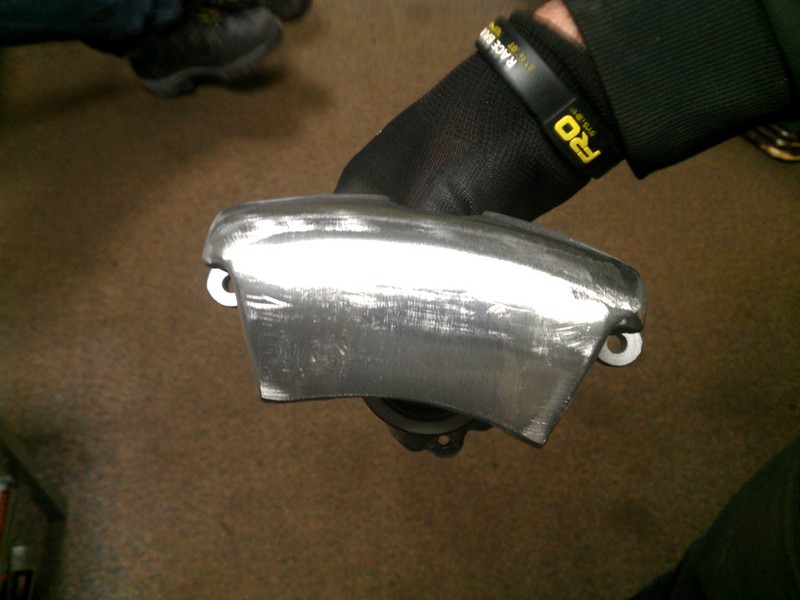
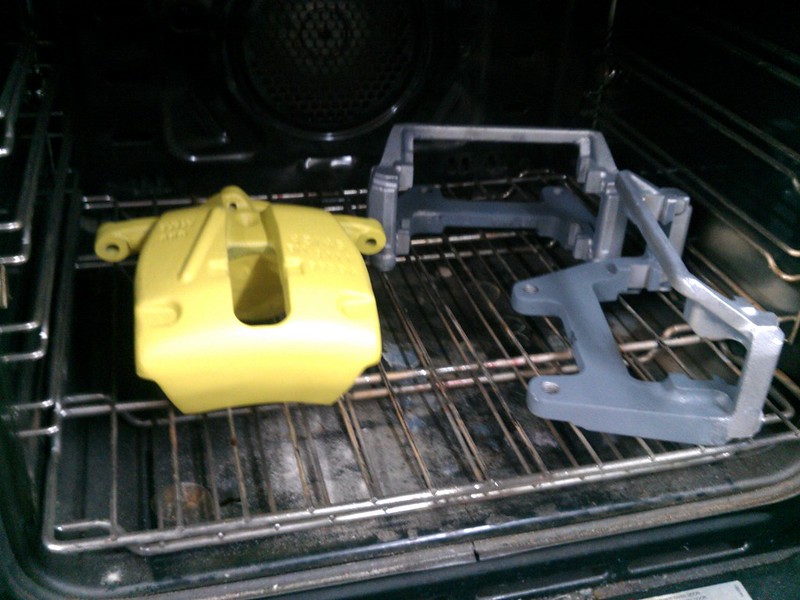
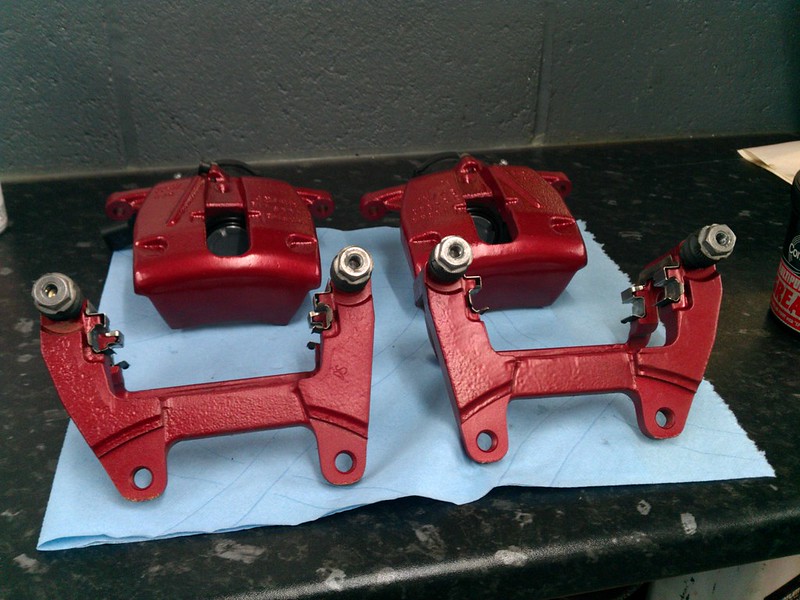
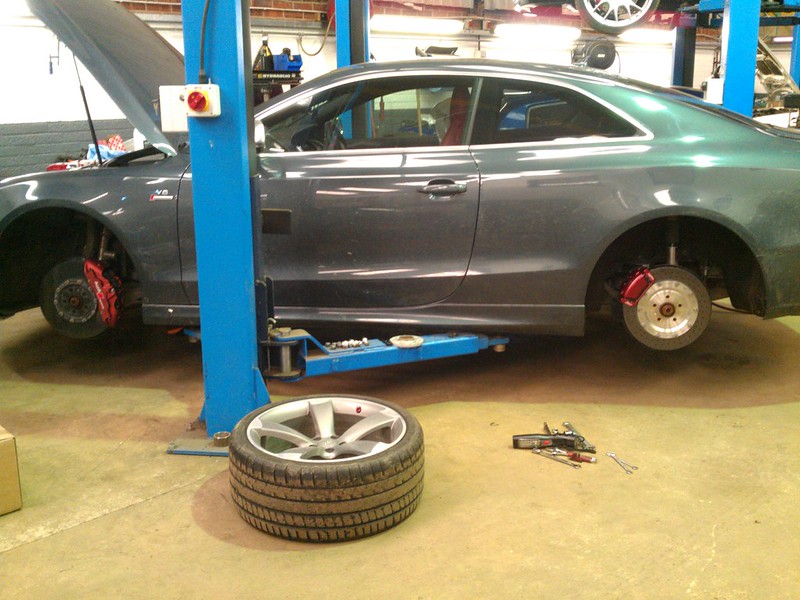
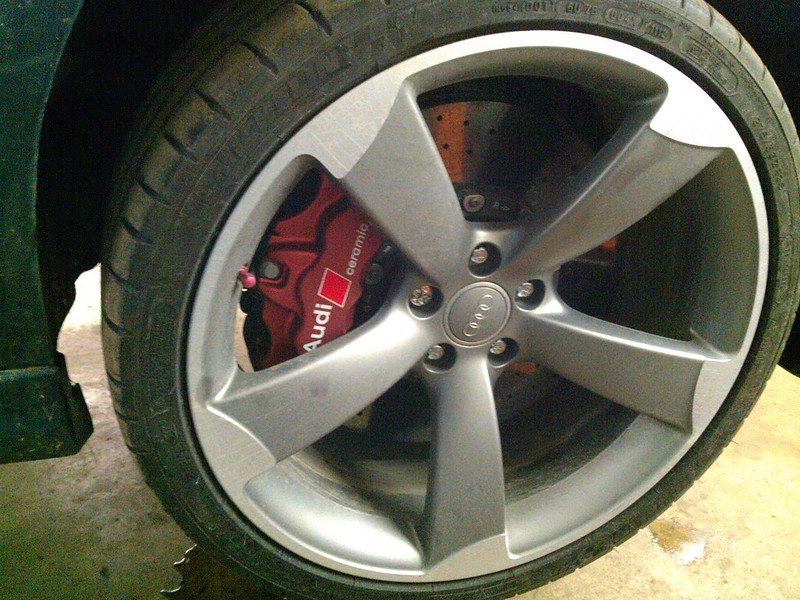
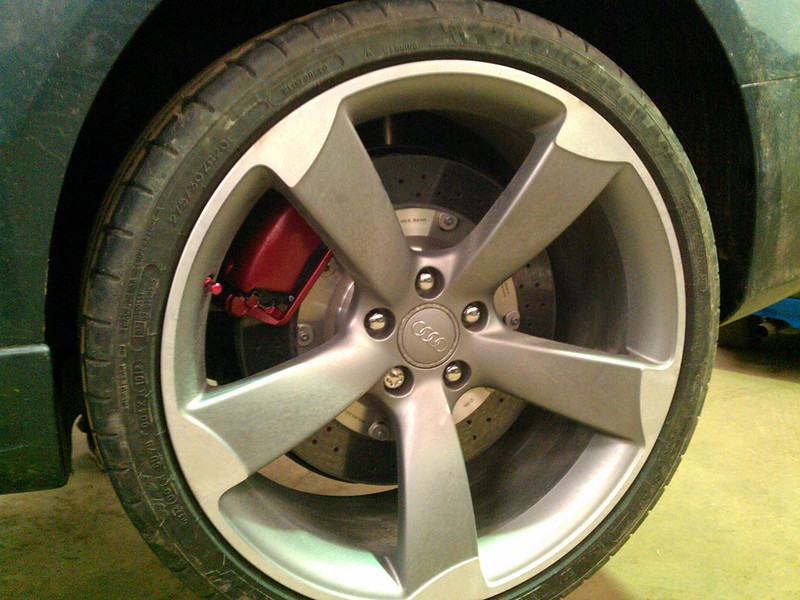
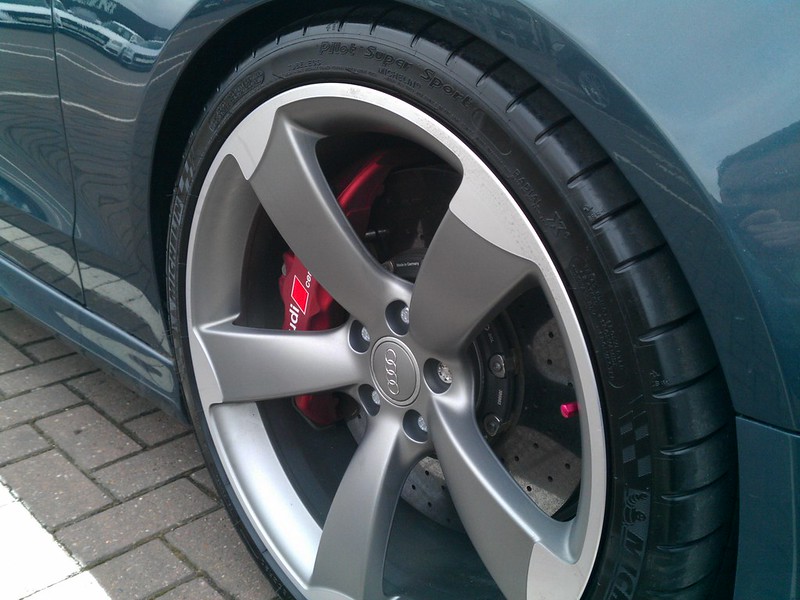
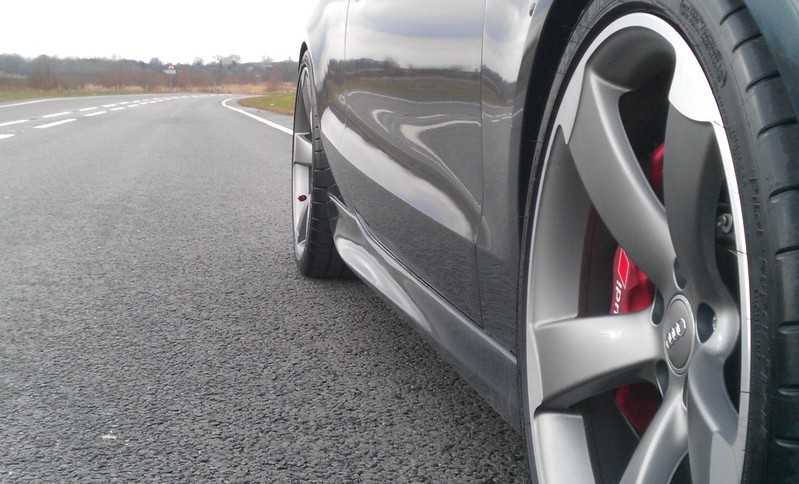
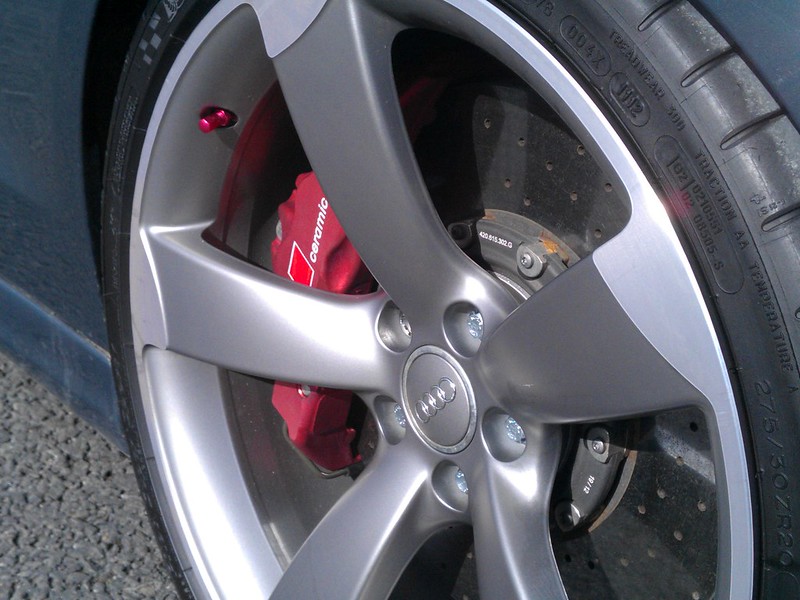
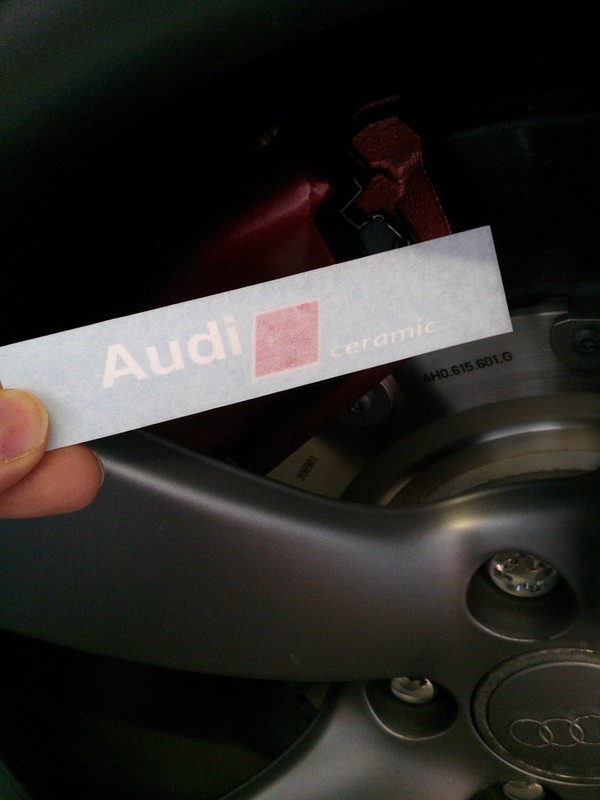
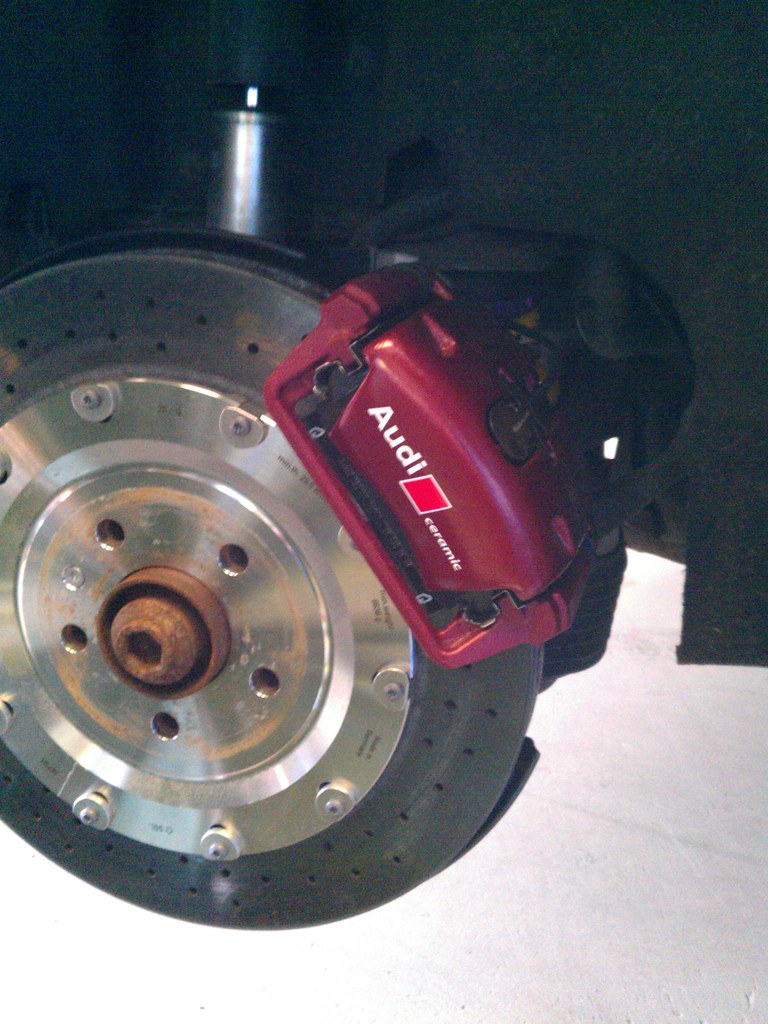
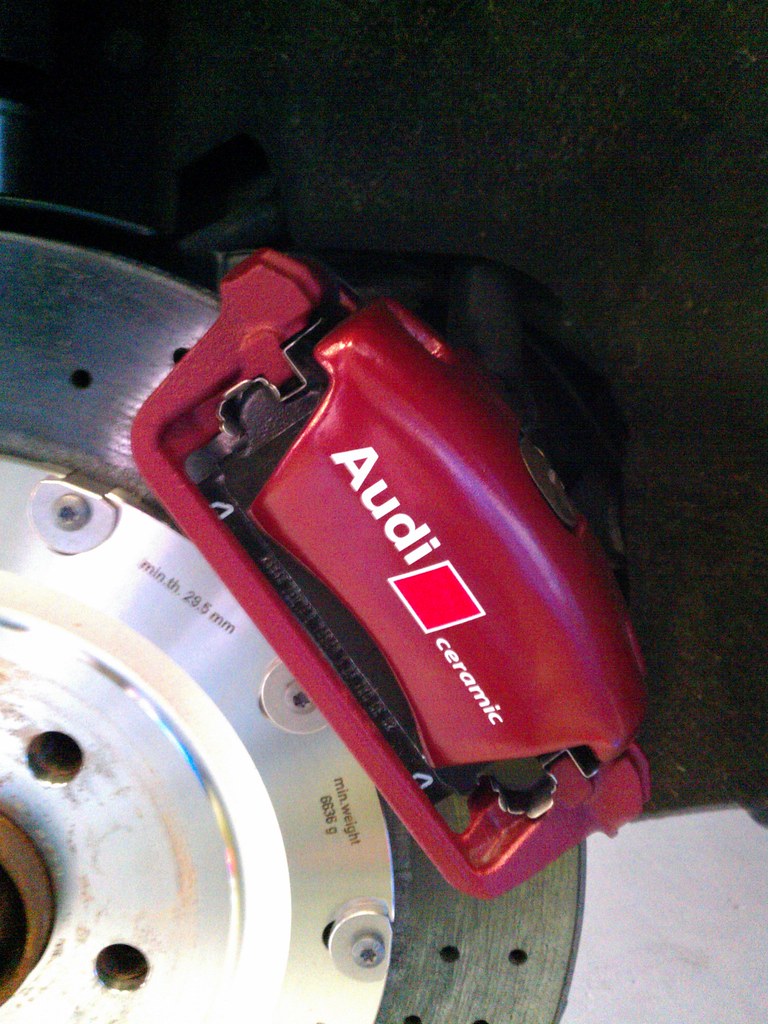
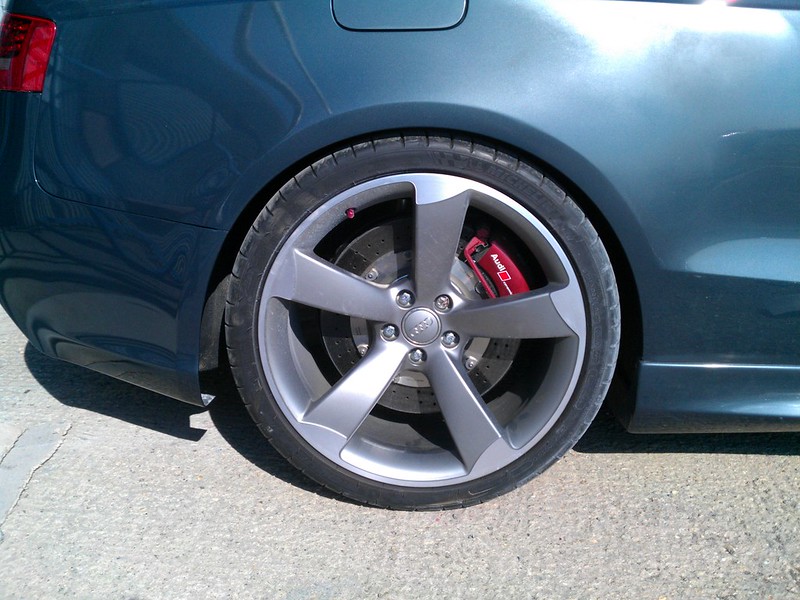
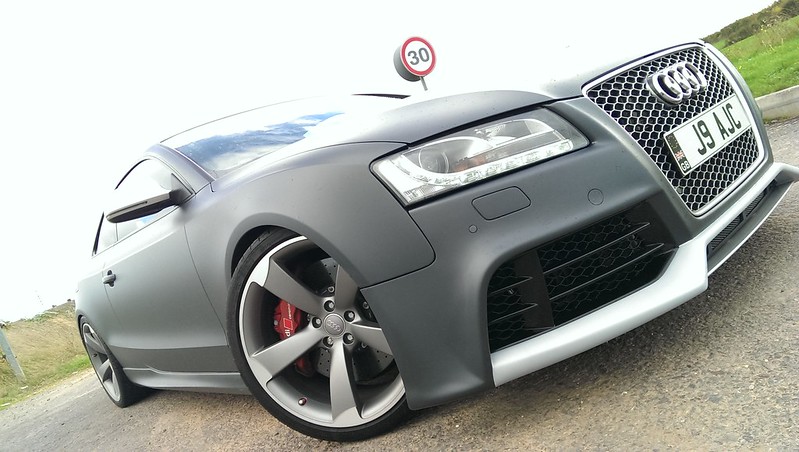
OEM R8 GT Ceramic Front Brakes - bought from LittleDevil and fitted at fitted at Jabbasport
OEM S7 Ceramic Rear Brakes - bought from LittleDevil, customised and fitted at Jabbasport
OEM RS5 brake booster - fitted at MRC Tuning
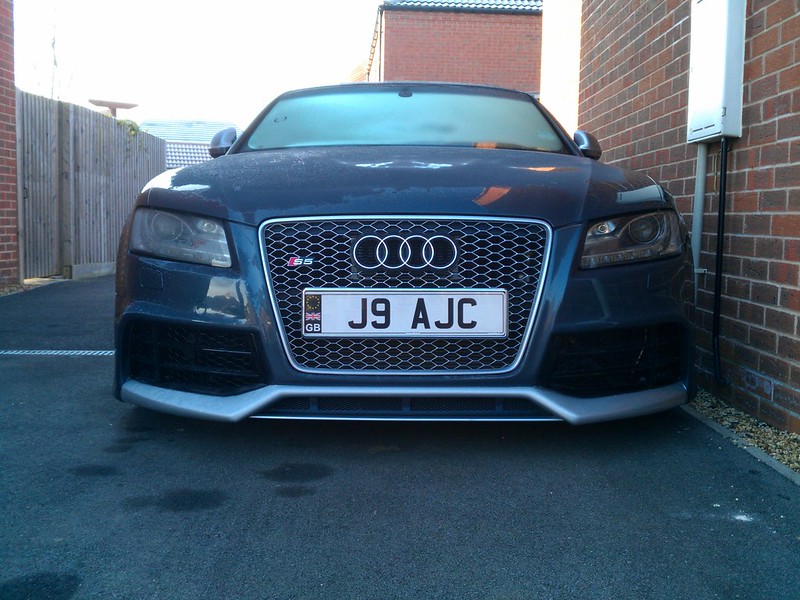
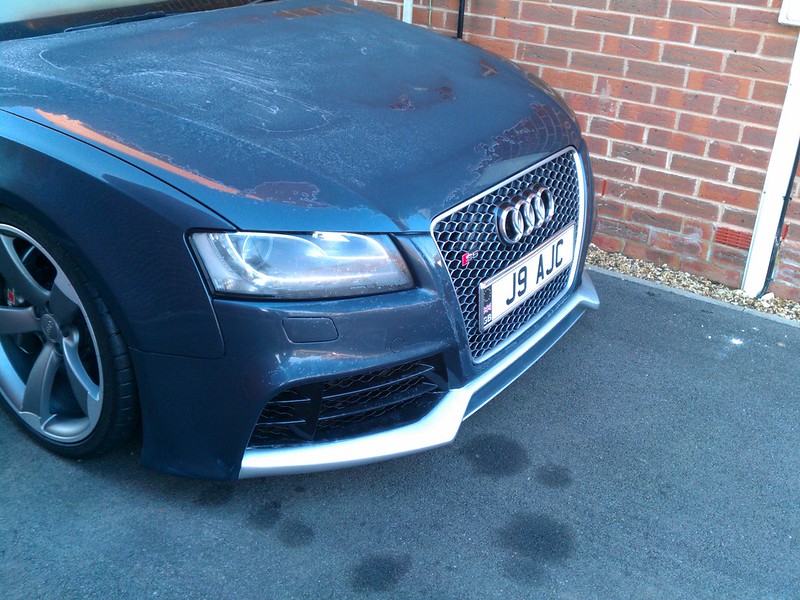
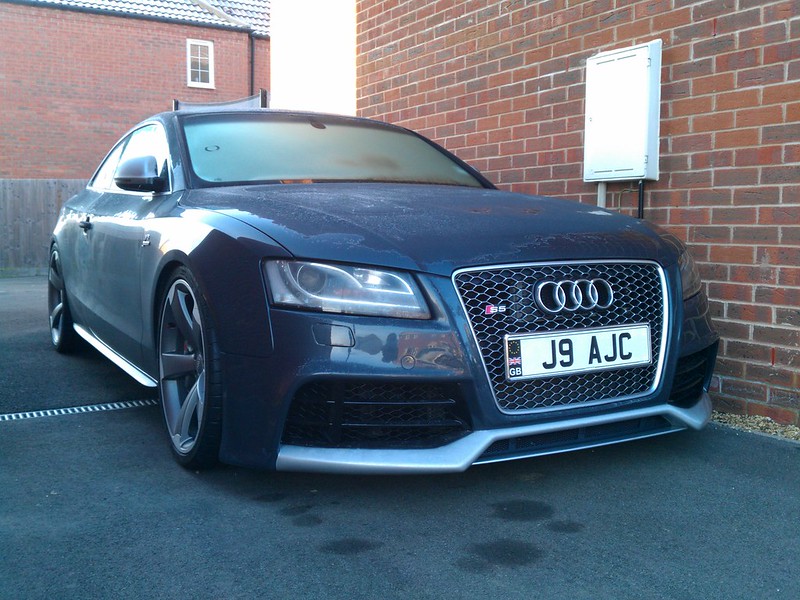
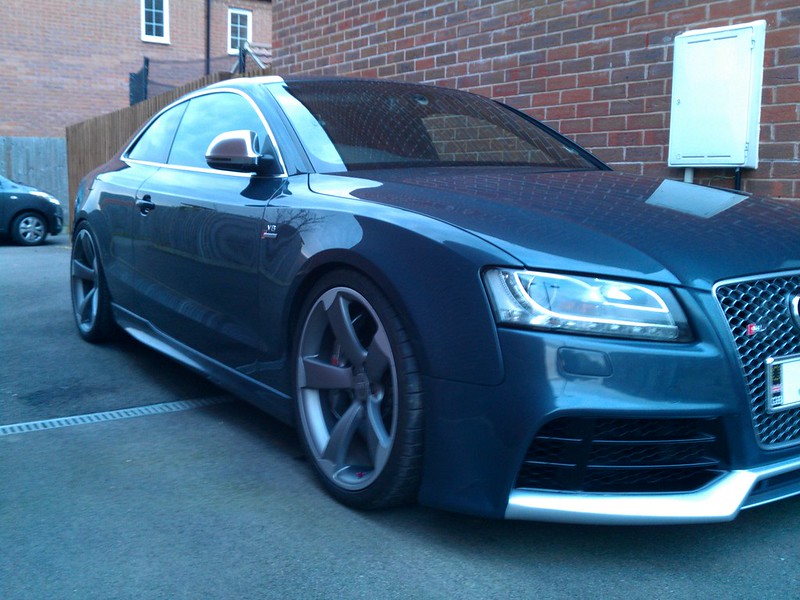
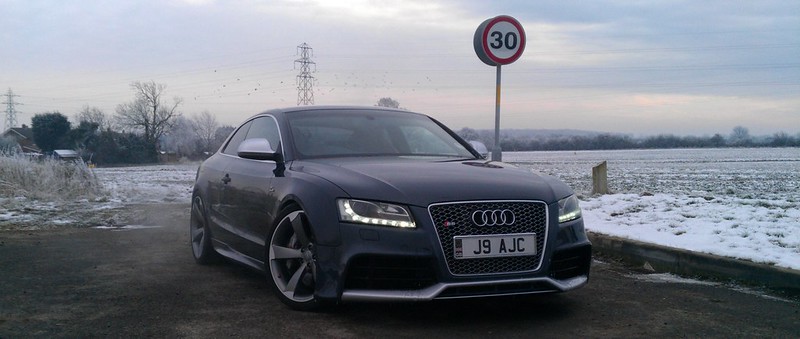
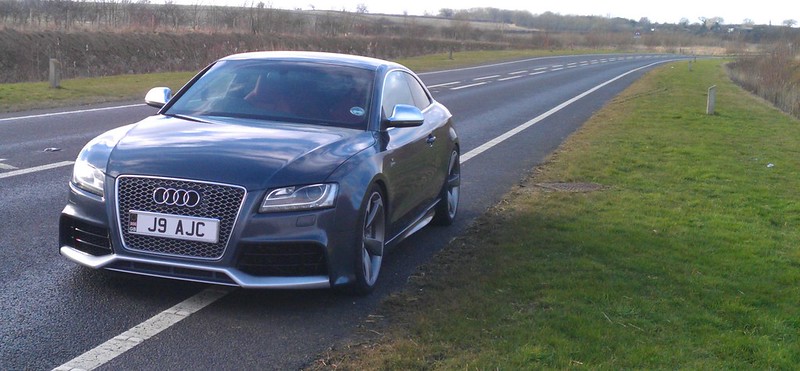
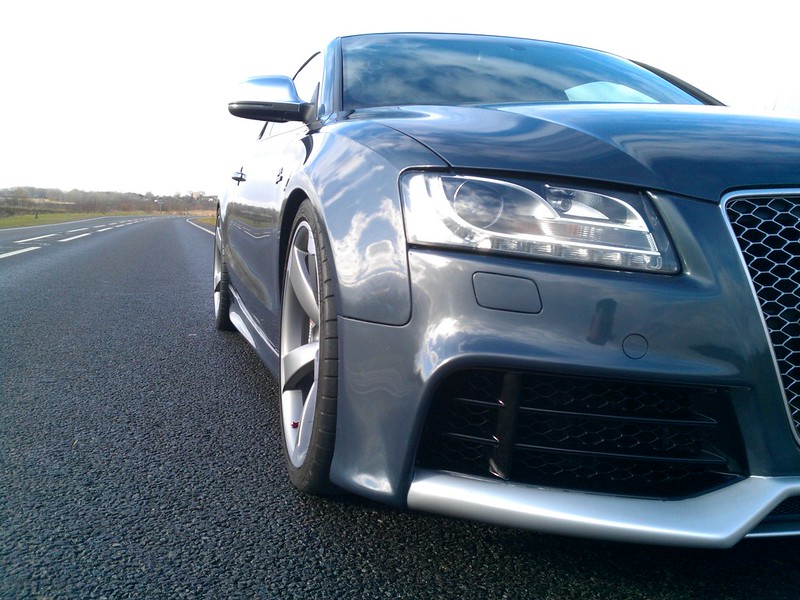
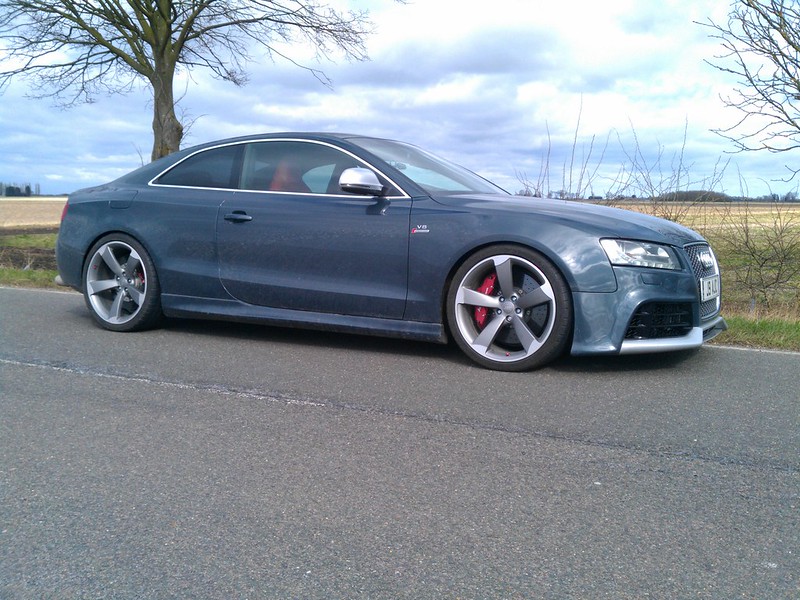
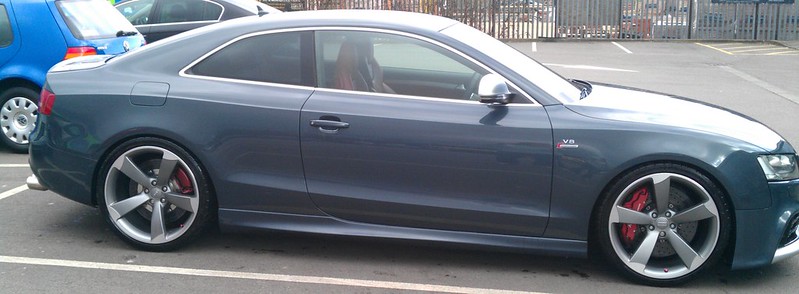
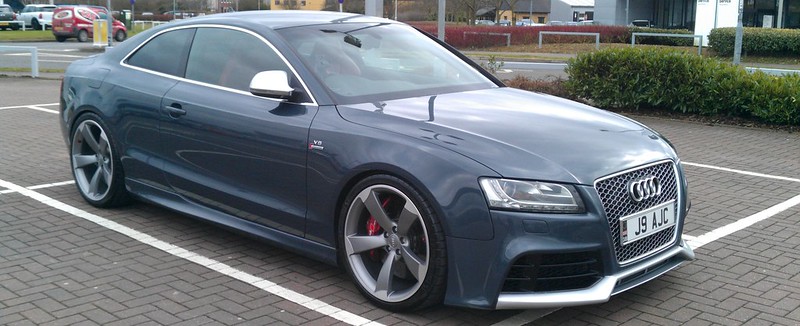
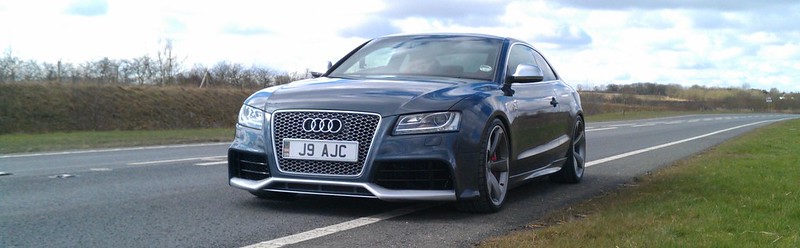
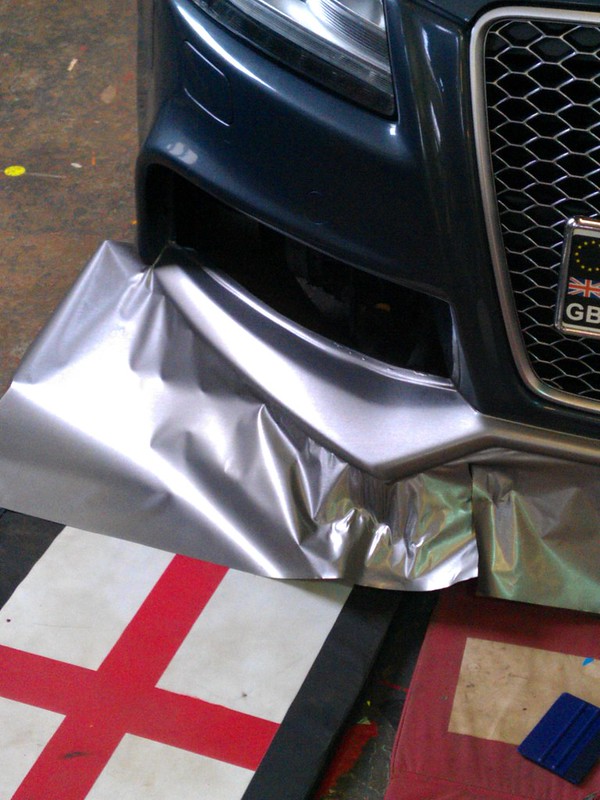
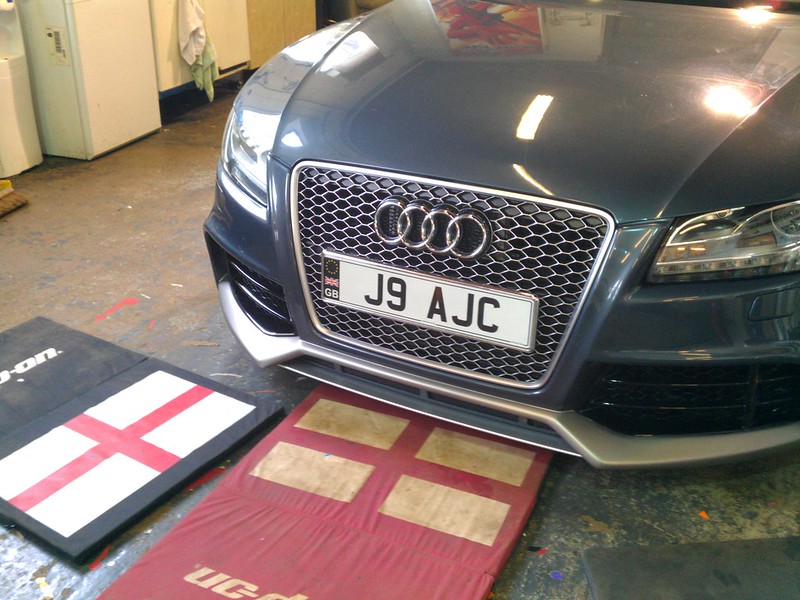
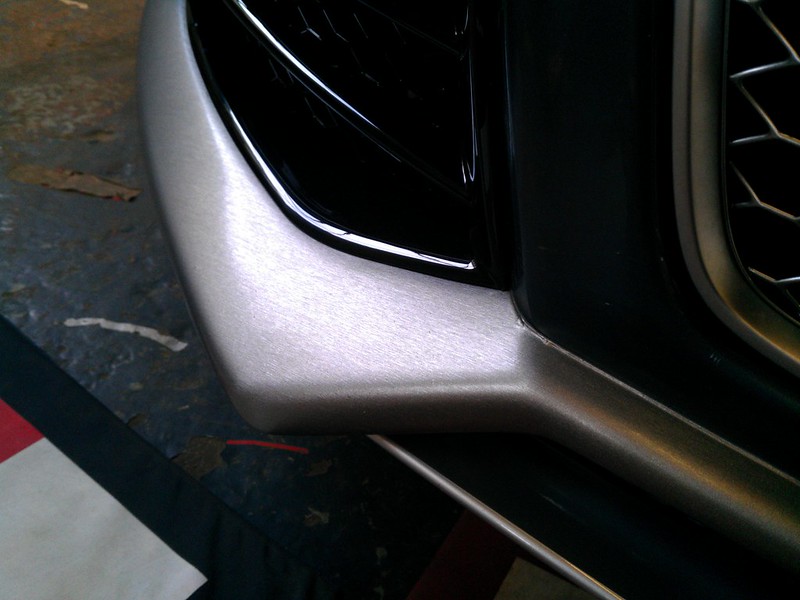
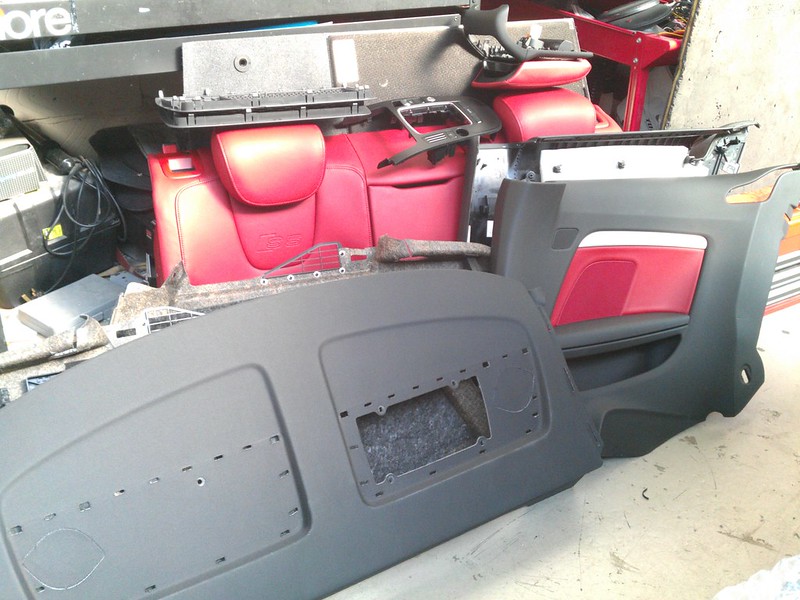
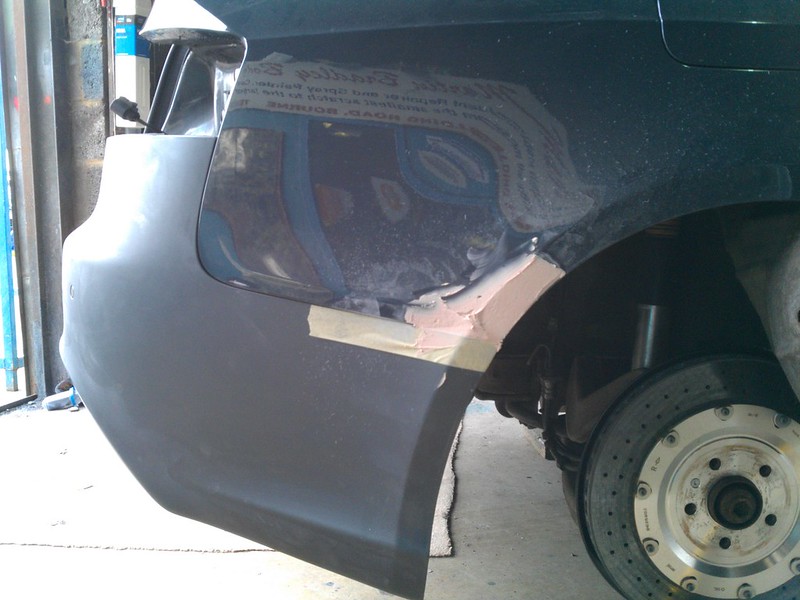
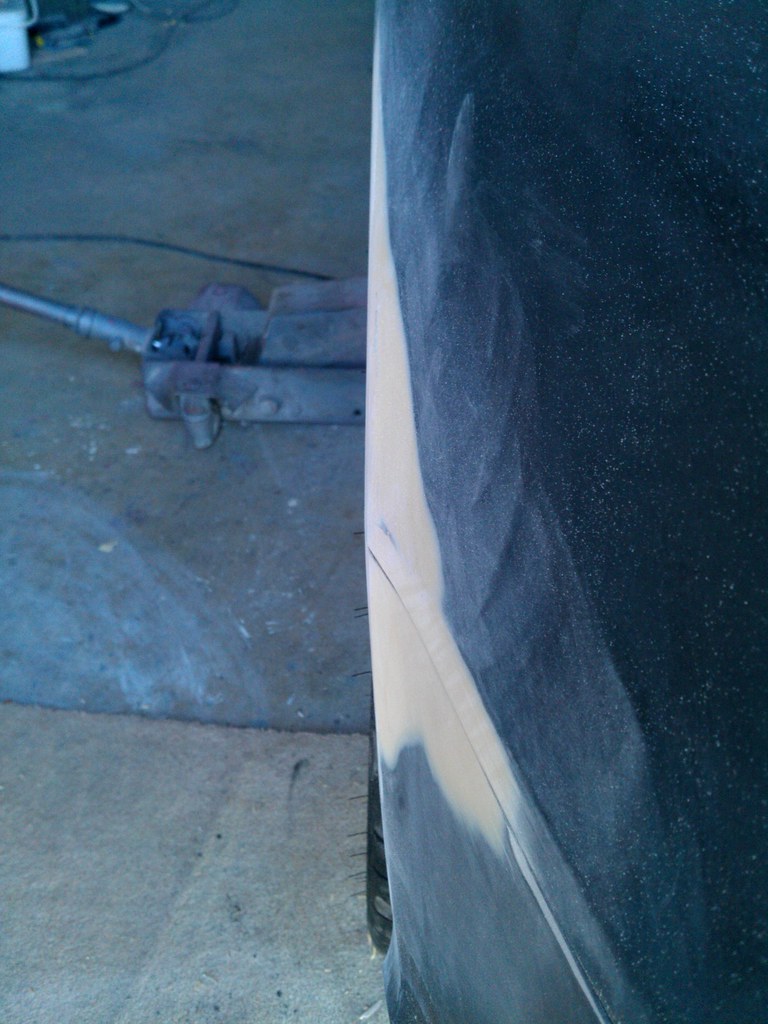
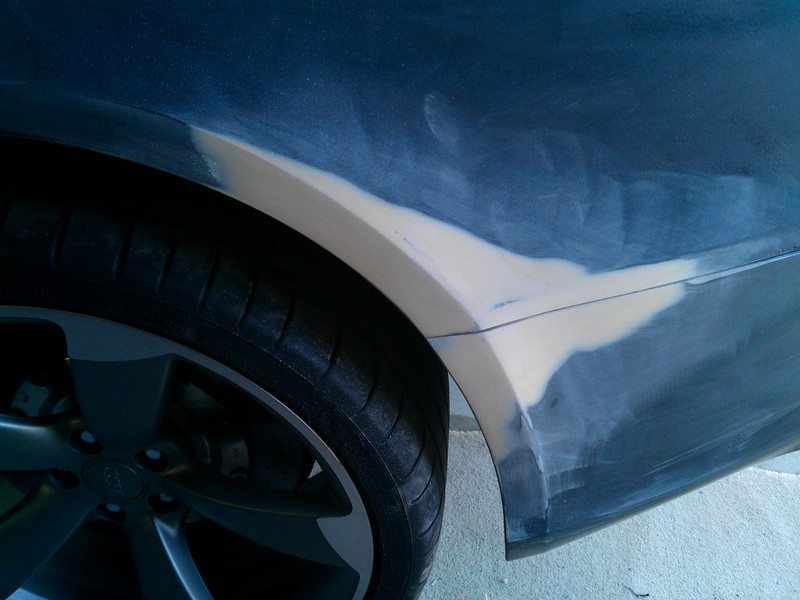
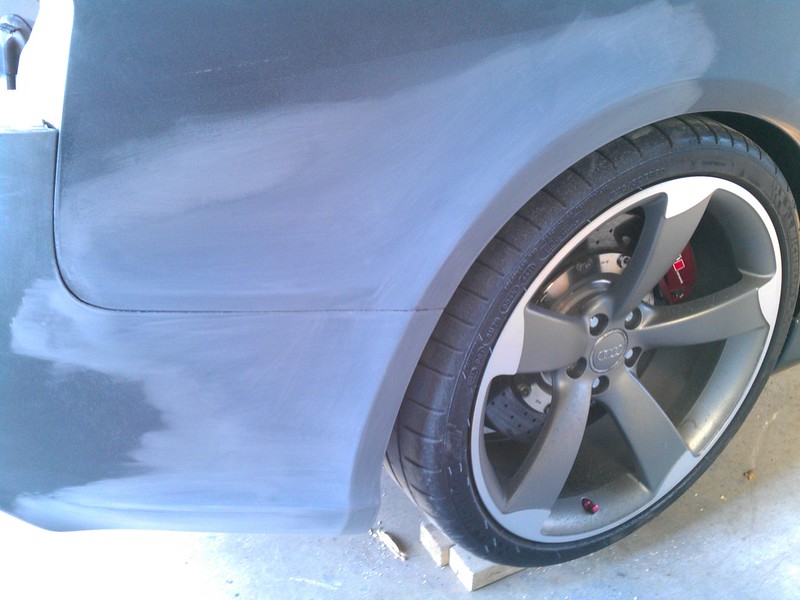
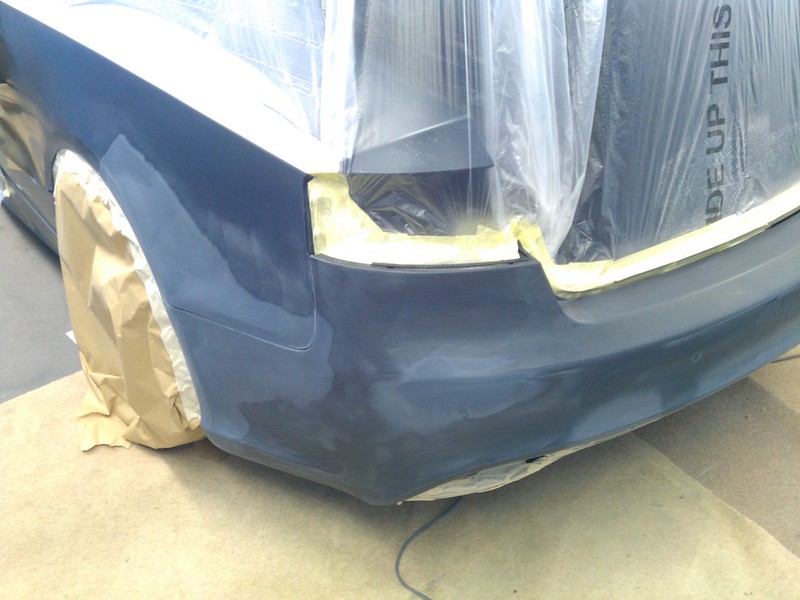
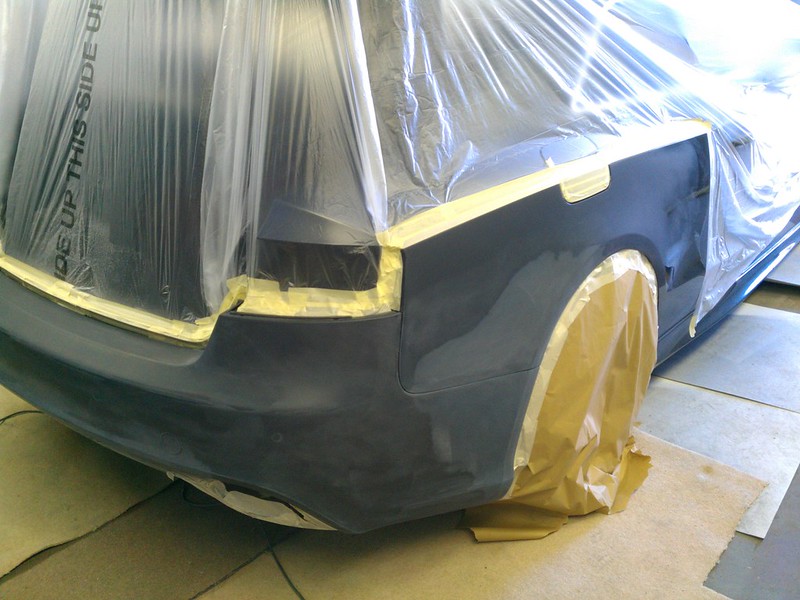
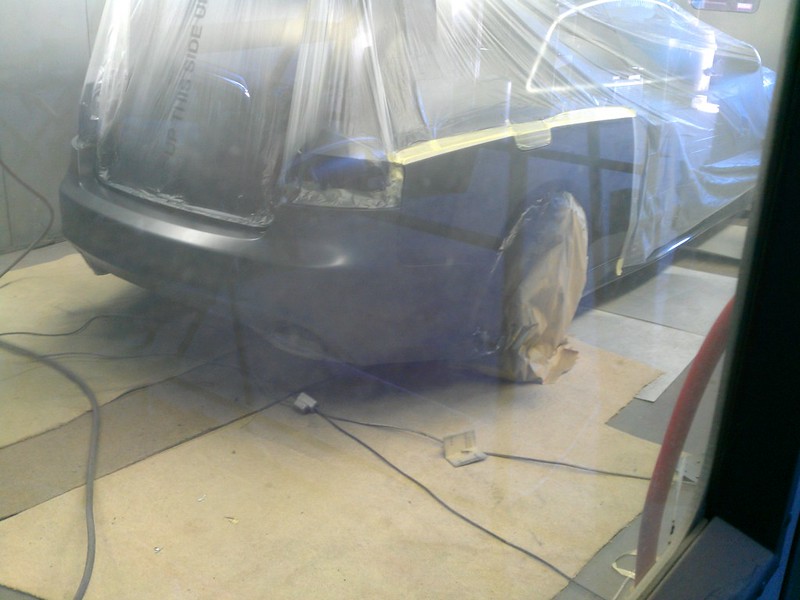
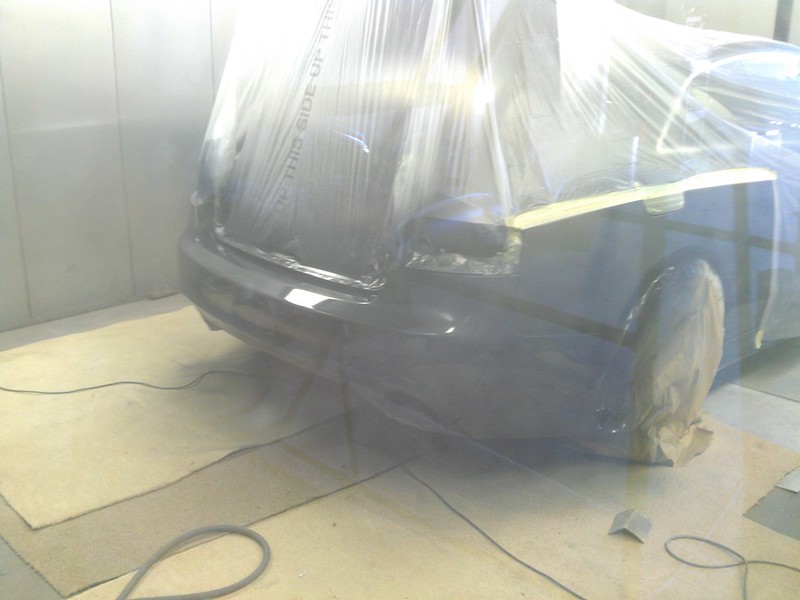
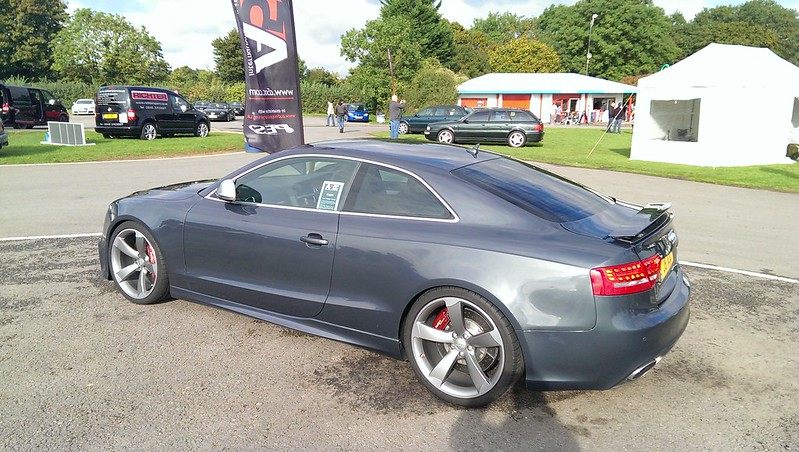
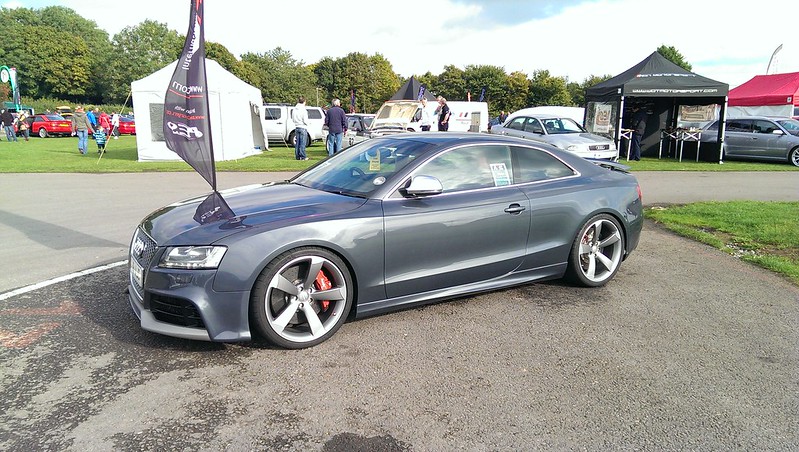
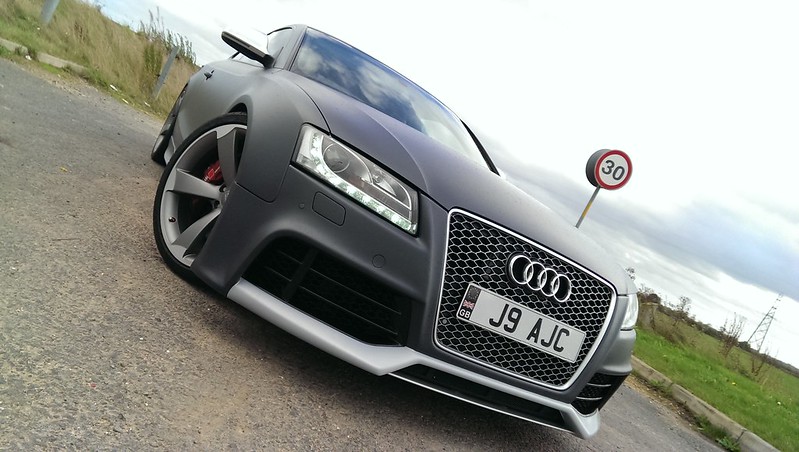
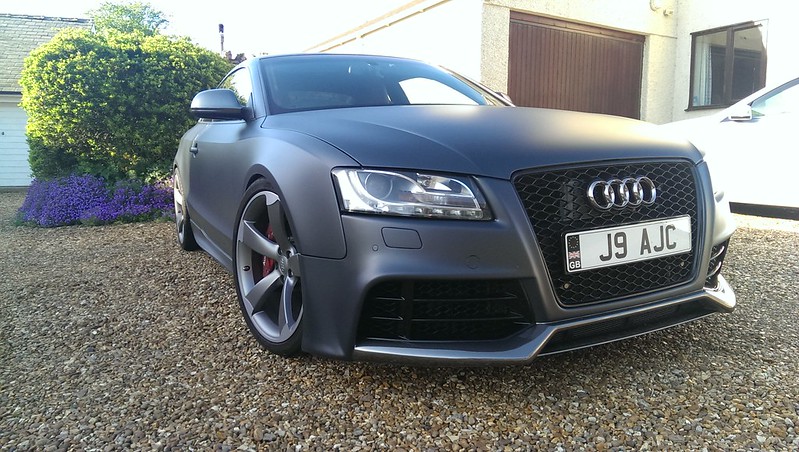
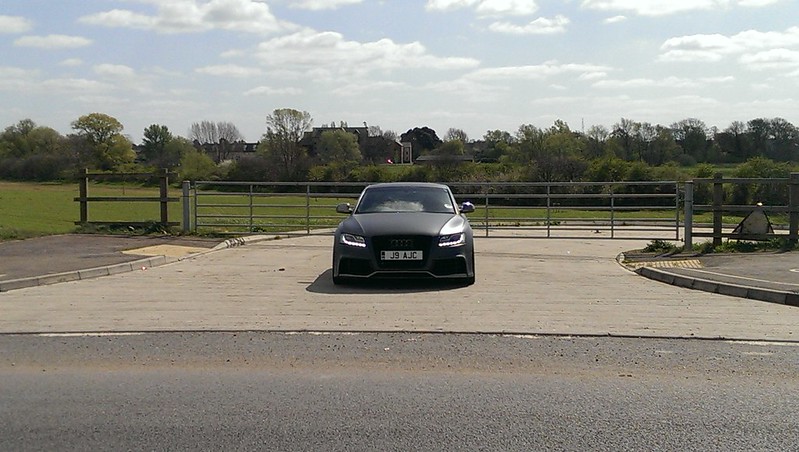
Rieger RS5 front Bumper - bought from UK supplier and self fit at Martin Bradley Body Repairs
OEM RS5 Grille - bought from ebay and and self fit at Martin Bradley Body Repairs
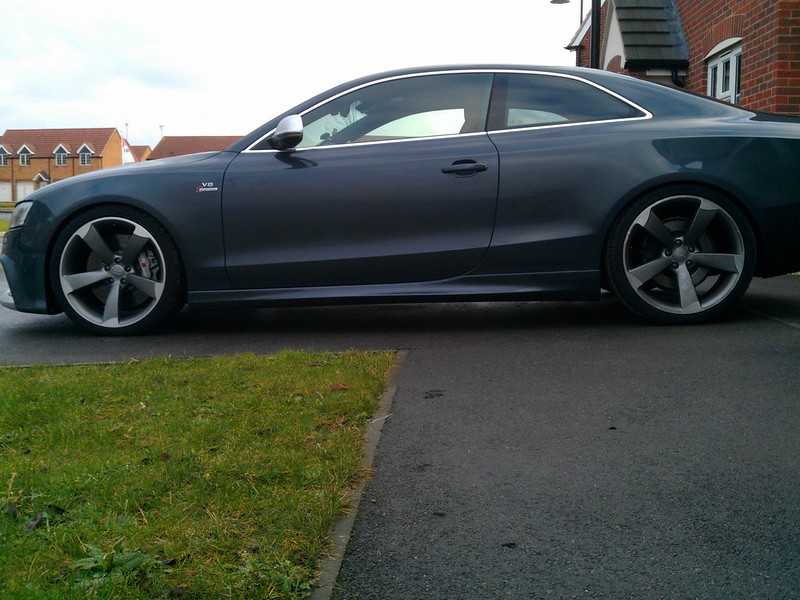
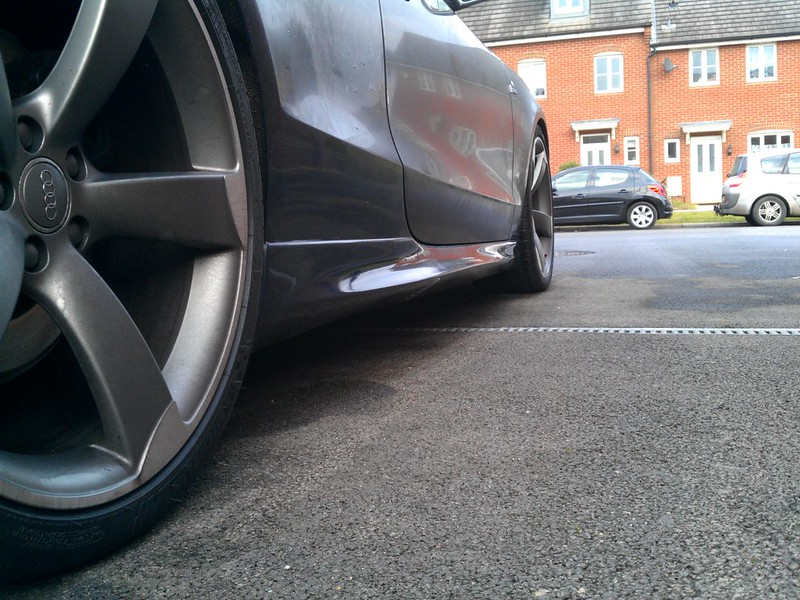
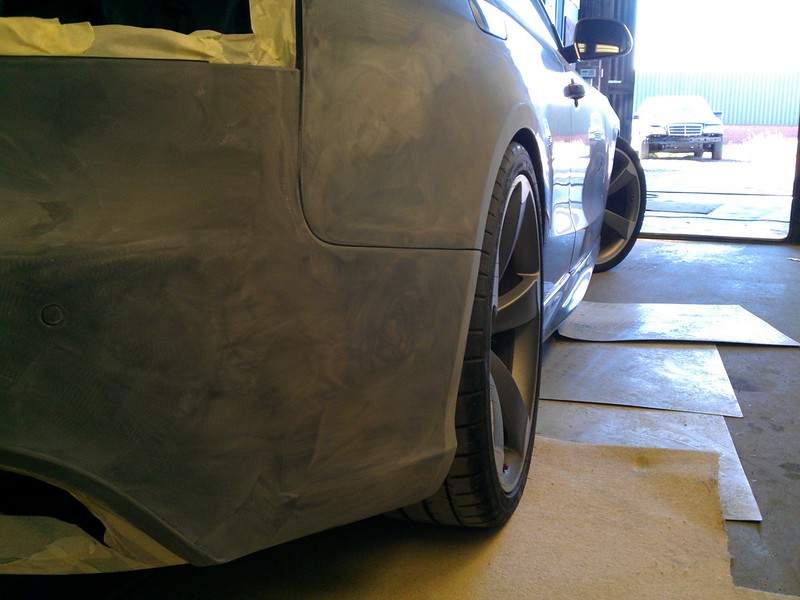
Rieger Luftseiden sideskirts (LEFT / RIGHT) - bought from UK supplier and and self fit at Martin Bradley Body Repairs
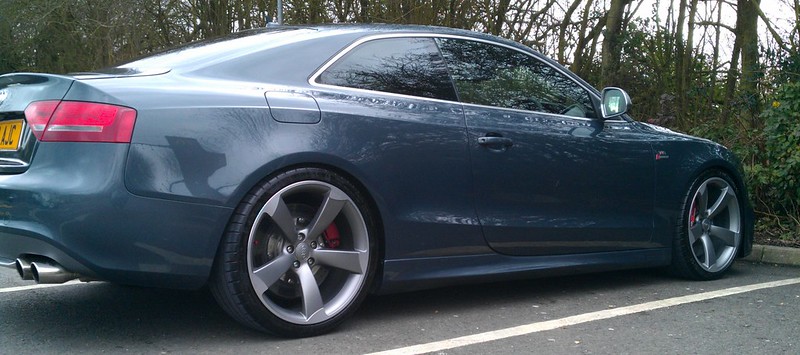
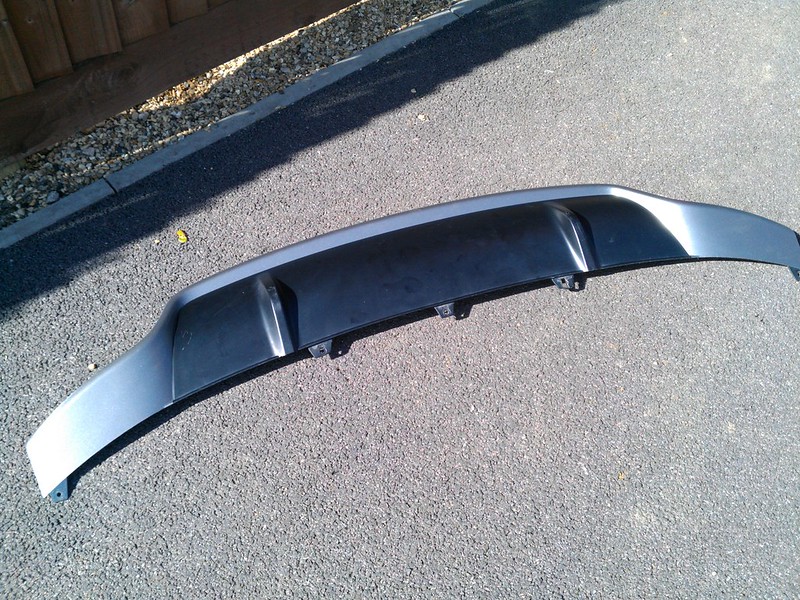
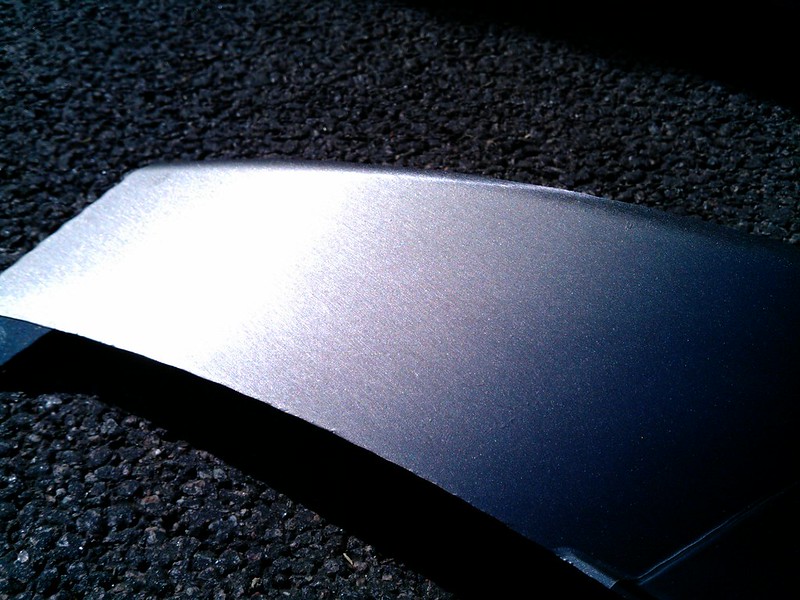
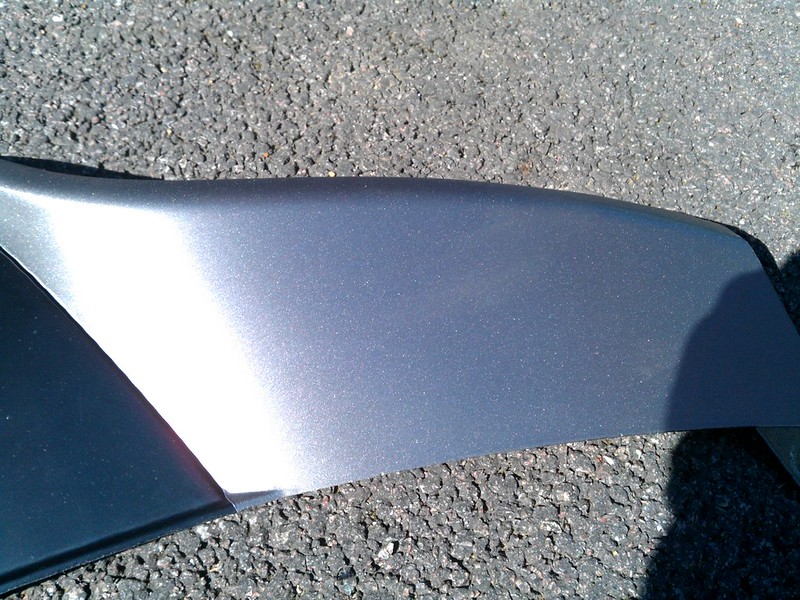
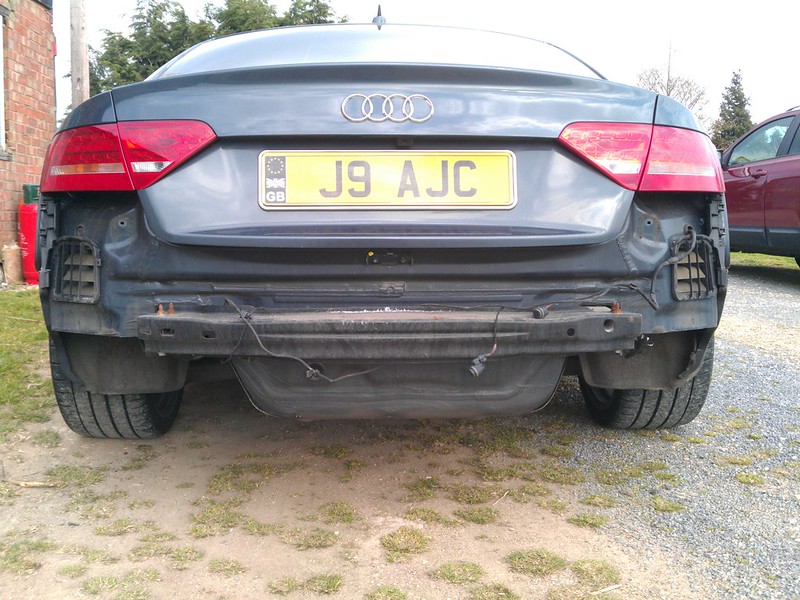
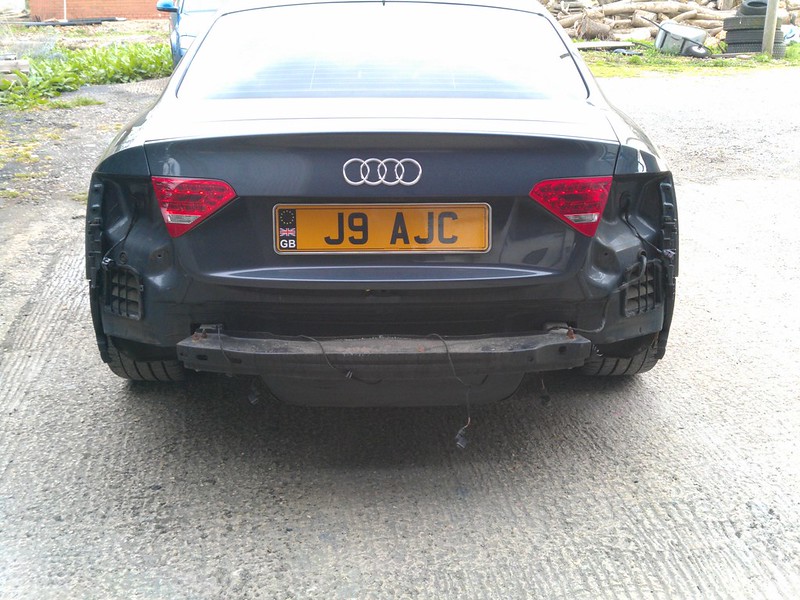
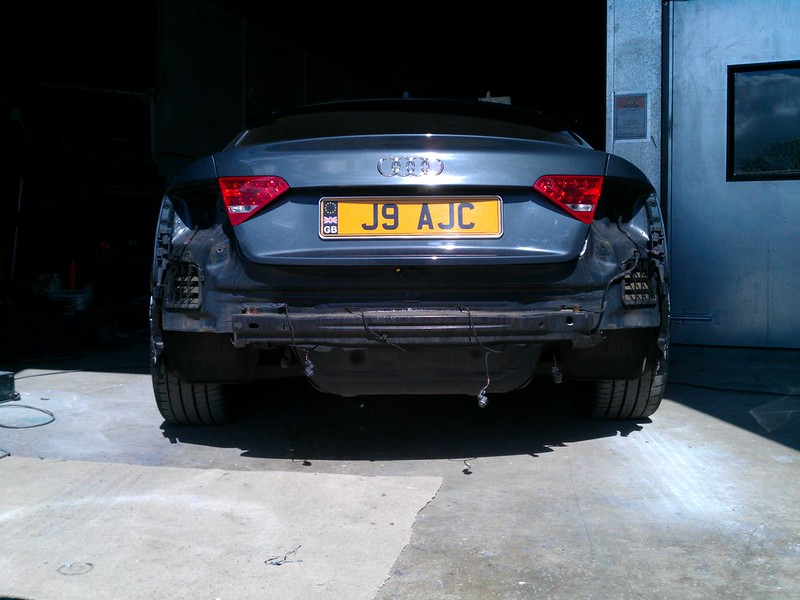
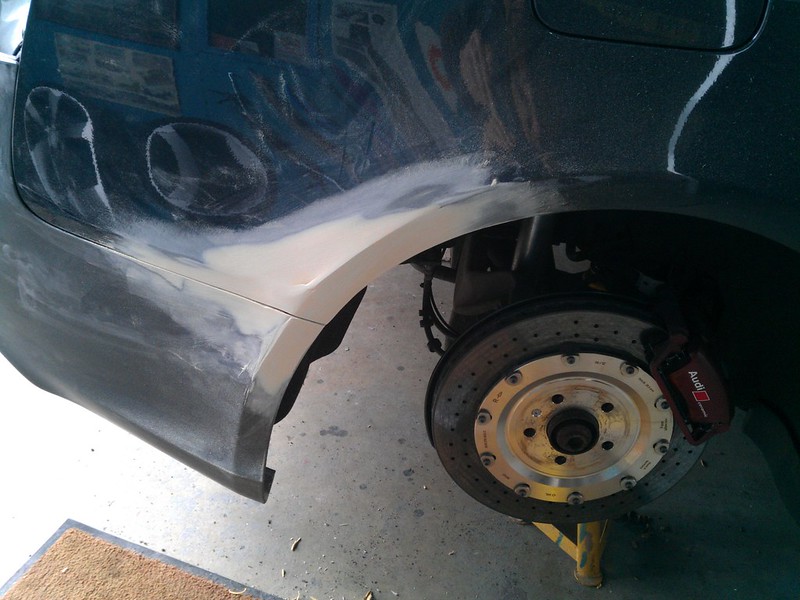
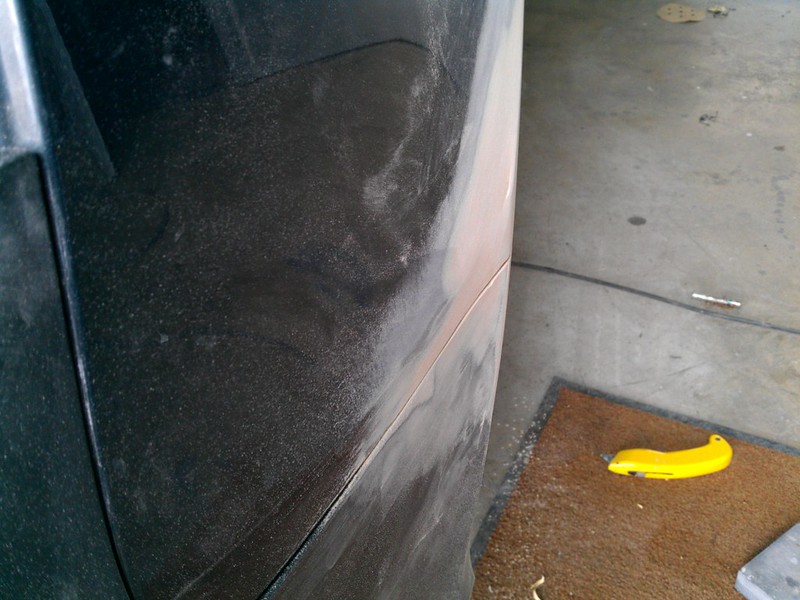
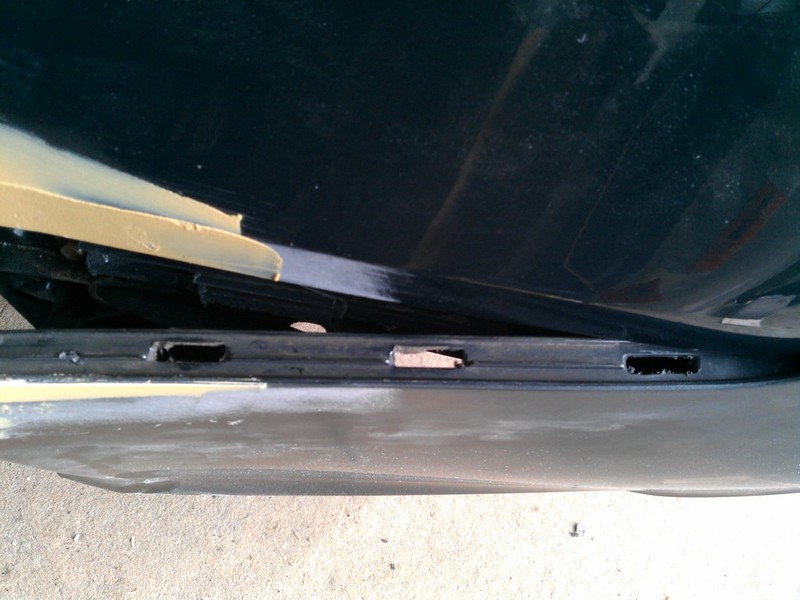
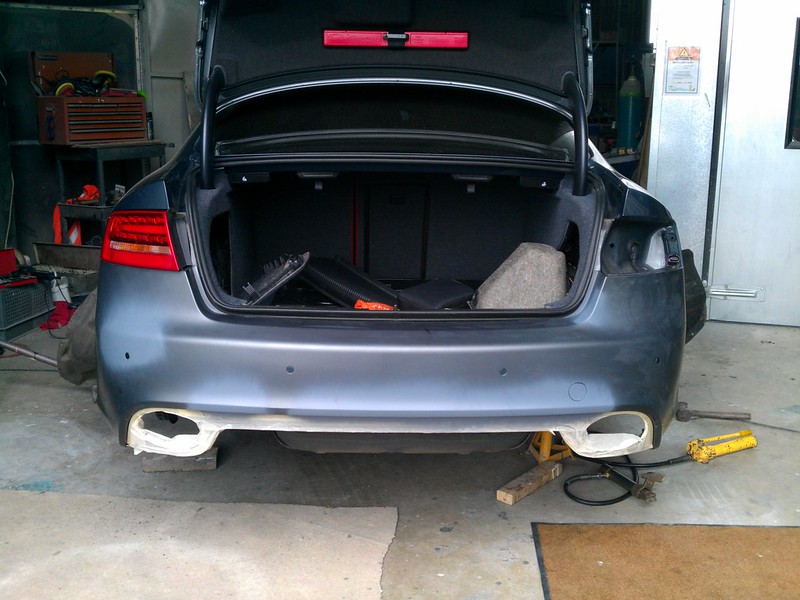
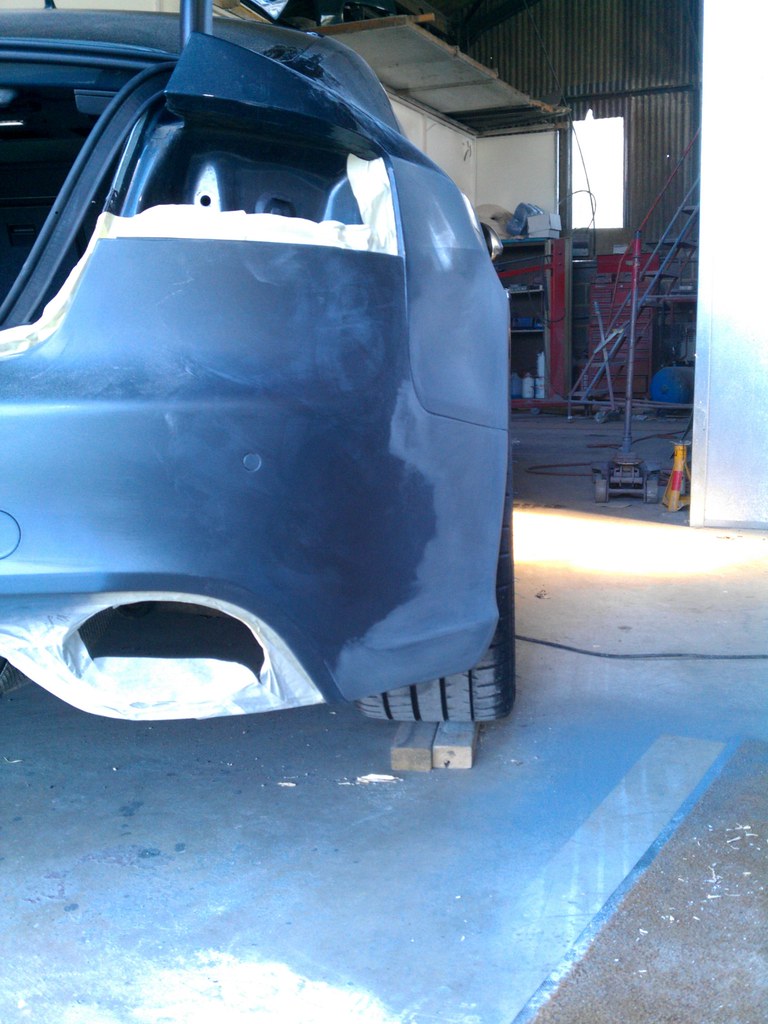
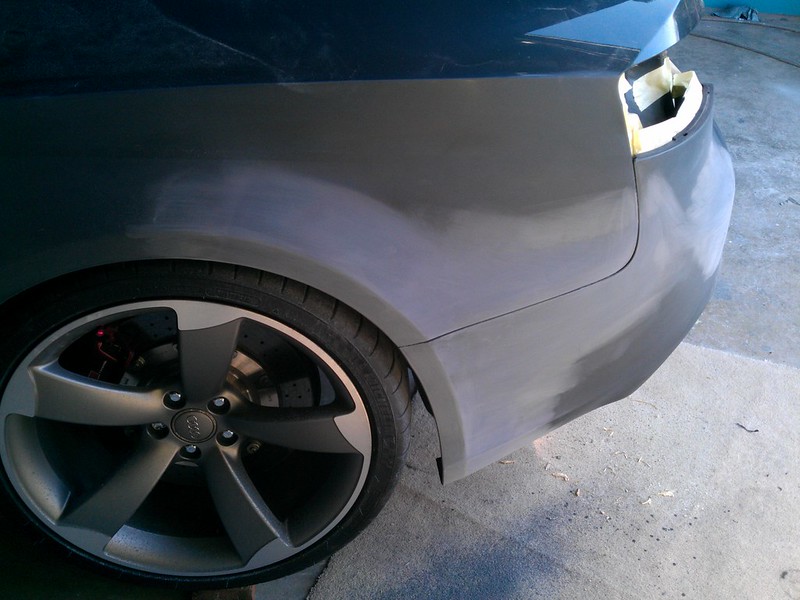
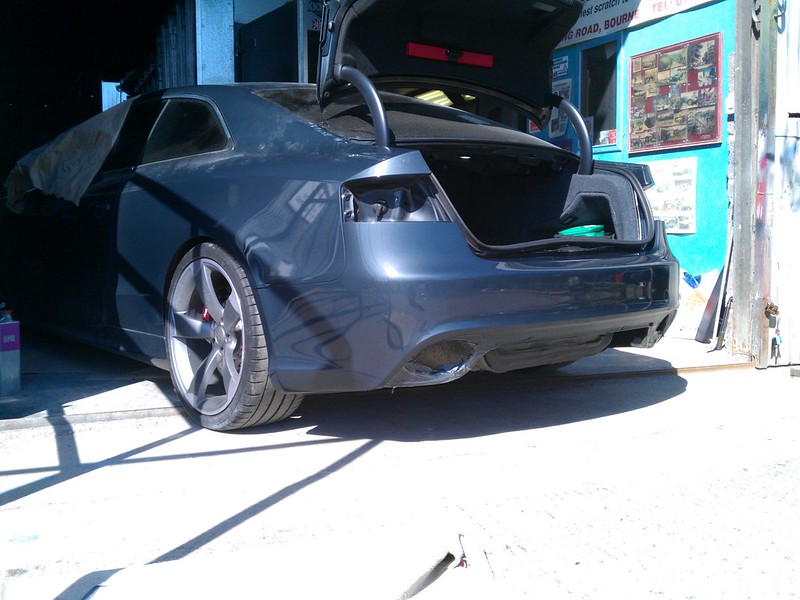
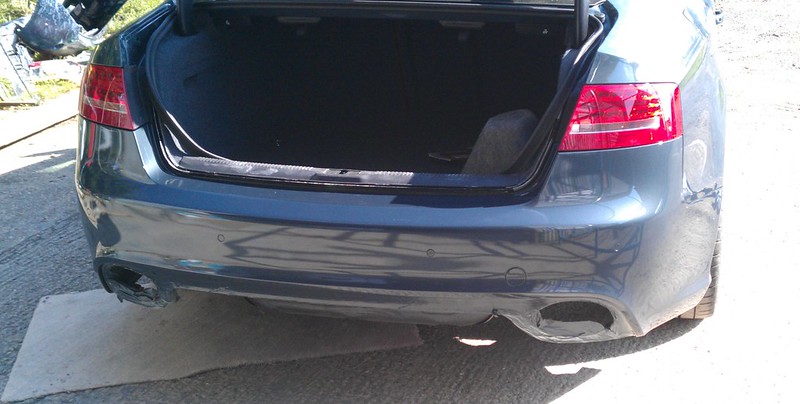
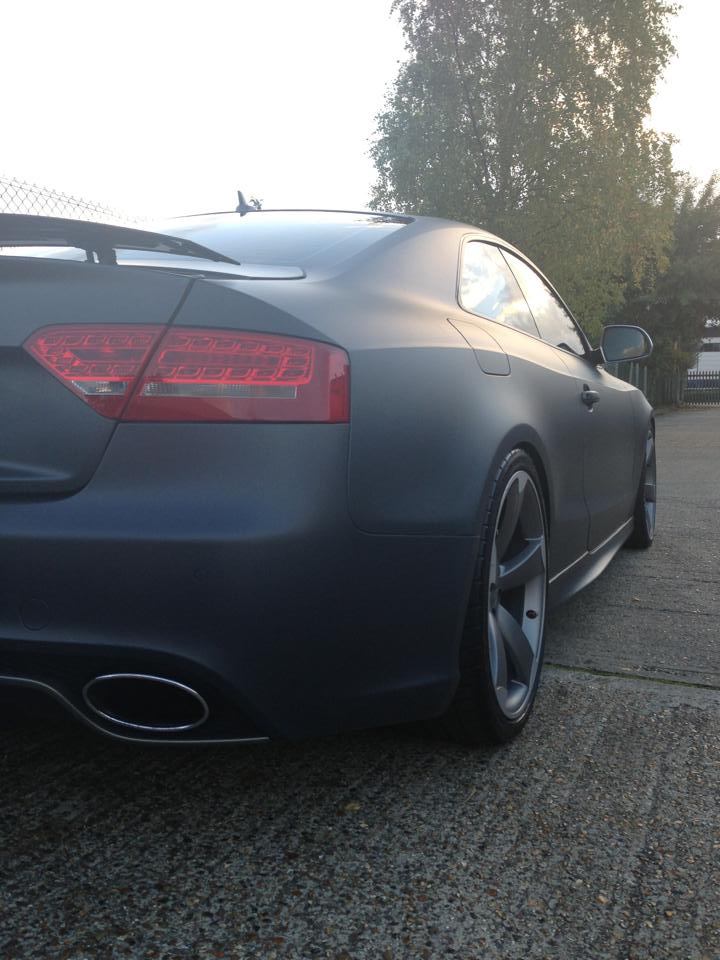
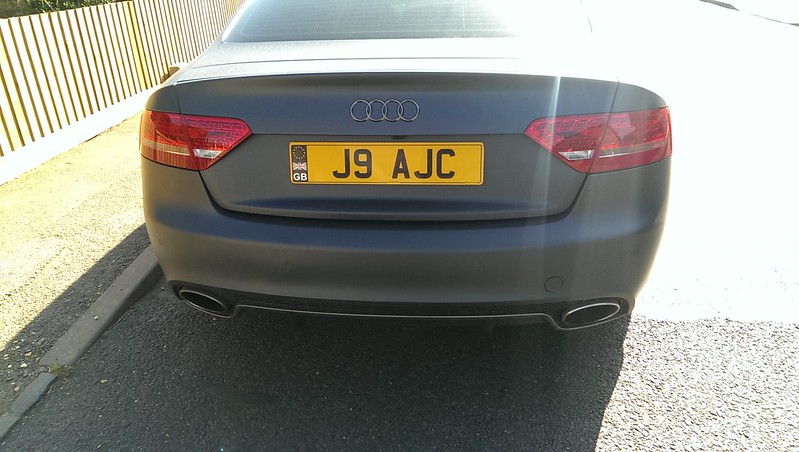
OEM RS5 rear bumper and valance - bought from llBen and self fit at Martin Bradley Body Repairs
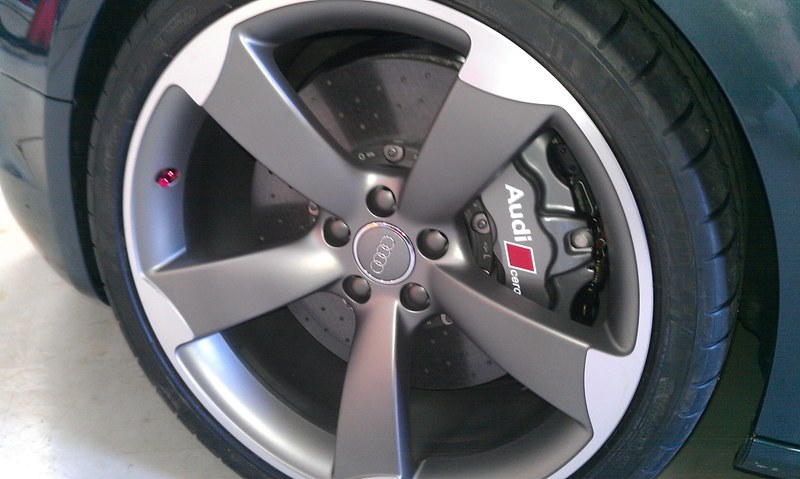
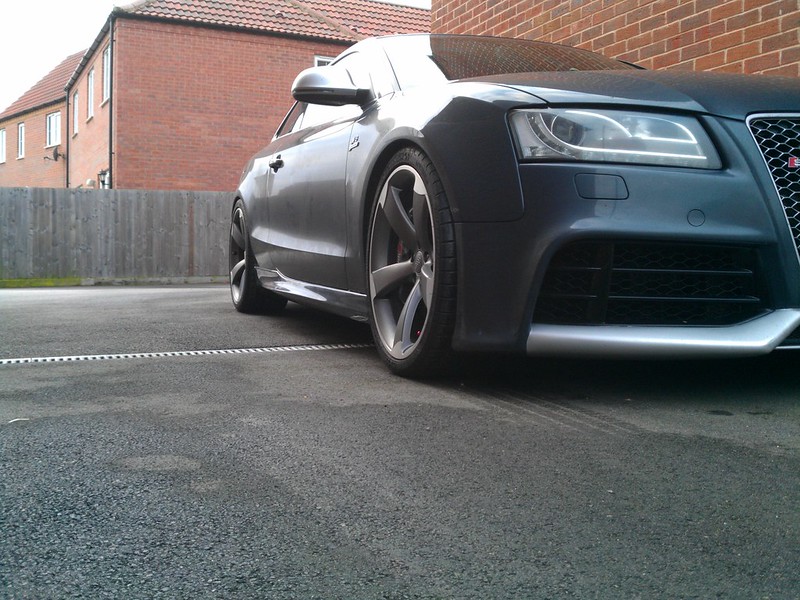
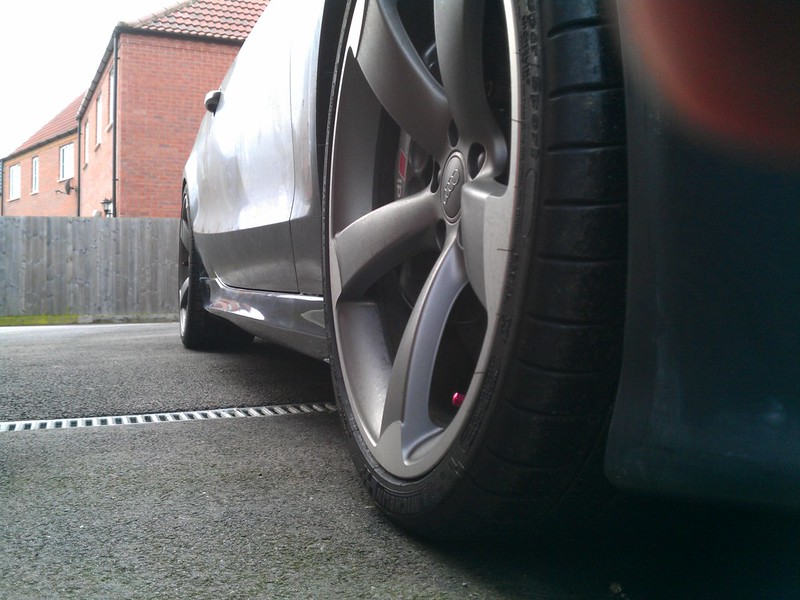
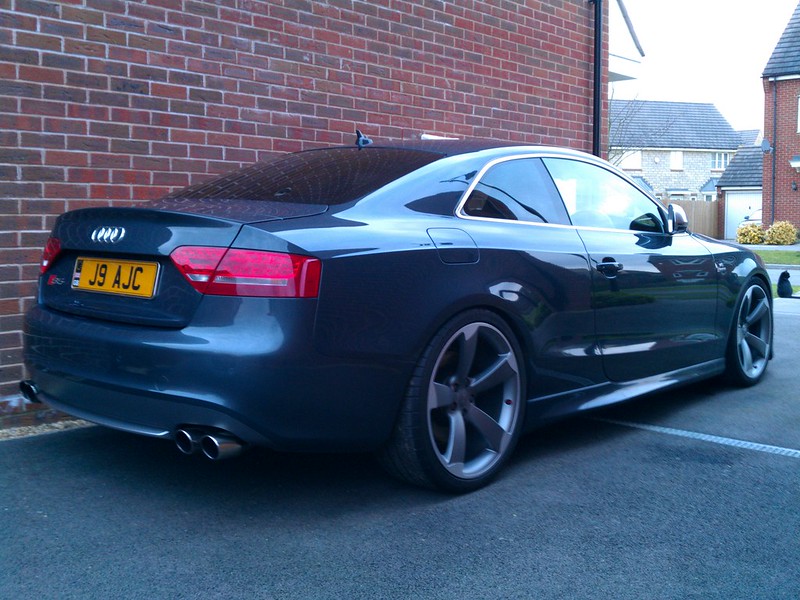
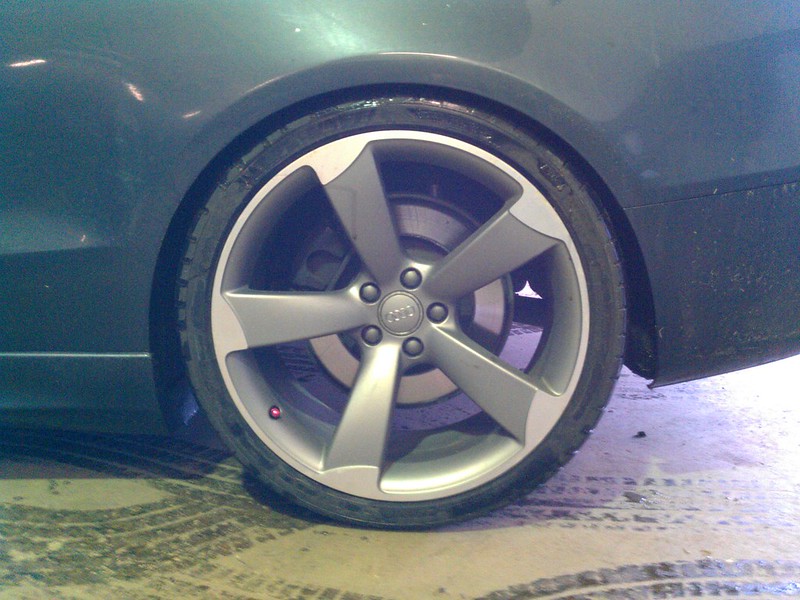
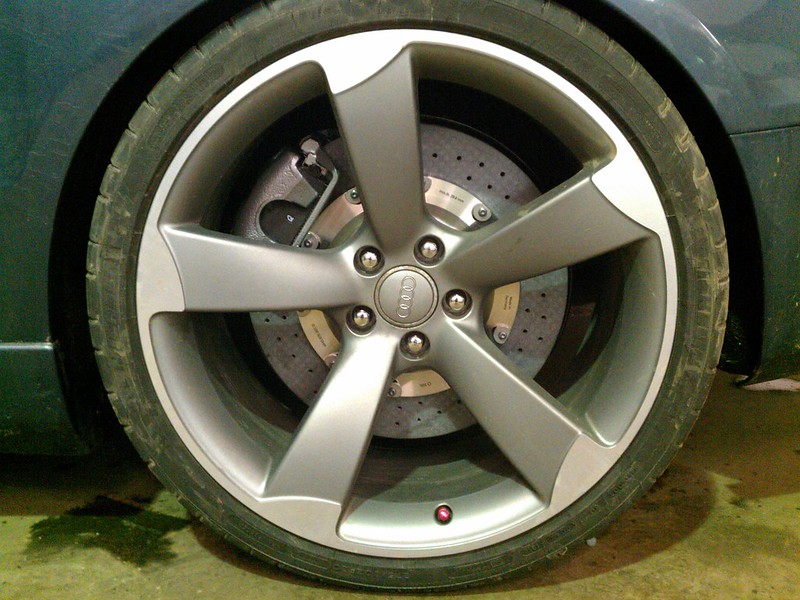
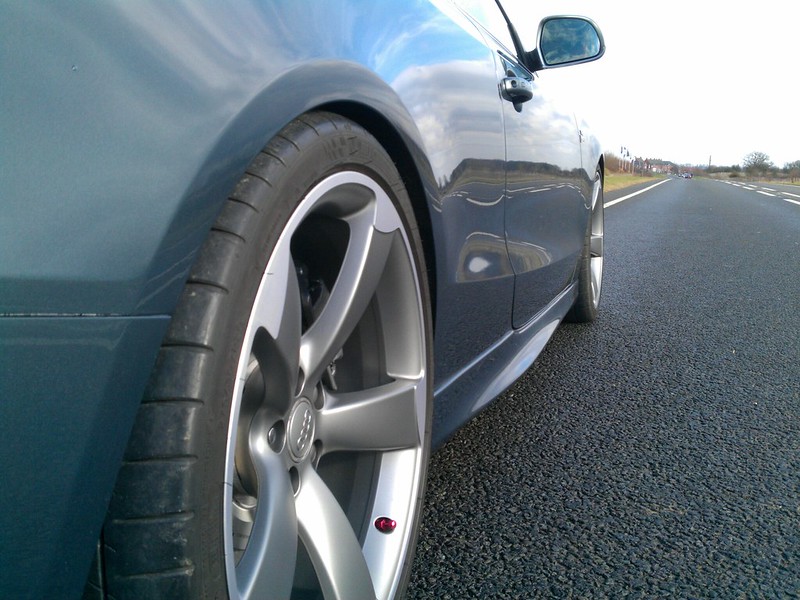
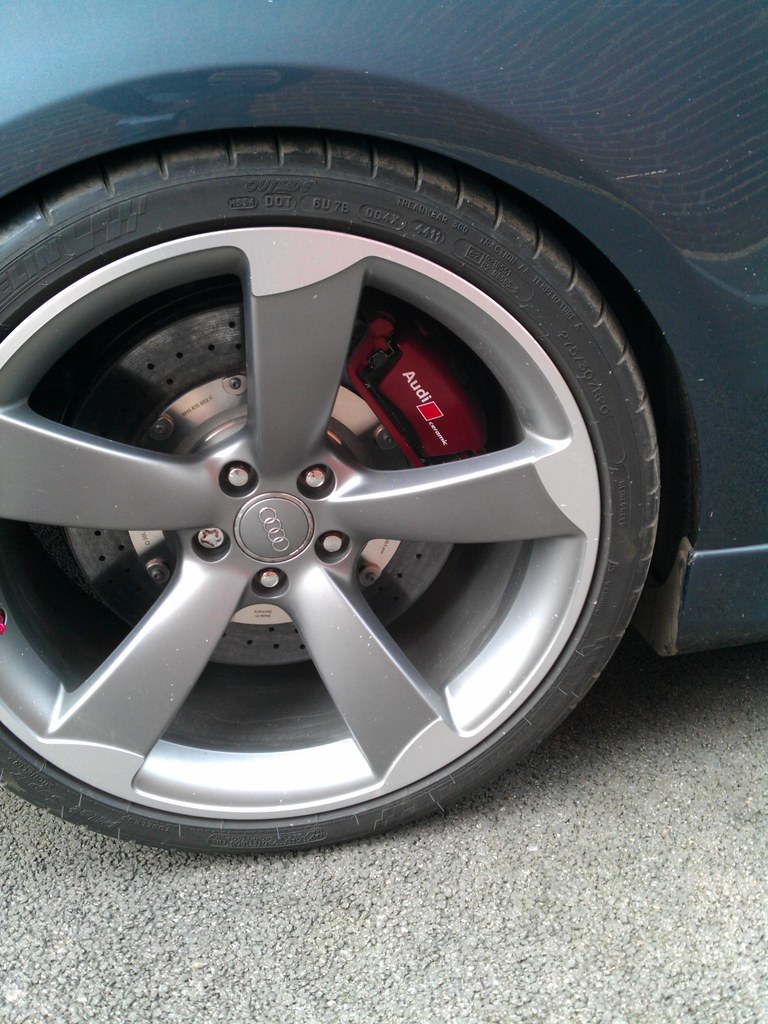
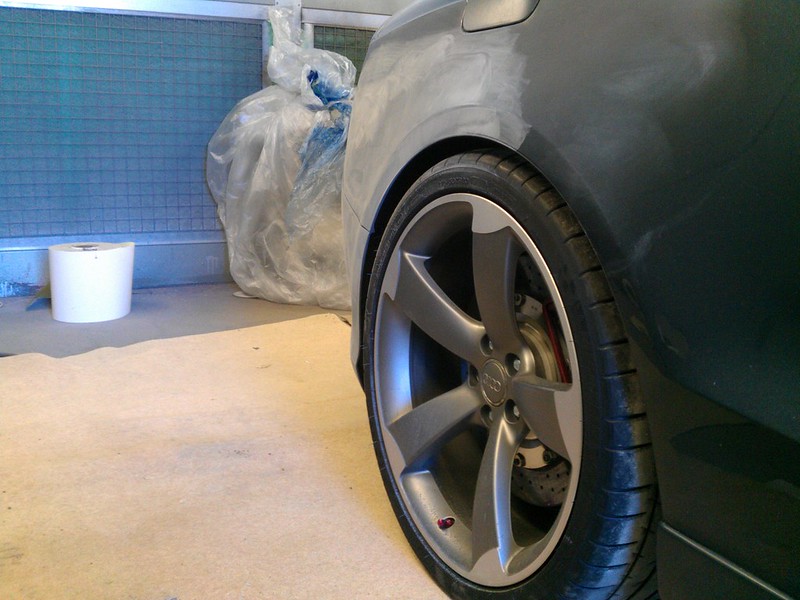
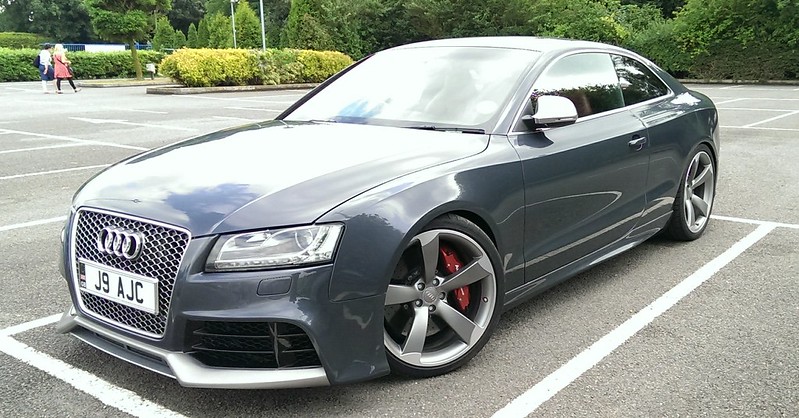
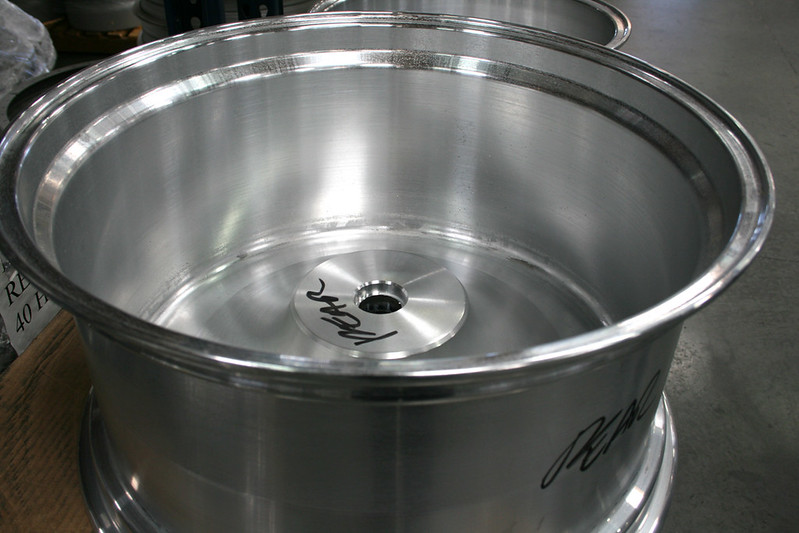
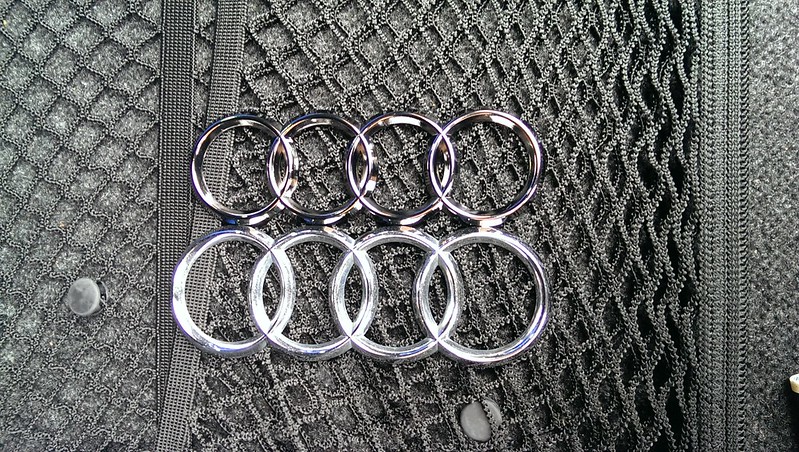
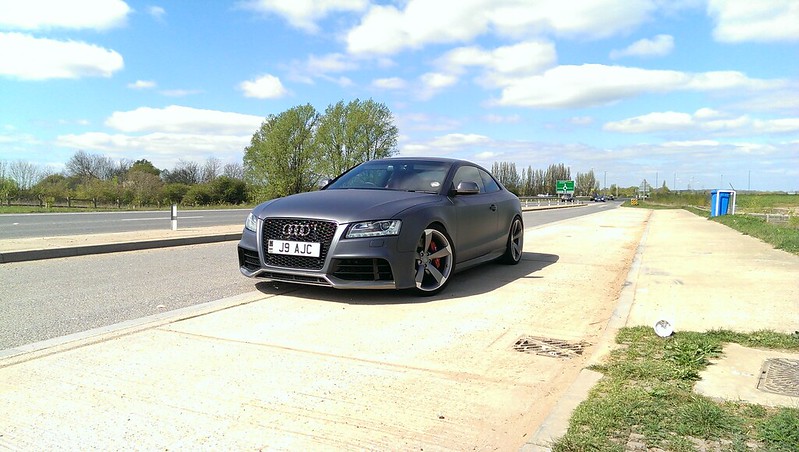
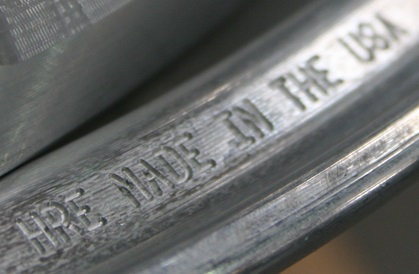
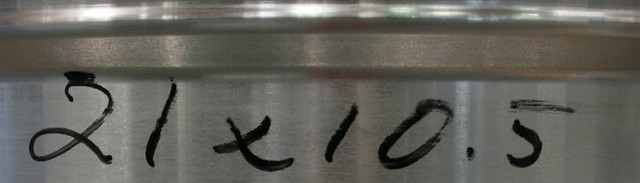
OEM RS5 20â Titan wheels - bought from LittleDevil and fitted at MRC Tuning
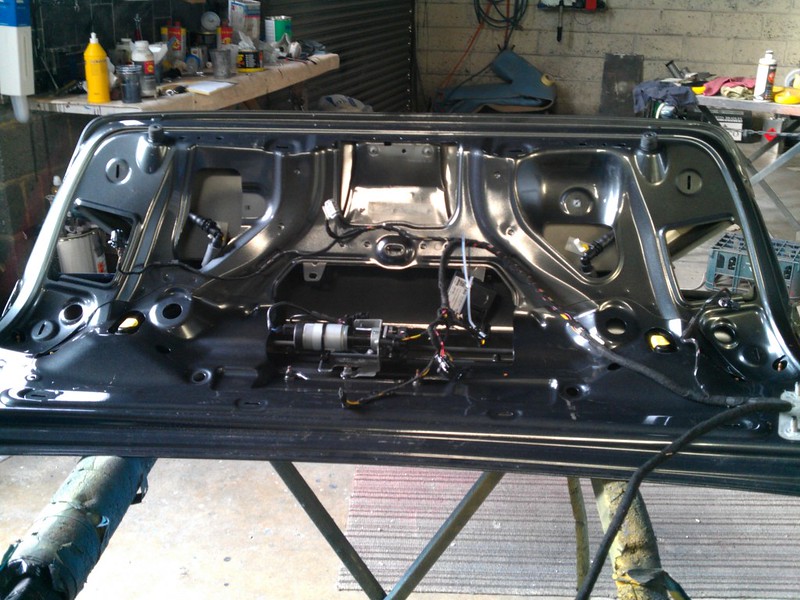
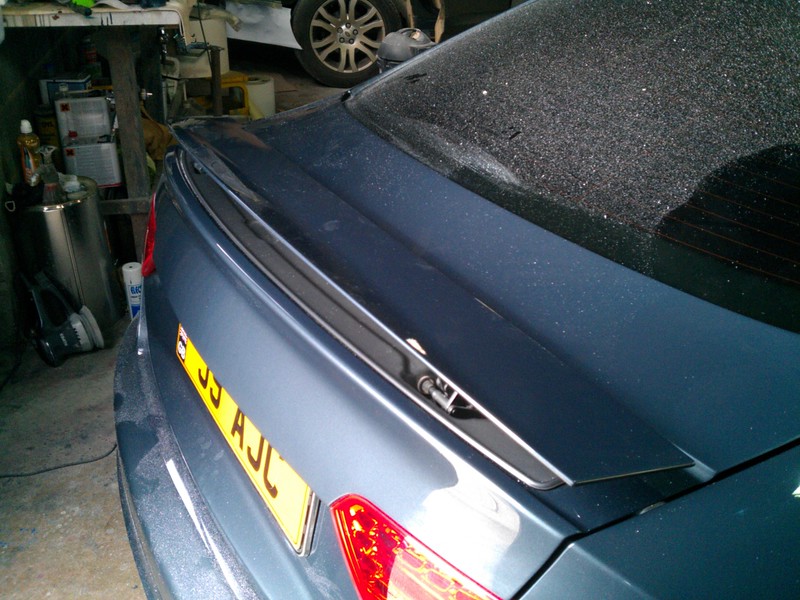
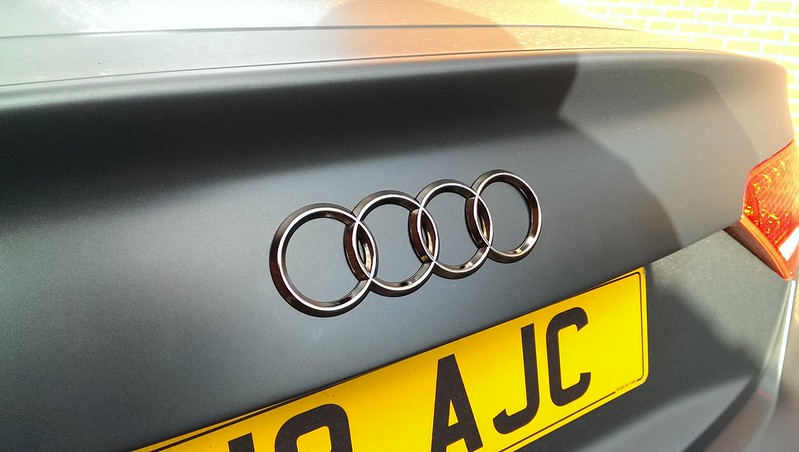
OEM RS5 Rear bootlid (with working spoiler) - bought from ebay and self fit. Loom/instructions from llBen
LED rear lights - fitted by VWCruise.com/hazzydayz
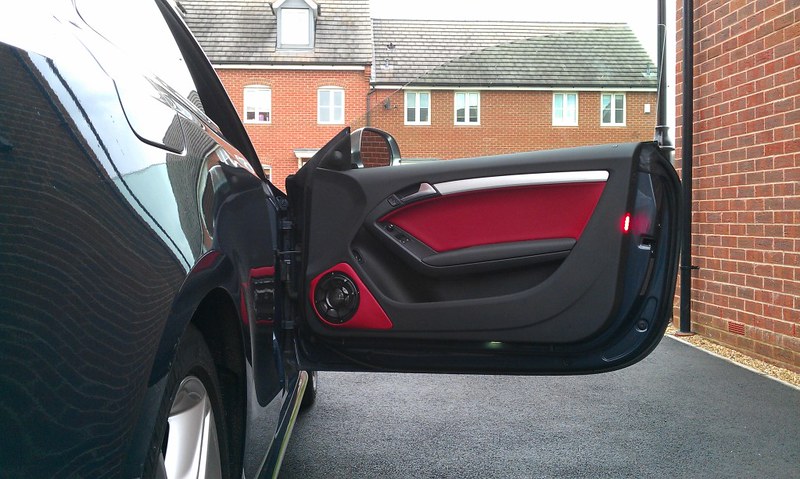
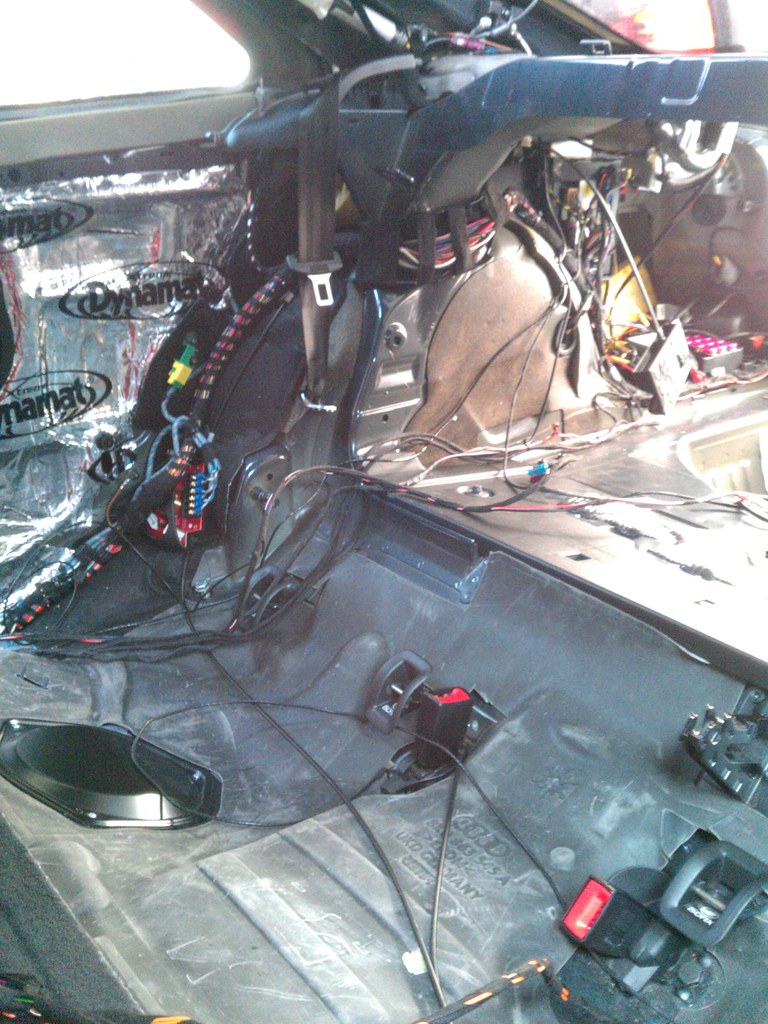
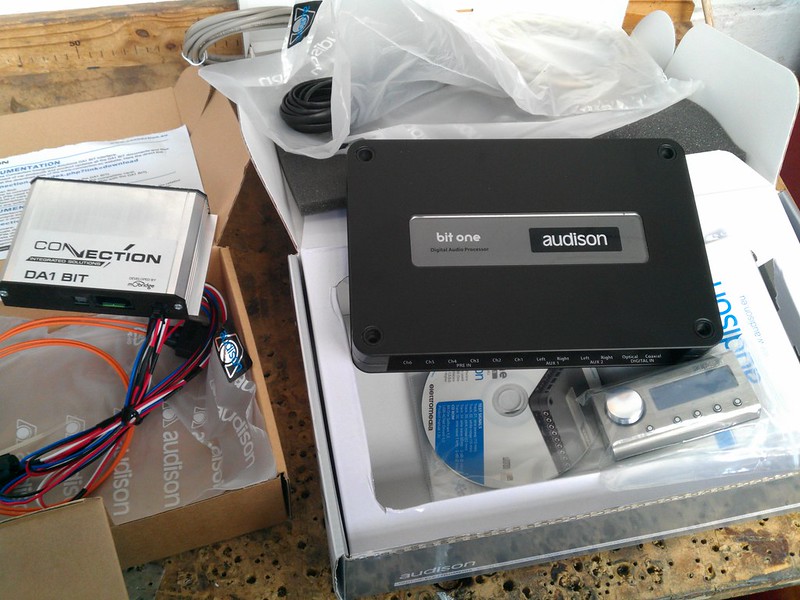
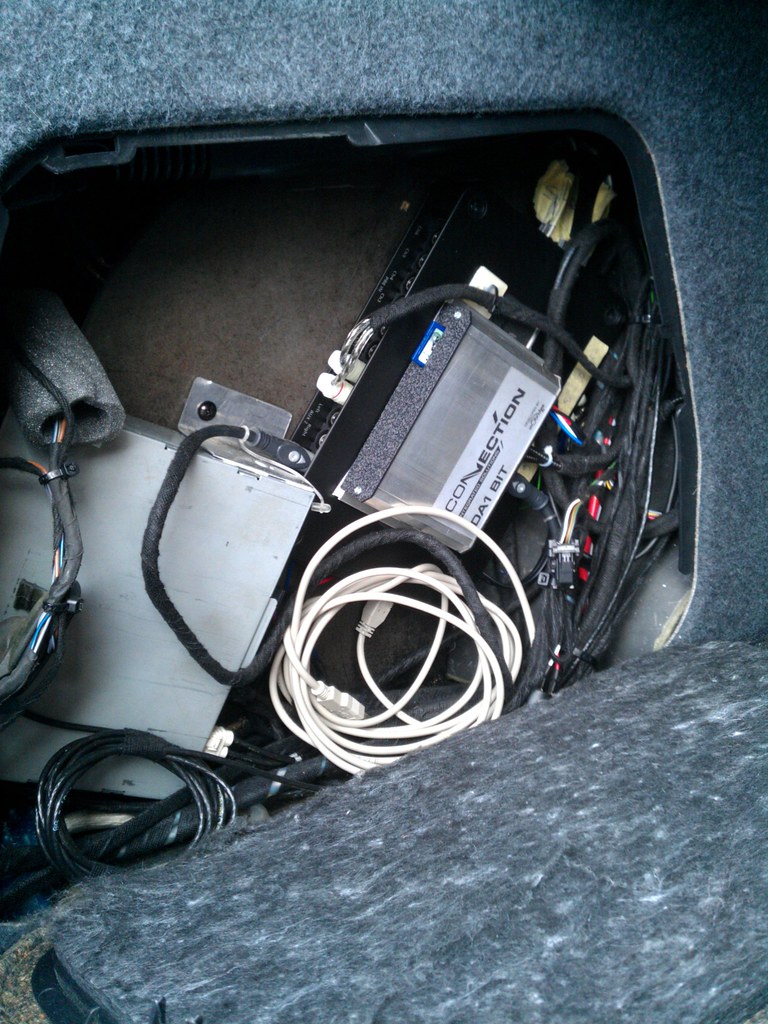
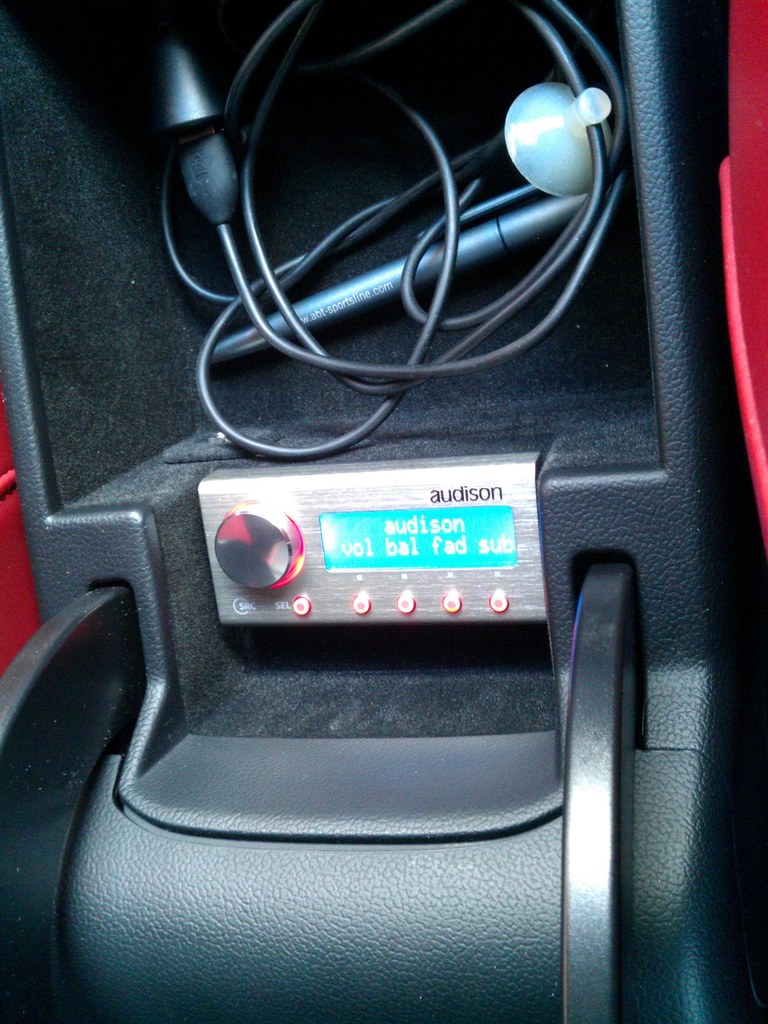
Custom stereo (speakers, amps and sub) - fitted at Auto Audio Installations
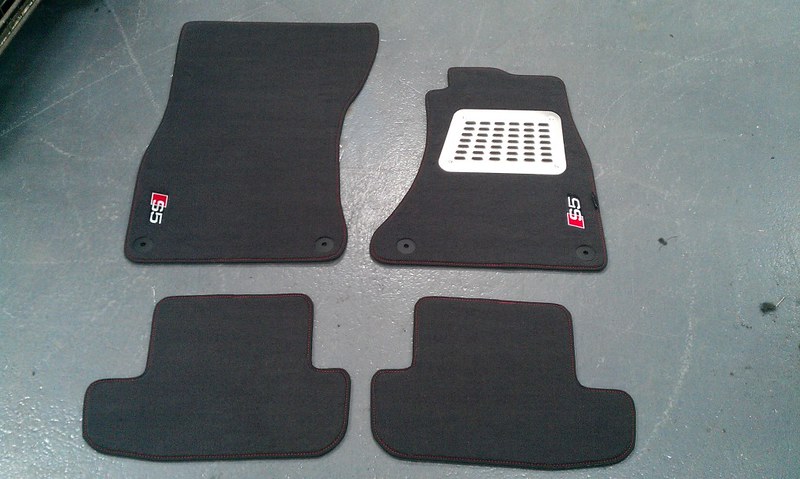
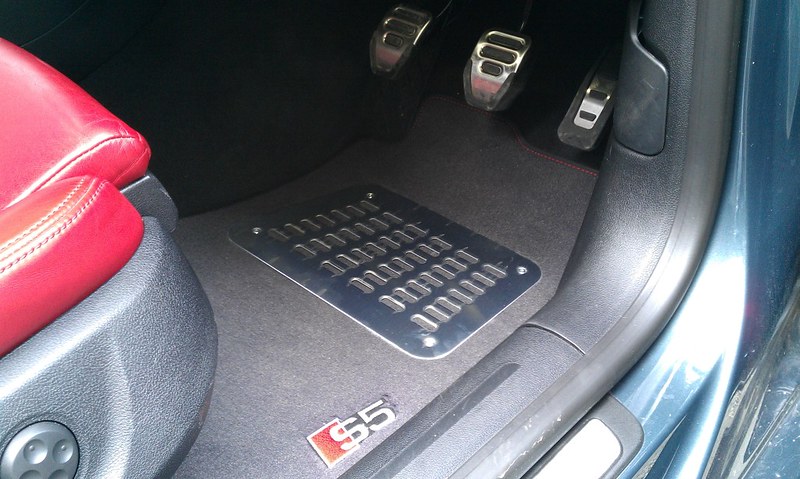
S5 custom mats - fitted at Autostyle UK
Chrome interior vent trims - bought from ebay and self fit
Interior LED lights - fitted by t8ups/EM Tuning
RS pedal set - bought from ebay and self fit
OEM cupholders (Large: 8X0 864 575 / Small: 420 087 017) - bought from ebay and self fit
Facelift chrome buttons (door/boot/console) - fitted by VWCruise.com/hazzydayz
Audi North America Cargo boot luggage storage system - bought from ECS Tuning and self fit
Tinted Windows - fitted at Auto Audio Installations
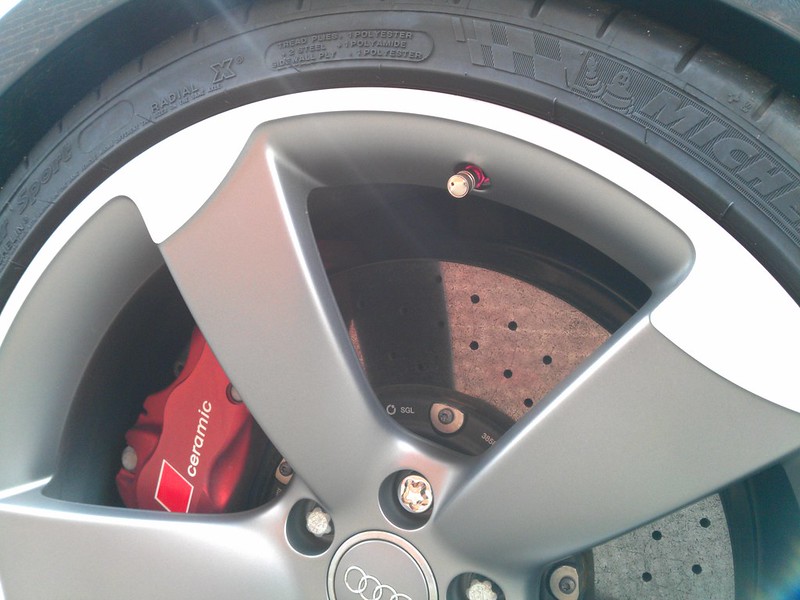
Metallic red tyre valve caps - bought from eliseparts.com and self fit
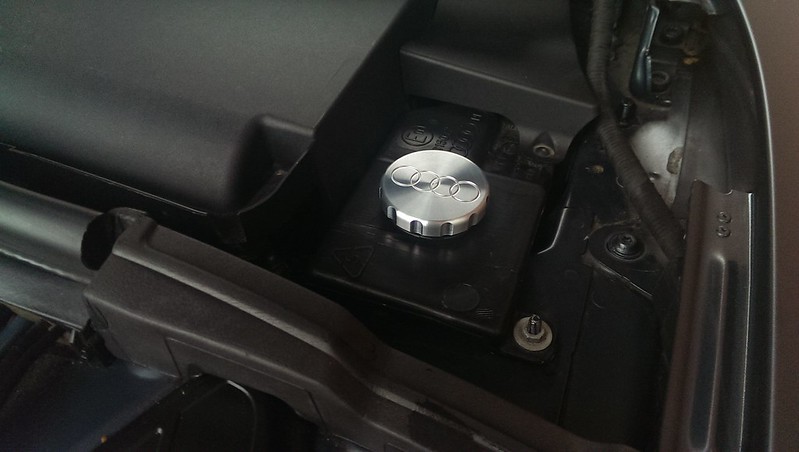
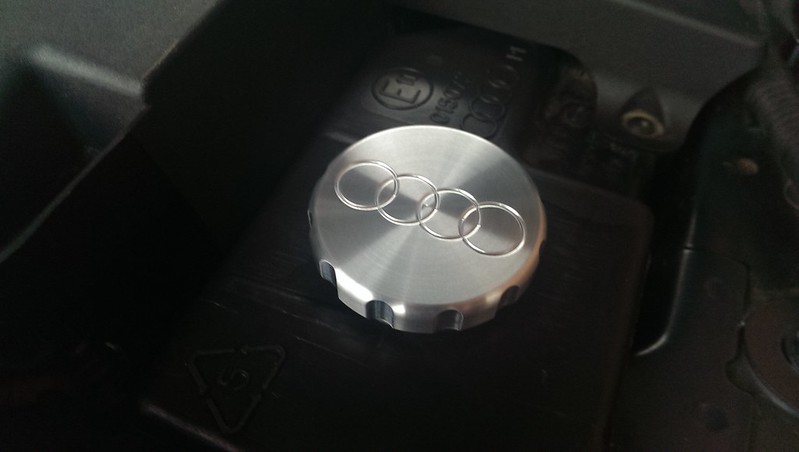
R8 Oil Cap (420103485B) - bought from ebay and self fit
R8 Coolant Cap (420121321) - bought from ebay and self fit
Audi 'Legends' AMI External Hard Drive 500gb (8R0063827A) - bought from ebay and self fit
Audi Tyre Repair Gel 8E0012619 - bought from ebay and self fit
Audi Tyre Pump/Inflator 8P0 012 615 A - bought from ebay and self fit
Audi A1 LED Rear number plate lights (FITTING) - bought from Dealer and self fit
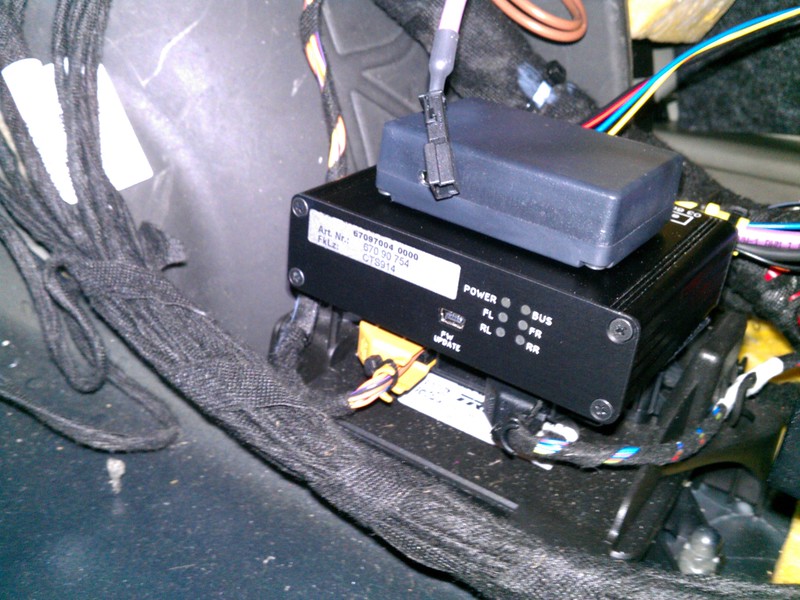
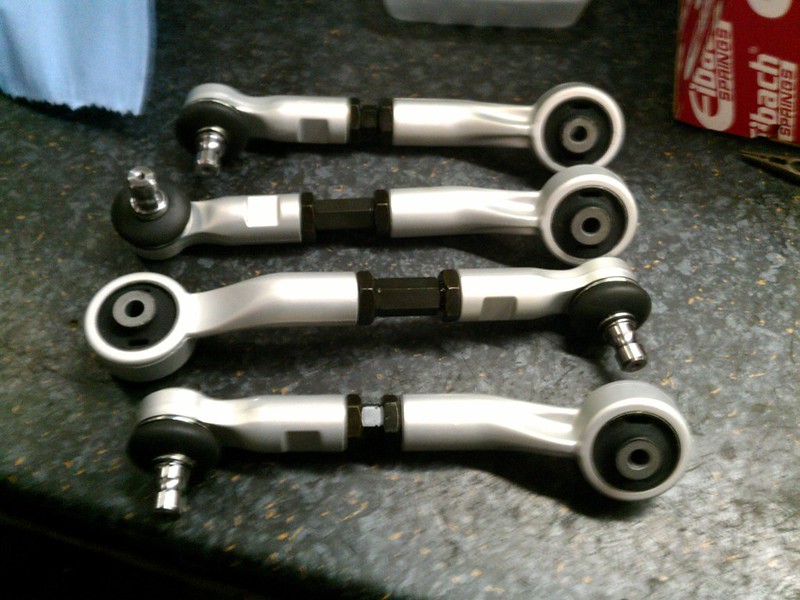
SPC Adjustable Upper Control Arms (FITTING) - bought and fitted at JabbaSport
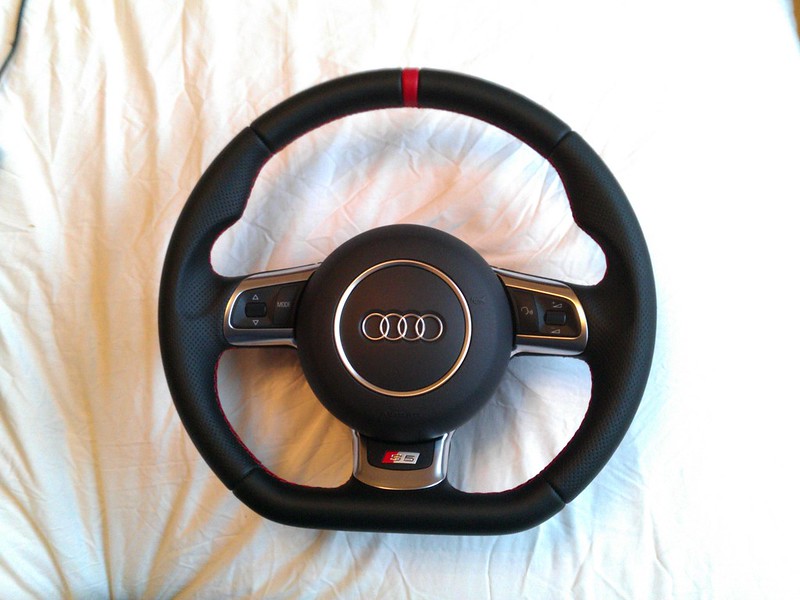
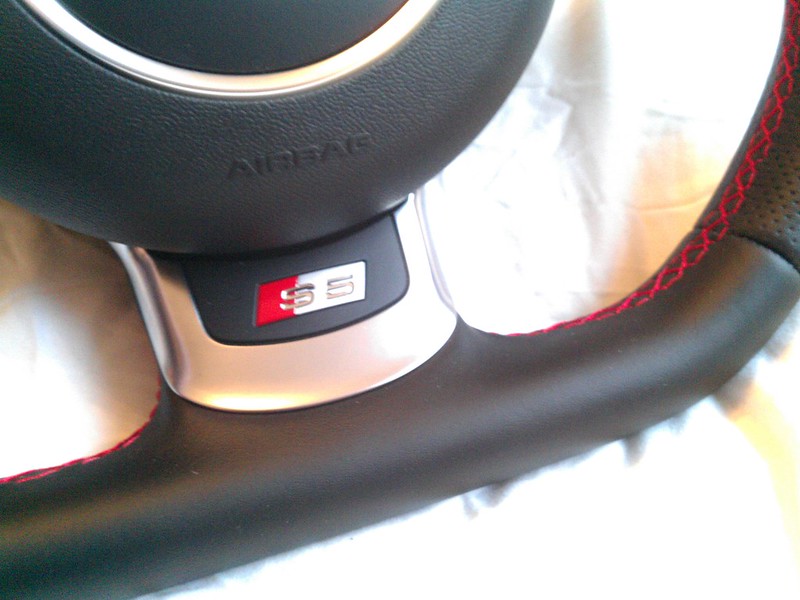
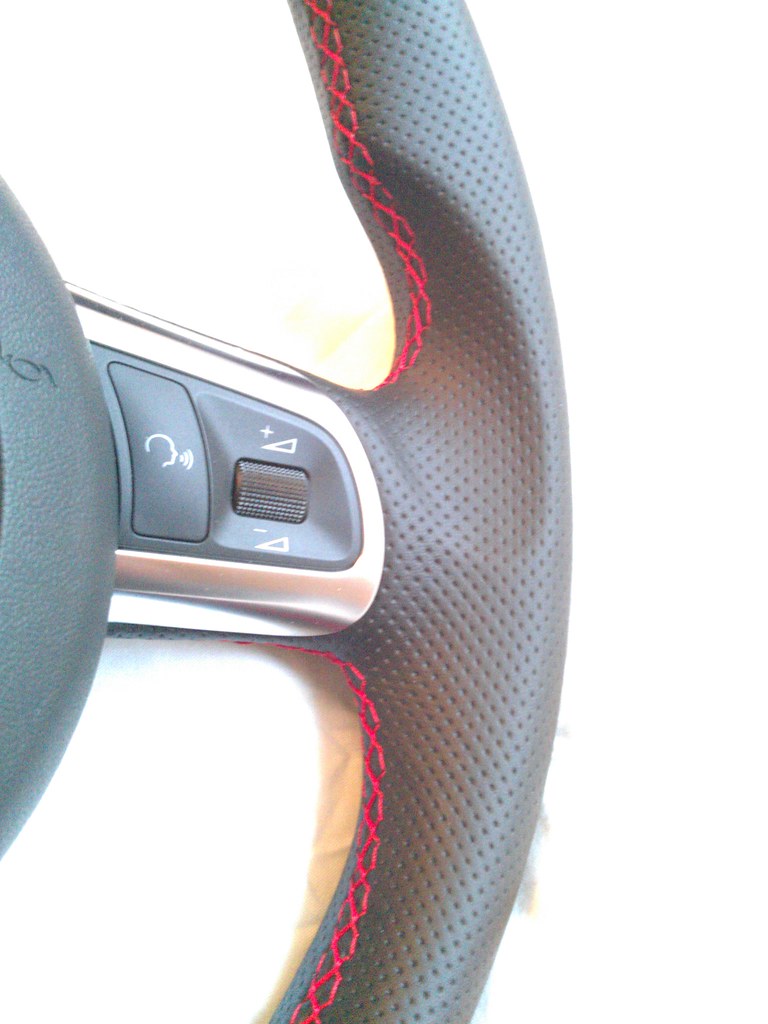
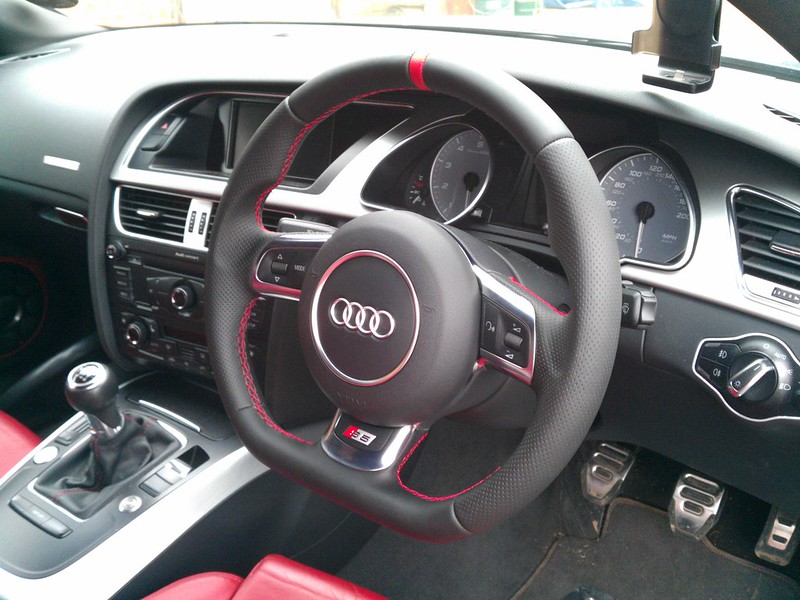
RS6 Steering Wheel with TT Airbag (FITTING) - bought from eBay and self fit
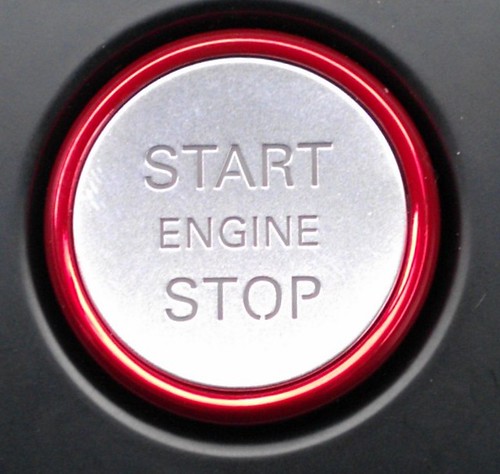
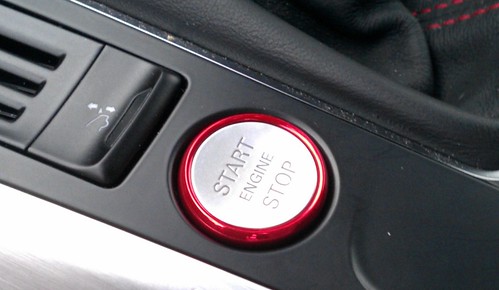
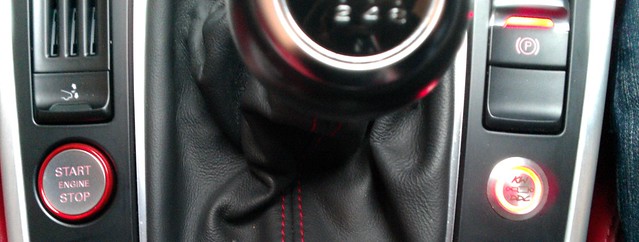
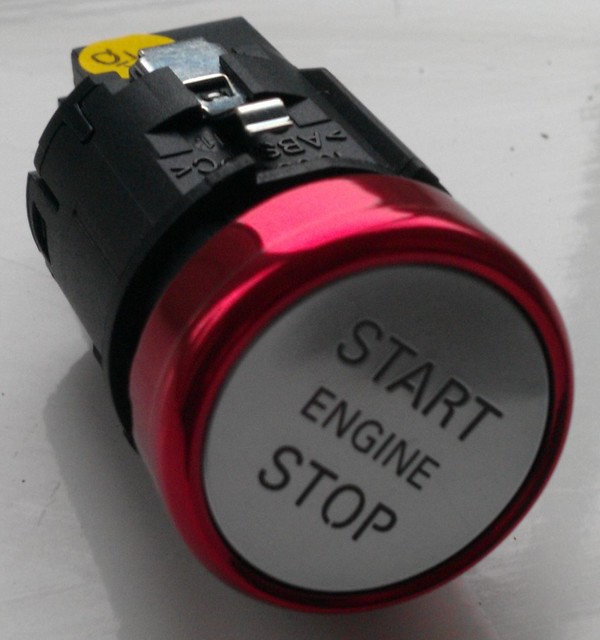
S6/S7 (C7 Model) Start Button (FITTING) - bought from dealer
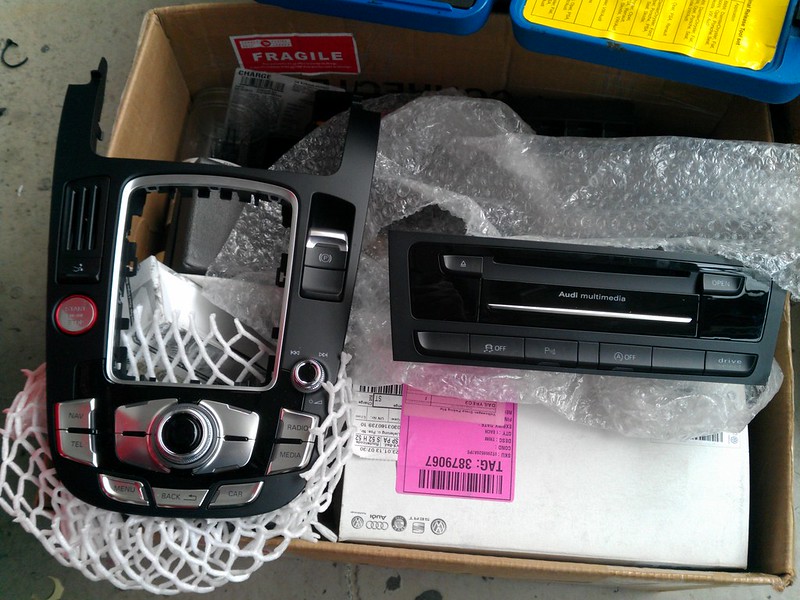
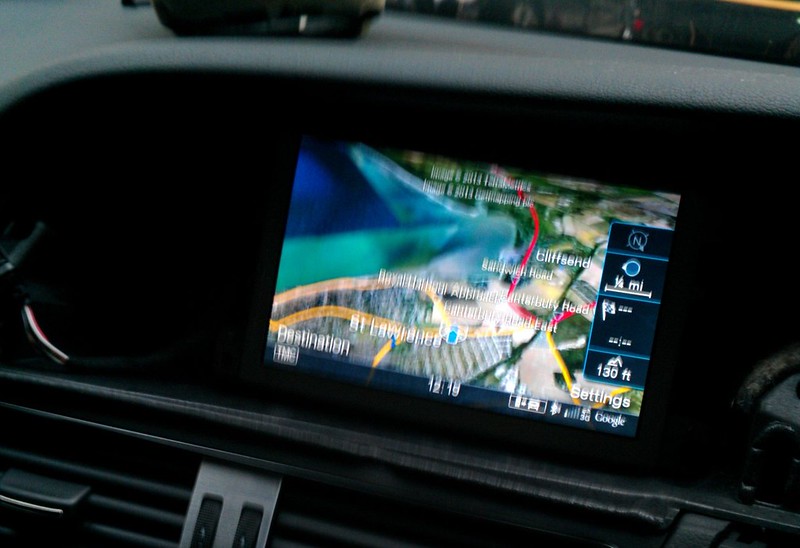
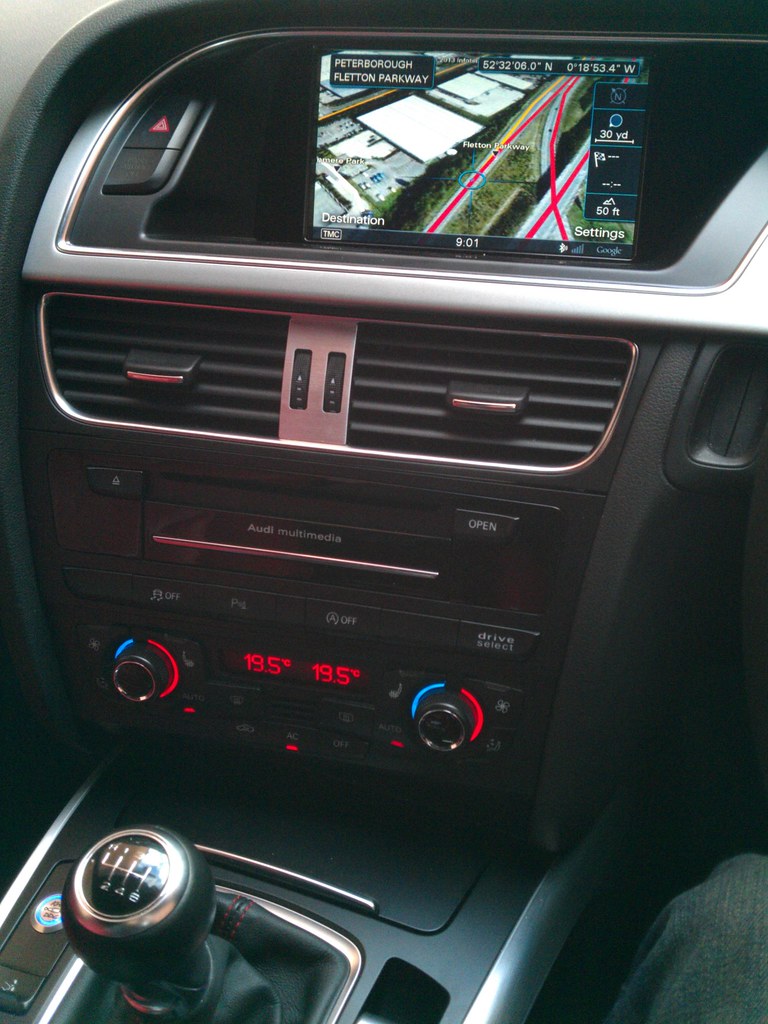
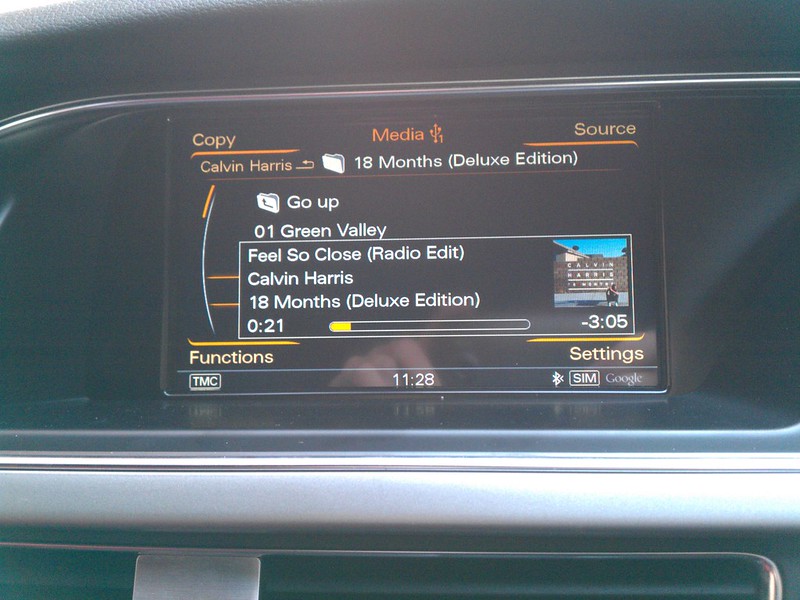
Google MMI 3G+ Nav, including DAB radio - bought and fitted by llBen
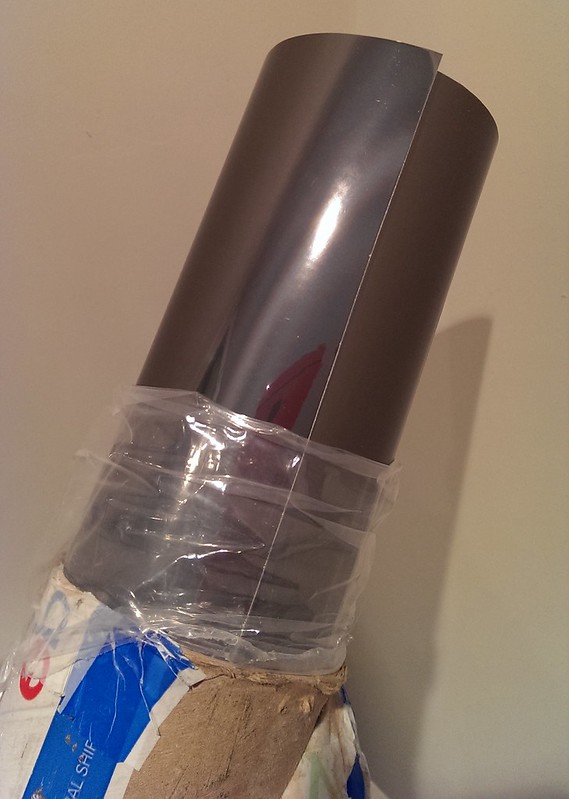
Transparent Matte Wrap - applied at Valet Magic
Mini0801 Dashcam - bought from Amazon and self fit
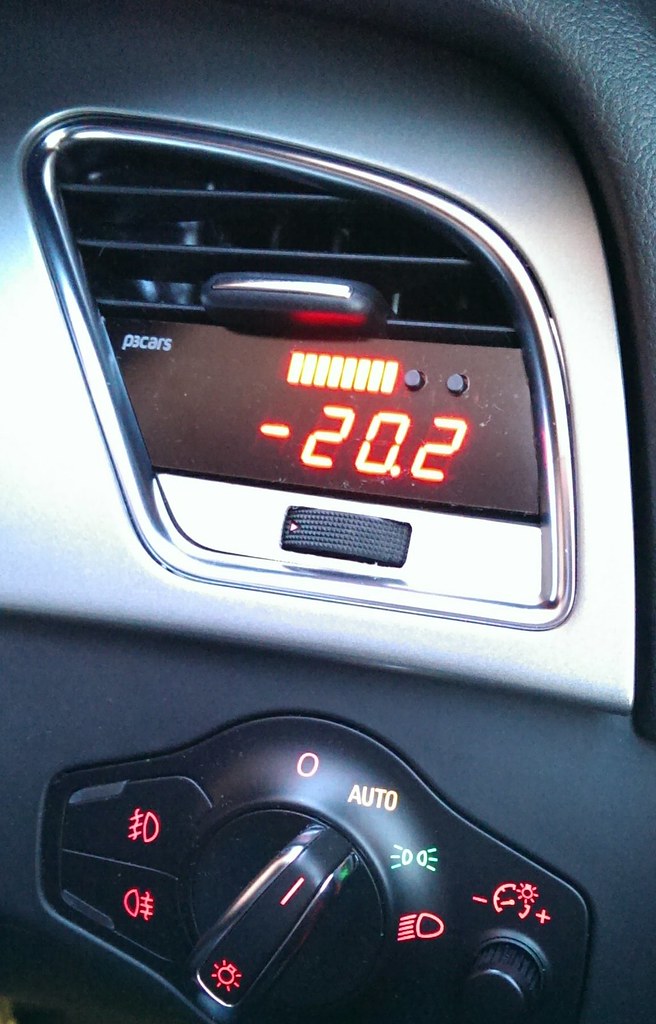
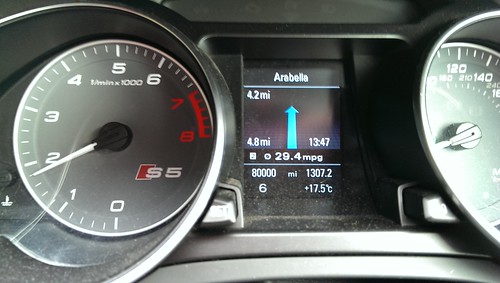
P3Cars Digital Boost Gauge - self fit
S5 RETROFITS
Parking Plus System (adding 4 front sensors and parking camera) - bought and fitted by llBen
Cruise control - fitted by VWCruise.com/hazzydayz
Auto-dimming rear view mirror - bought from ebay and self fit
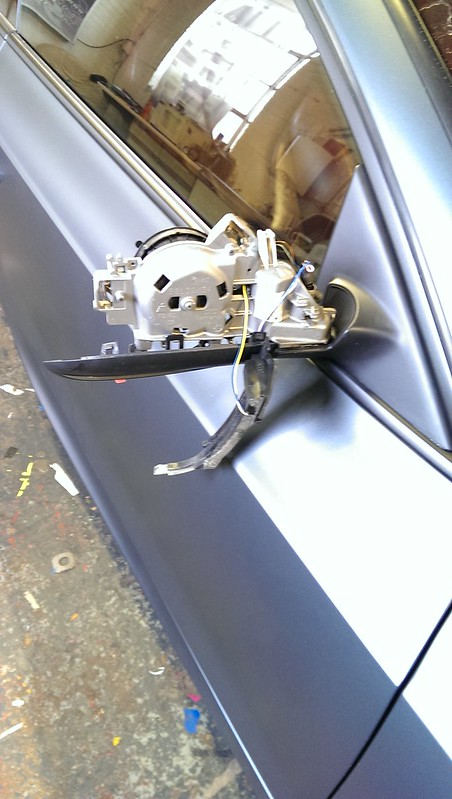
Folding/dimming door mirrors (FITTING) - fitted by VWCruise.com/hazzydayz
Advanced Key - Keyless Go and Keyless Entry - fitted by VWCruise.com/hazzydayz
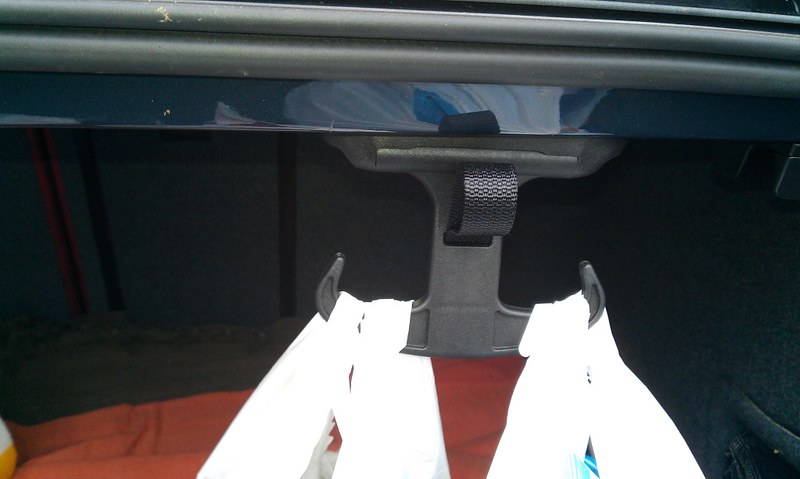
Luggage Hooks - bought from dealer and self fit
Boot side netting - bought from dealer and self fit
Boot cargo net - bought from ebay and self fit
Memory Seats activation and door panel buttons - fitted by VWCruise.com/hazzydayz
Audi Music Interface (AMI) - fitted by VWCruise.com/hazzydayz
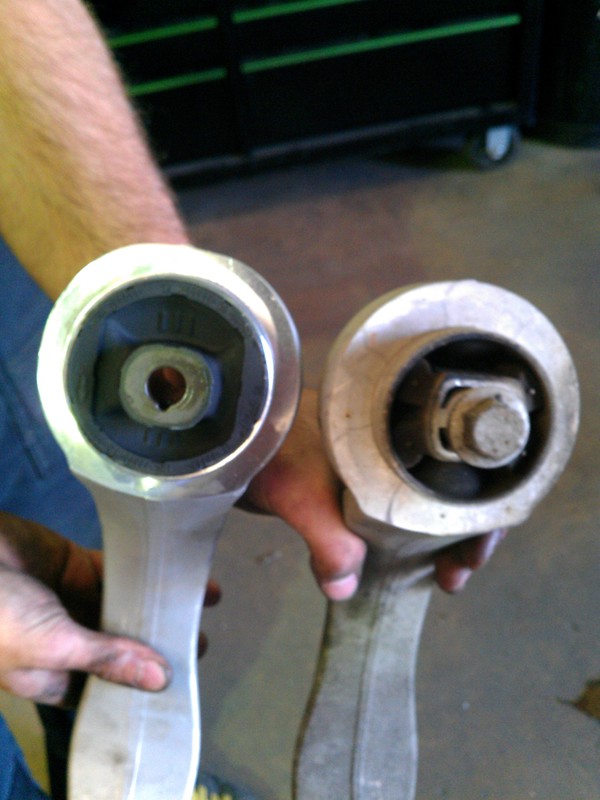
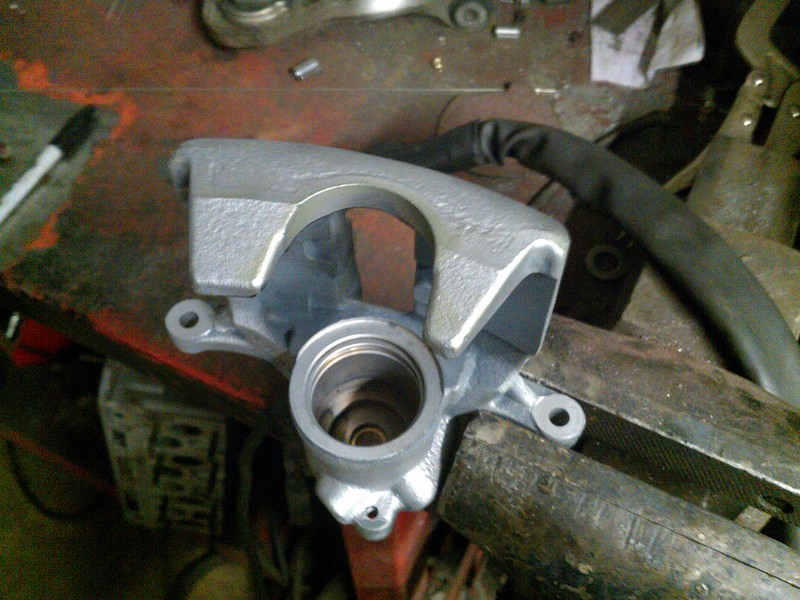
OEM Updated lower control arm kit - fitted at Jabbasport
=========================================================
The Journey so far (28th May 2012)...
Hi all,
Been an Audi driver since 1998 and had a workhorse A4 1.8 from new until last September (2011) when at 140,000 miles with lots of outstanding repairs it had to go.
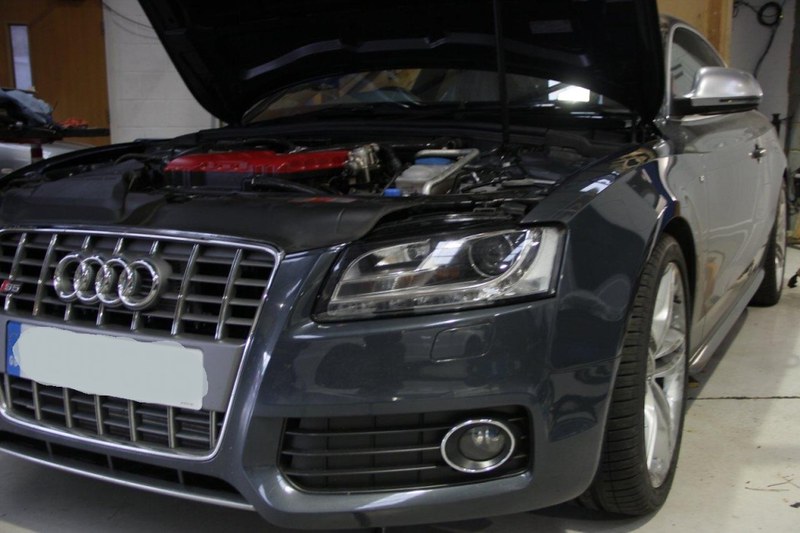
After much debating I bought a 2008 S5 Coupe in Meteor Grey with Magma Red interior. I've had her a while, not that many factory options, and a few simple mods so far, but the real work starts now the warranty has gone.
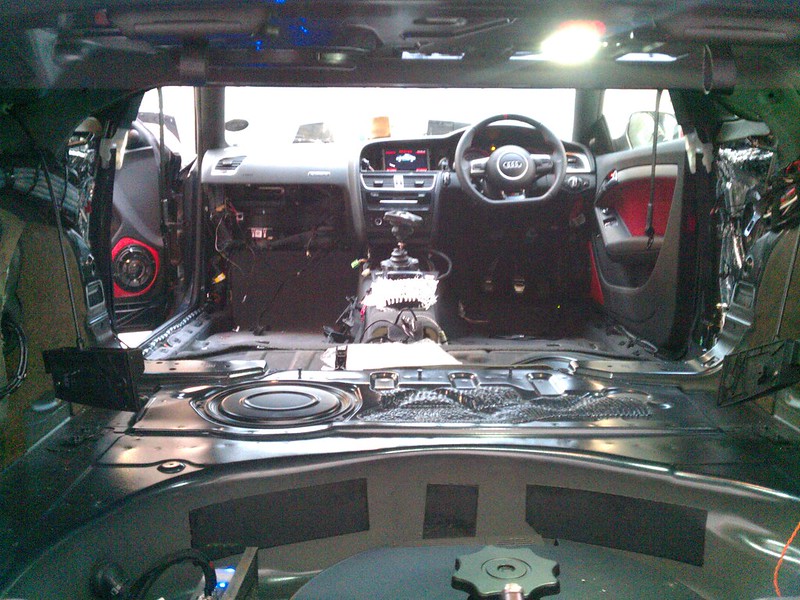
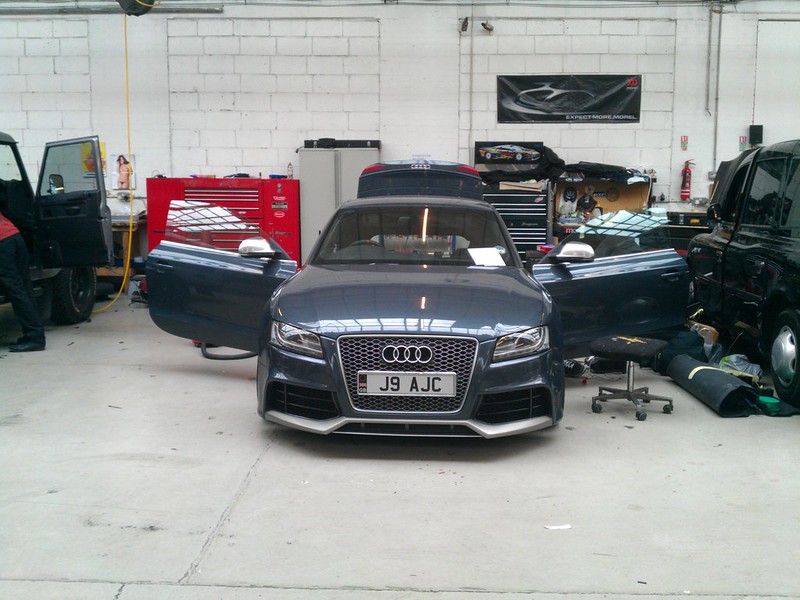
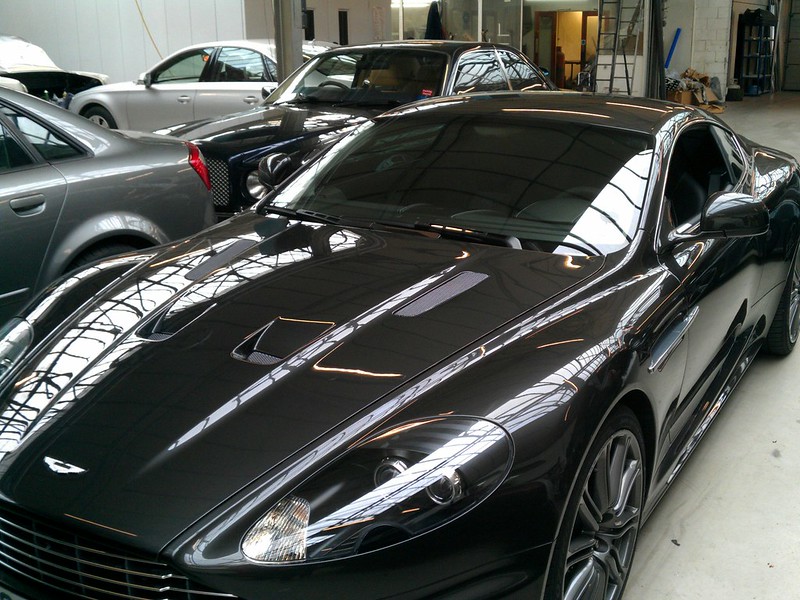
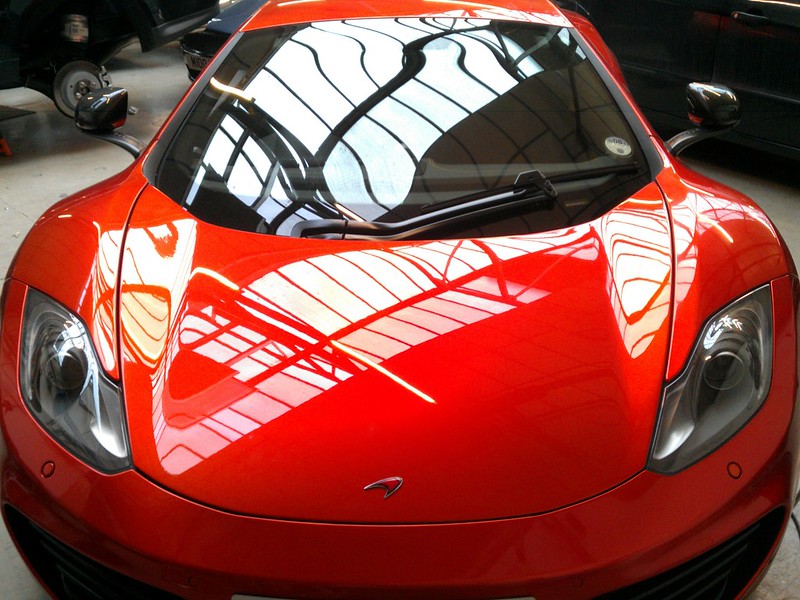
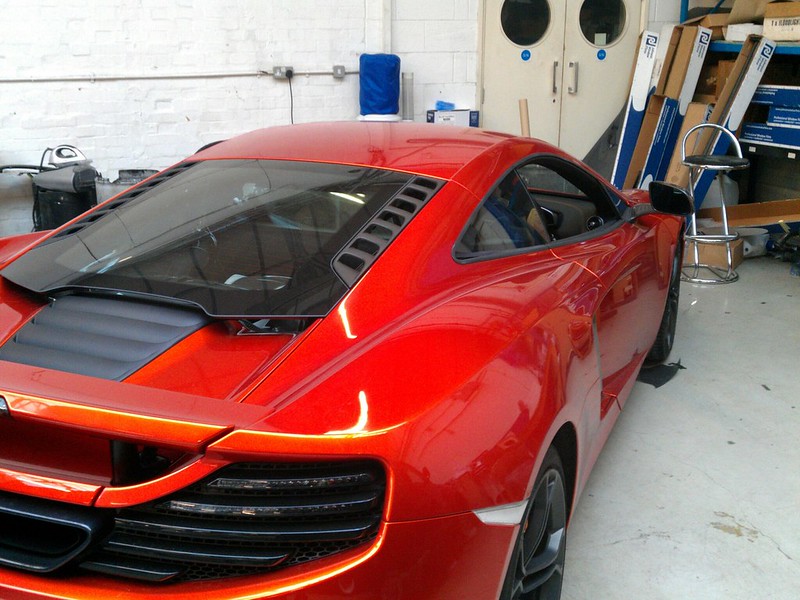
I'm having an aftermarket amp and speaker setup fitted. My car is currently with Auto Audio Installations in London. I have to say I am very impressed with their work and the workshop is full of exotic cars, made my S5 look like a bit of a joke in comparison to the Porsche, Bentley, etc.
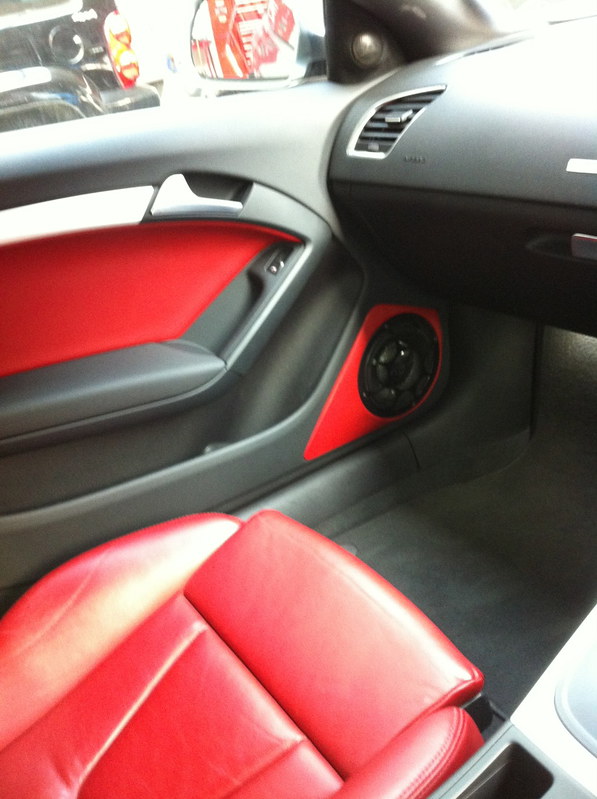
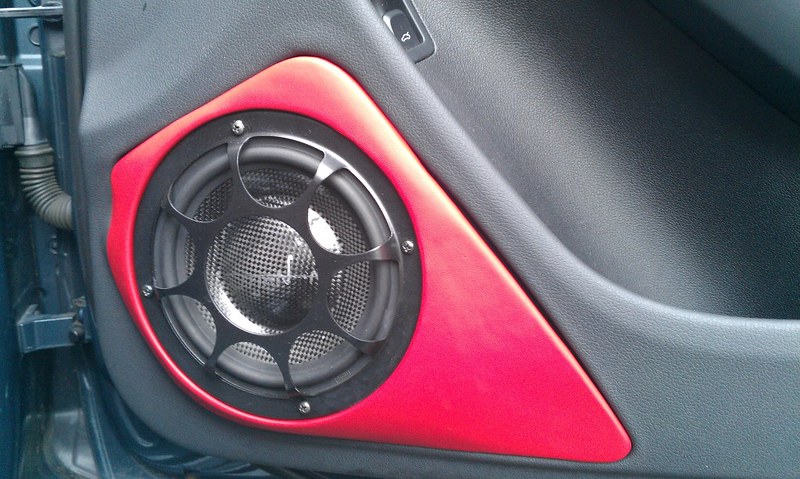
The build will include Morel Limited Edition Elate 2-way speaker setup for the front (housed in the doors):
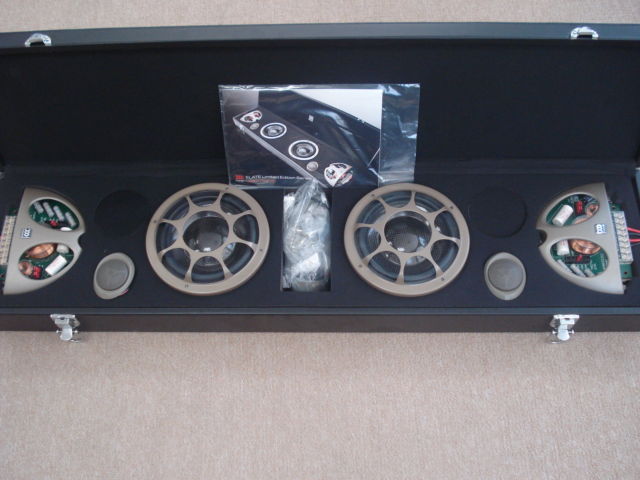
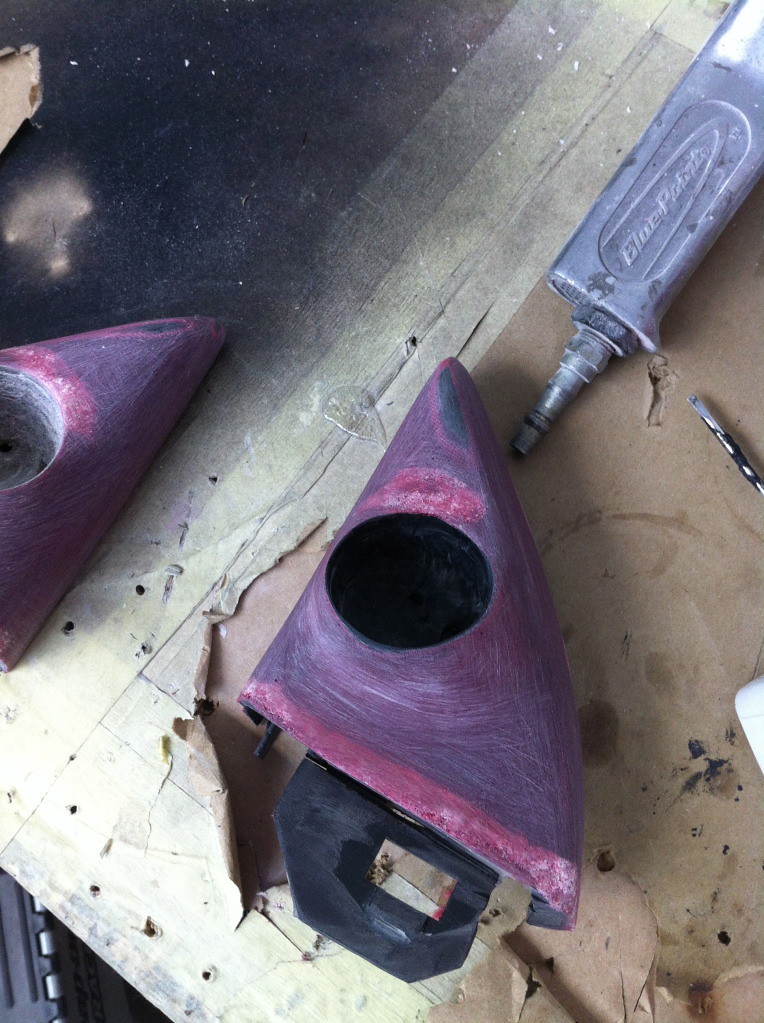
Although not shown in the generic photo, the ones being fitted are actually signed by Morel's founder Meir Mordechai and are one of only 6 signed sets in the world. There are some custom mounts being made for the larger speakers to expose the signature on the cone:
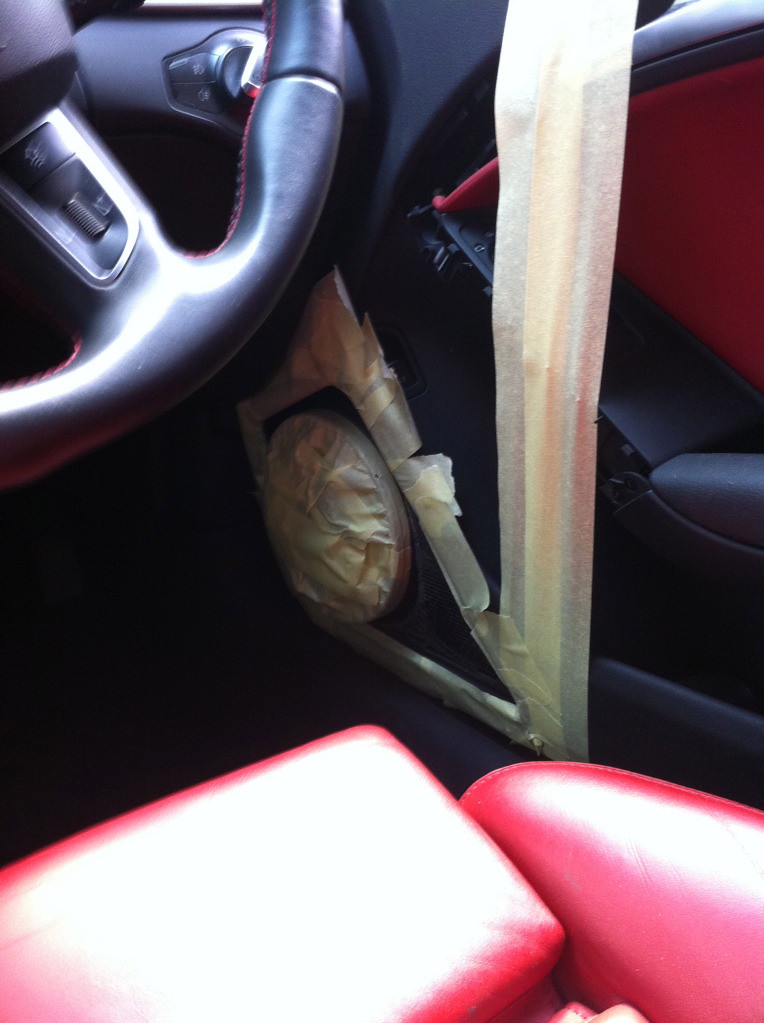
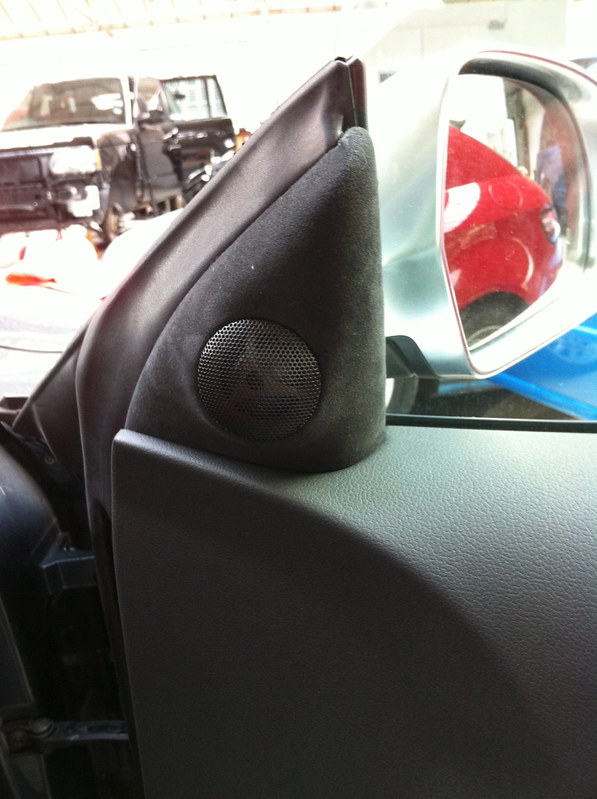
There are also some custom mounts being fabricated to hold the tweeters in a replacement for the mounts next to the door mirrors:
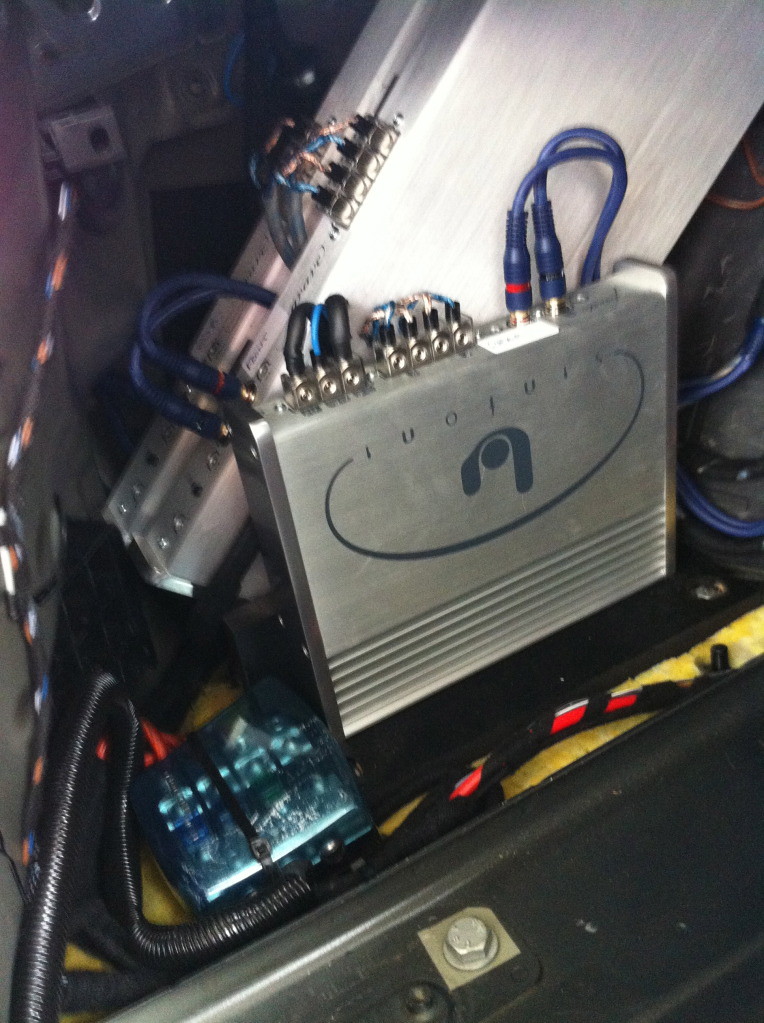
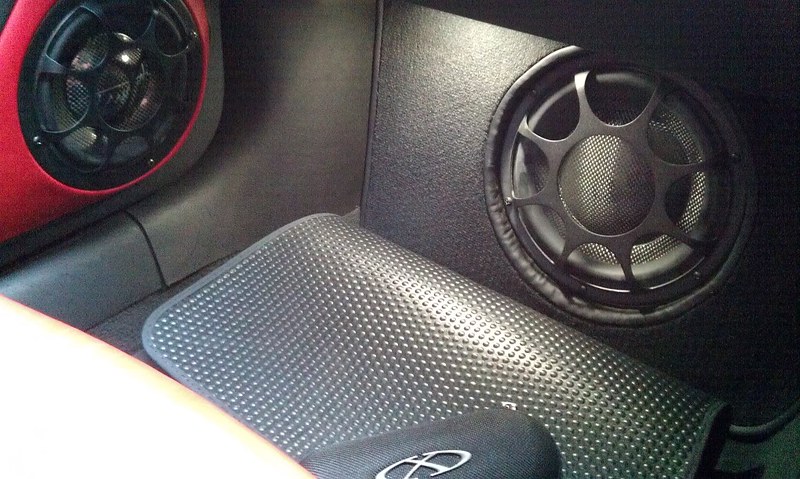
A sub will be placed behind the mat in the passenger footwell. The rear passengers will get more Morel speakers (not as high spec). The 3 Sinfoni amps to drive this lot look like they've been put above the rear left wheel arch :
This is still a work in progress and I've not seen my car for over a week now so eager to get it back, but have been sent some photos of progress so thought I'd post them. Hopefully have it back on Wednesday.
-------------------------------------------------------------

-------------------------------------------------------
Shots of the audio install (wish you guys could hear it)...
Close up of the autographed speaker...
Lost a little footroom in the passenger side...

But gained some bass :thumbsup: ...
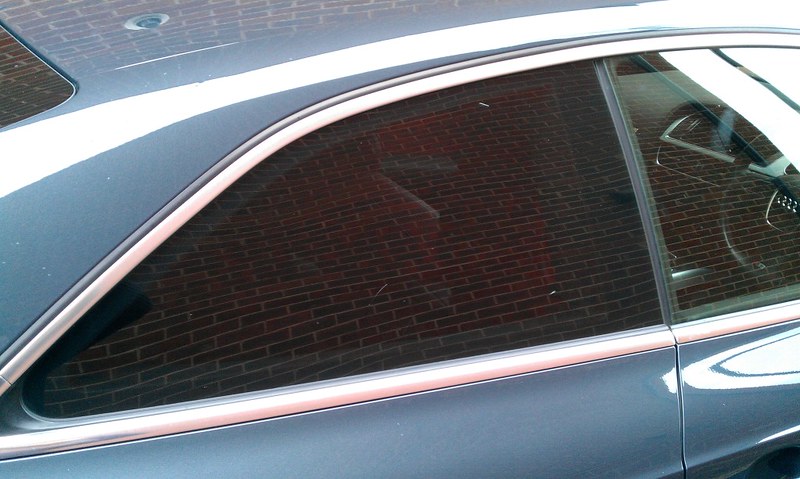
Had rear tints...
Replaced those boring stock pedals with RS ones...

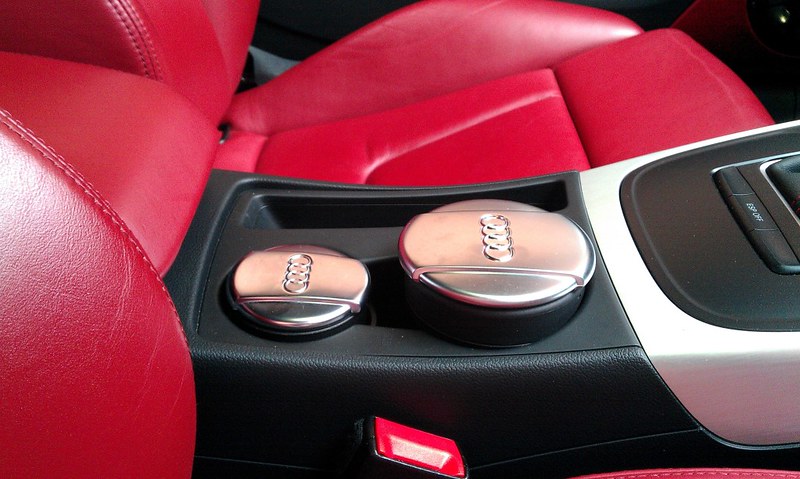
Got a nice audi 'coin and gum holder'...
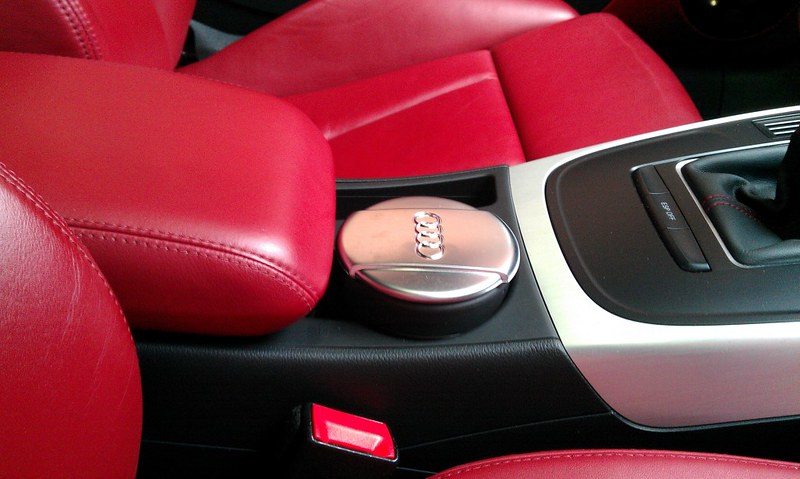
And then found it had a baby brother hiding under the armrest...
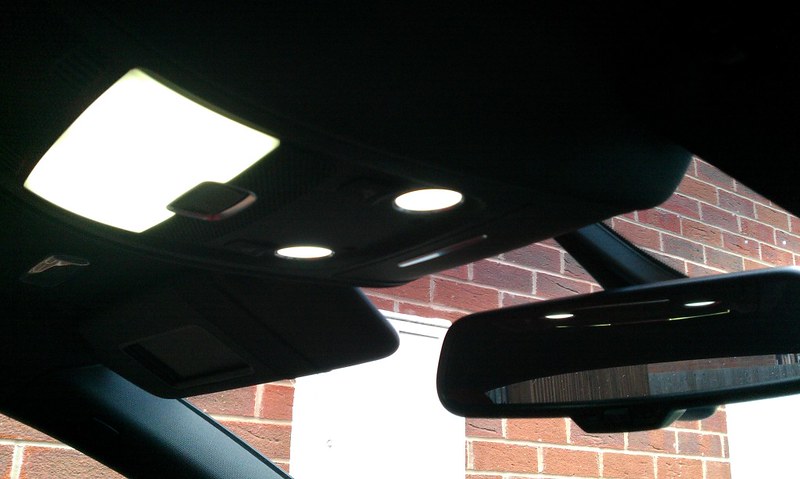
Replaced the stock mirror with an auto-dimming one and upgraded the lights to LED courtesy of t8ups :thumbsup: ...
And finally, one of the most useful mods...
t8ups did all the LED upgrades for me (even in bright daylight the door lights are bright in the first pic).
Next week it's off to MRC for the 'custom' TTS Supercharger, a Milltek Exhaust, a JHM shortshifter and some spacers all round.
-----------------------------------------------------------------
Then it was off to MRC...
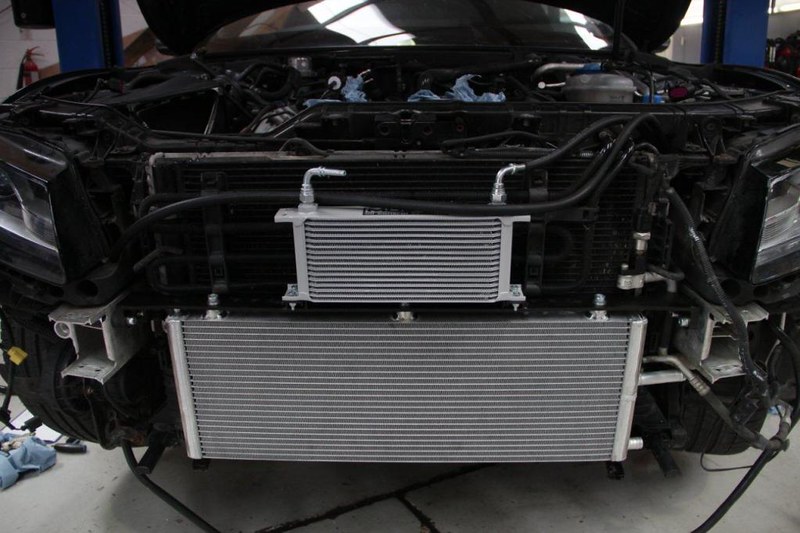
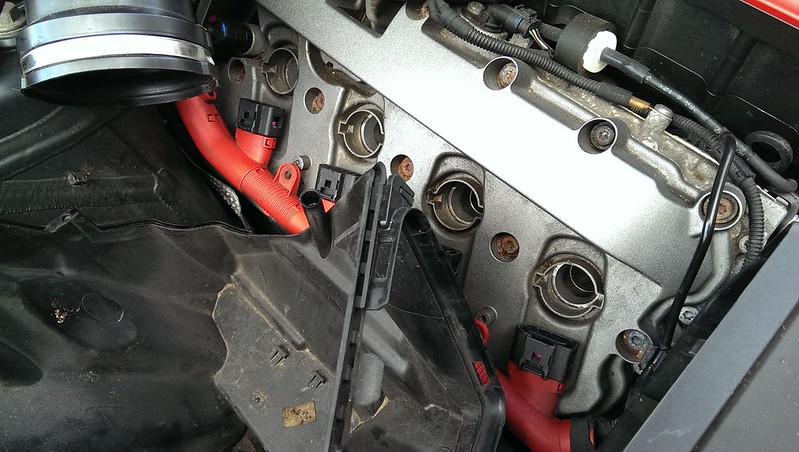
Some work in progress shots...
Bit more progress, collecting Thursday now...
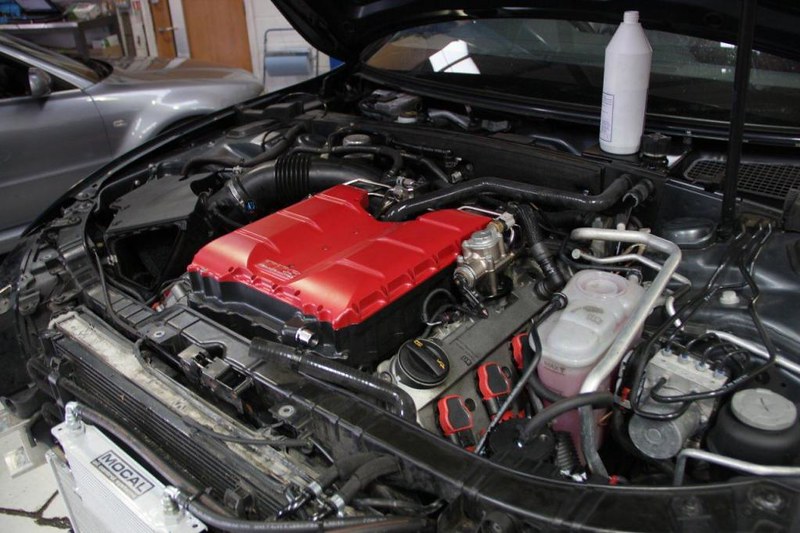
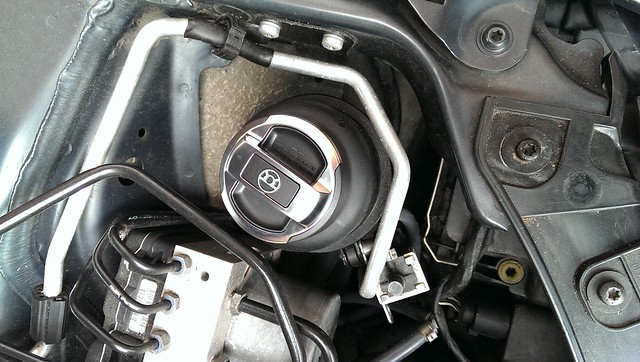
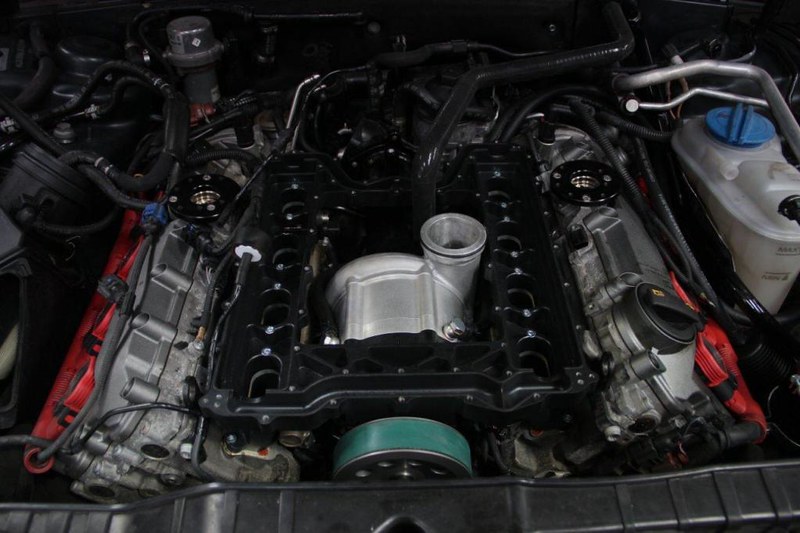
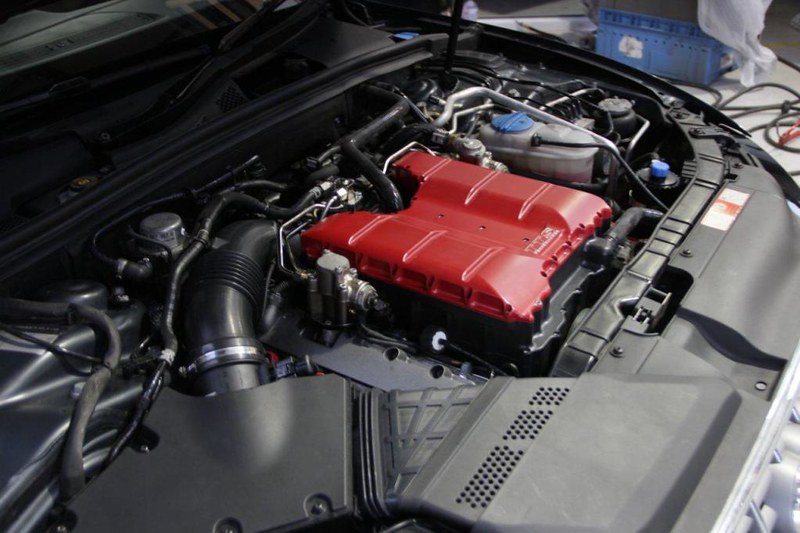
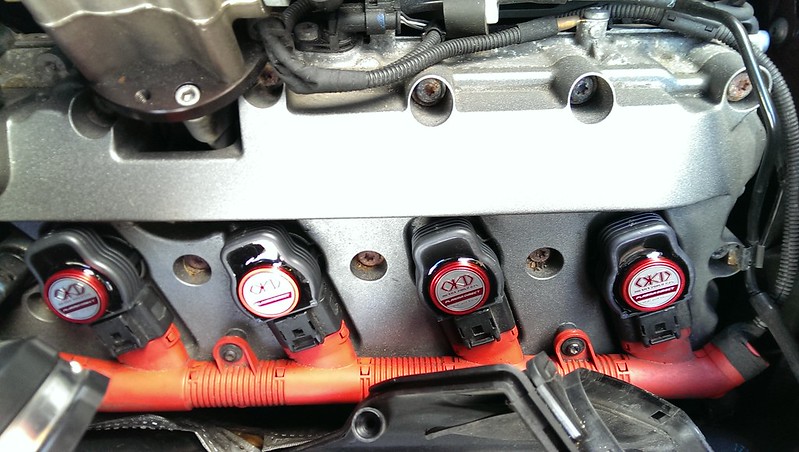
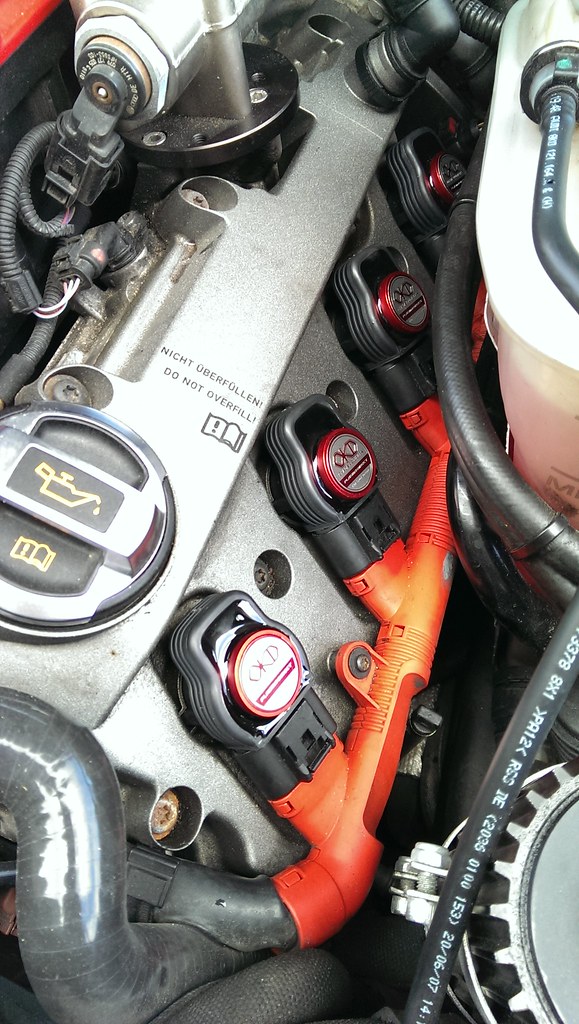
Supercharger install complete, just finishing the tune tomorrow...
Some spacers (20mm on rear and 10mm on front) to bring the wheels out slightly...
--------------------------------------------------------
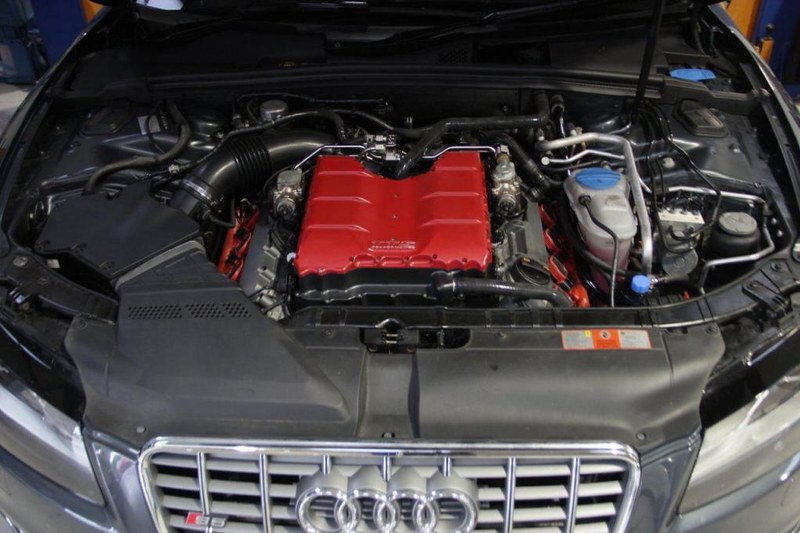
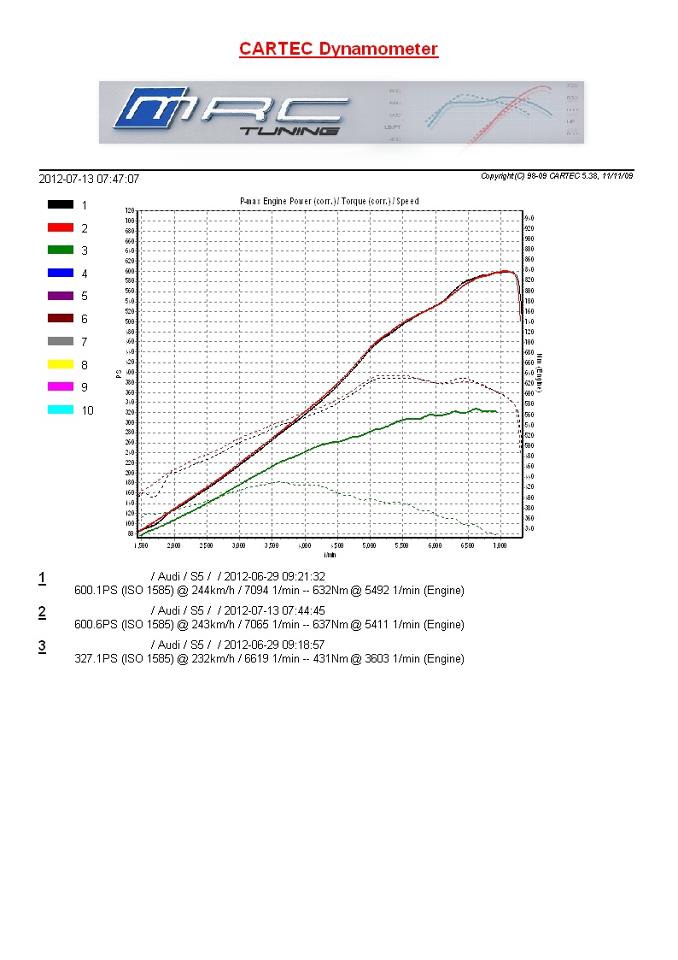
Just driven it back. Wow. WOW - incredible, heart pumping - feels like a different car now.
The dyno runs, the green one is before and the other two are after...
--------------------------------------------------------
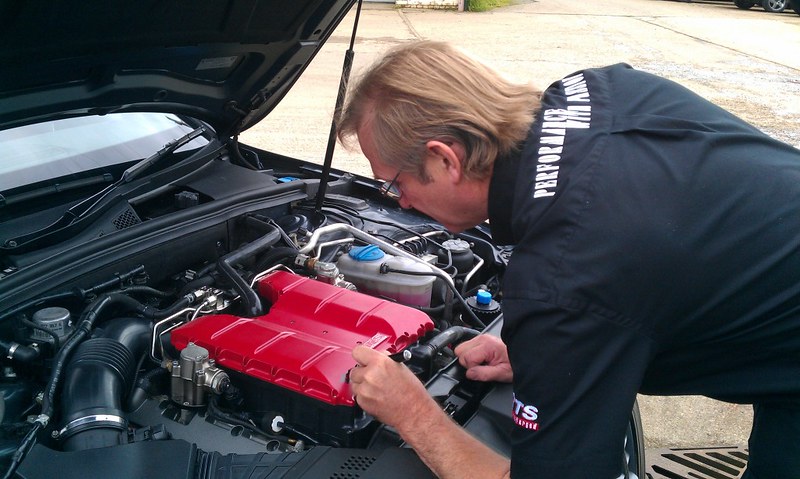
On the way back I popped in to see Richard @ TTS. Might sound a bit odd, but got him to sign the supercharger unit...
This has been posted on another site and then cross posted to other sites as I've joined more forums. As I've recently joined this one I thought I would share with you all. Some of the wording may sound a little weird as some of the text below will date back from 2012, I'll try to tidy up the wording after I post.
The source and original thread is here, but at 806 posts long as of now have condensed it down to the following.
This first photo has been edited to show the original dealer photo and the latest photo to compare the build. Below it is a list of most modifications I have made including links to manufacturer website or place of purchase.
MODIFICATIONS
TTS Supercharger - fitted at MRC Tuning
Cold Air Intake - fitted at MRC Tuning
Capristo Exhaust (Remote Control Guide) - fitted at MRC Tuning - later customised at Jabbasport
KW DDC ECU Coilovers (REVIEW / FITTING) - fitted at Jabbasport
JHM Short-throw shifter (FITTING) - fitted at MRC Tuning
H&R Anti-roll bars - fitted at MRC Tuning
H&R 5mm spacers (front) - bought from DC Performance and fitted at Jabbasport
H&R 10mm spacers (rear) - supplied and fitted by MRC Tuning
OEM R8 GT Ceramic Front Brakes - bought from LittleDevil and fitted at fitted at Jabbasport
OEM S7 Ceramic Rear Brakes - bought from LittleDevil, customised and fitted at Jabbasport
OEM RS5 brake booster - fitted at MRC Tuning
Rieger RS5 front Bumper - bought from UK supplier and self fit at Martin Bradley Body Repairs
OEM RS5 Grille - bought from ebay and and self fit at Martin Bradley Body Repairs
Rieger Luftseiden sideskirts (LEFT / RIGHT) - bought from UK supplier and and self fit at Martin Bradley Body Repairs
OEM RS5 rear bumper and valance - bought from llBen and self fit at Martin Bradley Body Repairs
OEM RS5 20â Titan wheels - bought from LittleDevil and fitted at MRC Tuning
OEM RS5 Rear bootlid (with working spoiler) - bought from ebay and self fit. Loom/instructions from llBen
LED rear lights - fitted by VWCruise.com/hazzydayz
Custom stereo (speakers, amps and sub) - fitted at Auto Audio Installations
S5 custom mats - fitted at Autostyle UK
Chrome interior vent trims - bought from ebay and self fit
Interior LED lights - fitted by t8ups/EM Tuning
RS pedal set - bought from ebay and self fit
OEM cupholders (Large: 8X0 864 575 / Small: 420 087 017) - bought from ebay and self fit
Facelift chrome buttons (door/boot/console) - fitted by VWCruise.com/hazzydayz
Audi North America Cargo boot luggage storage system - bought from ECS Tuning and self fit
Tinted Windows - fitted at Auto Audio Installations
Metallic red tyre valve caps - bought from eliseparts.com and self fit
R8 Oil Cap (420103485B) - bought from ebay and self fit
R8 Coolant Cap (420121321) - bought from ebay and self fit
Audi 'Legends' AMI External Hard Drive 500gb (8R0063827A) - bought from ebay and self fit
Audi Tyre Repair Gel 8E0012619 - bought from ebay and self fit
Audi Tyre Pump/Inflator 8P0 012 615 A - bought from ebay and self fit
Audi A1 LED Rear number plate lights (FITTING) - bought from Dealer and self fit
SPC Adjustable Upper Control Arms (FITTING) - bought and fitted at JabbaSport
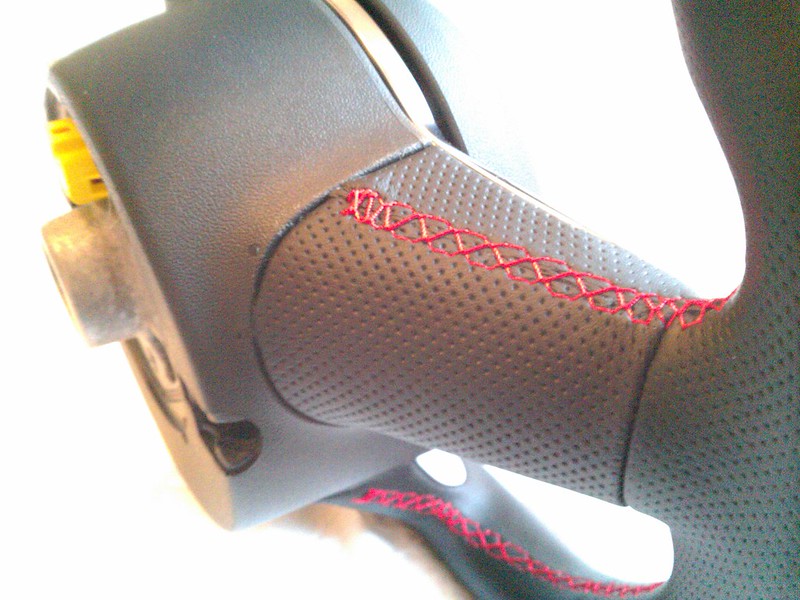
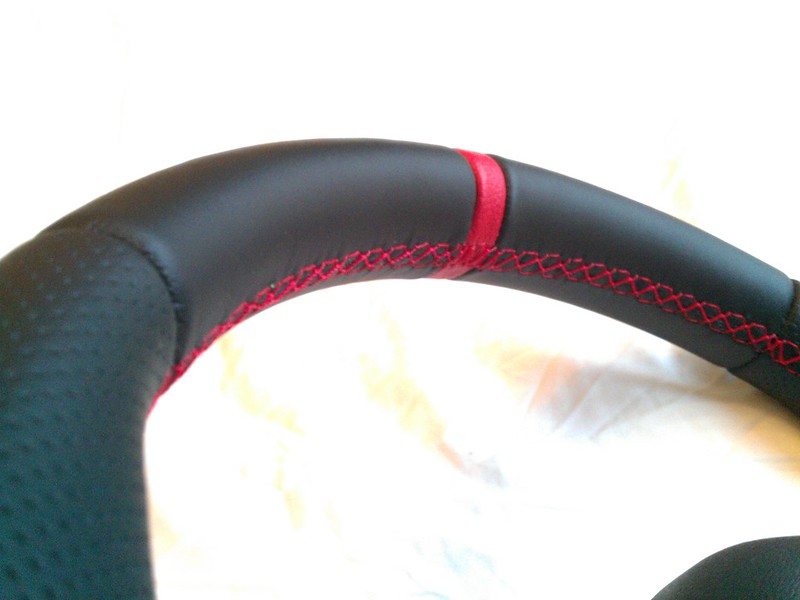
RS6 Steering Wheel with TT Airbag (FITTING) - bought from eBay and self fit
S6/S7 (C7 Model) Start Button (FITTING) - bought from dealer
Google MMI 3G+ Nav, including DAB radio - bought and fitted by llBen
Transparent Matte Wrap - applied at Valet Magic
Mini0801 Dashcam - bought from Amazon and self fit
P3Cars Digital Boost Gauge - self fit
S5 RETROFITS
Parking Plus System (adding 4 front sensors and parking camera) - bought and fitted by llBen
Cruise control - fitted by VWCruise.com/hazzydayz
Auto-dimming rear view mirror - bought from ebay and self fit
Folding/dimming door mirrors (FITTING) - fitted by VWCruise.com/hazzydayz
Advanced Key - Keyless Go and Keyless Entry - fitted by VWCruise.com/hazzydayz
Luggage Hooks - bought from dealer and self fit
Boot side netting - bought from dealer and self fit
Boot cargo net - bought from ebay and self fit
Memory Seats activation and door panel buttons - fitted by VWCruise.com/hazzydayz
Audi Music Interface (AMI) - fitted by VWCruise.com/hazzydayz
OEM Updated lower control arm kit - fitted at Jabbasport
=========================================================
The Journey so far (28th May 2012)...
Hi all,
Been an Audi driver since 1998 and had a workhorse A4 1.8 from new until last September (2011) when at 140,000 miles with lots of outstanding repairs it had to go.
After much debating I bought a 2008 S5 Coupe in Meteor Grey with Magma Red interior. I've had her a while, not that many factory options, and a few simple mods so far, but the real work starts now the warranty has gone.
I'm having an aftermarket amp and speaker setup fitted. My car is currently with Auto Audio Installations in London. I have to say I am very impressed with their work and the workshop is full of exotic cars, made my S5 look like a bit of a joke in comparison to the Porsche, Bentley, etc.
The build will include Morel Limited Edition Elate 2-way speaker setup for the front (housed in the doors):
Although not shown in the generic photo, the ones being fitted are actually signed by Morel's founder Meir Mordechai and are one of only 6 signed sets in the world. There are some custom mounts being made for the larger speakers to expose the signature on the cone:
There are also some custom mounts being fabricated to hold the tweeters in a replacement for the mounts next to the door mirrors:
A sub will be placed behind the mat in the passenger footwell. The rear passengers will get more Morel speakers (not as high spec). The 3 Sinfoni amps to drive this lot look like they've been put above the rear left wheel arch :
This is still a work in progress and I've not seen my car for over a week now so eager to get it back, but have been sent some photos of progress so thought I'd post them. Hopefully have it back on Wednesday.
-------------------------------------------------------------
-------------------------------------------------------
Shots of the audio install (wish you guys could hear it)...
Close up of the autographed speaker...
Lost a little footroom in the passenger side...
But gained some bass :thumbsup: ...
Had rear tints...
Replaced those boring stock pedals with RS ones...
Got a nice audi 'coin and gum holder'...
And then found it had a baby brother hiding under the armrest...
Replaced the stock mirror with an auto-dimming one and upgraded the lights to LED courtesy of t8ups :thumbsup: ...
And finally, one of the most useful mods...
t8ups did all the LED upgrades for me (even in bright daylight the door lights are bright in the first pic).
Next week it's off to MRC for the 'custom' TTS Supercharger, a Milltek Exhaust, a JHM shortshifter and some spacers all round.
-----------------------------------------------------------------
Then it was off to MRC...
Some work in progress shots...
Bit more progress, collecting Thursday now...
Supercharger install complete, just finishing the tune tomorrow...
Some spacers (20mm on rear and 10mm on front) to bring the wheels out slightly...
--------------------------------------------------------
Just driven it back. Wow. WOW - incredible, heart pumping - feels like a different car now.
The dyno runs, the green one is before and the other two are after...
--------------------------------------------------------
On the way back I popped in to see Richard @ TTS. Might sound a bit odd, but got him to sign the supercharger unit...
Last edited:


 it was a brilliant day last year.