- Joined
- Sep 18, 2012
- Messages
- 514
- Reaction score
- 323
- Points
- 63
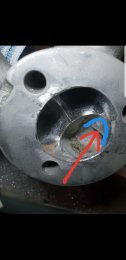
Do you do much inside the runners themselves, Bill?
I seem to recall a FB post from Max Clesca discussing one he'd done, and he'd put together a flex-hone type tool to get inside where you couldn't usually reach. Seems like a good idea to open them up a touch if possible given the size at the head flange, but then again if you can't make things consistent then it's not quite so simple!
I seem to recall a FB post from Max Clesca discussing one he'd done, and he'd put together a flex-hone type tool to get inside where you couldn't usually reach. Seems like a good idea to open them up a touch if possible given the size at the head flange, but then again if you can't make things consistent then it's not quite so simple!