jr001
Registered User
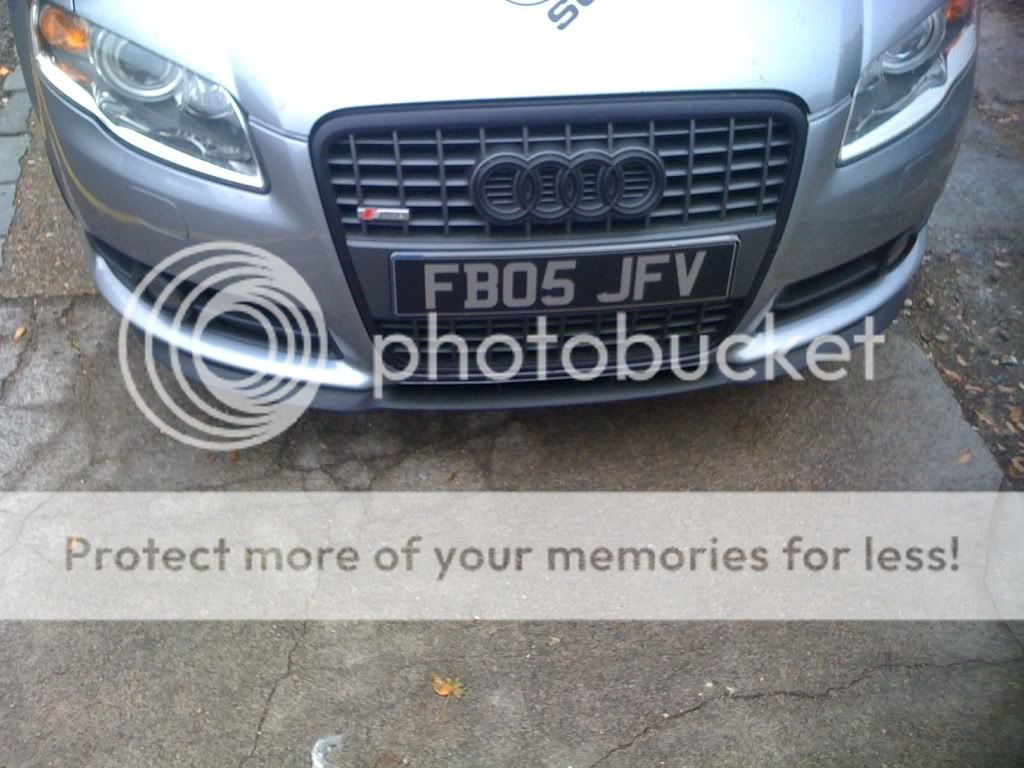
Since getting the B7 A4 I always hankered after the black grille to replace the standard chrome one.
I thought they would be a bit expensive but they are only 130 pounds from the dealer and come complete with 4 rings and S-Line badge. Thats a good price for a body part that transforms the front end of the car. Pleasantly surprised so I was. I thought I might as well share some pics from the changeover in case any other Audi owners are considering doing the same.
DISCLAIMER
I accept no responsibility for damage of any kind that anyone experiences while using this guide to carry out the same modification. It worked for me.
STEP 1 GET THE CAR SAFELY UP
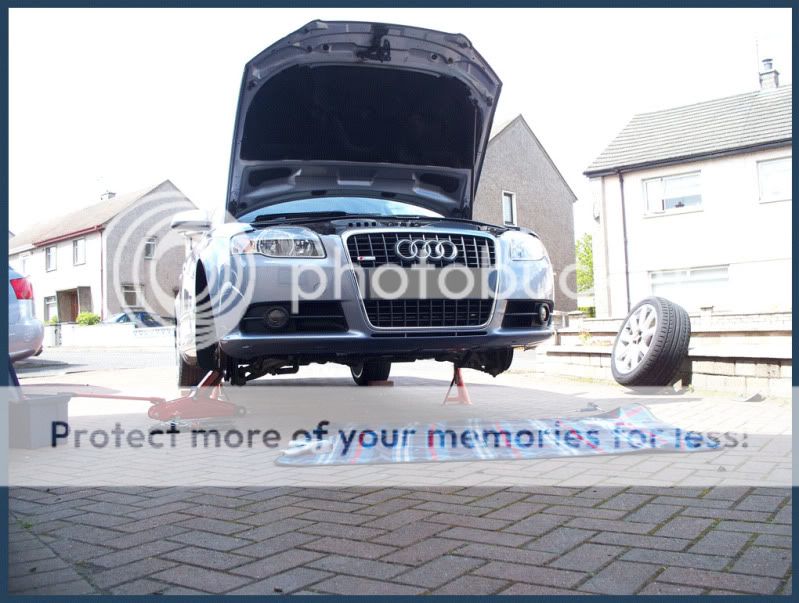
STEP 2 WHEELS OFF
STEP 3 REMOVE UNDERTRAY AND LOOSEN WHEEL ARCH LINERS
Remove the torx fixing screws from the front of the liner to the top. Only half of the liner needs to be movable.
Pull the liner out of the small lip on the arch and fold it back so that it can be held behind the brake disc.
This then allows access to this black plastic bracket that couples the side of the bumper cover to the main body.
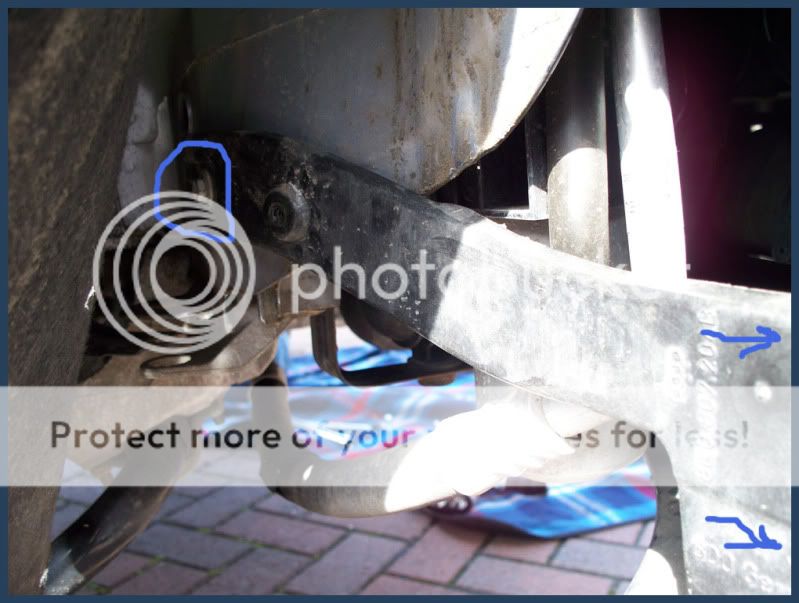
10mm spanner for the hex nut and torx screwdriver for the two screws that are arrowed. These screws are just out of shot! Sorry.
Remove the undertray - NOTE: This may not actually be necessary (SEE WHY IN STEP 4)
STEP 4 SLIGHTLY LOOSEN FRONT END FIXING SCREWS
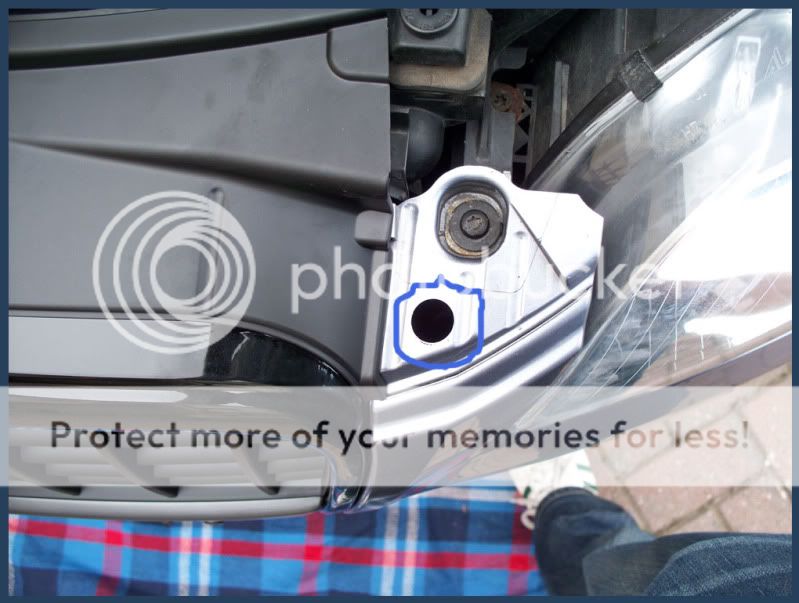
Area of interest here is the circled spot. About 15cm under here, there is a torx screw that only requires something like a quarter or half-turn. If you are using a socket and torx bit bit and extension to get in here then you will probably loose the socket and torx bit on the way back out. Thats where removing the undertray comes in handy. If you have long-neck torx screwdrivers then you shouldnt have to remove the undertray! Thats not a bad option really!
The pic below shows where these part-turned torx screws fix onto the bumper cover.

You can also remove the torx screws that secure the top of the grille to the front end.

STEP 5 REMOVE BUMPER COVER SECURING NUTS ON EACH SIDE
You now see the screws that secure the front bumper cover. The pic below shows the hex nuts removed. This was 10mm hex if I remember correctly.

The drivers side is more straightforward, but on the passenger side the windscreen-washer reservoir tank obscures your access. Dont worry though, you can push the tank forward slightly to get access but you will need an extension and 10mm socket bit to get to it properly. Its no bother though.
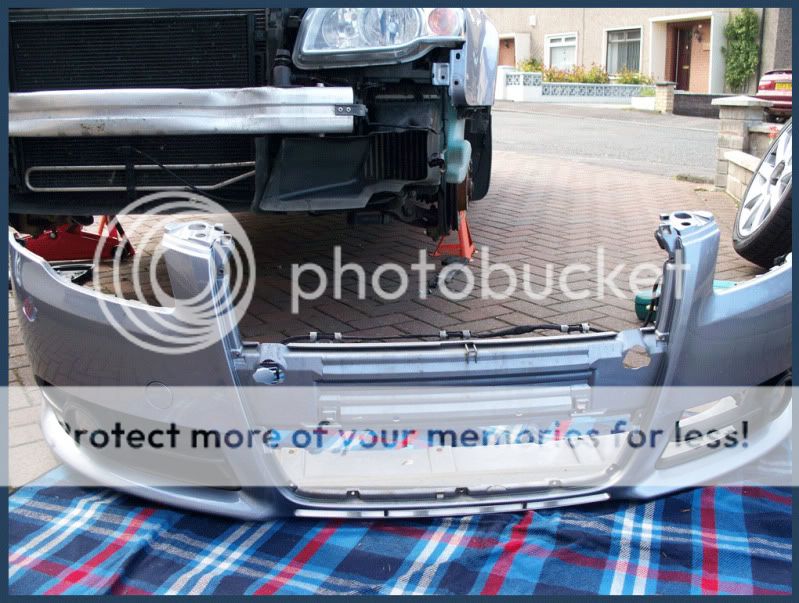
The bumper cover can now be pulled out from the car. You will have to unplug the spotlamp power connector. Theres enough give to put the bumper cover on the mat first and then disconnect it.

STEP 6 REMOVE THE OLD GRILLE
This is secured to the bumper cover by 10? Torx screws. Removal is simple.
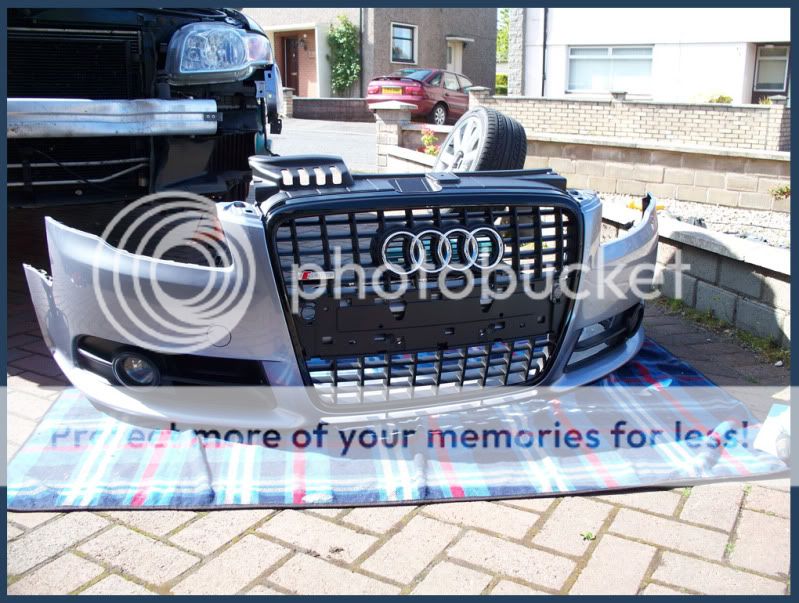
STEP 7 INSTALL THE NEW GRILLE
STEP 8 PUT IT ALL BACK TOGETHER NOW!
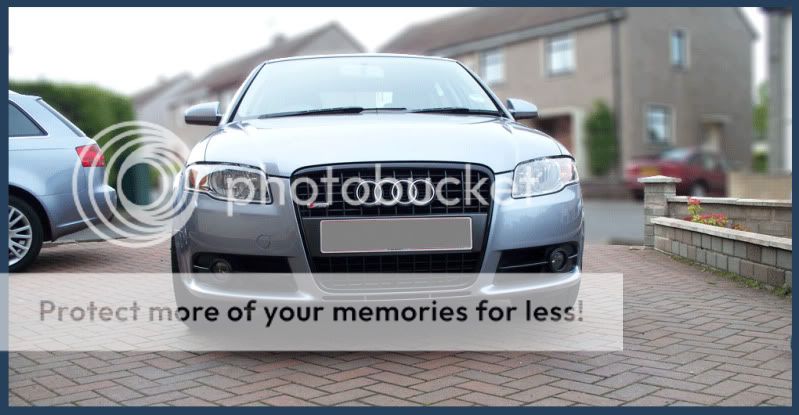
Such a big, yet subtle difference for the money. I hope this has helped somebody. Job time was 3 hours here, but to do it again would probably take me 2 hours.
Good Luck!
I thought they would be a bit expensive but they are only 130 pounds from the dealer and come complete with 4 rings and S-Line badge. Thats a good price for a body part that transforms the front end of the car. Pleasantly surprised so I was. I thought I might as well share some pics from the changeover in case any other Audi owners are considering doing the same.
DISCLAIMER
I accept no responsibility for damage of any kind that anyone experiences while using this guide to carry out the same modification. It worked for me.
STEP 1 GET THE CAR SAFELY UP
STEP 2 WHEELS OFF
STEP 3 REMOVE UNDERTRAY AND LOOSEN WHEEL ARCH LINERS
Remove the torx fixing screws from the front of the liner to the top. Only half of the liner needs to be movable.
Pull the liner out of the small lip on the arch and fold it back so that it can be held behind the brake disc.
This then allows access to this black plastic bracket that couples the side of the bumper cover to the main body.
10mm spanner for the hex nut and torx screwdriver for the two screws that are arrowed. These screws are just out of shot! Sorry.
Remove the undertray - NOTE: This may not actually be necessary (SEE WHY IN STEP 4)
STEP 4 SLIGHTLY LOOSEN FRONT END FIXING SCREWS
Area of interest here is the circled spot. About 15cm under here, there is a torx screw that only requires something like a quarter or half-turn. If you are using a socket and torx bit bit and extension to get in here then you will probably loose the socket and torx bit on the way back out. Thats where removing the undertray comes in handy. If you have long-neck torx screwdrivers then you shouldnt have to remove the undertray! Thats not a bad option really!
The pic below shows where these part-turned torx screws fix onto the bumper cover.
STEP 5 REMOVE BUMPER COVER SECURING NUTS ON EACH SIDE
You now see the screws that secure the front bumper cover. The pic below shows the hex nuts removed. This was 10mm hex if I remember correctly.
The drivers side is more straightforward, but on the passenger side the windscreen-washer reservoir tank obscures your access. Dont worry though, you can push the tank forward slightly to get access but you will need an extension and 10mm socket bit to get to it properly. Its no bother though.
The bumper cover can now be pulled out from the car. You will have to unplug the spotlamp power connector. Theres enough give to put the bumper cover on the mat first and then disconnect it.
STEP 6 REMOVE THE OLD GRILLE
This is secured to the bumper cover by 10? Torx screws. Removal is simple.
STEP 7 INSTALL THE NEW GRILLE
STEP 8 PUT IT ALL BACK TOGETHER NOW!
Good Luck!
") looks a lot better!
looks a lot better!