

When I was searching for an A3 8V e-tron to buy last year, my wife was insistent that it had a reversing camera. This limited our search, but I was able to compromise by promising I'd fit one of the plug-and-play aftermarket kits.
I settled on the full kit supplied by Empirical In-car-technology. At the time of writing, it's still on eBay for £269 and feels like a high quality product. It even arrives in its own branded box that I thought was a nice touch.
Fitting really is plug-and-play; there is no coding or other modifications to speak of. It took an afternoon to fit, and I took photos and thought I'd share them in a how-to.
Disclaimer: as always with these guides, undertake this work at your own risk.
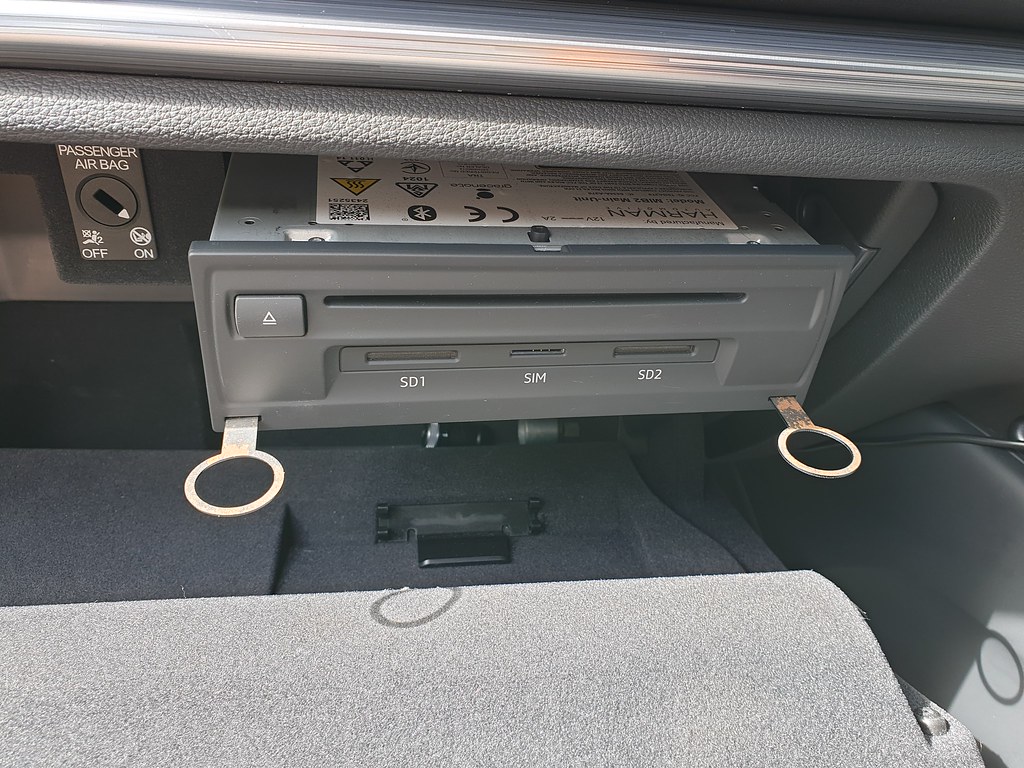
The kit works by intercepting the CANBUS signals and overlaying an image from the rear-facing camera. To begin with, you need to remove the CD and SD card unit in the glove box using the correct removal keys. Don't waste time and find an alternative, or worse try to jam a screwdriver into the slots - they're a few quid to buy, and will do the job correctly. Note that once inserted, you can't actually remove them until the unit is out:
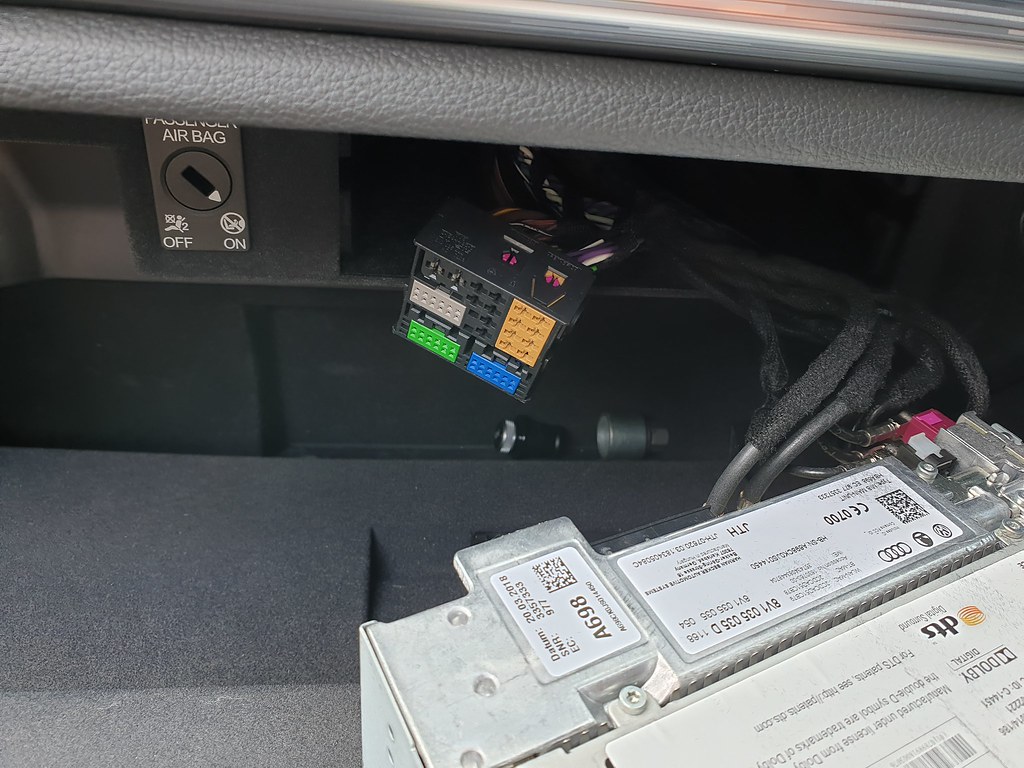
Carefully unplug the large connector first at the back of the unit:
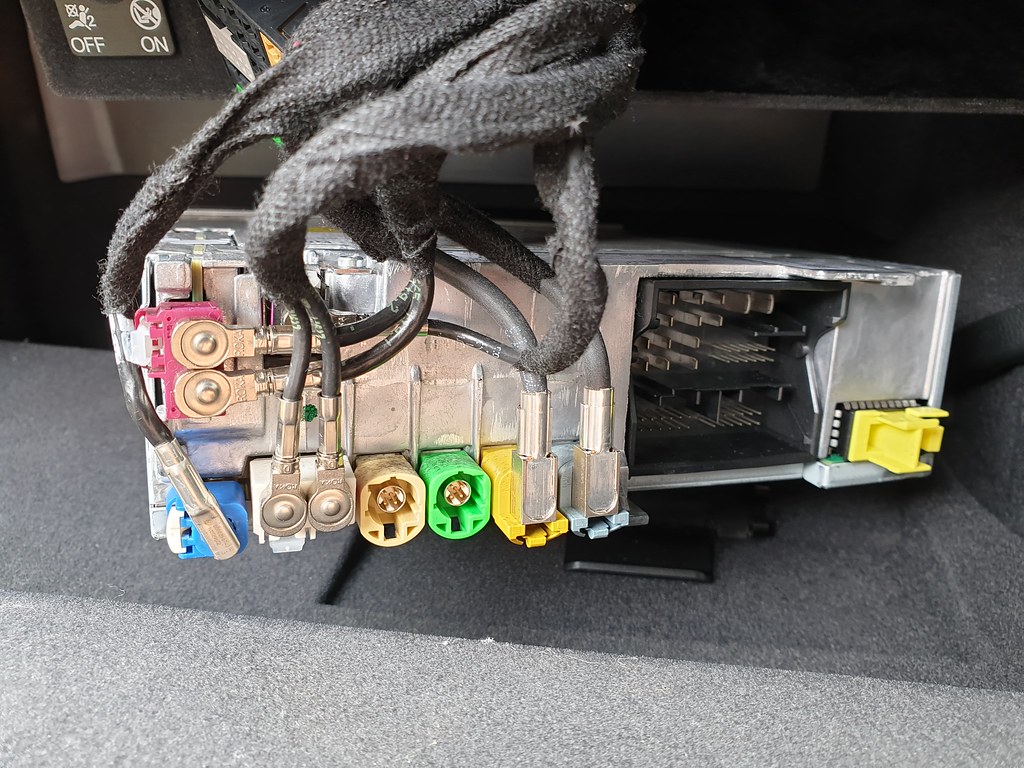
Then all the individual connectors, including the Fakra ones:
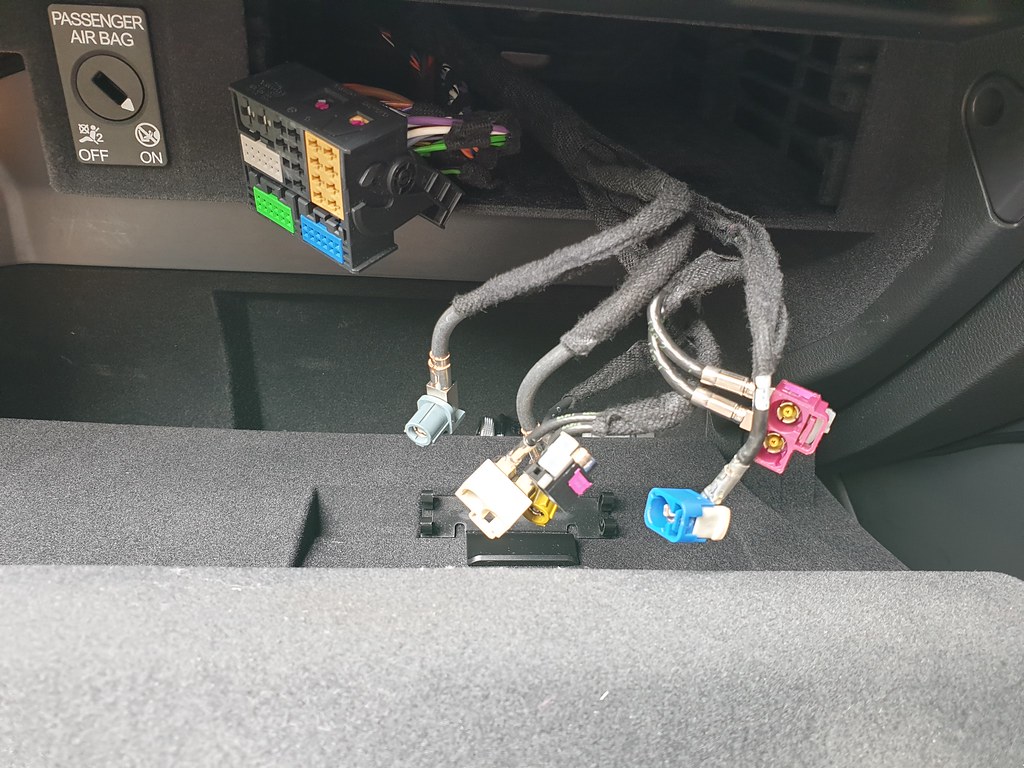
Remove the unit completely:
Undo the screws holding in the glovebox. You'll need to get right into the footwell to see them. Unplug the light on top of the glovebox:

Then, using a kitchen utensil (or similar!), carefully prise out the end panel on the dashboard:

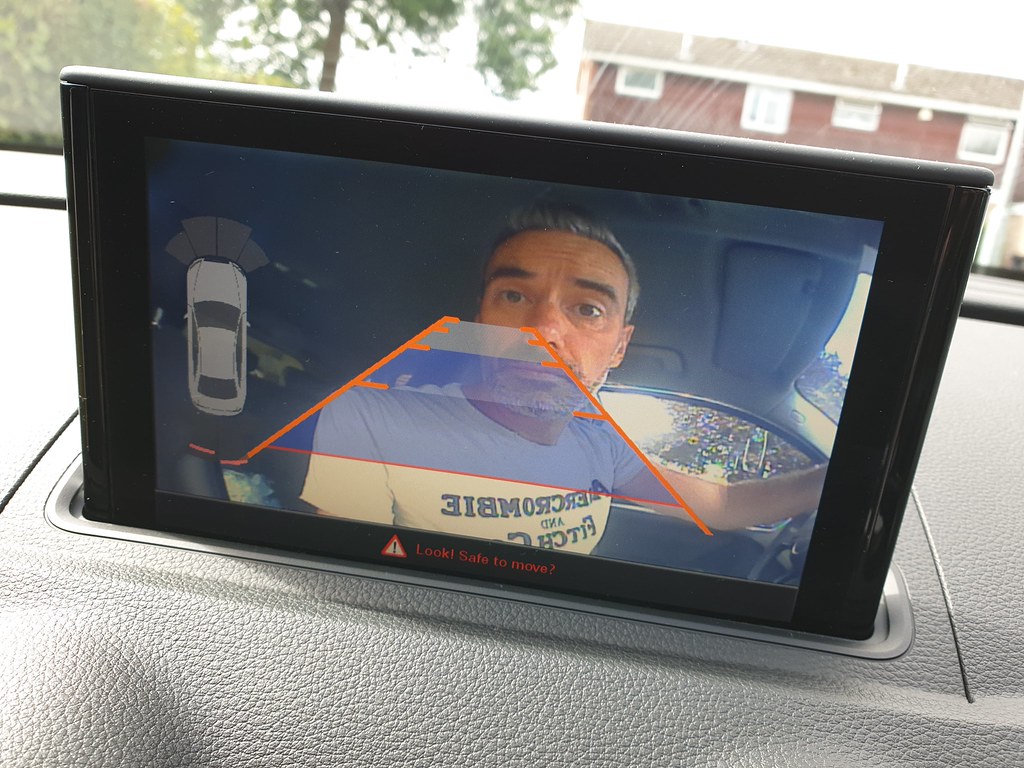
Lower the glovebox a little and, following the instructions in the Empirical kit, connect everything together to conduct a test. You won't want to complete the install and find that something is wrong!

Switch the ignition, put the car in reverse and wave the camera around. Here's your author looking a little surprised on-screen!
Switch everything off again and then we can continue. The next, bigger job is to run the camera cable to the back of the car, where we will be changing the boot release handle to a new one with the camera. This step is quite long and fiddly, but remember to take your time. Care is needed when prising trim away and be prepared to pick up clips or screws as needed. I ran my cable from the back of the glovebox down to the kick plate on the left/passenger side (my car is RHD):
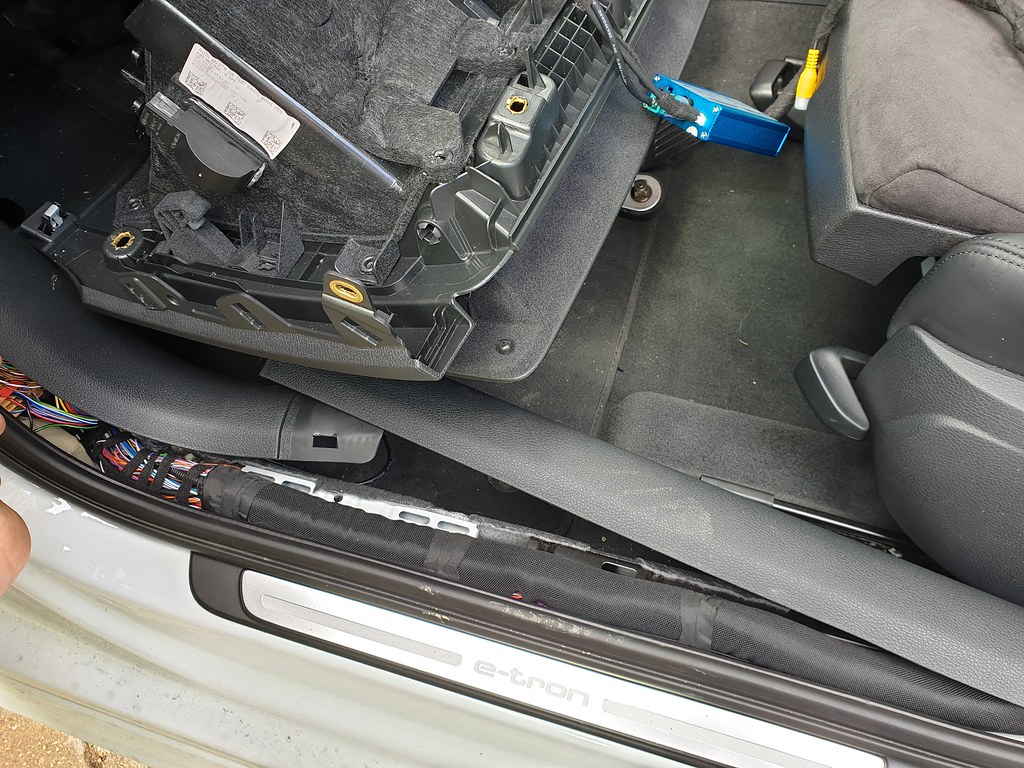
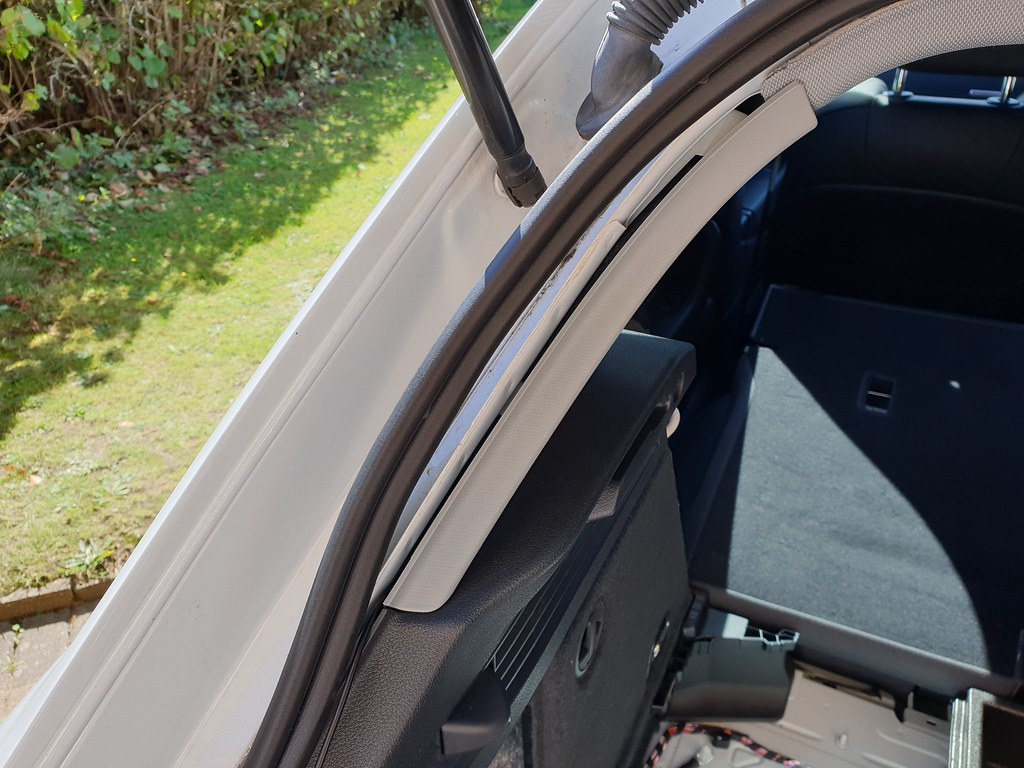
This photo is looking towards the back of the car by the passenger B pillar. Most of this trim is simply pulled away from the body as it is clipped in place:

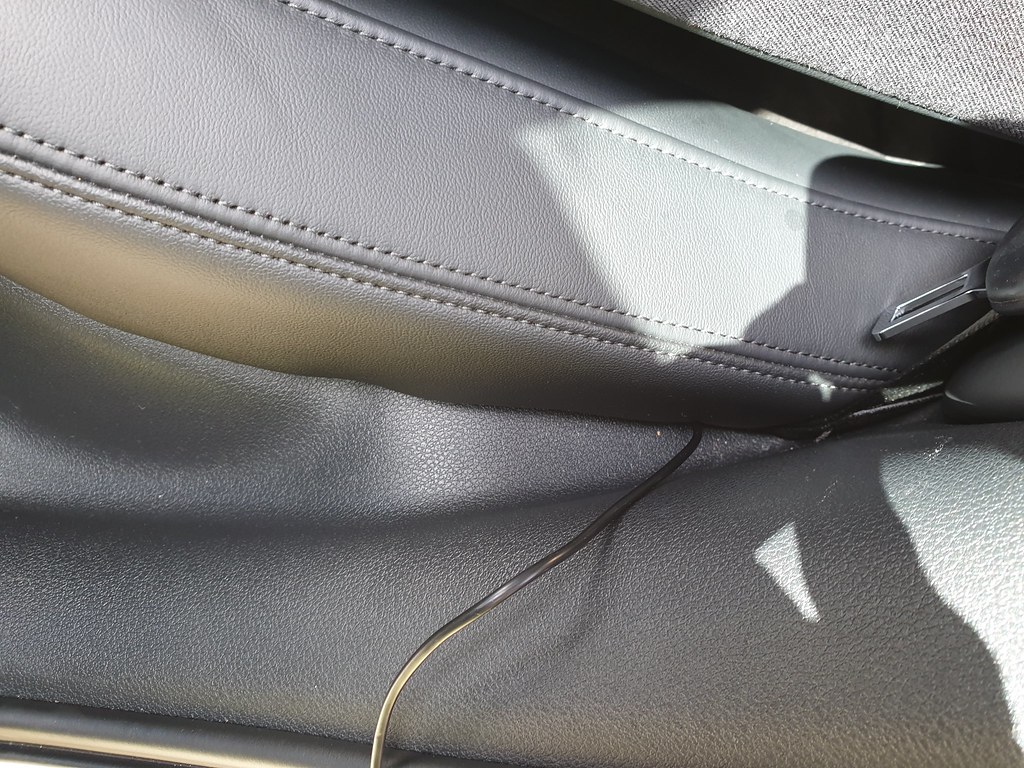
At the back of the car, you can feed it under the rear seat. Just push the cushion upwards to free up space:
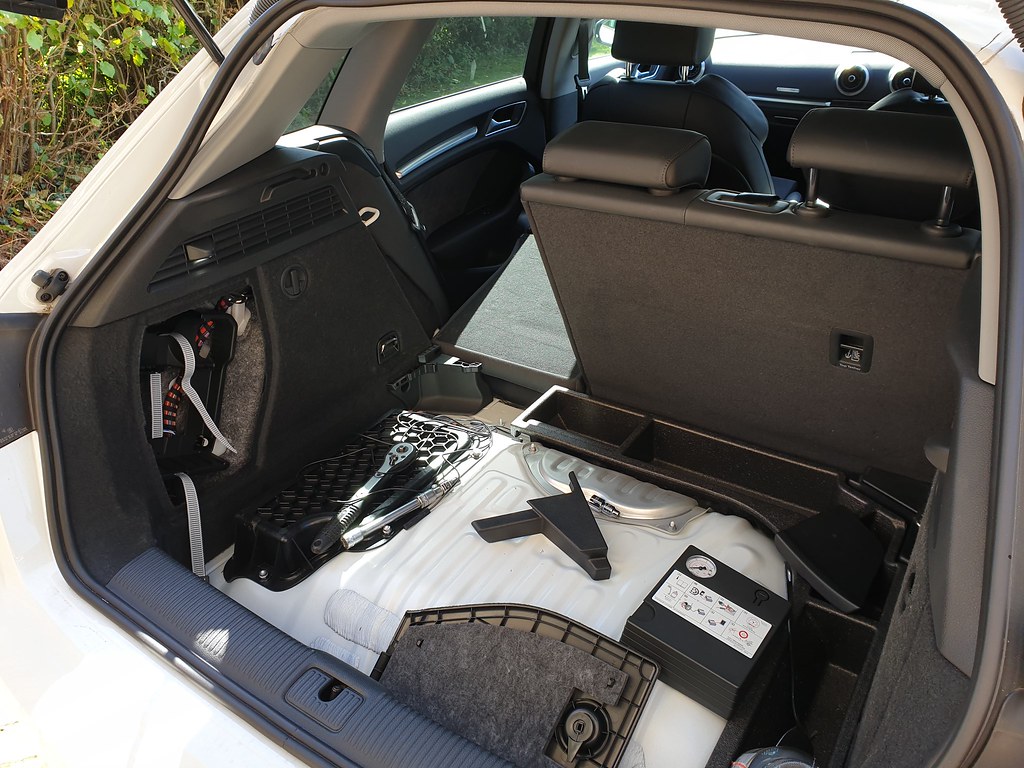
Open the boot, and remove the floor and any other pieces that are bolted in. These photos were taken from my e-tron, so the boot floor is much different to a normal 8V, but you'll get the idea:

Run the cable around the bottom of the boot and behind the panels at the side. We need to feed it through the rubber grommet to get into the bootlid:
Loosen the weather strip and feed the cable inside, up to the grommet:
Carefully pull the grommet out at each end and feed the cable through it. This is bit tricky, but if you hold the grommet straight, it's easier. Note that nothing is clipped or bolted back at this point; we don't know how much cable we'll need to pull through. Do leave enough flex in the camera cable here, because it is the only part of the install where the camera wire will move. In other words, don't pull it taut or leave wrapped round anything; the cable should be loose:

This part of the install is where things start to get a bit tricky. Remove the inside boot trim. It's clipped in so go around the edge of it, unclipping it bit by bit. Some clips may well fall out, so be sure to look for them!
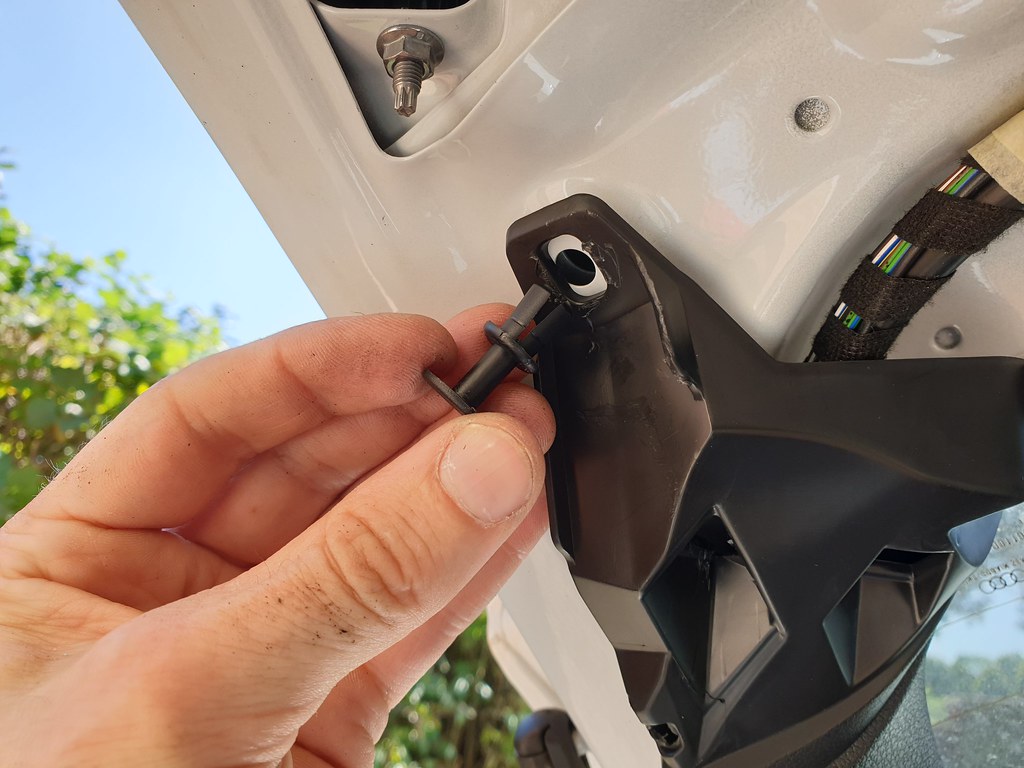
The window trim is held in by these special clips:

Pull the top out, then the whole clip comes through the trim. It might be possible to feed the wire around this without removal, but I struggled to do it!
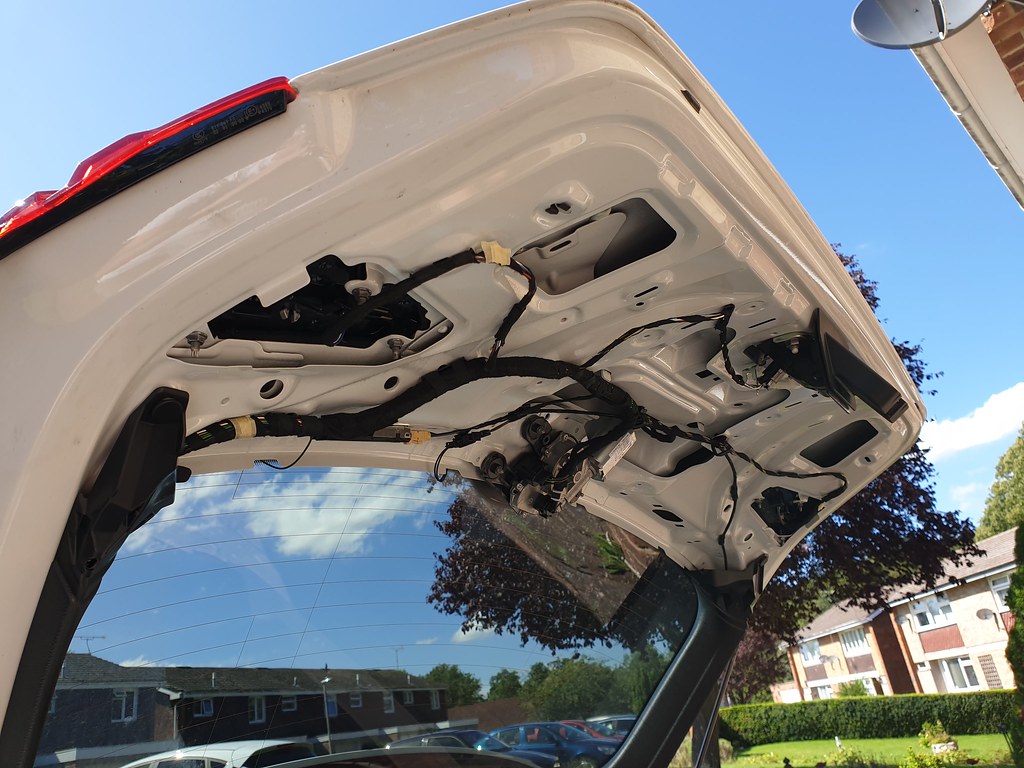
Carefully feed the wire along the bootlid edge and into the main boot chassis. Leave it ready for the camera install:

Okay, this last bit is extremely difficult. I'd read in other guides that people had struggled to remove the boot release switch, and so it proved in my experience. Who knows? You might lucky and it'll pop out.
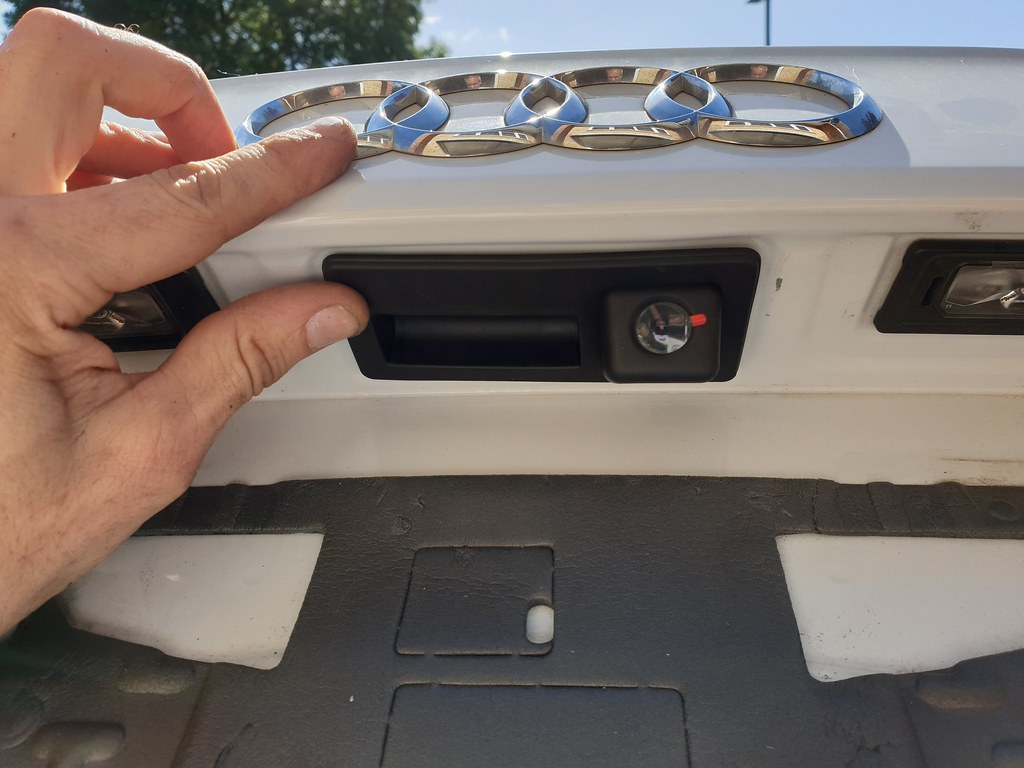
The first thing to note is that the bootlid release is clipped in place, no bolts, and you CANNOT remove it from the outside. It has to be levered out from within. You'll need to work the clips loose either side, and very slowly, it will start to come away, like this:

In the end, my switch was almost completely destroyed as I levered it away. Literally, the remains went in the bin. It took so much force and wiggling around, eventually it started to break up. Anyway, once it's out, plug the wires into the back of the new camera/switch, give it another test, and then push it home:
Finally, you need to work back through the car, put everything back the way it was. Re-attach the boot trim, clip the grommet back in place and the boot weather strip. The excess length of cable I tied up in the side of the boot. Use a cable-tie to clip it together out of harms way.
Refit the boot trim and the side trim next to the passenger seat and door. Ensure there are no wires trapped when refitting the glovebox. The CD/SD card unit will clip back in place when pushed in.
And then you're done! The display works with both the camera, steering position and parking sensors for the screen. It may sometimes activate at very low speed, such as when in traffic, but when above about 10mph, it should switch out again.
Update: We've had the kit installed for nearly a year now and it continues to work superbly.
I settled on the full kit supplied by Empirical In-car-technology. At the time of writing, it's still on eBay for £269 and feels like a high quality product. It even arrives in its own branded box that I thought was a nice touch.
Fitting really is plug-and-play; there is no coding or other modifications to speak of. It took an afternoon to fit, and I took photos and thought I'd share them in a how-to.
Disclaimer: as always with these guides, undertake this work at your own risk.
The kit works by intercepting the CANBUS signals and overlaying an image from the rear-facing camera. To begin with, you need to remove the CD and SD card unit in the glove box using the correct removal keys. Don't waste time and find an alternative, or worse try to jam a screwdriver into the slots - they're a few quid to buy, and will do the job correctly. Note that once inserted, you can't actually remove them until the unit is out:
Carefully unplug the large connector first at the back of the unit:
Then all the individual connectors, including the Fakra ones:
Remove the unit completely:
Undo the screws holding in the glovebox. You'll need to get right into the footwell to see them. Unplug the light on top of the glovebox:
Then, using a kitchen utensil (or similar!), carefully prise out the end panel on the dashboard:
Lower the glovebox a little and, following the instructions in the Empirical kit, connect everything together to conduct a test. You won't want to complete the install and find that something is wrong!
Switch the ignition, put the car in reverse and wave the camera around. Here's your author looking a little surprised on-screen!
Switch everything off again and then we can continue. The next, bigger job is to run the camera cable to the back of the car, where we will be changing the boot release handle to a new one with the camera. This step is quite long and fiddly, but remember to take your time. Care is needed when prising trim away and be prepared to pick up clips or screws as needed. I ran my cable from the back of the glovebox down to the kick plate on the left/passenger side (my car is RHD):
This photo is looking towards the back of the car by the passenger B pillar. Most of this trim is simply pulled away from the body as it is clipped in place:
At the back of the car, you can feed it under the rear seat. Just push the cushion upwards to free up space:
Open the boot, and remove the floor and any other pieces that are bolted in. These photos were taken from my e-tron, so the boot floor is much different to a normal 8V, but you'll get the idea:
Run the cable around the bottom of the boot and behind the panels at the side. We need to feed it through the rubber grommet to get into the bootlid:
Loosen the weather strip and feed the cable inside, up to the grommet:
Carefully pull the grommet out at each end and feed the cable through it. This is bit tricky, but if you hold the grommet straight, it's easier. Note that nothing is clipped or bolted back at this point; we don't know how much cable we'll need to pull through. Do leave enough flex in the camera cable here, because it is the only part of the install where the camera wire will move. In other words, don't pull it taut or leave wrapped round anything; the cable should be loose:
This part of the install is where things start to get a bit tricky. Remove the inside boot trim. It's clipped in so go around the edge of it, unclipping it bit by bit. Some clips may well fall out, so be sure to look for them!
The window trim is held in by these special clips:
Pull the top out, then the whole clip comes through the trim. It might be possible to feed the wire around this without removal, but I struggled to do it!
Carefully feed the wire along the bootlid edge and into the main boot chassis. Leave it ready for the camera install:
Okay, this last bit is extremely difficult. I'd read in other guides that people had struggled to remove the boot release switch, and so it proved in my experience. Who knows? You might lucky and it'll pop out.
The first thing to note is that the bootlid release is clipped in place, no bolts, and you CANNOT remove it from the outside. It has to be levered out from within. You'll need to work the clips loose either side, and very slowly, it will start to come away, like this:
In the end, my switch was almost completely destroyed as I levered it away. Literally, the remains went in the bin. It took so much force and wiggling around, eventually it started to break up. Anyway, once it's out, plug the wires into the back of the new camera/switch, give it another test, and then push it home:
Finally, you need to work back through the car, put everything back the way it was. Re-attach the boot trim, clip the grommet back in place and the boot weather strip. The excess length of cable I tied up in the side of the boot. Use a cable-tie to clip it together out of harms way.
Refit the boot trim and the side trim next to the passenger seat and door. Ensure there are no wires trapped when refitting the glovebox. The CD/SD card unit will clip back in place when pushed in.
And then you're done! The display works with both the camera, steering position and parking sensors for the screen. It may sometimes activate at very low speed, such as when in traffic, but when above about 10mph, it should switch out again.
Update: We've had the kit installed for nearly a year now and it continues to work superbly.
