8l s3 detail....4 days worth!!

S3 Rav

Registered User
Joined
Feb 13, 2008
Messages
2,966
Reaction score
117
Points
63
Location
NULL
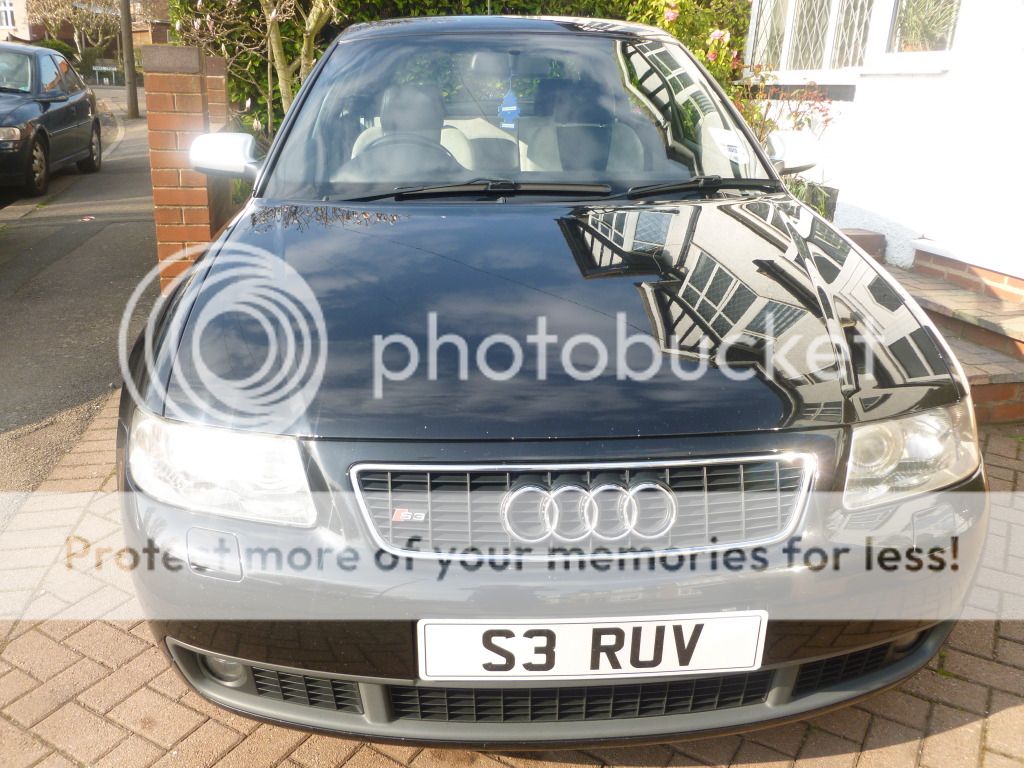
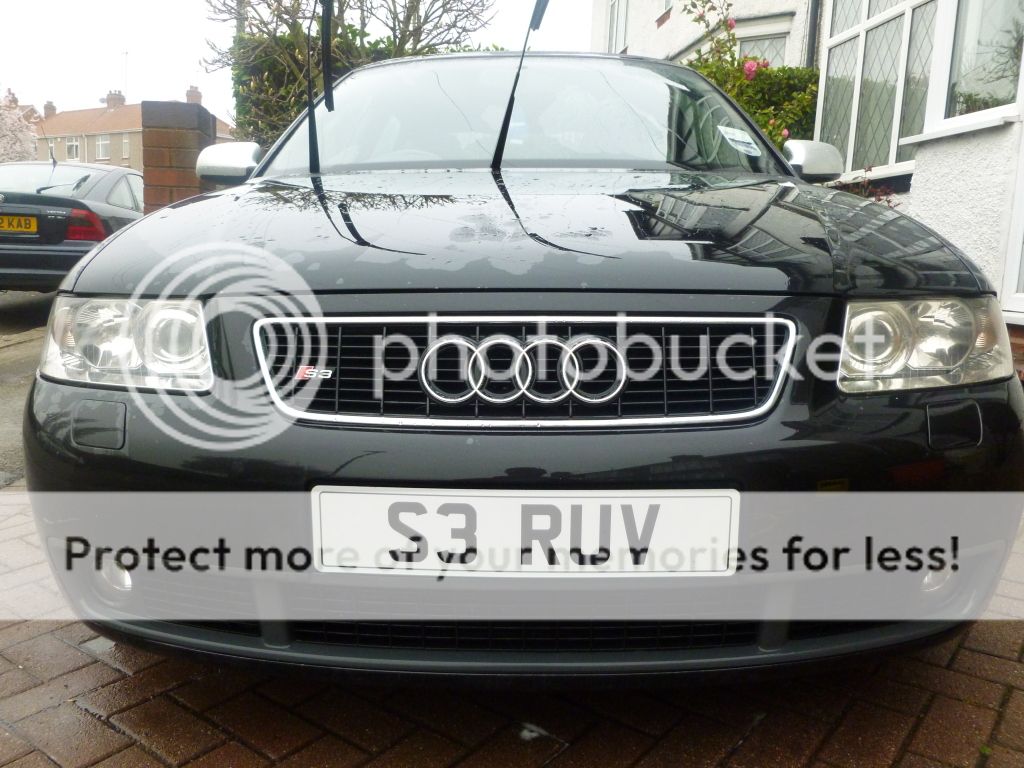
So here it is. My 4 day detail on the s3. I wasn't expecting to get 100% correction but just enough to get rid of the majority of the swirls and to get rid of the milky look of the paint I was starting to get.

Products used included:

2 buckets with megs hyperwash along with megs lambs wool mit
Auto finese citrus spray, obltarate and clay
iron x
megs g220 with mezerna power finish and then final finish.
Ipa
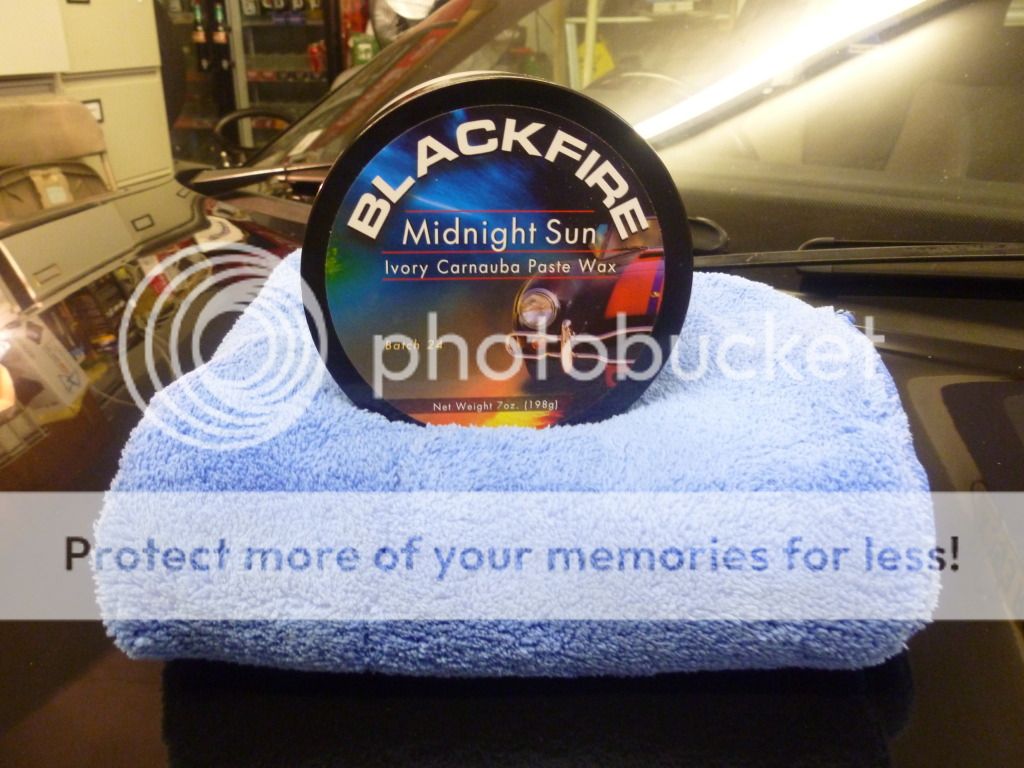
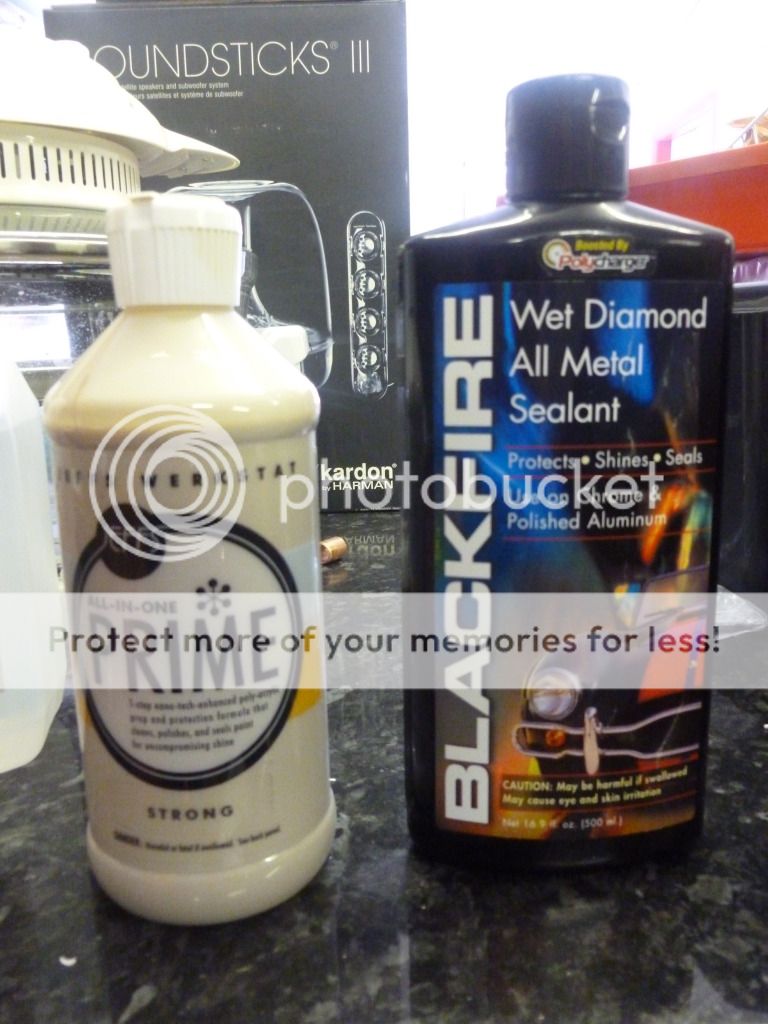
blackfire paint sealant and wax
megs nxt metal polish with blackfire metal sealant.
Jeffs prime for alloys.

Day1

P1030520.jpg


P1030521.jpg


P1030522.jpg


P1030526.jpg


P1030530.jpg


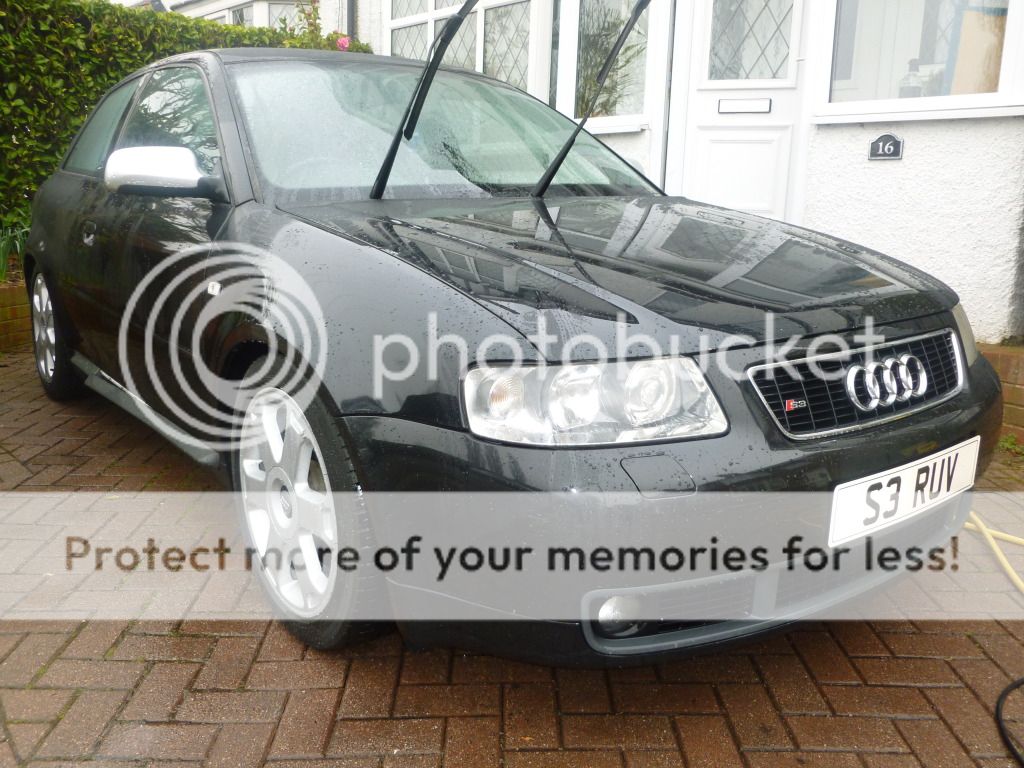
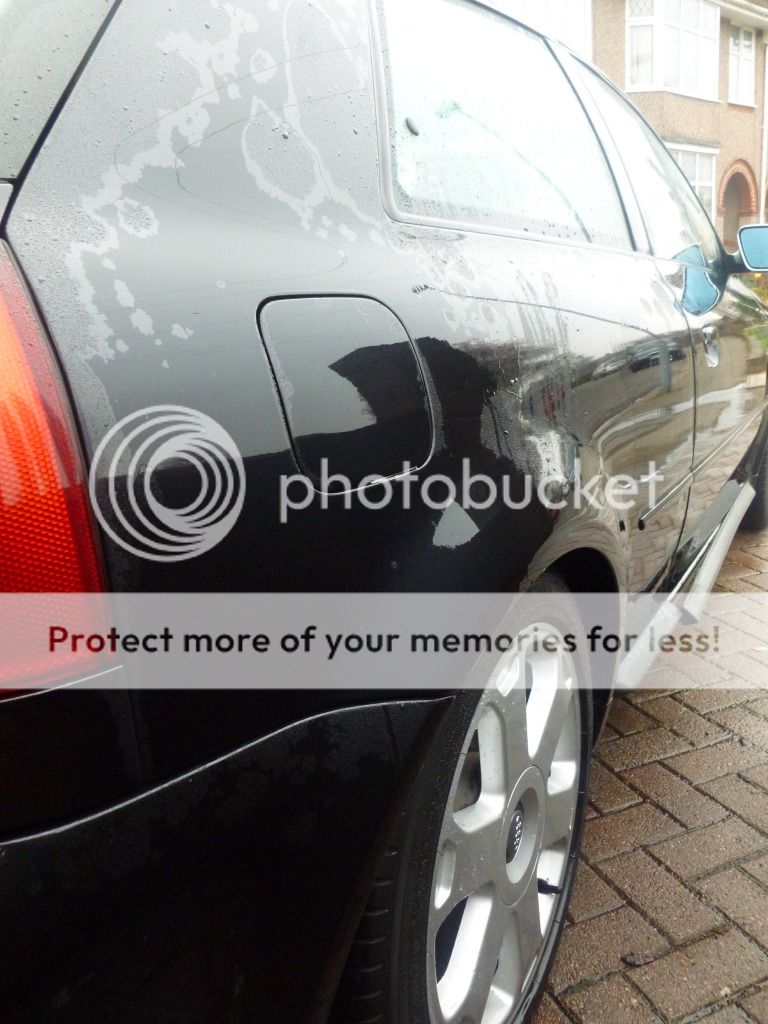
Scratch I'm hoping to get out or as much as possibly.

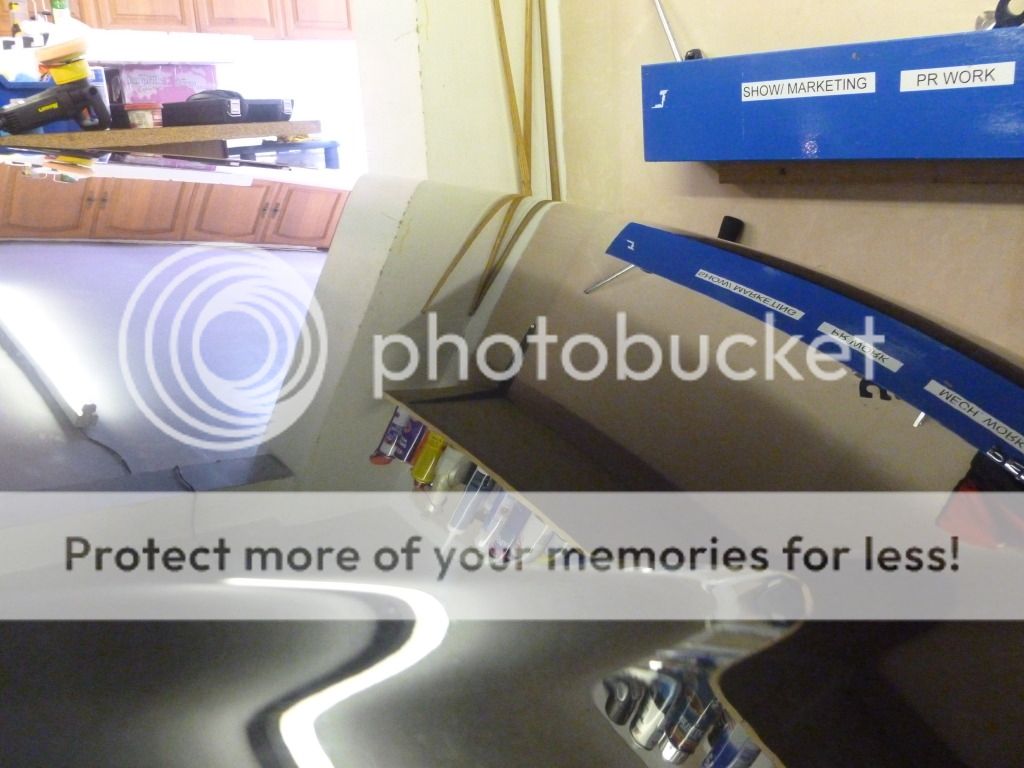
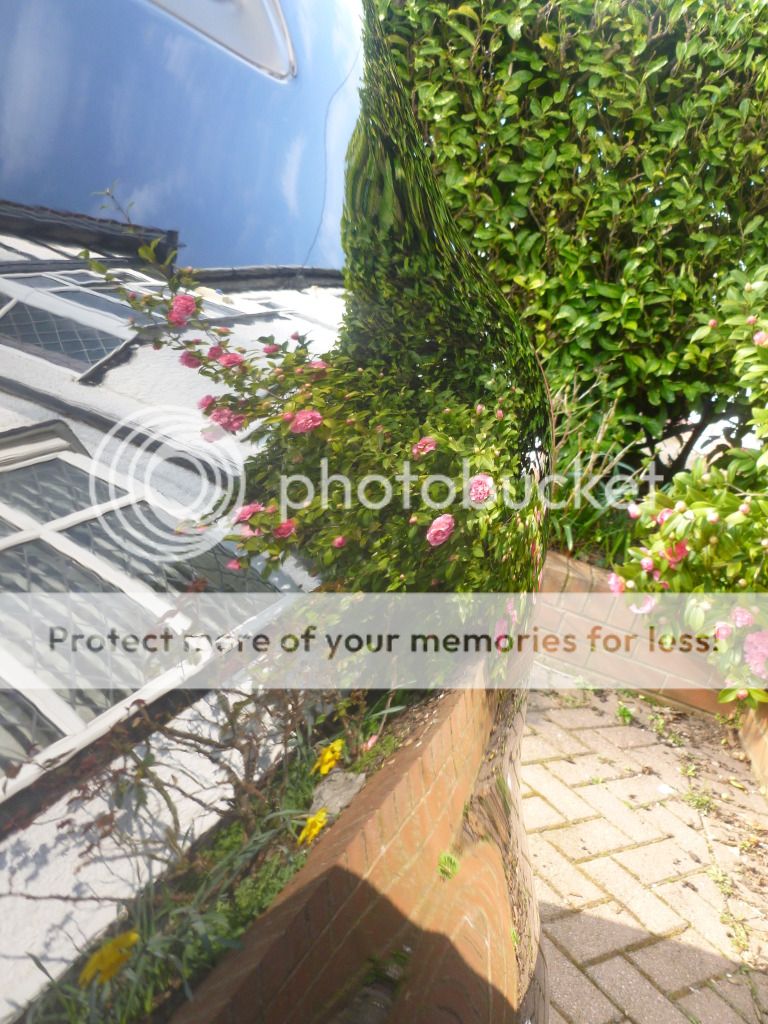
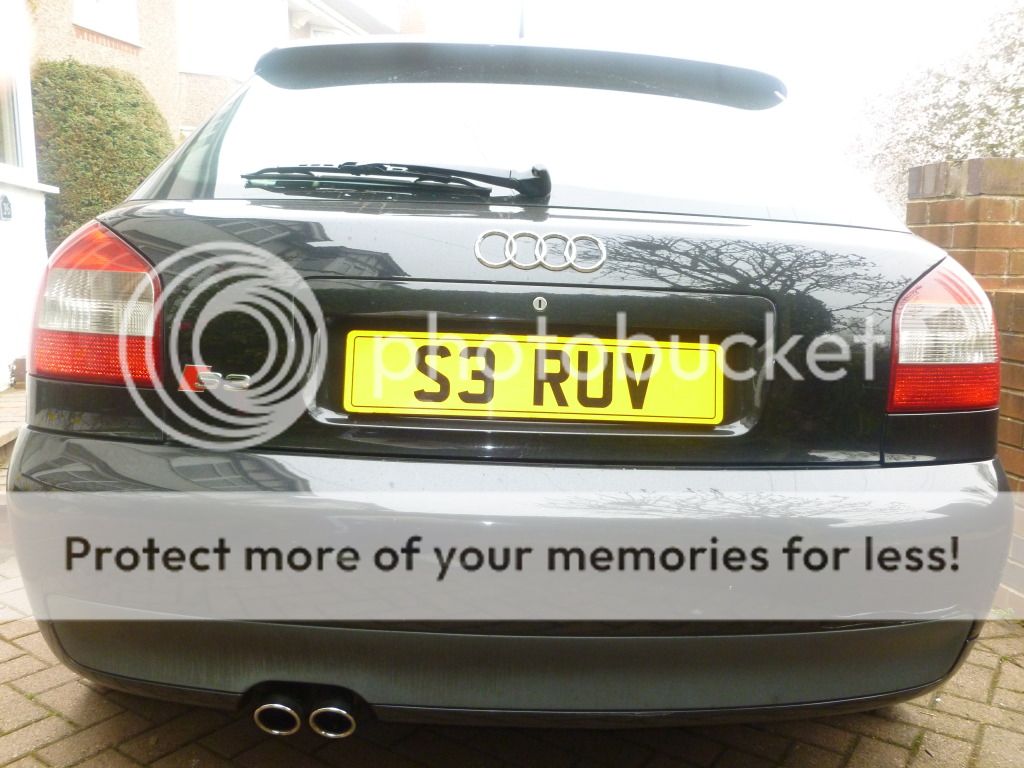
Generally car not looking too bad.

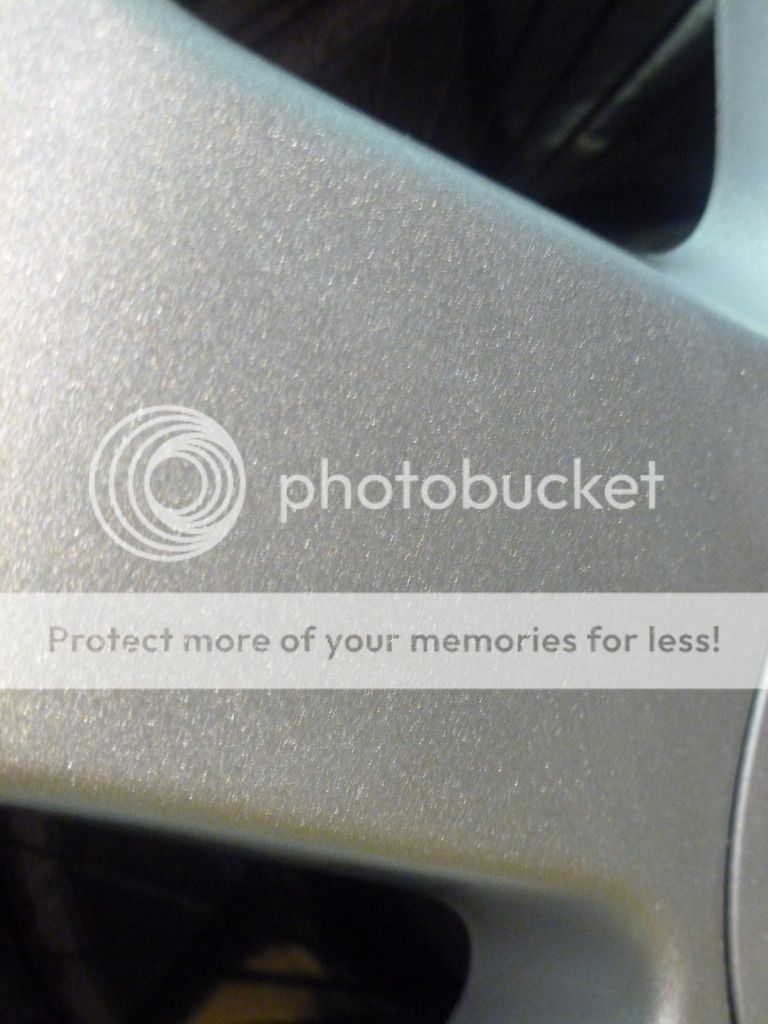
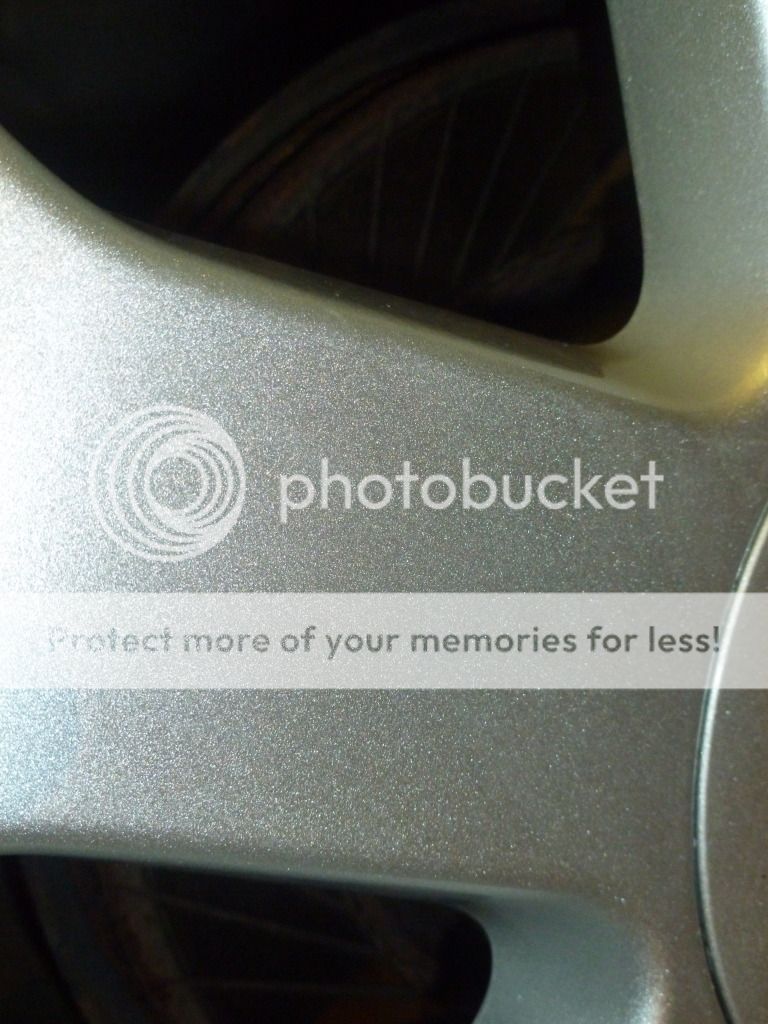
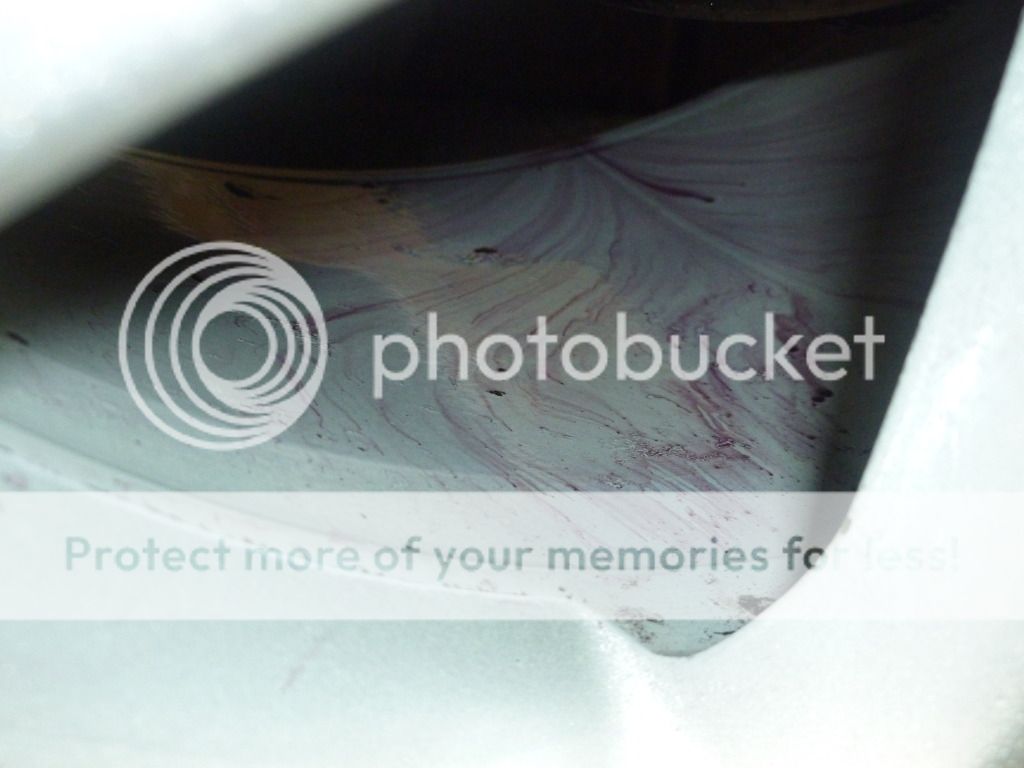
So firstly starting with alloys with bilberry wheel cleaner and ez detail brush.

P1030523.jpg


Started looking like this.

P1030533.jpg


P1030535.jpg


Followed with iron cut and then oblitarate

P1030540.jpg


P1030555.jpg


P1030544.jpg


Same repeated for all four wheels.

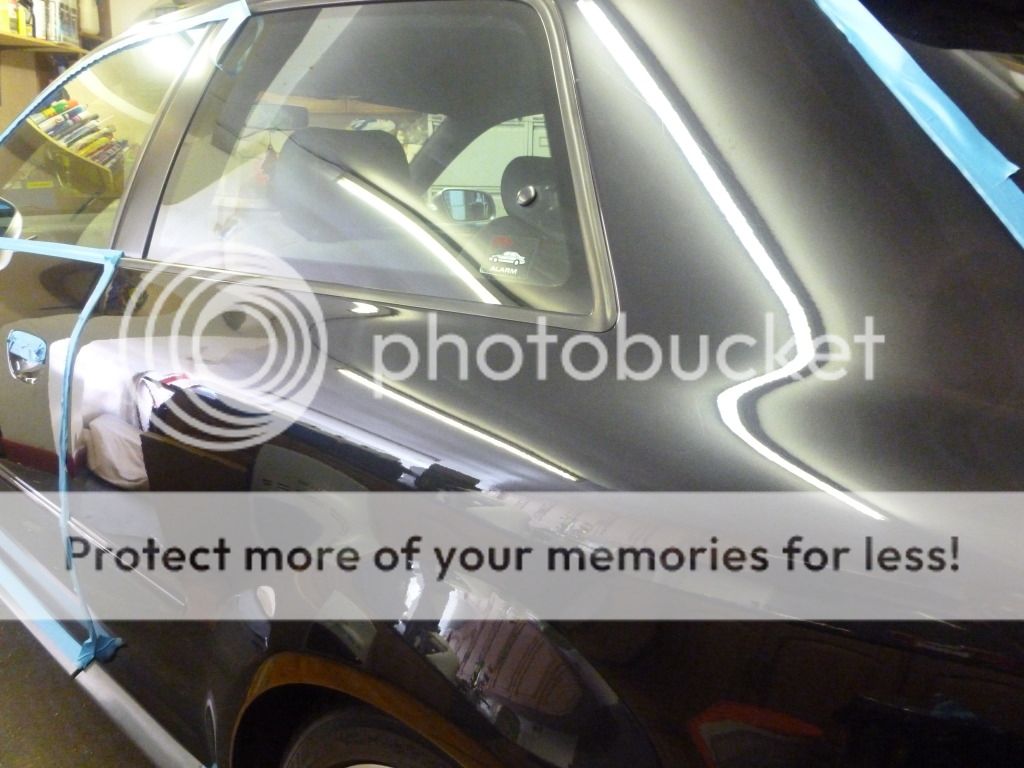
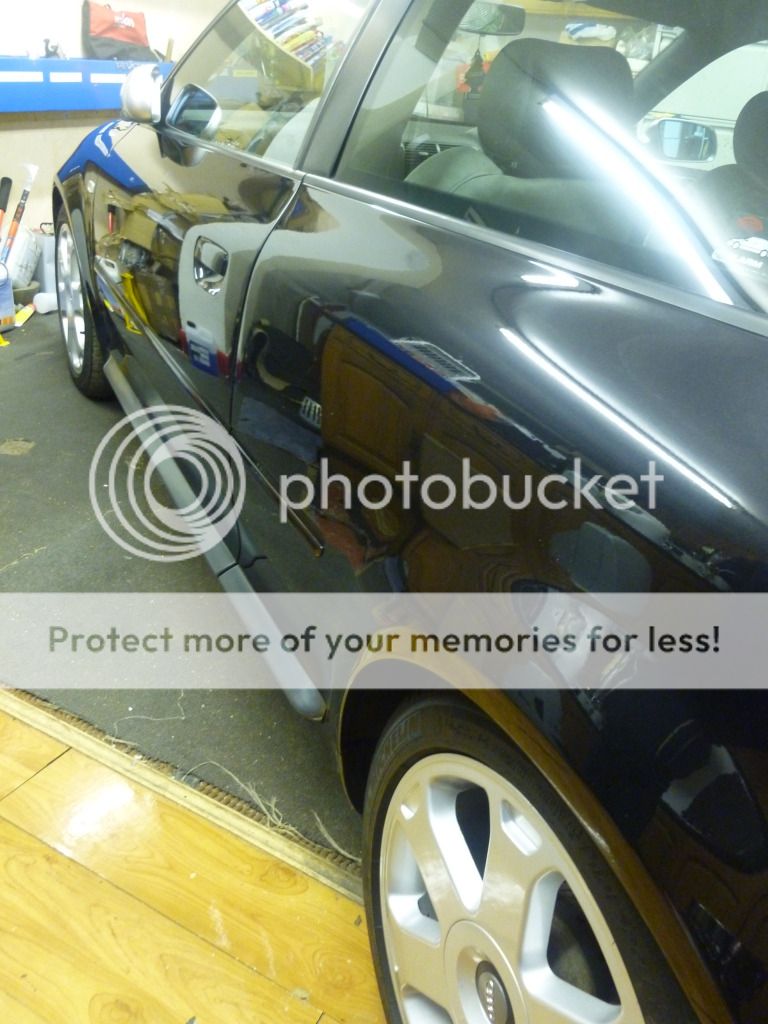
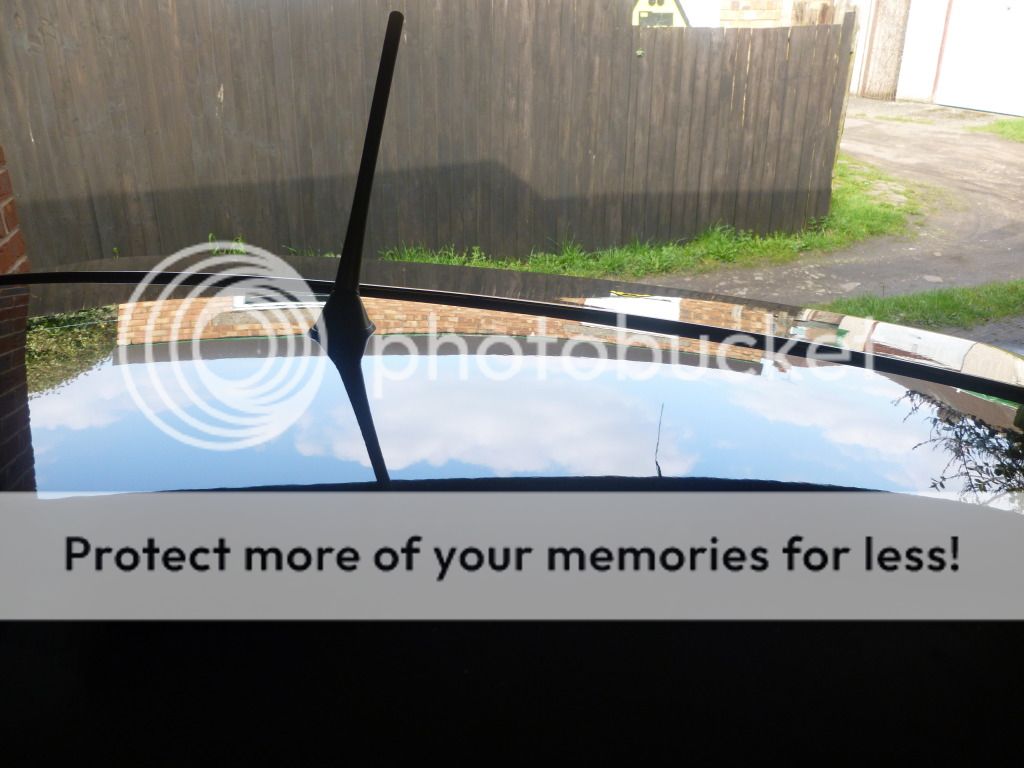
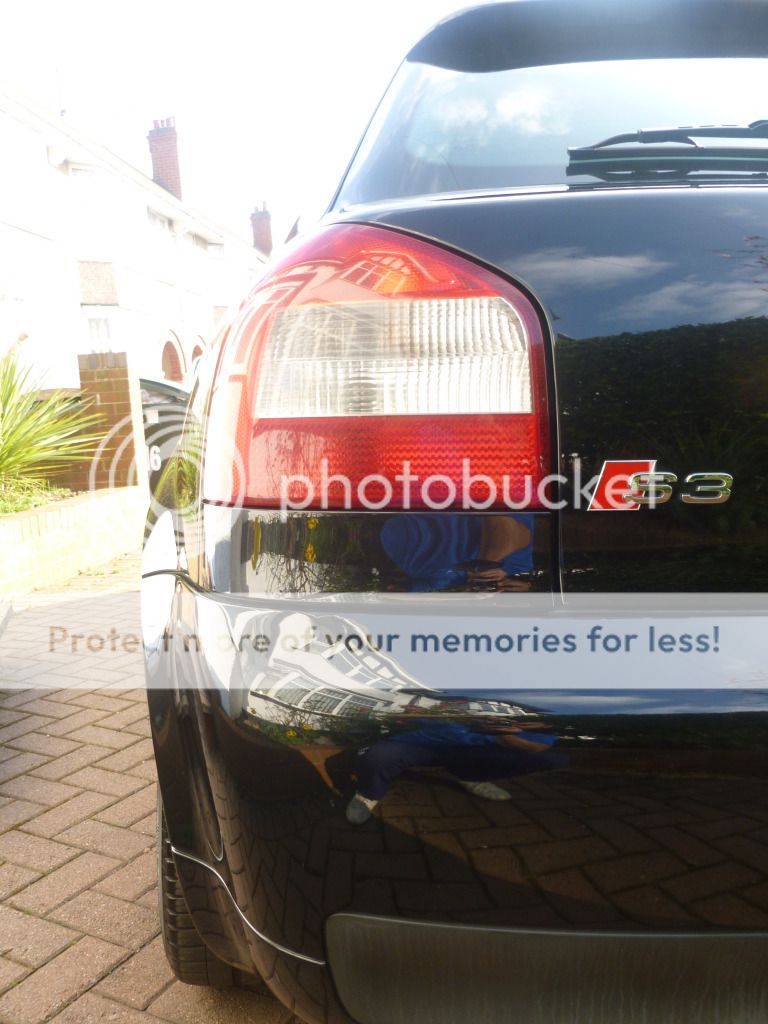
Now onto the car. Firstly given a good thorough rinse with the karcher.


P1030557.jpg


Good protection for previous blackfire sealant.

P1030558.jpg


Next trialled with

P1030559.jpg


P1030560.jpg


P1030561.jpg


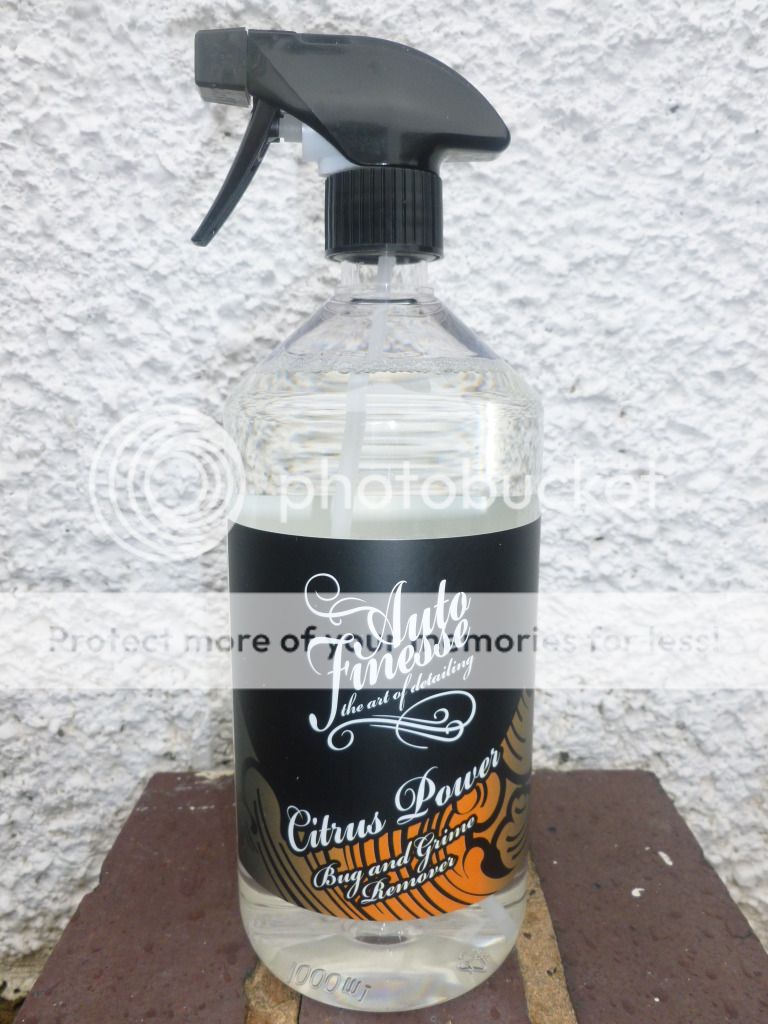
This really did assisit in lifting a lot of the grime off the car before the snow foam.


P1030566.jpg


P1030564.jpg


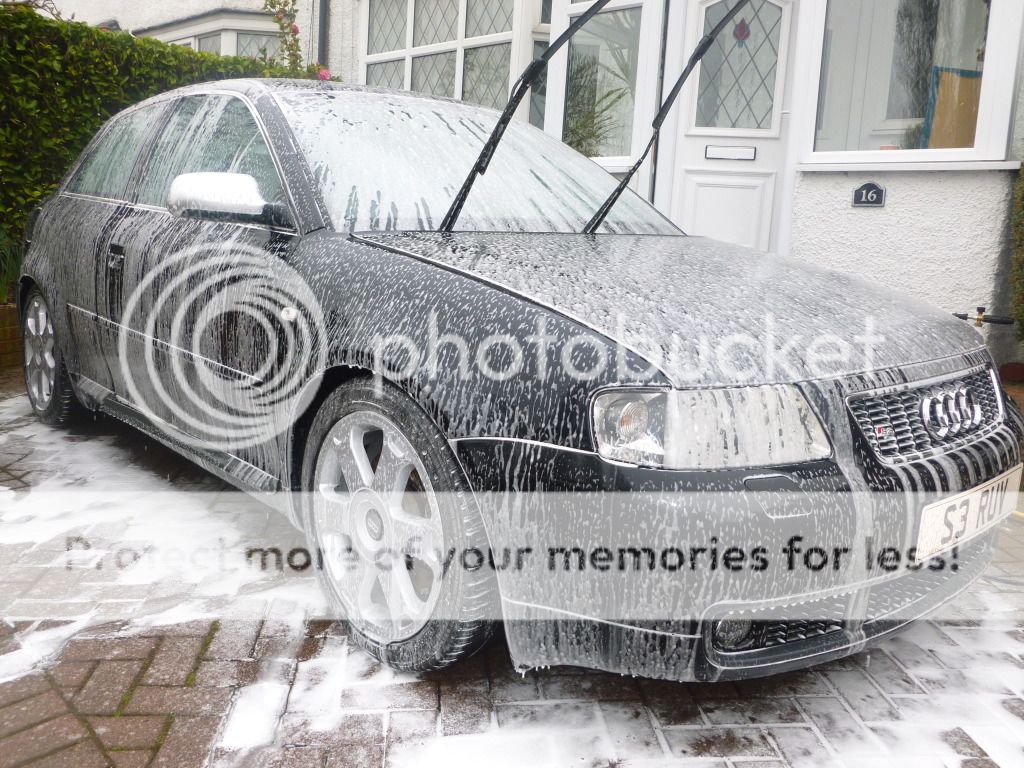
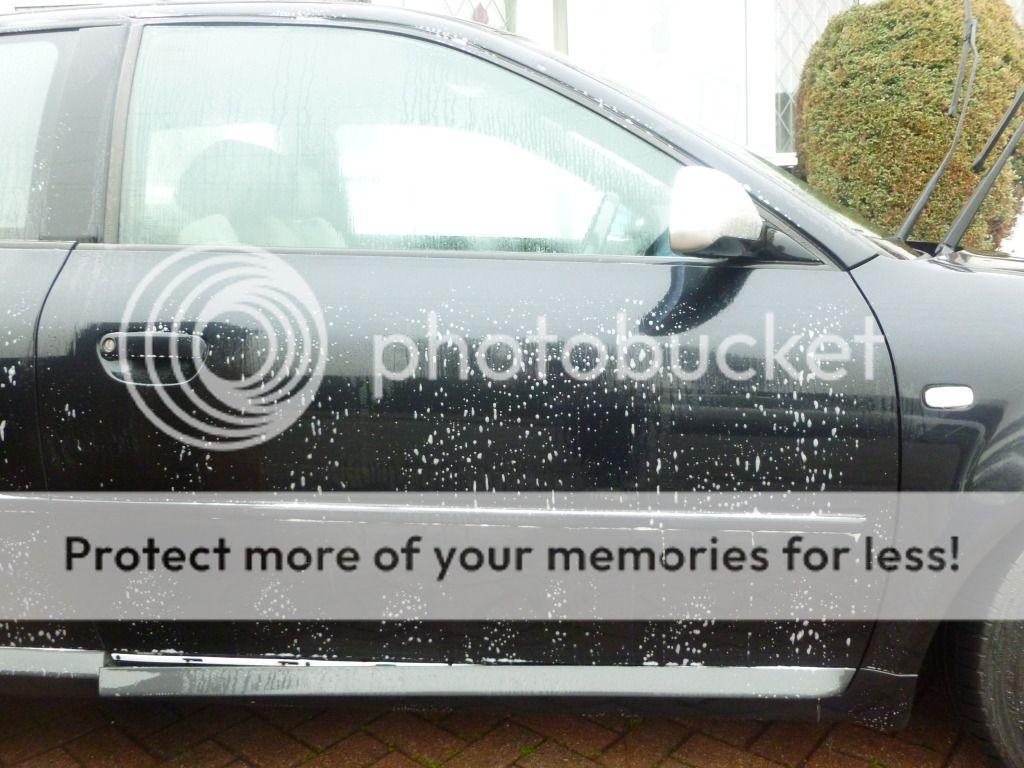
Followed by a good thick layer of hyperwash.

P1030567.jpg


5 mins later.

P1030578.jpg


P1030577.jpg


P1030576.jpg


Then rinsed and washed with 2 bucket method and rinsed again leaving

P1030580.jpg


P1030584.jpg


Oblitarate then used and wiped away with a microfiber cloth.

P1030587.jpg


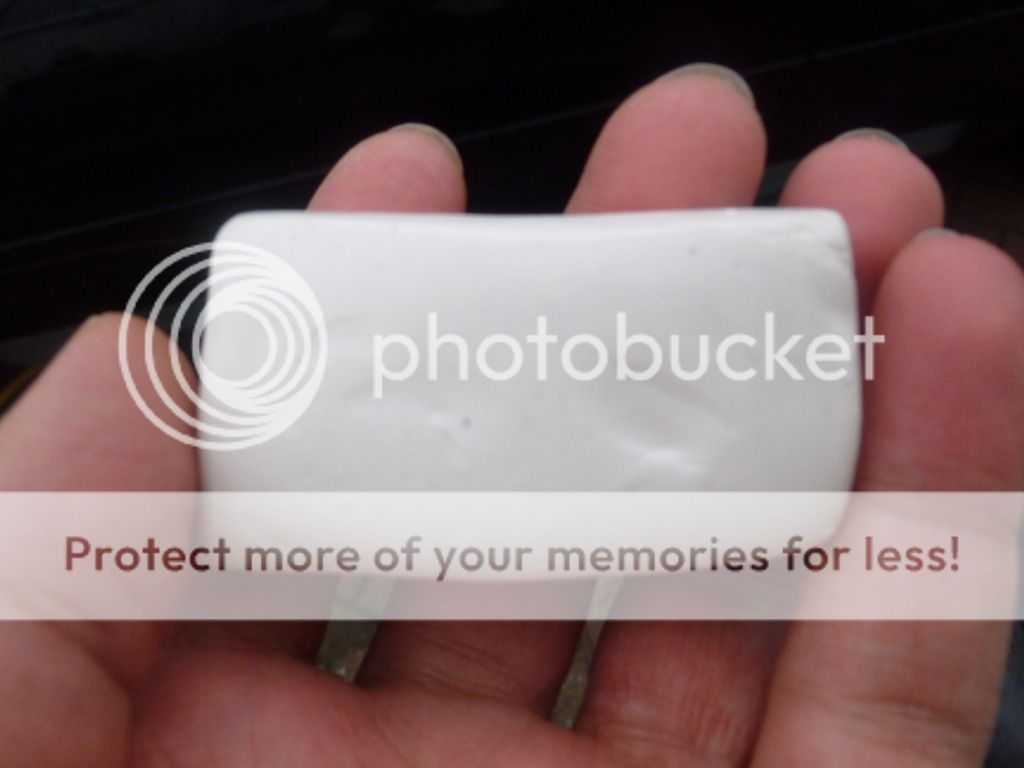
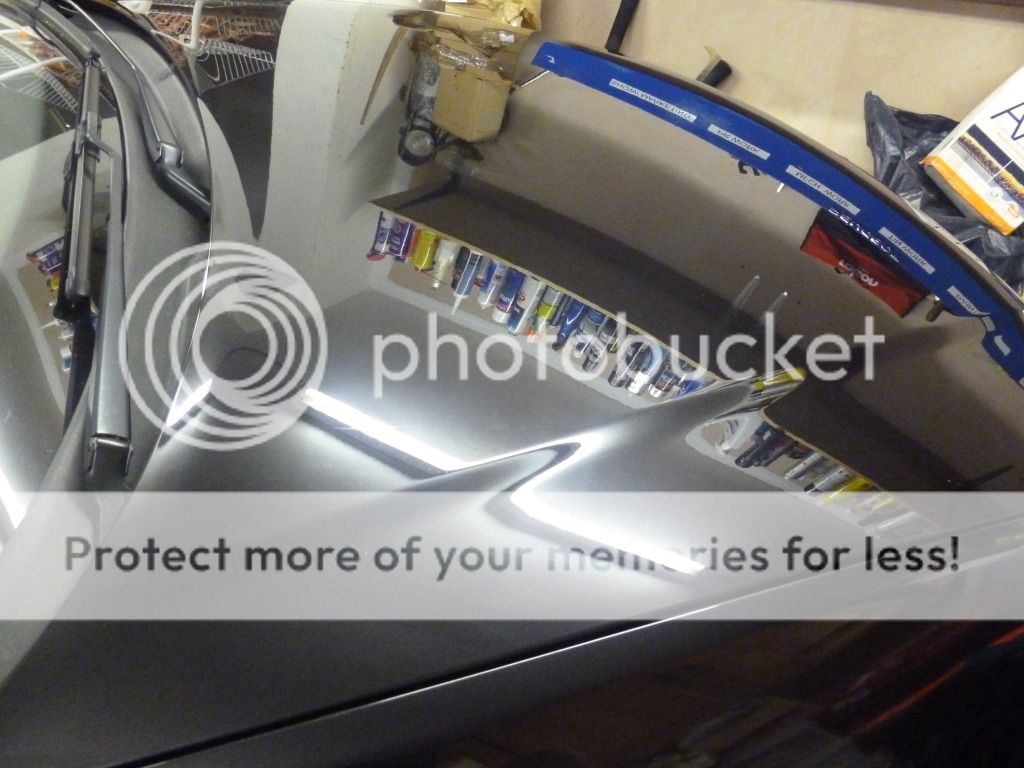
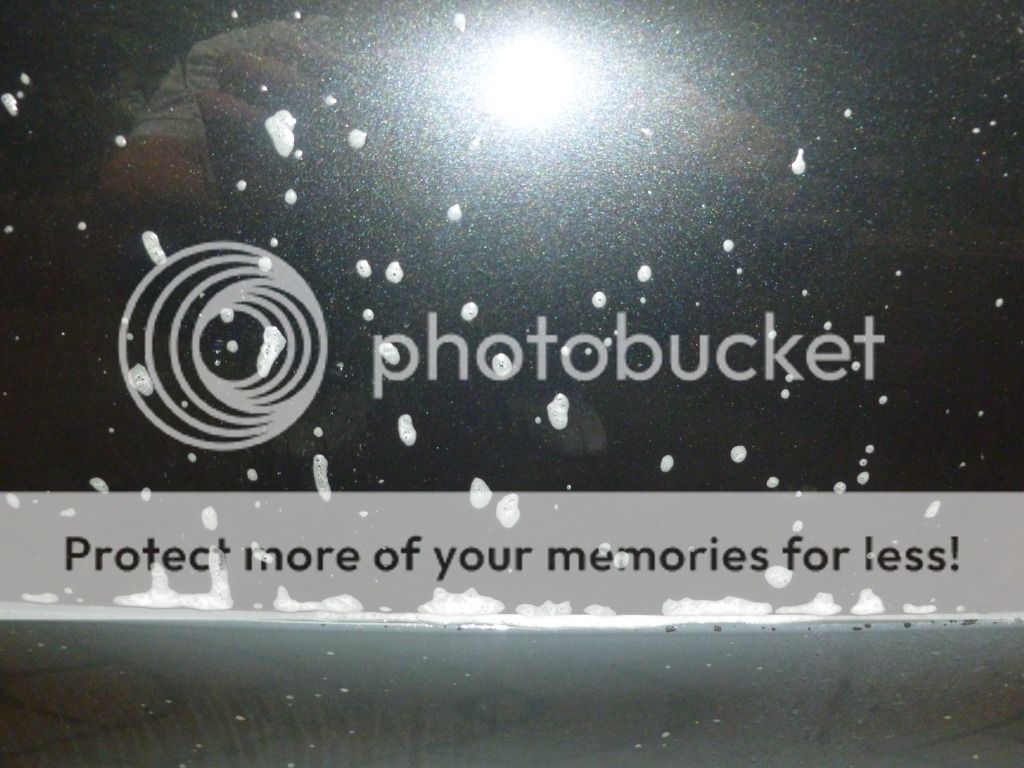
Next after washing and rinsing again car was flayed with auto finesse clay bar ( and yes I have made the most of pb 3 for 3 on auto finesse goodies lol!!)

P1030588.jpg


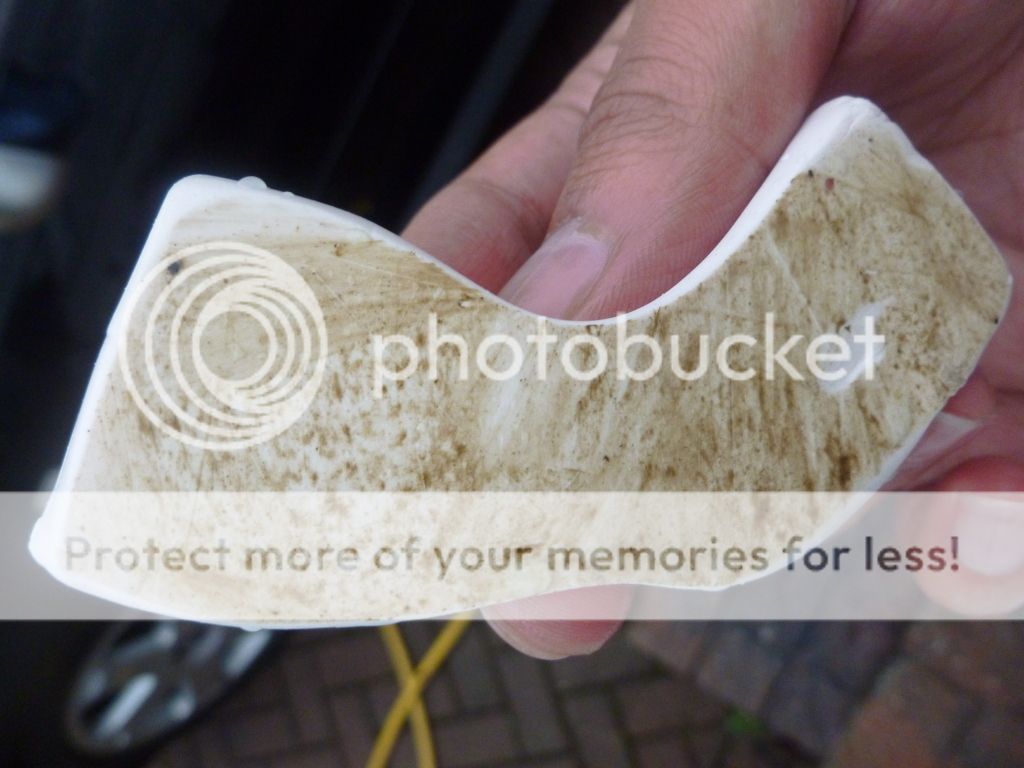
This was after just the bonnet alone!!

P1030593.jpg


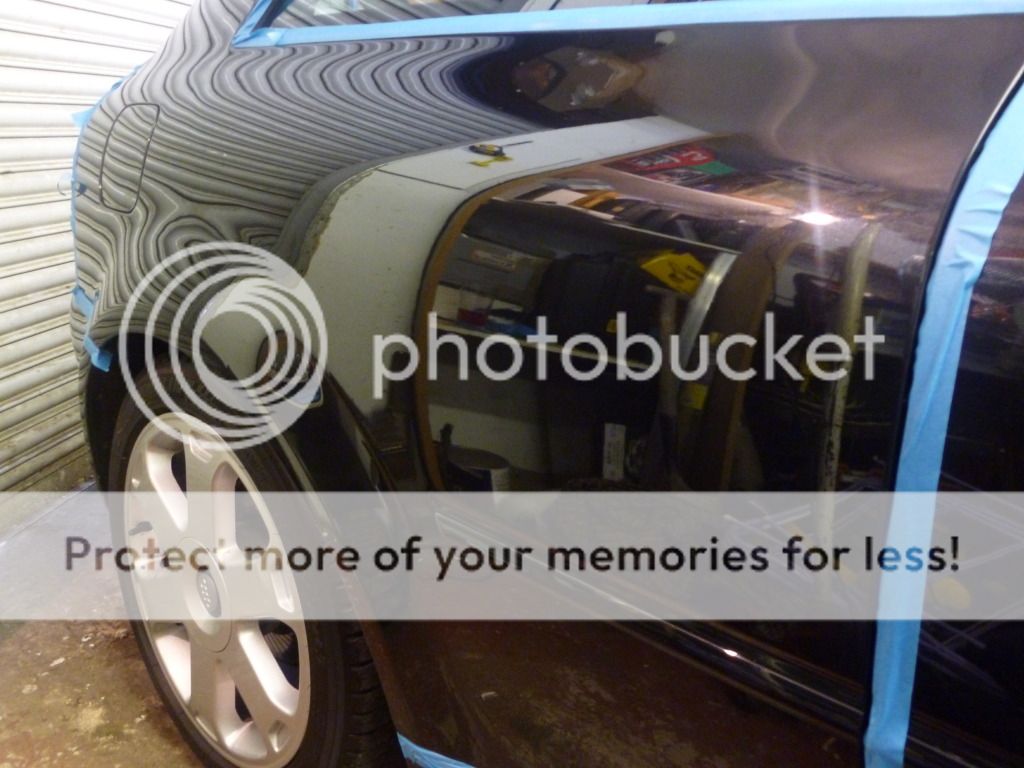
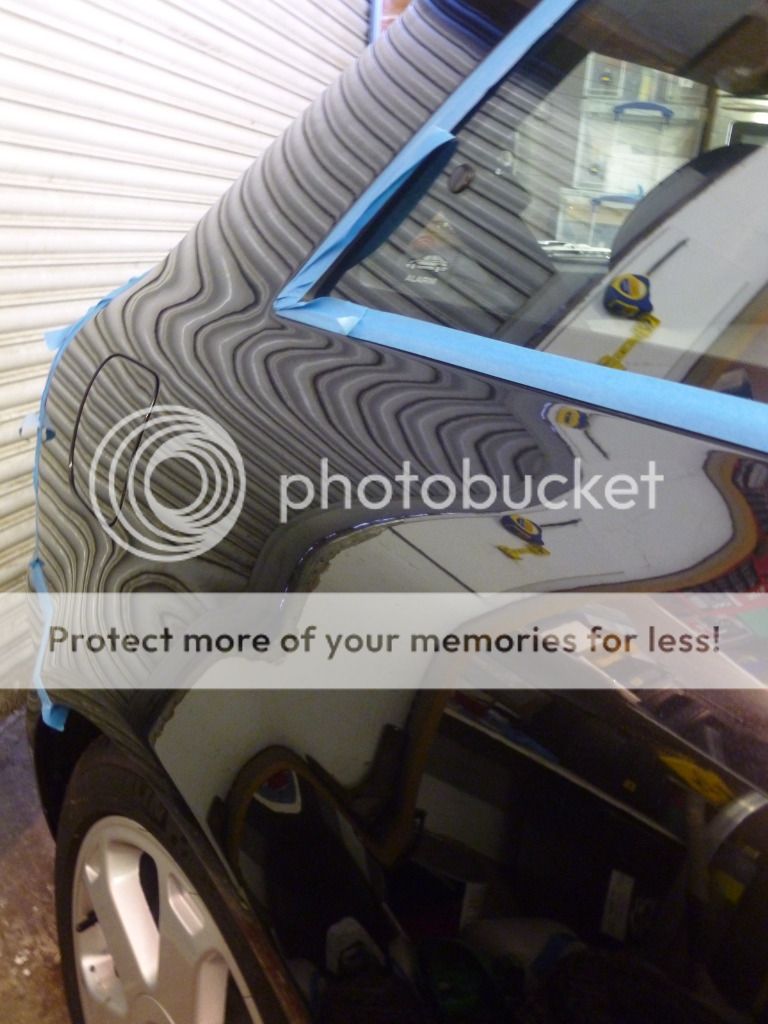
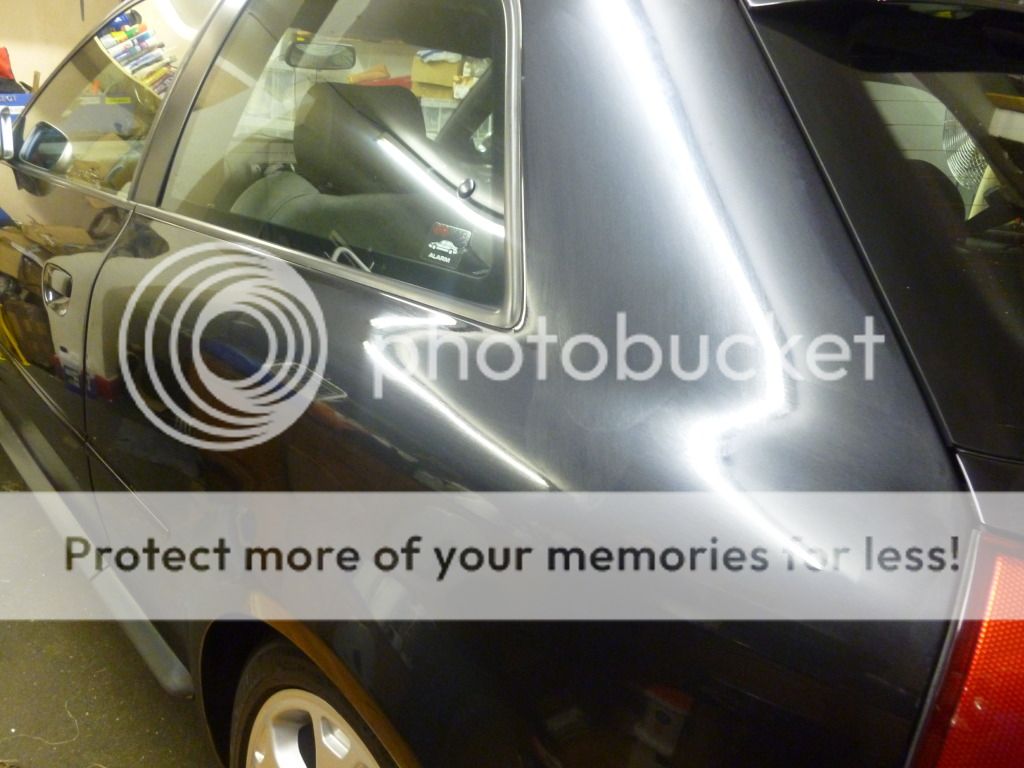
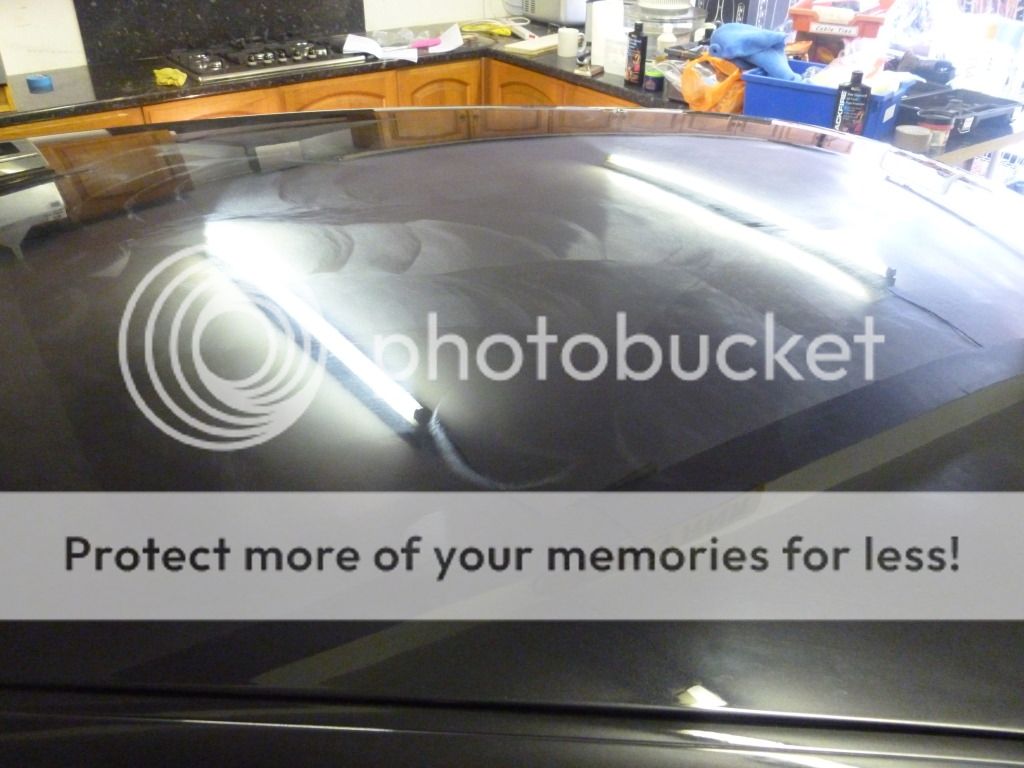
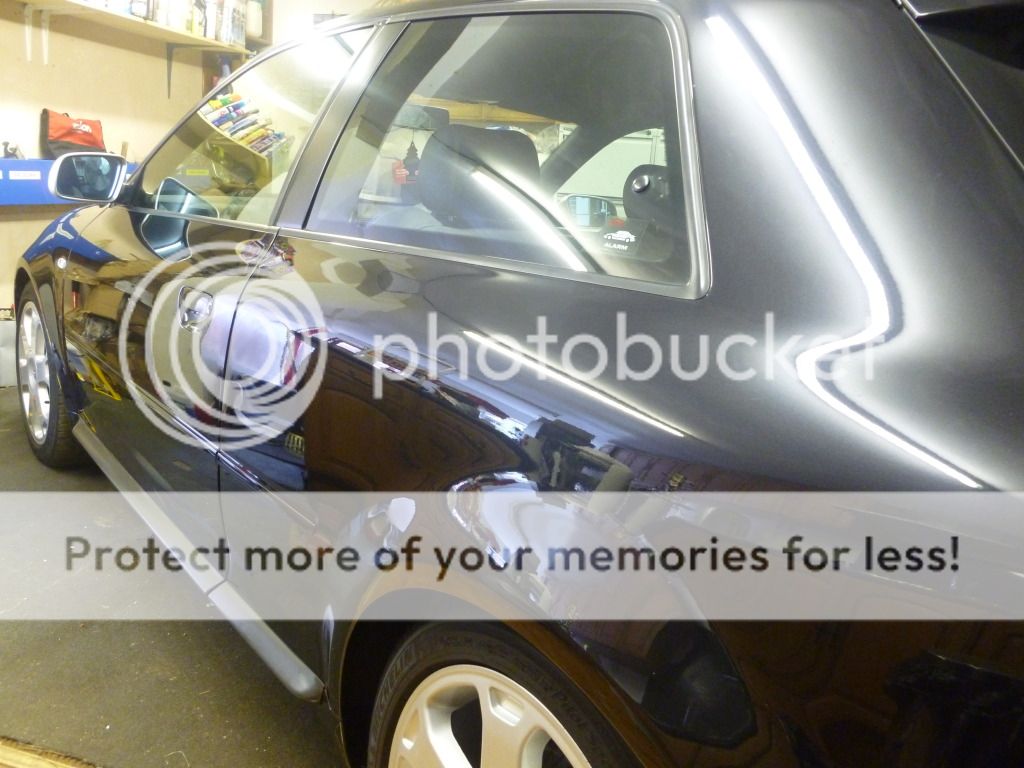
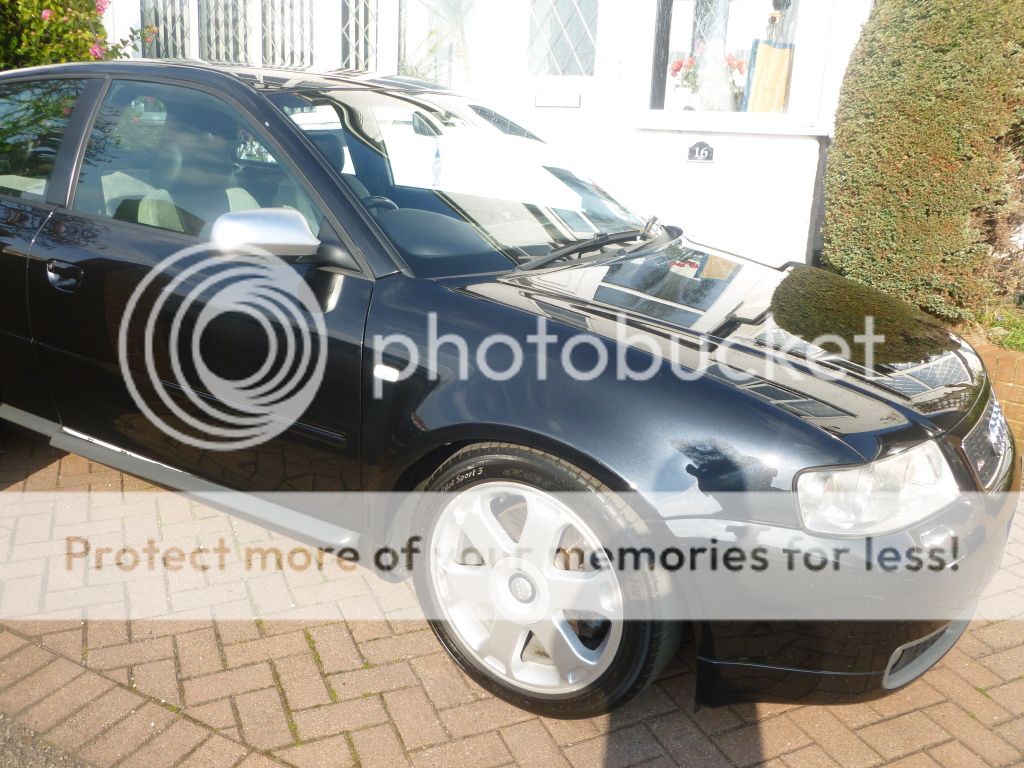
No protection now on the car. Car was then washed and rinsed once again leaving this.

P1030608.jpg


P1030612.jpg


P1030615.jpg


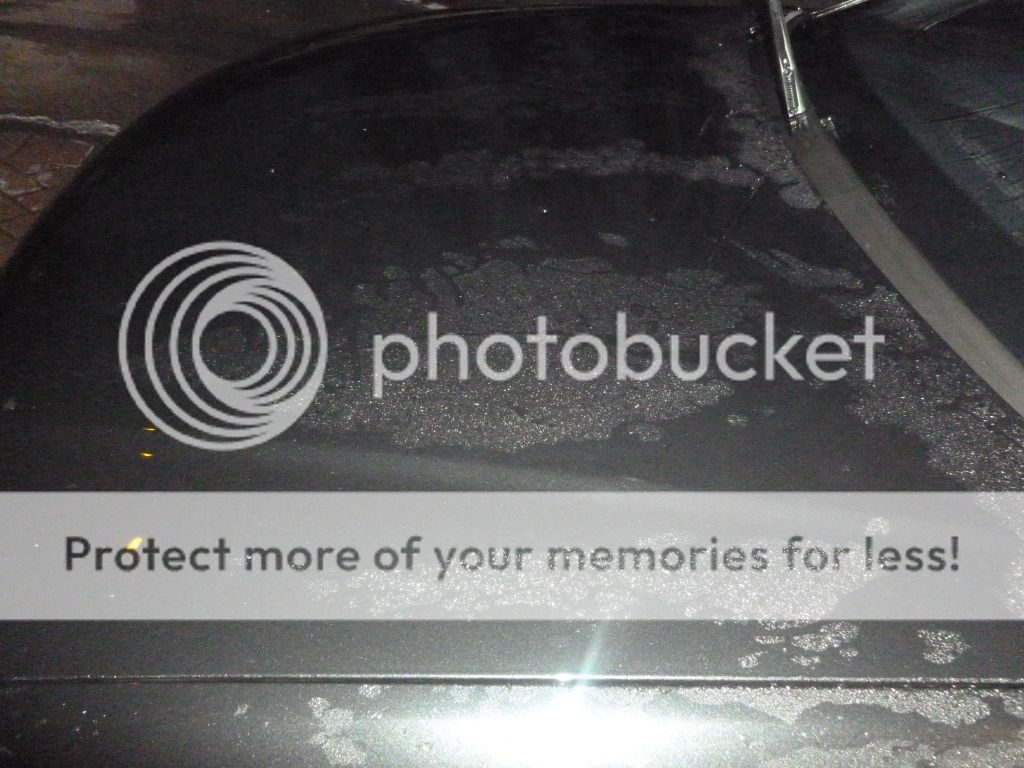
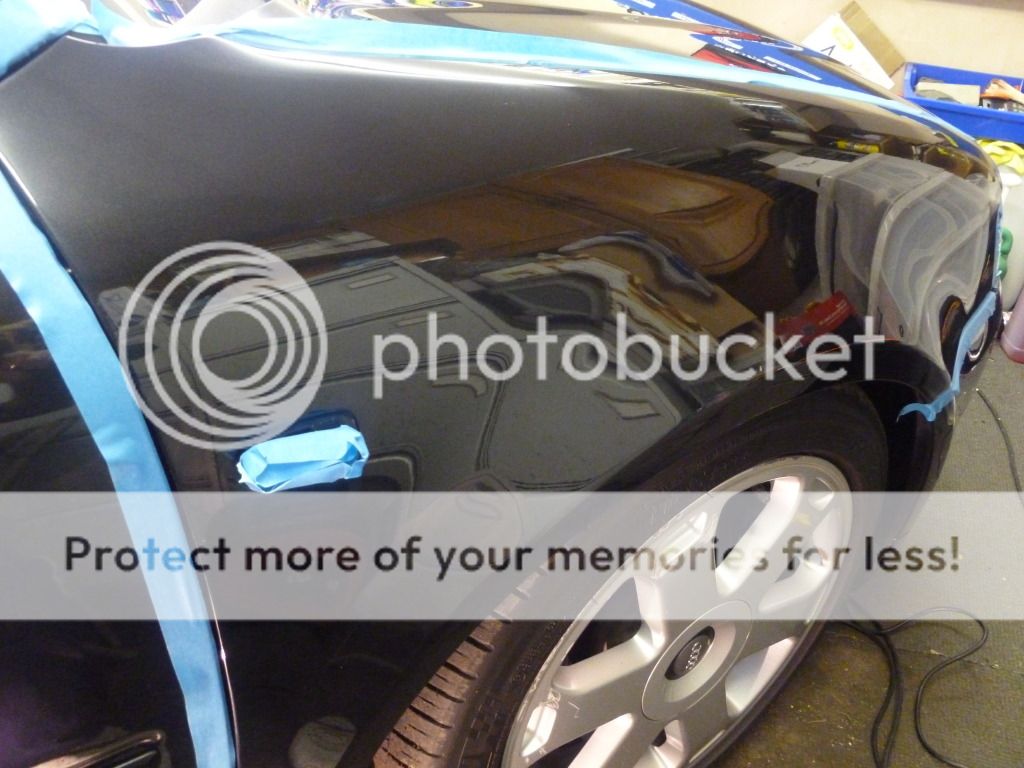
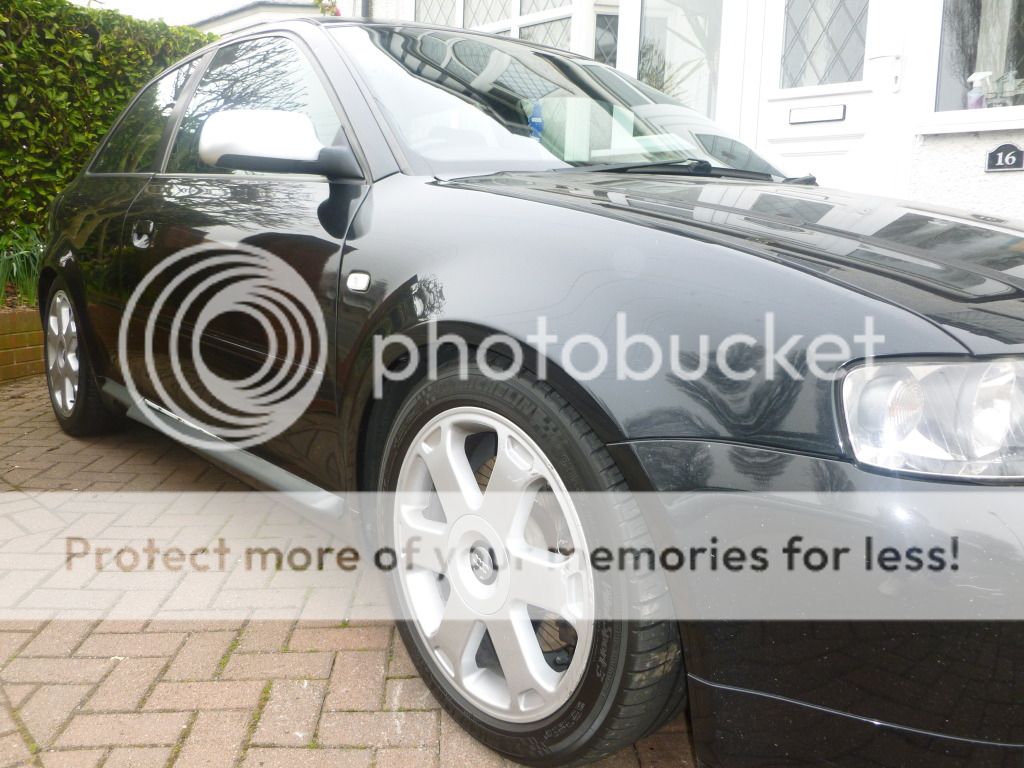
This was the typical amount of swirls on the car.

End of day 1!!
 
Car looks awesome. Good days work. :)
 
Day 2:

This day started with a quick wash of the car to get rid of anything that may have settled on the car overnight.

P1030719.jpg


P1030721.jpg


Car looking nice and clean ready to go to my cousins garage where the polishing would take place.

P1030724.jpg


P1030725.jpg


This was as best shots I could get under the lighting before my camera battery died!!!

The rest of this day consisted of masking and going round the car with the mezerna power finish.


Day 3:

Now this day consisted of going round the whole car with the finial finish for refinement, wiping the car down with ipa to get rid of any oils before putting a layer of blackfire sealant down. The first of two coats applied.

P1030733.jpg


Bonnet with power finish as I wasn't happy with the first pass.

P1030735.jpg


And buffed off.

P1030738.jpg


Then refined

P1030738.jpg


And buffed.

P1030740.jpg


P1030744.jpg


Front wing after correction

P1030745.jpg


Refinement.

P1030748.jpg


P1030748.jpg


Rear wing refined.

P1030751.jpg


P1030752.jpg


And buffed.

P1030755.jpg


Other side refinement

P1030756.jpg


And buffed.

P1030756.jpg


P1030760.jpg


Front passenger door after refinement

P1030760.jpg


P1030762.jpg


Roof after refinement.

A pillar showing some nice flake pop after refinement.

P1030764.jpg


P1030764.jpg


After all the correction and refinement car was then wiped down with ipa to ensure a clean oil free surface to apply the sealant to.

P1030767.jpg


P1030767.jpg


1st layer of blackfire sealant applied.

P1030771.jpg


P1030778.jpg


And buffed. End of day 3!!
 
Day 4 started with a quick wipe down and then another lay of sealant

P1030791.jpg


Followed by a layer of wax.

P1030792.jpg


P1030800.jpg


P1030797.jpg


Wax left to cure for a short while.

P1030801.jpg


These were used on the alloys

P1030802.jpg


P1030803.jpg


Leaving this great finish and flake pop on the alloys

P1030795.jpg


Exhaust attended to with these two.

P1030783.jpg


P1030787.jpg


Leaving this.

P1030790.jpg


P1030805.jpg


P1030807.jpg


P1030810.jpg


P1030812.jpg


Wax now buffed off.

P1030816.jpg


Now getting ready for daylight!!

Finally outdoor shots at home. Enjoy.

P1030826.jpg


P1030830.jpg


P1030846.jpg


P1030817.jpg


P1030818.jpg


P1030820.jpg


P1030821.jpg


P1030824.jpg


Lovely flake pop

P1030831.jpg


Nice wet gloss.

P1030832.jpg


P1030836.jpg


Remember that scratch.

P1030841.jpg


Not 100% but a lot better.

P1030844.jpg


Lovely arches!!!

P1030851.jpg


The end!!!!

Hope you all enjoyed and are still awake after all that.

Comments good and bad welcomed.

Mods would you mind leaving this in the 8l section initially and then move to the detailing section after a couple days.

Many thanks.

Rav.
 
Looks great pal! Was thinking of getting some citrus power would you recommend it?
 
Looks great pal! Was thinking of getting some citrus power would you recommend it?

Hello mate. He would def recommend it. Picture doesn't quite show but it did help to lift a lot of dirt prior to the snow foam.
 
honestly mate its brilliant!

rav would you say that power finish was good for the s3's old hard paint? couple of hits per panel?
also what pads did you use?

Karl I used the hydro tech pads. With regards to the power finish it got rid of the majority of swirls I would say about 80%. I think to get anymore I'd have to use a rotary not a da. Yea I gave most panels 2 hits with the power finish.
 
Karl I used the hydro tech pads. With regards to the power finish it got rid of the majority of swirls I would say about 80%. I think to get anymore I'd have to use a rotary not a da. Yea I gave most panels 2 hits with the power finish.
i think id be happy with 80% correction using a da and it being on the safe side and hardly any risk of going through the clear coat.
great work mate.
 
good work

spent 4 hours on mine today that was long enough:ohmy:
 
Great work,and effort,wel done for sticking at it,and end result.
 
Fantastic work Rav, im really impressed and you should be real proud of yourself. I will leave this here for a few days as per your request and move it to detailing mid week for you.

Sandra. :)
 
Great finish, but seriously... Whats with the door blade hanging off! That'd do my nut in!
 
Great finish, but seriously... Whats with the door blade hanging off! That'd do my nut in!

Mate trust me it does my head in!! I'm trying to get it sorted. Just don't want to fork out £166 from Audi!! Hopefully will get it sorted soon.
 
Wow, Impressive results. Liking the cheeky glint on the tail pipes.
 
Rav, that is stunning mate, the quality of the work is awesome!!!

Mine gleams when it is clean, but nowhere near that!!

Oh an off topic comment.....got enough Stella in that fridge ;)
 
Now that's what I call dedication, loving the reflection shots and flake pop.

...how did you get on with tidying up that scratch?
 
Cheers for all the comments guys. was really hard work but helped having constant supply of coffee by my cousin and having their garage to use.
Nilz: stella is my cousins lol. never have too much beer though!! Treated myself to a beverage or two after i was done!!

Idrees: materials wise I bought the megs g220 hard kit from polished bliss whilst it was on offer think it was about £150. I would say that all the other stuff comes up to another couple hundred quid easy however i just bought abit at a time. First essentail thing is a good wash technique with a good mitt and 2 buckets. The rest can come.

Maz: cheers mate, scratch is alot better cheers. I've taken the pic from the start and then in the final few pics i've shown it again. Im quite happy with the results as if it didnt come out as much as it did i was contemplating a respray but now its not essentail.

Westy: was absolutely knakered after the 4 days. Back was killing me...good job im a physio so I treated myself lol!!
 
what menz were they mate as the power finish and final finish have different ones
 
Like I said rav, switch plates and do mine :D good work though! Got most of my gear ready for my detail!
 
4 days!! ****** hell, I just done a 2 hour clean, did an hour Saturday but then the pub called my name.

I'm dripping like a wet dog, and back is killing from all the leaning over etc. feel like an old man. Car looks awesome though, doubt it's anywhere near your standards though! Yours looks brilliant considering it's a dark colour too.

You deffo need that door blade sorted lets it down a smidge

de1a981a.jpg

c45f68ef.jpg


I did buy a rotary, but god it's hard. Need a practice panel or something before I ruin my top coat
 
hey, the car looks awesome! :)

I had a similar door blade problem and it can be fixed for a few £ :)

It was really easy, if you remove the blade from the door, you can clean up the inside surfaces between the blade and the white plastic bracket. Then simply glue it down with epoxy, if you make sure theres no high points where the grey plastic has cracked (allowing the white bit to be released) you can re fit it the day after and all will be good :) I did mine 2 years ago and it is still perfect, it was in worse shape than yours too. Saved loads on buying a new one and obviously the faded colour matches. Hope this helps you save some £ cheers man, James
 
what menz were they mate as the power finish and final finish have different ones

Hello mate I understand their range has changed now. I bought this kit about 2 years ago if that helps.
 
S3featesv9 that looks great that does but yea it is hard work!!!

james have been trying to get a door blade for a while now. Hopefully have found a seller and will be sorted by next weekish. Does my head in too.
 
I was intrigued by your pics Rav, so had to add a couple of mine, hope you dont mind....

Spent a good few hours on the wifeys polo a couple of weeks ago (after months)!!

Didnt get many pics, but got a couple of decent reflective pics.....enjoy :)

IMAG1362.jpg

IMAG1363.jpg
 
As Karl said its best suited to dark colours. I like the stuff as its really easy to use and as you can see gives really nice results. Have a read through polished bliss guidelines in the detailing section.
 

Similar threads

S
Replies
13
Views
3K
Replies
20
Views
3K
Replies
4
Views
1K